Search the Community
Showing results for tags 'shapes'.
-
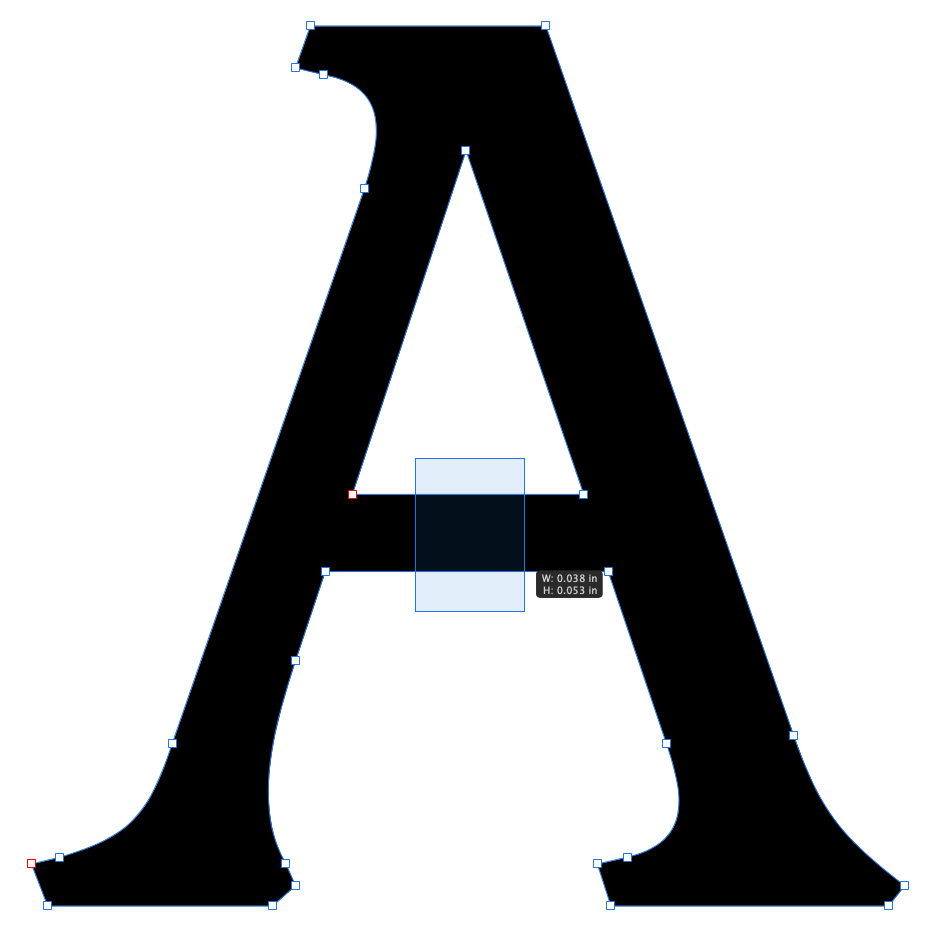
 So I'm trying really hard to figure out Designer. I apologize for these nuub questions, but I'm just not finding answers in the forum, the help files nor the video tutorials. So I have the letter "A" that I've created curves for, and I want to delete the cross bar. Again, cannot figure out how I would select those two segments of the shape. I don't want to delete any nodes; I'd rather leave those and join them back together. How does one go about selecting (and in my case deleting) segments of a shape? I've tried selecting the shape with the node tool, and then dragging over the segments, but when I go to delete it the entire shape is deleted, not just the segments. If I click on the segments with the node tool, it appears to add nodes to the segment, not select the segments.
-
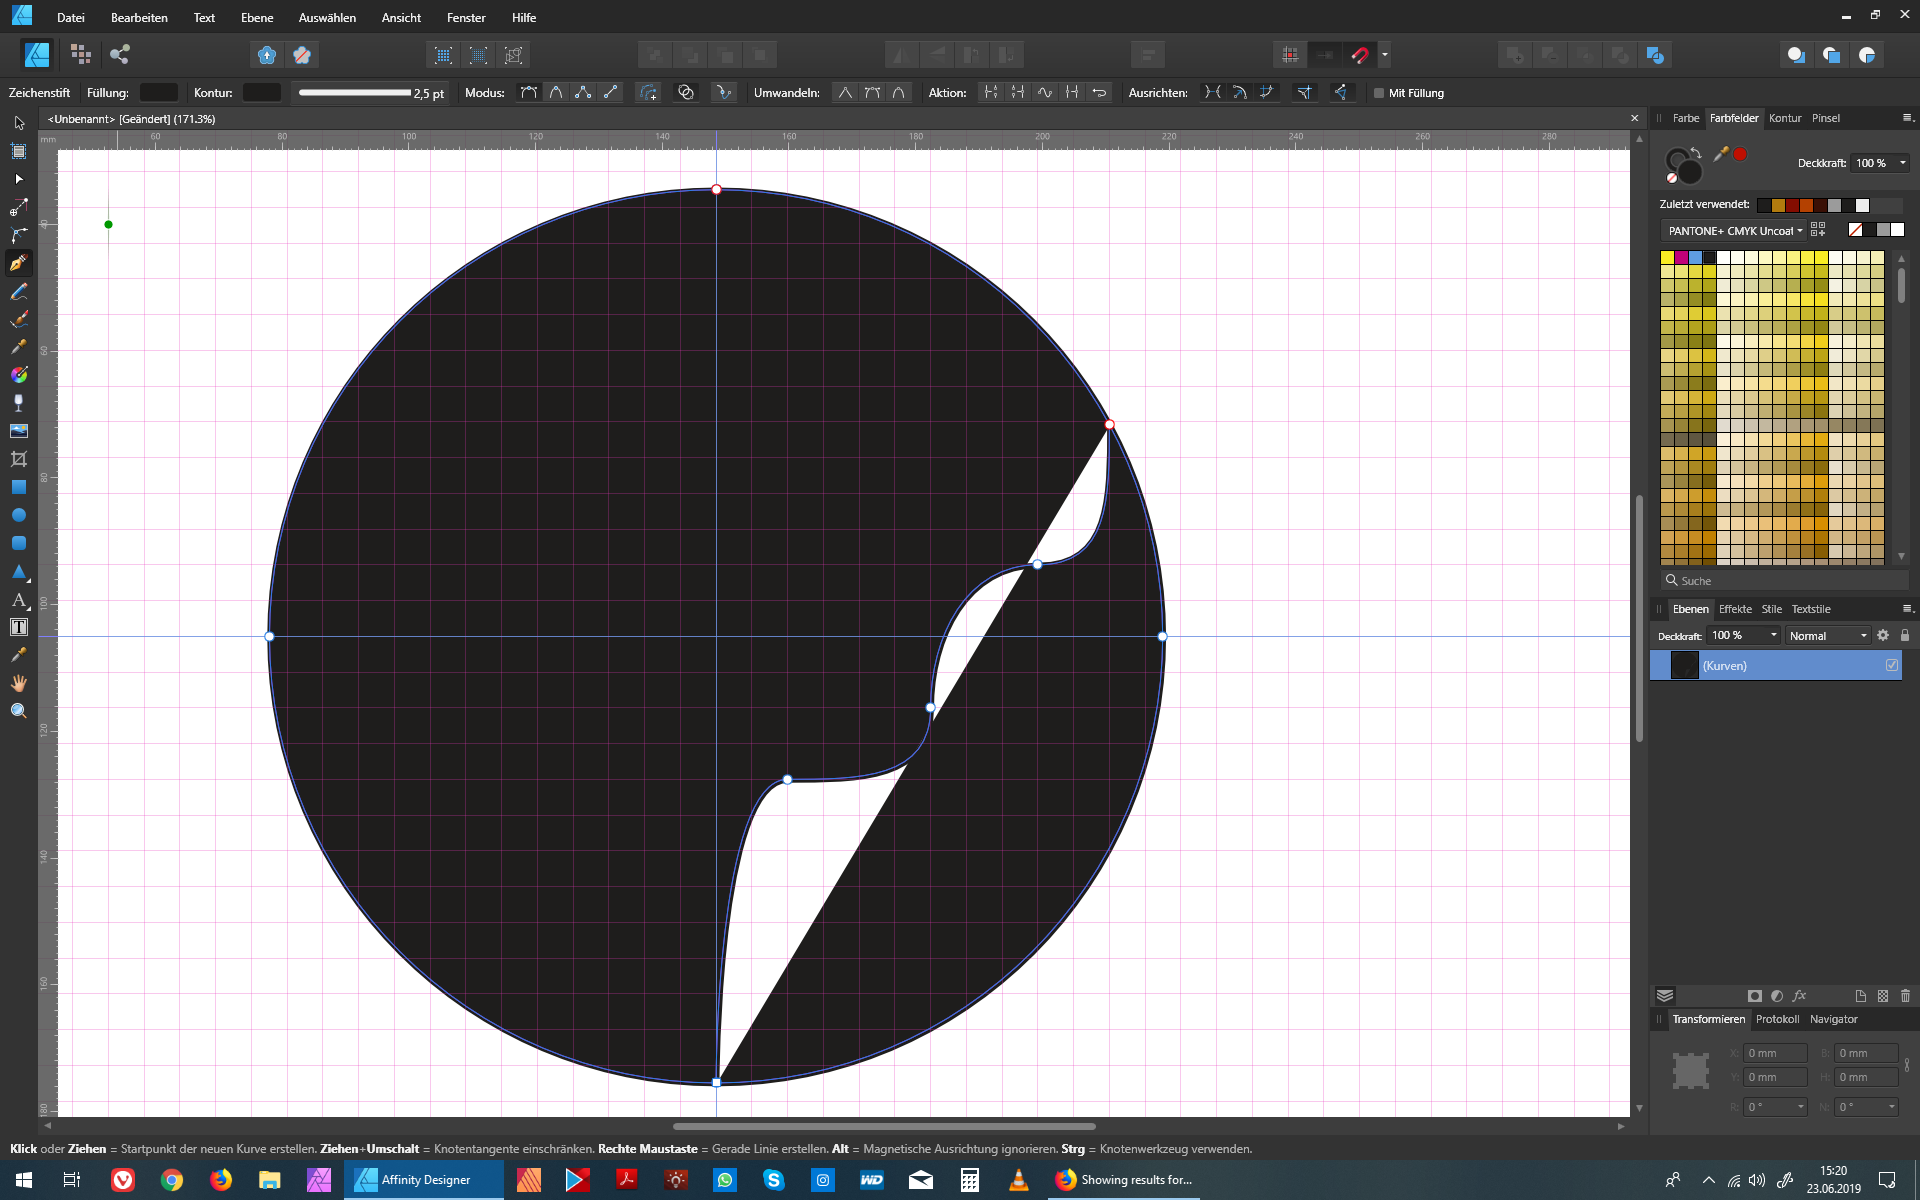
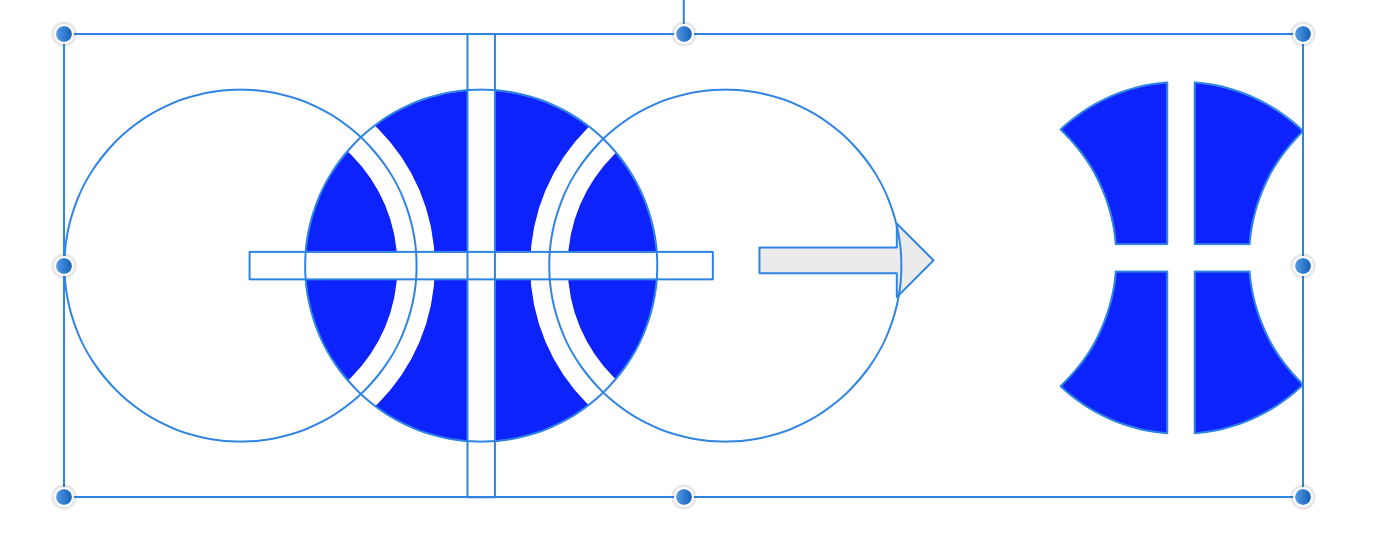
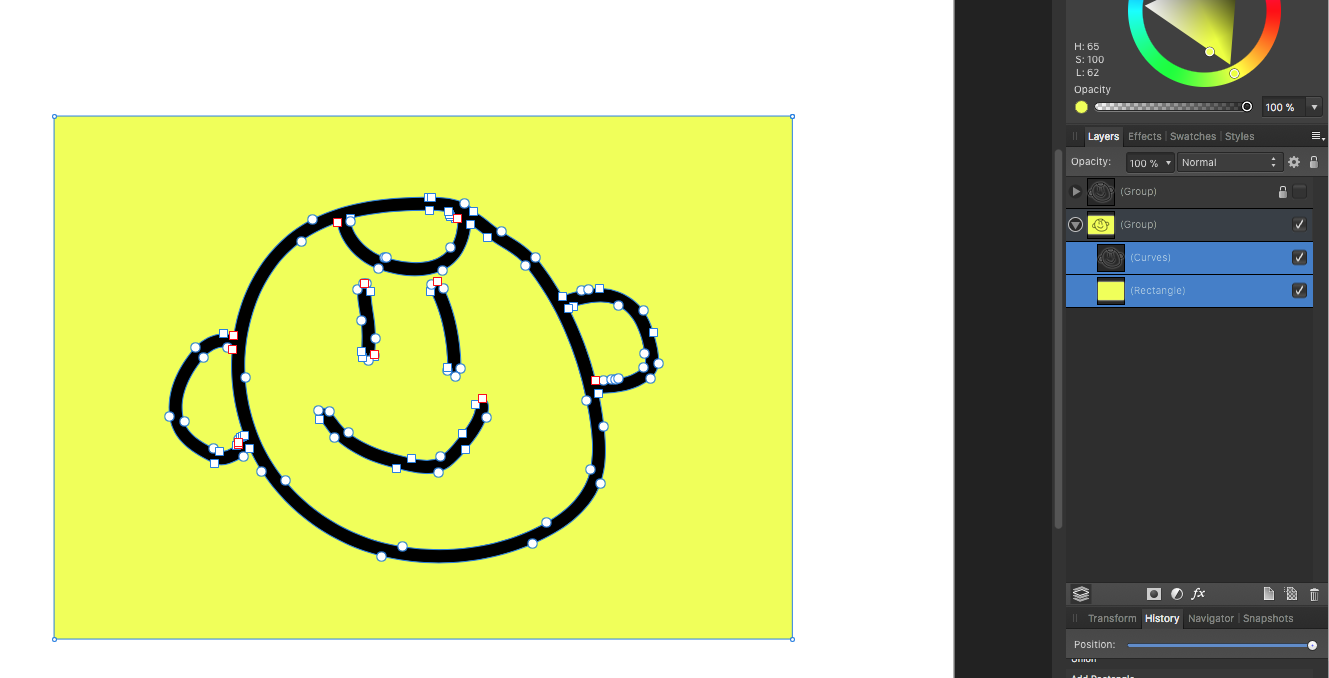
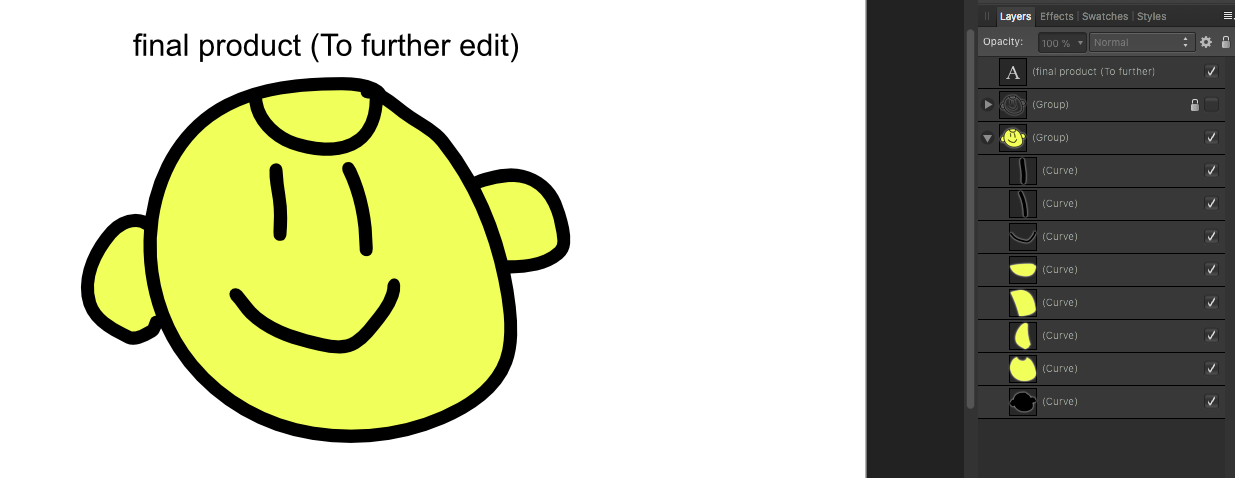
 Hello, there is something that is bugging me, or something maybe I did not understand the right away after watching Affinity Designer Tutorialvideos on your learn page. At first I was excited because you guys added the possibilities to add curves/nodes in one excisting curves/Path. Like in this Image I tried (1 Forum): Now I hoped that Affinity Designer would now recognize 2 different closed form in one existing path. I selected the fill tool, tried to hover it to the closed form on the right side, but instead of filling this closed form with a color, it does this (2 Forum): why? I hoped thos would speed up my workflow, but it seems like I still have to make 2 different paths in order for Affinity Designer to recognize 2 different closed form. Would be nice if Affinity Designer could recognize several closed form in one path! Does anyone have a workflow to this (workaround). I hoped to use the pathfinder tool much less (does AD also call it the pathfinder tool?) Oh, by the way, the isometric advanced tool is sooo awesome...good work serif
-
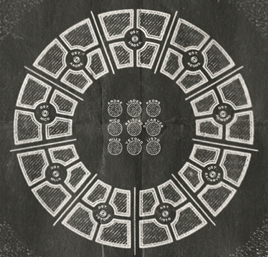
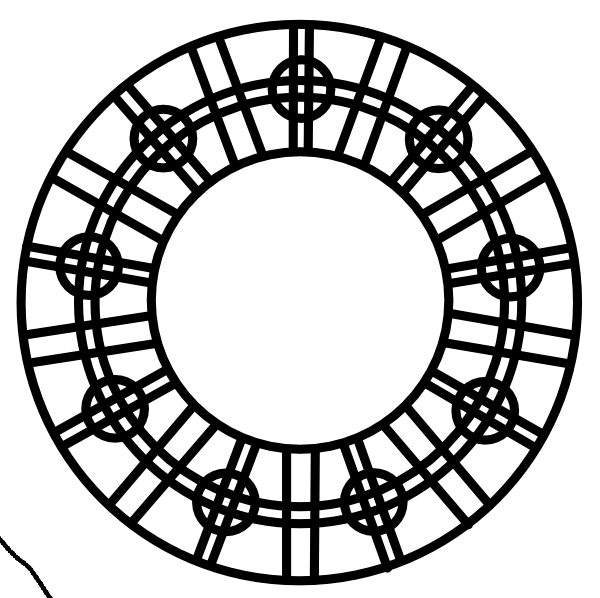
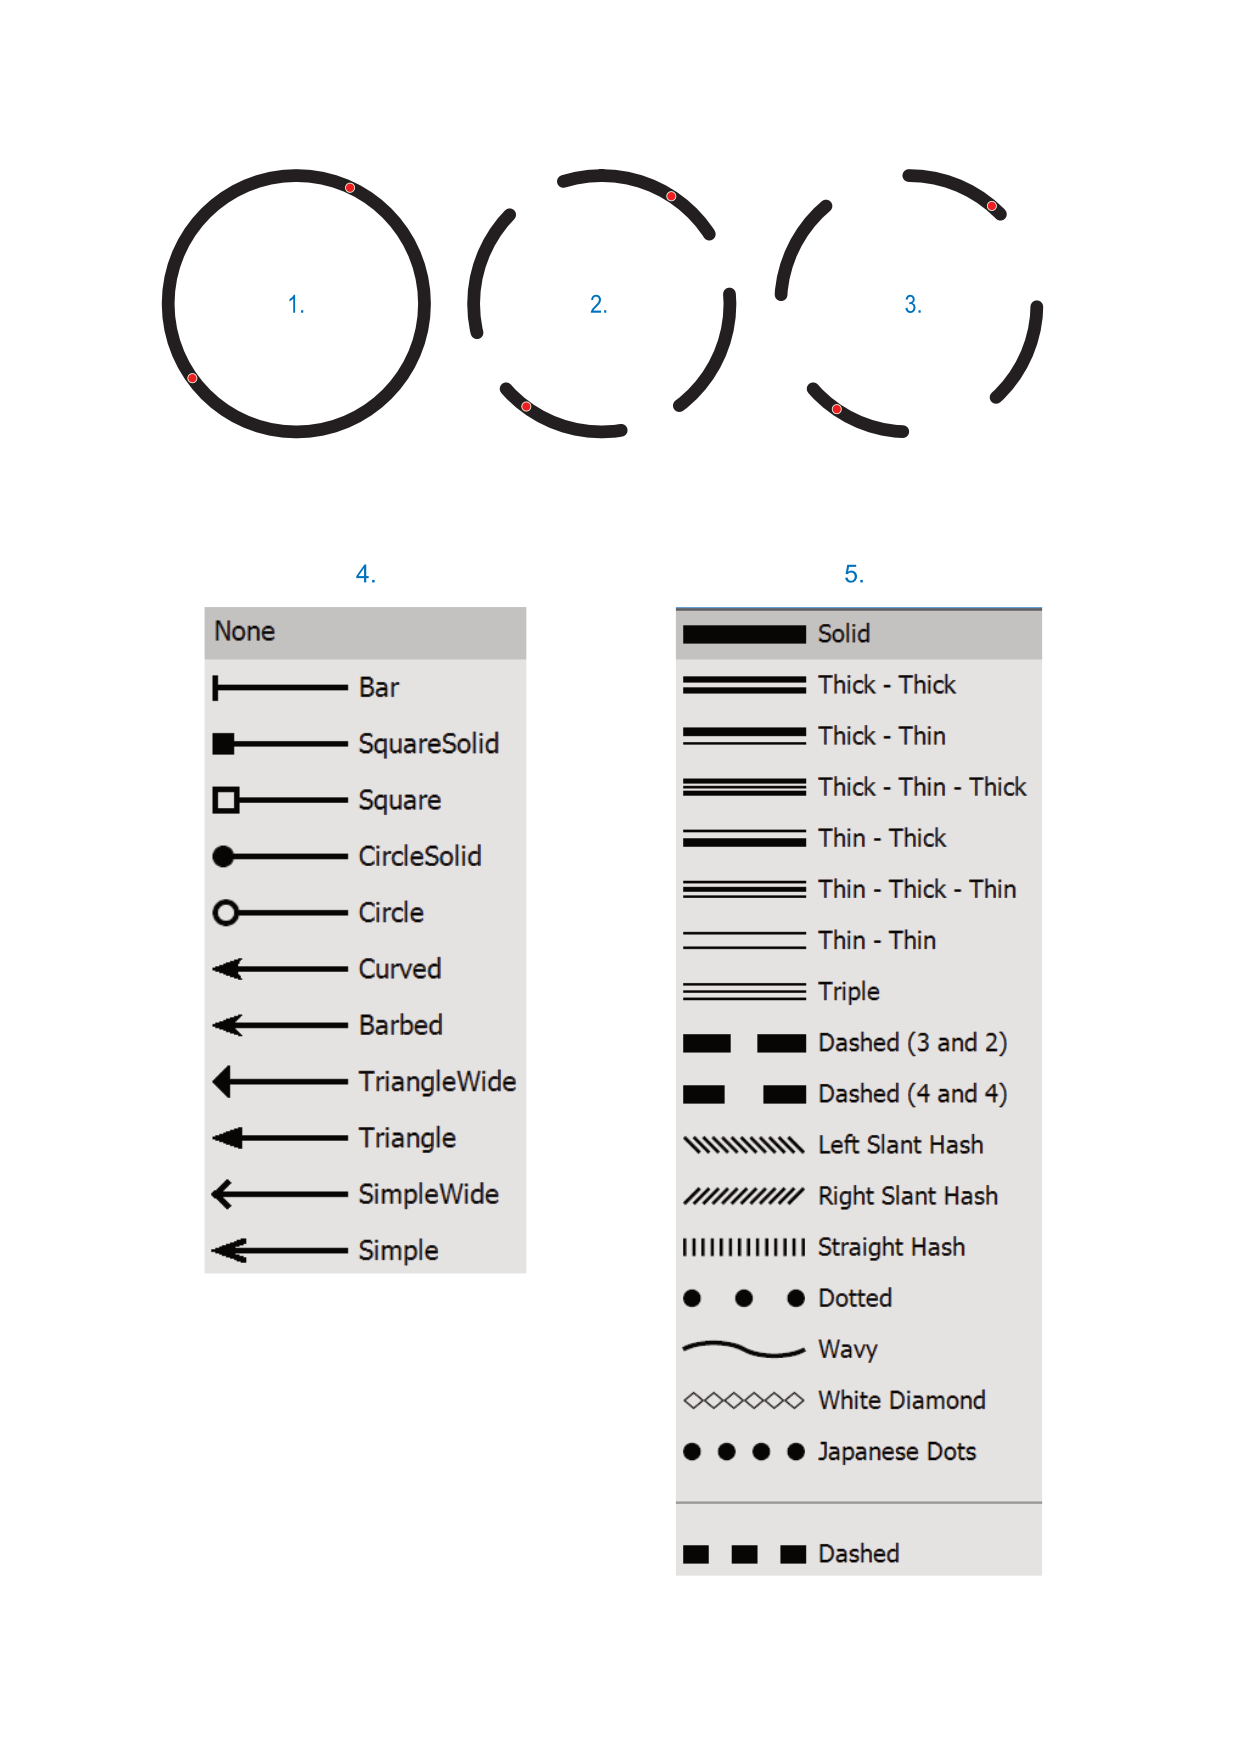
 I am trying to recreate the basic shape shown in photo 1 in affinity photo (photo 2 is my attempt). I figured the easiest way would be to use the circle tool and pen tool and then cut out the excess lines afterward. The problem is I can't figure out how to remove the unwanted lines. If you know how to do this, help would be greatly appreciated. Thanks.
-
I created this cute little penguin character in Designer. He started out as some basic shapes and I converted them to curves and added them together. Then I tweaked the resulting shape to create his body.
-
 Is there an equivalent to Adobe Illustrator's shaper tool I can use to quickly cut off excess elements of overlapping shapes? In Illustrator, once accessed using the shortcut shift + m, it can be used to quickly cut and combine selected shapes. (I have attached a video demonstrating the feature) Since this tool was pretty handy in quickly creating new shapes out of a bunch of others, it would be stoked to learn if something similar exists within Affinity Designer! Thanks in advance. PS: I am new to the forum and forums in general, so let me know if I may have posted this the wrong way Shaper Tool Demonstration.mov
 -
 Hi, please, add comtrol points to the "Rectangle" and "Elipse" shapes to get even more control. Beside rounding corners on the rectangle with a control point (no need of extra "rounded rectangle" tool) we could do the following: draw any kind of shape; make any number of segments with additional control point; control the length of the segments with another control point; now we can convert to curve this object and add different types of arrows (when they will be available) on the each end of the curve (or on the both) and/or; we can apply any type of stroke (whey they will be available, of course) not only of this kind of curves, but on the lines too.
-
 I'm doing some Digital speed painting in Photo and I developed a workaround for the lack of a custom shapes tool like the one in Photoshop. I Lay out my rough sketch and colors in Photo, then I go to File > Edit in Designer, where I have set up some categories in the Assets Panel for my custom shapes. I have to place a few of my textures and shapes into the canvas and then I have to go back to File > Edit in Photo. Once I'm back in Photo I can use the Mesh Warp Tool to warp the textures how I want them. My request is to have the Assets panel in Photo also so I don't have to jump back and forth. That way I can add and warp all in the same program. Sometimes once I start to warp the textures I notice that I forgot something and I have to jump back over to Designer just to grab a single texture, then back to Photo to warp. For speed painting, it's a pretty big step to add to the workflow. If the Assets Panel is added to Photo, I don't think that there will be a need for a Custom Shapes Tool.
 -
 Simple tutorial showing how you can create a vector compass using simple shapes.
-
- 1
-

-
- affinity designer
- compass
- (and 1 more)
-
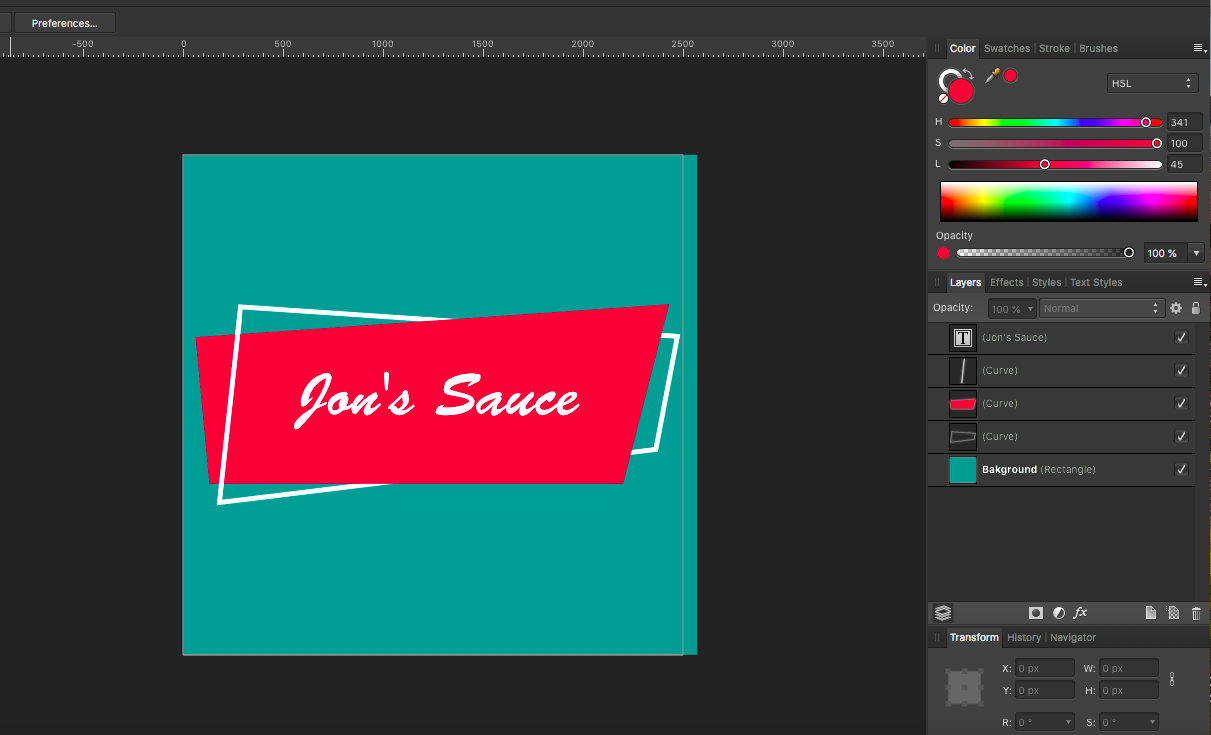
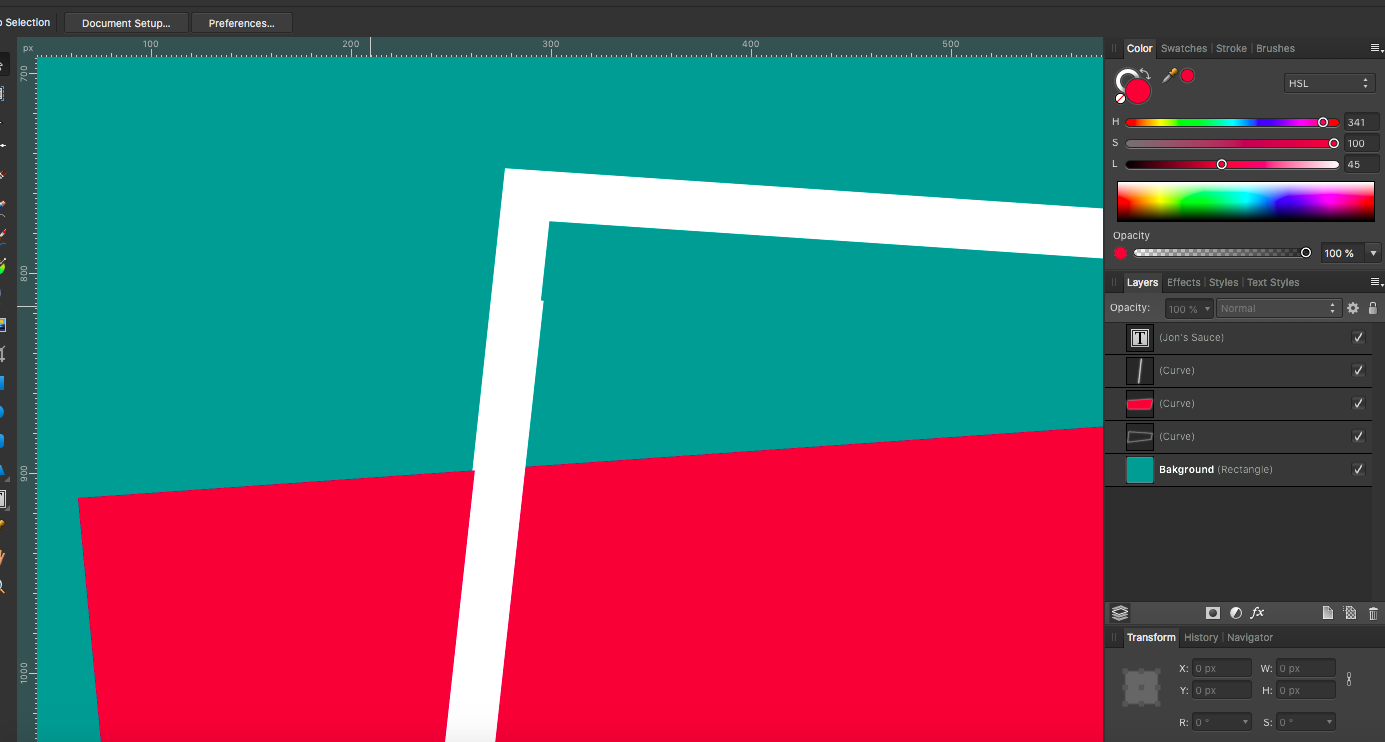
 Hey guys, I am trying to create a logo wherein the background of the logo contains a label shape that is made of two intertwined shapes. The solid shape is both in front of the outlined shape as well as behind it (see attached photos). Question: Is there an easy to create this look using just two shapes or will I have two use a line to complete appearance of intertwined shapes? Thanks!
-
Hi, only in Designer Beta, rectangular shape together with rounded corner rectangular and elipse are not included in "Shapes". There is also no "cat" shape in Photo Beta and Publisher Beta.
-
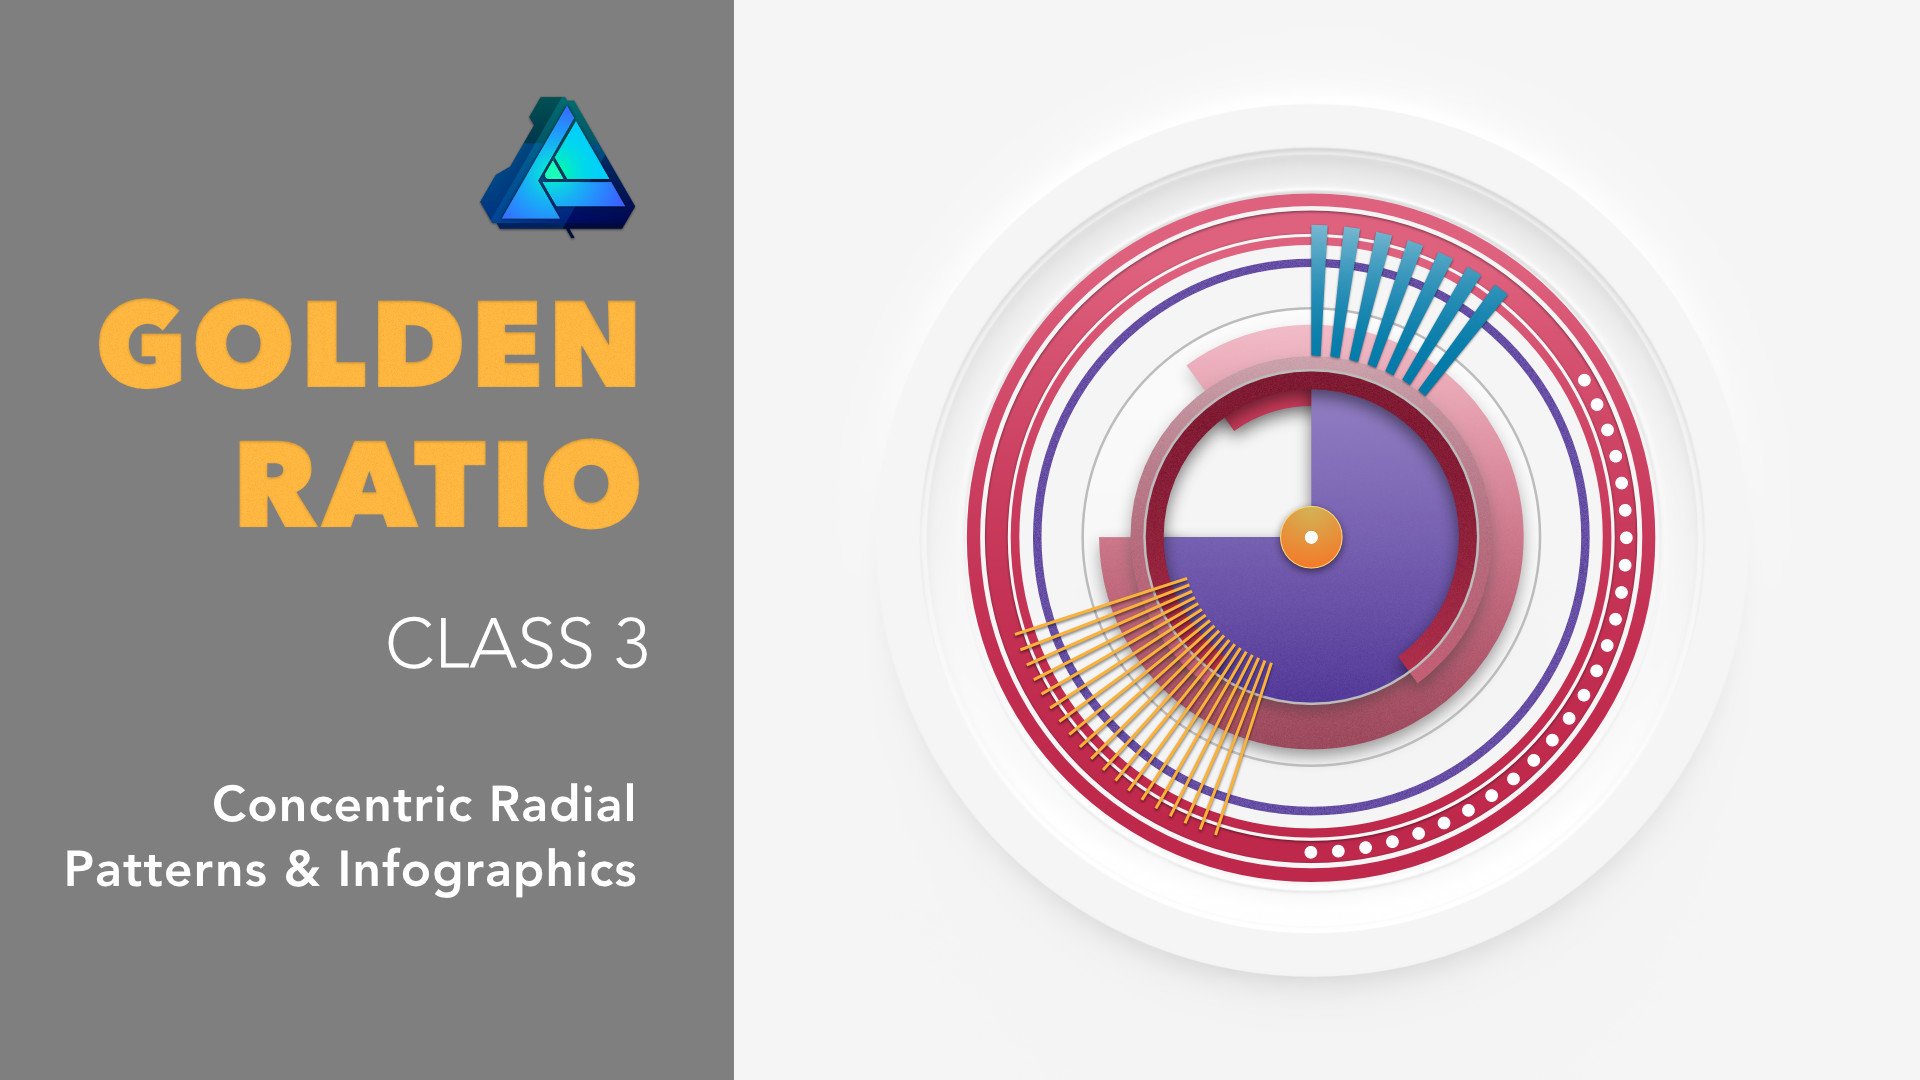
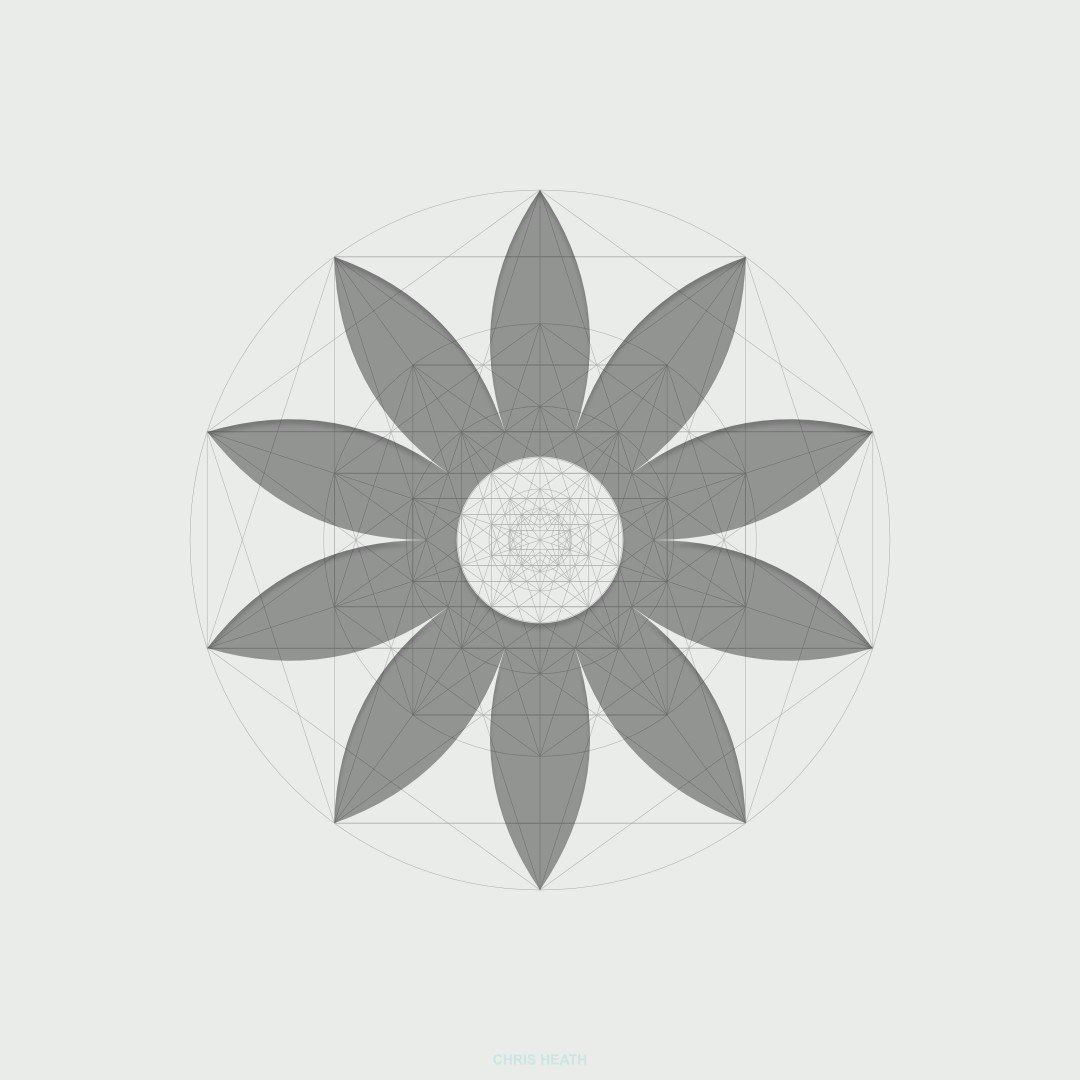
 Designed to help you create balanced asymmetric designs and patterns, the third class in the Golden Ratio series has just been released on Skillshare. Note: Permission to use the Affinity Designer logo has been obtained. Premium Link: If you already have a Skillshare Premium account, use this link: skl.sh/2D0QUPx If you want to sign up to Skillshare Premium to watch any class, use the same link skl.sh/2D0QUPx. At the time of writing, sign up and receive the first two months membership free. Cancel any time during the first two months. Free Link: Alternatively, the first ten people to use the following link will have free access to this class: skl.sh/2SrPnX1 Note: This free-access link is set to expire at the end of November 2018. With an Affinity Designer file and examples included with the class, you can get up to speed with the golden ratio and learn how easy it is to introduce a sense of harmony and cohesion to your work; no matter how simple or complex. Learning to apply the golden ratio to your work couldn’t be easier. The class is 33 minutes in duration and an Affinity Designer template file is included. To make the creation of these patterns easy, we will be exploring Affinity Designer’s Donut and Pie tools. We will also play around with the Cog tool; one of Affinity Designer's parametric shapes. The cog tool is so versatile, you’ll be wondering why you haven’t been using it. So Now There are Three Want to know more about how you can make the most of the golden ratio, check out all three classes: – Asymmetrical Drawing & Lettering with the Golden Ratio skl.sh/2JZ4h2Y – Create a Vintage Style Logo from Concentric Circles and the Golden Ratio skl.sh/2P7B08J – Concentric Radial Patterns & Infographics with the Golden Ratio skl.sh/2D0QUPx Note: All three classes feature Affinity Designer.
- 4 replies
-
- 1
-
-
- golden ratio
- skillshare
- (and 5 more)
-
 Hey, just wanted to share with you my latest tutorial on Affinity Designer. In this video you will learn how to create a nice looking flat design moon in Affinity Designer. Hope you'll find it useful! Click here to view the tutorial
 -
 what i'm thinking is another slider on the stroke modal window that controls how much the stroke is offset. on closed curves it would read outwards on one side and inwards on the other, or something like that, and i'm not sure for open curves, but it would be leftwards along the normal vector when moved to the left and rightwards when moved to the right.
-
In Affinity Designer on iPad, is there such a tool that allows one to trim curves to other curves. For example, if I have a Donut Shape with a square shape on top of it and I want to take the tilted square shape out of the donut shape but want to leave the curves of two sides of the square intact while trimming the other two sides to the intersection of the outside and inside curves of the donut, then trim the donuts curves that fall inside the shape to the curves of the two edges of the square. In this example the Donut shape after the Trim would be a closed shape and the two lines of the square would be and open shape. If anyone is familiar to AutoCAD’s Trim tool, exactly that tools functionality but in Affinity Designer for iPad. Your help would be greatly appreciated. Thanks!
-
 Hey everyone! This is the first time I'm using the Affinity forum so I apologise if I have used it incorrectly. I have made a vector shape with a 20pt border around the edge. Is there a way to expand the vector to include the 20pt border? Thanks in advance, Matt
 -
 Hello people, I am new to Affinity Designer and have a question to which I cannot really find the answer online. Hope someone here can help me. I have attached some pictures to clarify. I want to create a baseball cap made up of 4 separate shapes made with the pen tool. This because I want to add different fill colors to each shape. Is there a way to make Affinity close the lines of each shape automatically, so it follows the exact form of the adjacent line? If not, how would you go about it? Regards, Marlon
-
 Hi all, I know this must be simple but I can't make it happen. Take a look at the screengrab. I want this texture to fill the whole group of shapes. Can anyone tell me how to do that as currently I can only get it either behind all the items in the group or inside one of the boxes. Is there a way to do what I am looking for?
-
 I can import PS brushes, can I import the shape files? I downloaded what I was told were vector files and they all turned out to be csh files. How can I use them? Thanks BTW, my other question is about text envelopes. In OLD versions of my Serif programs one thing I used a lot was the great text envelopes. Is there a way to use the shapes with text to make an envelope? Right now I am bouncing back and forth between a few programs to get the text the way I want. I would prefer to do it all in Affinity Designer if I could. thanks Sig
 -
Hi, I was trying to create a shape by overlapping a circle shape with another circle shape (the 2nd circle was only the stroke and with no fill) when I tried to crop (subtract) the first circle with the 2nd circle the program cut the shape as if there 2nd circle had a fill and ignoring it was only the stroke (see attached). I had to convert the circle in to a donut to perform this. Thanks
-
 I'm used to Serif DrawPlus, so I tried drawing arrows with the pen tool before realising that the shape tool was suitable. Unfortunately, it seems difficult to draw arrows consistently, particularly to get the arrow heads the same. So I can see that two arrows whose properties I have tried to match, don't. I know, I thought, I'll create a style! Tried that, can't see any confirmation that one has been created or any way of retrieving a saved one. Harrumph!
 -
I'd love to have a way to convert a vector line (which might not be a solid) to a shape. A good example is thickening text, but needing just the final outside shape, not a stroked line. The best case scenario for this is if the function only created the outside shape if the center is filled, or the shape is closed. Otherwise, you end up deleting a bunch of points on the inside. That's not the end of the world, but it would be great to not have to do that. In the attached example, you'd get the outer stroke of this 'T' and nothing else. (sorry if it's already possible and I missed it. I can't seem to find any way to do this) Thanks! AD is AMAZING and saves me from the hell of AI.
- 2 replies
-
- 1
-
-
- feature request
- designer
- (and 1 more)
-
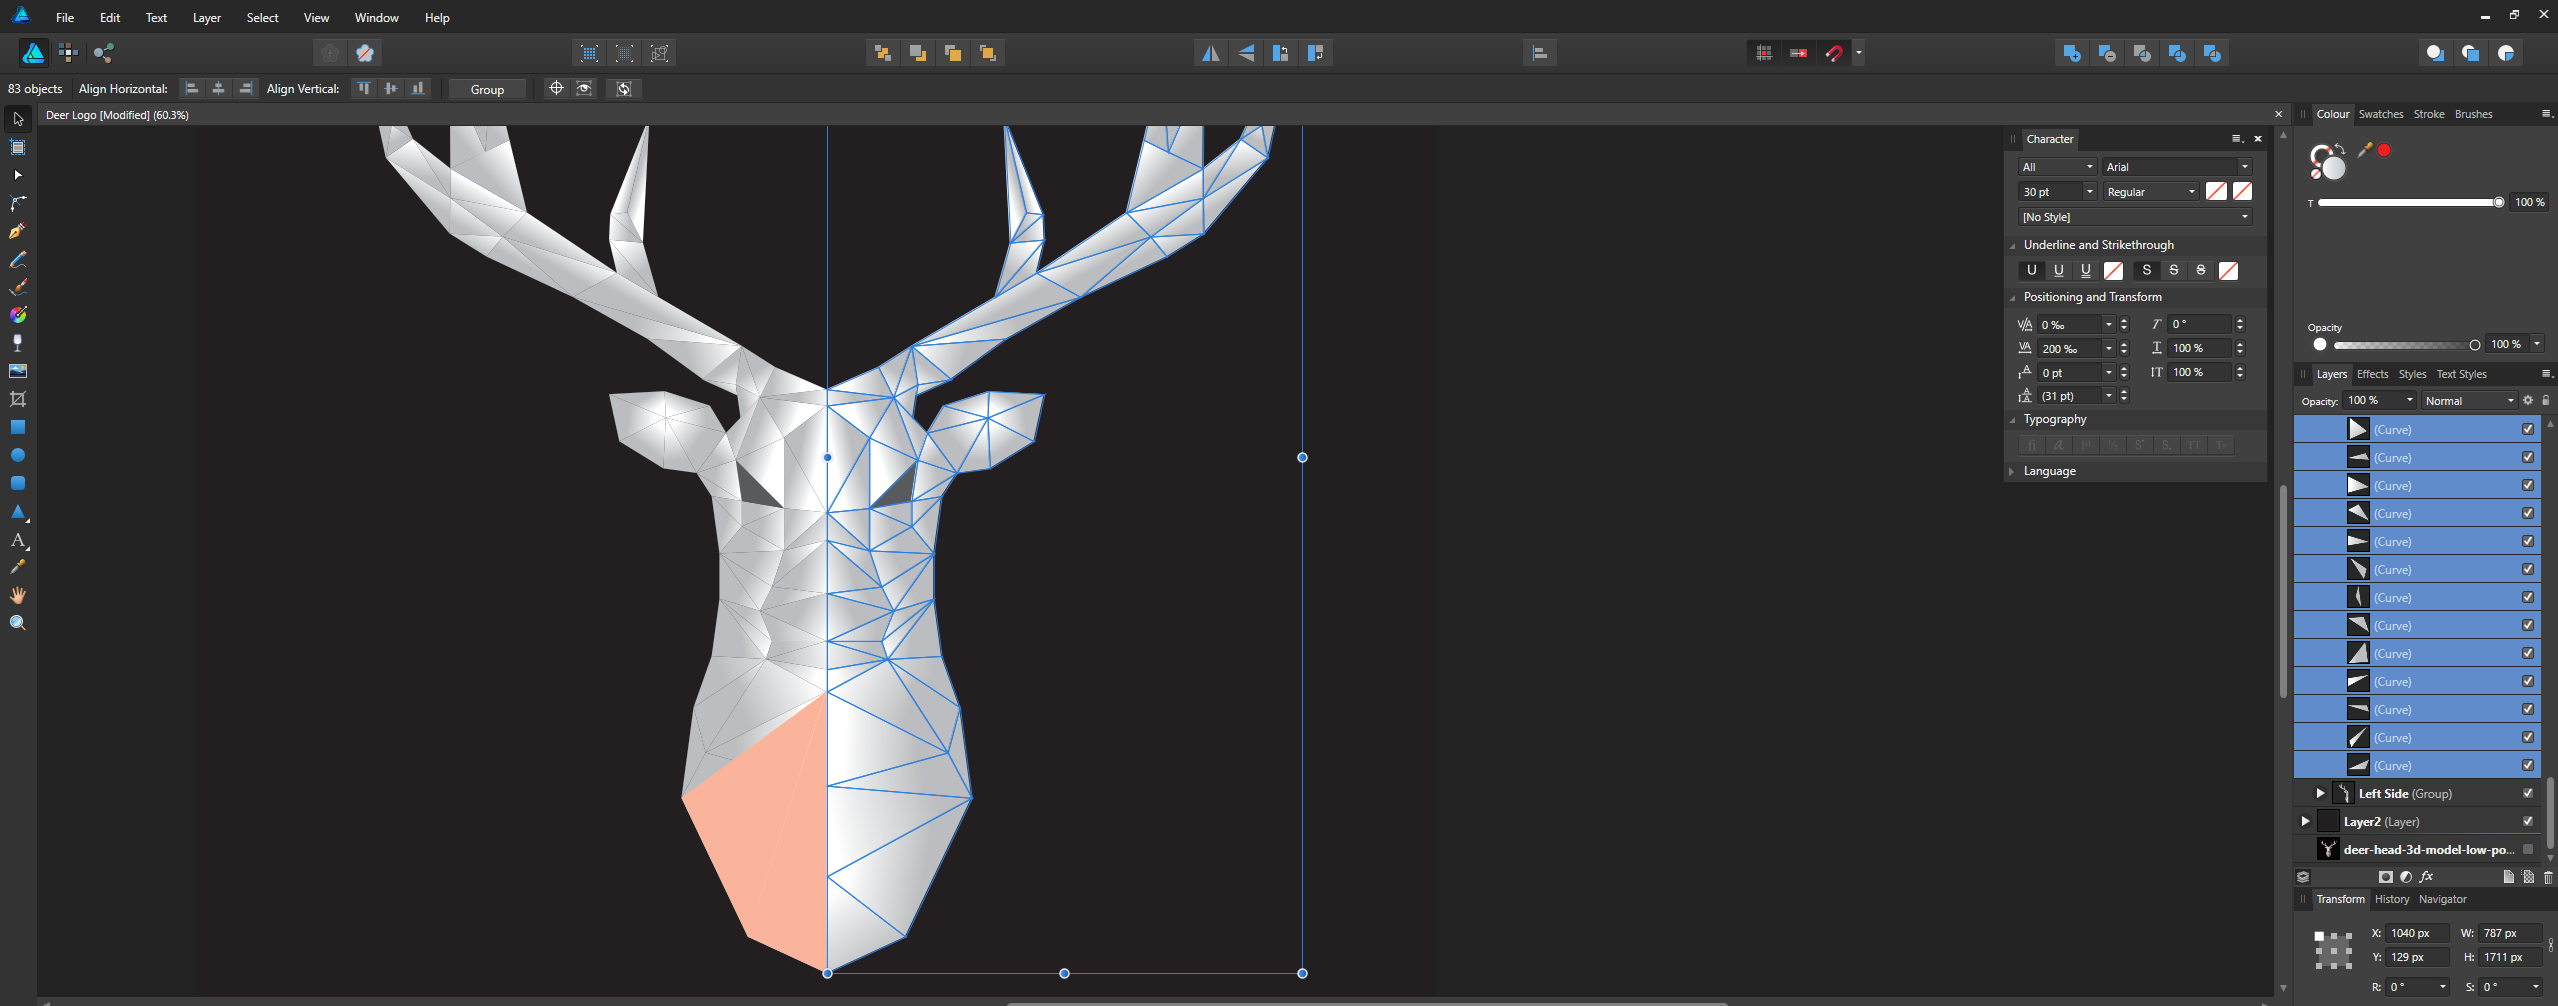
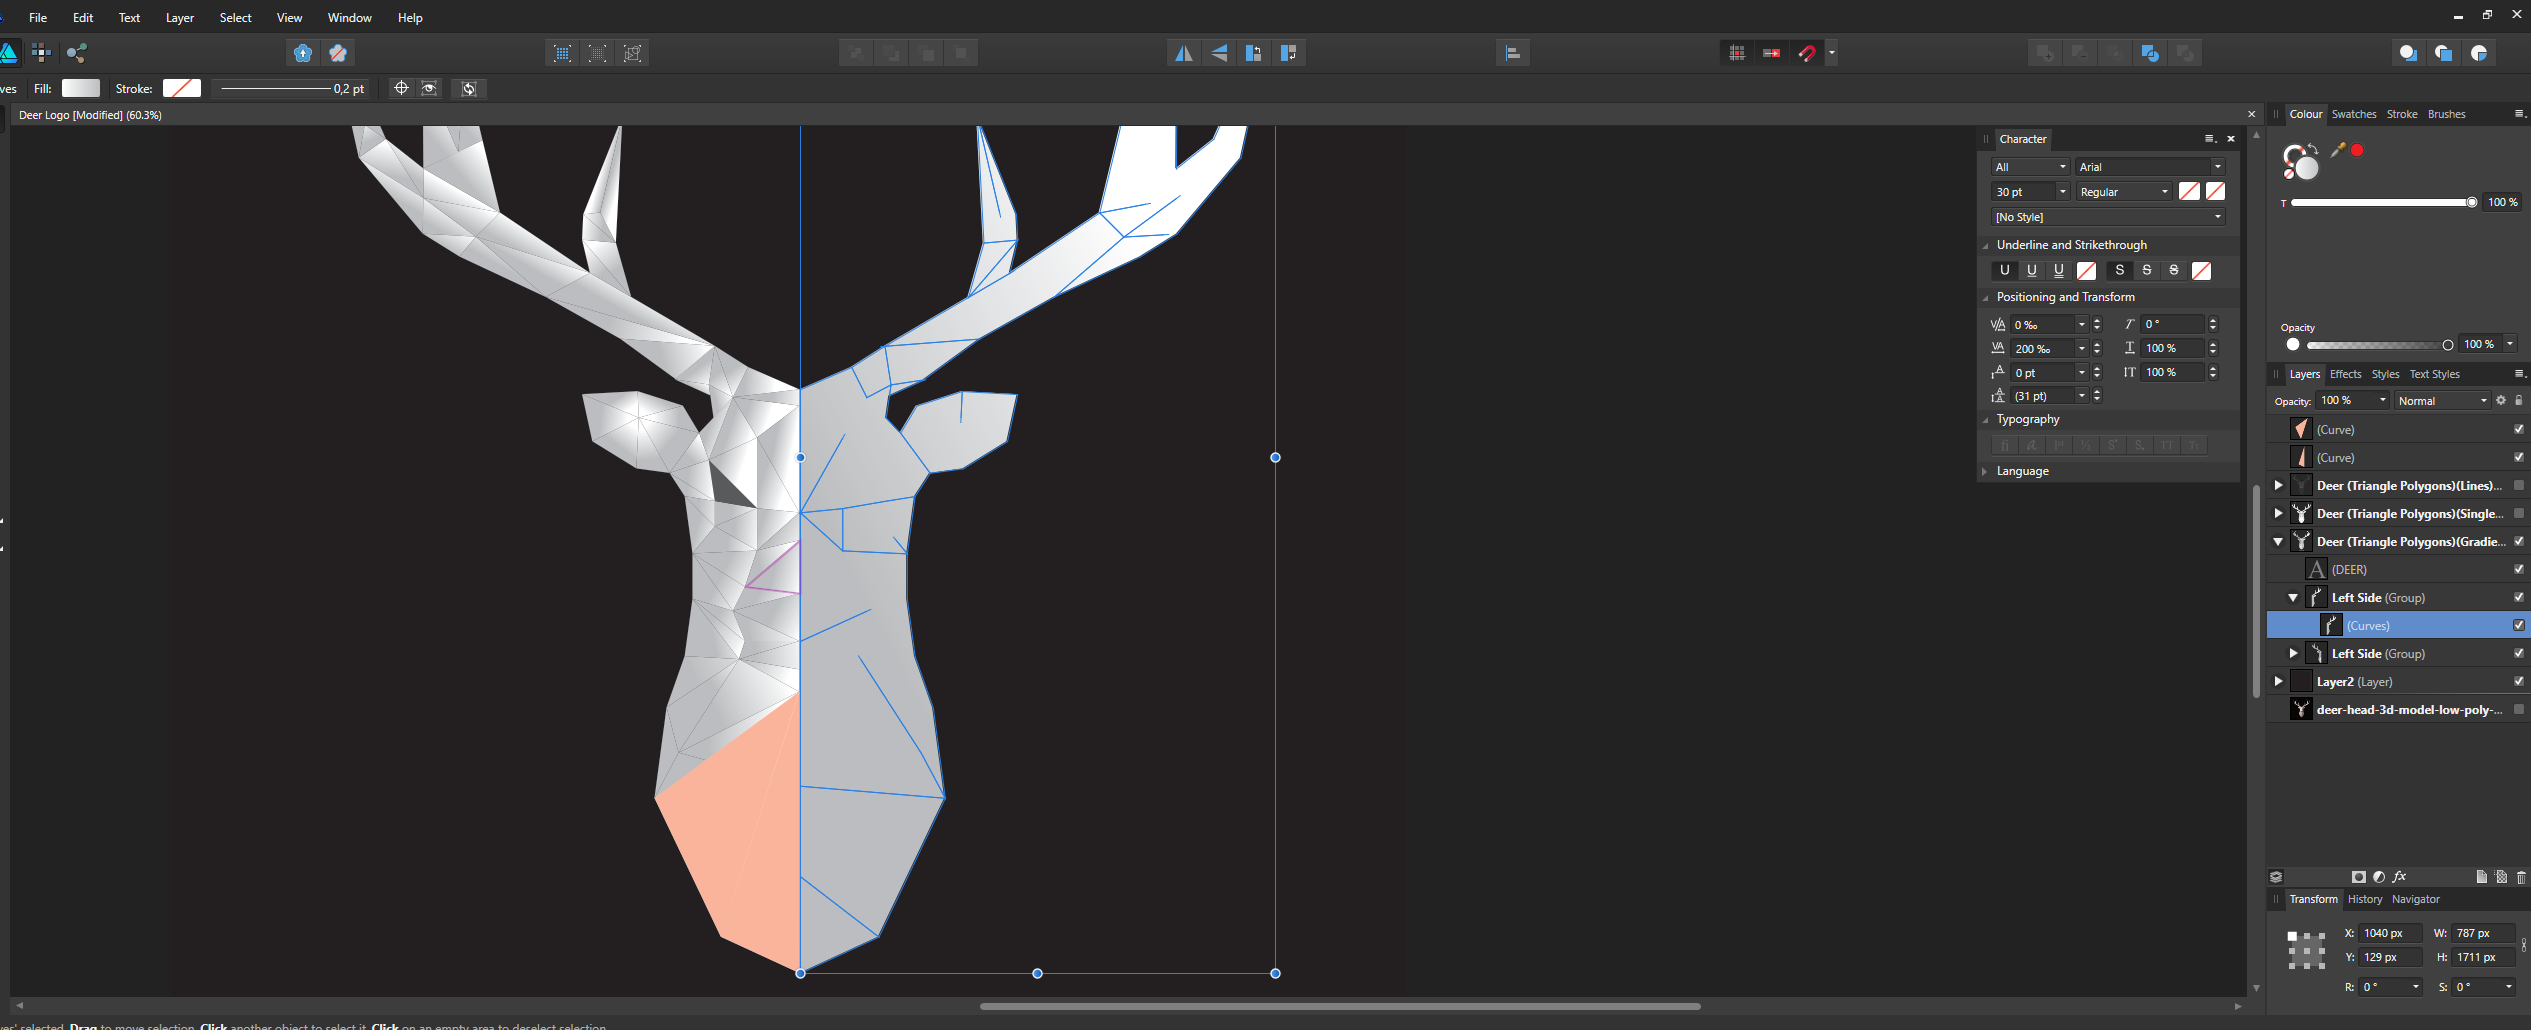
 Hello. I made abstract deer with triangles. When i try to join shapes (triangles) into one with Operations: Add I get following problem which can be seen on screenshot 2. Is there any other way to join shapes without getting problem/loosing shapes i made. Thank you in advance!
-
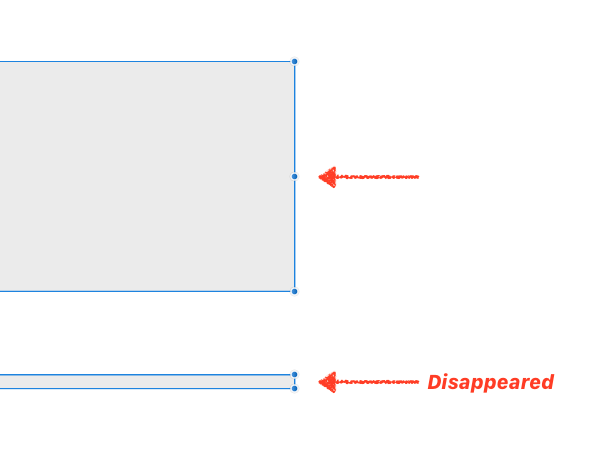
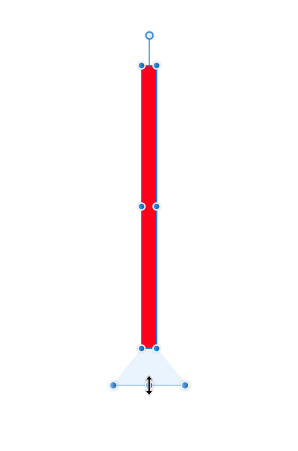
Hi everybody, I don’t know how you feel about this matter, but there is one annoying aspect when drawing shapes that become very small in one dimension, for instance, rectangles having at least one very short side. And this is the disappearing of the middle handle at small zoom levels. You will have to zoom to make this handle appear again, but by doing so, you will often lose the overview of your design. So you will have to stretch your shape a bit, zoom out, look at the entire canvas, zoom in, make further adjustments, zoom out … well, this is somewhat annoying. So what about adding “smart shape handles” that would provide a solution to this problem? I imagine them working like so: when the middle handle of a shape’s bounding box disappears at a certain zoom level and you approach this bounding box with the cursor at the respective side, an additional control area, as shown in my mockup, will pop out, presenting all three handles. As long as the cursor is inside that control area, the three handles would be visible, and the area would collapse, as soon as the cursor would leave it. What do you think? Alex
-
Hey! Hope you all are doing well! First Thanks for all that you all do and are working towards! Thanks for providing the community with a great and constantly improving program. After using Affinity Designer, there are a few things from utilizing a tablet and the program that I think would benefit user experience and workflow. - Tablet Options When utilizing a tablet. Having some availability options to change and set keys with the tablets through the app would be great. Also, shape/pressure options within the application as well. I suppose more enhanced support when it comes to tablets. - Expanding stroke. When utilizing this, it seems to over compensate on the strokes causing bigger unproportioned (To the original stroke) shapes and makes it difficult to combine/merge the layers to one full layer. -Dividing shapes. When using this, If there could be an option with how many duplicates it makes. It divides and cuts out all the parts, but it does it by doubling up the parts and i end up having to shift around layers to get it to its original state to start working again. Hope this one makes sense. Ill attach examples. Again thanks for what you all do and are developing there at Serif Labs!
-
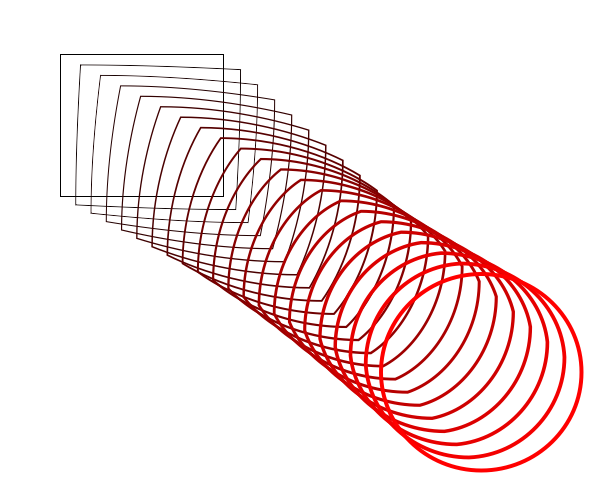
Good morning everybody, I am finding another thing that seems to be missing from Designer which I use an awful lot in CorelDRAW and which is kind worrying to me unless maybe I'm missing something. In Corel I have a blend tool. I believe Illustrator has the same thing though I don't use Illustrator. It allows me to create two objects and blend them together. This is particularly useful for creating interesting drop shadows and so on. Is there really no way to do this in Designer? I'm attaching a screenshot to show you what I mean. Corel allows me to choose which aspects of each object interact with one another. Hopefully there is some way of doing this or it will be added as it seems like a very important tool to me. Thanks very much and let me know! Phil
- 111 replies
-
- 23
-