Search the Community
Showing results for tags 'scissors'.
Found 4 results
-
 Oh I miss the knife tool or scissors so much. So I draw a simple vertical line with the pen tool. How can I cut out a portion so that I end up with two parts a a tiny space between them?
 -
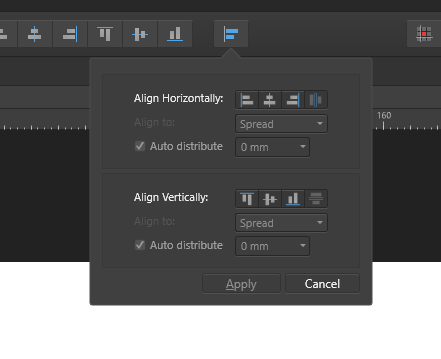
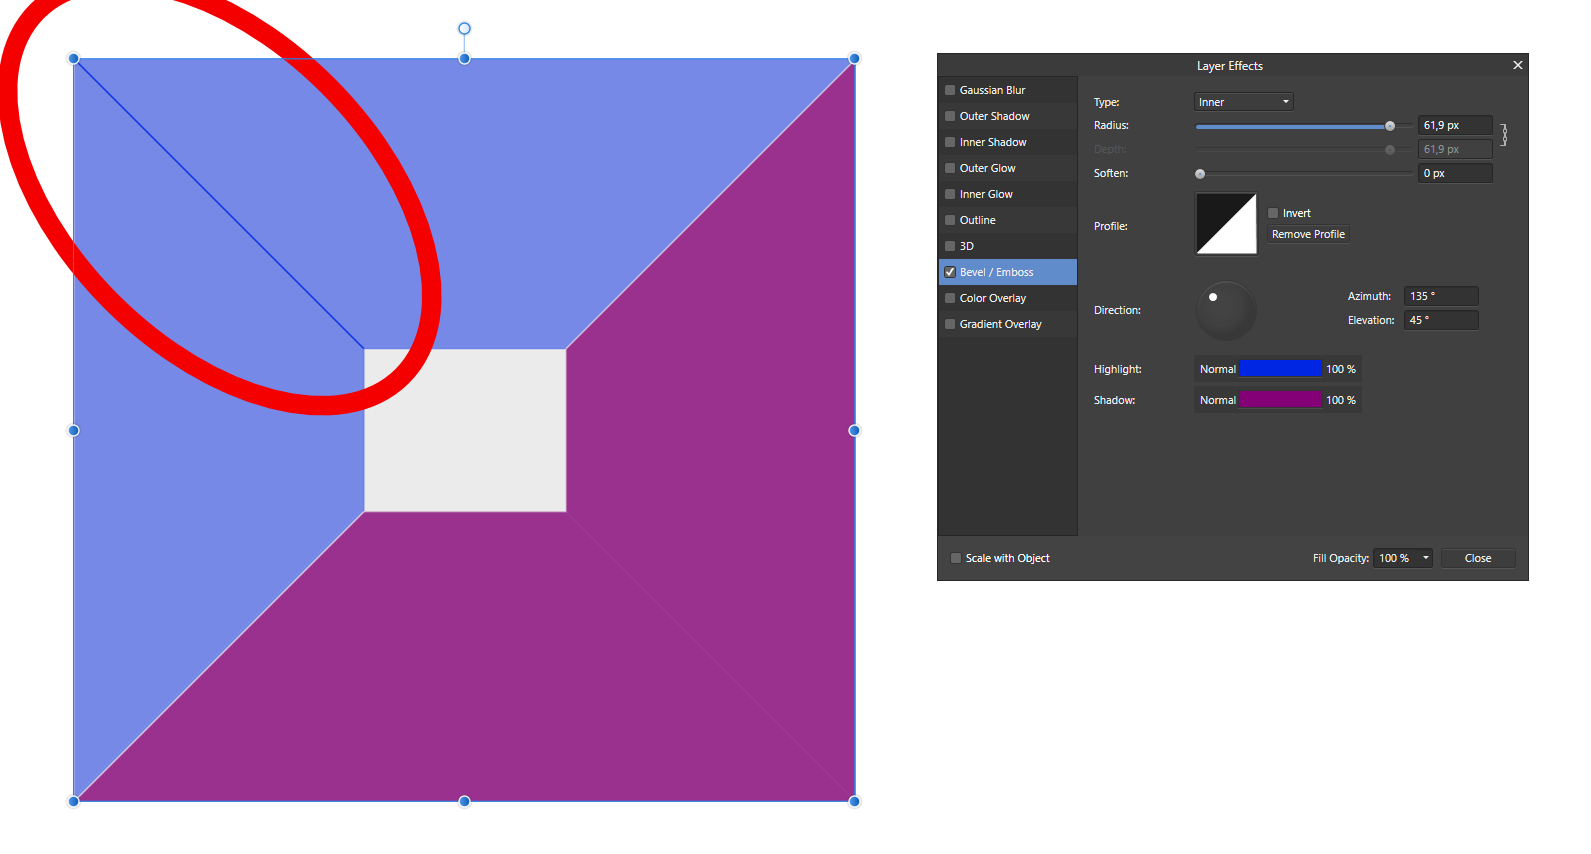
 Bug 1: Embedding a document into another one and rotating it doesn't rotate the light sources. Reported this for the previous version already, original report: Bug 2: Aligning to masked object behaves differently from aligning to masked curve I reported this here already: Bug 3: Alignment drop down menu can not be moved to a panel Feature Request: Alignment drop down menu can not be moved to a panel Bug 3: Copying the style of one object to another changes the settings. Steps to reproduce: a) create a rectangle, size doesn't matter b) right click it -> Layer effects -> "Bevel/Emboss" -> slide the radius to "20px", other settings do not matter. -> apply style with "close" c) select the rectangle and press CTRL+C to copy it to clipboard. d) create a 2nd rectangle of different size (make it much bigger to have a more visible effect) e) press CTRL+SHIFT+V to paste the small rectangles style f) check the settings of the new rectangle: right click -> Layer effects -> "Bevel/Emboss". The radius is now something totally different from the original "20px". This bug also happens to other layer effects and the "Scale with object" setting does not have an impact. Fun fact: If the 2nd rectangle is created by copying the 2st rectangle right after step (a), then resizing it and going through the rest of the steps (that means adding some layer effects to the 1st rectangle, selecting it, CTRL+C, selecting the 2nd rectangle, CTRL+SHIFT+V), the layer effects stay in tact! That's super weird to me! Bug 4: Weird rendering artifact for sharp Bevel Applying a sharp bevel/emboss with a 45deg angel light source (that's not too uncommon ... 🙄) causes a weird dark line on the edge. It should not be there, it should all be uniform. Same for the white line on the opposite side. Final notes. Ok, that's the bugs I found so far. Oh and any news on a vector envelope/perpective/distort or scissors tool? I'm just asking for a friend ... Naja, non the less I like seeing you guys working to improve the software. Keep it up.
-
 Hi, I saw a video on Youtube about a work around to "scissor off" a part of a picture in AD (similar to using the knife tool in DrawPlus), but the video was too fast for me to follow hos to do it. It appeared that you could draw a curve a cross a shape and the use deivide operations to cut it into two independent shapes. But when I attempt to do that, the program invariably closes the corve I draw which deforms the cutting in an undesirable way. Can somenone explain to me how to do it?Thanking you in advance, Örjan
 -
 Hi, I am looking for scissors to cut or open a segment like on Illustrator. Thanks for help.