Search the Community
Showing results for tags 'restoration'.
Found 10 results
-
So I've been dropped in at the deep end and I'm a little out of my comfort zone! Being the family "graphics" person I must be good at this, no? 😂 I've been given the task of scanning photos and negatives which cover the last 70 years - around 1000. They are both colour and B&W, and of various types, sizes and condition. I've searched the forums on here and elsewhere and although there are really good snippets for specific restorations I can't find anyone describing a general workflow. I'm specifically looking for the order that things should be done and the rationale. For example, one tut said do the dust and scratch removal as a late/last step but my scanner has ICE and that does a pretty good job at that point early on in the workflow. Some of the photos are in good shape and will only need a little colour correction or B&W point adjustment, others are in poor shape and will need lots of work. Does anyone know of any tutorials, blog posts or documentation, especially if it uses Affinity Photo, that covers this type of workflow? TIA.
-
I took a photo restoration class a while ago. Class used photoshop, but I did all my work with Affinity Photo v1. I have a damaged image provided in the class here. I did my restoration work on it and then I tried colorizing it on my own (not an assignment for this image). I have been restoring quite a few old family photos. Some are too damaged for me to do anything with.

-
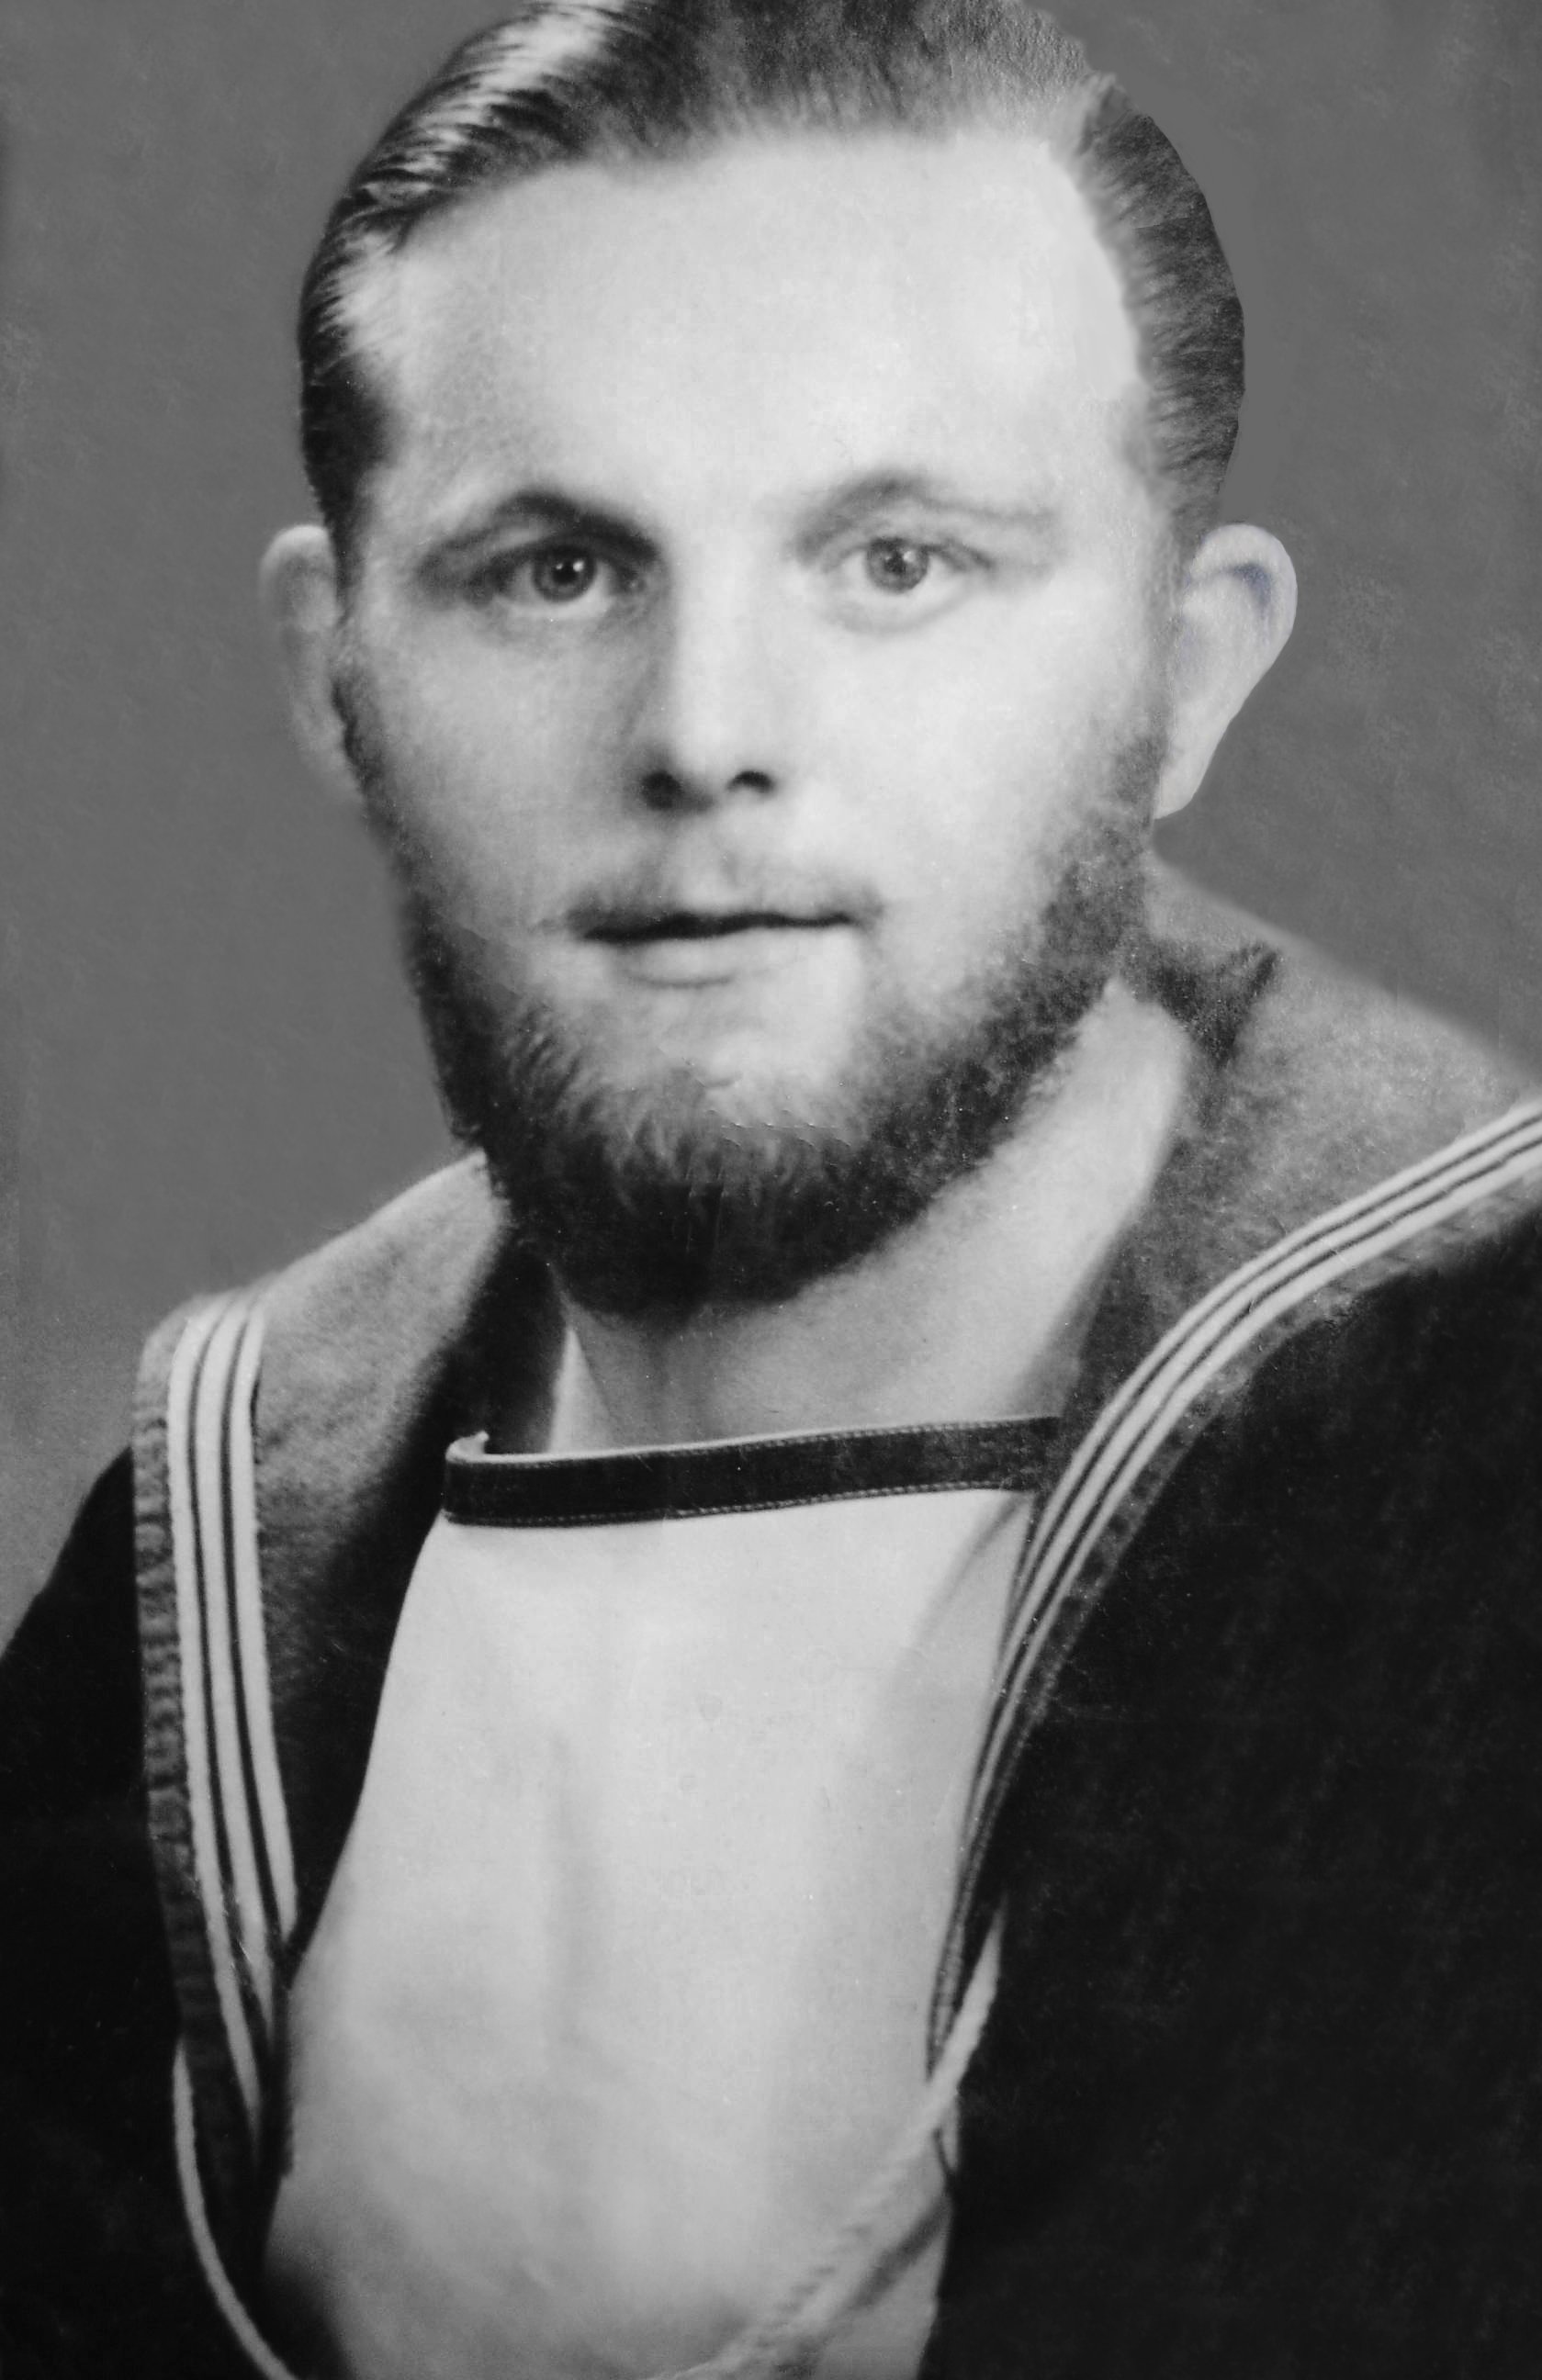
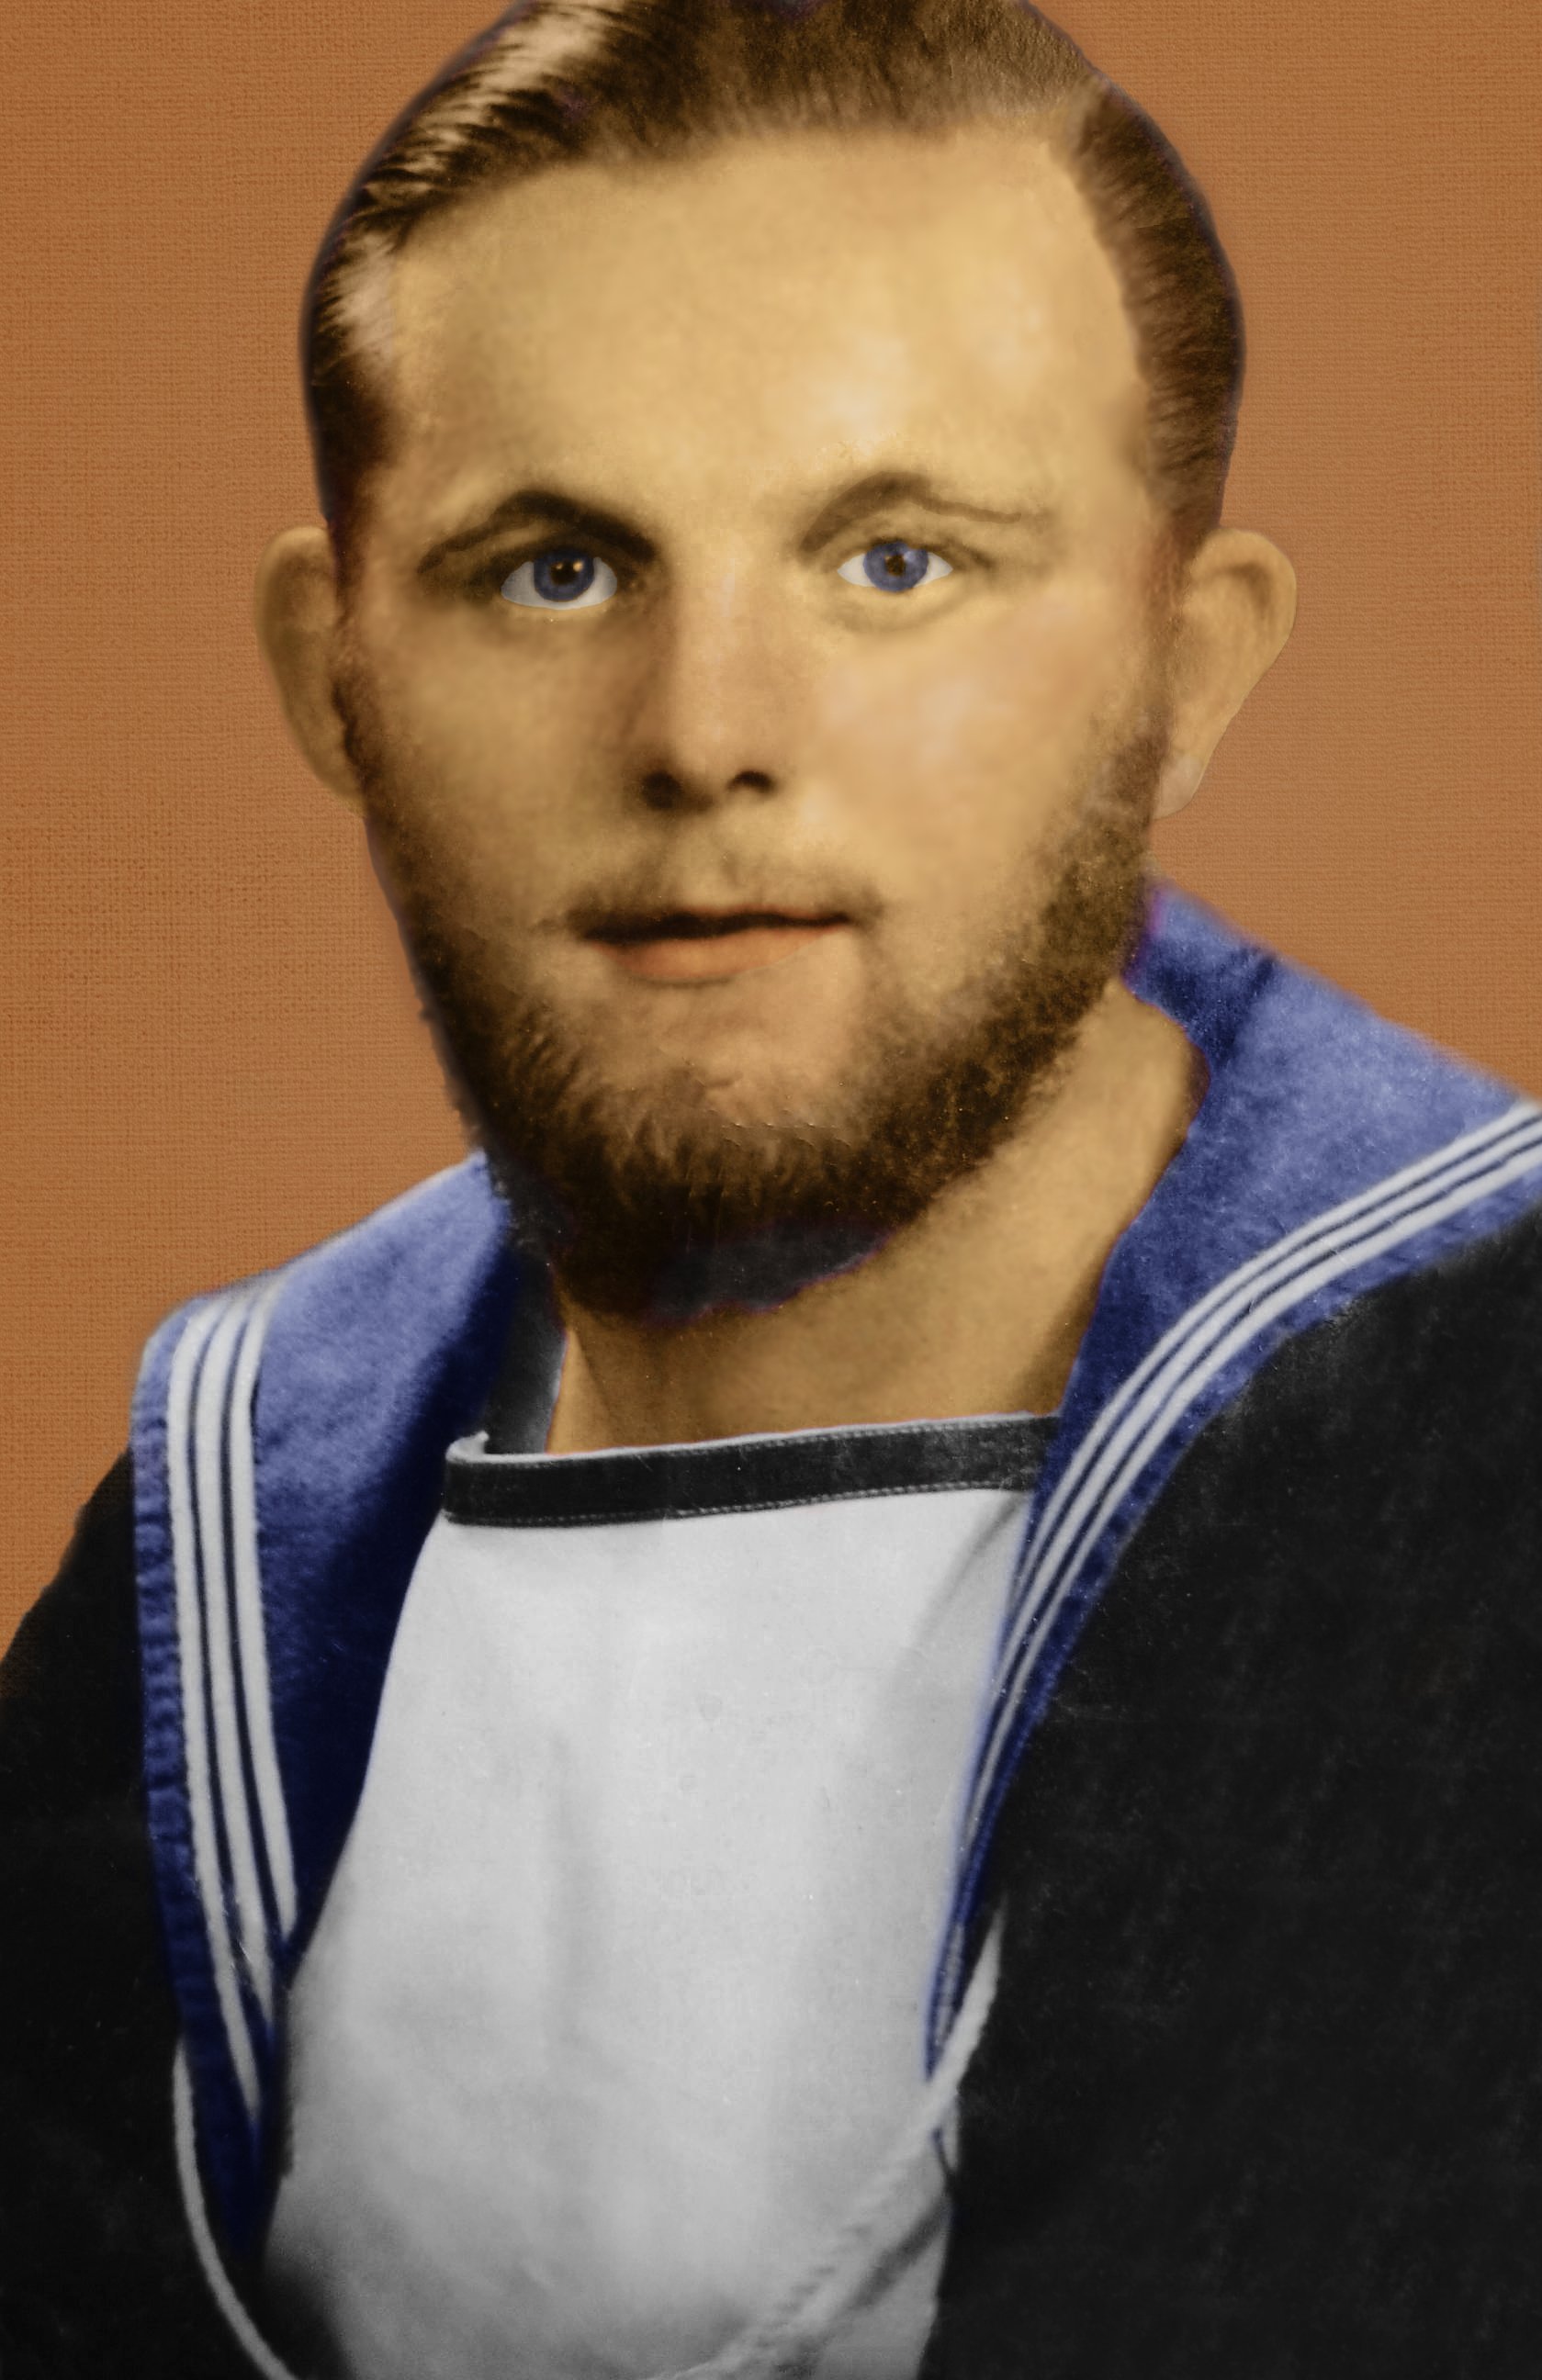
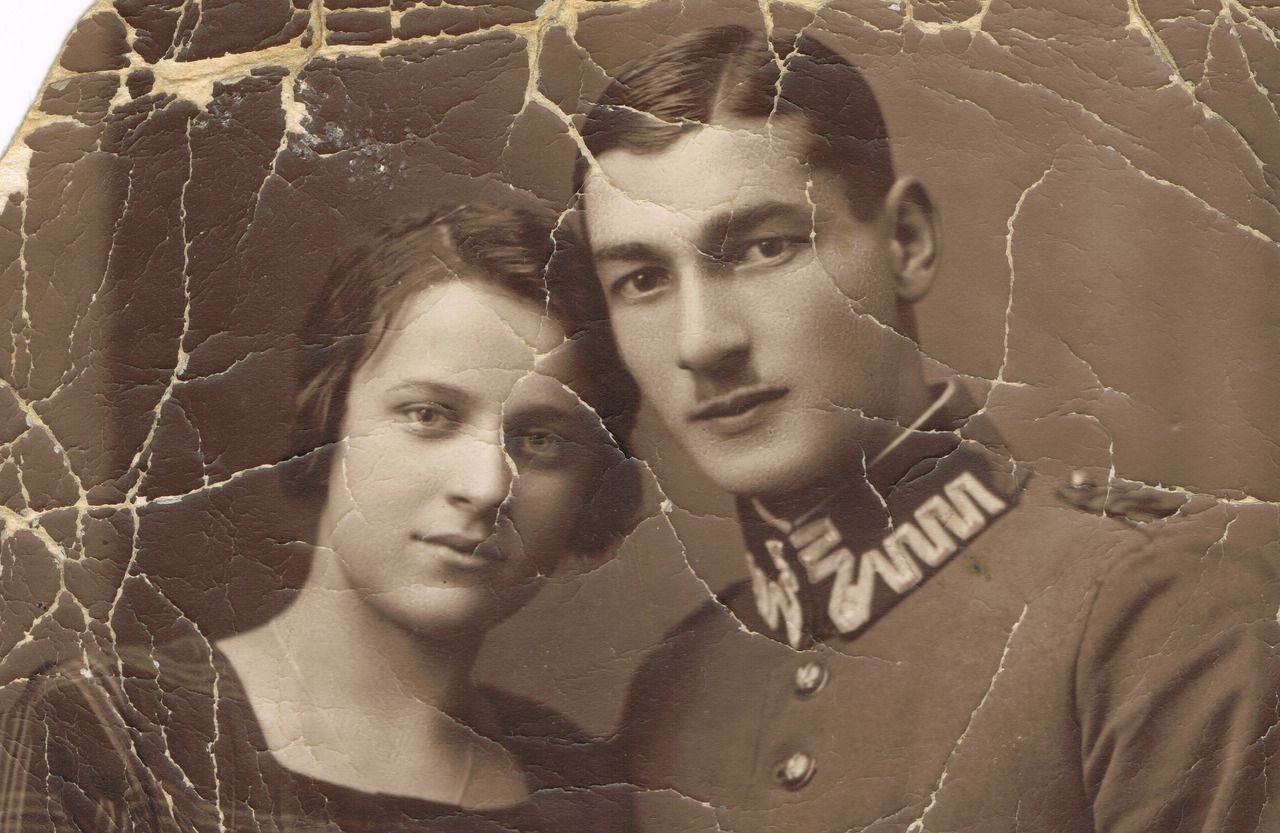
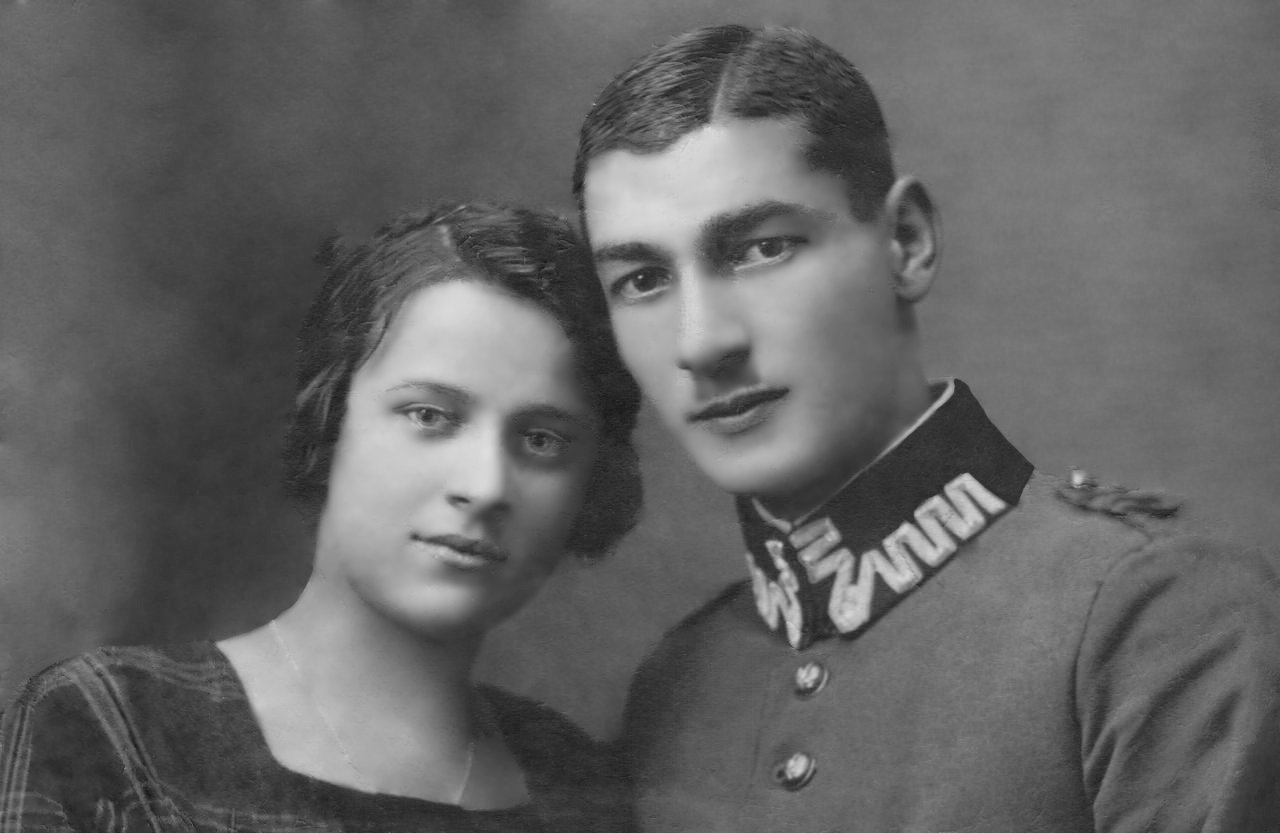
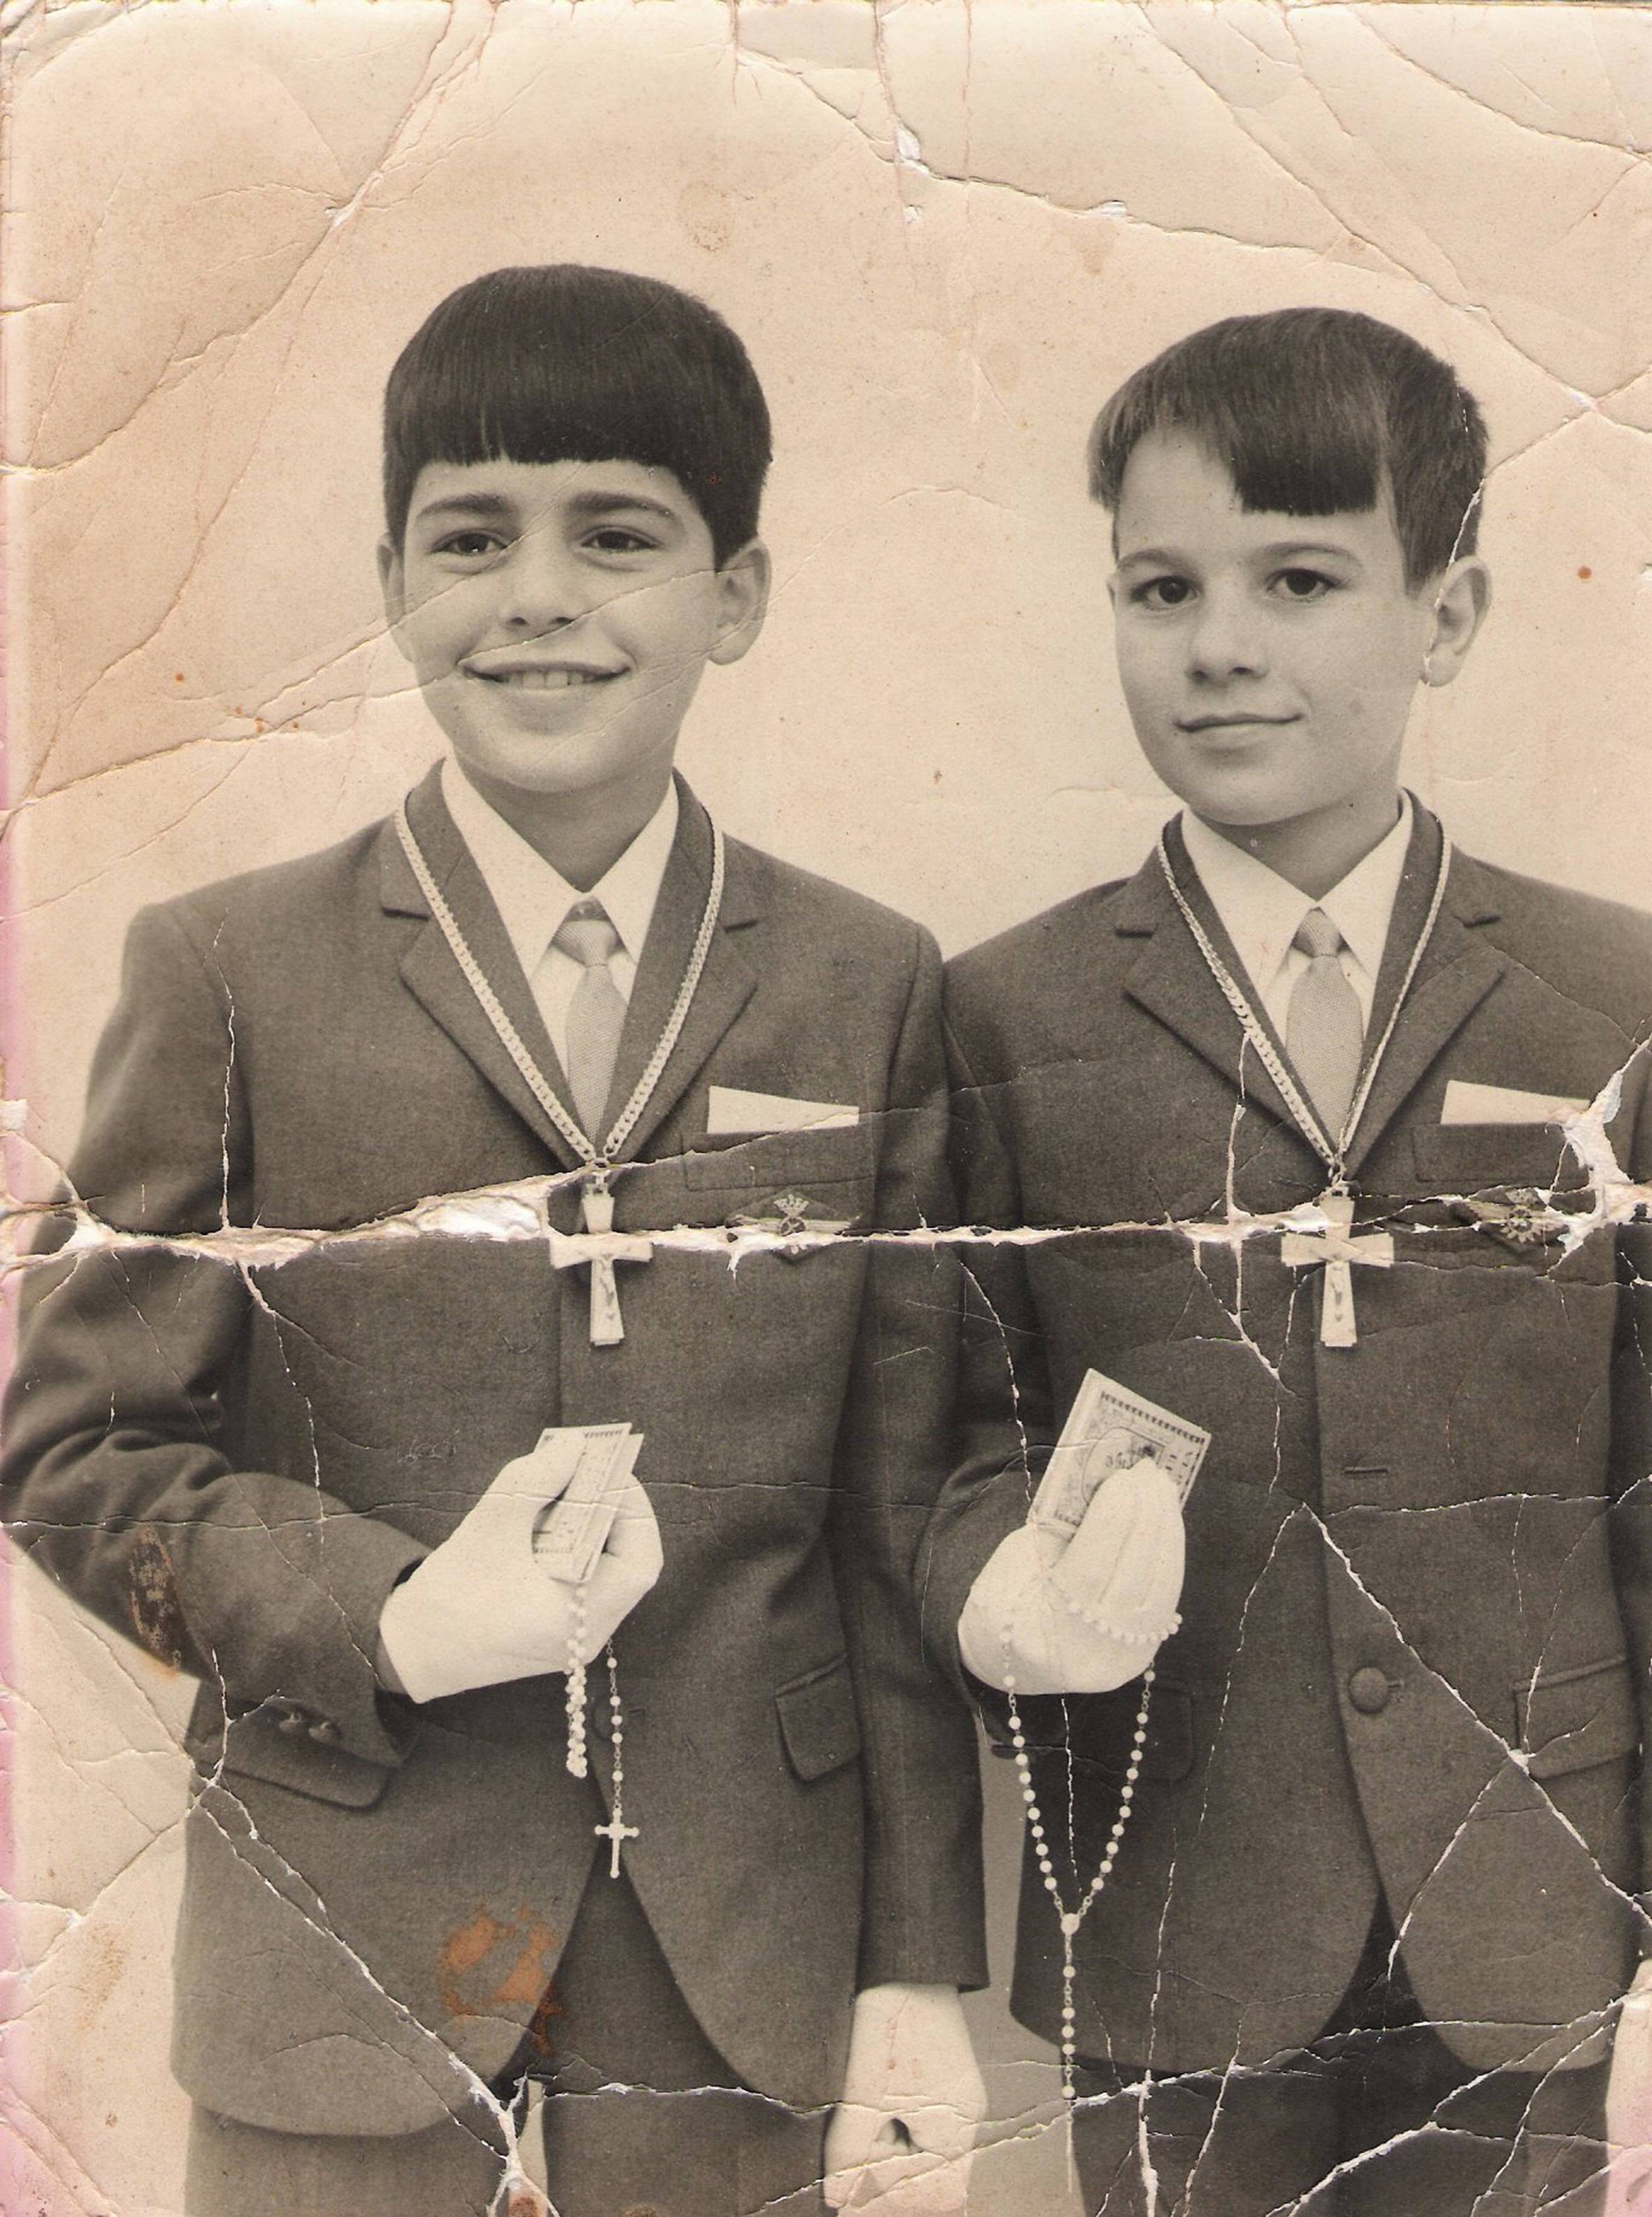
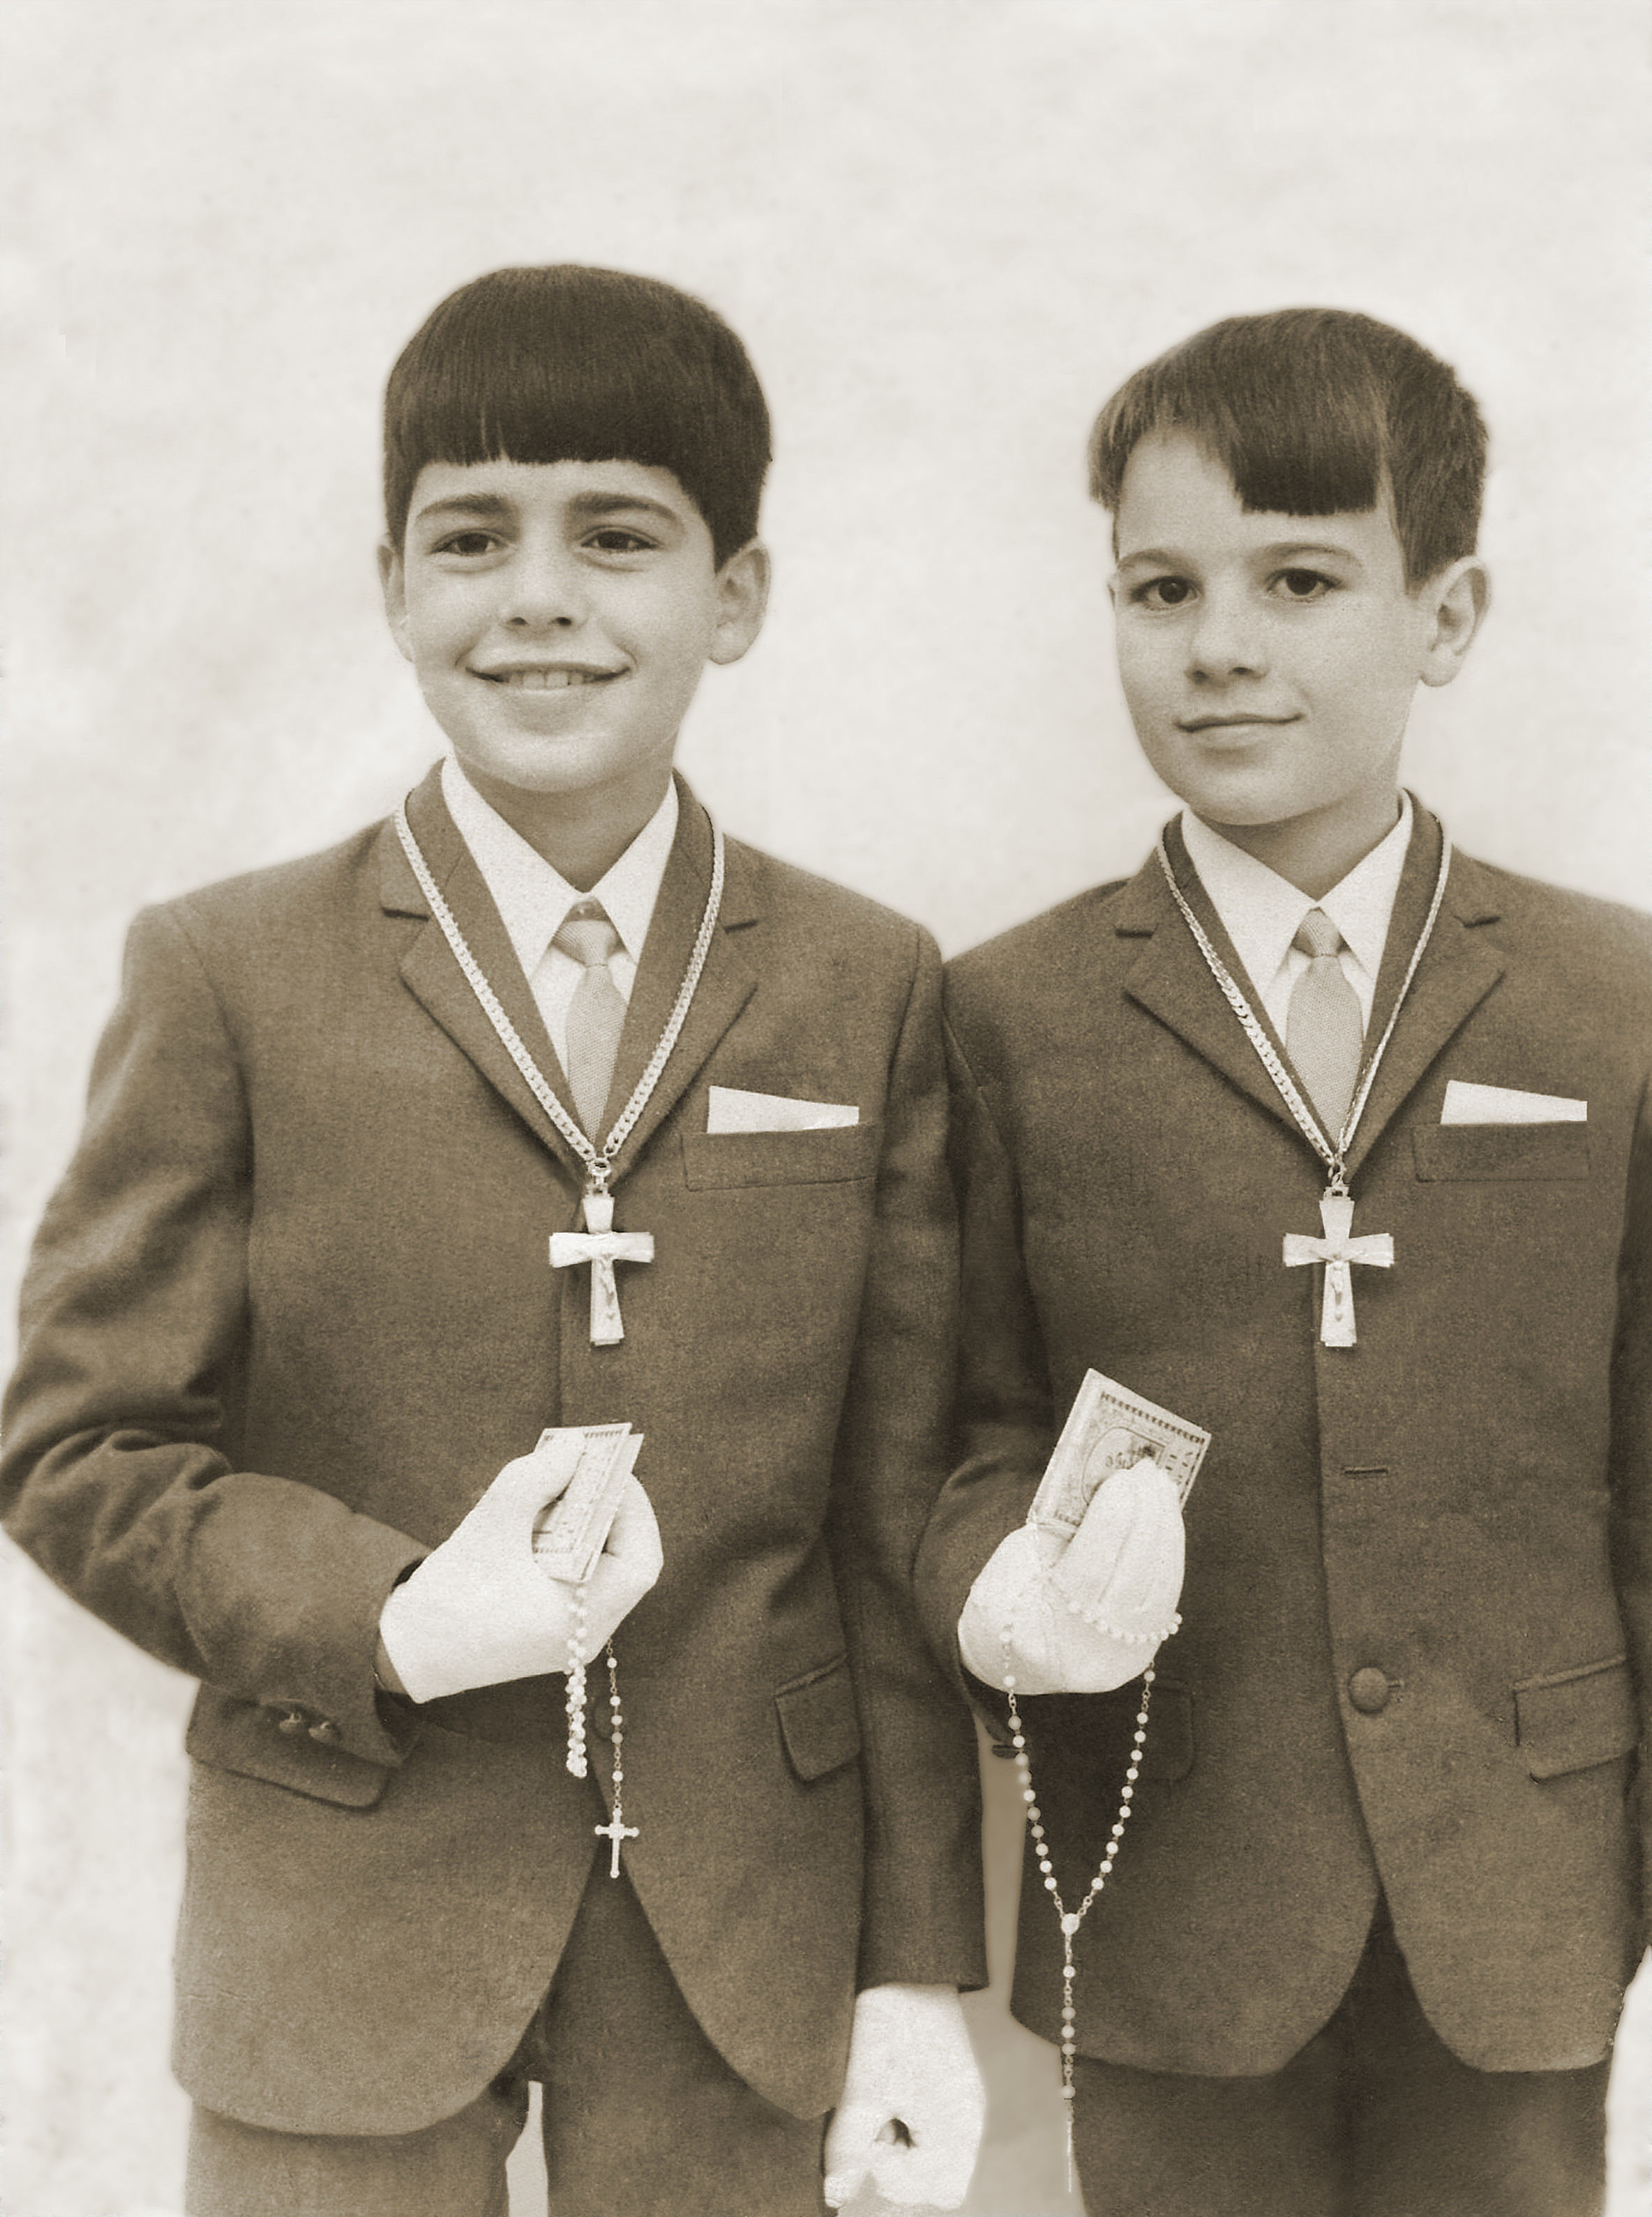
 After and before screenshot from a .TIFF scan sent to me from a photo dated 1917. Made a B&W adjustment, much Inpainting. Used the Patch Tool for a missing ear, missing shoe, part of a missing chin, and a coat button. Dodge Tool eliminated much dark stuff in the background and on the white rectangle at the right of the image. Burn Tool darkened some parts of the uniforms so they didn't look dusty. Merge Visible with a Blend Mode of Colour (I think, unfortunately didn't write it down), to turn the still grungy greyish stuff to almost white. Exported as a .TIFF. Placed the new .TIFF as a new document. Then I used the JR Sharpening macro, Enhance Depth and Contrast, repeated that macro. Then made a Brightness/Contrast Adjustment. Much more Inpainting to get rid of about 75-100 tiny white specs of about 1-2 px each which were still on the dark uniforms. Then used the JR macro, Edge Detect Sharpening. Merge Visible. Export as a new .TIFF. Suggestions to improve this?
-
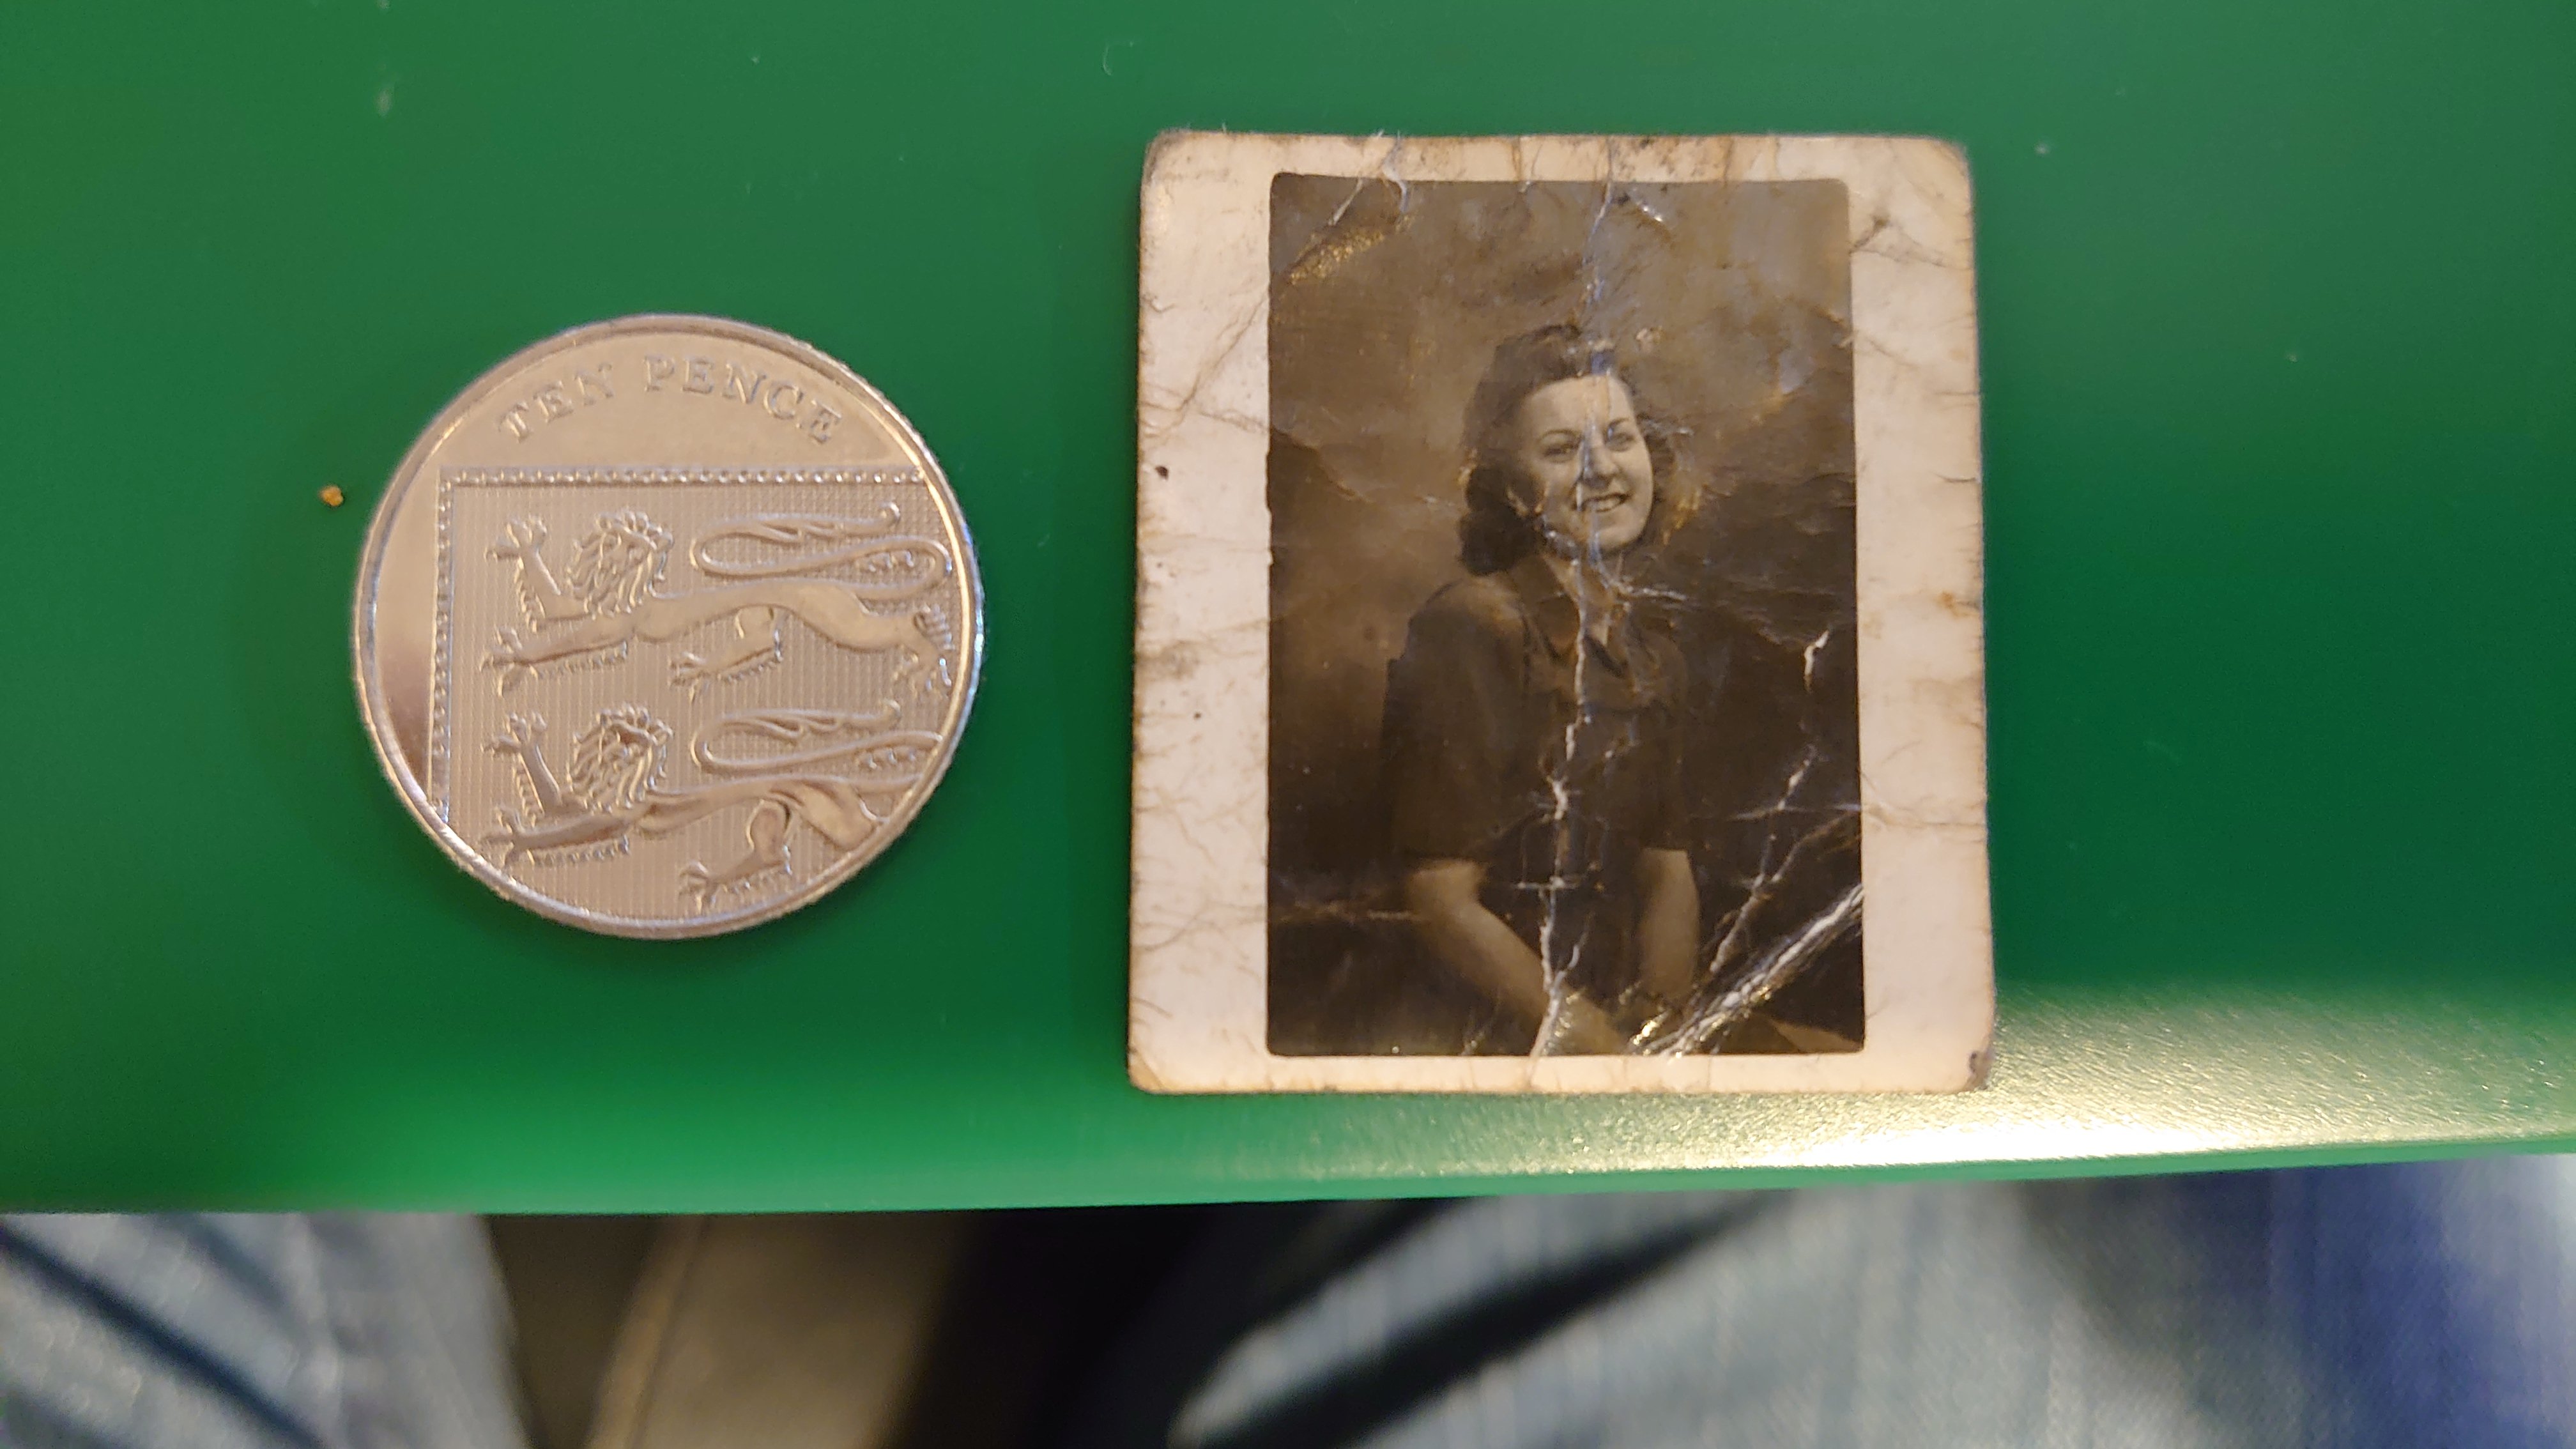
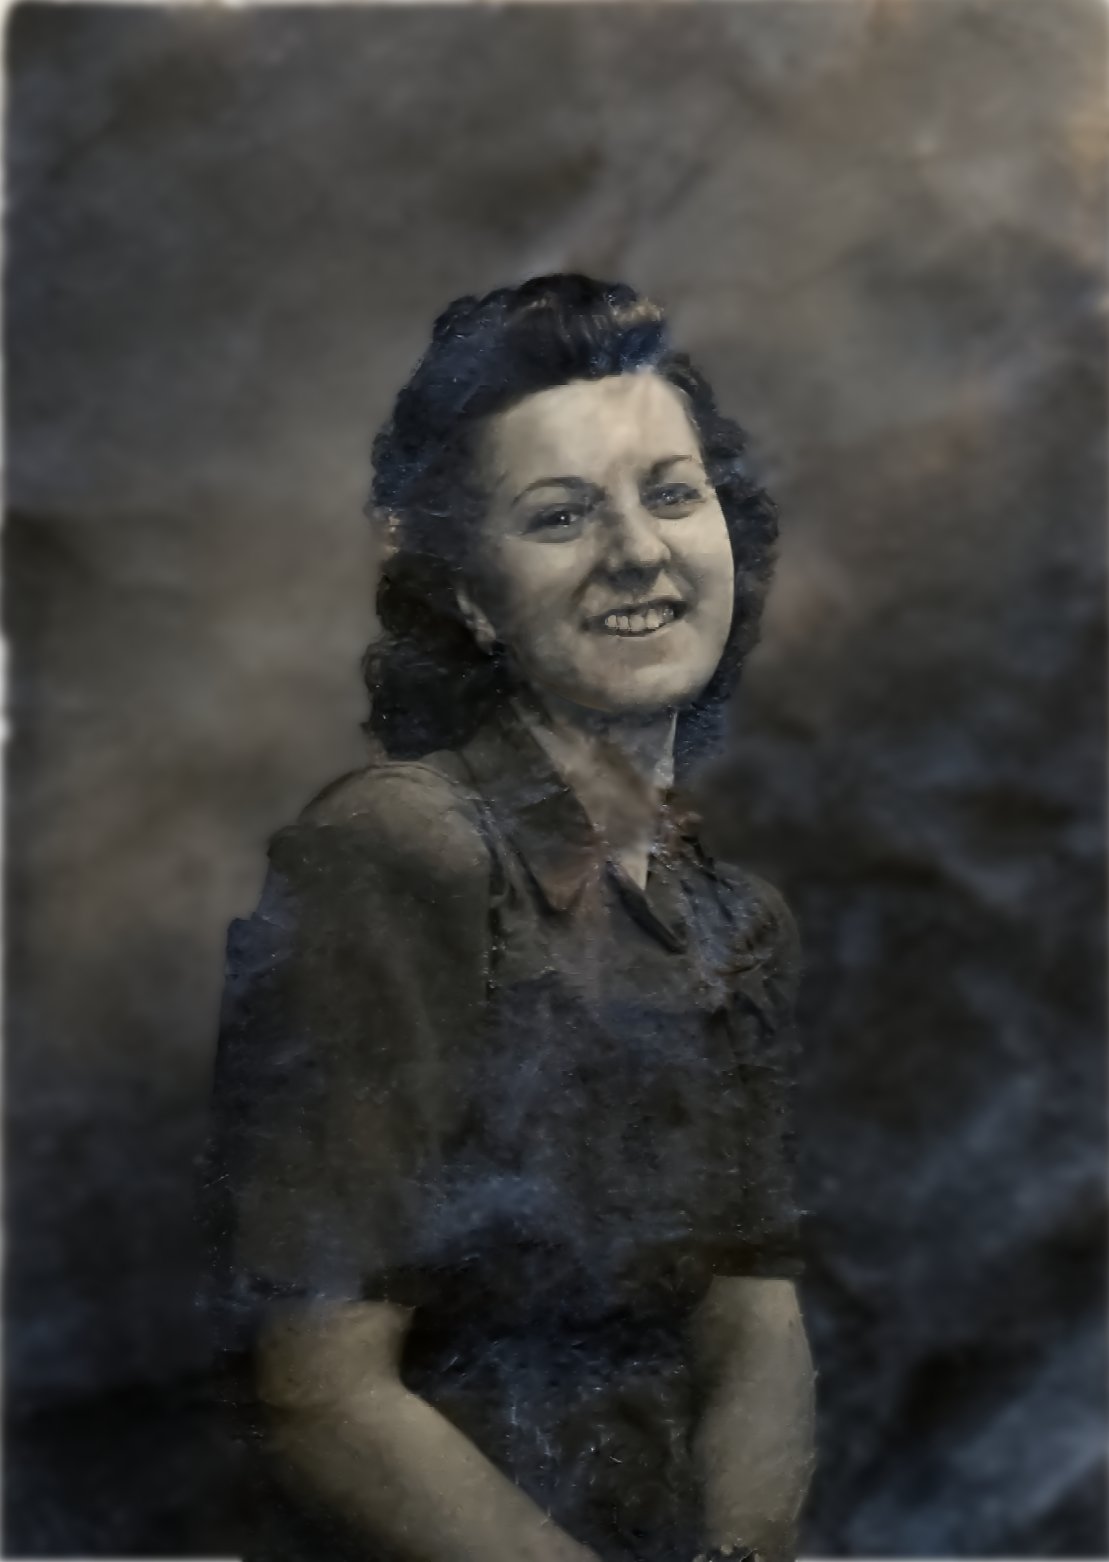
I've been working on restoring a photo of wife's late Nan. I think I haven't done to bad a job with the photo, considering its size and how bad it's damage plus I'm an absolute noob at this. I think I've reached the point where I can't really do anymore. Wish I could make her face a bit clearer. The photo is from round the mid to late 40's.
-
Ran across a youtube video using the attached photo in a photo restoration video (watched about 30 seconds and had to try it myself). I found a copy of the photo and downloaded it. The after pic took a few hours spread out over a few days (I'm back working at the furniture store 😣) so it's a little each day.. Any constructive criticism welcomed, It was a lot of fun and I learned. Preferred the Black and White to the Sepia of the original, so converted it after I felt I was done. There was more I could do, but decided this was a good stopping point.
-
Restoring black and white photos on Affinity Photo iPad and coloring. Using Affinity Photo on the desktop the process was simple, 1. select the photo, 2. make adjustments ,fix scratches, and so forth, 3. click on recolor, 4. select the color, 4. then invert the recolor layer ( command i on Mac) switch to white, then start painting and continue this process until completion. I cannot find a reference regarding the process for the iPad once I click on recolor and select a color? How do I invert the recolor layer to start painting in new colors.
- 55 replies
-
- 1
-

-
- recolor
- restoration
- (and 2 more)
-
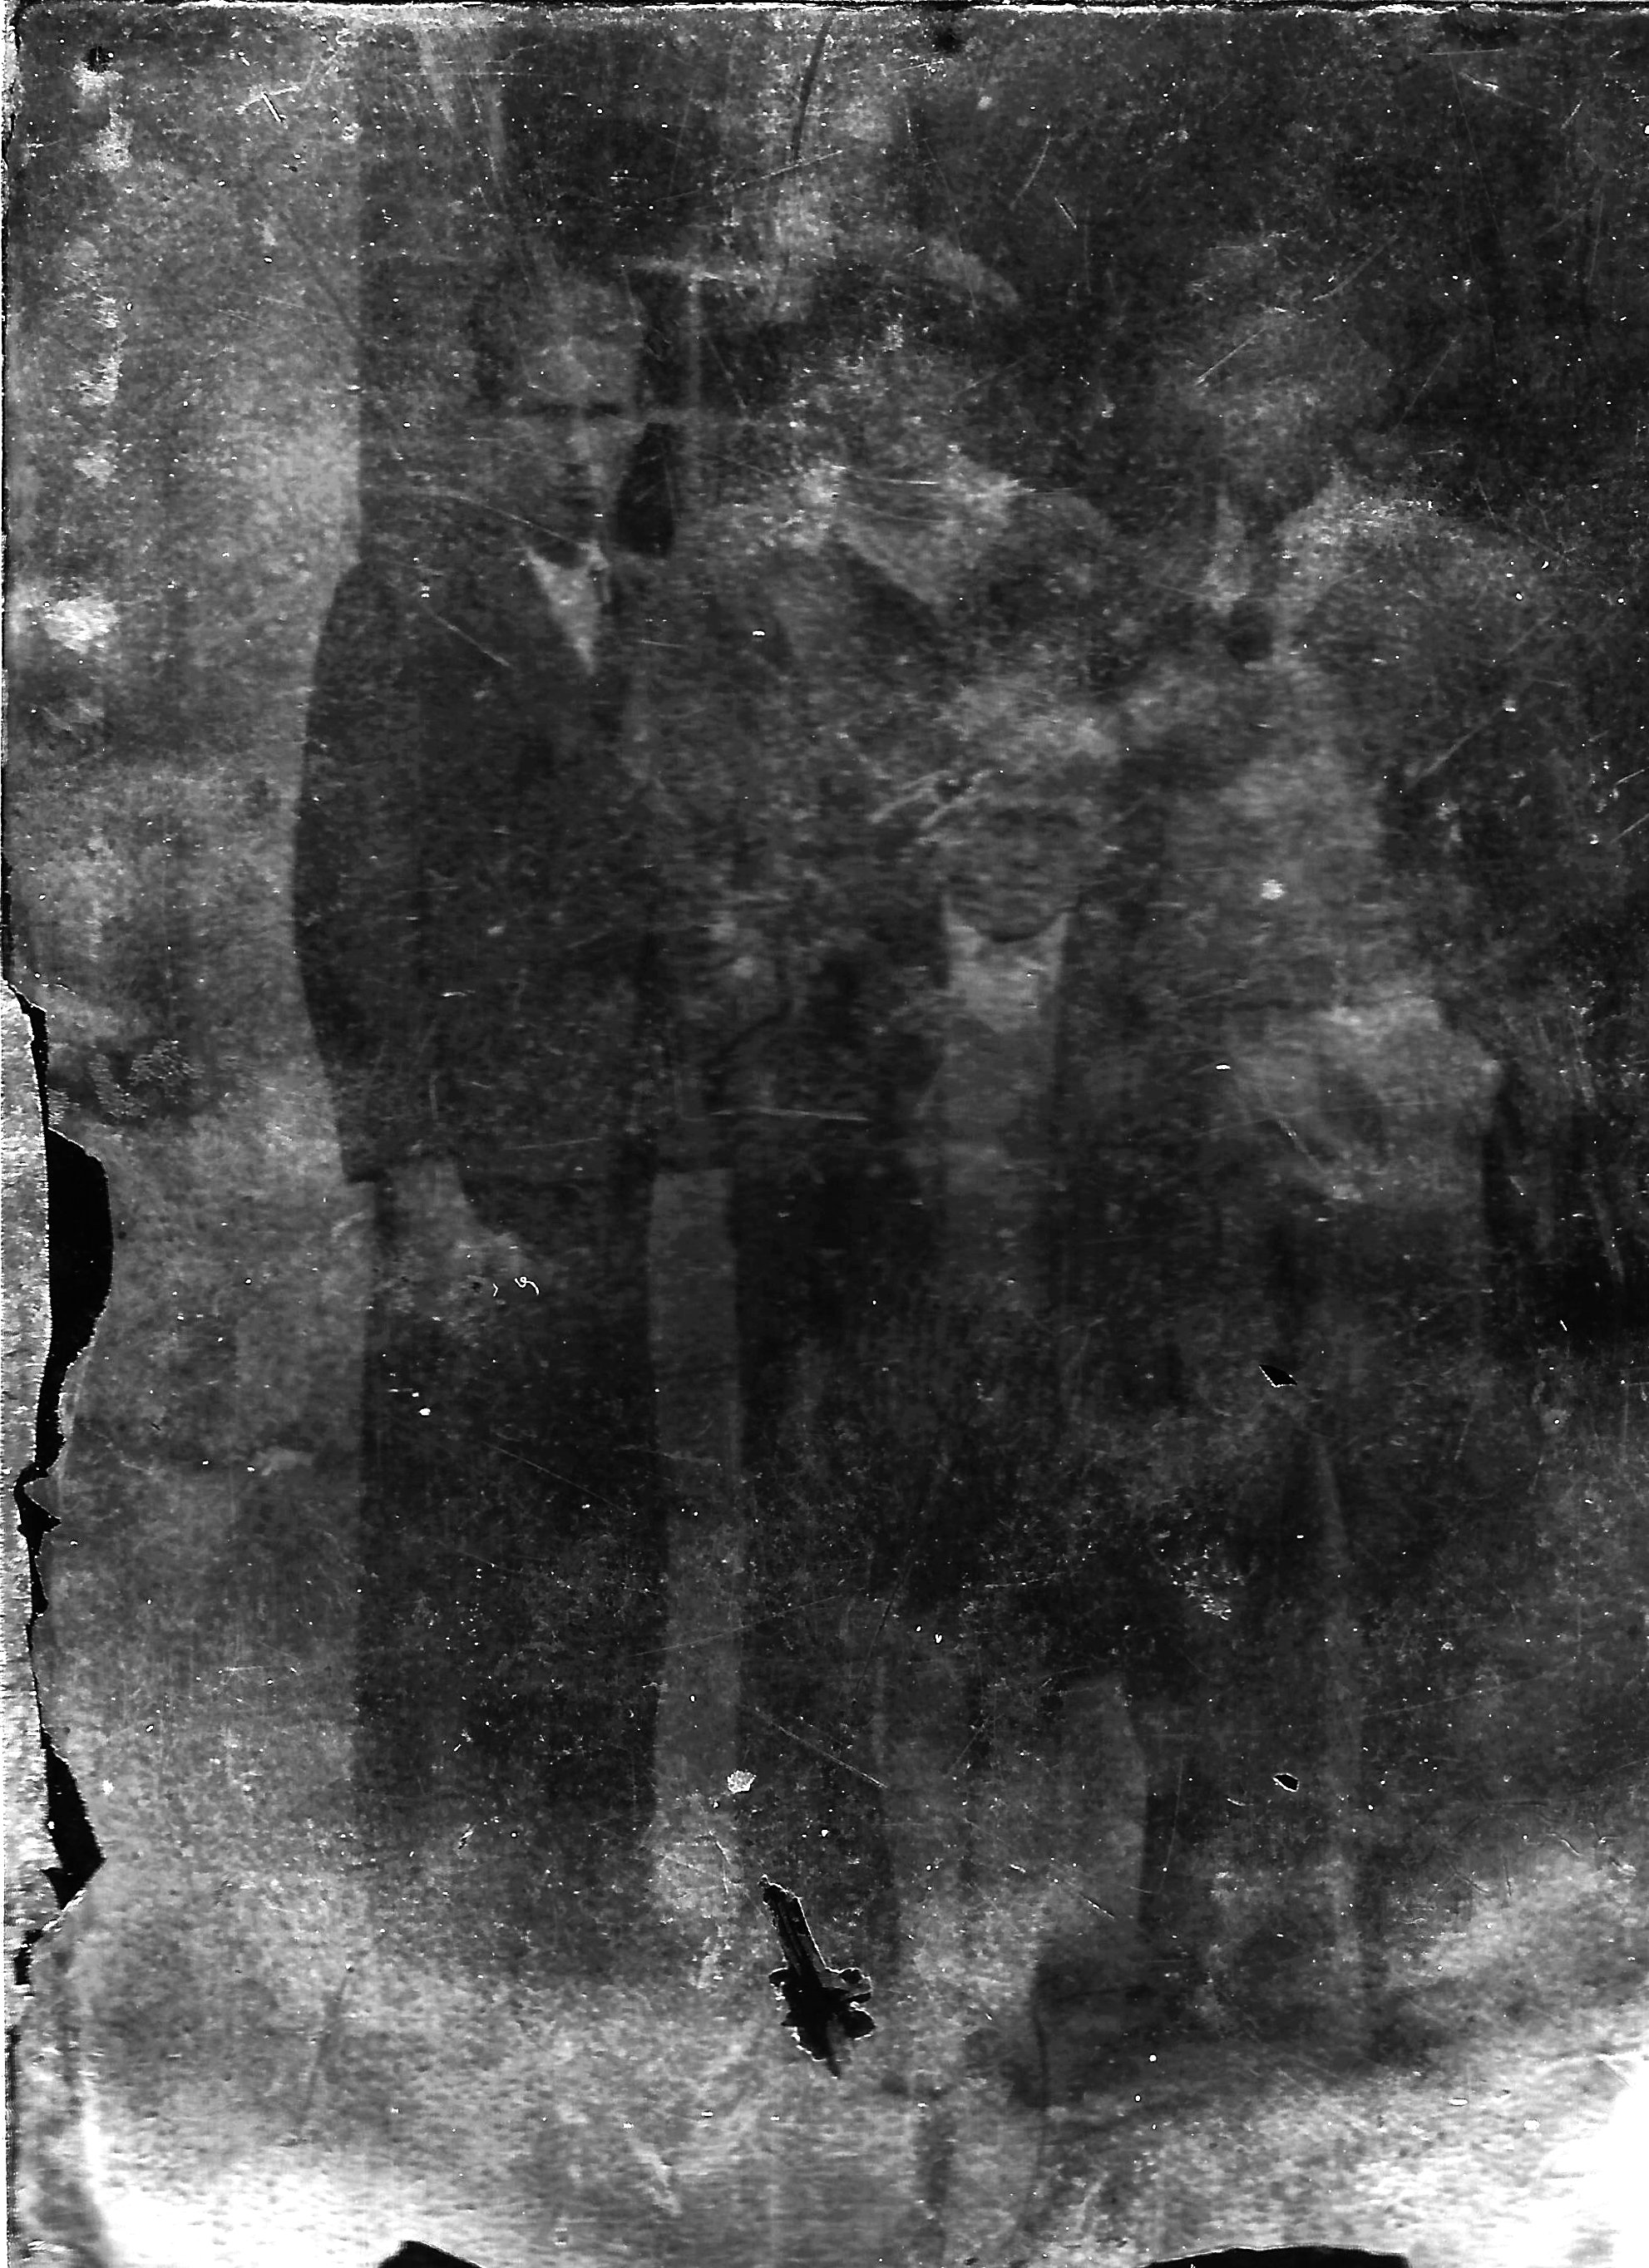
Hi All Can anyone please help me. This is an old photo of one of my grandparents the photo is on the back of a bean tin and you can only just see the picture as it is almost gone black i scanned it and loaded it into Affinity and made some adjustments but would like to see if I can get it better can any help or tell me how to do it. Thank You Andrew
-

affinity photo How to cheat at conserving an old painting!
Kasper-V posted a topic in Share your work
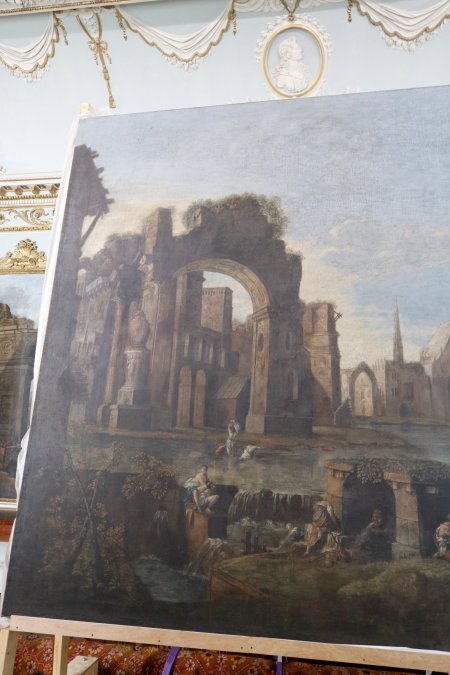
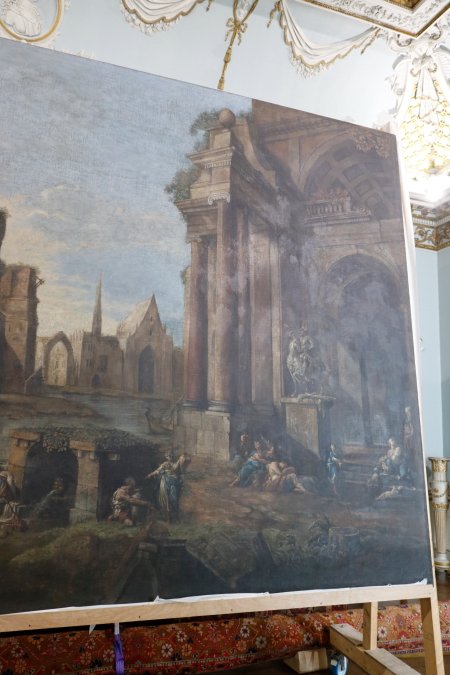
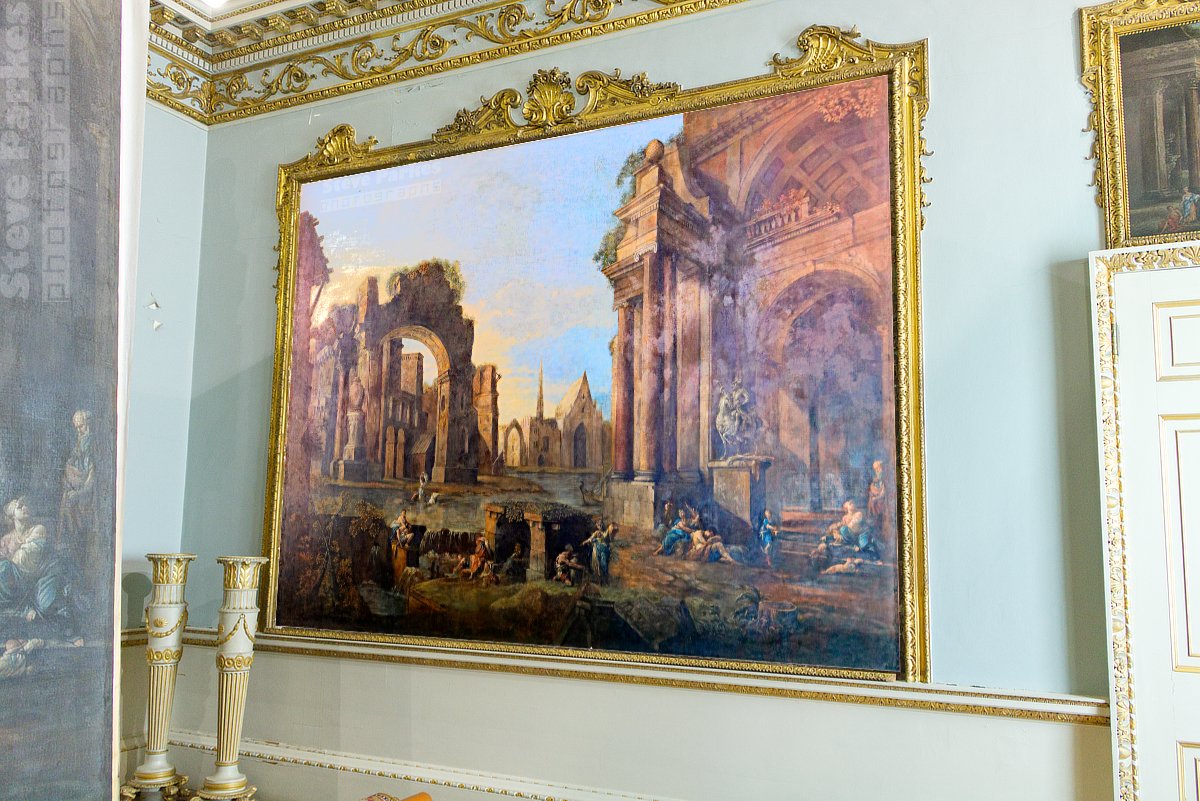
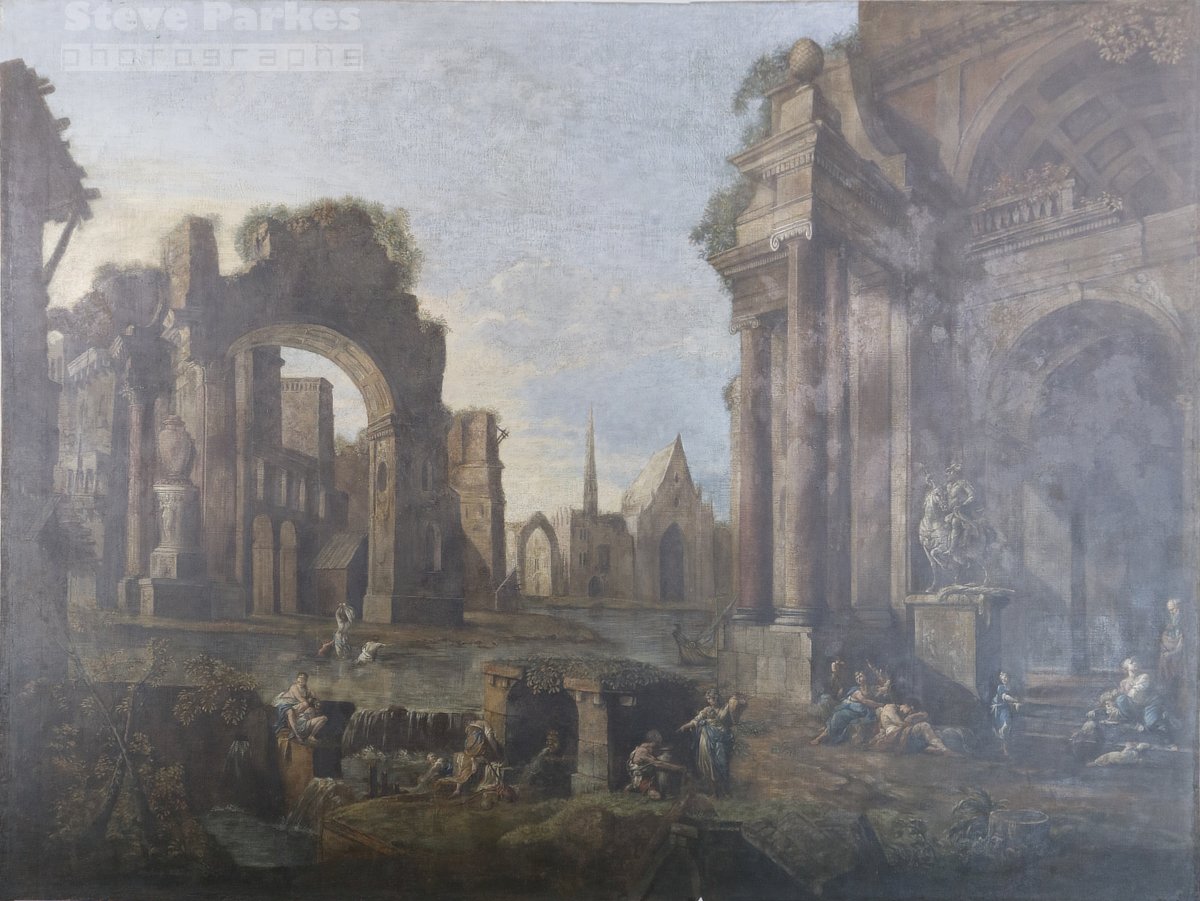
Empty space ... ... filled! Last week we paid a visit to Shugborough, Staffordshire, an eighteenth century house and former home of photographer Patrick Lichfield, owned by the National Trust. The Room of Imaginary Landscapes has several enormous paintings fitted to the walls depicting, well, imaginary landscapes. The paintings are being taken down for conservation and cleaning; they are well over two hundred years old, after all. One has been removed from its mount and is resting on a stand while it waits to be taken away, and I took the opportunity of photographing it ... which was easier said than done! At about ten feet by eight, and with only a small space to work in, I had to take three photos and stitch them, then do my best to restore the result to a straight-sided rectangle with the Mesh Warp Tool. Next I cleaned up the result by increasing the saturation and contrast and one or two little tweaks; if I had the patience, I might have done a lot more and fixed those water stains, for instance. Here's 'before' and 'after' ... And all that remained was to distort the finished image to fit the gap in the frame, using the Move Tool.
- 7 replies
-
- 6
-

-
- painting
- restoration
- (and 5 more)
-
Hi I've found this photo in google and I restored it.....
-
I have left Creative Cloud to give Affinity a fair shot. I used Affinity Photo to do a restoration on this photo. These are small files, but I think Affinity did some fine work there.