Search the Community
Showing results for tags 'resize'.
-
 I Use all three Affinity apps on a 2019 15" MacBook Pro. Sometimes I just use the laptop screen, other times I plug into a larger display monitor through HDMI and move everything out to utilize the larger screen area. If I resize any of the apps to the larger monitor and then unplug and go back to just my laptop the screens remain where they were placed and sized in relation to the external monitor. Super annoying as sometimes the app is completely out of the viewing area on my laptop. If I was using it on the right side of the monitor (default placement is upper left corner), or it's been left expanded to the larger monitor you end up seeing just a fraction of the app on the laptop, which then you're stuck fiddling around trying to grab edges just so you shrink or move things around to fit back into the 15" screen area. Restart app or MacBook does not fix or reset. Using layout profiles doesn't make anything any better either. I haven't used Adobe apps for awhile, but if I recall they auto resized if you unplugged from a larger monitor. Would be nice to see if Dev could fix this or is there an easy work around I'm missing? –Cheers
 -
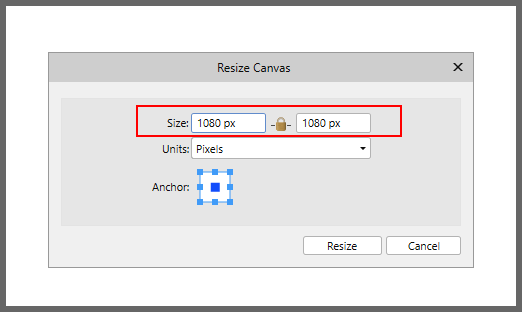
 Hello everyone, How can I flatten an image in Photo? Here's my case: I open an image at 500x1000 px and want to resize its canvas to 1000x1000 Well, I do Document > Resize Canvas, unlink the dimensions, set one side to 1000, and press Resize Of course, Photo adds the transparent 250 px margins left and right Then I do Document > Flatten to make one 1000x1000 flat image And nothing happens; the image still has transparent margins, and when I save it to PNG, it saves the transparency as well. In this case, Photoshop makes a flat image with no transparency, which is right. How can I do it in Photo? Please help me understand the logic of this editor.
 -
What Application are you using? [Publisher] Are you using the latest release version? Yes 2.3.1 Can you reproduce it? Yes Does it happen for a new document? Yes If not can you upload a document that shows the problem? See Attached File If you cannot provide a sample document then please give an accurate description of the problem for example it should include most of the following: What is your operating system and version MacOS Ventura 13.6.4 Is hardware acceleration (in Preferences > Performance) ON ? (and have you tried the other setting?) NO What happened for you (and what you expected to happen) Provide a recipe for creating the problem (step-by-step what you did). Create a new document using custom page settings of 4.9x6.9 Create a table on the 1st body page (see attached file) Copy that table and then paste it on the Master page When I did that the table size changed to a smaller version of the table. Click on the table to select it. move the cursor to the bottom circle to resize the table. When you click and hold on that circle, the application crashes. Screenshots (very handy) or a screen capture/video. No Any unusual hardware (like tablets or external monitors or drives that may affect things) or relevant other applications like font managers or display managers. NO Did this same thing used to work and if so have you changed anything recently? (software or hardware) I did not have this issue in Version 1 when I first created a file like this. 2024-01-30 Publisher Crash log.txt Large Format Shoot Log.afpub
-
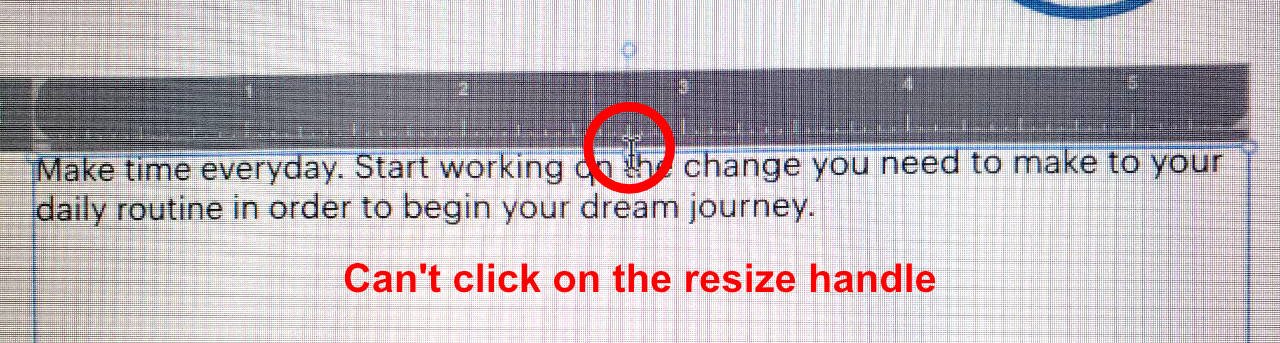
 When the Text Ruler is displayed, the cursor won't turn from an I-beam cursor to an Arrow cursor.. it doesn't detect the to-middle text box resize handle
-
 I'm rearranging a-lot of text for garment print. I first started making all the text with the Artistic text tool, but then I found out if I had to resize the text box I should convert the text to "Frame text". Now I have the layout I want however I need to decrease the size of all my text artwork, but when I resize my grouped text frames only the text frame changes size but no the size of the text. Is there a way to resize the text inside the text-frames by dragging?
 -
In my Pages section, my linked text frame has x's all around the frame instead of circles. I need to change the size of the frame. How do I get the circles to come back on the page?
-
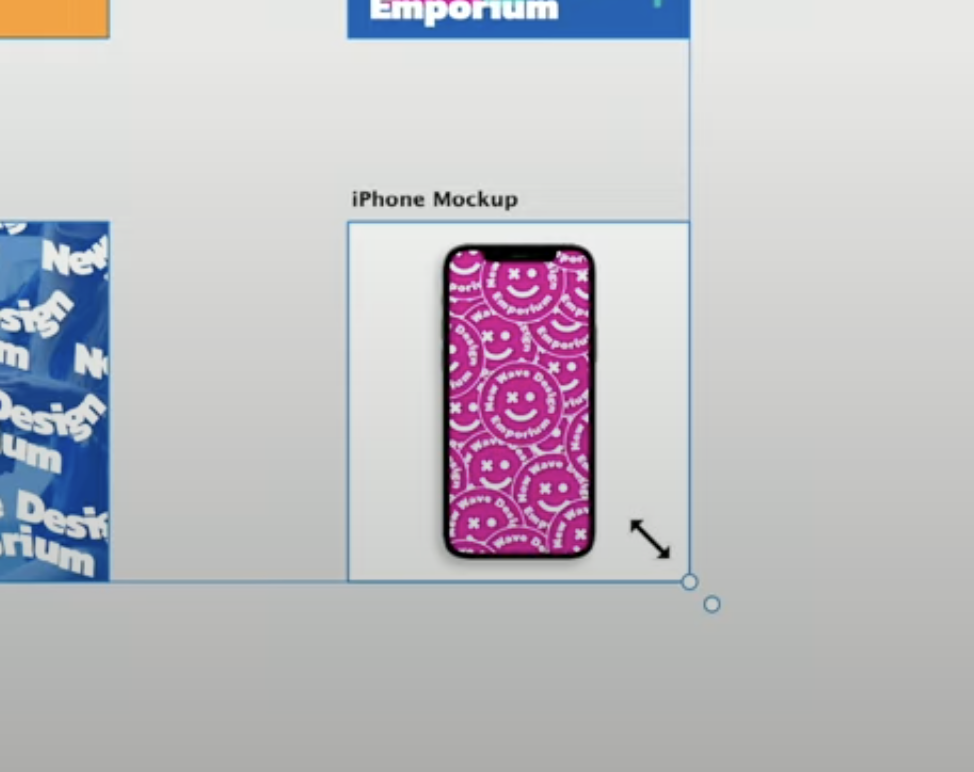
 At 3:59 in this Designer video from Affinity, there are 2 dots in the lower right corner when resizing multiple Artboards. I can't seem to replicate this. Is there any setting not mentioned in video that needs to be enabled? Still frame: Thanks.
-
 I've just discovered this weird glitch in AD V2.04. When resizing an artboard with 'Lock Children' ticked, frame text will still get affected by the resize. This only happens when using the extra bottom-right corner node. Interestingly, the tooltip at the bottom of my window shows "Drag to resize text', even though I was resizing the Artboard. To replicate the issue Open the attached .AFDESIGN file. Drag the bottom right corner node of the artboard to resize it. Frame Text gets resized, but Artistic Text does not. Artboard Resize Text Issue.afdesign
-
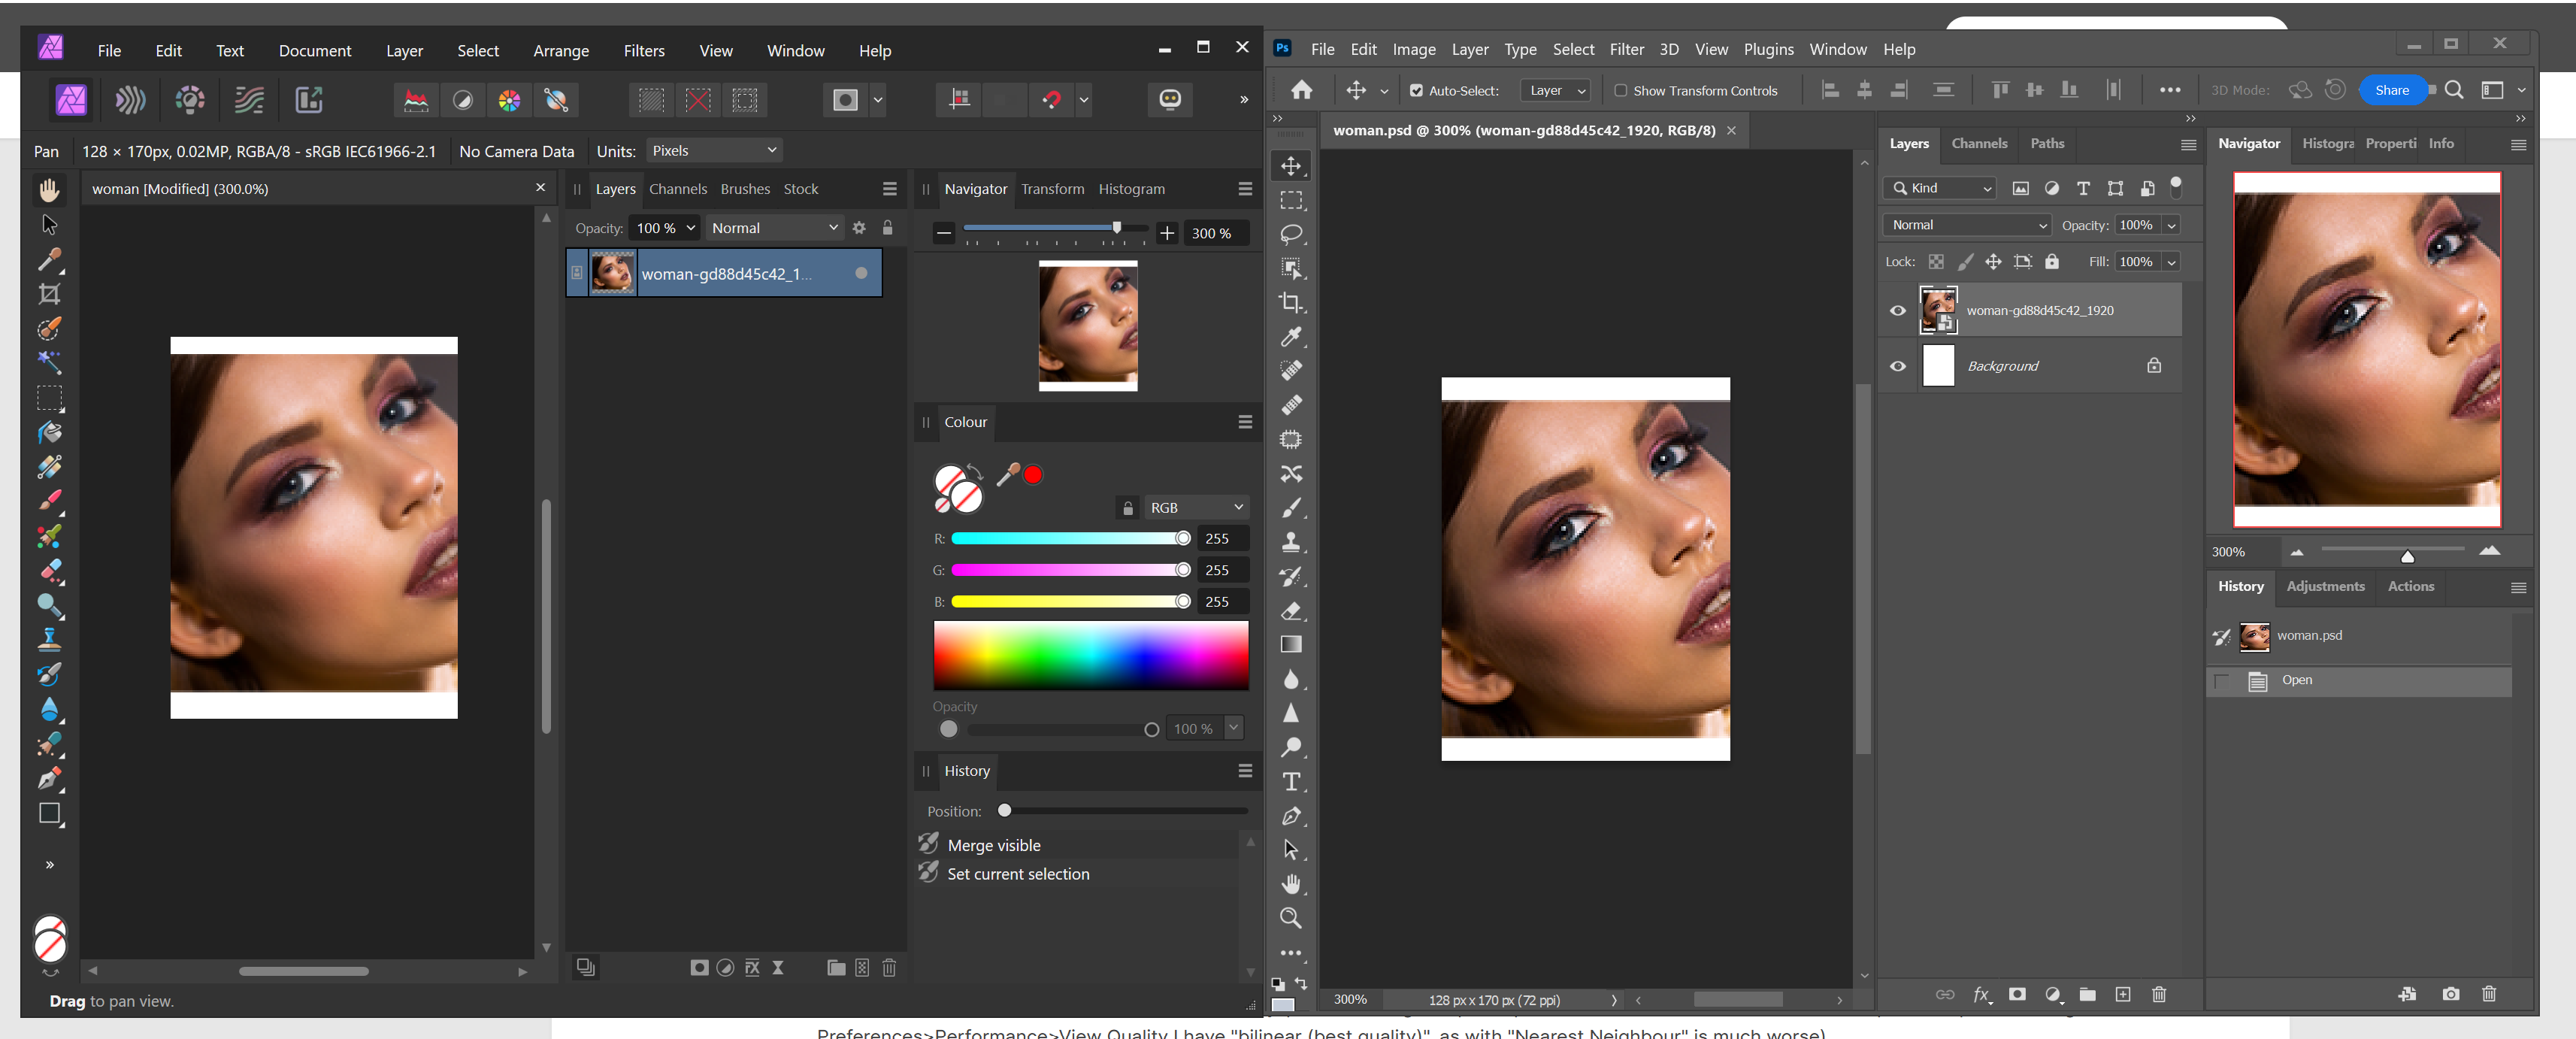
Hi! I am very new to Affinity. I have searched in the forum but didn't find anything similar, so I don't know... maybe it is only happening to me. I created a new file of 127px width, 180 px height, with 72 dpi. My test is small because I found the problem with that one, but it happens with other sizes. Drag the woman image so it is a new layer (linked). I then resize that layer (the layer, not the document) to a 10% width with Transform panel. You can see how the image gets pixelated, or some would say blurry (depending on the zoom level!). This is not happening in Photoshop, which looks fine. This problem is NOT happening in Affinity Designer, nor Publisher. This is a problem, cause you can not work in a blurry-pixelated image in "photo persona". I don't know if there are other options to preview images (in Preferences>Performance>View Quality I have "bilinear (best quality)", as with "Nearest Neighbour" is much worse). Exporting as JPG through "File>Export" Resample: Bicubic Quality 100% gets same blurrines-pixelation. Resample: Lanczos 3 Non-separable, which seems the best Quality 100% gets better. I think is even better than photoshop, at least with this small export size. Ok, then I change to "export persona" and the image in the monitor looks as expected! But exporting it gets same results as before. You can check and try with the attached elements (woman photo is free, on Pixabay: https://pixabay.com/photos/woman-portrait-face-skin-make-up-3096664/ I downloaded the 1920px option). Thank you! Edit: I have uploaded a new image: a screen capture of Affinity Photo vs Photoshop. woman.psd woman.afphoto
-
 You can currently resize text frames horizontally by double clicking the centre handles on the left or right hand side of the text box. The same goes for vertical resizing. I would like to also have a resize to smallest bounding box of the text by double clicking the handles at the corners of the text box (e.g. bottom left/ right). That would be convenient for example for reworking large text boxes for titles, which overlap with other text frames.
 -
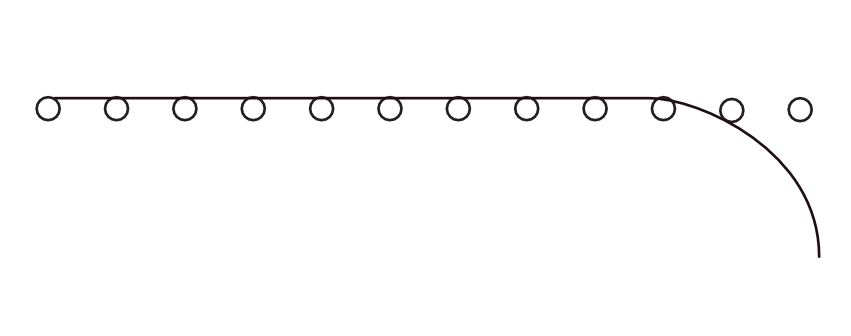
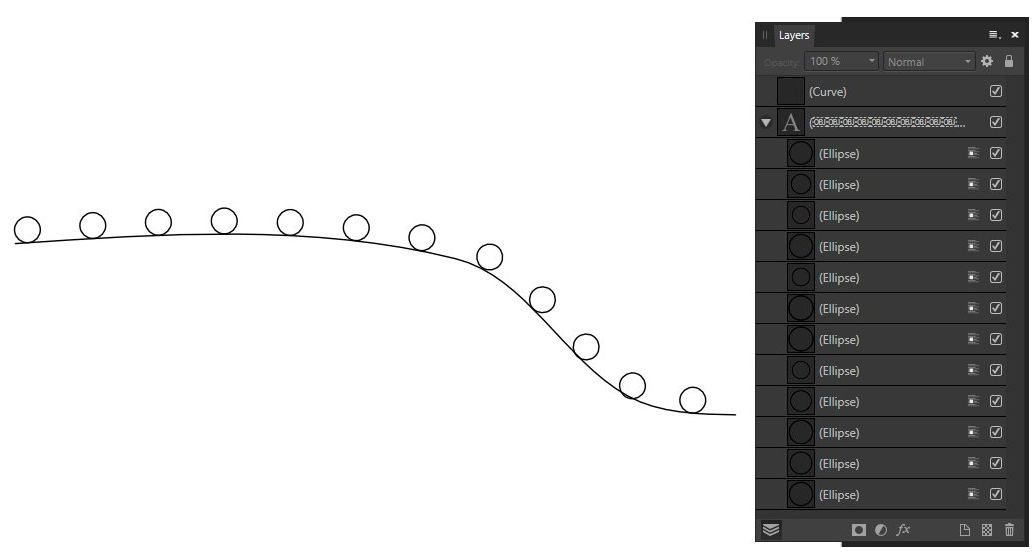
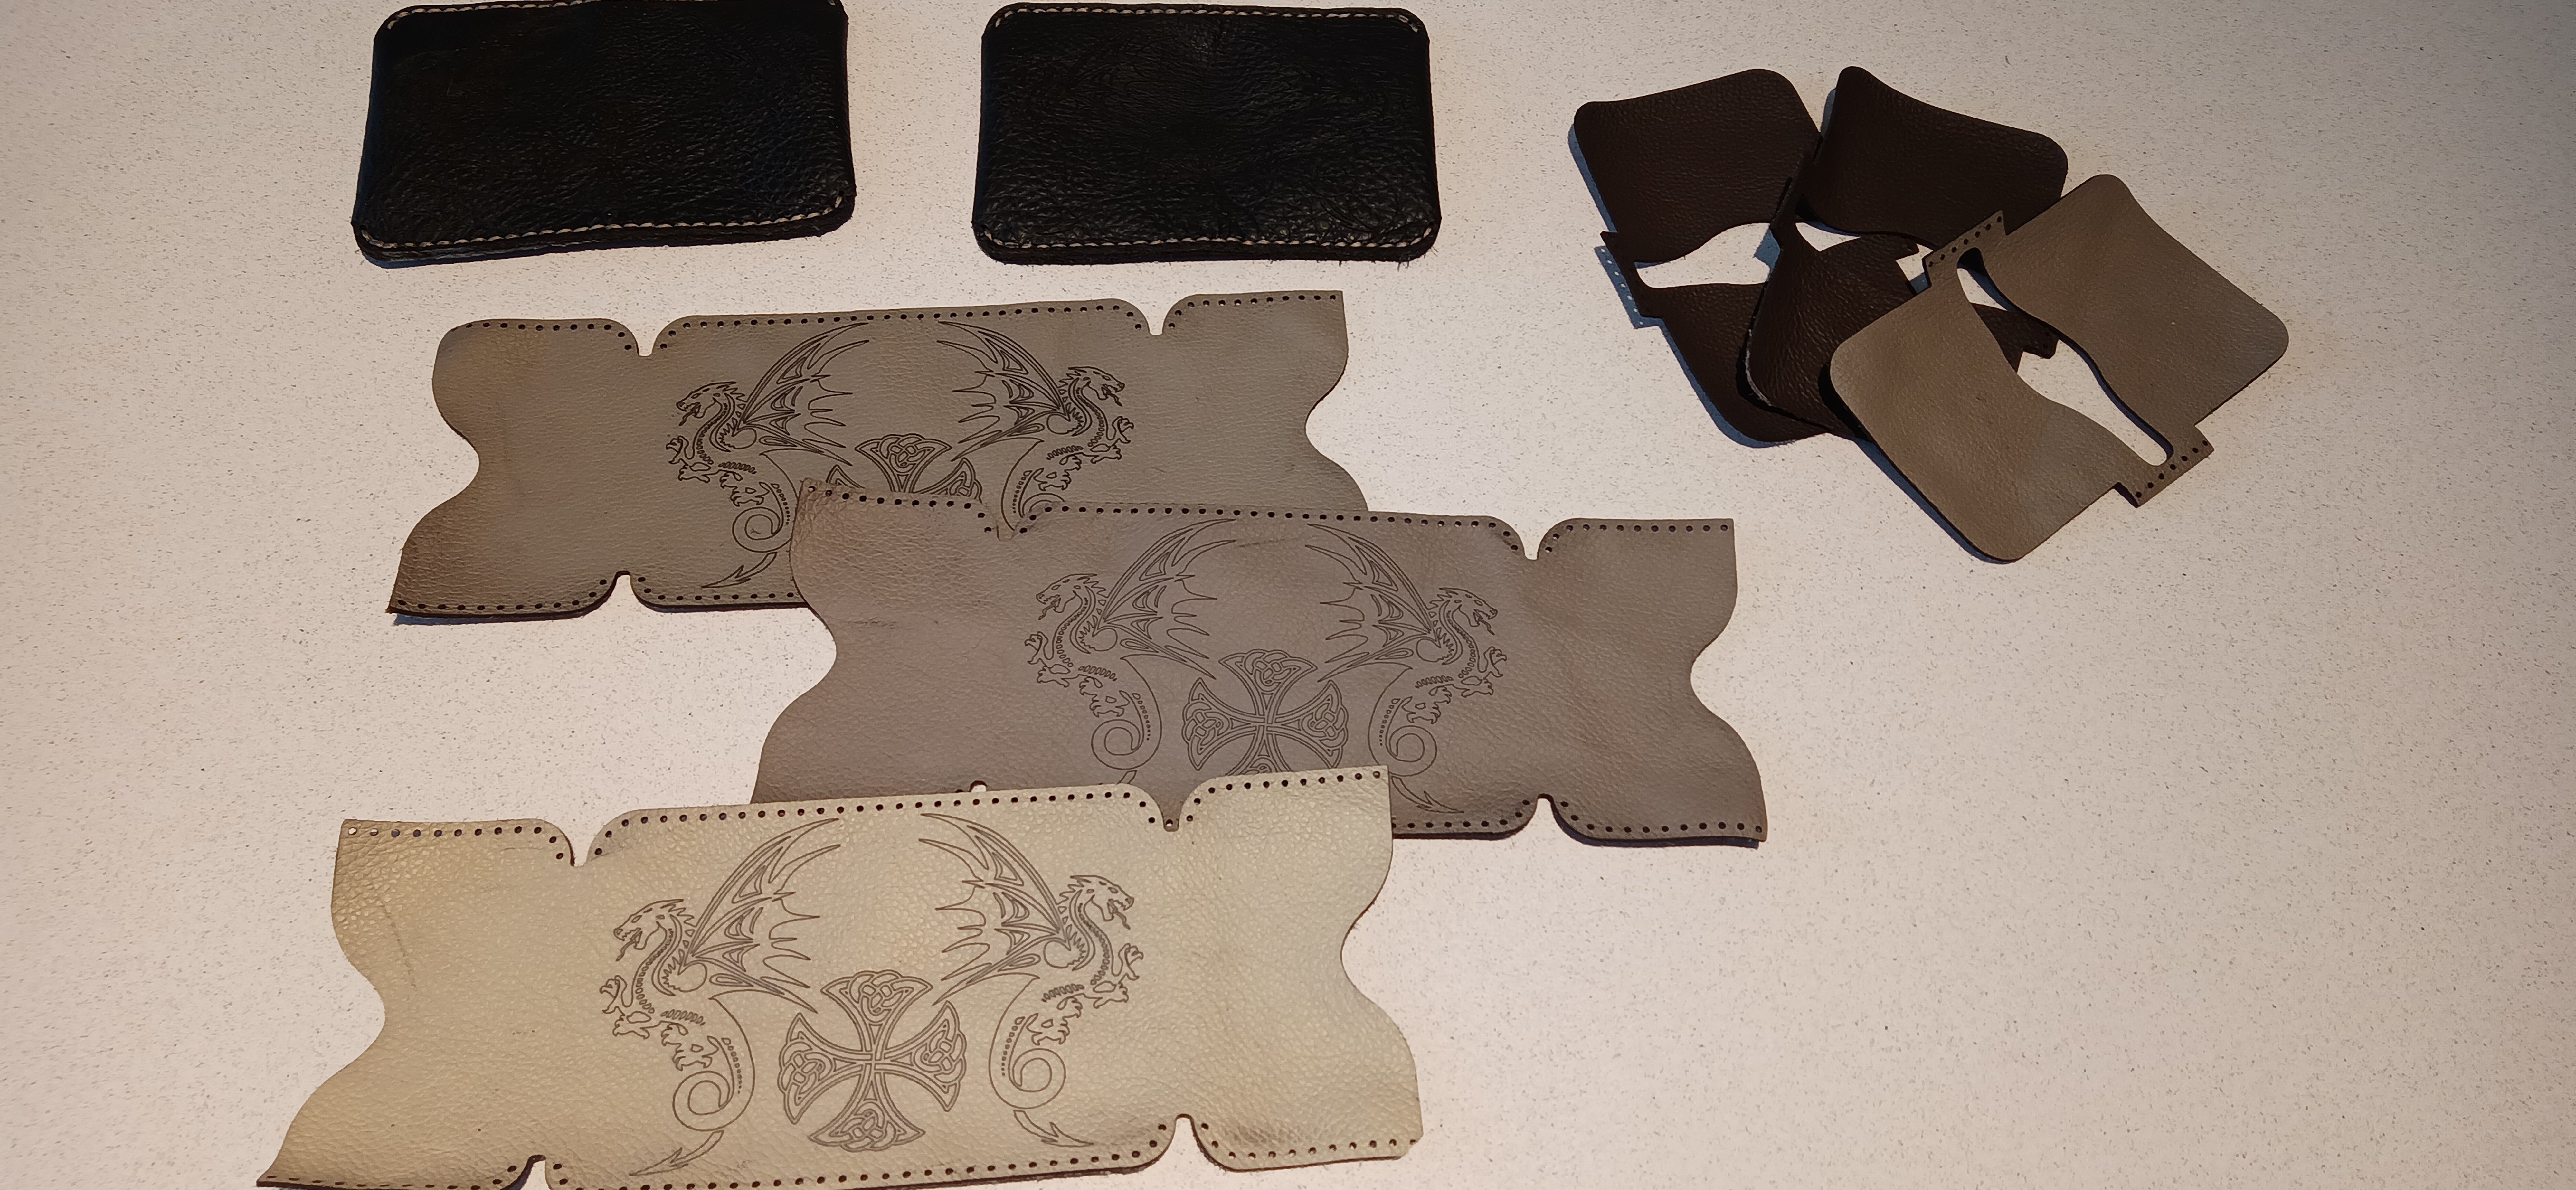
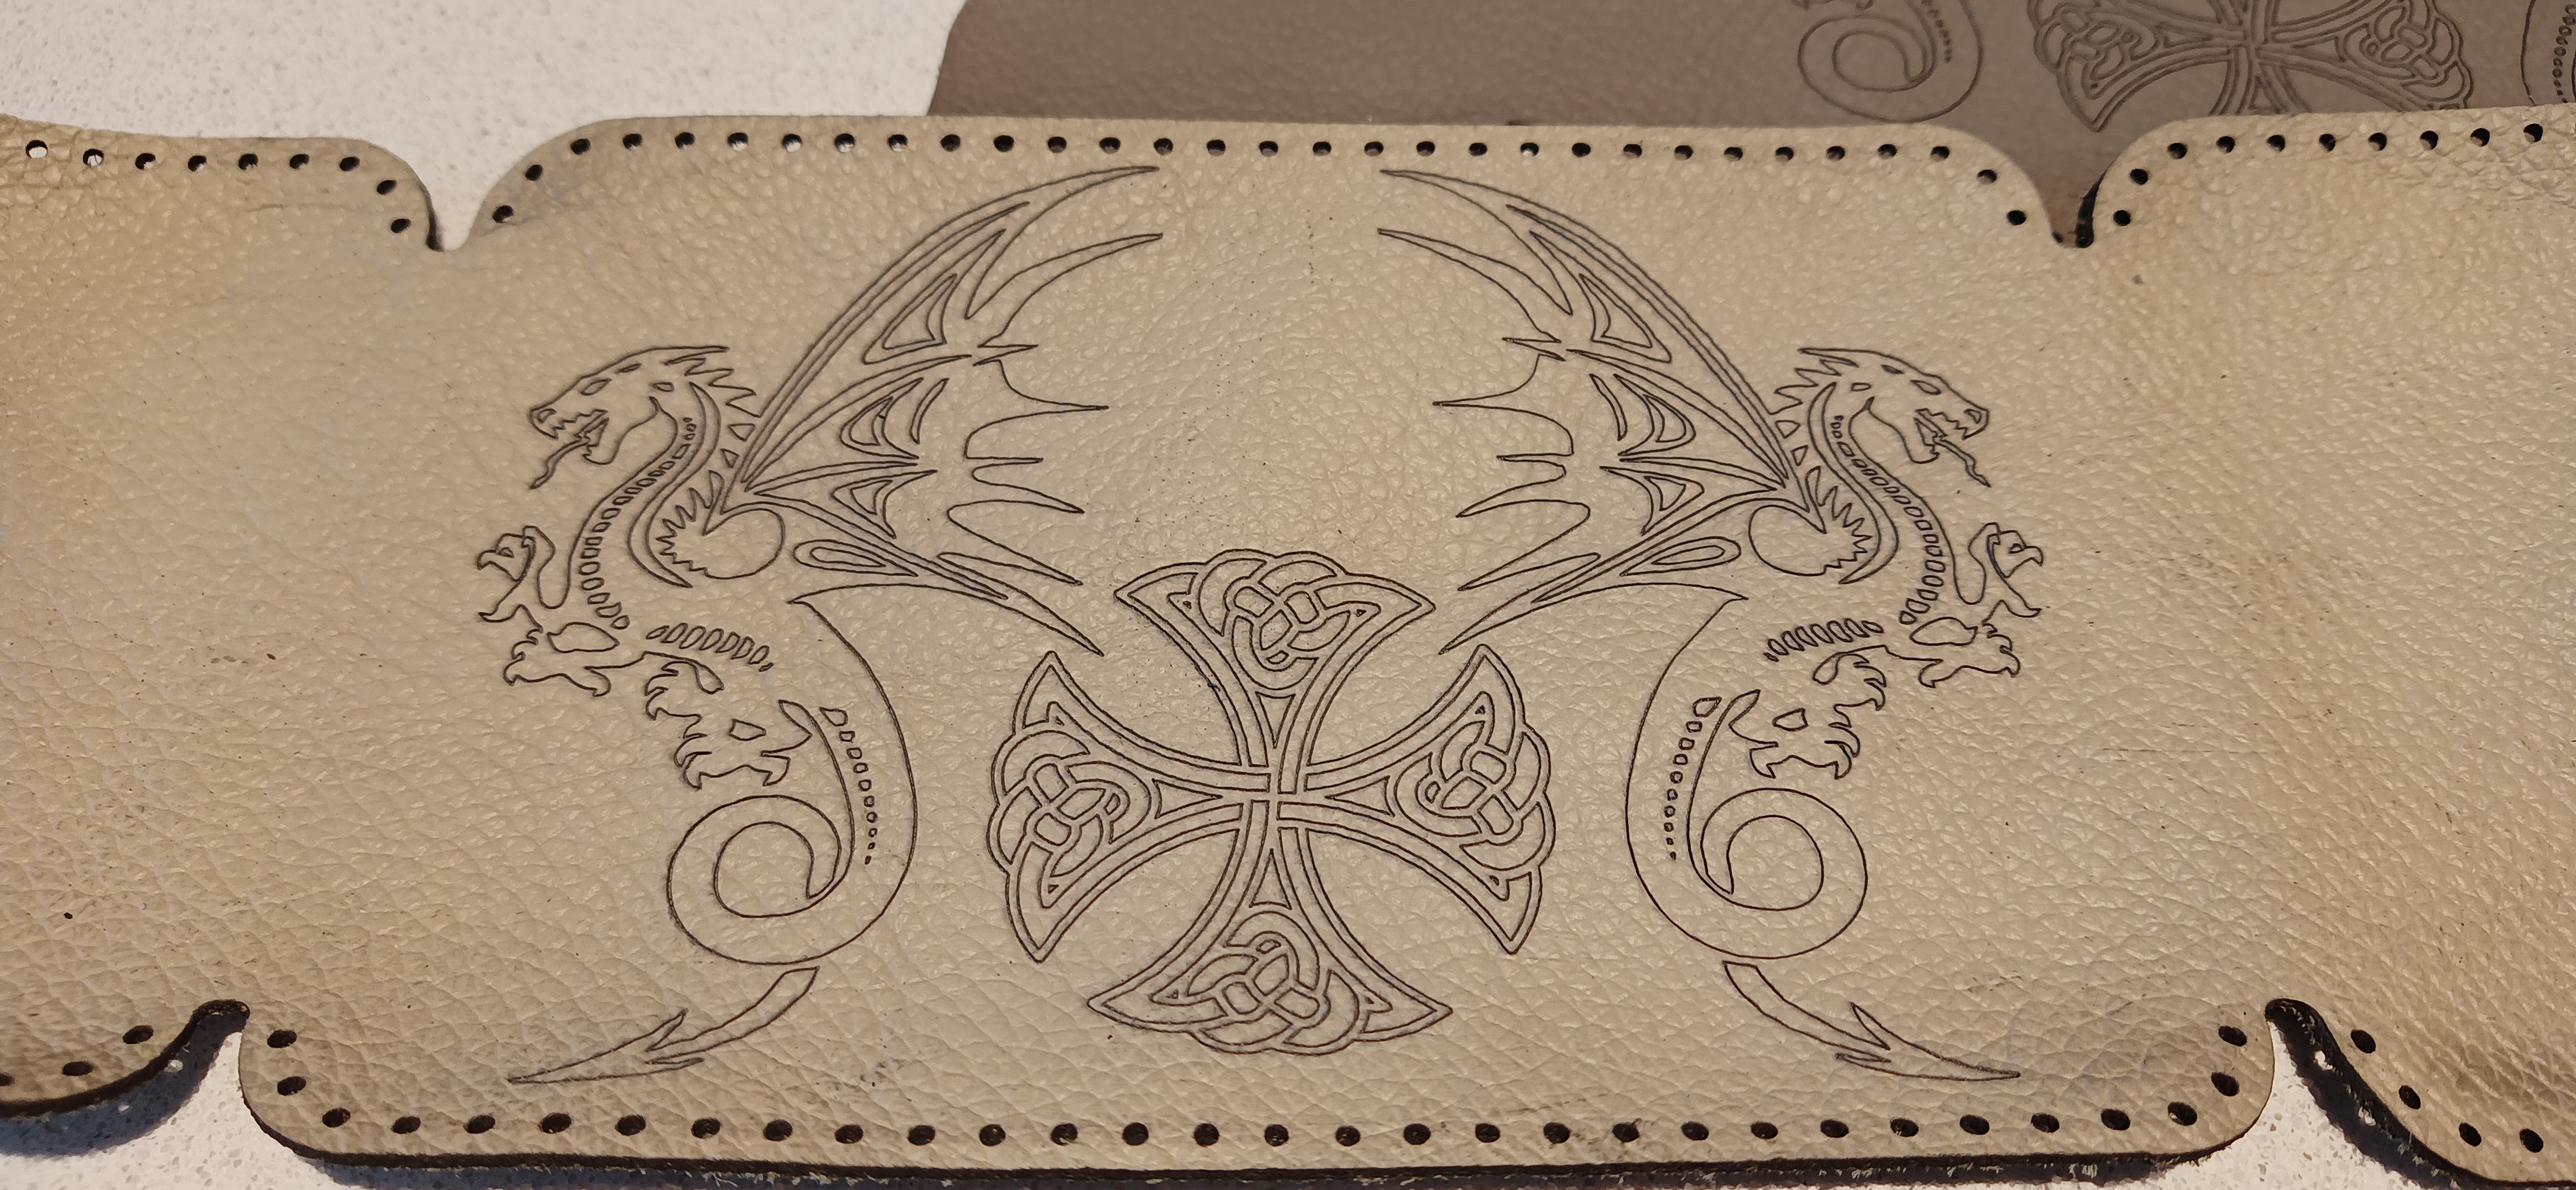
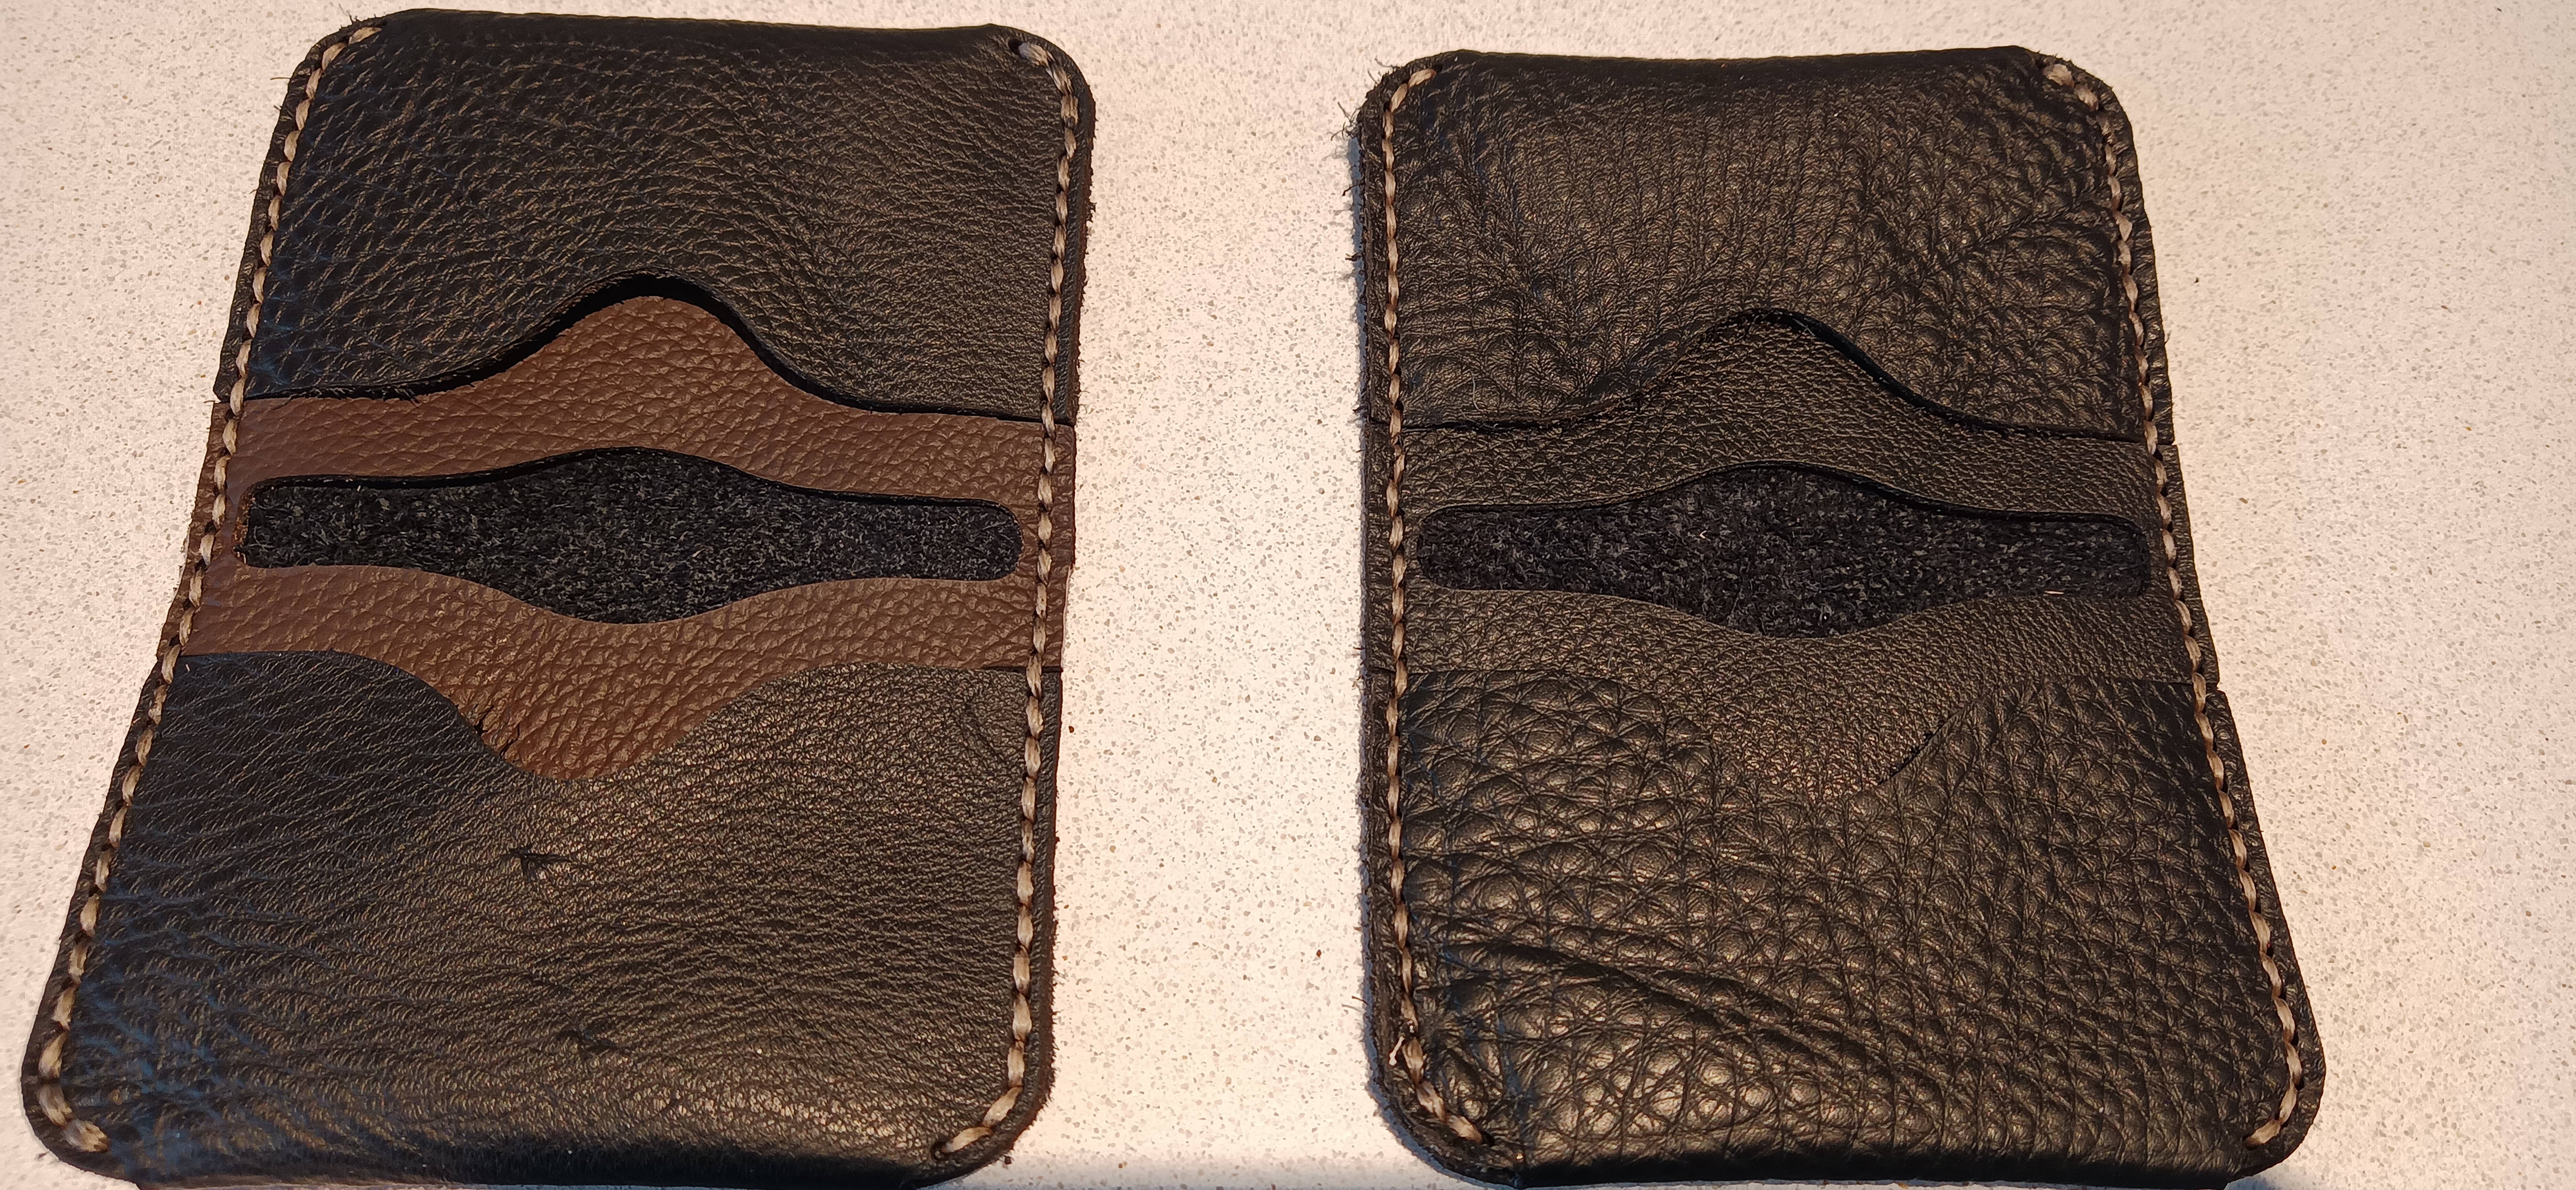
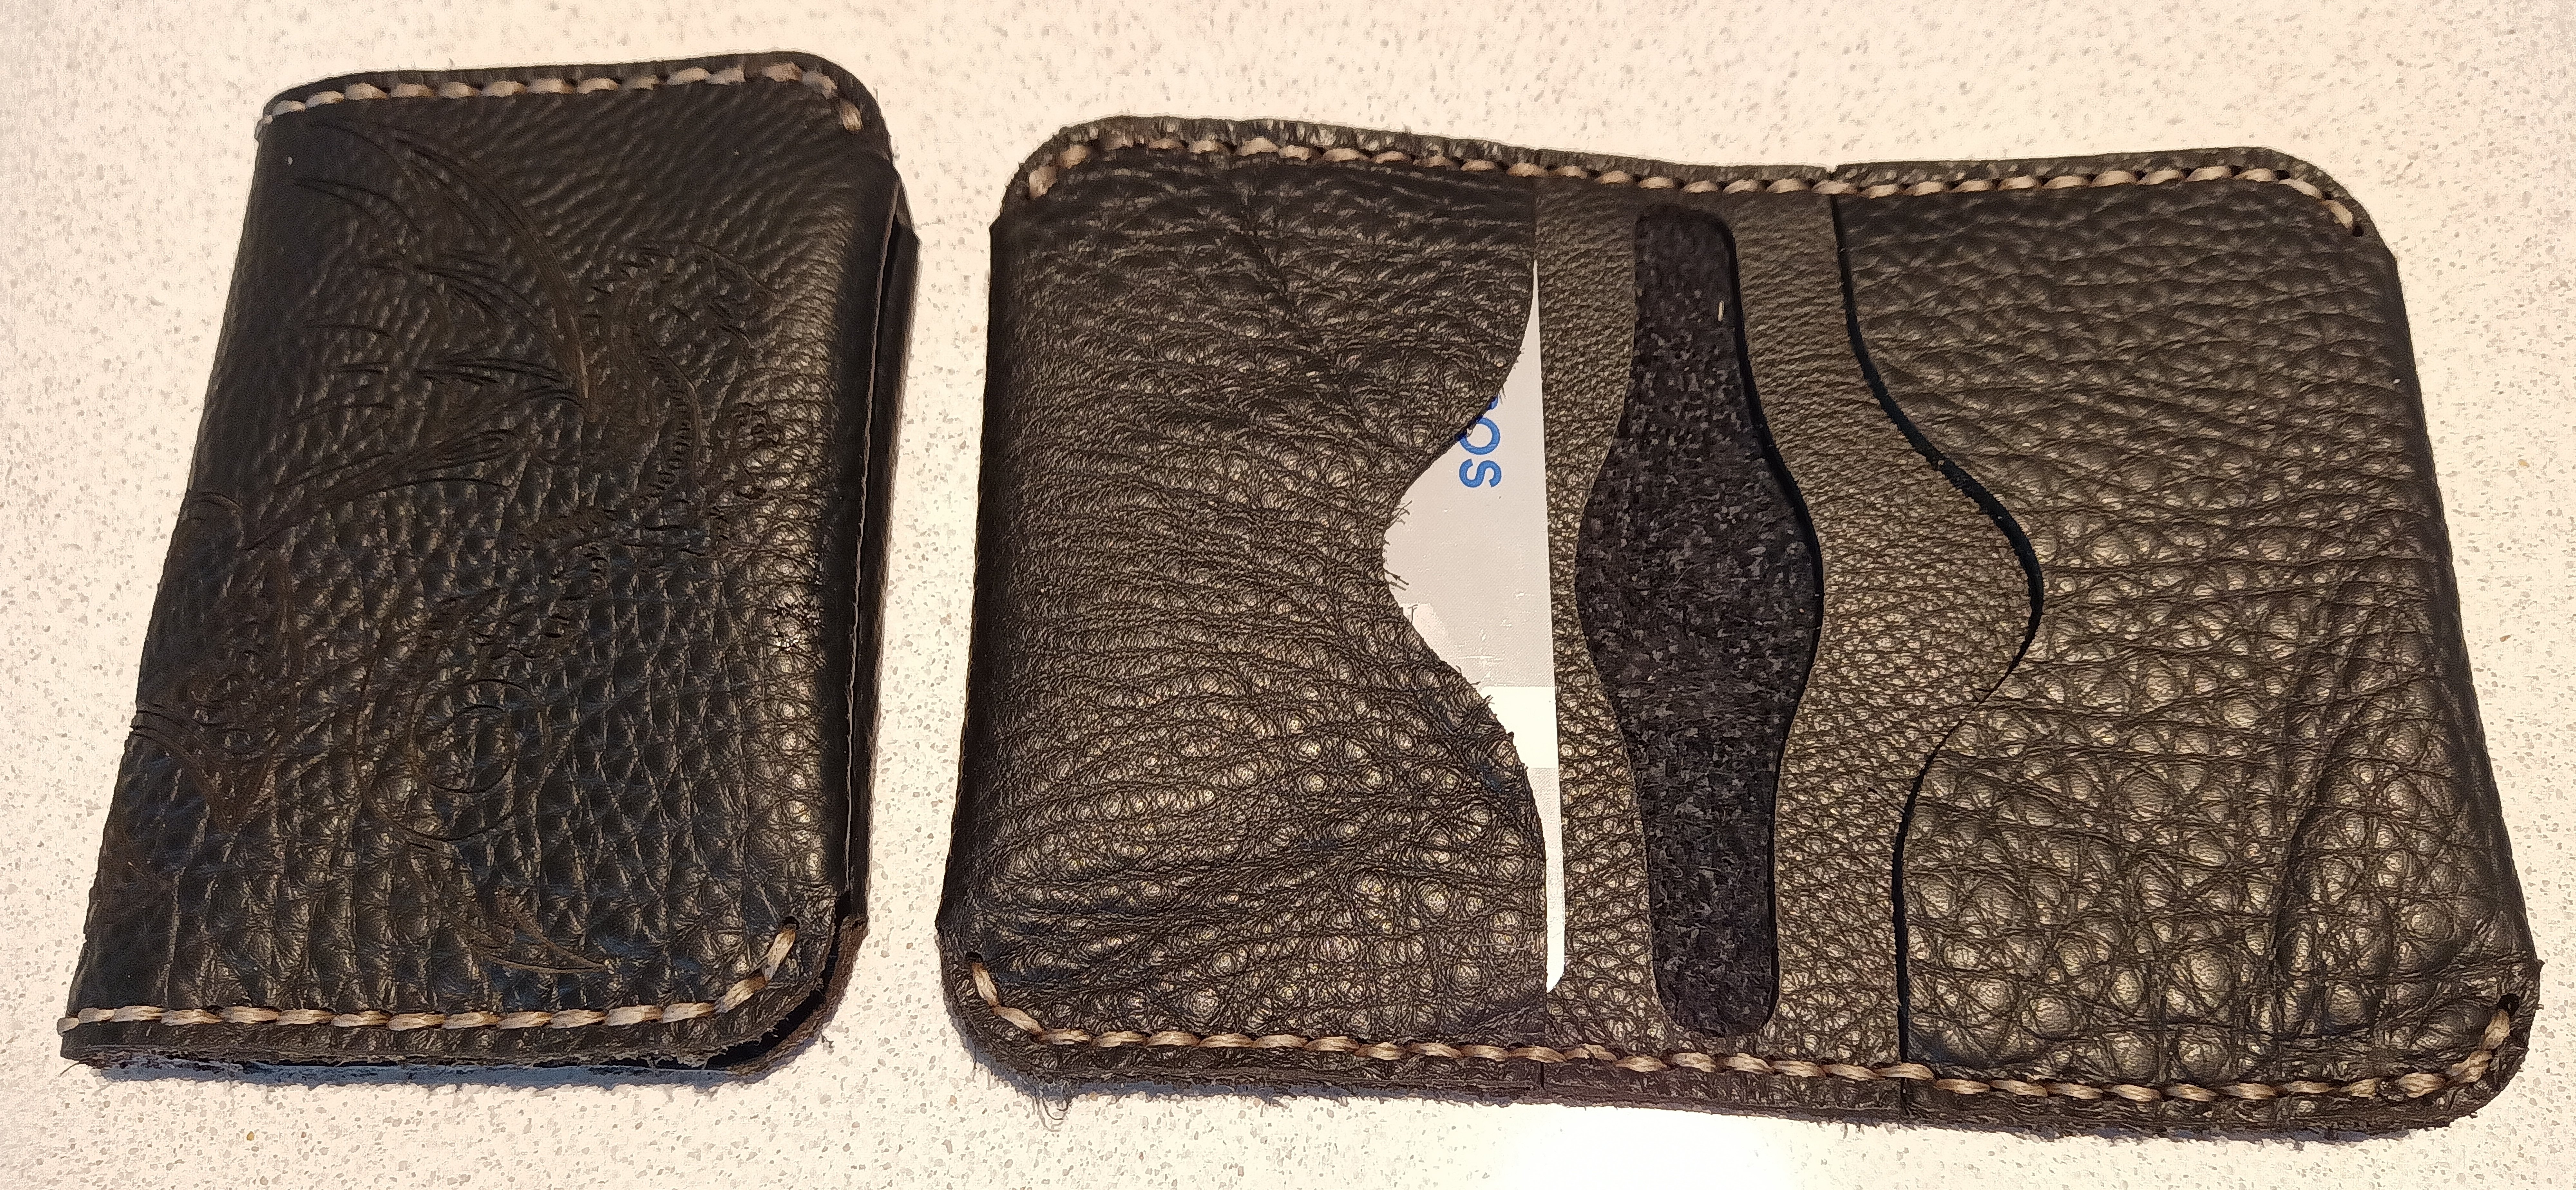
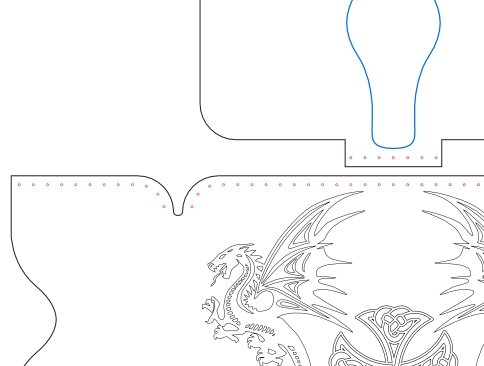
 I ran into a problem with resizing of multiple objekts (holes to be shrunk and still to be in the same center spot) and I got a lot of werry good advice from the forum after asking in "Affinity on Desktop Questions (macOS and Windows)". So I thought that I'd share it with you. -------------------------------------------------------------------------------------------------------------------------------------------- First i got from EmT: "In Affinity Designer you would be able to create the object as a 'Symbol' and this would then allow global editing. Please see attached video for more information. https://www.youtube.com/watch?v=6j--9mf2siQ " ---------------------------------------------------------------------------------------------------------------------------------------------- Then I asked "Is it posible to make the "Symbol" follow a path?" like this. ---------------------------------------------------------------------------------------------------------------------------------------------- And I got from EmT: "Unfortunately that is not a current feature, however if you use power duplicate, it will move the next duplication relative in space and sizing, to the first duplication. The video below should demonstrate this. https://youtu.be/bSm15HGADzk?t=144 " ---------------------------------------------------------------------------------------------------------------------------------------------- Then I got from Alfred: "The Move Tool ‘Transform Objects Separately’ option should give you the result you want. Affinity Designer Help: Transforming objects (bottom of page) Affinity Spotlight: 10 things we love about Affinity Designer 1.7 (item 8)" ---------------------------------------------------------------------------------------------------------------------------------------------- Then I got from G13RL: "Without using symbols, you can place objects along a curve. Draw the curve, duplicate it on itself. Draw a circle, duplicate it (on itself or not) as many times as necessary. Select all circles, "Cut". Take "Artistic Text Tool", click on the curve, "Paste". Adjust the spacing between the circles using "Tracking" in the "Character" tab of the studio." ---------------------------------------------------------------------------------------------------------------------------------------------- And last I got from Hens: "But with symbols there's much more to play with 😉" 1784880003_2022-04-0711-39-46.mp4.8c9b90843d2336b52585d82d7493ea87.mp4 ---------------------------------------------------------------------------------------------------------------------------------------------- Finally here are the results of this help. "Real Dragonskinn" 😁
-
- 3
-

-
- resize
- multiple objects
- (and 1 more)
-
 I have some artwork I have had scanned at 600 DPI and it has been saved as 3 files, a TIFF, jpeg and a PDF. The original size of the piece of art was 30cm x 25cm. I would like to have it printed as a tea towel by an online print on demand site but the template for that is sized at 72cm x 44cm. I can't upload the art to the website, I have to email it at the correct size or aspect ratio. How can I adjust one of the scans in either Affinity Designer or Affinity Photo without distorting it or losing any quality so that I can send it off for printing? Or is this not possible? I am very new to the software so I'm hoping someone can help me with some step by step instructions!
 -
 Hi, I am currently on my trial trying to decide whether or not I should buy Affinity Photo. While I have watched most of the official tutorial videos, I have a hard time getting my grip on some basic task. Basically I want to add a canvas in A4 (because I have A4 photo paper for print) and then add several Images on that canvas and make a few adjustments/edits to each of the images. Crop each image/layer resize each image/layer to a specific size make some adjustments and edits to each layer/image While I could make some adjustments (like brightness contrast etc) I find doing cropping and resizing/cropping of layers not intuitive at all. Maybe someone can direct me in the right direction on how to accomplish those (normally easy) tasks. Thanks and best phil
 -
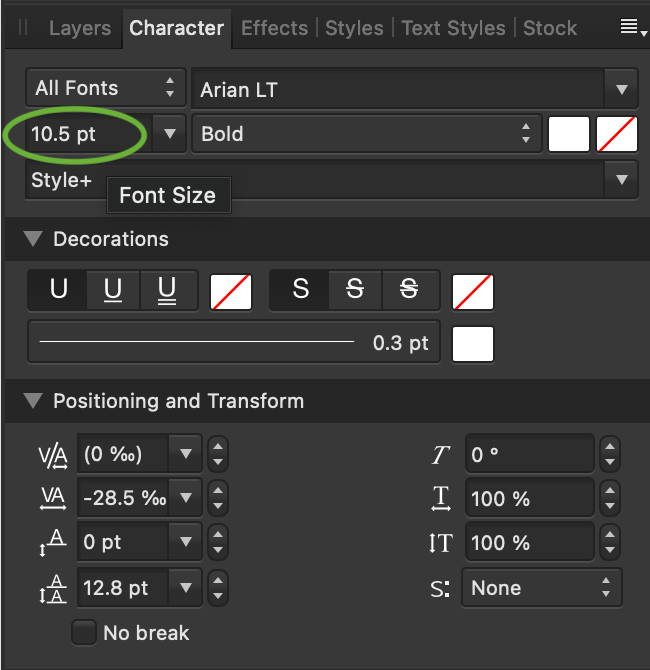
Can you enable mouse drag to resize selected text/font in the character menu, similar to character tracking, kerning and scaling functions.
-
 Is there a way to resize an entire photo by scaling an element in the photo of which the dimension is known (i.e. you have an image of a floor plan and you know the width of a door opening is 3 foot: How to use that to resize whole image)..?
 -
 I always struggle to figure out the height and width when resizing a document. It'd be great if there are some sort of indicators for the height and width.
-
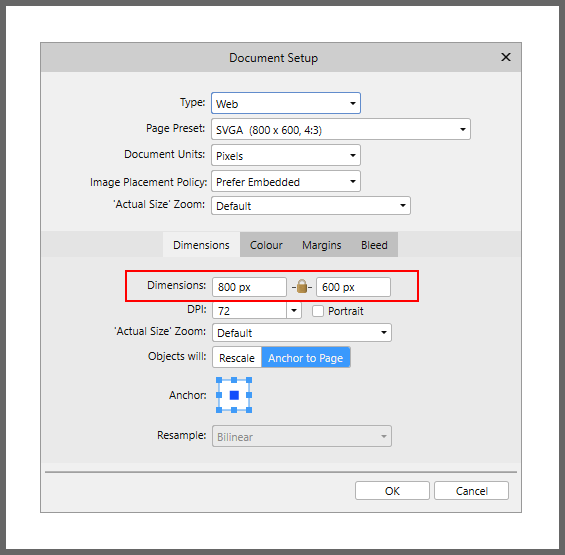
 Designer 1.9.2.1035 on Windows 10. When a document is resized with “Anchor To Page” set, and a layer is selected, once the document is resized the selected layer’s boundary box isn’t where it would be expected to be. See attached video. Not a major problem but probably needs looking into. 2021-06-25 09-18-49.mp4
 -
 I would like you to apply the new option "Limit initial zoom to a maximum of 100%" to the image after cropping/resizing also.
 -
 This error started when I opened a photo as a new document, then I went to the section of (Document - Resize Document), I put the values to change the size of the document and I used the "Bicubic" method for resizing, after finishing the process when I try to create a new or secondary document from an image that I drag, it no longer leaves me, and it only lets me have 1 document open at a time, and all that happened since I applied that rescaling configuration to the document, everything this happened to me in Affinity Photo version 1.9.2. I hope they can fix that problem.
 -
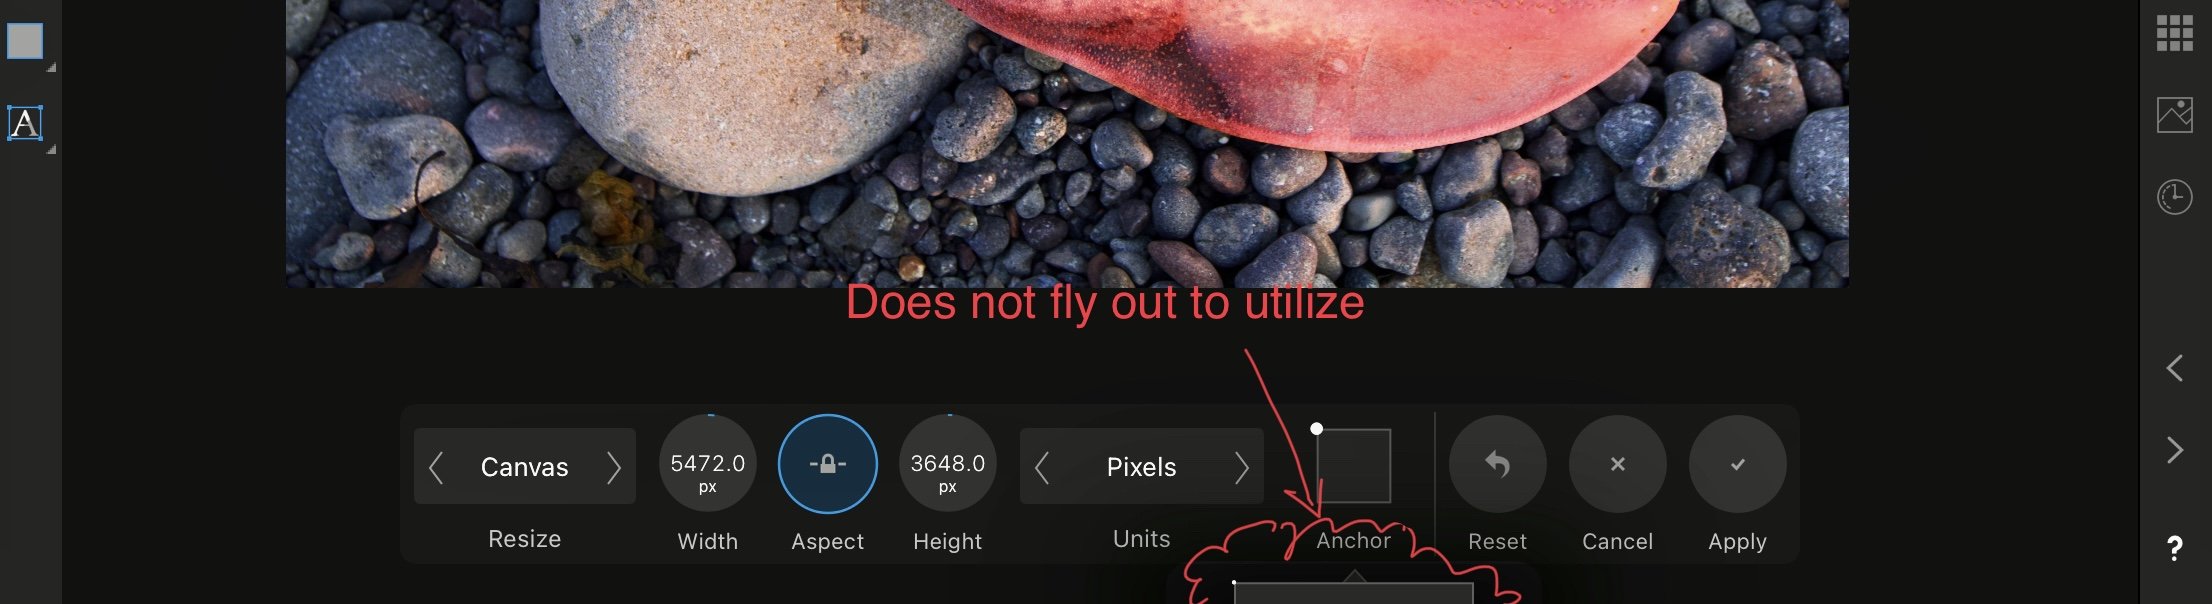
 This problem also appears in designer too apparently- exact same problem on that persons iPad Air 3. My problem is that the anchor points box is not visible completely. It forces me to resize utilizing the 3 top points in the square. If I want to resize my pic ( ie creating an equal border) I cannot select the Centre of the box cause it’s obscured. It may only be a problem with iPad Air 3- which I have. Real drag as I used this for boarders pre 1.9 thanks
- 21 replies
-
- 1
-

-
- anchor points
- canvas
- (and 2 more)
-
The way for resizing and sharpening on the batch job need to be improved. It's the most common task. Resizing image with macro end up strange aspect ratio when all source images do not have the same aspect ratio. But using the resize option on the Batch Job window make sharping with macro useless because macros are applied before resizing. So I think the option for improvement will be: - add an order option to the macros to see if they should be applied before or after resizing. - add the sharpen filer option directly on the Batch Job window. - improve macro functionality to keep resizing the same aspect ratio for all images that have different aspect ratio.
-
 Hi! I made repeat pattern tiles in Affinity Photo, and want to make wallpaper out of them. Could anyone tell me how big I can resize these tiles, so I know how big I can make the pattern tiles in the wallpaper? The pattern tiles are: 3000 x 3000 pixels 300 dpi 5000 x 5000 pixels 600 dpi Thank you very much!
 -
 Hi There I am a complete Newbie to Affinity, I have it on trial as I am thinking of moving from Photoshop which I have used for a number of years, I am struggling with a couple of things with Affinity, I will probably get my head around most of them but Resizing the image has me completely baffled. I am using a desktop Mac and want to resize my original image to a much smaller image (something like 100mm on the long side) while maintaining the resolution and aspect ratio, I suspect that there is an easy way to do this and once someone out there tells me how, I will feel like a complete dipstick, but at the moment it has me baffled, please help! Paul
 -
I had posted a revised a set of macros to resize an image to a fixed maximum size, whilst preserving the aspect ratio. Recently I have been creating macros that resize an image to fit in a frame of a specific size, in this example 3000 by 2000, see here. Resizing to a fixed maximum is essentially the same as fitting the image into a square frame. After some suggestions, especially from @anon2 and @Lagarto, I realised that a simple batch job would do what was required without using macros. For a fixed maximum, enter this value in both the W and H fields of the Batch Job. Even if there is only a single file to process, this is probably simpler than calling a macro (after you have called up View > Studio > Macro or Library and dismissed them afterwards). This also has the advantage that you can specify the target file location and type. One snag I have noticed is a certain loss of sharpness after the resizing. This could be resolved by including a macro to apply a light sharpen as part of the batch job. I am unsure, however in what order the resizing and the macro are applied. It would make a big difference! Note that this simple solution will not work should you want to resize your image to a specific minimum size. John
-
 I'm new to Infinity although I used to use Serif Page Plus from the very first version years ago. Great to find a suite of one-time purchase design and editing programs - I've bought all three - that I can use on my new MacBook Pro. Although searching through Help and the forum, I am having trouble finding out how to SAVE a Batch Process set of instructions. Do I really have to set it up from scratch each time I want to run it? Also I can't seem to reduce the size of a mix of landscape and portrait photos without one dimension being squashed - I do have the A for Aspect ticked and have tried putting the same number in each of the W and H windows. I have also tried W/2 and H/2 as suggested in the boxes which didn't work for me and also 50%. Please can you tell me what I'm missing or doing wrong?