Search the Community
Showing results for tags 'pixels'.
-
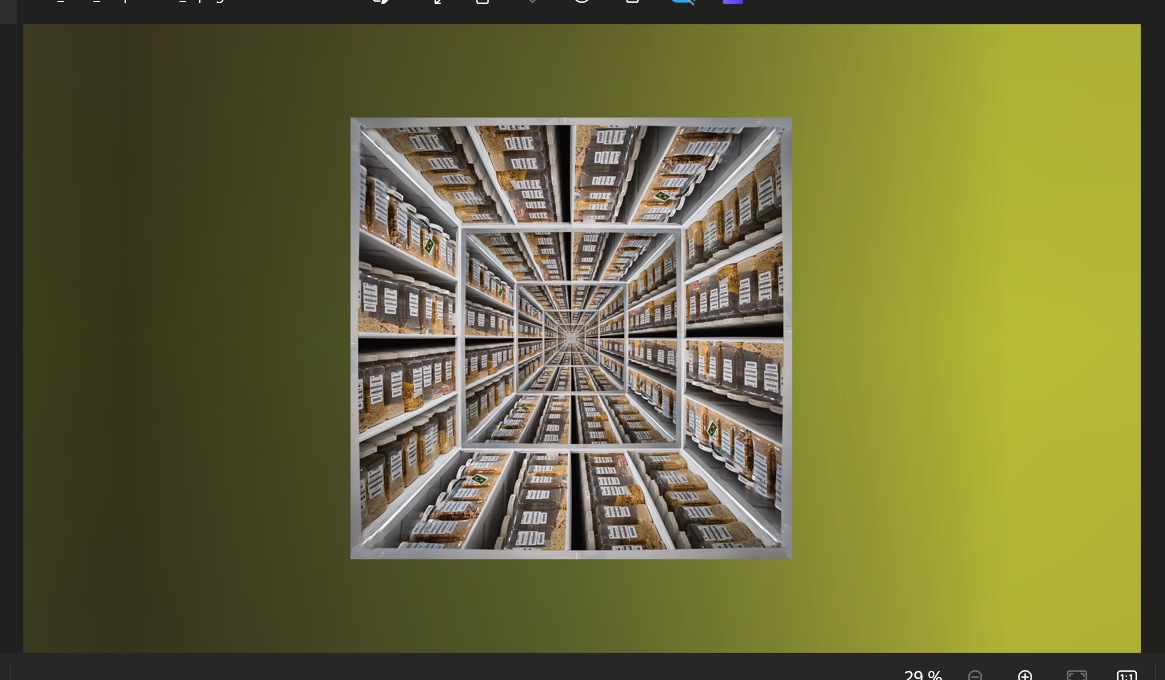
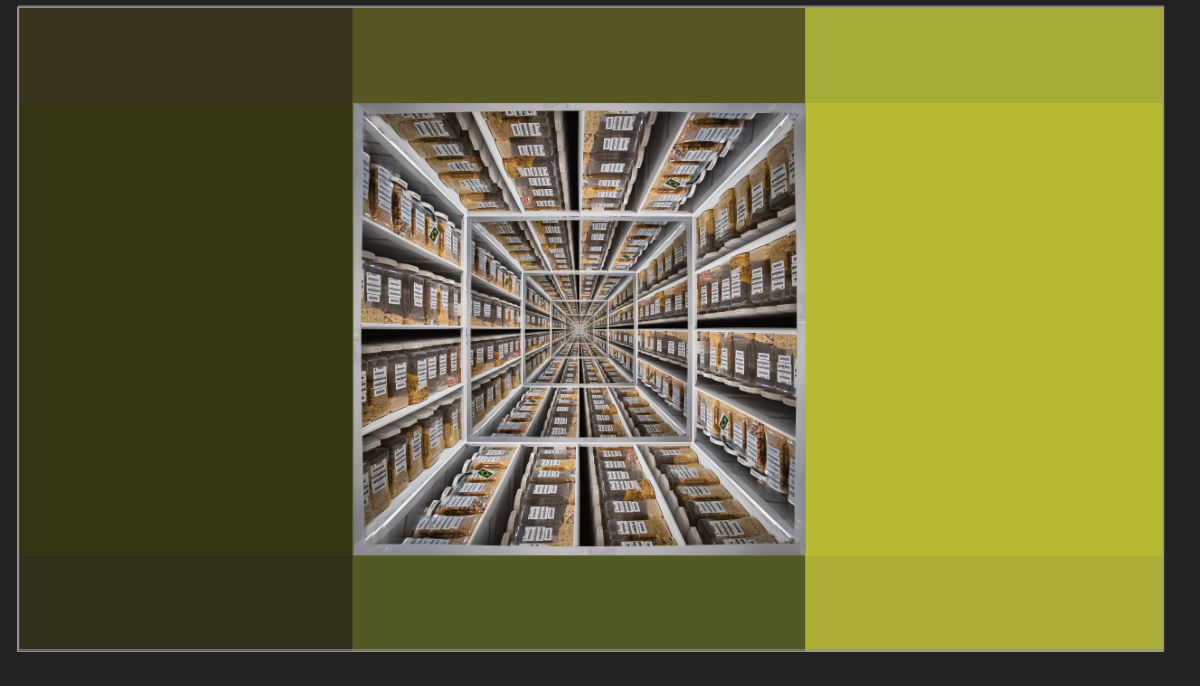
 Hi, I would like to export a collage I made in publisher with the pixels, as it is displayed in the program. (see sreenshot 1). But when I export the image, the pixels turn blurry. (screenshot 2) How can I adjust the export settings to prevent that? I think this article describes my problem (but for photoshop). https://www.hipsthetic.com/enlarge-pixel-art-without-blurring-in-photoshop/?expand_article=1 Thank you so much in advance!!
-
 Currently when resizing a selection, the selection resamples the nearest neighbor outside the selection. The result is that a resized image that has edged that have been feathered or blended into a gradient due to the algorithm used to resample when stretching the image. I'd like to suggest that the move tool gains an option to select the type of sampling algorithm used, with one option be none, to permit the creation of variegated flood filled rectangle based upon selection without the feathering/blending effect or utilizing a different sampling algorithm. This feature would be applicable to Photo or Design where pixel selections can be selected and transformed. The need for this feature goes as far back as early V1 days - I've found numerous reports of this problem with no suitable solution implemented.
 -
 OM System OM-1 80Mp Hi-Res image pixel dimensions are 10368 x 7776 pixels, Photo 2 displays 10388 x 7792.
 -
 As a long time Photoshop user, I've come a long way to understanding how to work in AP over the last few months, but some things remain a bit confusing and unclear to me. I'm sure I'm not alone. The distinction between images, pixels and alpha is one of them. Exactly what are they and what makes them different? For me, it raises questions about masks, adjustment layers, filters, etc. Is a mask made up of pixels, or is it just pure alpha. Same with adjustment layers, live filter layers, etc. Is an "Image layer" pixels? Trying to understand the Channels Panel has brought up a lot of questions. I used channels extensively in Photoshop and was able to easily tweak these channels for blending, masking and other operations. In Affinity, it appears a mask is different from a grayscale pixel layer and needs to be treated differently. How to edit a mask as a pixel layer, so I can apply ANY filter or adjustment, is a bit confusing and seems somewhat complex. I have made progress for sure, but I'd like a more in depth understanding of these differences. I've watched most of the tutorials I can find, and I've done some searching, but haven't found clearly presented information that has examples to clarify these differences. I'm hoping Affinity can create a video tutorial that addresses some of these questions (or point me to something I haven't found in my searches). Some of the issues I'd like to understand include... The distinction between image layers, pixel layers and alpha. What is each made up of and how are they different? Exactly what are masks, adjustment layers, live filter layers, etc...(pixels, alpha, etc) Is there a way to apply ANY adjustment, filter or effect to a mask? If so, how? Why does one sometimes need to 'rasterize' what is already a pixel layer? What happens when one "rasterizes to a mask"? R,G,B channels are pixels (I assume), but what about the alpha channel? These are the sort of questions I'd love to see addressed in an in-depth video with plenty of clear examples. It would make the transition easier and help many people get more out of AP more effectively and quickly. At least, it would for me. If such information is already available, I'd love a link. I think this information would be a valuable addition to standard list of AP tutorials. Thanks.
- 18 replies
-
- 2
-

-
- affinity photo
- alpha channels
- (and 3 more)
-
 Hi, I just placed a bunch of vector PDF files in Designer (and linked them in the resource manager). It appears that these layers all come in as raster images. Is there a way to link (pdf) files as vector? https://affinity.help/publisher/en-US.lproj/index.html?page=pages/Media/placeImages.html?title=Placing content The manual also states DPI settings for linked files, which is what I am also seeing as part of the rasterisation:
-
I seriously need help! I’ve done my editing on the iPad version for years, and I’ve never experienced this before. While editing, it has started destroying whole blocks of pixels down to the last layer, sometimes, even deleting the last layer too. When I try to go back in the history, IT DESTROYS MORE. It gets worse the more I go back, but I can’t stop it in the current point in its history. I sat for 4 hours and had been thrown back at least two-hours in progress. Does this happen to anyone else? I need help to fix this ASAP. Do I have to switch some setting?
-
 See image attached, in the bottom left corner when I open a RAW image (Nikon D800 .nef), there's a square/block that's just a re-rendered copy from another part of the image. It goes away when I close the image and open it again and only happens for the first image I open during an editing session.
-
 I've been using Affinity Photo more lately and there are a few things I'm still trying to figure out. One thing I use often in Photoshop is the crop to pixels feature, you just make a selection and click the crop tool, the crop tool then automatically snaps to the outer most pixels around the selection then you just apply the crop for a pixel-perfect alignment. I have tried this in Affinity Photo as well as manually cropping and it doesn't seem to be able to do this. In some cases it's easy enough to manually crop, but this is not ideal for anything with semi-opaque pixels or glowing effects where clipping may occur if it is not cropped accurately. Is there a way to do this in Affinity Photo?
 -
 I recently started vectoring an object on my desktop (PC) and needed to export it to my ipad. I used google drive to drop the file on and then opened the file up on designer for ipad with Zero problems but when I completed the vector object and tried to export it back to the desktop it keeps exporting the objects as pixels even though I chose "editable" for all aspects of the file it still opens up on the desktop as pixels. Please Help! Thank you in Advance for any help!
 -
 I'd like to configure AD to work with pixels throughout, not points. Even if a document's unit type is pixels, it seems that points continue to be the only units for some things. For example, I can't figure out how to set the stroke width in pixels. I can't even figure out how to change the dimensions of the overage image. (It's locked in the document setup.) I suspect that it's very, very easy, but it's not readily apparent to me. In an ideal world, and I'd to set the document units to pixels and never see 'pt' again while I'm working on that document. I'm confident that I'm missing something. Advice? Thanks, David.
 -
 Is this possible with procedural textures code? Say the procedure is currently operating on pixel (1,2) but I want to know the red values of the pixels at (1,1) ánd (1,3) - how do I get that data? Is there any sort of array structure I can use to store and index a lot of different values? Can I directly access the pixel data of the image as an array? Also is there a way of shifting the entire image or perhaps the current row/column by n pixels procedurally (like "affine" but in code)? If not then please consider this a feature request.
 -
Instant crash upon clicking with eraser tool. Repeated many times. Problem persists in New Document and after Restarts. 1.8
-
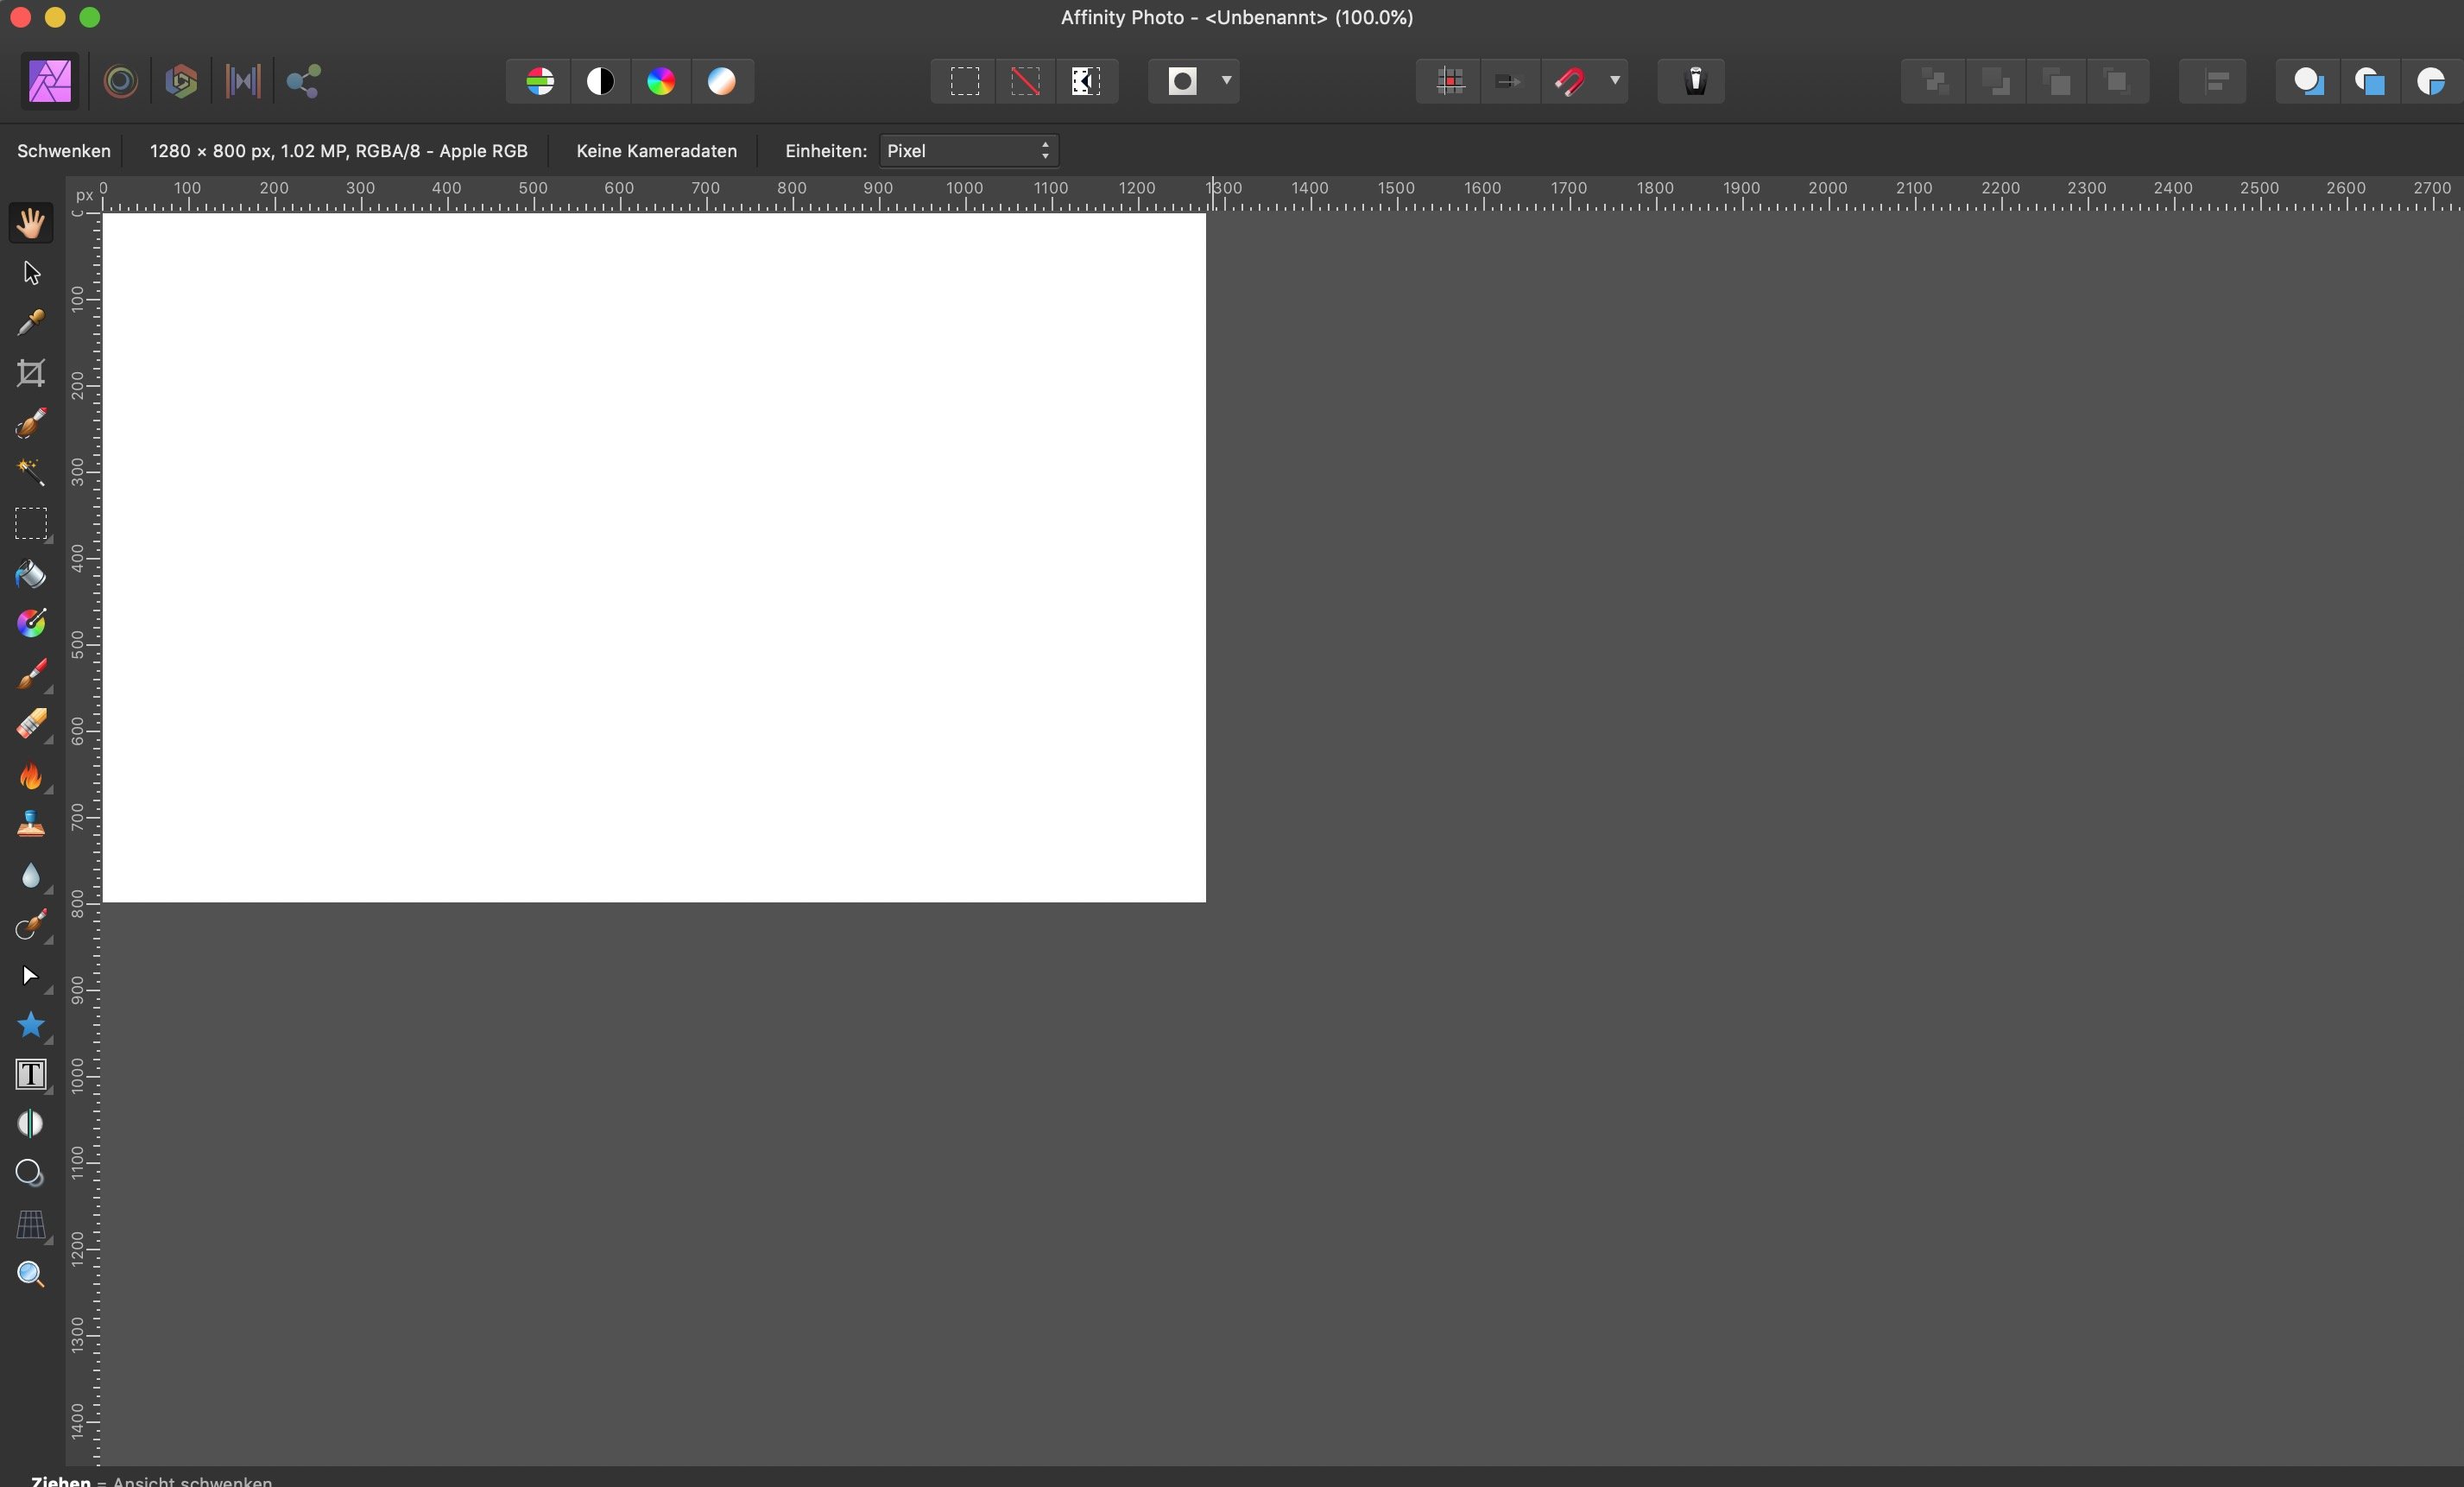
 Hi, I have a problem. I'm working with a Macbook Pro, Retina, 13 '' , at this time my monitor is on 1440 * 900 Pixels. In Affinity Photo in 100% should 1 Pixel be 1 Pixel. But Affinity Photo shows more than 2700 * 1200 which is more than the maximum capacity of the 13'' Retina (which has maximum 1680 * 1050 Pixel. It is a problem if i prepare photos for Websites, because in Safari the pics are normal size, in Affinity photos, due to the big resolution, the photos are half size of what they should be (View 100% Pics with 72 dpi) Any help? Mike
-
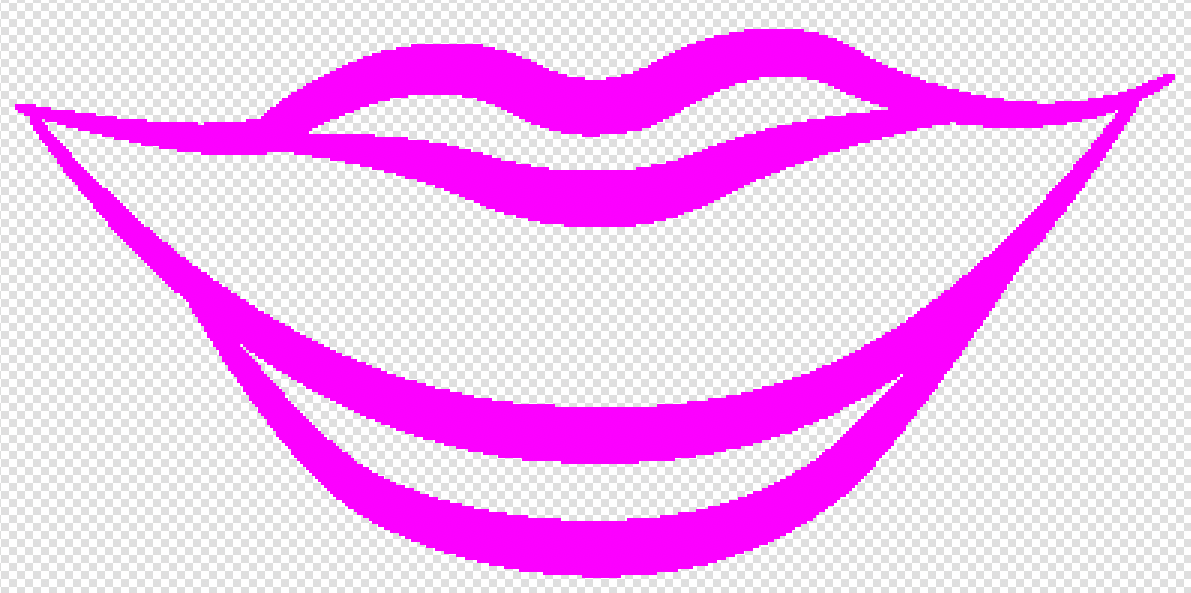
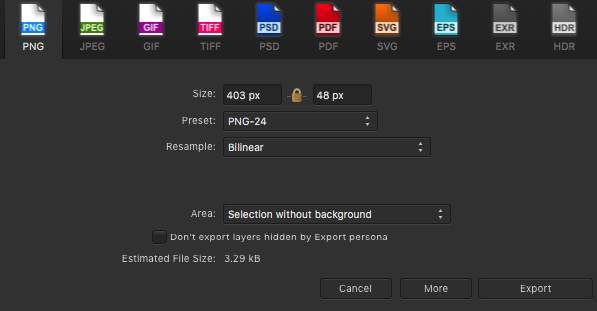
Hi, I'm having a problem similar to the one described in the thread here. I want to export my line art which is a vector (see screenshot ‘Before import’) from Affinity Designer to Affinity Photo in order to colour. I export in a PNG format, import into Affinity Photo, zoom in and that's when I notice the lines look really jagged (see screenshot ‘After export with colour’). I understand that the vector gets turned into pixels during export, but I want to make the lines look smoother. Before using Affinity Designer and Photo, I was working with Adobe Illustrator and Photoshop. My workflow back then was to export the vector from Illustrator as a PNG 'without background' to Photoshop. In Affinity Designer I have tried different PNG preset settings (see screenshot ‘Export settings’) including PNG-24 Bilinear, Bicubic, Lanczos 3 (separable), Lanczos 3 (non-separable) all ‘without background’ selected. But all resulted in the same jagged line. I tried the solutions mentioned in the thread above. However when I click ‘Force pixel alignment’ the quality in Affinity Photo doesn’t seem to change. Would someone on the support team know if I need to do something different in Affinity Designer so that when I import the vector in Affinity Photo there’s not a noticeable difference?
-
I'm unsure whether this is a bug or expected behaviour in v1.7 but it is a change from v1.6 so I'm raising it as a possible bug. I frequently copy and paste images from Affinity Photo to Affinity Designer. The images in Affinity Photo are always by default 144 dpi (because they are screen grabs from a Mac Retina Display). By default when I open the screen grab in AP the document defaults to pixels as its unit of measurement (which is fine). I then have an AD 'print' document set to 300 dpi and by default use mm for the units. In version 1.6 when I copied the AP file/layer and pasted it into my AD file, AD would 'honour' the pixel size of the AP file regardless of the difference in dpi between the two documents, so e.g. if the AP file/layer I'm copying is 2,000 x 2,000px, when pasted into my AD file it was pasted as 169.33 x 169.33mm, i.e. 2,000 x 2,000px, so no conversion took place to account for the difference between the different dpi settings between AP and AD. In version 1.7 this is not the case, taking the same scenario as above, AP document at 144dpi, default units set to pixels, AD document at 300dpi, default units set to mm. When copy/pasting between the two, the 144dpi file/layer pastes at 352.78 x 352.78mm which is 4,166.67 x 4,166.67px, i.e. it has resampled the pasted layer to honour the pixel resolution of the AD document (2,000px at 144dpi = 4,166.67px at 300dpi). However, if before pasting the AP file/layer I change my AD document from mm to px units, maintaining the 300dpi document resolution, when I paste the same 2,000 x 2,000px layer from AP, it is pasted into AD at 2,000 x 2,000px and not 4,166.67 x 4,166.67px which seems a little odd, so it is ignoring the difference between the two document resolutions. So my question is this, is this 'expected' behaviour in v1.7 or a 'bug', as in, shouldn't pasting the file/layer honour the conversion between the two different document pixel resolutions and adjust accordingly or should it paste at the same original size regardless of the difference between the AP and AD dpi's and document units which is the way it worked in v1.6, i.e. in v1.6 with the same set up as above, when I pasted the 2,000 x 2,000px file/layer from a 144dpi AP document with units set to pixels into a 300dpi AD document it pasted at 2,000 x 2,000px regardless of whether my AD document was set to mm or pixels.
-
 In "Grid and Axis manager" the size of grid spacing measured in pixels. This is right for square grid, but has no sense for any other type of grid. Right now other grid types is defined by diagonal spacing in rotated pixels. The only reasonable way for artists measure non-square grid in pixels is to define some height or width of the grid in real non-rotated pixels, but not actual side of grid. To understand it better, please, take a look on my example, with typical for pixel artists 2:1 isometric grid.
-
 Hello everyone, From today i believe i have to start sharing few of our design works (actually i'm working alone but i do build a team from time to time depending on project size ) Most of our client/requesters are Church based and we really enjoy doing stuffs for them but what you will se here is more about Smarty Studio standing with other studio/teams together into what is to become Congolese Design Style. Well each country have it's own style of design but Congo doesn't have a proper thus most of Congolese designers simply clone/copy styles from everywhere. This is a beginning, please your inputs on each design palet/kit will be of great help and will help us improving better. Blessings !
- 103 replies
-
- 2
-
-
- graphic design
- projects
- (and 7 more)
-
 I drew the design in designer as vector. Then added a few pixel layers so I could "paint" in some texture. Grouped all the vectors and then did a selection from layer. Invert selection. Went to each of my pixel layers and hit delete to get rid of the overspray. But no matter what I try - editing in photo (from file menu), using the eraser brush (both programs), or hitting delete, I can't get rid of these weird pixels in the background. So I saved as PSD and took it into another program and that program does not show these pixels! Are they really there or not? I can't print this as it is way to big for a home printer. And if they are there, how the bleep do I get rid of them? If they aren't really there, then why am I seeing them? I need to be in Designer and add text to finish off the design. I guess I could finish it and then export as PSD again and take into another program and resave it out from there as the PNG that I need for final submission. Driving myself nuts today with this. BTW I love how I can go back and forth between Designer and Photo with the file menu. That was very slick. Sig
-
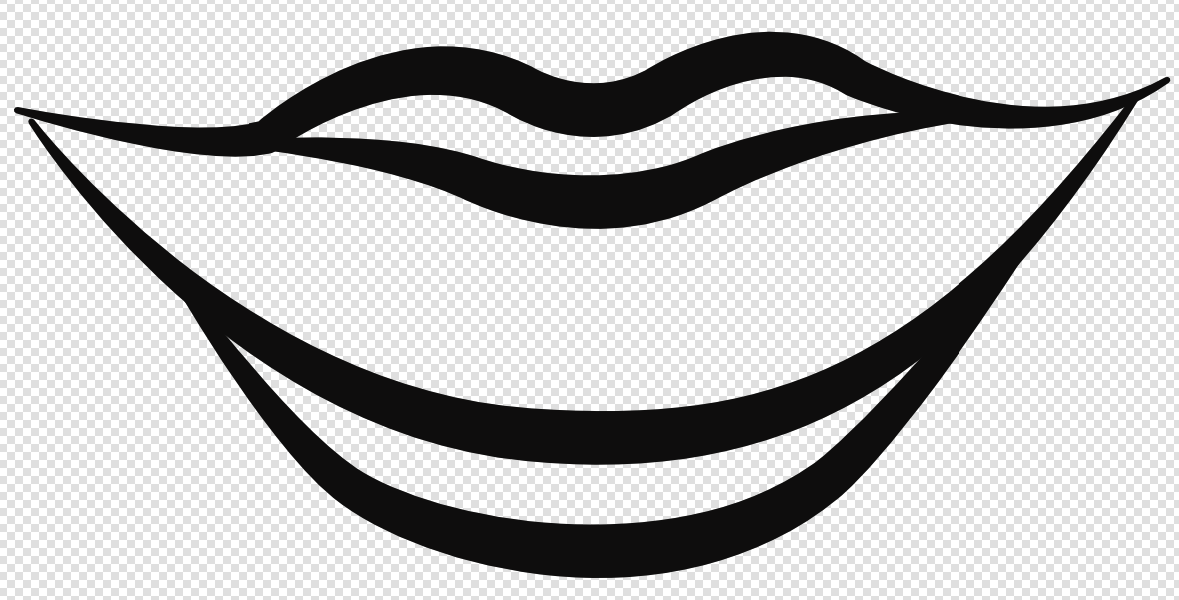
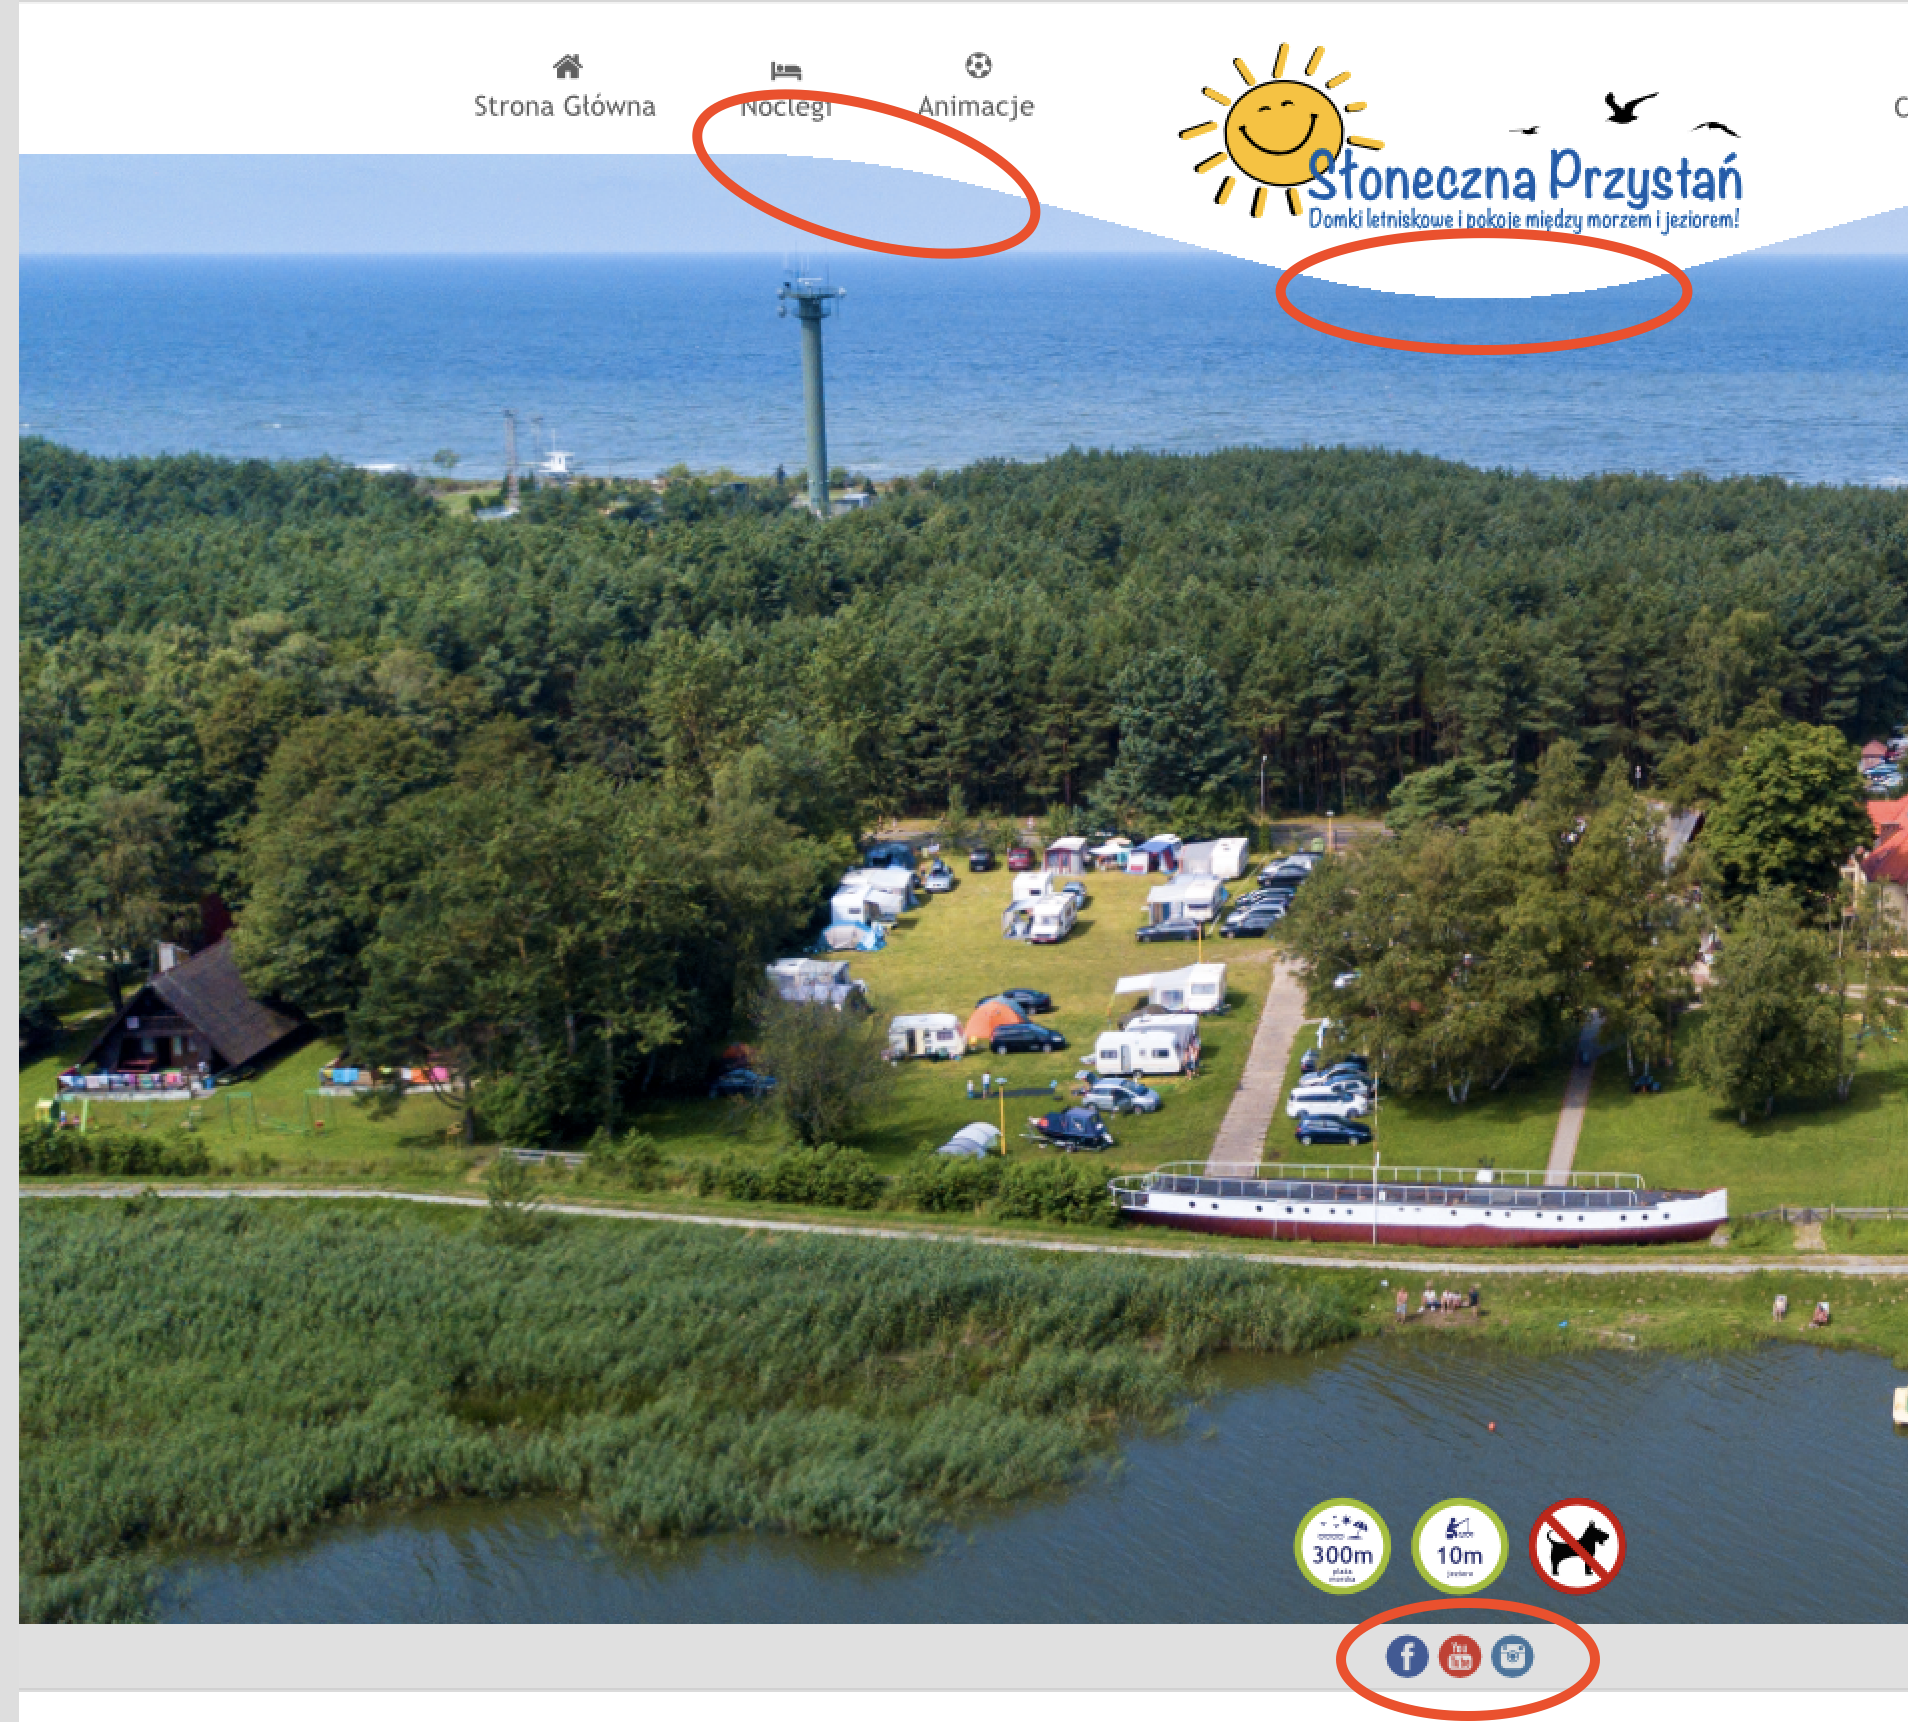
 Hi there! Why after export everything becomes "pixel-like" ? I've attached 2 PNGs. These are parts of the same project - one exported and "screenshot'ed" and another just "screenshot'ed" from AD. Before export everything looks sharp (icons at the bottom) and soft (the wave under logo). Why after export everything goes wrong? The images I've attached are both PNGs, both are screenshots, both have the same DPI, dimentions etc. ? Is it possible to export sharp images, or it has to be always pixel-like and if so, why? best regards Cezary Kaczmarek
-
 What kind of magic would be involved to get the transparency tool to work on pixel based elements/layers?? Possible, no/yes?
 -
 In Affine more often than not I want to offset a layer with a value in pixels rather than percent. This is not possible at the moment.
 -
 I Hi New user just wetting my toes on Affinity Photo. I loaded some shots from for practice and discovered a number of what appeared to be hot pixels red, blue and white 6 in total. I did a test photo on a white background and only came up with one of each color in different positions to the original photo? After loaded the first photo into Photoshop with nil hot pixels and the test photo came up clear as well. Next, I loaded both photos into DXO and again came up with nil hot pixels. See attached, I would be very interested in your findings. Shrunk photos from photoshop. I have not found the facility in affinity to shrink for emails yet! Cheers Montychristo
-
 I'm making my letter on Twitter and Facebook "open" because I'd really like to see this addressed. I believe the issue at hand is also more relevant to a "bug", since the correct term is PPI and not DPI. You've responded to this issue in the forums, but I'm considering this topic an error that I feel many users would like corrected. Please consider making this change. Thank you. "Respectfully, I believe ignoring the significant difference between PPI and DPI is a huge mistake, and an irresponsible choice for a company that does what yours does. I understand you feel this is addressed. However, if the vibe I'm getting is correct, then you feel that so many people misuse the term DPI, it's not worth the effort to address questions and concerns if you change it. I think that's lazy. It seems like a couple lines in an FAQ that you could link to would take care of it. As far as professional work and the factor these properties have on the final outcome of your project, I think these differences are way too significant to ignore. If I create a document at 300 PPI, and then print it at 300 DPI and 1200 DPI, the difference is immediately obvious. With the exact same pixel data, the document printed at 1200 DPI is significantly higher quality. If I create a document at 1200 PPI, with 4 times the pixel data, the quality difference between a 300 DPI and 1200 DPI print is also immediately apparent. Again, the 1200 DPI print is far higher in quality, contrast, clarity of detail, color accuracy, and intensity. However, if I look at two images printed at 1200 DPI, one from a 300 PPI file and one from a 1200 PPI file, then the difference is almost completely indiscernible. This is also true printed at 300 DPI. In spite of having 4 times the pixel data in the same amount of space, the difference between the two printed images is almost impossible to discern. However, two images printed at a different DPI from the exact same digital file are *easily* distinguishable from each other. I'm an artist and designer, and I don't personally deal with printing images very often. That said, after 8 years doing this stuff, the difference between DPI and PPI has always been simple and clear, and I don't think there's a legitimate reason to use them interchangeably. Especially given the impact they have on the final outcome is weighted so differently. I've waited a long time for you guys to come to Windows so I could be done with Adobe, and seeing DPI every day instead of PPI won't change that. I just think the responsible thing to do is set an example, use the correct term, and help clarify that there is a difference between the terms. From what I've seen in the forums, a lot of your users also understand the difference, and it also frustrates them. It's a small change, but it could have a big, positive impact. The users frustrated by it no longer have to be frustrated, and all the people that don't understand the difference can start to. Please consider this. Thank you for your time."
 -
I started by using Designer to build the vector shapes of the hat, and filled the shapes with gradients. In Pixel persona I used texturizing brushes (from Frankentoon) for tinting and shading. Some additional lines, smooting and adding noise was done in AP as well as lighting. The seamless integration between the two programs makes me just love them...
- 5 replies
-
- 6
-
-
- frankentoon
- texturizer pro
- (and 4 more)
-
 Hello everyone, I have created several symbols in my AD document so I can test different color schemes in UI mockups. However I noticed that when I drag them into the canvas/artboard they do not snap to the pixels grid, becoming very fuzzy. Only if I release them and then start dragging again they will then start to snap to objects and moving pixel by pixel. It would be cool if they snapped to the pixels grid as soon as they are dragged onto the canvas so I can make quick drag and drop without having to realign them later. The three pixel alignment toggles at the top bar are on.