Search the Community
Showing results for tags 'photo'.
-
 Hi, I'm fairly new to photo editing and I just bought AP. I'm trying to achieve this effect by following this (PS) tutorial, tho I'm stuck at what hes does at 6:00 into the clip. When I'm trying to make the mask and then invert it, tho I don't get the same effect in AP. Could anyone explain how to achieve this in AP? Couldn't find any AP tutorial on a similar effect.
 -
Hello, new to the forum. I own Affinity Photo license. I had to have photoshop or something really close to photoshop for school. I went with Affinity Photo because it looked much better + it was cheaper right. Now when I don't study anymore. I find it more and more obvious that i need vector based program for my creations. Is it possible to somehow swap license from Photo to Designer (The price should be the same)? Sorry if this question was asked here once. I tried to find answer to my question but I wasn't successful. Thank you in advance, Enster
-
 Hi, i bought few week ago affinity photo and i like it a lot :-)!!! I bought it for the mac via itunes store, how can i aktivate the license for windows? Greetings
 -
 After much consideration I've decided to invest in a portable tablet so that I'm no longer tethered to my Workstation at home and can double my output of designs by working on the go. I currently use an Artisul D13 tablet and it's been good to me, but I've recently tried my friends iPad Pro with the Apple Pencil and it completely blows mine out of the water. It's highly responsive with no lag, pressure sensitivity was off the charts, and there was no parallax which completely blew my mind! I went to Best Buy to purchase one and stumbled upon the MS Surface Book 2 on display so I checked it out. Now I'm conflicted because the Surface Pen is just as impressive as the Apple Pencil! The fact that the Surface Book 2 also doubles as a laptop and runs Windows 10 is a huge plus, but I need to inquire about a few things before I make such an investment. 1) Designer is the main app I use for my illustrations so I was wondering when it's coming to the iPad Pro or if there's some type of beta I can use until the full release. 2) If I get the Surface Book 2 am I allowed to install the same Designer & Photo I have on my PC or do I need a different License? 3) I know Photo is optimized very well on the iPad Pro so is it safe to assume that the same could be said for all versions of the Surface Book 2? 4) Let's say I get the Surface Book 2 with the i7 CPU, GTX 1060 GPU, and 16gb of Ram; Are there any type of performance benefits to having all the extra memory and computing power? If so what are they? Sorry for the long post and please feel free to comment. All opinions are welcome specially if you have an iPad Pro or the Surface Book 2.
 -
Hey everyone i have found there is a great stand alone app on the web that's can be helpful to all designers and photo designer. it's called ColorWell. it's works very well and help generate palettes of color for a project on the go like the Adobe product doest but the must is that this software works offline. it's may help for demanding peoples when you can't results you want with the functionality already implemented in Affinity Designer. i myself work with both solution they help balance and do a better job of color choosing. Though this may help someone out there
-
 This morning, I loaded a .png file and tried to resize by using Document > Resize. Affinity just ignored it. The value in the width field remained the same. I tried entering a pixel value, a percentage, to no avail. I tried unlocking the layer, and rasterizing the layer, again to no effect. I tried it on a freshly-developed .awr file (Sony raw) and on a .jpg file, again to no avail. I then tried applying one of my macros which does a resize, and this worked fine. Reverting to Document > Resize still did not work. It worked fine yesterday! John
 -
I have sometimes been puzzled as to why some filters don't work in Photo. I think the reason is often that the filter is applied to the wrong layer. For example, set up a background layer, then do some adjustments, such as a Curves adjustment, then do an Unsharp mask filter. Sometimes nothing seems to happen - and indeed most probably nothing does happen. This seems to be beceause fhe filter will only work on the layer below it, which is not the actual layer which is to be filtered, but is an adjustment layer. It would perhaps be helpful if a warning could be given if a filter is being applied to a layer which is itself not going to be modified. Of course knowing about this issue makes it much easier to manage, and the filter can be dropped down onto the layer to be modified, and the effect is immediate. Experienced users probably won't need the warning, as they'll know about this already, but other users may find a warning helpful. SORRY THIS IS A DUPLICATE. HOW DO I DELETE AN UNWANTED POST?
-
I have sometimes been puzzled as to why some filters don't work in Photo. I think the reason is often that the filter is applied to the wrong layer. For example, set up a background layer, then do some adjustments, such as a Curves adjustment, then do an Unsharp mask filter. Sometimes nothing seems to happen - and indeed most probably nothing does happen. This seems to be beceause fhe filter will only work on the layer below it, which is not the actual layer which is to be filtered, but is an adjustment layer. It would perhaps be helpful if a warning could be given if a filter is being applied to a layer which is itself not going to be modified. Of course knowing about this issue makes it much easier to manage, and the filter can be dropped down onto the layer to be modified, and the effect is immediate. Experienced users probably won't need the warning, as they'll know about this already, but other users may find a warning helpful.
-
 Hello, did anybody try to use Affinity Photo for even basic astronomical images processing? I started with stacking without dark frames and worked very nicely, how would you apply dark frames and flat fields? Thank you Gaetano
 -
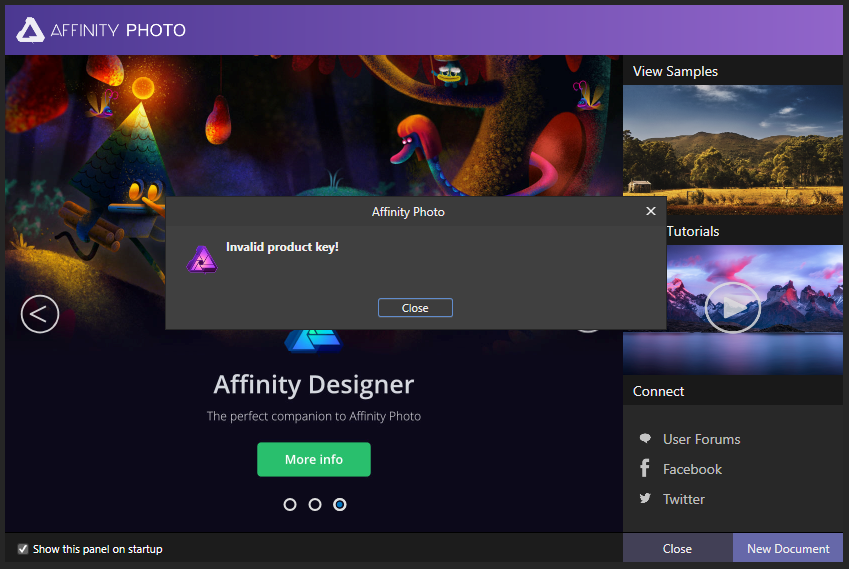
 A few days ago I purchased and installed Affinity Designer. I already had Affinity Photo installed on my PC, but after installing Designer, every time I open Photo I'm greeted with an error message about some "Invalid Product Key" (see attached image). I don't know how to fix this, and would like to be able to use both programs. Thanks in advance for any help you can give me!
-
 I am trying to delete a selected area of a layer in Photo, but when I click delete or cut, the entire layer disappears. How can I delete just part of a layer?
 -
What do you guys think about the logos being updated? I think they look pretty poor. More like this? I was a lot more strict geometrically. Don't mind criticism.
-
 Hello folks, I've collected a number of images from flickr that resemble the two attached here. I have two (simple?) questions: 1. What is the best way to remove the shadiness from the images so the drawn dark areas have common 'darkness' and the backgrounds (the page, essentially) are clean and simply white? Actually, one question only. I'm not sure if the easiest way to do this is: lasso, mess with curves, or mess with blend ranges, etc. I find knowing and choosing the 'right' way to do simple functions like this to be terribly challenging. So many choices.
-
Good afternoon fellows! After watching the official color profiles tutorial in AP on iPad, there remained a single question. How well will this work on an iPad not offering a P3 display like the all new iPad 2018 Ort iPad Air 2? Currently, I‘m using a 9.7 iPad Pro 2016 which has the P3 display built in and I wonder if there will be a disadvantage switching to the new iPad. Is a P3 Display essential for a ProPhoto based workflow? Thanks in advance!
-
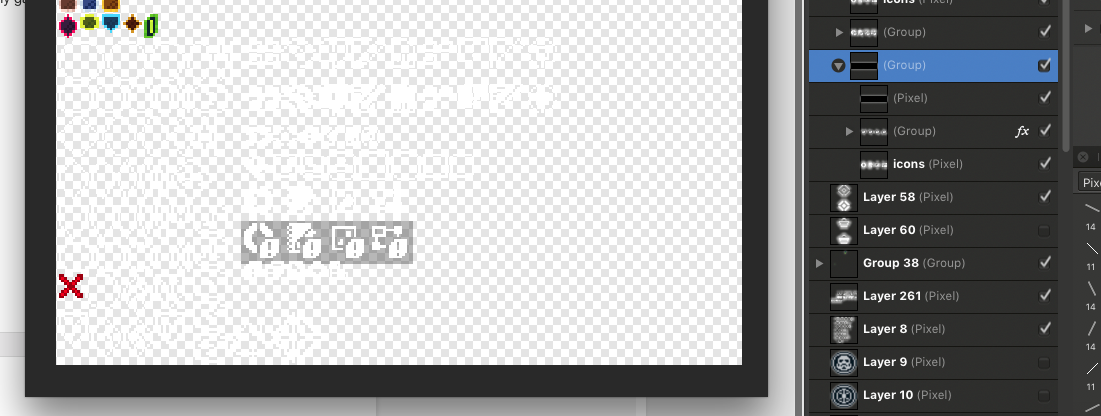
In AF i'd like to change colors used for checkerboard pattern. When working on UI elements document for my game, I use white for icons and color them in game engine. All I see in AF is parts that are on light gray. Checkerboard pattern needs to be close to 50% brightness.
- 5 replies
-
- 1
-

-
- transparency
- ui
- (and 2 more)
-
 I just purchased Affinity Photo for windows and cant wait to get started drawing. I noticed as soon as I hover over the screen with the stylus it acts like the hand tool dragging the canvas all over the place. Is there an area I need to configure settings to stop this from happing?
 -
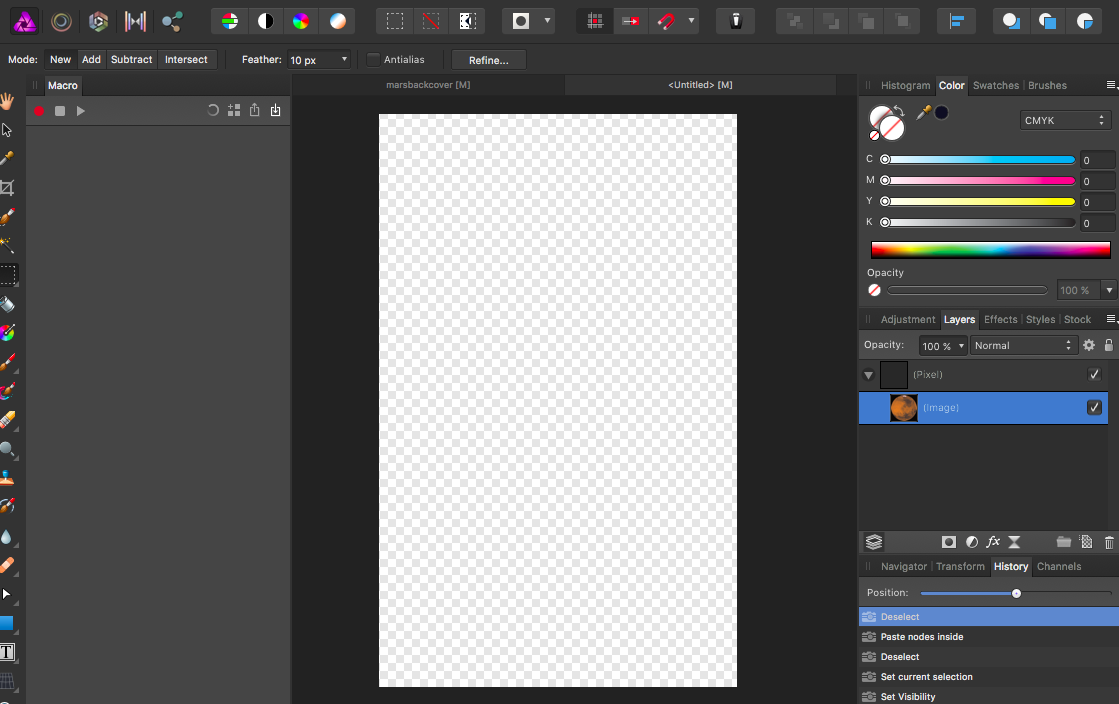
 I'm trying to add an image to an existing image. Whenever I import the image, it completely fills the existing image and can't be resized. So I created an additional image (afphoto file) because files in the afphoto format can be resized. However, when I complete the following steps nothing is shown on the screen. If I use the square tool and try to paste the new image inside a created field, nothing happens except the square field remains.
-
 Hello & HNY! I have been experimenting with the HDR merge and Focus merge modules and I'm experiencing a problem that Affinity Photo does not align the pictures correct. I can't find a way to align the pictures manually. Maybe I've not found the feature or this is currently not possible. Thanks, Rolf
 -
 Hello fellow affinity users, I was using Capture One as a RAW Developer and since I am using Affinity Photo as well I was wondering about the following: When using C1 it always used the raw data as you draw layers right on the raw output. My question is, does affinity use any of the advantages of having a raw file once it has been developed and you left the develop persona and edit in photo persona? Since I am usually not doing too much in the dev persona I might as well stop shooting raw and save tons of storage if there are no advantages beyond the developing persona. Also, what exactly happens when going from the photo persona back to the developing persona and you redevelop it? will you start from scratch? I hope my question aren't too dumb or answered anywhere else Thanks in advance!
 -
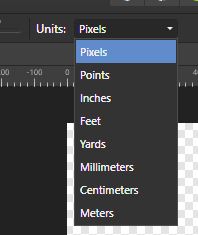
 I wasn't able to find out how to set the ruler in percent units wich is really a big need for me. When I go to the zoom or ruler I do not see "percent" as an option. Thanks
-
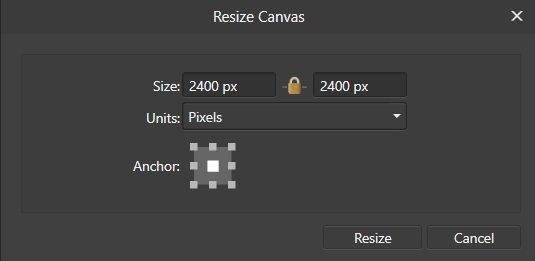
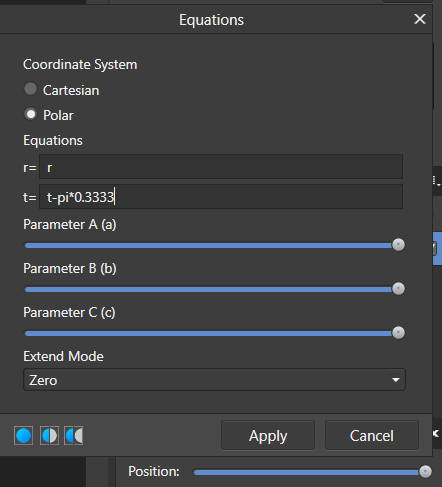
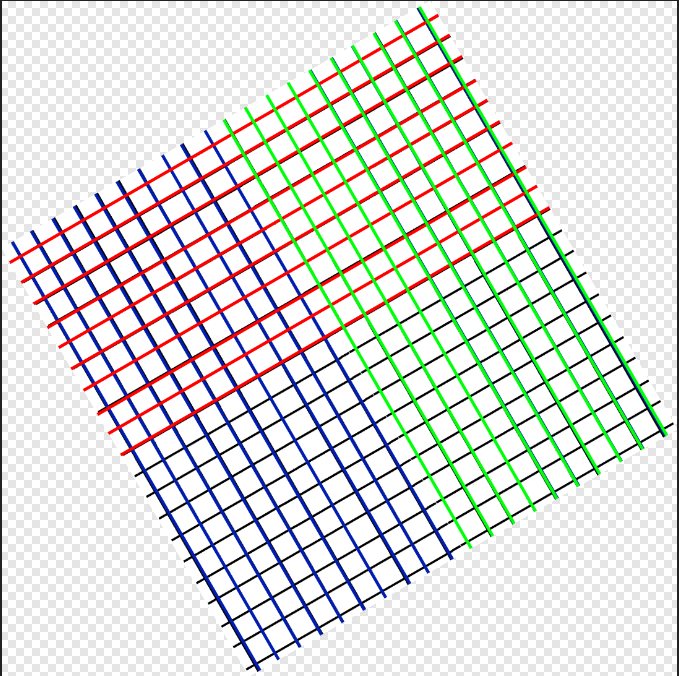
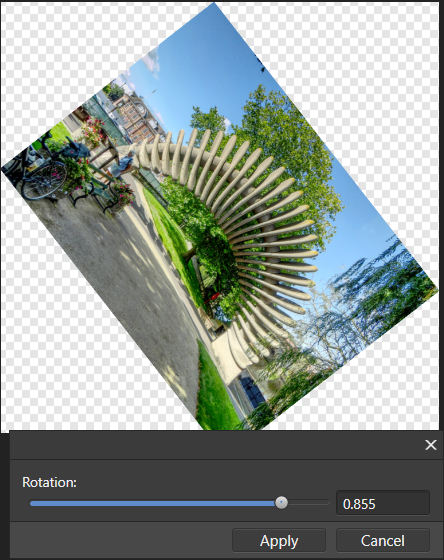
Many options for rotation in Affinity Photo are constrained to simple fractions of a circle, with 15 degrees being the smallest. It is possible to rotate by an arbitrary angle using the Crop tool. You place the cursor just outside a corner, and rotate by dragging the two-arrowed cursor that appears. This tutorial explains how you can rotate an image using Filter > Distort > Equations. Before rotation you would normally want to expand the canvas so that you can give the document enough room to rotate. The new canvas width should be at least 150% of the existing diagonal and the Anchor should be in the centre of the array of nine positions. See this image: q Now select Filter > Distort > Equations. The top pair of buttons allow you to choose the co-ordinate system. The default is Cartesian (the usual x and y axes). You need to choose the Polar option. You now have two lines: r=r t=t The r represents the radius (the distance of a point from the centre of the image), and the t (or Theta) is the angle of rotation in radians.Radians are a measure based on pi, You can easily express an angle in radians as a multiple of pi, so 2*pi represents the entire 360 degree rotation, pi represents a half-circle rotation (180 degrees) and pi/4 represents a quarter of a half circle, or 45 degrees. So, writing t=t+pi/2 rotates the image by a quarter of a circle counter-clockwise. Entering t=t-pi*0.333 rotates it by a sixth of a circle clockwise. So, given a grid like this (after resizing the canvas): and using the equations as above, gives an image like this: which can then be clipped (Document > Clip Canvas) to give: . I have created a macro with a single parameter a which represents the fraction of pi. The default value of 1 will not rotate the image. Increasing a will give progressively more rotation; a value of 0.5 will rotate by a half-circle. In the example here, I have resized the canvas before applying the macro. The formula used in this macro is: t=t+pi*2*a. Here is the macro: Rotate.afmacro John
-
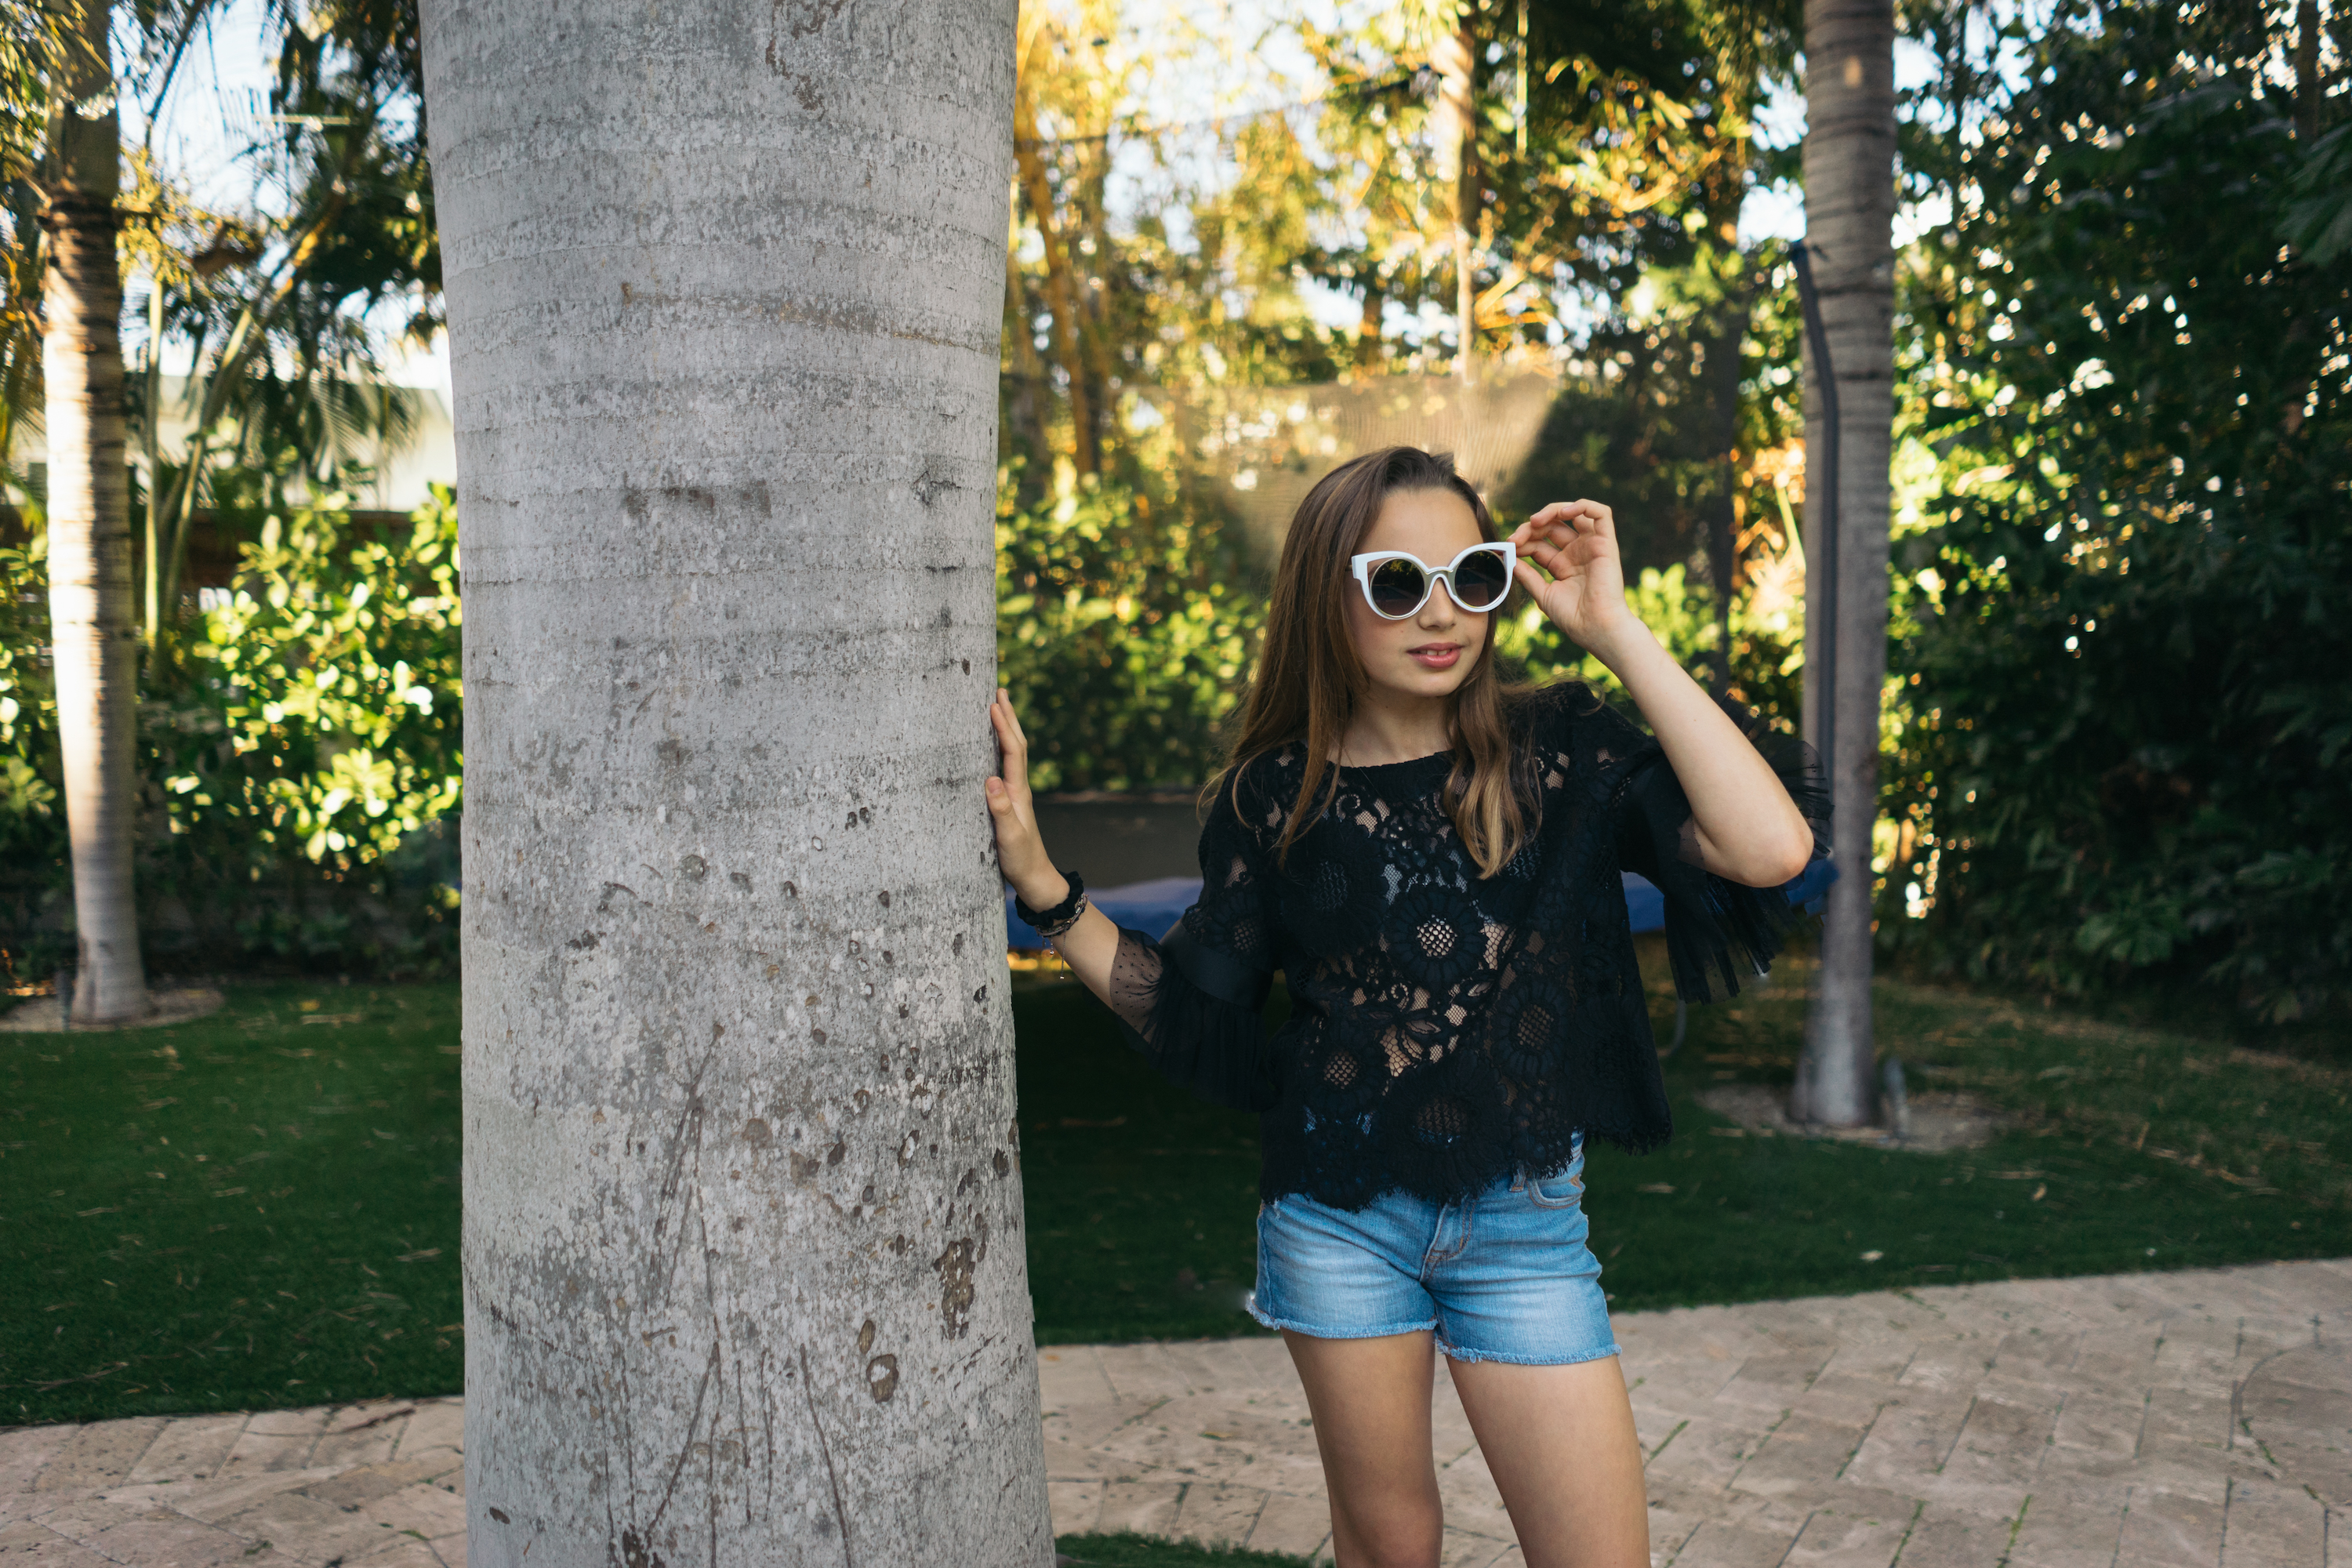
 Hi everyone, I am trying to remove an object from my image and after much searching on the forums and internet, I have not found a way to accomplish what I'm after. Basically, I have used the Inpainting Brush Tool on a Pixel layer as shown in the in-house tutorial to remove portions of it already, but I'm still left with parts of it that I can't take out with the same brush. On the image, notice that behind the girl there's a blue-colored trampoline that extends from one palm tree to the other. This is what I would like to take out. What would be the best and cleanest/professional way of going about this? Any ideas would be appreciated. Thanks!
-
 Is there a way to keep track of the brushes used in an artwork? Maybe I'm missing something but it seems that the selected brush doesn't stay highlighted after selecting and using it and it is hard to know which brush I'm using, the problem magnifies itself when using multiple brushes in an artwork as I find it impossible to keep track of what was used. I could make a new brush category for each new artwork and then move the brushes used into that category but then that will lead me to having a tonne of categories with brushes all over the place.
 -
 I am new at this on the community forum so forgive me if I am in the wrong area. I want to put some videos together using clip art people or even animated people. Does anyone have an idea as who may have some in the community for download?
 -
 EDITED: This is just a compilation of Affinity Photo and Designer roadmaps by TonyB and MEB's "Common Feature Requests INDEX", just to be easily found. Everything that is already implemented is removed. I hope that Affinity staff would not get angry for doing this on my own. Just want to keep things clear. Designer Phase II transparency flattener Bleed area guides Mesh fill tool Mesh warp/distort tool Knife tool Calligraphic line styles Export slices previews with actual export data Pages Text features including Bullets and Numbering Knockout groups Multiple Effects/Fills/Strokes per shape Convert Pixel selection to Vector shape Replicate/Blend Tracing Tool/Persona Vector Eraser Vector Patterns Feathering Simplify paths / Line Smoothing Arrowheads Photo Looks persona Levels improvements Curve Improvements Export persona - preview with compression and palette optimisation Non destructive Develop Layer Tool Presets User categories in the media browser for shapes and objects Support for image layer Spot channels Crop to Selection Crop & Resize (single step) Freehand Selection Tool more similar to PS Lasso Both User Interface Icons / Customization Progress bar/visual feedback on file loading/saving Remember last used folder used for each type of action (open, save etc). Sticky Settings (remember tools settings) - It's being implemented / work in progress in 1.5 / 1.6 versions Support to RTL (right-to-left) Languages (Arabic, Hebrew etc) Change rulers origin point / relative origin point Allow guide creation from all tools Lock Guides Image/file linking Select objects by attributes (same fill, stroke, font etc) Ability to export/save to the same folder as the source (opened file) Rotate & Scale objects using the Rotation Centre as reference point - Already available in Designer 1.6 Beta Background Blur Layer Effect (FX) Noise/Grain Export PSD text as native text DXF/DWG