Search the Community
Showing results for tags 'patterns'.
-
Make your own digital mosaics and fauxsaics in Affinity Designer! >>GET THE PACK HERE<< After a trip to Sicily, where I saw some stunning ancient Roman mosaics, it occurred to me that there was no tool which allowed Affinity Designer users to draw their own mosaic designs. So, I set about making this complete mosaic tile tool kit – it contains everything you need to create your own realistic looking fauxsaics. In this pack I’ve captured the irregular, chipped edges of the original Roman source material (c. 4th century AD) allowing you to create stunning designs and illustrations with a sense of antiquity. However, the pack isn’t just for adding a vintage look – as you’ll see from the screen-shots you can use the Affinity Designer brushes, patterns and textures to bring a unique twist to contemporary designs too. To test the pack I studied real mosaics and put the Affinity brushes through their paces by re-creating a real Roman design – the bear image screen-shot. >>GET THE PACK HERE<< The pack contains all of these fantastic components: The Brushes A variety of mosaic tile Affinity Designer vector brushes, all sourced from genuine 1600+ year old material. A grout brush is also included – perfect for adding a rough, undulating edges to vector shapes. The Pattern Styles 6 authentic mosaic repeat patterns – perfect for backgrounds or for flooding areas with tiles quickly. Supplied as One-click Affinity Designer styles. The Border Brushes Add authentic looking borders to your mosaics. 6 Different designs supplied, each made using multiple vector brushes – simply layer them up. The Seamless Overlay Textures 2 Stone textures and 2 grunge overlay textures – use these to flood areas quickly and add age and authenticity to your designs. The featured Affinity Designer textures are seamless, so you can fill any sized area. Supplied as One-click Affinity styles. A quick reference PDF guide This will help you quickly find the right brushes and styles for the task in hand and get the most out of this brush, pattern and texture pack. Example file The Skull image has been supplied for you to backwards engineer. Supplied as an Affinity Designer file. Instructions A very thorough guide on how to load, apply and then adjust this brush, style and texture tool kit is included. >>GET THE PACK HERE<<
-
 Get our FREE Canvas Creator and give your digital art the authenticity it deserves! Infinite Canvas Creator features a range of real-world artist’s textures and papers – perfect for showcasing your designs and illustrations. The canvas textures include watercolor paper, canvas, vintage parchment, chalkboard and more! All textures were sourced from the real thing and have been supplied as seamless, repeat patterns so, you can fill infinite areas without untidy edges. >>FIND OUT MORE HERE!<< >>FIND OUT MORE HERE!<<
 -
Our authentic marble and stone Affinity textures are perfect for creating stunning digital collages, product packaging designs and more! Introducing an authentic, user-friendly marble and stone texture pack for Affinity Designer! Our marble and stone textures were sourced from 100% genuine stone and marble and have been saved as seamless repeat patterns so you can fill infinite-sized areas without the disappointment of untidy edges and messy tiling. This marble and stone collage creator also features grout brushes and two grout texture styles – gold embossed and classic grout. This gives you everything you need to create stunning digital collages, packaging designs, and eye-catching backgrounds or add a touch of class to any design project. Check out the screenshots to see what’s possible with this complete texture tool kit. >>GET IT HERE!<< THIS COMPLETE TOOL KIT FEATURES ALL THESE HANDY DESIGN TOOLS AND FEATURES: The Marble & Stone Textures: Seamless, repeat patterns supplied as Affinity Styles. Use them to fill infinite-sized areas with ease. Grout Brushes: Add undulating edges and outlines to your designs. Grout Styles: Add embossed gold or classic grout effect to your outlines. An Example file: Backwards engineer this finished design. Not compatible with Affinity Designer 1. A Quick Reference Guide: Navigate this extensive collection of Affinity textures quickly and easily. Instructions: Learn how to use this marble and stone design tool kit. Technical information: All texture tiles measure 2000 x 2000px but because they tile seamlessly, you can fill infinite-sized areas. >>GET IT HERE!<<
-
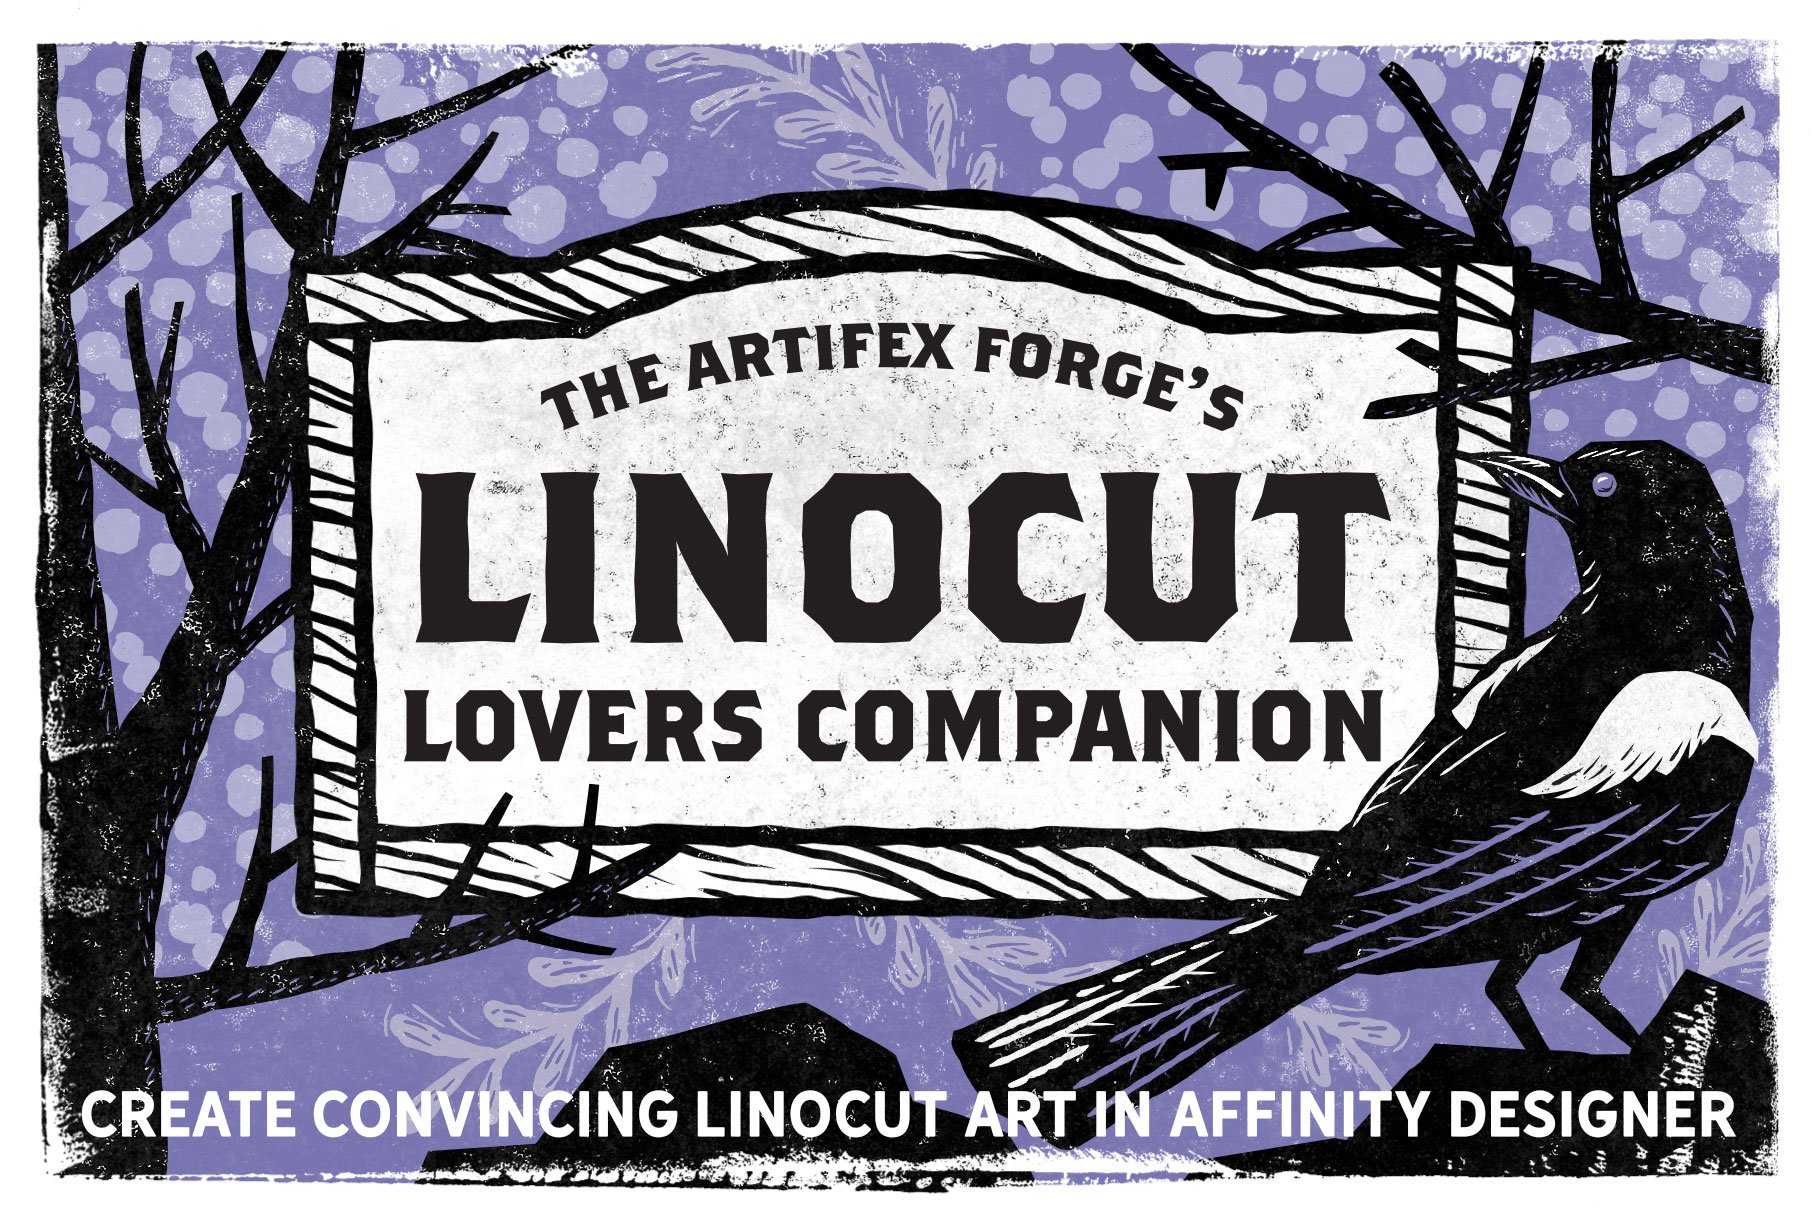
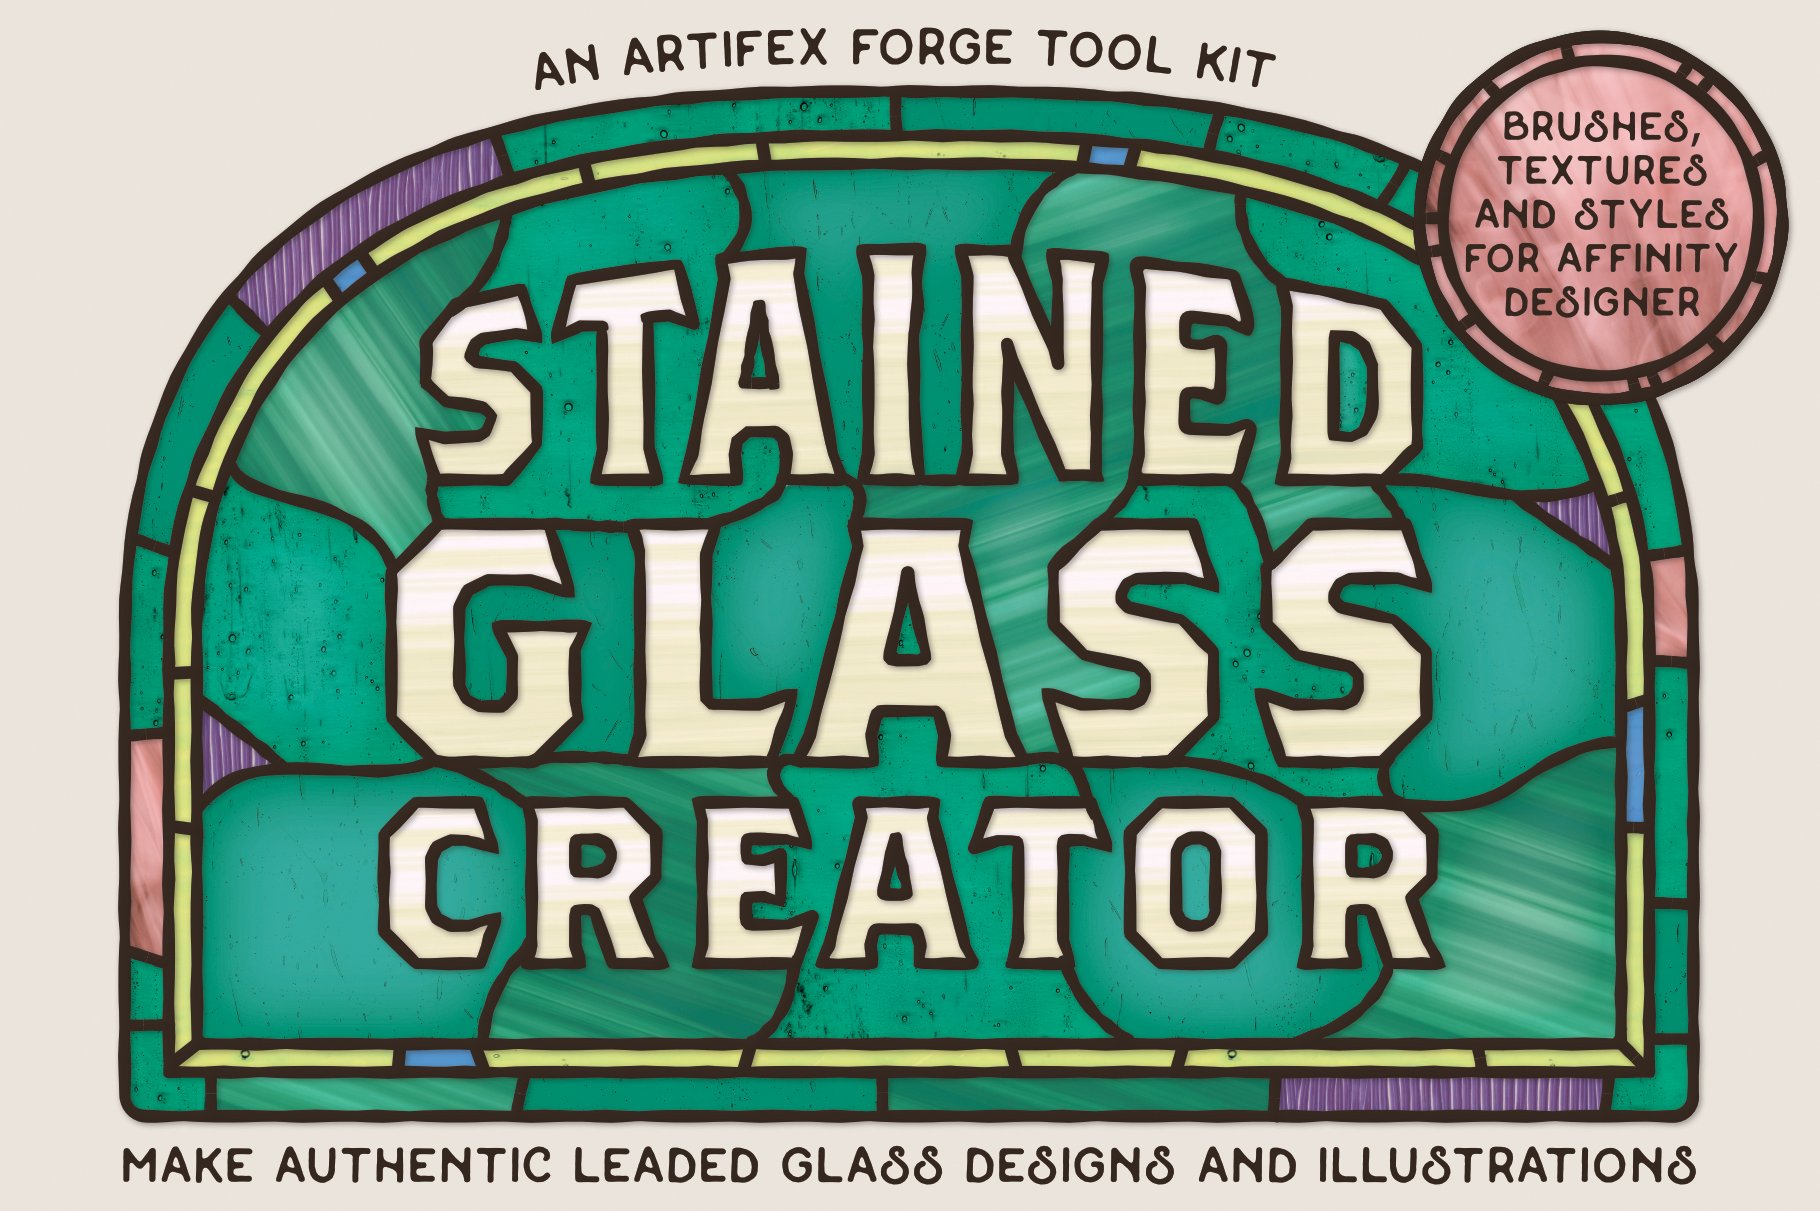
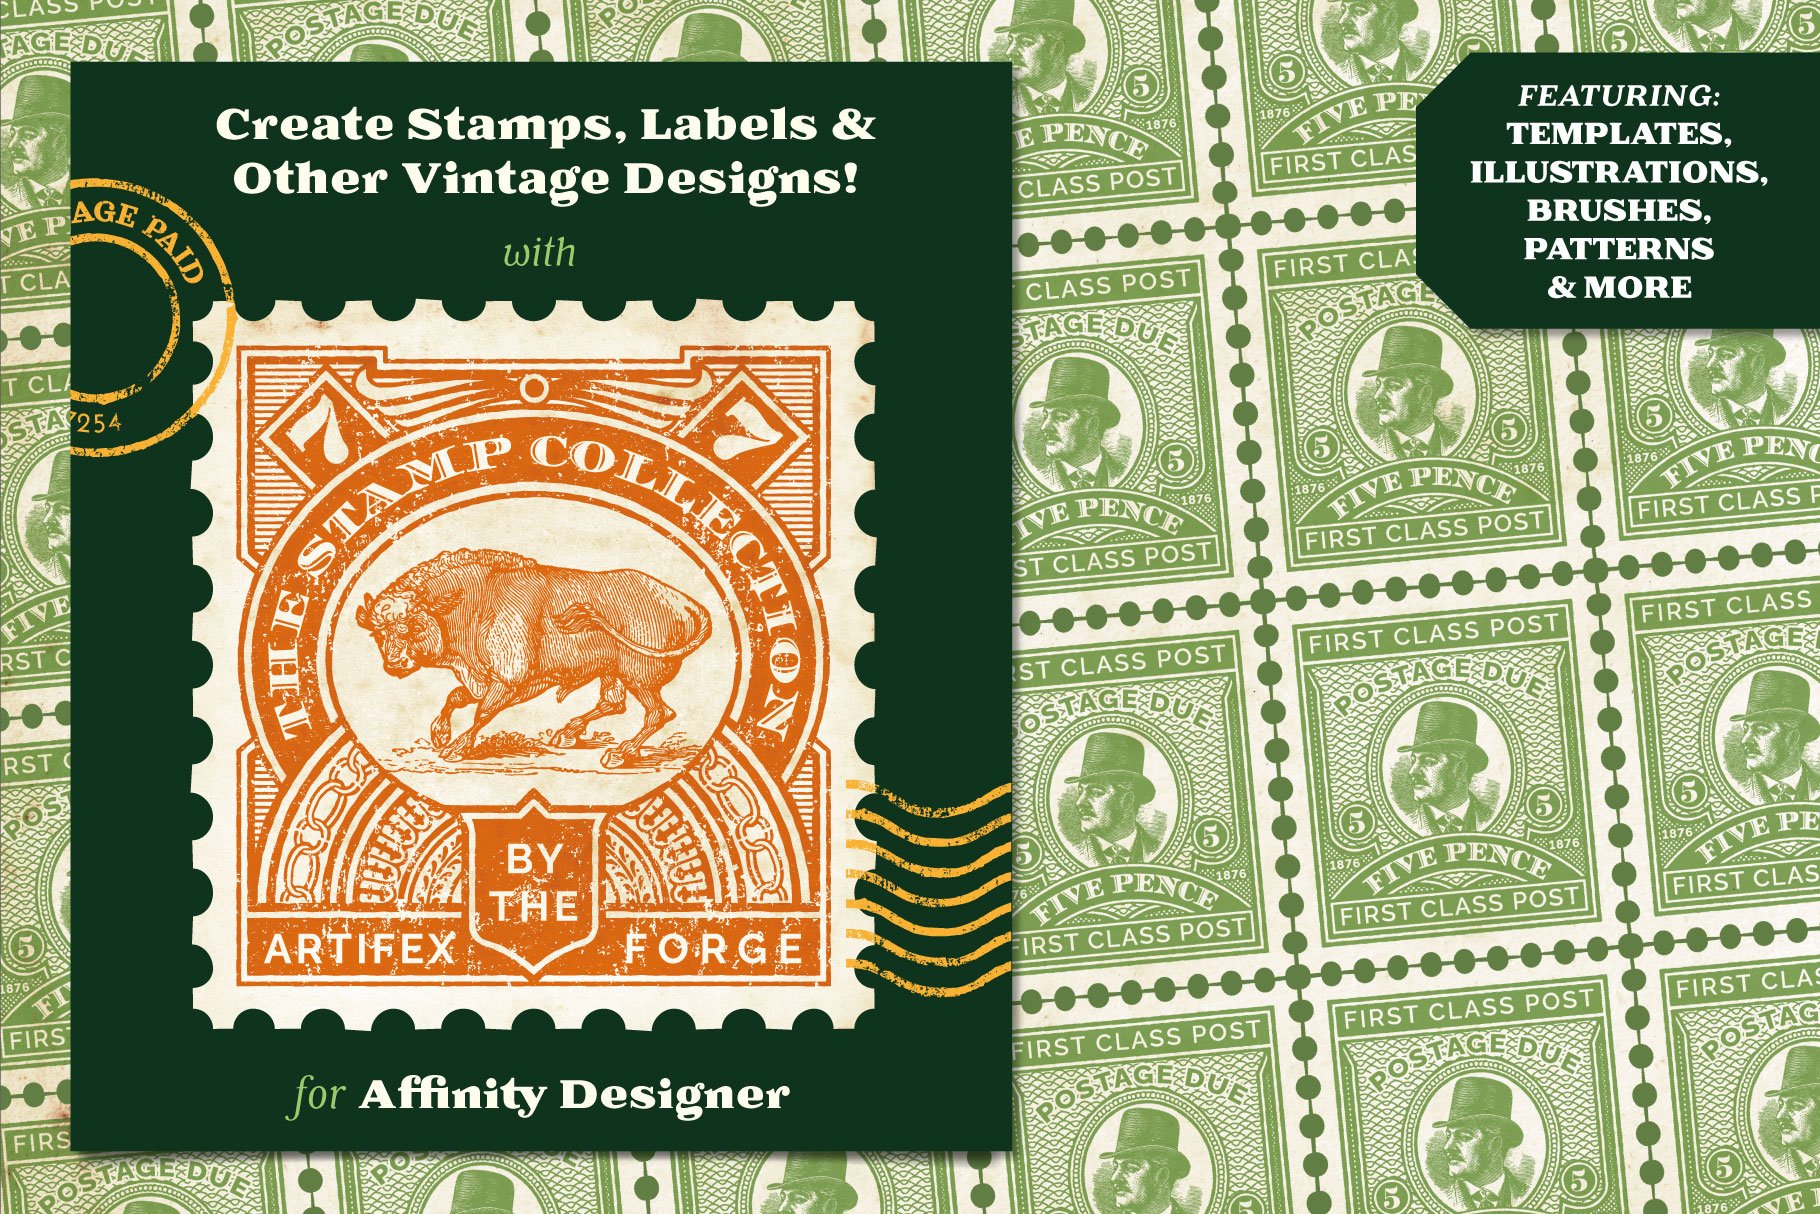
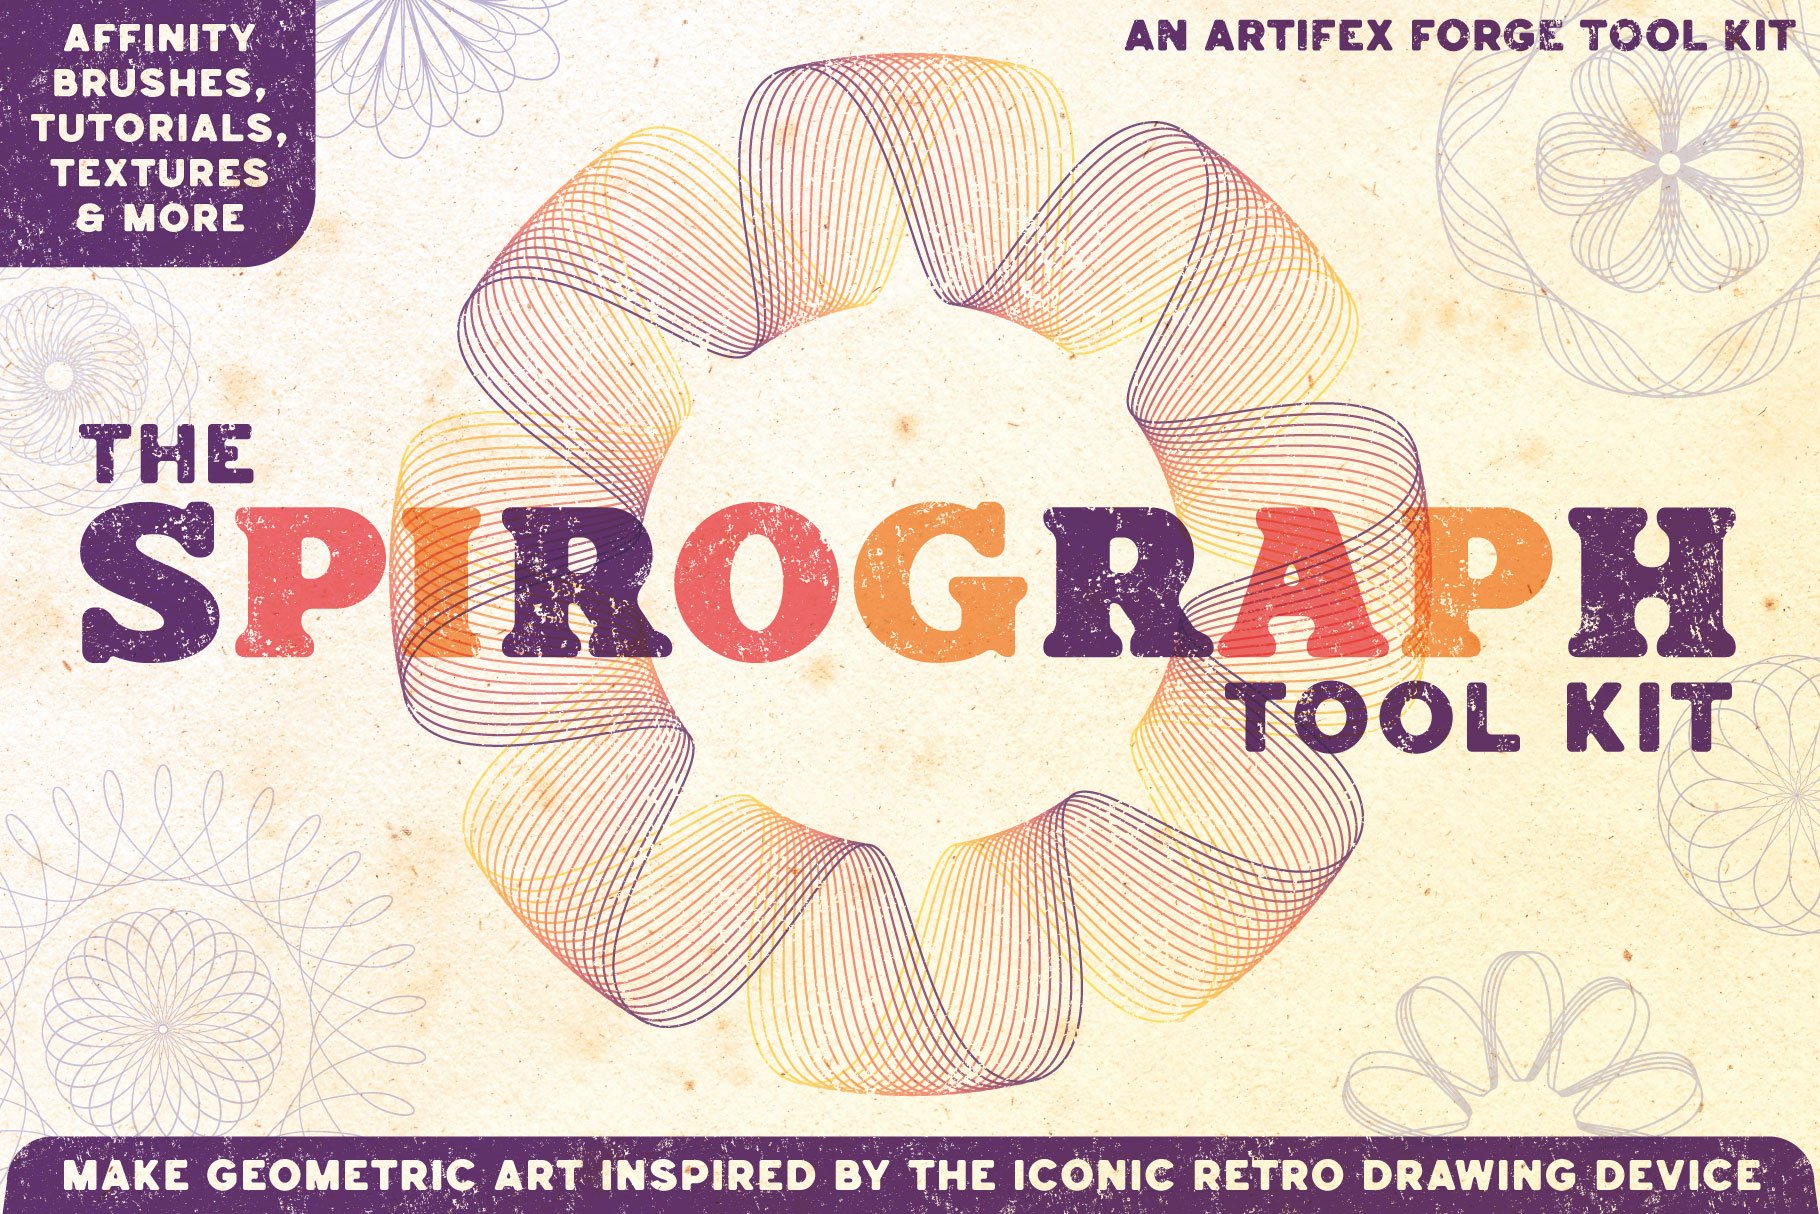
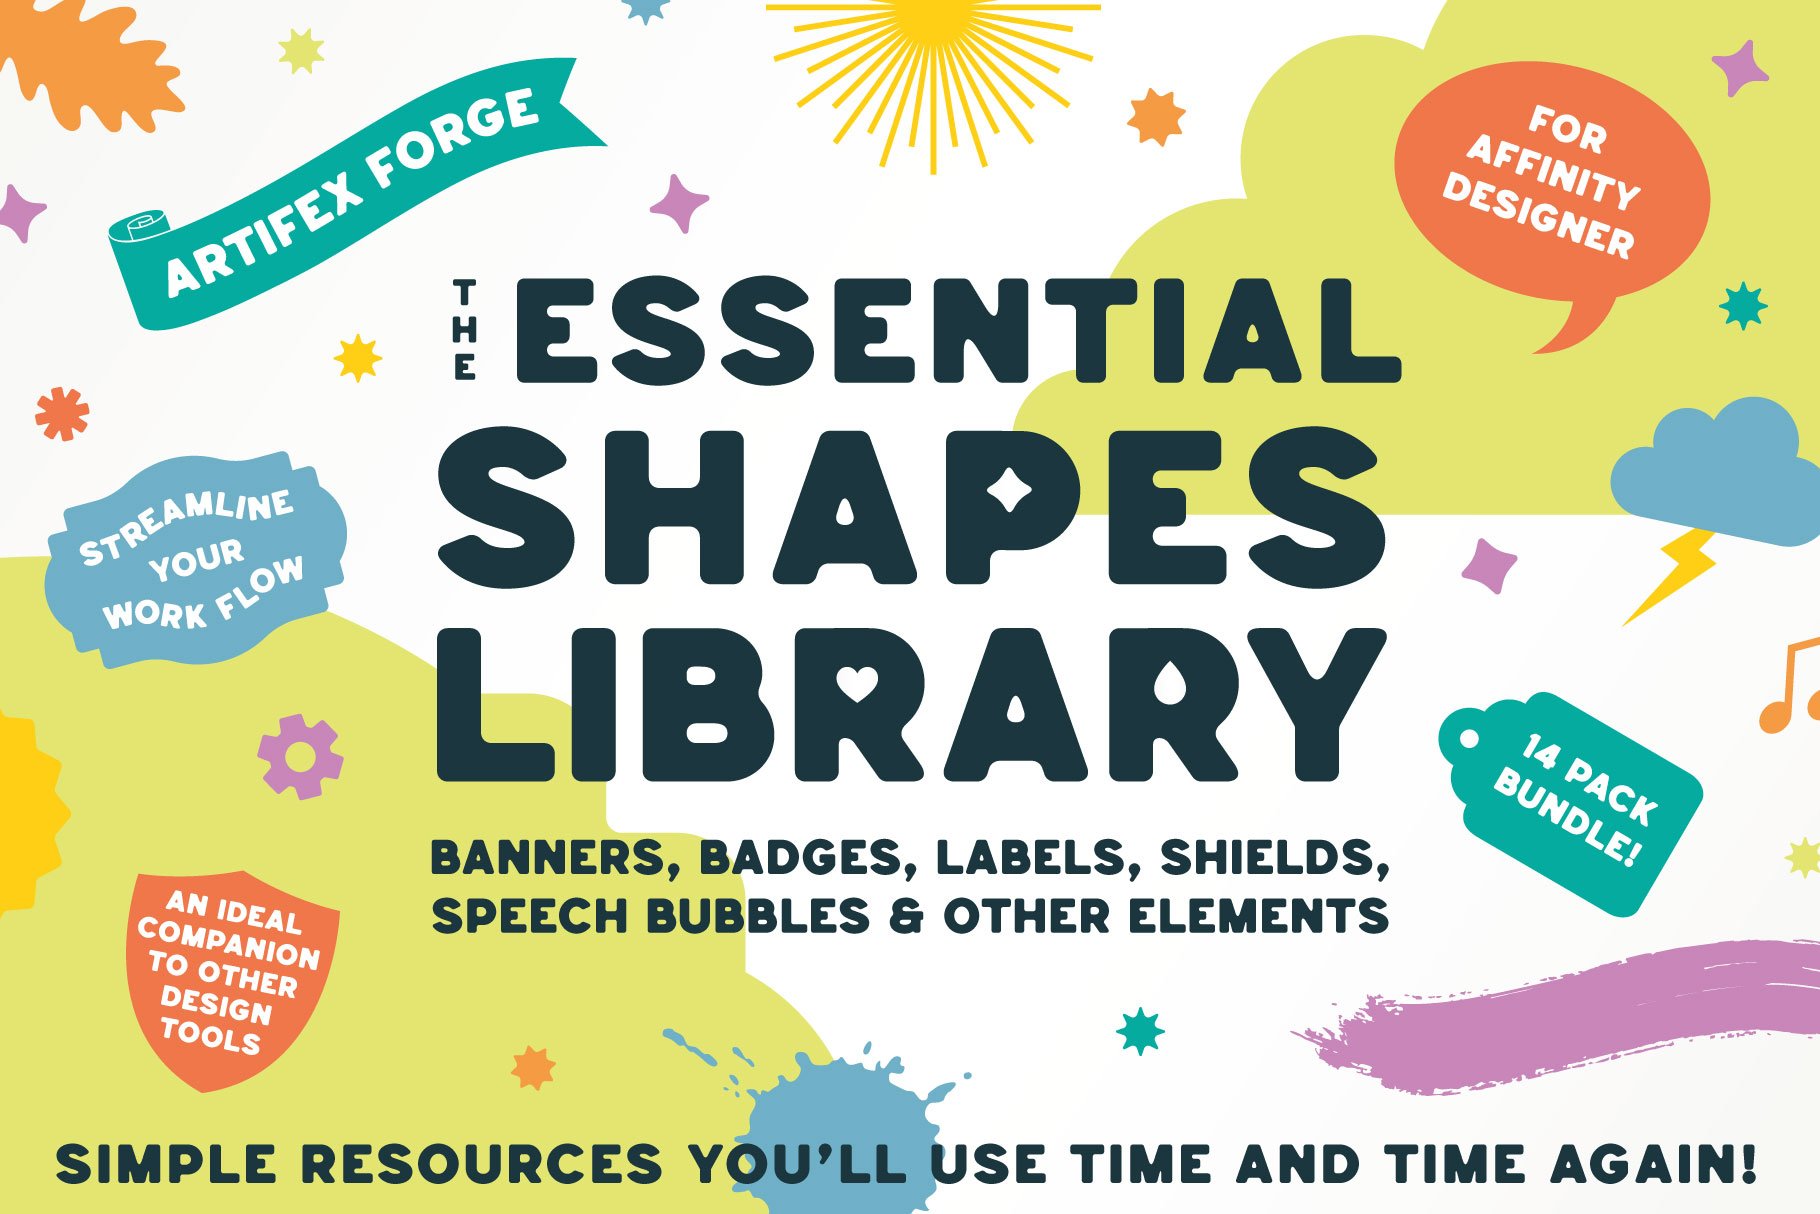
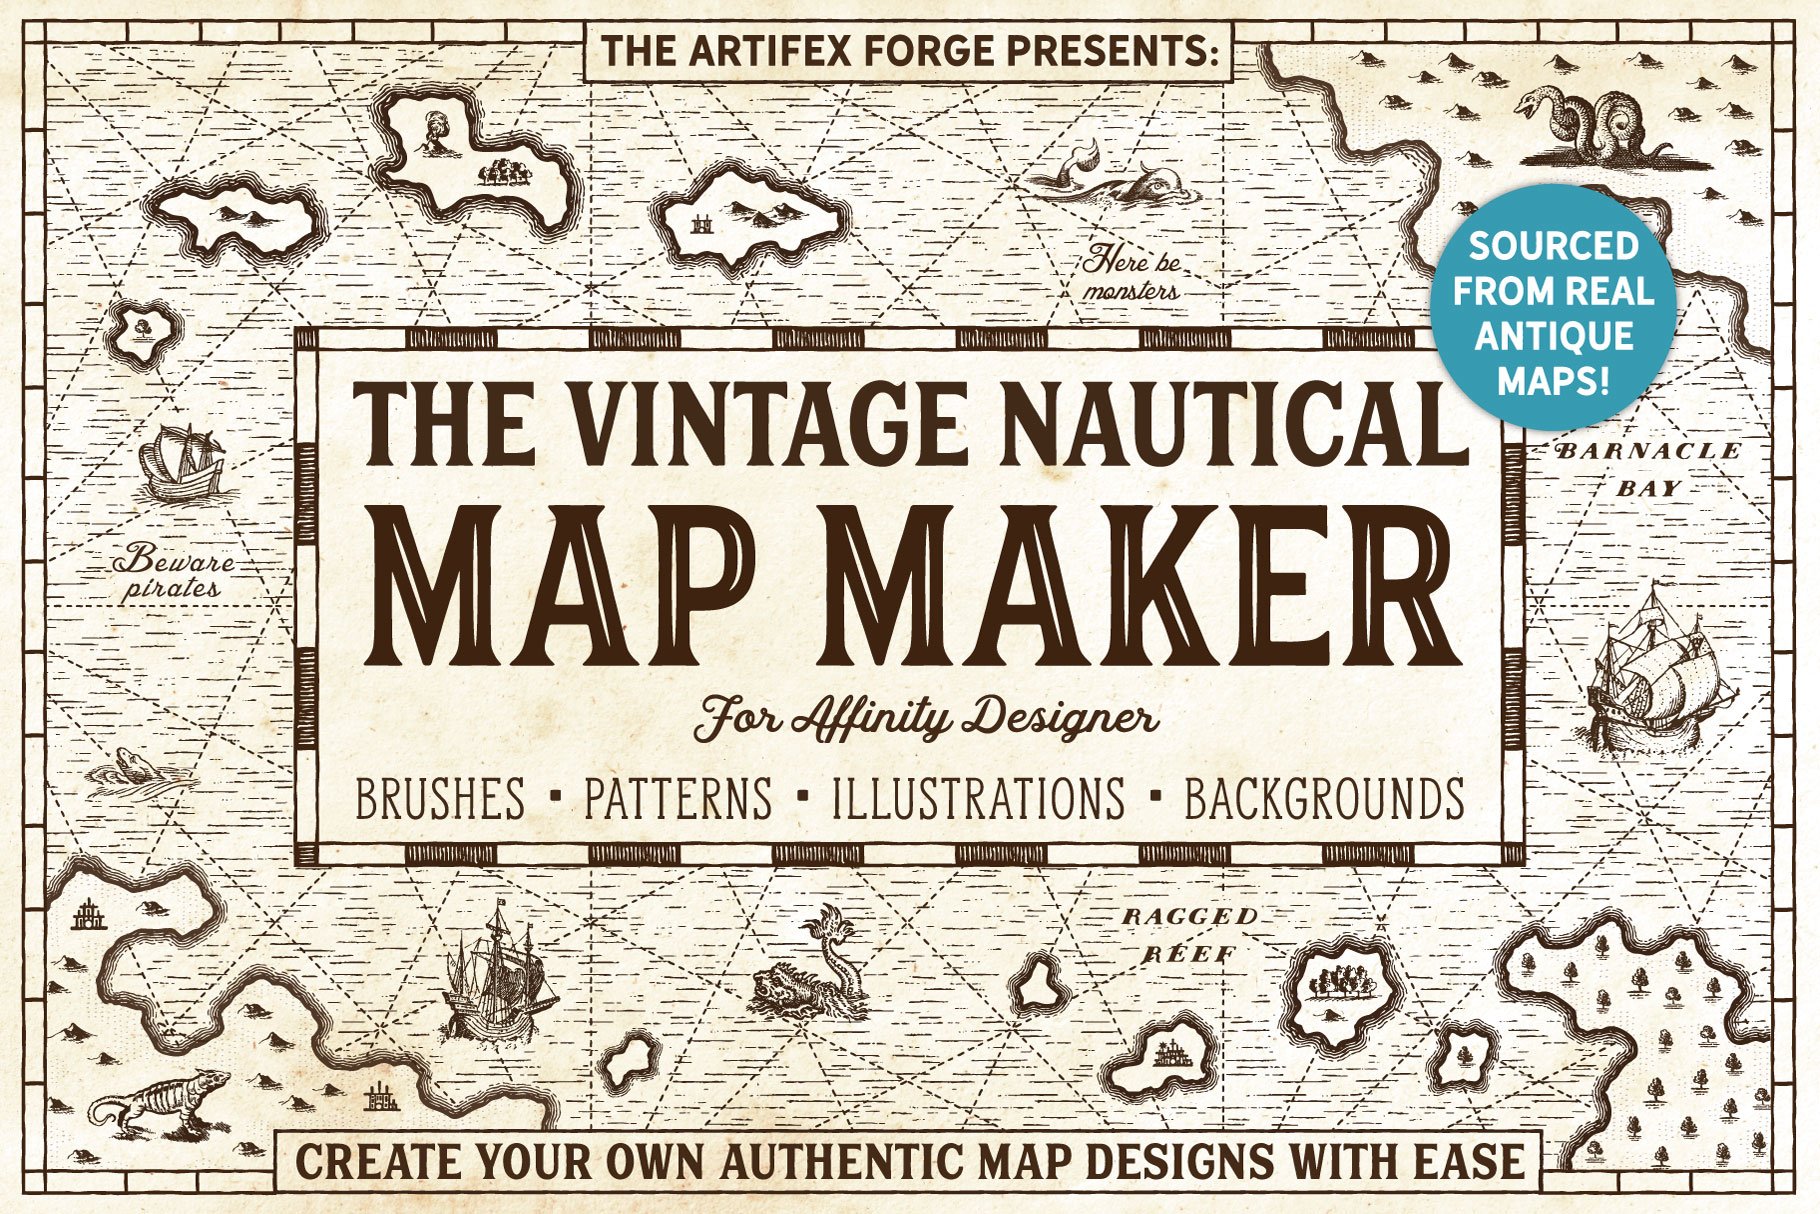
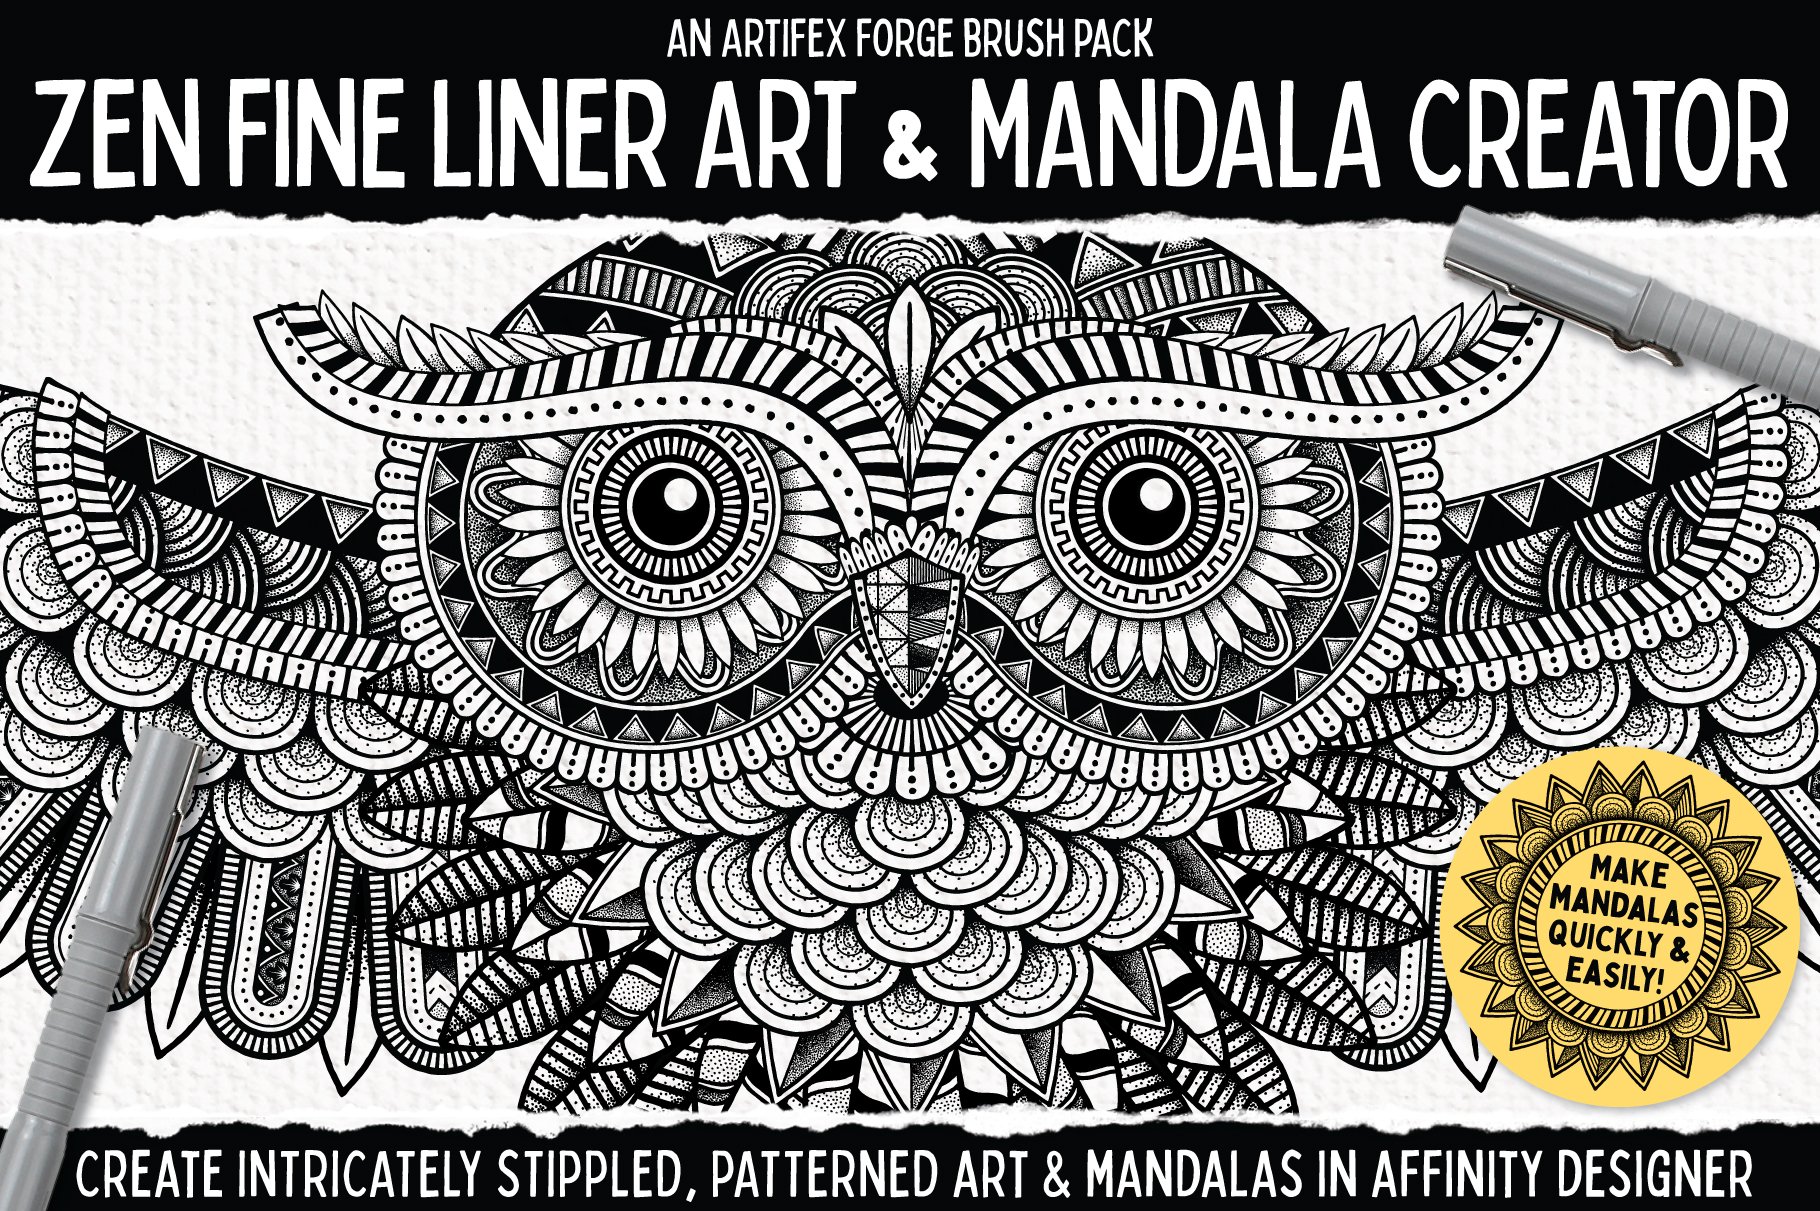
SAVE 50% ON UNIQUE AFFINITY DESIGNER TOOL KITS IN THE ARTIFEX FORGE BLACK FRIDAY SALE! To claim this massive discount head to artifexforge.com and use the discount code 'BLKFRI23' at checkout. Be quick! The sale must end 11.59pm on 1st December (GMT) See some of our best-sellers below or head to artifexforge.com now to see the full range! >>SAVE 50% ON THE LINOCUT LOVERS COMPANION NOW!<< >>SAVE 50% ON THE STAINED GLASS CREATOR NOW!<< >>SAVE 50% ON THE PATCH WORKS NOW!<< >>SAVE 50% ON THE SPIROGRAPH TOOL KIT NOW!<< >>SAVE 50% ON THE STAMP COLLECTION NOW!<< >>SAVE 50% ON THE MOSAIC MAKER NOW!<< >>SAVE 50% ON ESSENTIAL SHAPES NOW!<< >>SAVE 50% ON THE VINTAGE NAUTICAL MAP MAKER NOW!<< >>SAVE 50% ON THE PALS NOW!<< >>SAVE 50% ON THE ZEN FINE LINER & MANDALA CREATOR NOW!<<

-
 This technique relies on the power of Symbols to produce a good result with less effort than many other techniques I’ve encountered. First, I need to establish some terminology. Patterns generally have decorative elements displayed against a background. Decorative elements are commonly called “Motifs”. I refer to the background as “Fill”, but that’s probably not the term that professional surface pattern designers use. A motif can be as simple as a single straight line, and a Fill can be as simple as a block of solid color. Patterns are first and foremost about geometry, but that will be a very small part of this article. To keep things simple, I am going to rely on a simple square in a Brick layout. This technique requires a high degree of precision, but there’s no need to calculate where to place any element in your pattern. You need two art boards: a “small” art board where you will do most of the work of assembling your pattern, and a “large” art board where you see your assembled tiled pattern. The large art board is where you extract the repeating tile which gets constructed indirectly. I customarily use art boards dimensioned 9,000px X 9,000px; you can use any units you’re comfortable with - at least until you get to the export persona which has some complications. I’m going to stick to pixels because that simplifies things a bit. Make a new document with two art boards, each 9,000px X 9,000px. Left art board is “Design”, right art board is “Tiled Pattern” On Design art board: We are going to construct a symbol for our motifs. Make a square 4,000px X 4,000px, 1pt stroke (black), no fill, name the layer “Motif”; for now, we want this layer visible. With Motif selected (in Layers), turn it into a symbol using the Symbols panel. For convenience, position your Motif symbol in the centre of the Design art board (use Transform for this). On Tiled Pattern art board: Add one instance of Motif symbol to Tiled Pattern, transform it so it’s top left corner is in the top left corner of the art board. At this stage it should still be 4,000px X 4,000px; change it to 3,000px X 3,000px using Transform, without changing it’s position on the art board. Duplicate Motif twice, arrange the 3 instances in a row so the motifs align corner to corner, giving you a row of 3 Motifs along the top edge of the art board. Duplicate that row twice, and arrange those copies below the first, edge to edge. You should now have 9 Motifs arranged in 3 rows, 3 columns. These two steps require high precision to ensure that each row is straight, each column is straight, and each Motif square meets its neighbours exactly at their corners. Any misalignment will plague you relentlessly. And we’re done with almost all the calculations. Back on Design art board, in the Layers panel, open your Motif symbol so you can see its two layers. ALL your design elements (motifs) must be placed between these two layers; they can (and should) project beyond the edges of the square as required to fulfill your artistic vision. Start by adding motifs one at a time (grab one from the Zoo), and watch your patten assemble itself on the other art board. Reposition elements as required, and watch the other art board update accordingly. To better understand the power of symbols used this way, you should add one motif (small square, circle or similar), and slowly move it into a corner of your Motif symbol, and you’ll see it appear on the opposing edges, all with no calculations to get it there. Any motif that projects beyond the square that is the foundation of the Motif symbol automatically projects into the neighbor/s exactly as required. If you have been doing this by manually creating and positioning the counterpart motif where it should project into the opposite side of the foundation square, this technique obviates the need to do so. Especially in the corners, where it can be very painful. If you place your motifs inside the foundation square, that square will truncate them, and you’ll be back to creating and positioning counterparts manually. But you should try it. When your pattern is complete, it’s time to make that repeating tile. We are going to extract it from the Tiled Pattern art board using the Export Persona. Tap the Tiled Pattern art board so it’s active, switch to the Export Persona, and use the Slice tool to create a slice that aligns exactly with the middle Motif symbol on that art board - same size (3,000px X 3,000px), centered at 4,500px and 4,500px. Give this slice an appropriate name, and export it - just remember to make the foundation square in Motif invisible - otherwise it is going to show up on your tile, and you probably don’t want that. Test your tile in a new document by use the gradient tool to make a fill with your tile as a bitmap image. You can edit your pattern iteratively by adding, repositioning and/or resizing motif elements as required, just be sure to re-export your tile after pattern changes. Make sure your Motif symbols do NOT MOVE, accidentally or on purpose. Some Notes The slice for the repeating tile will be too small if you have motifs that are much larger than the slice. Resize the slice by doubling its dimensions. The Design art board does not provide a background for your motifs. A simple way to create one is to add a square as the last layer on the Tiled Pattern art board, the same size as that art board, and add a fill to your taste. This fill is an integral part of your pattern, so choose appropriately. The attached file has a background as described. The Export Persona has a personality all it’s own, and it can be quite cranky. First of all, there’s no easy way to choose a unit of measure for your slice other than pixels. You can select a different unit when you enter a dimension, but Export converts it to pixels expertly in the blink of an eye. More about Symbols Different instances of same symbol can have their own sizes, orientations and positions, must contain same set of layers. Symbols do not have their own shape or size; they derive those properties as the sum of what they contain. Even though I based my symbols on a square, the symbol’s content can (and does) project beyond the borders of the square. And that’s exactly what you want because that’s what obviates all need to calculate positions for motifs that project beyond the nominal boundaries of the tile you are trying to create. For my sanity, I usually have a dummy layer that signals the bottom of the layer stack in the symbol. For patterns, using a shape like a square enables geometrically correct placement of the symbols on Tiled Pattern; you can make this shape visible or not as appropriate while you edit your pattern. Do not place your motifs inside the base shape of the symbol; if you do that, your motif will be truncated at the boundary, and you will have to add another copy of the motif and put it in the correct position, and you’ll have all your old alignment problems back. Repeating Patterns V2.afdesign
 -
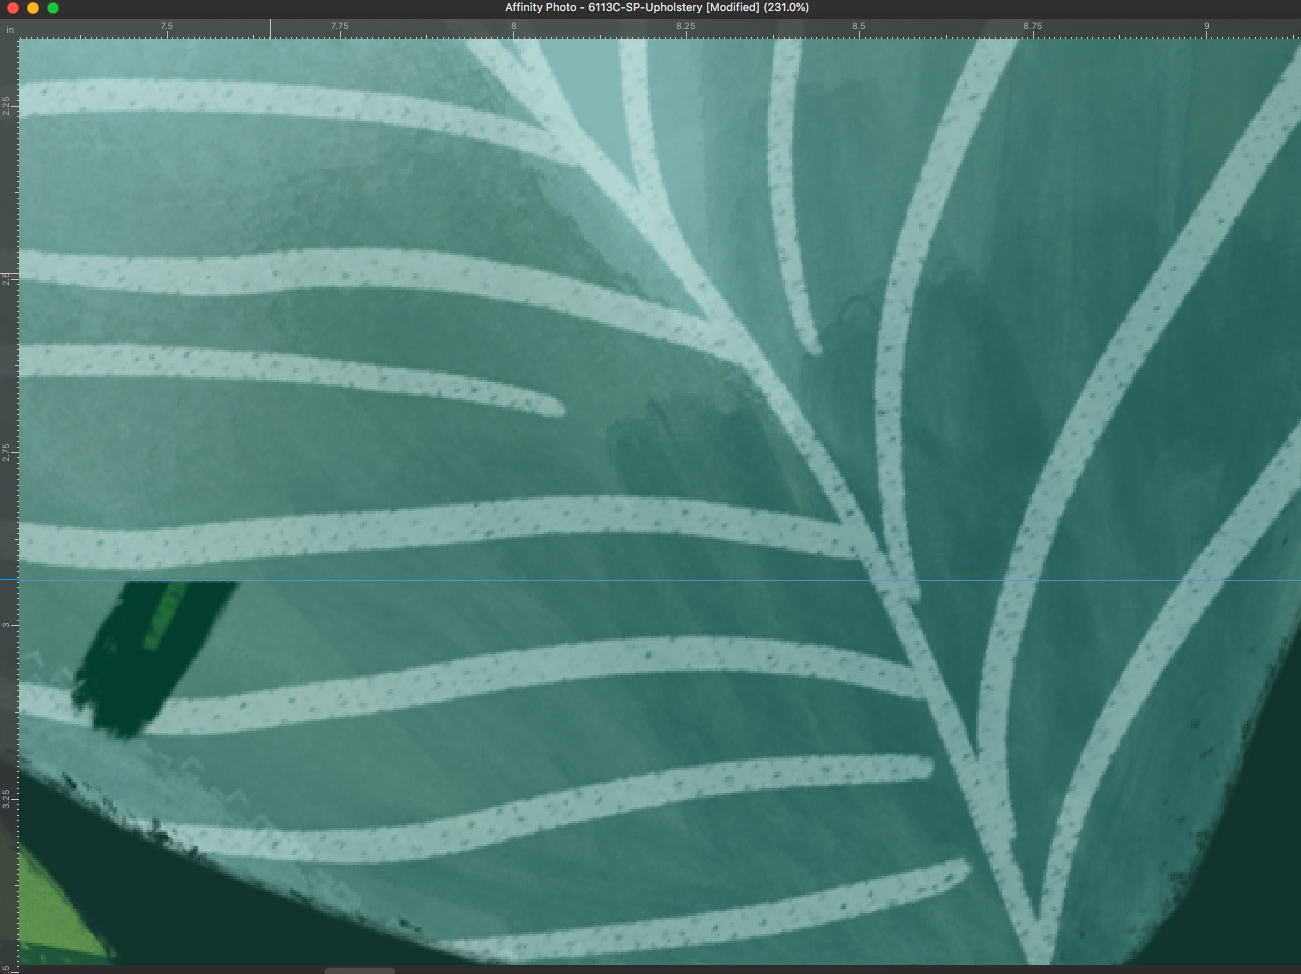
There are lines on borders of shapes. There is no stroke on objects. I know that I can turn off anti-aliasing, but then shapes are rough. These lines are visible even after exporting to raster or vector. I had this problem even in V1. I didn't find on Forum other solution than anti-aliasing. Is there any way to get rid of these lines without manually cover tens of these coffee beans by other whole shapes? (It is a pattern so I can't use whole beans. I can't add them together too, because most of them disappearing.) It is really annoying...
-
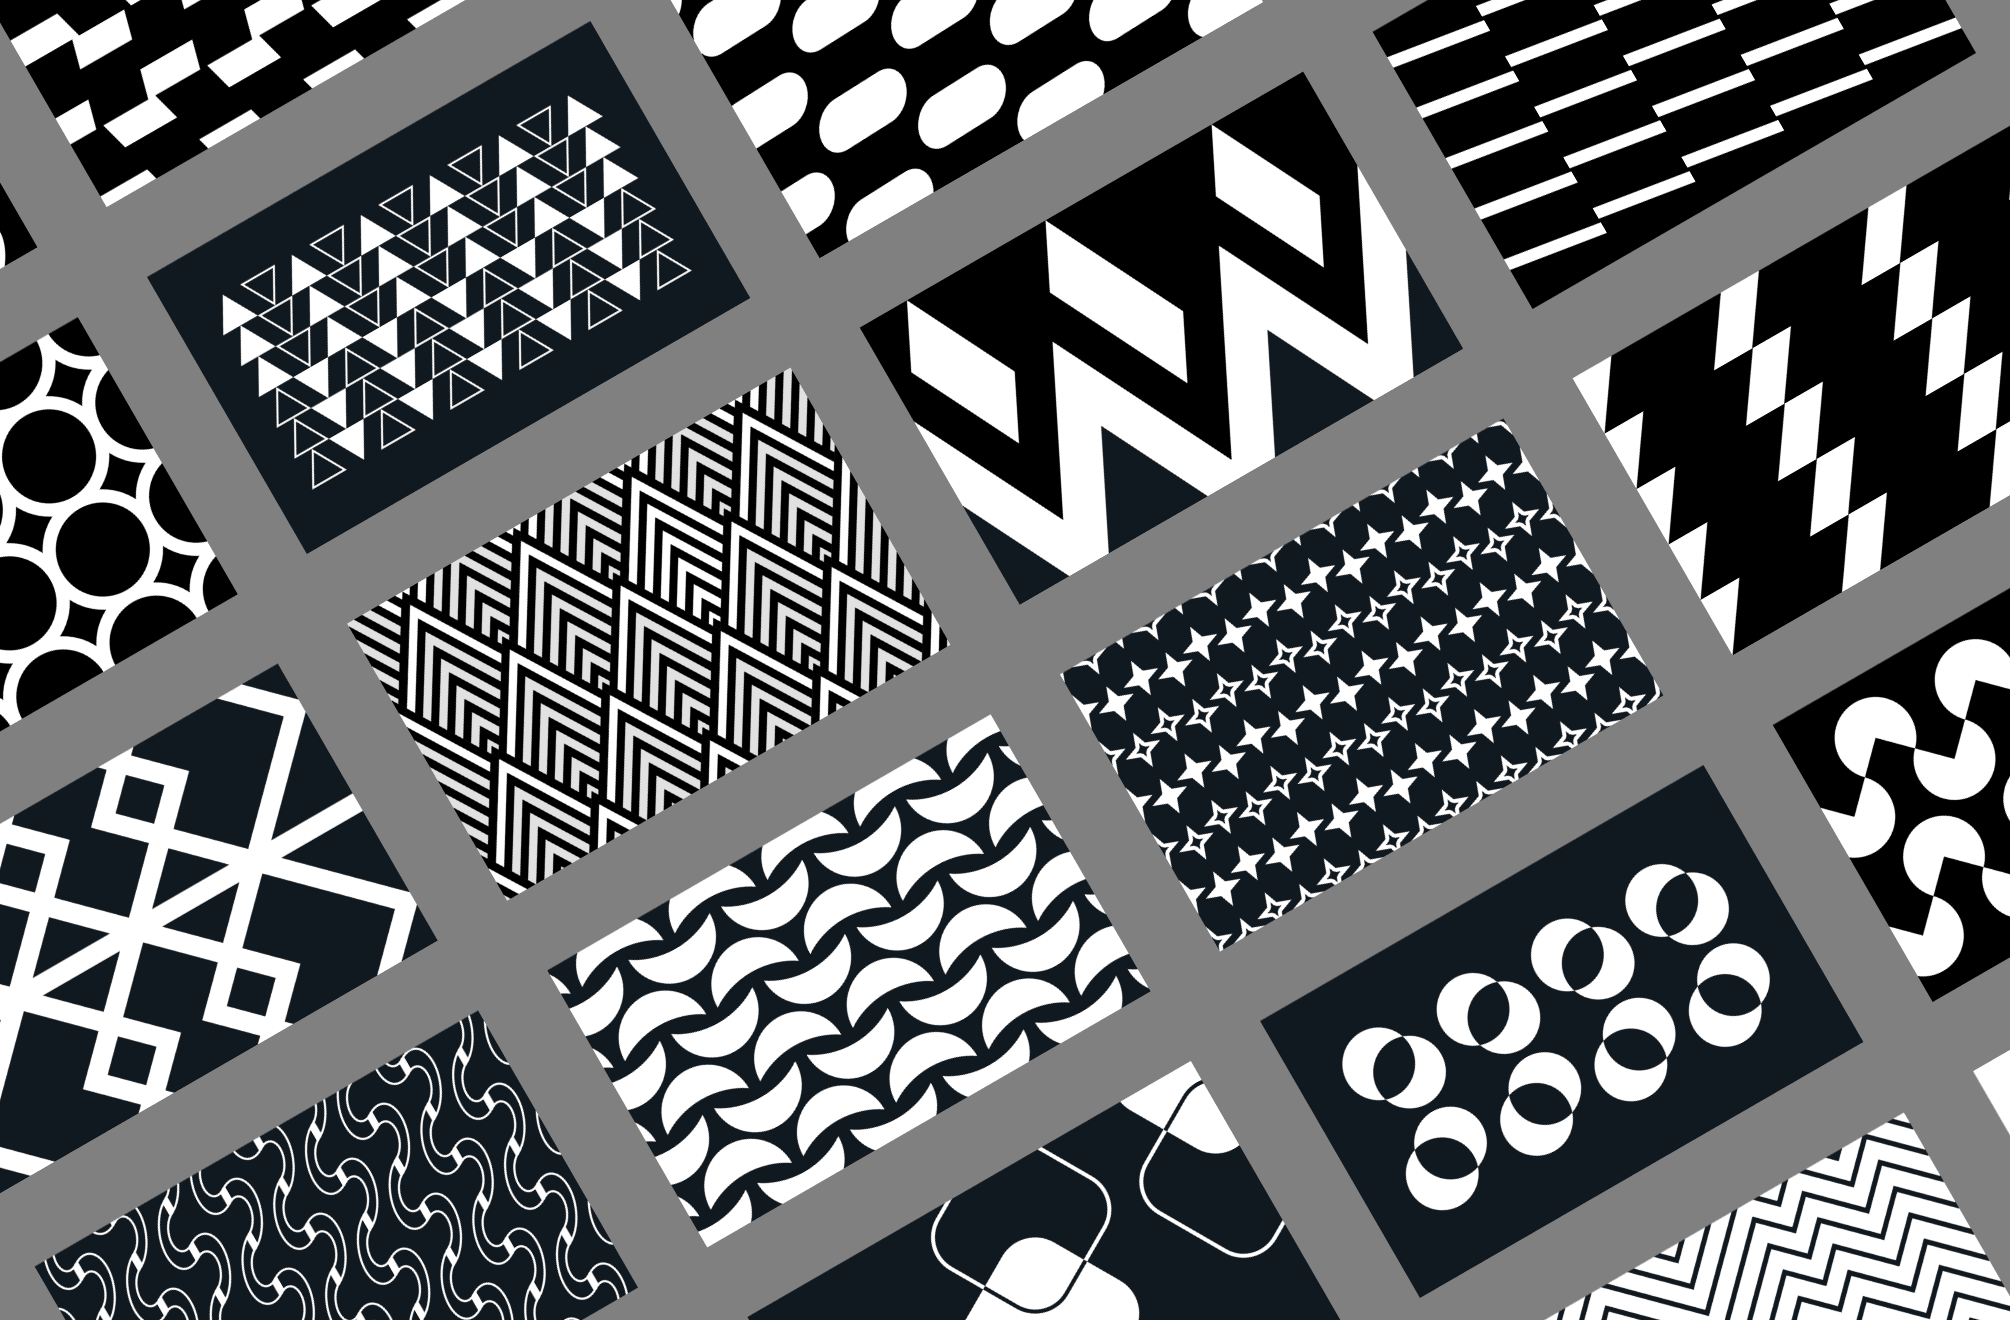
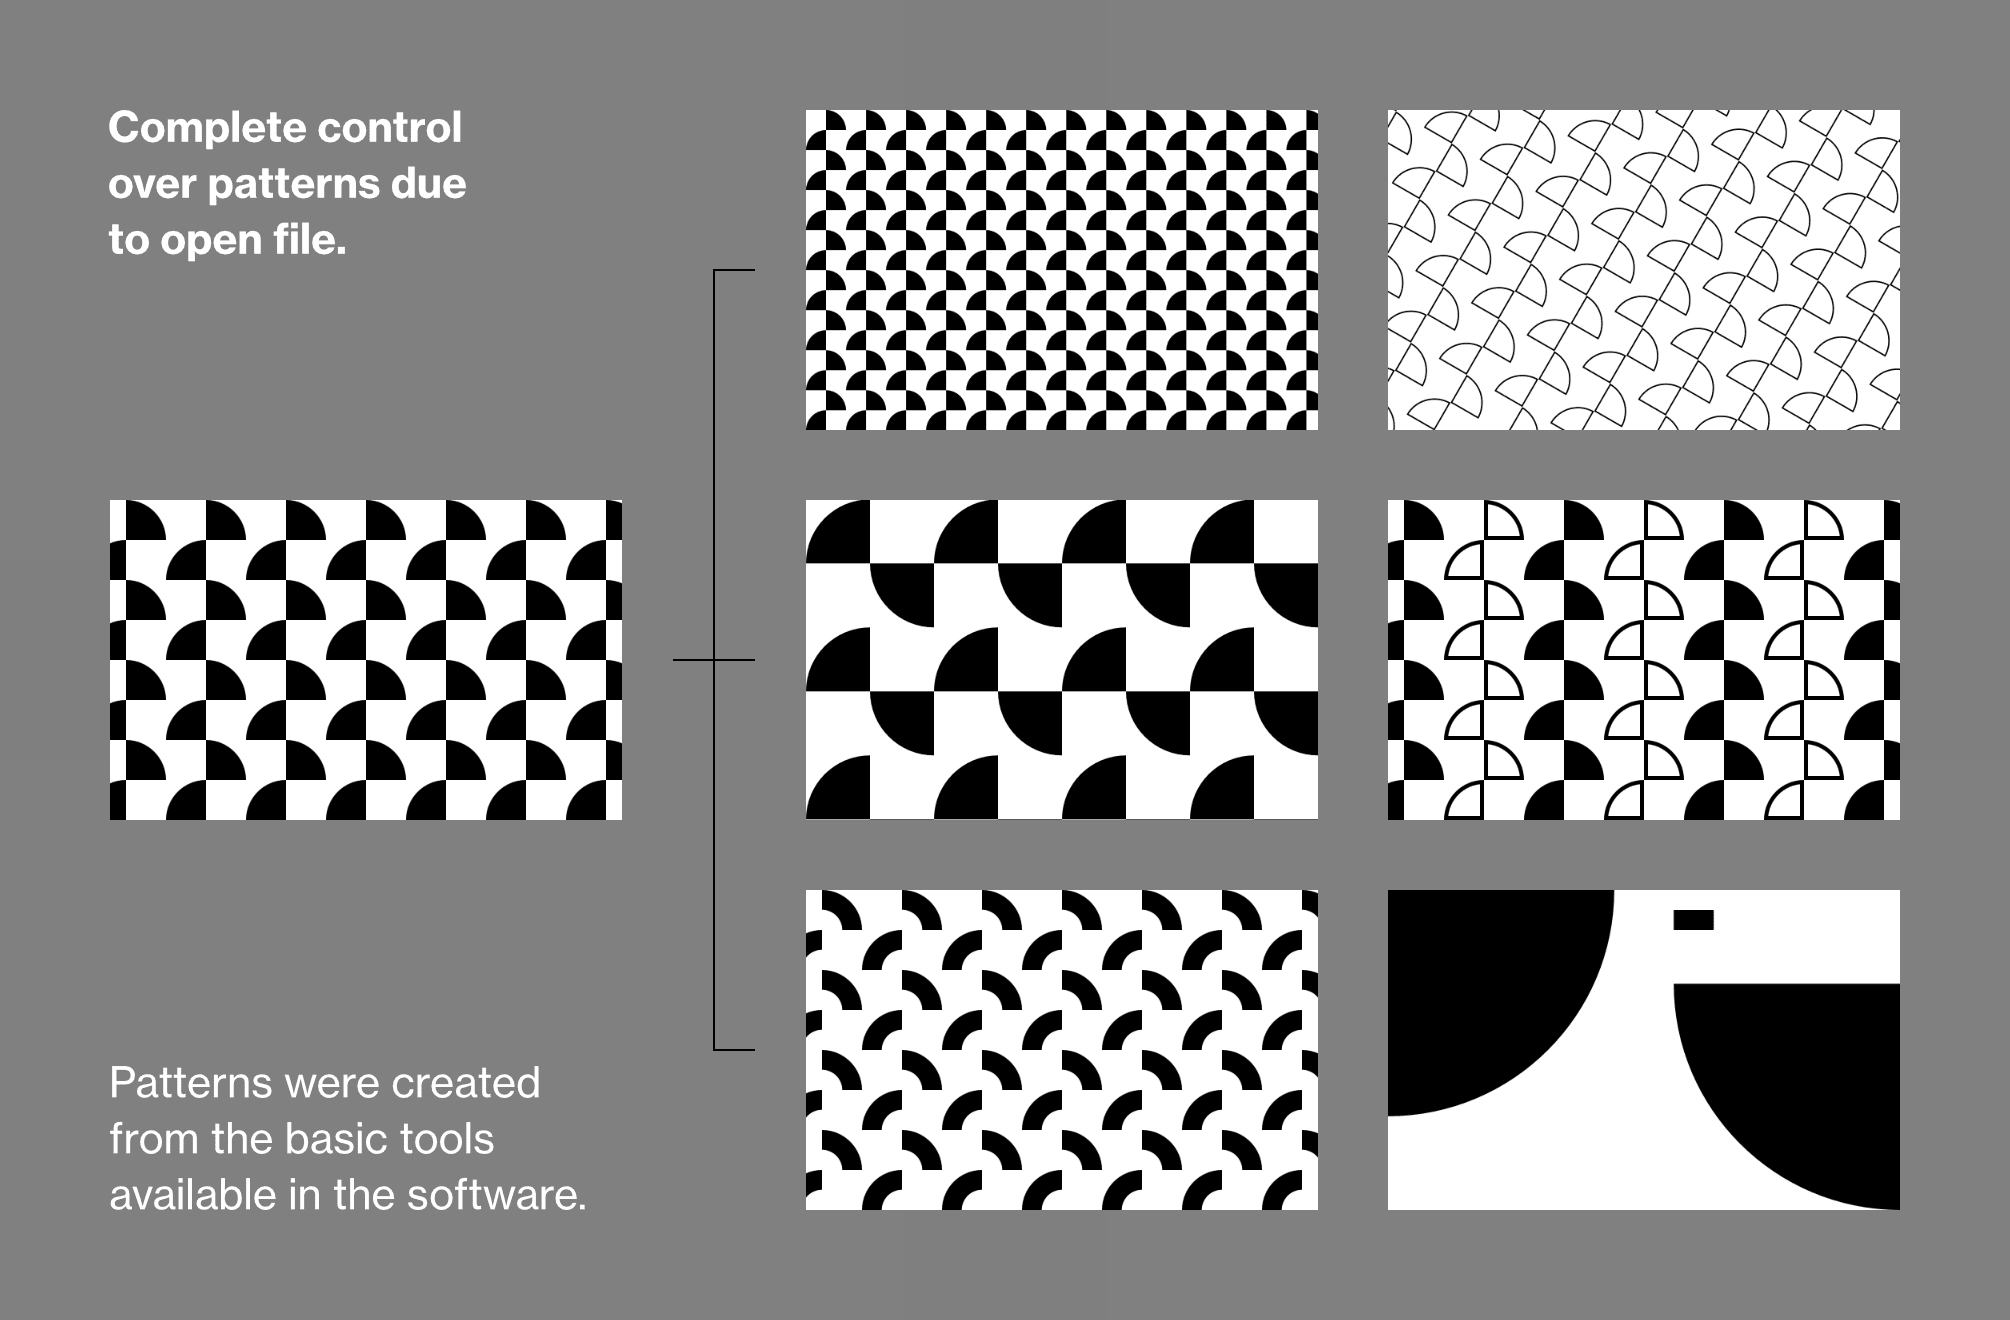
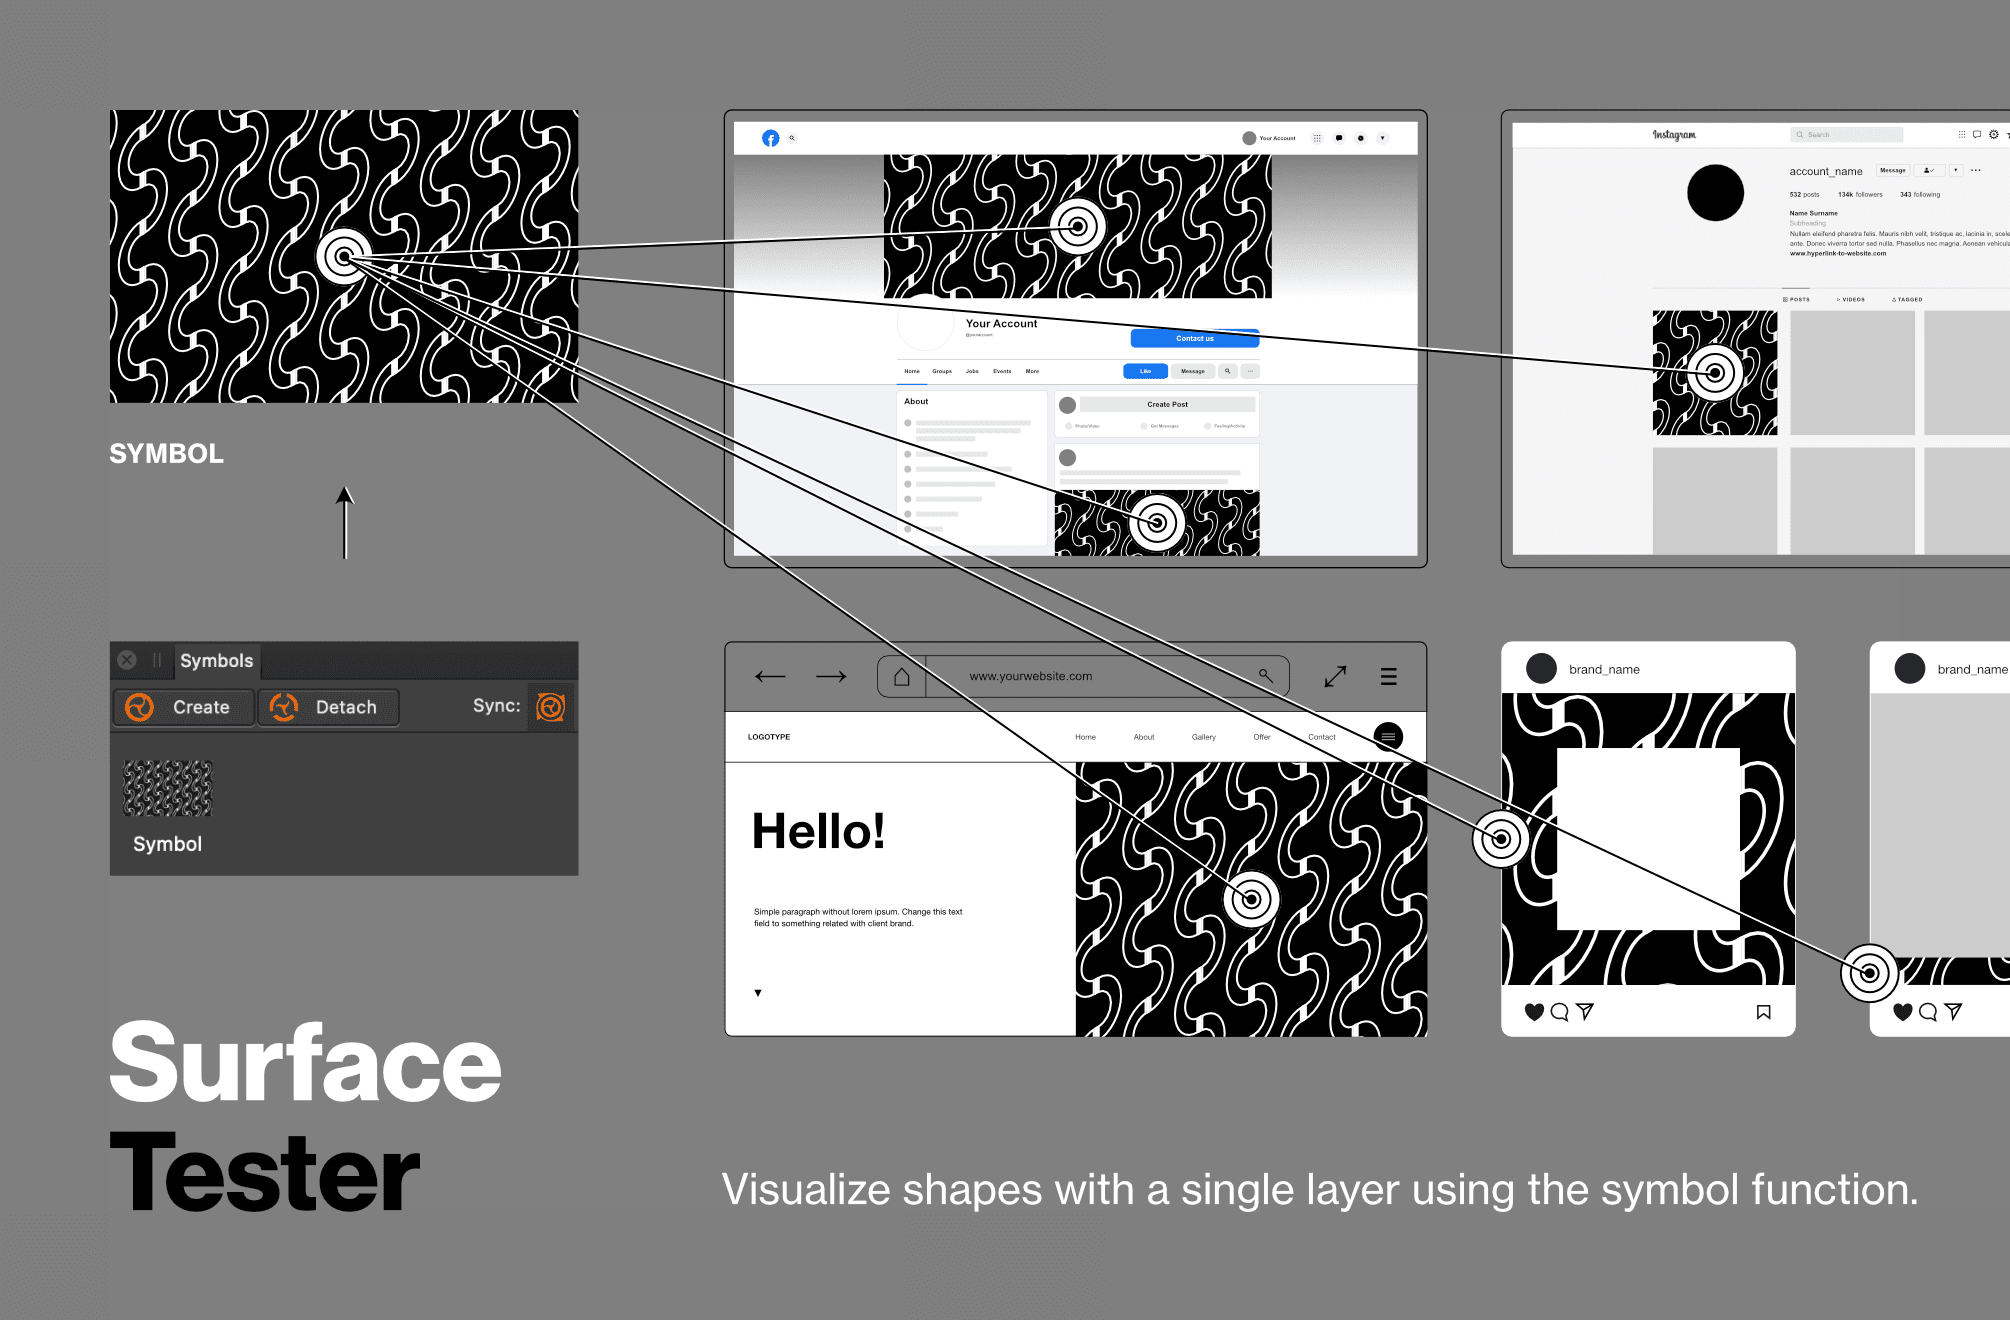
● Full version: https://fircyk.gumroad.com/l/mold Free version: (just put 0 in the price box) https://fircyk.gumroad.com/l/moldfree ● Unlock endless design possibilities with versatile set of shapes and patterns, perfect for adding that extra flair to your graphic designs. Benefits: Time-saving: The availability of pre-designed shapes and patterns can save designers a significant amount of time that would have otherwise been spent creating them from scratch. Increased creativity: By having access to a wide range of pre-designed shapes and patterns, designers can explore new design possibilities and find inspiration for their work. Professionalism: Using high-quality pre-designed shapes and patterns can help to elevate the quality of a designer's work, making it look more polished and professional. Flexibility: The ability to easily adjust and modify pre-designed shapes and patterns can give designers more flexibility in their work and allow them to experiment with different styles and looks. Consistency: By using the same set of shapes and patterns throughout their work, designers can create a consistent and cohesive look across different projects, which can help to build their brand identity. What is included: + 144 PATTERNS & SHAPES 144 artboards with a variety of shapes intended to facilitate simple editing. Easy customization in the software. Because the basic tools are utilized in the open file, specific tool modifications can be applied to each design. File Formats: Affinity Designer Open File (144 Artboards) SVG Exported Single Files EPS Exported Single Files PNG Exported Single Files (+Retina Ready) Proportions: Artboard Area: 1280x800 (16:10 ratio) + DIGITAL SURFACE TESTER By utilizing the symbol function and working on a single layer, it is possible to apply modifications to any available surface or mockup simultaneously. Medium Types: Instagram Posts Facebook Screen Website + PRINT SURFACE TESTER The functioning is identical to the "digital" version. The actual dimensions of stationery mockups are maintained. Medium Types: Stationery(Business Card, Leaflet, Notebook, Letterhead, Label) Leash T-Shirt Pen Cup Mug Envelope CD Flag Holder Bag — Comparison of full and free versions: Full version 144 Shapes&Patterns Digital Surface Tester Print Surface Tester Free version 55 Shapes&Patterns Digital Surface Tester — Free version: https://fircyk.gumroad.com/l/moldfree Full version: https://fircyk.gumroad.com/l/mold – Happy Designing! – More free resources: https://fircyk.gumroad.com/l/gridderfree https://fircyk.gumroad.com/l/dimensions https://fircyk.gumroad.com/l/fontslistfree https://fircyk.gumroad.com/l/logodesigntoolkitfree https://fircyk.gumroad.com/l/typescalefree
-
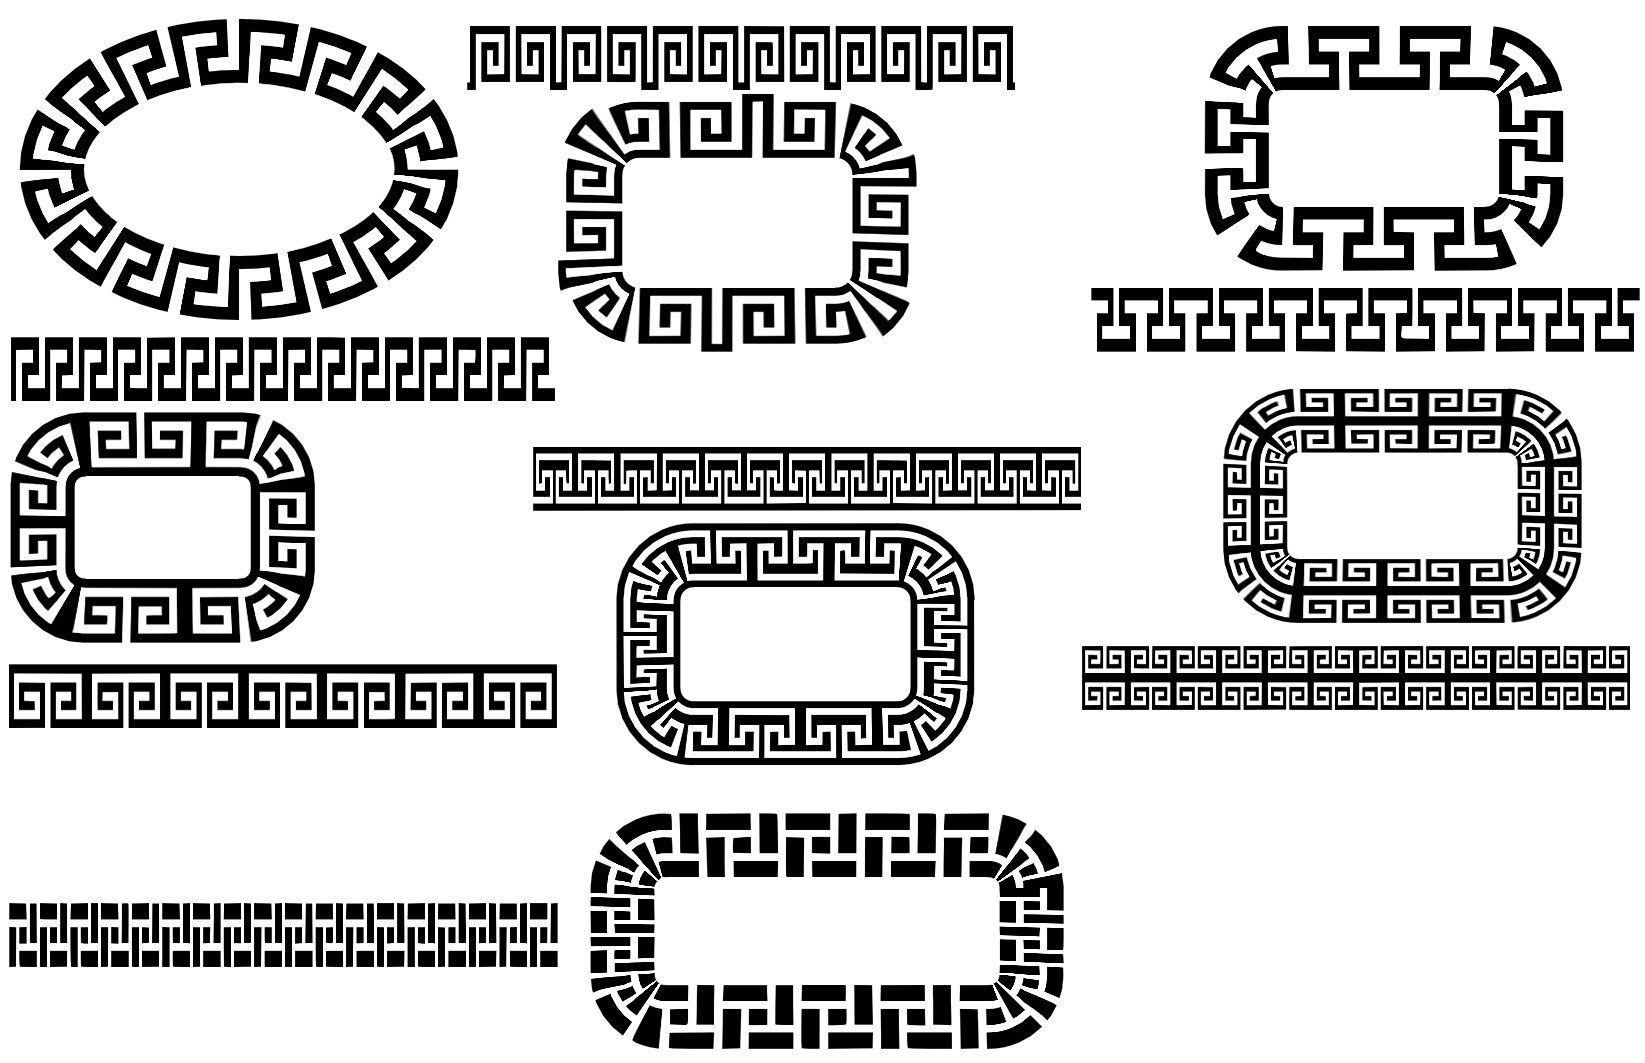
Here are some brushes with Greek patterns. It's for Affinity Designer. Hope someone have use for it 🙂 FraGar Greek Patterns.afbrushes
- 12 replies
-
- 15
-

-

-
Good evening everyone, I have now got a hexagonal repeat working...... Still loving it Antony
-
 For creating seamless patterns the new pattern layer is very useful but lacks some features for my workflow in creating seamless textures with higher resolution than 1k. Problems: I need my texture to span over the whole document for textures up to 4k, which is not even supported by the Layers-> New Patterns Layer. This only supports layers up to 1k. My workaround of creating a 4k selection and then create a pattern layer from this selection yields a 4k pattern layer but leads to frequent crashes where I just loose all my progress. So it sometimes needs several tries until the creation workes without a crash. If the pattern layer spans over the whole document you loose the possibility to see how the texture looks on repeated pattern. I would love to have a feature like in Krita or also requested in this thread: The work around to simply go for a 8k document to have a 4k seamless texture to see how it repeats is quite performance hungry and leads to more slower workflow. Suggestion: Add a seperate wrap around mode or add the possibility to see the repeated pattern over the extends of the document boarders for working on full size patterns. This would help to create gameart in affinity photo much more efficient!
 -
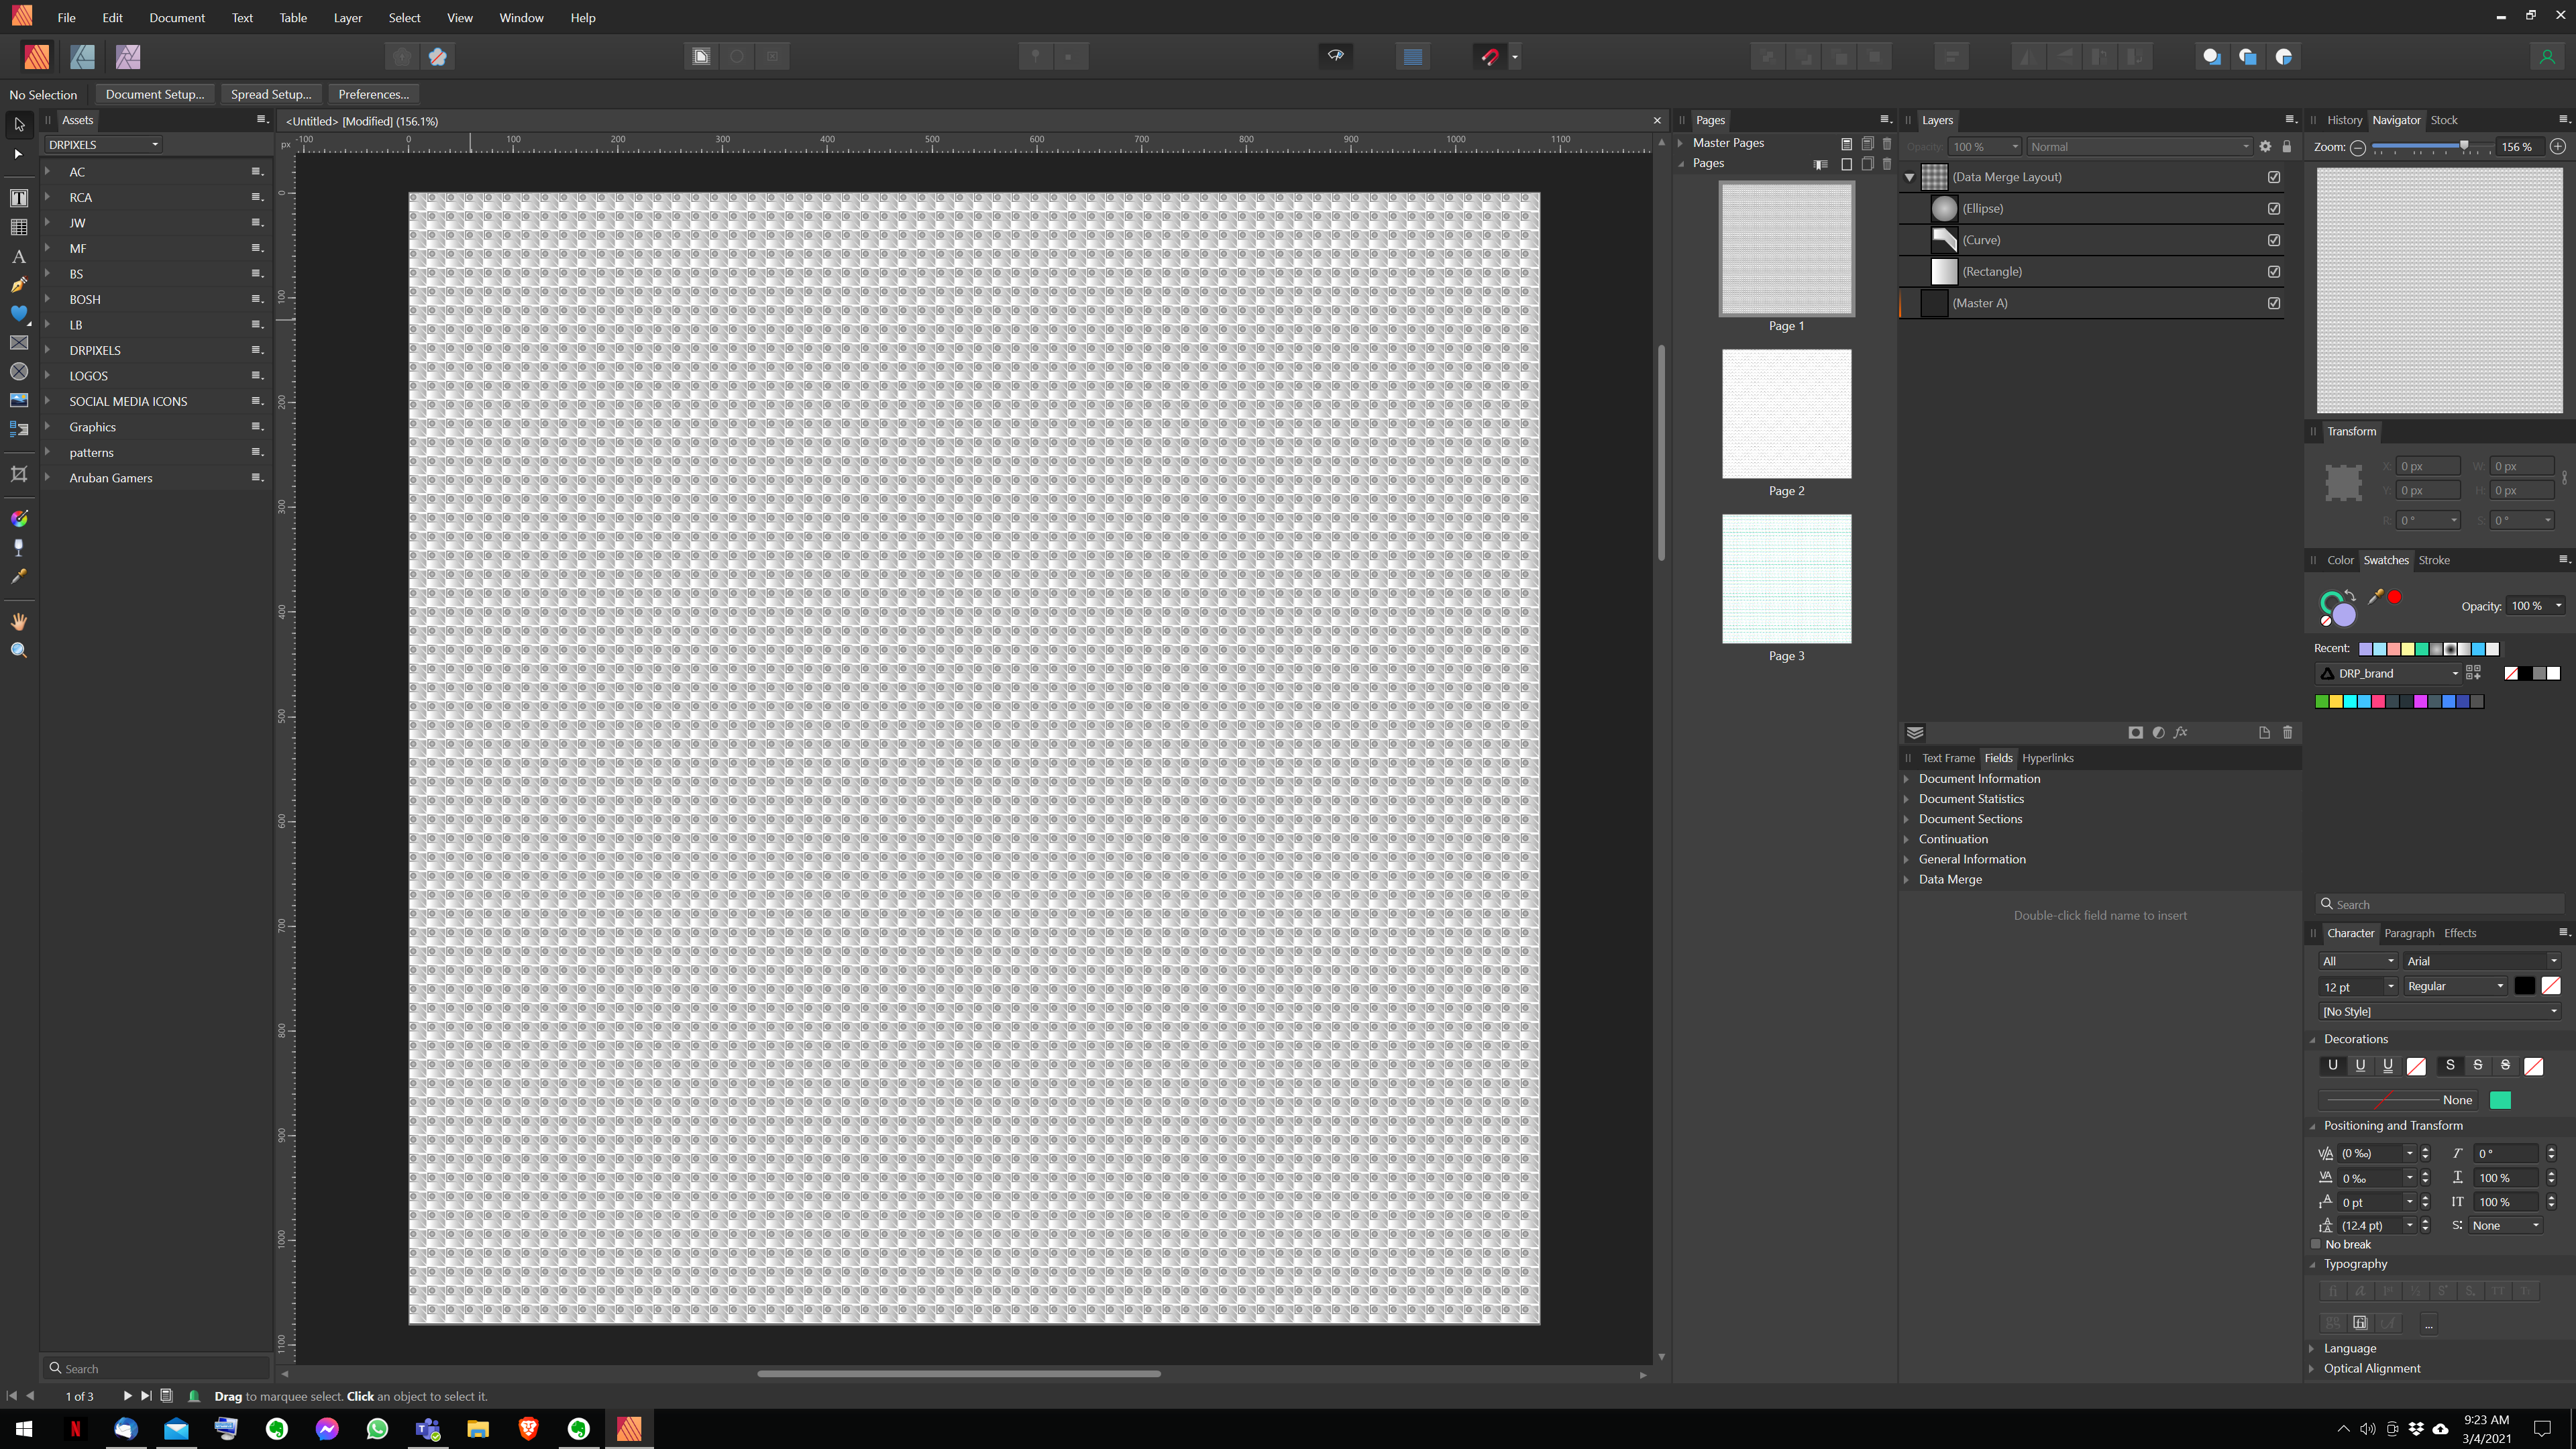
 Maybe I'm not the first but I like to share this, I was working on a document doing my regular data merge thing, when it occurred to me that it will be great to use the tool to create patterns fast and without too much manual labor, here is the file as well as some screenshots as how is done. hope you like it and please leave a feedback on what other uses did you find for a tool that wasn't meant to do the art you doing it with. patterns.afpub
- 3 replies
-
- 1
-
-
- data merge
- patterns
- (and 2 more)
-
 Hi! I made repeat pattern tiles in Affinity Photo, and want to make wallpaper out of them. Could anyone tell me how big I can resize these tiles, so I know how big I can make the pattern tiles in the wallpaper? The pattern tiles are: 3000 x 3000 pixels 300 dpi 5000 x 5000 pixels 600 dpi Thank you very much!
 -
Dinosaur Pattern Styles 0115 seamless dinosaur skin patterns15 independent styles (set with maintain fill aspect ratio/wrap)File size is Larger than usual! ....Exported the .png but a t higher res (400dpi) Experiments Sample Sheet as below with .zip file for assets: Dinosaur_01.zip
- 23 replies
-
- 12
-
-
-
 Hi there! I love designing with repeating patterns. Now I found a good workflow to design and apply repeating patterns in AD. I recorded a tutorial that shows you how to design them, build a style library and apply patterns. They blend nicely with color fills using blend modes. The pattern and the color fill are in one shape, so no duplicates! --> https://vimeo.com/443692483 If you prefer the short explanation: I design vector patterns in a separate document using symbols to get the tiling right, export as bitmaps, use bitmap fills to build up a Style Library and apply those in drawings on iPad and desktop.
-
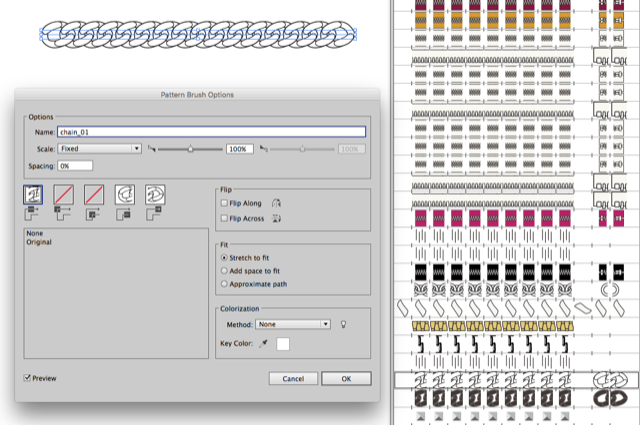
 Hallo affinity team, I still have a question about the Brushes: so far I have been working in Illustrator, and use the program for design drawings of bags and textiles. It is very helpful that with per brush I was able to create different zipper variants and chains as brushes, which are then available as vectorbrush. Hence my question: how can I import them into Affinity design or create them there? I send you a screenshot of the panel I usually use to create them there.
-
A Japanese mon (crest) which are traditionally one color, colorized and embellished with wagara (Japanese patterns).
-
 Is there a way to create patterns to use in Affinity Designer? I used to do this when I used Illustrator for work but can't find any way to do it in Designer. Does this exist? Thanks
 -
 Why are images I made in photoshop with patterns I created not opening with the patterns intact in affinity photo? The pattern is NOT a photoshop pattern, but one I created. Screen shots of the images are included. Both are the same file. one opened in photoshop the other in Affinity Photo. I'm trying to recreate the patterns. Fill layer does not work as I only need a portion of the image filled and need the expand option when using the gradient/bitmap method, but this does not have the expand option.
-
I often create repeating patterns which (among other things) require dragging a selection of motif from the top to the bottom of square in order to create the repeat. I'll select the portion to be copied and moved (just below a guide line), create a new layer (cmd+J), and drag this below my other guide at the bottom. But when I do this, the edge of the motif has a shadow, as though the selection didn't fully "grab" the motif. Feathering and anti-aliasing is turned off. This seems like a huge bug (unless I'm doing something wrong, but then that wouldn't be intuitive).
-
 As a surface pattern designer I have historically used Adobe photoshop to create stand-alone repeating patterns with or without backgrounds that are also designed to incorporate texture and/or pattern. The resulting designs were saved as "defined patterns" and applied to artboards of any size using the following steps: edit——define pattern—-ok Open new document e.g. 10,000x10,000px edit—-fill—-contents (select pattern option as opposed to foreground or background fill) ——select required pattern from a list—-ok While I am very happy at the switch to Affinity I am struggling to figure out how to visually proof my designs this way (which are often designed using 2000px square artboards to create the repeat) when I need to be able to show that the repeat is working and simultaneously put the size it was created at into perspective. Also, some websites require large areas of repeat (up to 15,000px square) to enable on demand printing of fabric in the specific design. I have attached a couple of examples below to demonstrate the kind of work that I am discussing here. As a designer who is relatively new to digital systems I am focused on the creative aspect of my work and not especially tech savvy, so would appreciate an “idiots guide” approach to this if anyone has the time to respond. Any support with this would be much appreciated. Kind regards
- 9 replies
-
- 1
-
-
- patterns
- seamless repeat
- (and 3 more)
-
 Affinity Photo tutorial on how to add a pattern to clothing. It demonstrates how to resize a pattern and show the folds of a pattern.
 -
 Hi, i have just tried the Affinity Photo trial, please move this topic if i'm posting in a wrong section. I have two problems with AP during the limited time i used it, first of all, the patterns break when loading a PSD file, i'm not sure if this has been addressed elsewhere or if there's a workaround for this as i'm very new to the software and i couldn't figure out a way to get it working, short of recreating the pattern and trying to apply it in a similar way as it was looking before. Was this an issue with my particular instalation/software/hardware configuration or is this an issue you are aware of/working on resolving? The second issue i had goes a bit deeper, so in... Affinity Photo's biggest competitor... you can apply multiple layer effects of the same kind to the same layer, allowing you to create for example two outlines or a gradient glow/shadow. I didn't find anything of that nature in this program, furthermore PSD files i opened with AP that had multiple layer effects applied to them broke, not permanently, just didn't display properly. You know what i mean. Maybe that option is already there but i was just not able to find it, and then why would imported files break if that was the case? Is this also something you are working on resolving? Overall i was very pleasantly surprised with the program, the workflow was pretty similar to what i'm used to, might even consider giving it a shot past screwing around with a few files and effects on a trail version but those two issues just sprung up on me during the first time i tested it and they are a pretty big deal to me. I don't know if that's an official statement but i've read many times in reviews and recommendations of the program that it is able to properly interpret complex PSD files without issues and breaking patterns and layer effects are a pretty big issue in my workflow.
 -
 Hi guys, Could you please help? Look every time I design something in Affinity after I export it, it is blurry. Do you please know why it came out blurry? For example I design a pattern and I export it as PNG, JPEG, it came out very blurry. Is this normal? or how can I keep the vector quality not blurry? Is there a way to fix that please because when see vector design, they are very clean and not blurry. Is this cause of the sizes? The document is 8 x 8 inches?
-
 Hi. I would like to know if there is anything in Affinity designer like the Adobe Illustrators transform effect? (See video below) I am wanting to make complex geometric patterns. I know about power duplicate in affinity but it seems like there is far much more control with the transform tool in Illustrator, plus it saves a lot of time. I have posted an example video below from Adobe Illustrator, this is what I am looking to do. https://www.youtube.com/watch?v=kCwmEfCsPdw&t=328s Can any one point me in the right direction? Or are we limited to power duplicate in Affinity designer/photo? Any ideas/help will be appreciated! Thank you for your time. Dan.
 -
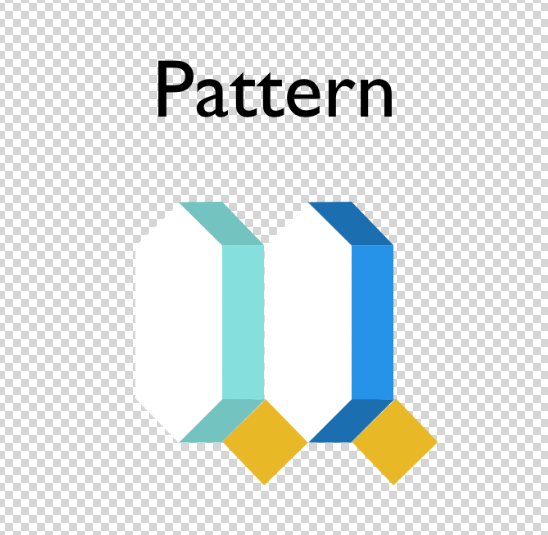
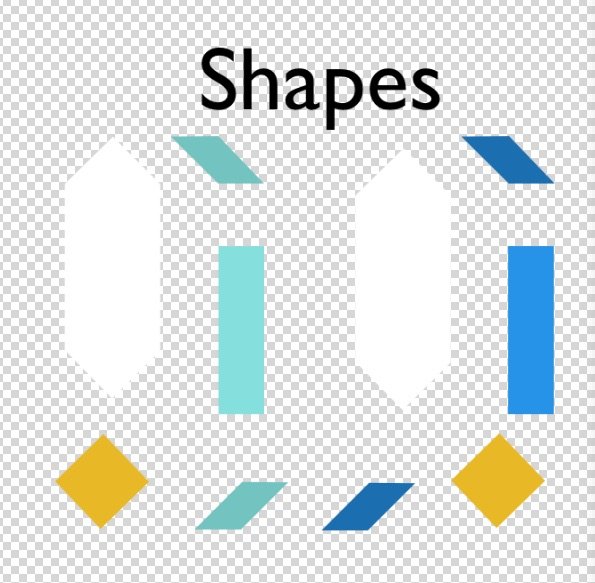
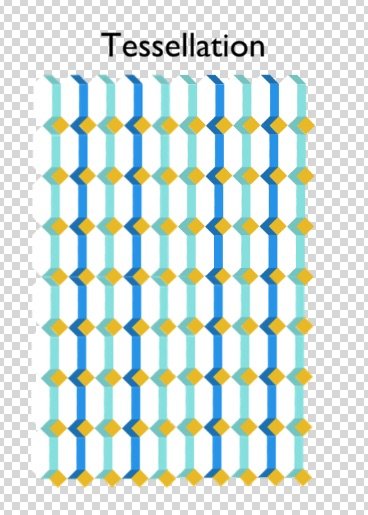
 I build Tessellations using Affinity Design in normal mode (not Isometric). To do this, I create Shapes, adjust their size + arrange them to build a Pattern: So that the Shapes snap within a Pattern and so that the Pattern when duplicated, snaps within a Tessellation (as demonstrated in the 3 images below) Below I describe my workflow followed by questions looking to make my process more efficient. WORKFLOW Step #1 - Find Shape Dimensions for Pattern To find the dimensions of the Shapes within the Pattern, I: Create the Shapes, then I Adjust the constrained size + Rotate + Move the Shapes so they snap to each other (this provides the necessary Shape dimensions to fit within the Pattern) Step #2 - Find Shape Dimensions for Tessellation as well The dimensions of the Shapes must snap within the Tessellation too - so I: Duplicate the same Pattern (from step #1) as many times necessary so the duplicates fully surround all sides of the Original single Pattern, then I Adjust the constrained size of the Shapes so that all shapes snap to each other within both the Pattern + Tessellation (this provides the Shape dimensions within the Tessellation) Step #3- Erase the erroneous, extra Shapes that don't fit within both the Pattern & Tessellation Once the Shape dimensions are final (they snap within both the Pattern and the Tessellation), I erase the erroneous, duplicate Patterns, keeping only the Pattern with the correct Shape dimensions that snap within both the Pattern and Tessellation. Step #4- Merge the Patterns into images rather than shapes (so document 's size don't hinder its agility) Once the erroneous Patterns are deleted, I: Duplicate the Pattern one time Hide the Original Pattern Merge the Duplicated Pattern Step #5- Create the Tessellation Duplicate the Merged Pattern enough times so it fills the entire canvas, creating a non-heavy tessellation QUESTIONS for: Steps #1 and #2, is there a more efficient workflow to adjusting the constrained shape sizes, rotating and moving them so one can learn if they fit into both the *Pattern* and *Tessellation* at once? (rather than having to go through both steps). Ideally, I'd create the Shapes & fill with their corresponding image as usual - but then Adjust, Rotate and Move the Shapes within the Pattern and Tessellation so they snap to eachother in one step. Also, this more efficient workflow would allow me to skip Step #3 that would have multiple erroneous shape sizes [How] can I use the isometric panel for this? Step #3, is there a different format or method I can use so that the repeated, individual Shapes and Patterns don't reduce the document's agility? Otherwise, when making modifications the document's large size hinders its speed. Also, if I don't merge the patterns into images, when returning to the document for any additional modifications, I can avoid having to re-create the tessellation. Thank you so much for any feedback or guidance.