Search the Community
Showing results for tags 'mug'.
Found 6 results
-
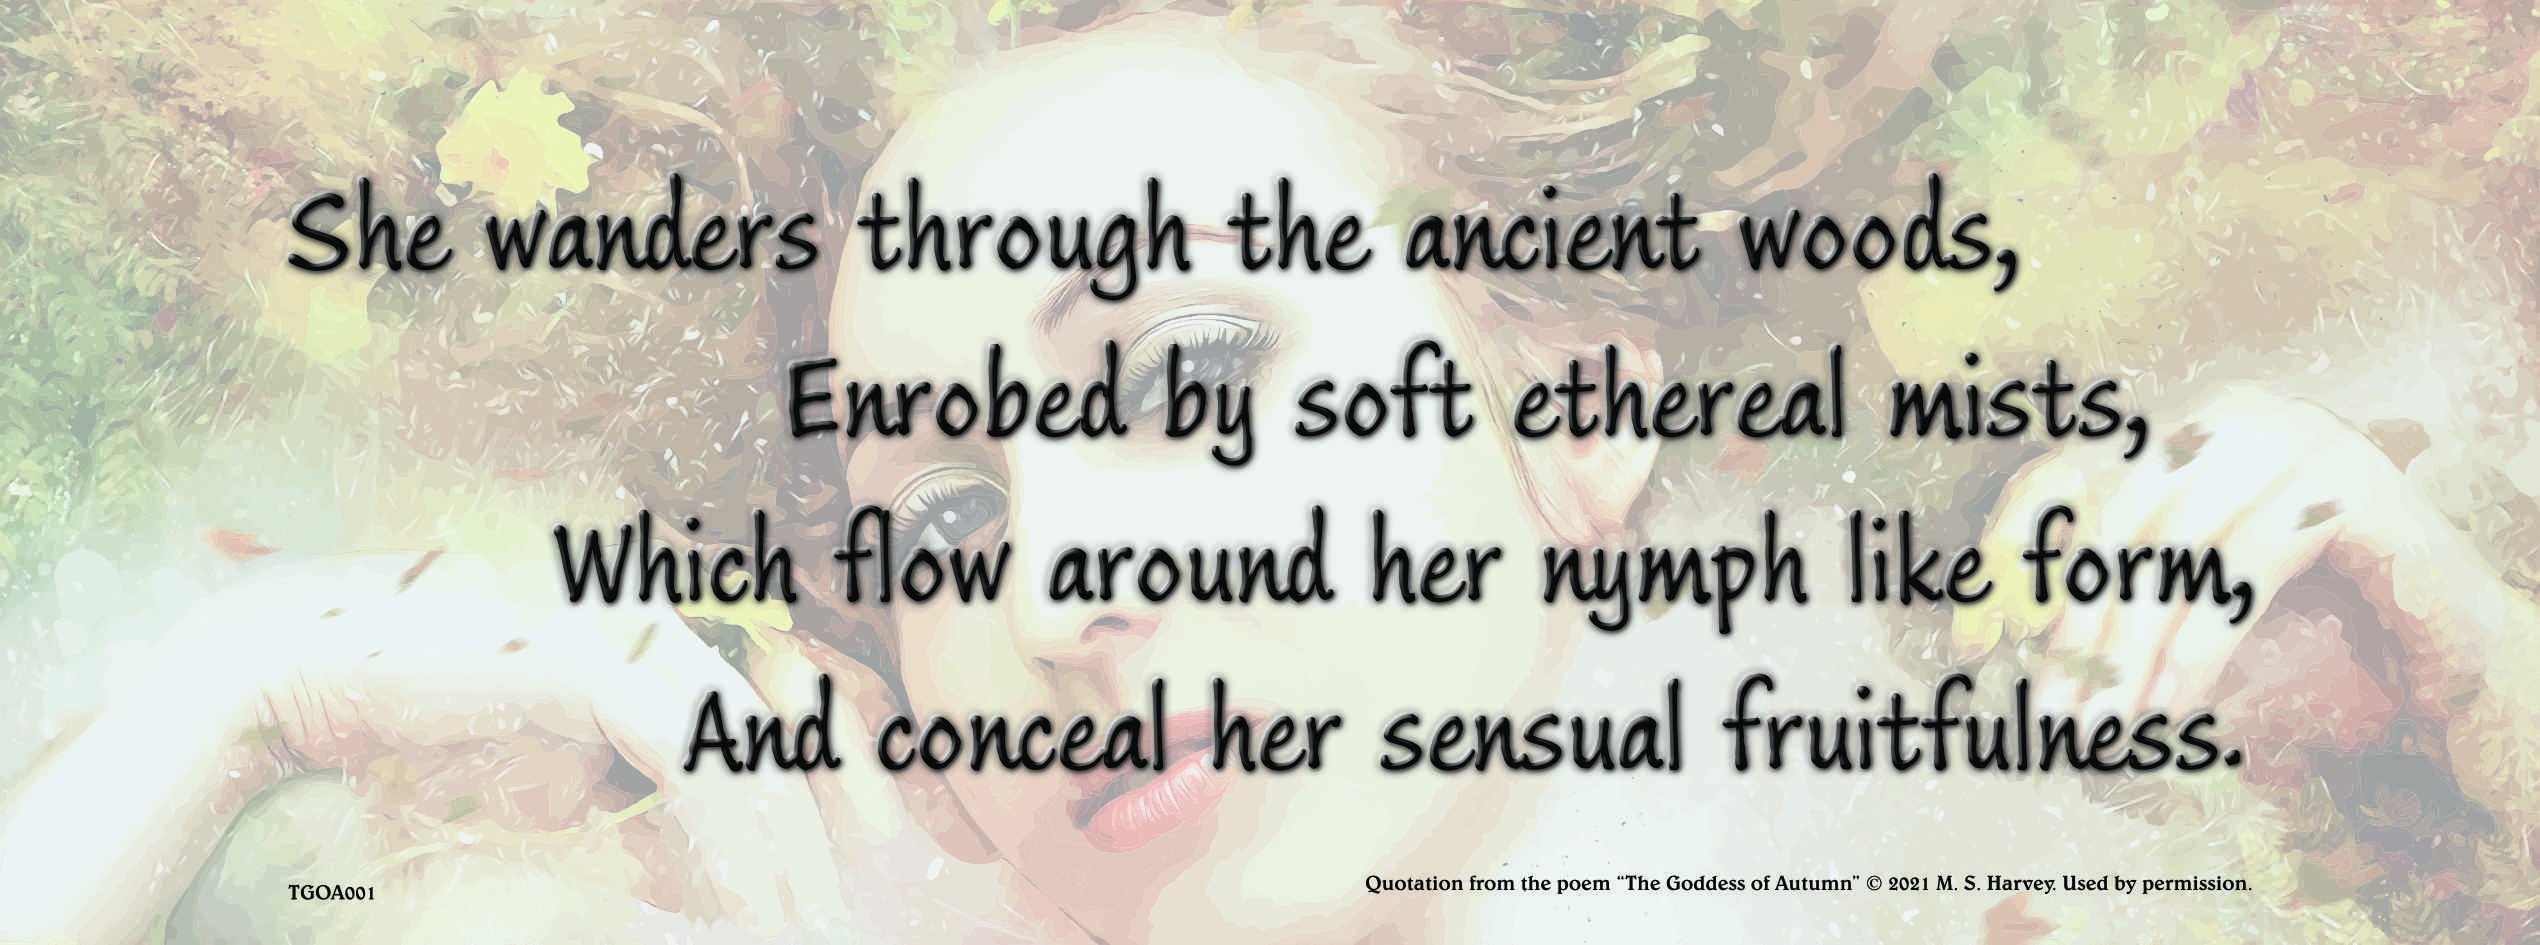
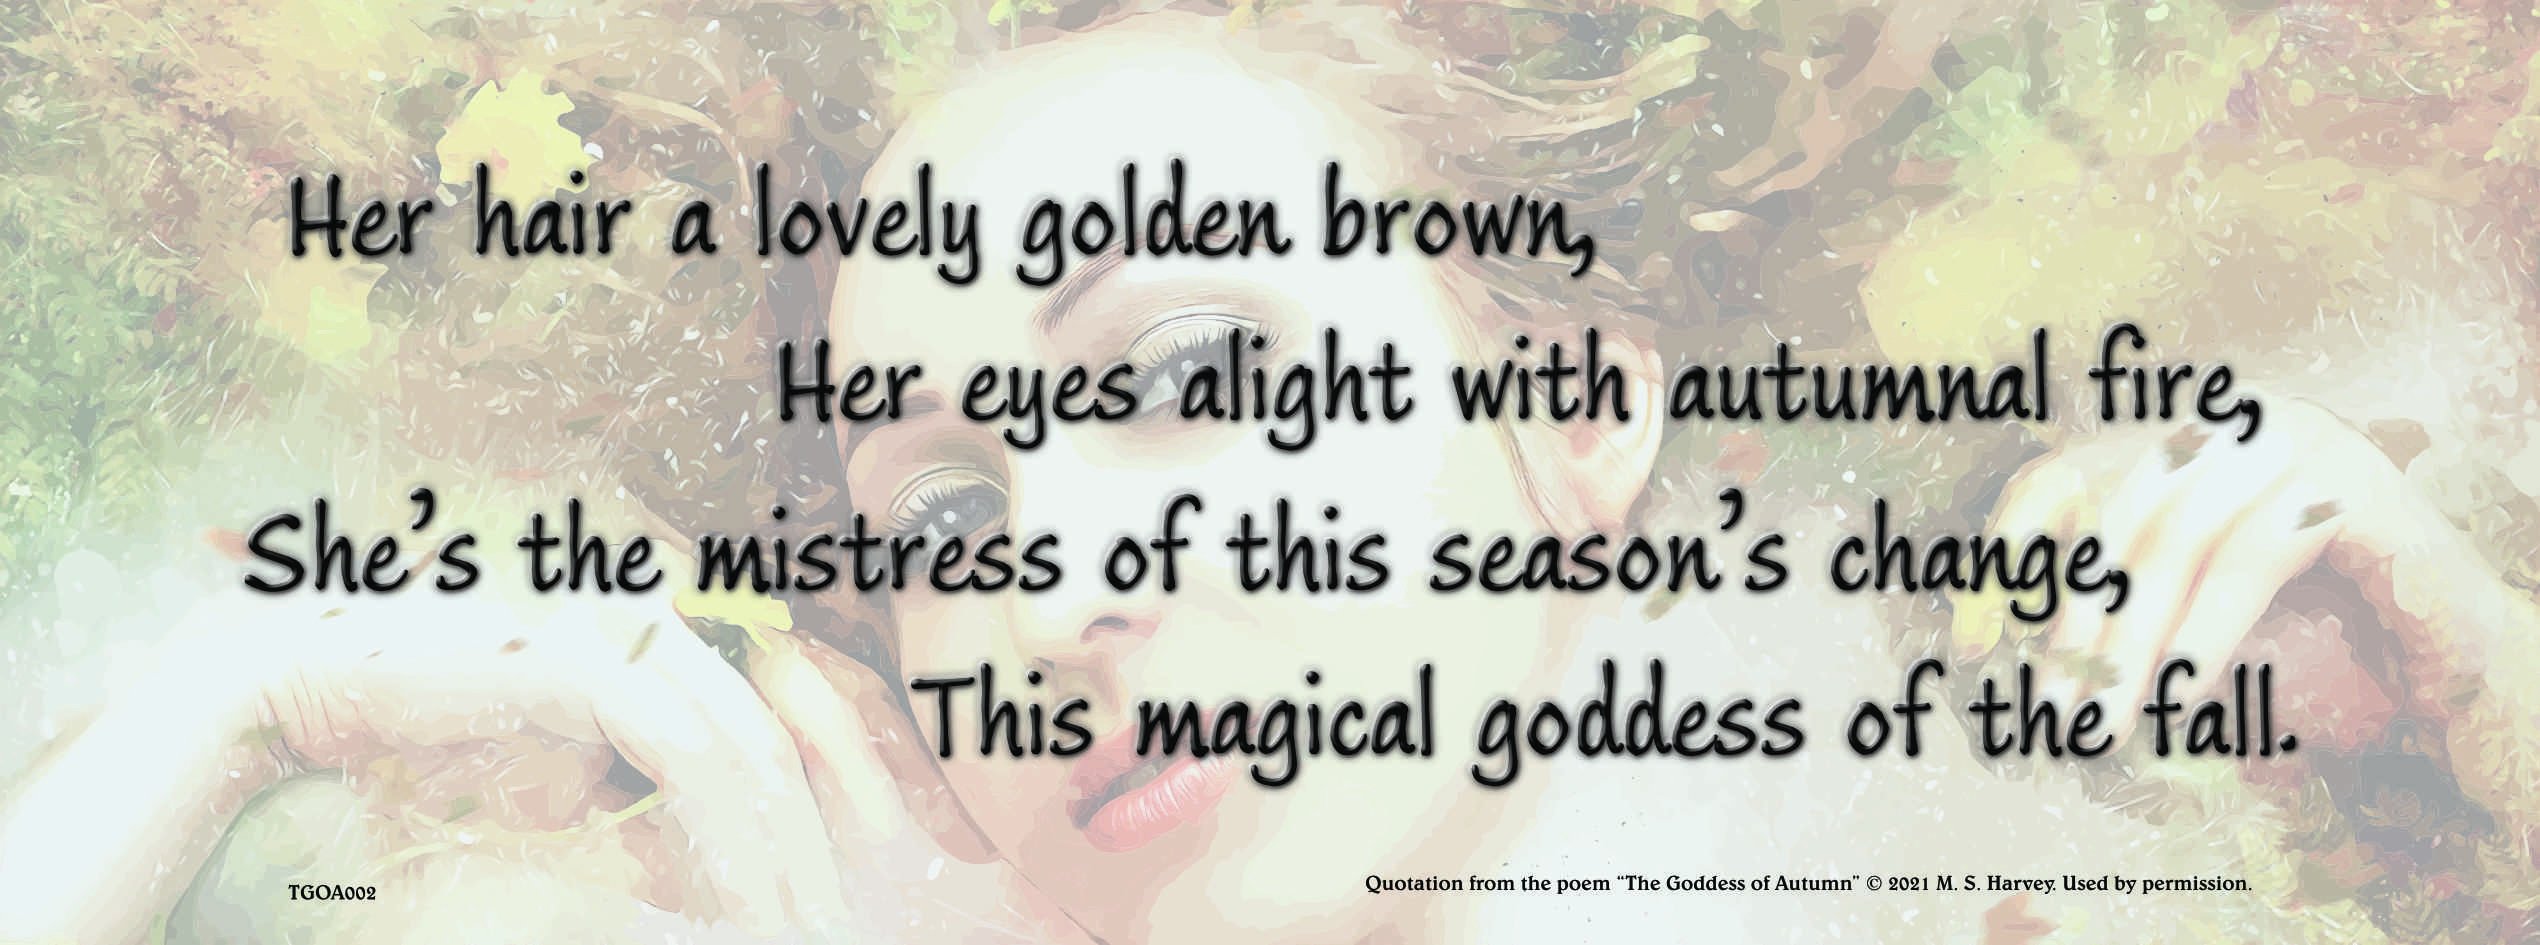
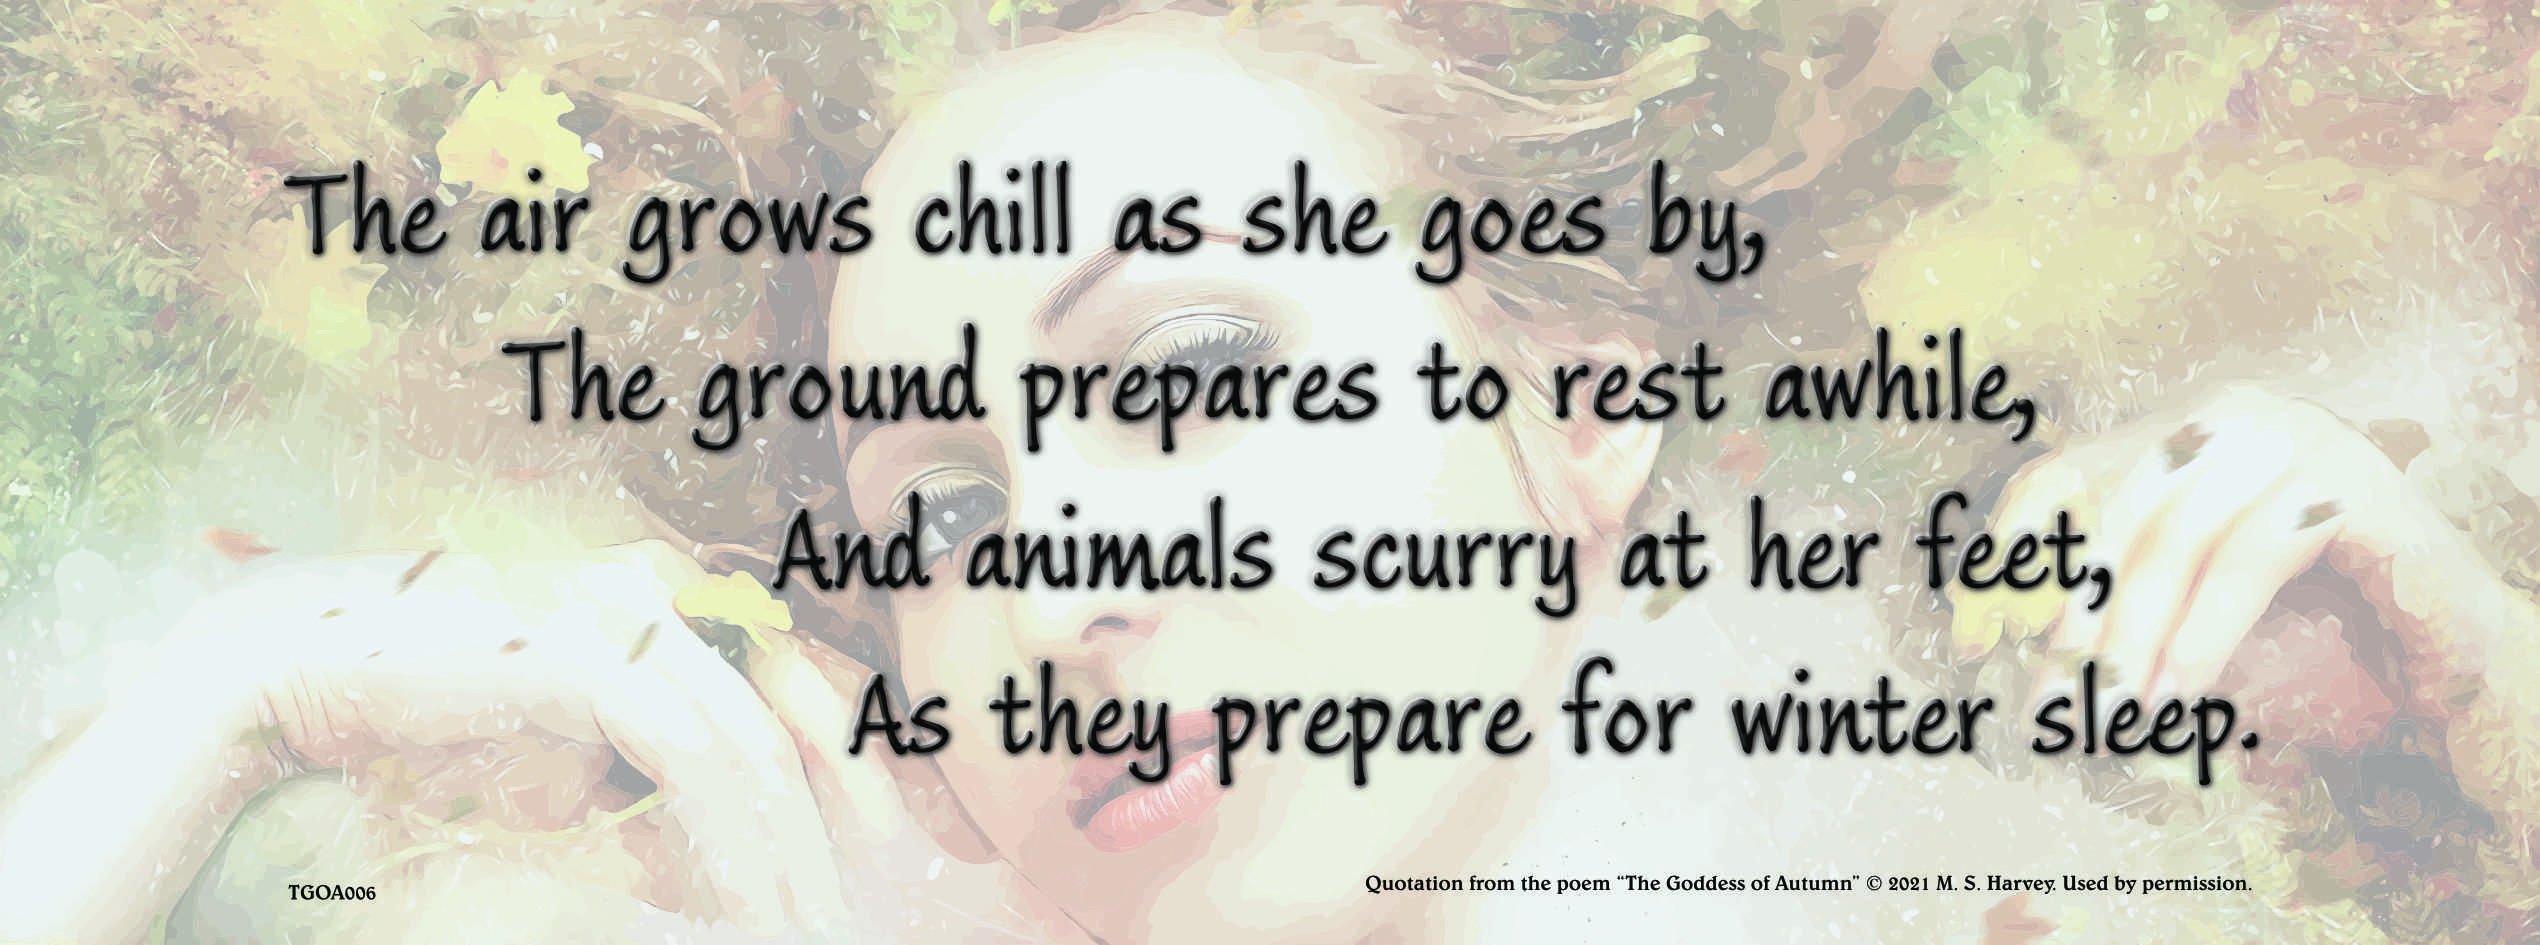
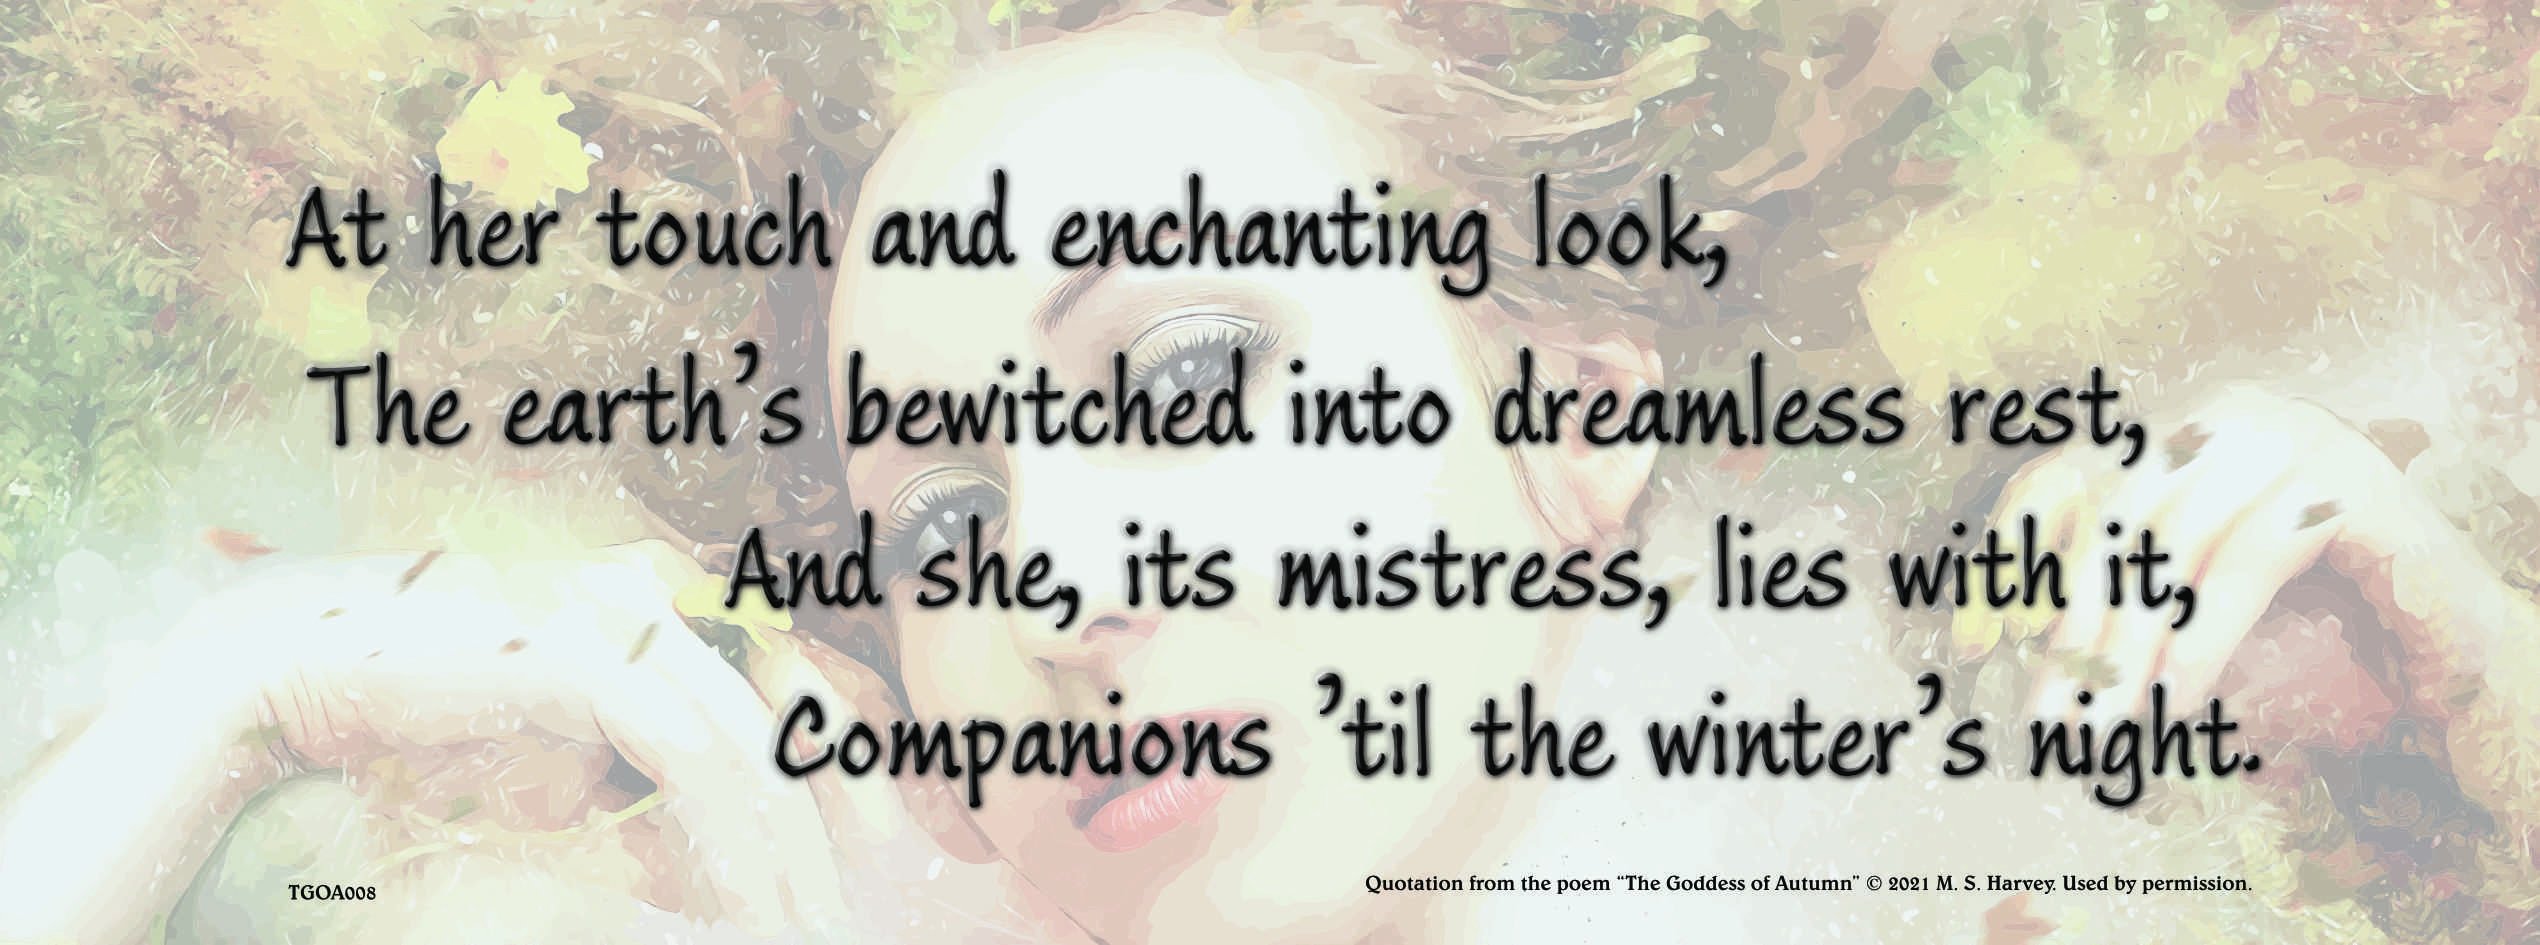
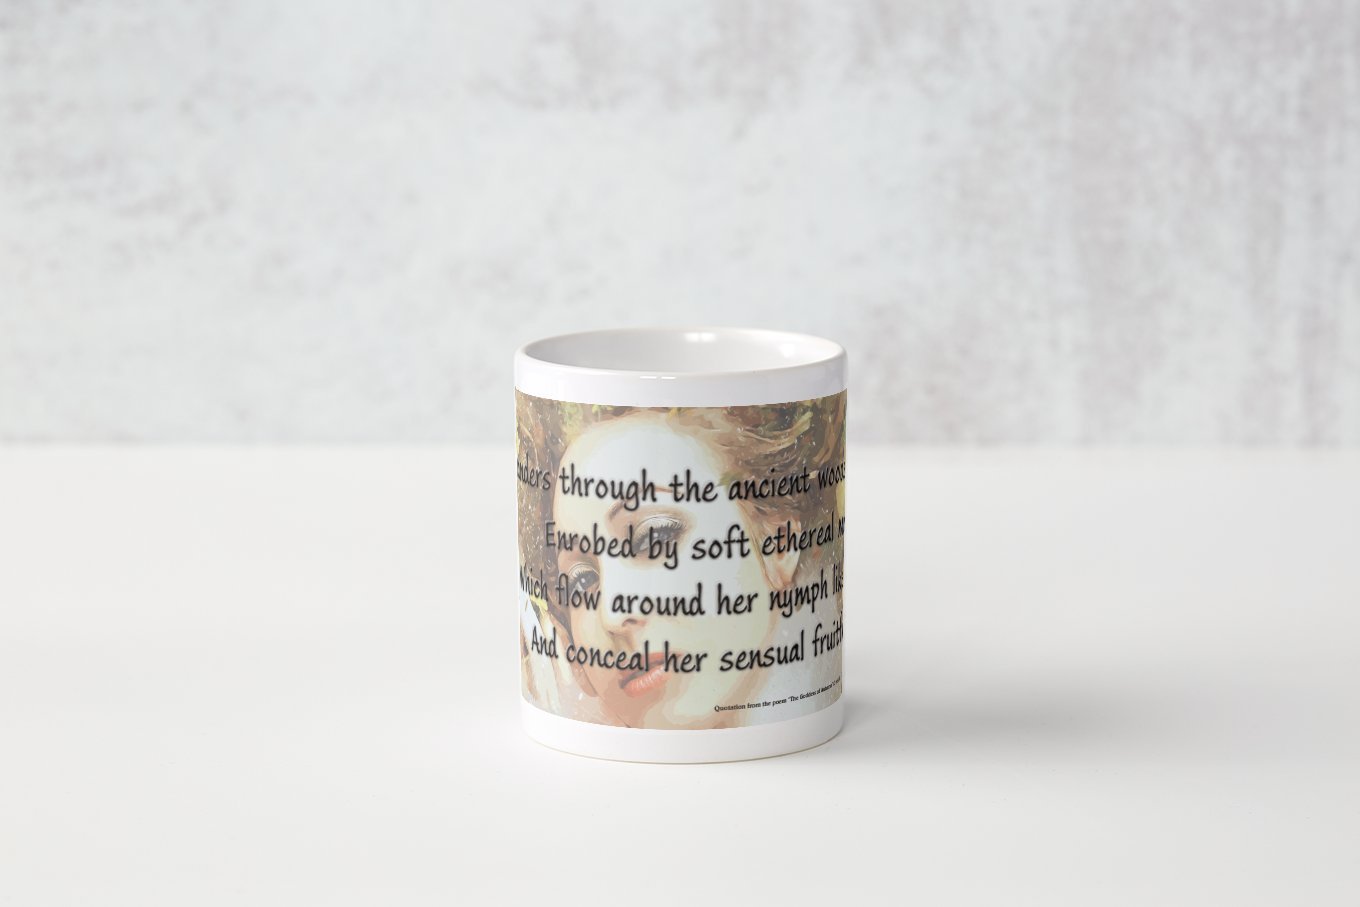
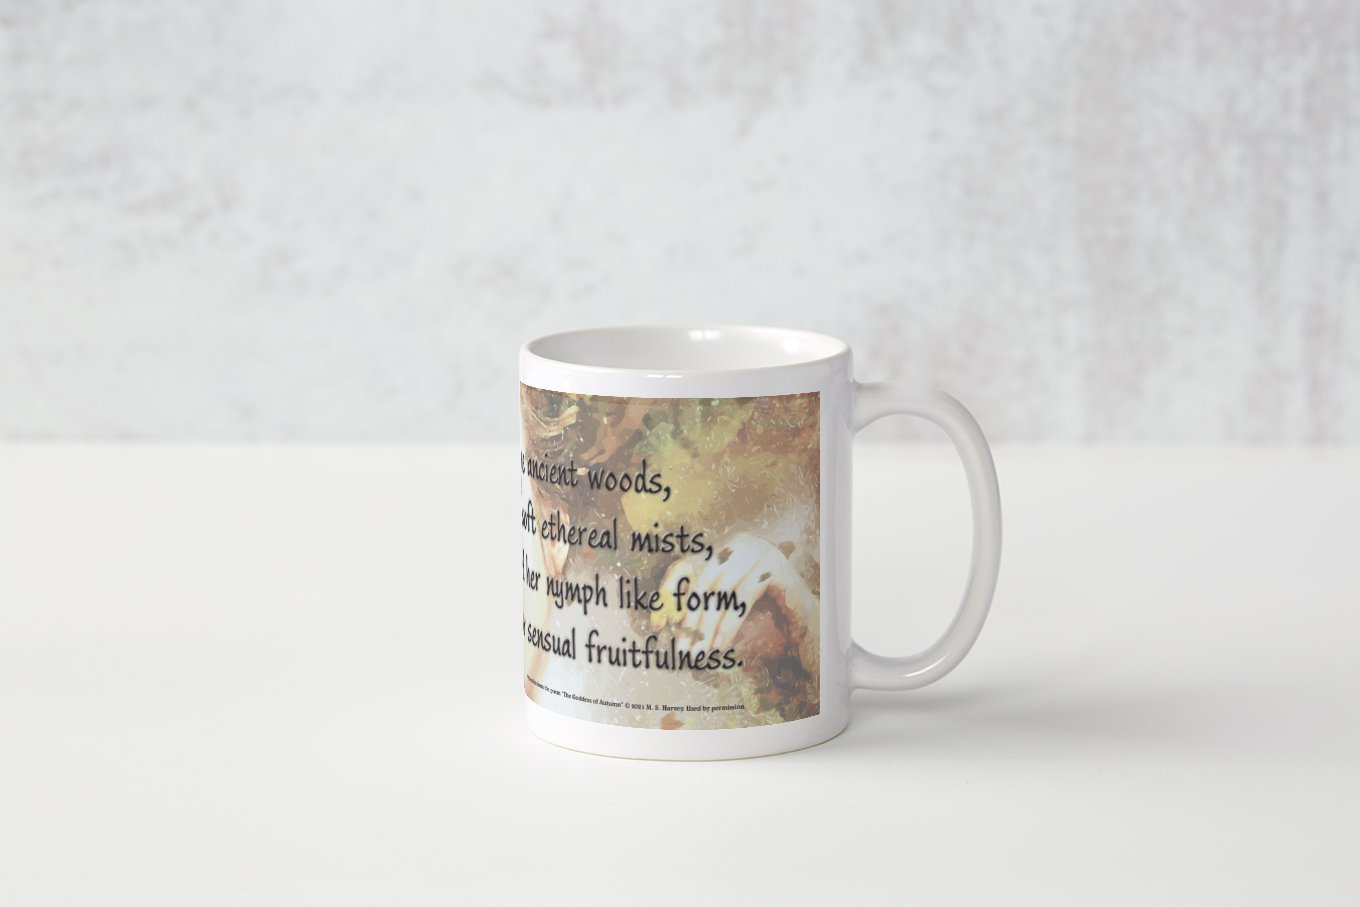
 As an experiment in getting poetry onto every day items, I thought a set of mugs might be interesting. This was an interesting trial. I chose The Goddess of Autumn as it is the most classical style of poem I have written. The font used is Ink Journal and the image is a vector traced version of an excellent image from Pixabay. I used Artistic Text and Alignment Tools to create the staggered line layout. The emboss effect was used to add a little interest to the main text design. Here are eight JPG files of medium quality to showcase the designs.
-
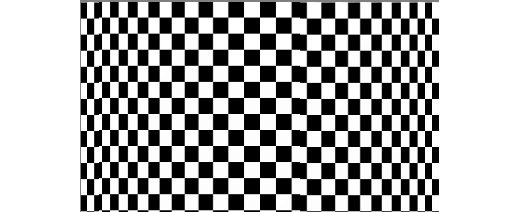
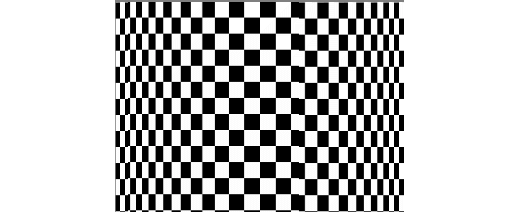
Some time ago I produced a macro to Wrap an Image around a Bottle or Mug. This involved some complex trigonometrical operations on the image. I present here an alternative approach for a macro to perform the same action. Here is my original image: o It is easily possible to produce an equation that contracts the image width-wise to emulate the reduction in perceived width as the image is wrapped. Such an equation has the form: x=w/2+(w/2-x)*pi/2 and has the result of: The contraction is uniform across the reduced width. The expression pi/2 is the appropriate scaling for a bottle diameter that accepts the image around its half-circumference. What I was aiming for was a function that would scale the edges so that they appeared contracted, whilst applying zero scaling to the centre of the image. After much trial and error, I came up with this: x=w/2-(w/2-x)*(1+1.571*(1-sqrt(1-(1-2*x/w)^2))) Edit: Note that this has a minus sign after the first w/2. The original had a plus sign. The value 1.571 is just half pi. The resulting image is: This is a single result. I have further refined by including a scaling parameter, a, which accentuates the compression at the edges. w/2+(w/2-x)*(1+(1.571/a)*(1-sqrt(1-(1-2*x/w)^2))) Here it is with the a parameter around half. Note that in these images, the central squares remain square. Edit: Like my previous version it has a parameter (in this case b) which affects the viewpoint, above or below. If you want to use this then you need to enlarge the canvas vertically beforehand to give room for the curvature. You may wish to use Document > Clip Canvas at the end in this case. Edit: various members had pointed out that the final image was flipped horizontally. This has now been fixed. I have also added Layer > Unlock and Layer > Rasterize at the start of the macro. I have not added a clip canvas at the end. Do you think that this is desirable? Here is the macro: WrapAroundV2.afmacro John
-
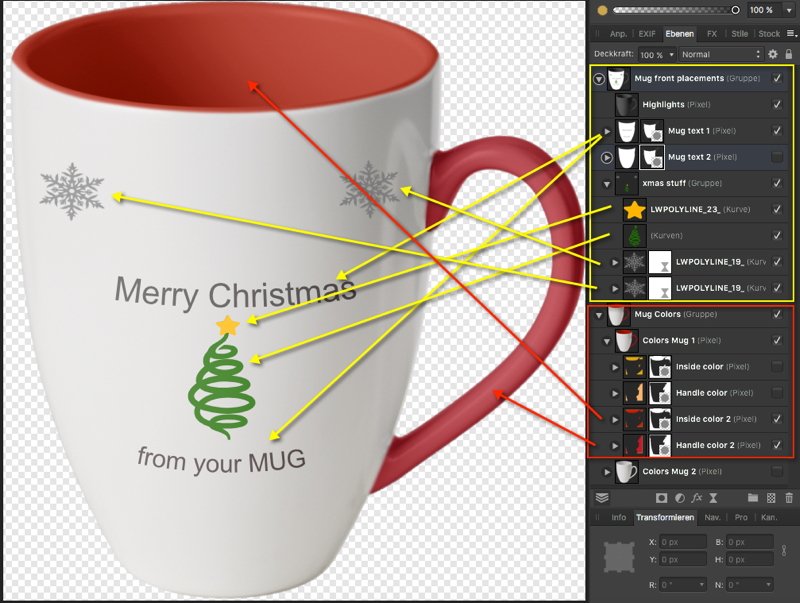
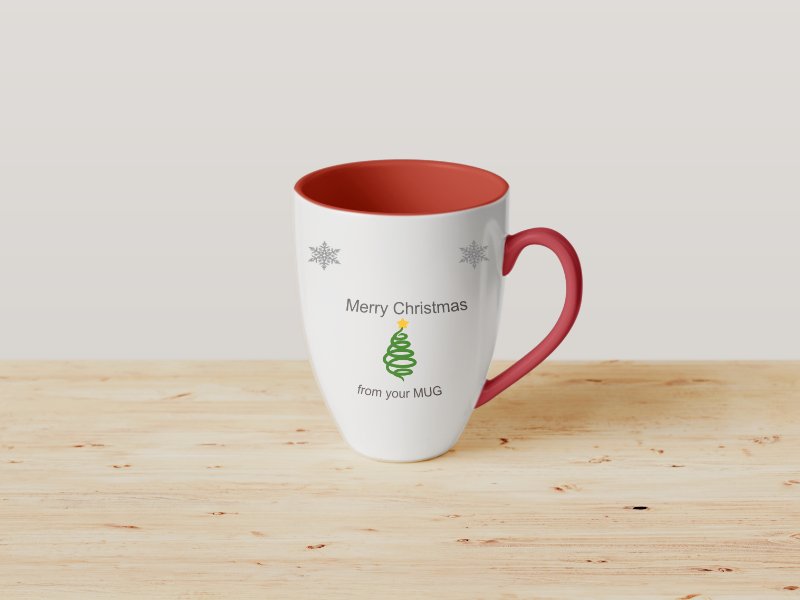
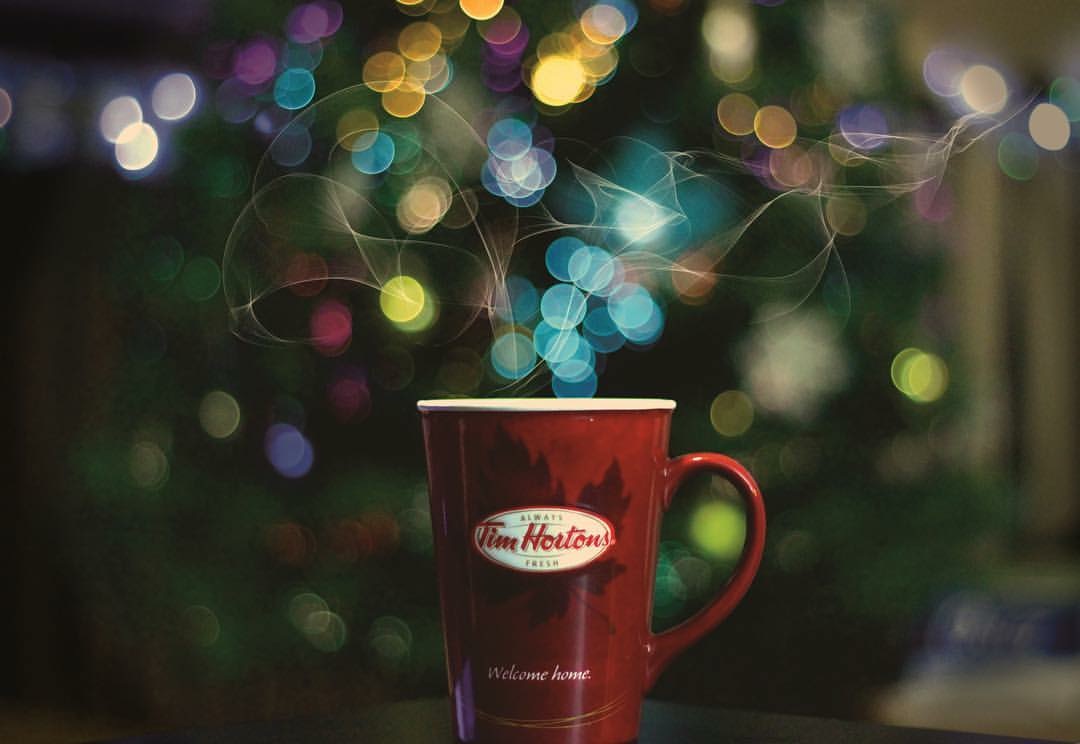
Here's an example mockup for playing around over Xmas, so to say your individual customizable xmas style coffee mug. This APhoto mockup example has been mainly done with bitmap layers and contains an embedded/places APhoto mug file on top of a common mug on wood bitmap. Where the embedded APhoto mug is the main customizable portion of this mockup and can be changed to individual needs in terms of coloring or the mug front text and object placements. The above image shows the selected embedded/placed in APhoto layer and how to open that in order to edit it. Once opened certain things can be changed/edited inside that embedded file ... ... some predefined placed items like example text and xmas silhouettes have been placed as vectors instead (for easier modification). Note however that the main mug shapes and masks are bitmaps though, so the mug colors have to be changed with bitmap/raster color tools. The corresponding sample mockup file: xmas_mug_mockup.afphoto Have a nice Xmas time!
-
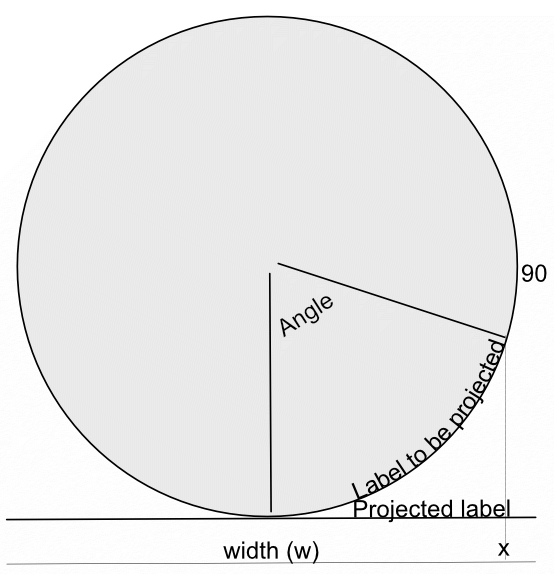
 In a recent post in Questions, @Maxxxworld asked how he could warp an image to apparently wrap it around a bottle. I posted a solution to his problem there, which I expand upon here. Consider the facing semicircle of the bottle as seen in this diagram: The visible part of the label extends from -90 degrees (on the left, not shown) to 90 degrees on the right. This will correspond to the width of the original image. This will project onto the final width of the image (the line below). The final width is less than the original width by a factor of pi/2. A bit of trigonometry shows that the sine of the Angle indicated is given by (x-halfwidth)/halfwidth, where halfwidth is both the label and the final image. Putting this together and re-arranging a bit gives us an Equation: x=(asin(2*x/w-1)*w/180)*pi/2+w/2 A bottle is typically viewed from above, so that the label has a curve, typically with a dip in the middle.This can easily be simulated using equations, using: y=y-Const*x*(w-x)/w/w The Constant determines the depth and direction of the curve. I have used the expression w*(0.5-a) as a scaling factor, where a is a parameter chosen at runtime. This will change the curve from negative (curving down) at the default a=1 to positive at a=0. Inserting this into the equation gives: y=y+(0.5-a)*x*(w-x)/w Note that the w in the numerator and denominator cancel out. The value of (0.5-a) determines the curvature as described above. As an example, here is the Great West Window of Chester Cathedral. I chose this because it has lots of verticals to see how the filter affects it. (It has verticals once I had put it through the Mesh Warp.) And here is the image after the filter: Before filtering I cropped it close to the sides of the window and then Rasterized it to remove the invisible sides. I then added space at the top and bottom to allow room for the curvature part to operate. I then followed this by Clip Canvas to remove surplus transparent ends. The calculations for this filter are complicated by the algorithm that Affinity uses to effect these equations, which I explain in this Tutorial here. I have created a macro that effects the filter, and then uses Clip Canvas. By clicking on the cogwheel, you can alter the degree and direction of curvature. EDIT: I have discovered that this macro will only perform once (per Affinity Photo session). I add here a version recorded in version 1.8 which does work properly in Photo 1.8: WrapAround1.8.afmacro I alos onclude here the original macro, recorded in version 1.7: WrapAround.afmacro John
- 20 replies
-
- 14
-

-

-
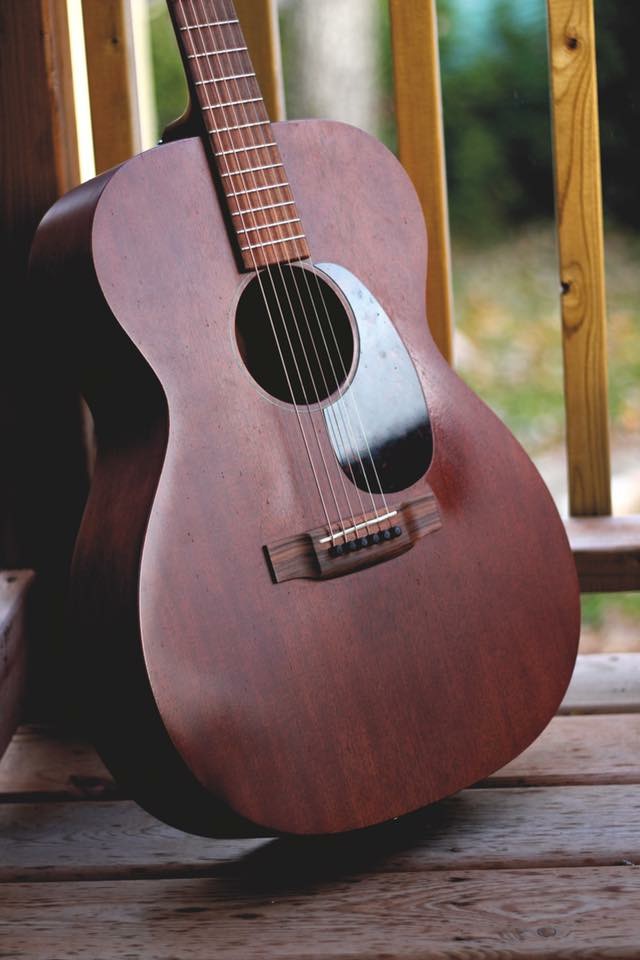
Good day! I'm fairly new to the whole photography thing let along photo editing. I'm absolutely in love with Affinity and its ease of use and user interface. Anyways, here's a few random shots that I've done and edited with AP. Comments and critique welcome!
- 2 replies
-
- 2
-
-
- edit
- photography
- (and 2 more)
-
 Hey all, I run an annual collaborative writing event, and used Designer to produce all of the brand materials associated with the event. The designs themselves are all pretty simple / minimal (as you'll see below), but I was impressed with what an intuitive and easy to use environment Designer was to play around with some ideas and refine them from within the program. Materials produced include the logo (below) which was then reused for things like the forum badge shown in my signature. I also produced a design for use on t-shirts and mugs... Like I said, all pretty minimal design but (hopefully you'll agree) good for the purpose and not too in-your-face or distracting.