Search the Community
Showing results for tags 'masks'.
-
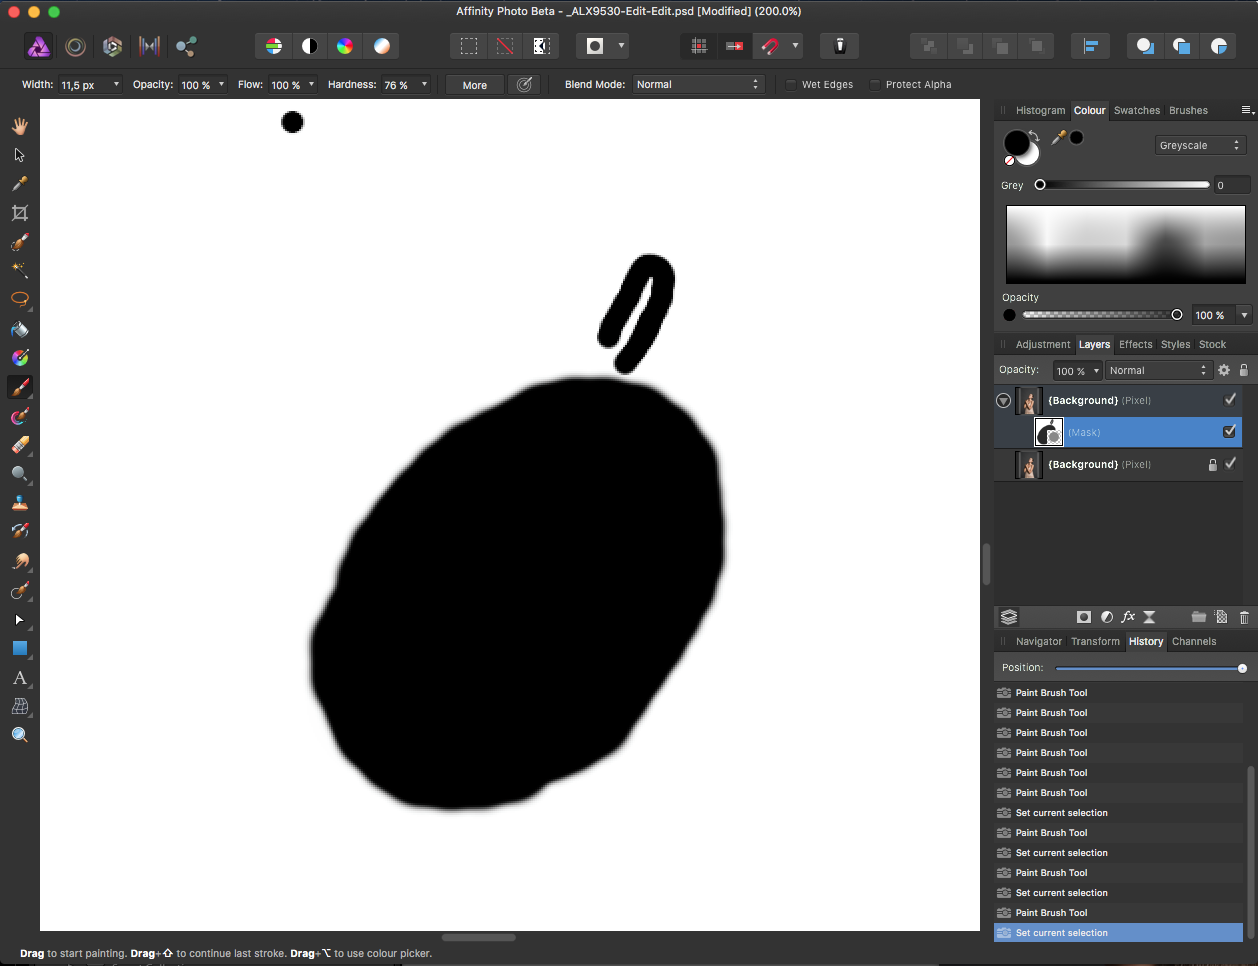
 I don't know if this is a bug or a feature. Colour palette needs to automatically change to black & white when editing masks - and change back to your previous colour palette when working on the pixel layer. This feature is very important when you are alternating between masks and pixel layers. Having to alter the palette every time you change from a pixel layer to a mask layer and back again can become very time consuming.
 -
Suggested features for Affinity Photo: Color Picker sampling white, grays, or black directly from a Mask while you're working on it. Masks allowing certain blending modes like Screen, Multiply, Lighten and Darken. Undo Brush allowing painting from the History in a Mask. One of the great things about masks is how much control they can give you over opacity when you want something to be partially visible, using grays you sample from the Mask can be a huge time saver, especially when paired with brush blending modes like Lighten and Darken. Unfortunately, some of that control is currently missing in Affinity Photo. When you use the Color Picker to sample while you're working on a Mask, whether you have Global or Current Layer as your source, it uses the whole image to sample a color. It would be far more useful to have it sample the tones directly from the Mask, and even better if it allowed you to use brush blending modes as well. Lastly, the Undo Brush currently behaves like a normal brush when you use it on a Mask, with some very strange distortion in the strokes (a bug?), and would be extremely useful if you could paint from the Mask's History like a regular layer.
-
 I'm very new to all this all I want to do is quite simple, I have a high res logo, I want to make it's background transparent and then layer it on top of a photo, without too much degradation in quality. Please can someone help?
 -
 One of the things I do from time to time on complex edits in Photoshop is luminosity masking, using the channels tab to make a range of luminosity masks to which I can apply various edits. I have been looking at the system for pixel selection from the channels tab in Affinity, but I'm not sure I have got a proper grasp on how, or even if, it is possible to create a range of luminosity masks. Is this something that is not possible either in Affinity or through the use of the channels panel?
 -
 I hate to have to request something that is straight out of Photo Shop but occasionally there is something so neat and simple it's worth replicating. Could we have primary and secondary colours automatically switch to black and white when a mask layer, FX layer, adjustment layer, etc are selected. It's such a tiny thing but it's SO useful. And on that subject a button to reset the colours to black and white would be handy too. I really miss it.
 -
Hi, I am wondering if anyone can figure out how to do (video attached) type of sharpening with affinity photo? I have tried but can't seem to get it. The how to is in the video done by Jimmy McIntyre. https://www.youtube.com/watch?v=iVgfbiH4-fw
-
 Hi As I needed recently to work on the project in AP (my choice) with colleges with Photoshop CS6 (who work with that anymore, right?) we have run into a problem with layer masks exported from Affinity Photo. Thay appear as a rectangle in Photoshop, no matter what the original mask shape was in AP. See the screenshots. Happens to all layer masks created in AF exported to PSD.
-
 Is there a way to combine masks in AD?
 -
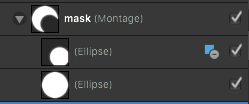
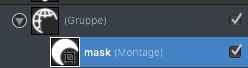
Hi all, I had the situation, that I created an object as a mask (which is a non destructive boolean object - I love this functionality). But when I use that object as a mask, I loose the ability to "on-the-fly-modify" the mask itself. I have to the the mask object out of its function as a mask - to have the booleans to click on an modify. After that I can use it again as a mask. But that means again, I cannot pick the separate mask-objects to modify ... so I have to start the same process again and again... Thanks for thinking about that issue, Stefan.
-
 Hi, I've started testing the Macro function. This is a great step forward! I'm unable to select layers or masks while the macro is recording. See screenshot for the notice. It would be great if we can select layers and masks while recording. One of my frequent use case is to create a custom curve, apply a mask and invert the mask so that I can "paint" the adjustment in manually. Thanks.
-
I have a one layer doc with a mask on it and i am trying to open it in PS. I exported it with all possible options and PS says there's a disk error. AP won't open either it says could not be parsed. What is happening?
-
 I want to take a photo of three people, take out the cluttered background, and make it look as if they are in front of a seamless background or blank wall. What is the best way to do this? How do I find the colors for the solid seamless?
 -
 Hi, I really like affinity photo, I find it easier to us then photoshop but there are a few things I can'tseem to figure out. I am learning different techniques for editing black and white photos. It seems via youtube that in photoshop multiple gradients can be added to one mask. If I try to us the gradient tool on a mask on a selection that I have made in affinity I can only us 1 gradient. So if I wanted to have a gradient masking out an adjustment at the bottom and at the top I can't seem to do this, it just resets to the gradient that I just put down and I lose the previous one. If this makes sense to anyone, is there a way to add multiple gradients to 1 mask? cheers, Jason
 -
 Hey guys, I am looking for a possibility to create multiple Luminosity Masks with channels, so that I have several channels for lights, shadows... The problem is, that you can't multiply/intersect selections like in Photoshop (https://www.youtube.com/watch?v=Z4mG6vlJFNQ). And I do not mean the overlapping function. Thanks for Your help!
 -
 In Photoshop I use the dodge- and burn-tools to fine-tune layer-masks – especially by hair. That technique can unfortunately not be implemented with Affinity Photo. What are the chances that it works in the future?
 -
Is it possible to dodge/burn masks in Affinity Photo? I've tried it several times with different documents, but with no result … my fault? Greets, Tobi.
-
 When an image is masked in Affinity Photo and embedded in Affinity design, the masking disappears when exported or printed. In other words, objects that are supposed to be masked appear in printed or exported documents. Workaround: if the image is exported as a .png and placed in the Design document, the mask is preserved (I didn't test with other file formats that support transparency). (attached file to show difference, has both embedded file and images - toggle with layers) Hand Drafting.afdesign
 -
 Seems like a HUGE limitation to me. Is there something preventing this seemingly huge annoyance from being implemented? I know back in May it was 'on the roadmap.' Is there any movement on that? Thanks!
 -
 I am trying to use masks to edit a photo, and I happen to need to mask overlapping regions. So, the first thing I did was in the desired region I wanted to try to make a sunspot glare in the photo (a small circular shape) less noticeable so I created a new layer and created a mask and adjusted the white balance to blue so that it was less noticeable. Then, I wanted to make the entire background of the photo (distance mountains) clearer by applying a Clarity live filter layer. So I created a new layer and masked the background - But the problem is, the sunspot from the last layer is part of the background. And I cannot figure out how to make it so that the image shows the effects of both mask layers at the same time - I have to choose one to be on top of the other and therefore override the layer below. I am sure there is an easy way that I am just missing but I am new to photo editing - I am teaching myself with Affinity but have never used Lightroom or Photoshop.
 -
 I am working with an image removing the background. When I go to apply the refinement the new layer with mask does not appear. I only have the same layer and picture. How do I fix this? Test.afdesign
 -
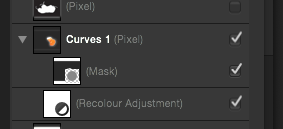
I wish you would reconsider your logic for how a layer looks in the layer panel once it has received a mask and also a layer adjustment. It makes little to no sense. Dont get me wrong I've seen your post on how you handle clipping masks by the placement of a layer above, below, next to another, very clever. But in the end when a designer wants to look at a file you want to be able to see where masks are, adjustments made, all based on this layer order, and lastly if the file is to be opened by a client or agency that only has PS, then they should be identical.
-
I have recently downloaded the affinity photo beta. I have played a little with it and it does seem to be a very good program with great potential with all the user support. I'm a photographer that uses lightroom 5 for 95% of editing. I have tried to understand CS6 and have learned a little bit of the program but find it a complicated and extremely powerful program. Since this is a new program and I don't use Affinity Designer I am having difficulty understanding how to use the layers and masks in this program. I'm sure they work in a similar fashion but things are laid out in a different manner I find. If you know how to use layers, masks, and the tools that affinity photo has can people start to post some short tutorials here please. Would be great help. I'm sure the affinity crew is working hard at creating some but think they are likely very busy fixing and adding features to the program that simply learning how to use the features for newcomers is being overlooked. Things I would like to know: 1. how the layers work 2. how the masks work 3. how to create a layer-mask and then be able to "hide" or "reveal" part of that mask by using a brush and a black or white swatch what all the tools do down the left side of the screen. I know I can play with them but I can't seem to get some of them to work so I don't know what they do... 4. the basic navigation of the UI, since it's new to me Would appreciate the help and hopefully people can post little youtube videos right in this thread that people could search and find... cheers, Jason
-
 I'm loving getting started with Affinity Designer. It's an incredible product. A question: How can I convert a bitmap (png) image into a vector graphic. In other words how can I trace a logo displayed as a solid color in a bitmap? I'm sort of doing it using masks but suspect that there is a better way to go. Any help will be gratefully received. Thanks Martin