Search the Community
Showing results for tags 'macros'.
-
REORDER MACRO STEPS I'm recording a lot of macros, and if I realized I missed a step at the end I have to restart ALL the recording of the macro, instead of doing that step at the end and simply dragging it into its place. Right now I'm having to get things exact on 1 go, if I miss a step, restart the recording.... RECORD MULTIPLE LAYER SELECTIONS I want to record a macro where all the layers of the process are in a single folder, I would like to be able to select all the layers at the end and group them. I know I can do this from the beginning, but (See previous) Dealing with a lot of steps, settings, there is no flexibility on the recording.
-
 This post concerns Affinity Photo only (Mac installation) I would like to share with you lovely people some methods to create a pencil sketch from a photograph as an opener to more discussion and ideas. Firstly I must credit Affinity Jack for the first method, Ciao Jack :-D I'm assuming a Mac installation of Affinity Photo There are a number of ways to create a pencil line drawing effect from a photograph; here are two quick methods as recipes, the fist one I discovered on the web from Affinity Jack; here is the link: https://www.youtube.com/watch?v=srNqGqVBkxA , I have seen this method in other places so I don't know who created this originally. The second one is a method I developed myself by experimentation. First method (Gaussian Blur) 1. load the file. 2. If the file is not raw i.e already processed as an afphoto file or a jpg/tiff/png etc go to step 3. Make whatever raw file adjustments you need to do then press develop and proceed with step 3. 3. Duplicate the initial background pixel layer (Cmd J). 4. Make sure you have selected the new duplicate layer; then invert the layer (Cmd I) 5. Select the blend mode of the layer and set the blend mode as Colour Dodge; note the picture will go blank white or you my see a faint outline ... don't worry step 6 will make it it clear ... 6. With the duplicate layer selected choose from the main menu Layer -> New Live Filter Layer -> Gaussian Blur Filter then move the Radius slider slowly to the right to reveal a sketch outline. 7 Once you have your desired sketch effect, make sure you have the duplicated layer selected and press Cmd U to give you the HSL shift adjustment. Move the Saturation Shift slider fully to the left to give you a black and white pencil effect. Second method (Edge Detection) 1. load the file. 2. If the file is not raw i.e already processed as an afphoto file or a jpg/tiff/png etc go to step 3. Make whatever raw file adjustments you need to do then press develop and proceed with step 3. 3. Duplicate the initial background pixel layer (Cmd J). 4. Make sure you have selected the new duplicate layer; then select Filters -> Detect -> Detect Edges. 5. Invert the layer (Cmd I) 6. Now with the inverted layer selected press Cmd U to create a new HSL adjustment layer and move the Saturation Shift slider fully to the the left to create a black and white pencil sketch effect. I have created these as Affinity Macros too (for non Raw files of course) but doing them from scratch gives you access to modification of layers within the process to give you more creative scope. The main difference between these two methods is that the fist one uses a Gaussian blur effect which gives you scope to increase the thickness and intensity of the edges but naturally is more blurred of course. The second method using edge detection gives crisper edges; try experimenting with horizontal or vertical edge detection and using adjustments to layers as you go through the process ... go on .. it's fun :-D I have also been plying with using the sketch to create a watercolour effect too, much fun with the free watercolour brushes. I haven't got a good process yet with the watercolours but I'm experimenting and when I get a reasonable process I'll share it. Please join in with ideas and or developed processes if you like; I'm having fun anyway :)
 -

affinity photo FX Monkey - New project with AP resources
Frankentoon Studio posted a topic in Resources
Hey guys! I just wanted to let you know that I've been working on a secret project the past couple of months. It's a website dedicated to offer post-production tools for Affinity Photo, mainly for photo retouchers: color presets, retouch brushes, texture overlays, etc. Also, I've been working on a photo retouch eBook with complementary videos for AP, which probably will be released there when finished... The site it's finally in pre-release, that means that I'm still working to finish the first assets, but today you can have a (small, small) taste (almost a little bite) of what of what you can expect out of it. It's a FREE Pack called: FAUX 77 A collection of 8 Macros for AP that emulates the vintage looks of the pictures from the late seventies. You can look at some examples and more details in the link below :) As with Frankentoon, you just have to give your email, and the download link will be sent to your inbox. You can unsubscribe later if you wish. But if you are interested in the project and want to know more about future releases and free sample packs you can stay :) This website will be growing as I'm adding content through the next weeks. I would like to know what you think and which kind of tools for AP you'd like to find there. Cheers! Enrique -
 Check out the sneak peek of the HDR and 360 image editing features coming to Affinity Photo 1.5! Version 1.5 features announced today include: • Advanced HDR merge producing full 32-bit linear colour space images • An entirely new workspace for tone mapping • Focus stacking to bring depth to multiple combined images • Batch processing for smoother, faster workflow • Macros to record and replay a set of commands • An all-new way to edit 360 degree images Some much anticipated features to look forward too here, coming soon to Affinity Photo... :)
- 56 replies
-
- 86
-

-
- Affinity Photo
- 1.5
- (and 5 more)
-
Welcome everybody! Is it possible to select other layers or background, move and group layers together while recording macros? I get message "Cannot record 'set current selection' ". Am I doing something wrong or it's simple not doable? Another thing - while recording a macro, can I play another macro?
-
Hi :) So Im playing around with the new macros feature. Loving it but I have a few things I'd like to request 1. Being able to group layers together - and adjust the fill layer of the folder and individual layers 2. Be able to add gradient fill layers that align to the image 3. Add a comment/description/instructions for adjustments somewhere - preferably on a modal popup Thats it so far. Thanks :)
-
Nice job on Photo 1.5 guys. Macro function is a great start.... but I'd like to request a couple features. I use "Actions" in photoshop to string together often repeated tasks such as creating masked groups from specific alpha channels, creating retouch layers and softproofing. I realize macros are different that actions but a couple features would allow us the expand and develop this tool more. 1. I'd like to be able to assign F-Keys to specific macros. I use this extensively in Photoshop and feel hobbled in not having it available in Photo. 2. In macros I've recorded I am unable to record "move" steps. Moving, renaming and re-ordering layers and is essential for me to automate. For professional and production color/retouching work expanding the functionality of macros is critical. Thanks, Dave
-
 forgot downloading the macros when downloading AF, how to correct it
 -
 Great Gift! Free macros included in the purchase! Thanks
 -
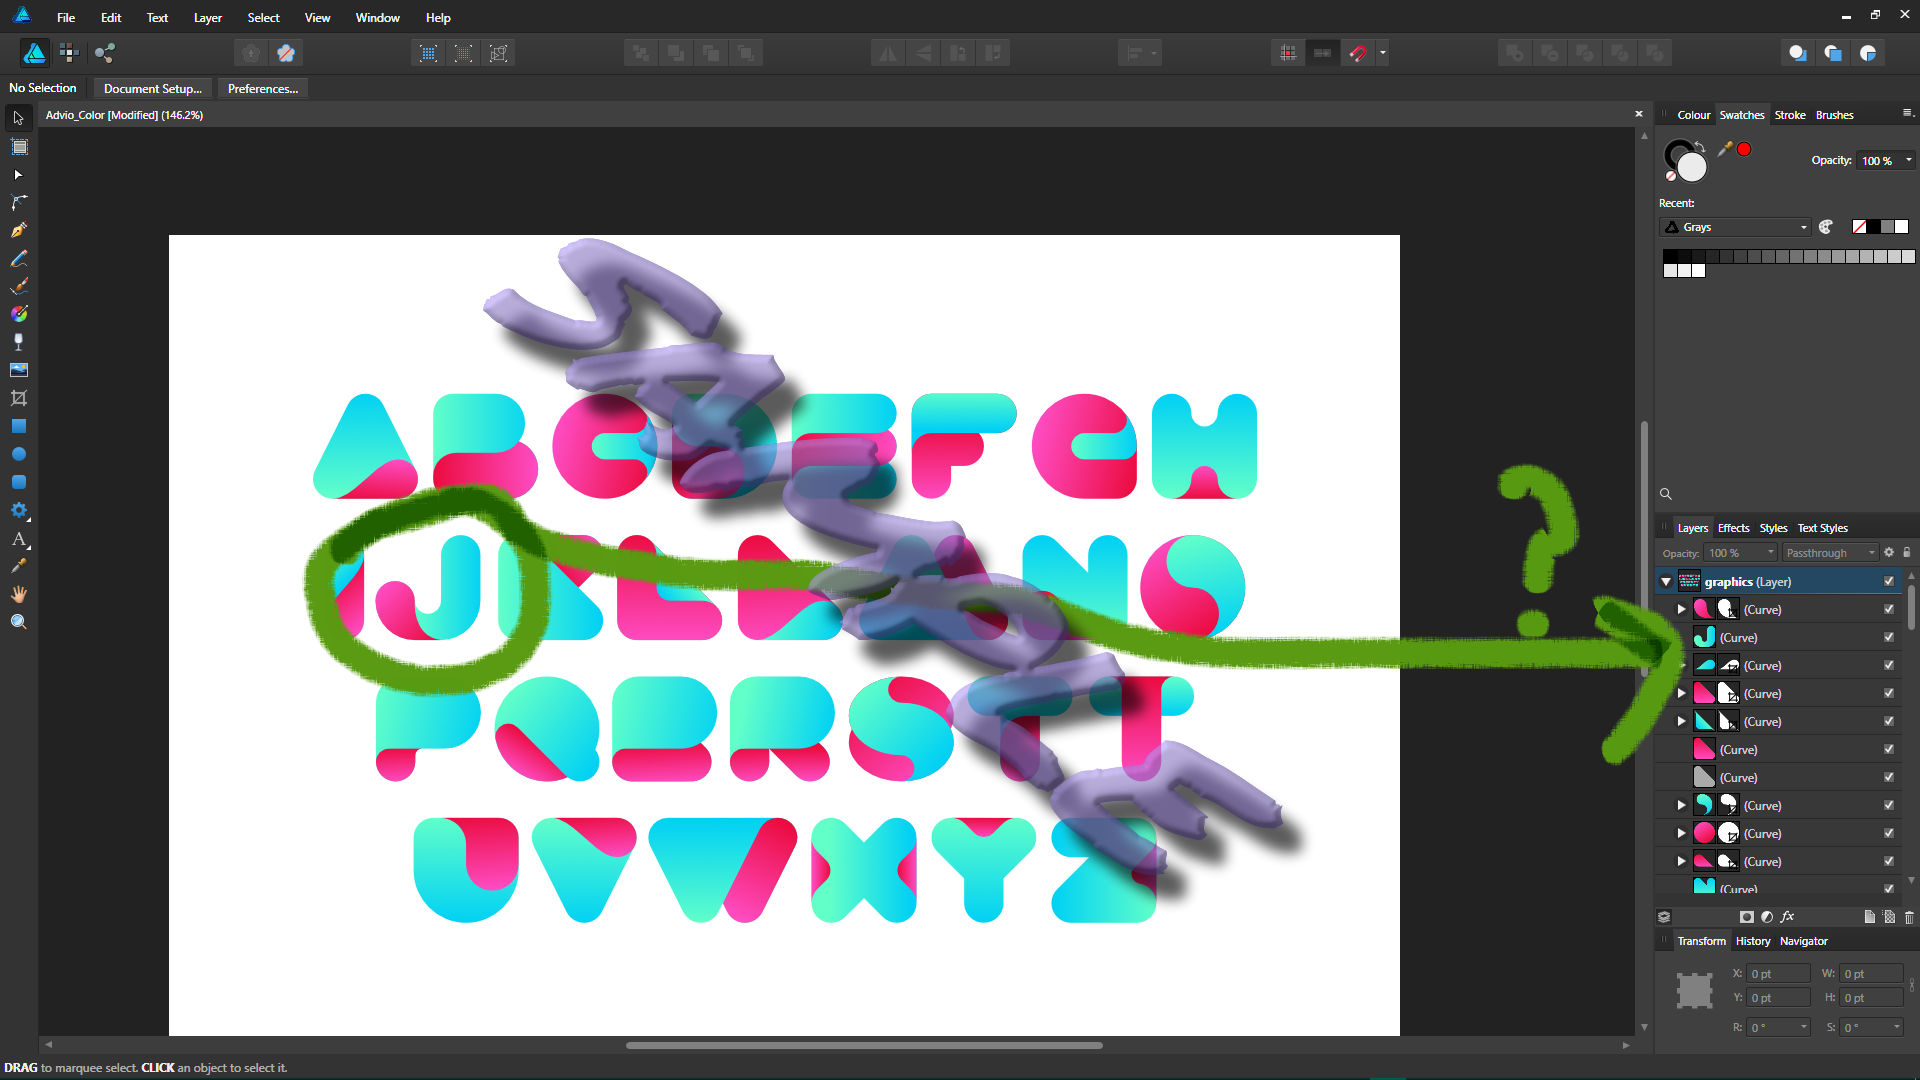
 Hi, I frequently use the Export section to export in SVG - Export at 300dpi and also PNG. However, using the Shortcut Keys is bit hard as I am not a contortionist! ( Need to use the CTRL-ALT-SHIFT-S keys together and I have short stubby pinkies! How can I reset this key combo to a single keystroke please? Also, is there any way I can record a standard set of commands into some sort of scrip[t? e.g. If I purchase a Vector alphabet I need to isolate each letter and doing so by layers is a nightmare (designers note! as nothing is grouped, so the fastest way is to select all items for each imaged char and copy then paste new from clipboard.Save As AD native format then Export in SVG 300dpi and also a copy in PNG format for wider usage. I hope this makes sense! Thank you! Angela
-
I know that macros are still very much a work in progress so I hesitate to criticise too much at this stage but I do have some serious issues and some questions. I'll start with the problems I have ...... Panel Contrast is so appallingly low that unless I am in a darkened room I can barely read it. The words Save, Export, Import are just legible but why not use the same pale grey and white used for the rest of AP's interface? The on off state of the record, stop and play buttons is even worse. It is so subtle that I quite simply don't know whether I am recording or stopped. You use coloured icons throughout your interface. They would be very helpful here and there is an established green play, red record, white/grey stop, colour coding that is almost universal across all kinds of apps. Why so shy? I have read in posts of an undocumented eye icon for pausing which is also hard to see for similar reasons. In my case it seems to be so hard to see that I am quite unable to find it at all! Can someone please tell me where to find it? Now a couple of requests. Macros aren't always straightforward and the more sophisticated your recorder becomes the more complex the macros can get and to debug if they don't work as expected. A step through playback mode would be a huge asset in my view. Also can we please have the ability to assign keyboard shortcuts to macros? The two are entirely complimentary as both are about speed and productivity. This is a great addition to AP but please lets have it clearer and easier to use. Once again I do appreciate that this is early days so forgive me if my criticisms are premature. David Mac
-
We would like to see a link or explanation for a keyboard shortcut (for example double SHIFT) on the welcome screen for a reference and overview screen. On that screen we would like to see a short explanation of the UI, basic tools etc. including the basics of field input. This is for the beginners. (Nice to have: Professionals could arrange their own reference screen with their most commonly used things like tools, strokes, styles, symbols, text styles, macros, preferences, texts, …) The size of that screen/window can be defined. Displayed by double HELP or double CMD.