Search the Community
Showing results for tags 'macros'.
-
Hi there. After seeing a video with Nick Page using Lumenzia in Photoshop, I was inspired to do luminosity masks in a new and much more customizable way than the much used 5 levels of brigths, midtones, and darks. With these macros, when you create a light, midtones, or dark mask, it doesn't create the mask immediately, but applies 3 adjustments: a B&W, a Curves, and a Levels adjustment. Now you can adjust the three fine tune whatwhat you want in your selection. And using B&W adjustment you can more easily target specific colors. The only difference between the 3 that the curves layer is inverted in the darks, and peaks at the halfway point in the midtones mask. When you are happy with the selection, select the "Complete" macro, which will create a selection, and a new spare channel from the selection. Hope you find this useful. Stroiman's Luminosity Masks.afmacros
-
 Hi, Since I updated to macOS Big Sur 11, I am not able to save macros or create new categories in the library panel (which is empty). I tried with Affinity Photo 1.8.6 and 1.9 beta (my system is in French). When I reset the application settings (launching Affinity Photo with a right-click while pressing the Ctrl button), the library content is back and the macros are working for the current session, but they are gone once I restart the program and I cannot save macros anymore until I reset the settings again... Does anyone have a clue how to fix this? Thanks!
 -
I draw with a pen and keyboard in affnity photo.I want to use sortcut for change brushs,macros.
-
 Hello, I want to create a macro that applies the Mirror filter to an image in steps of 1 degree and saves out each angle from 1 to 360 degrees as a numbered image file. 1. The angle setting in a macro appears as rad not degrees, how do I change to degrees? 2. Is it possible to run a macro as a loop, increasing the mirror angle by one degree or 0.0174533rad per iteration? Thanks
 -
 Hello! I am not able to save macros in the library or create new categories in the library. It's on PC. I did a quick video of what is going on: https://www.loom.com/share/5cc6ac5299bd4db38fd3c7a572f85a29 What I need to do right now, is importing an exported macro for each image. Hope you can fix this. Thank you, Alex
 -
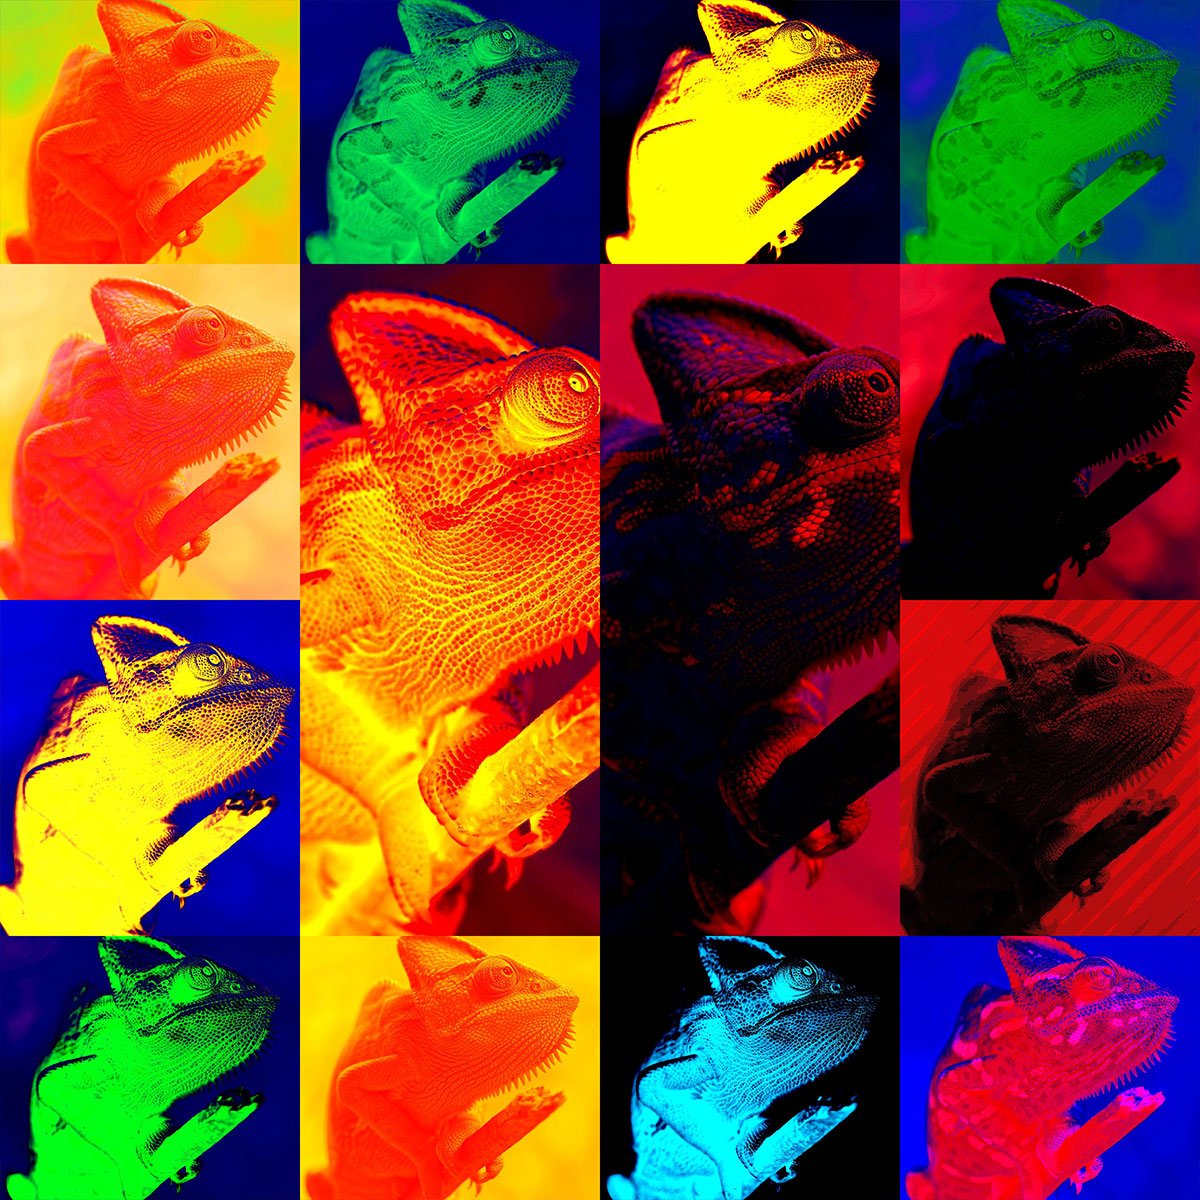
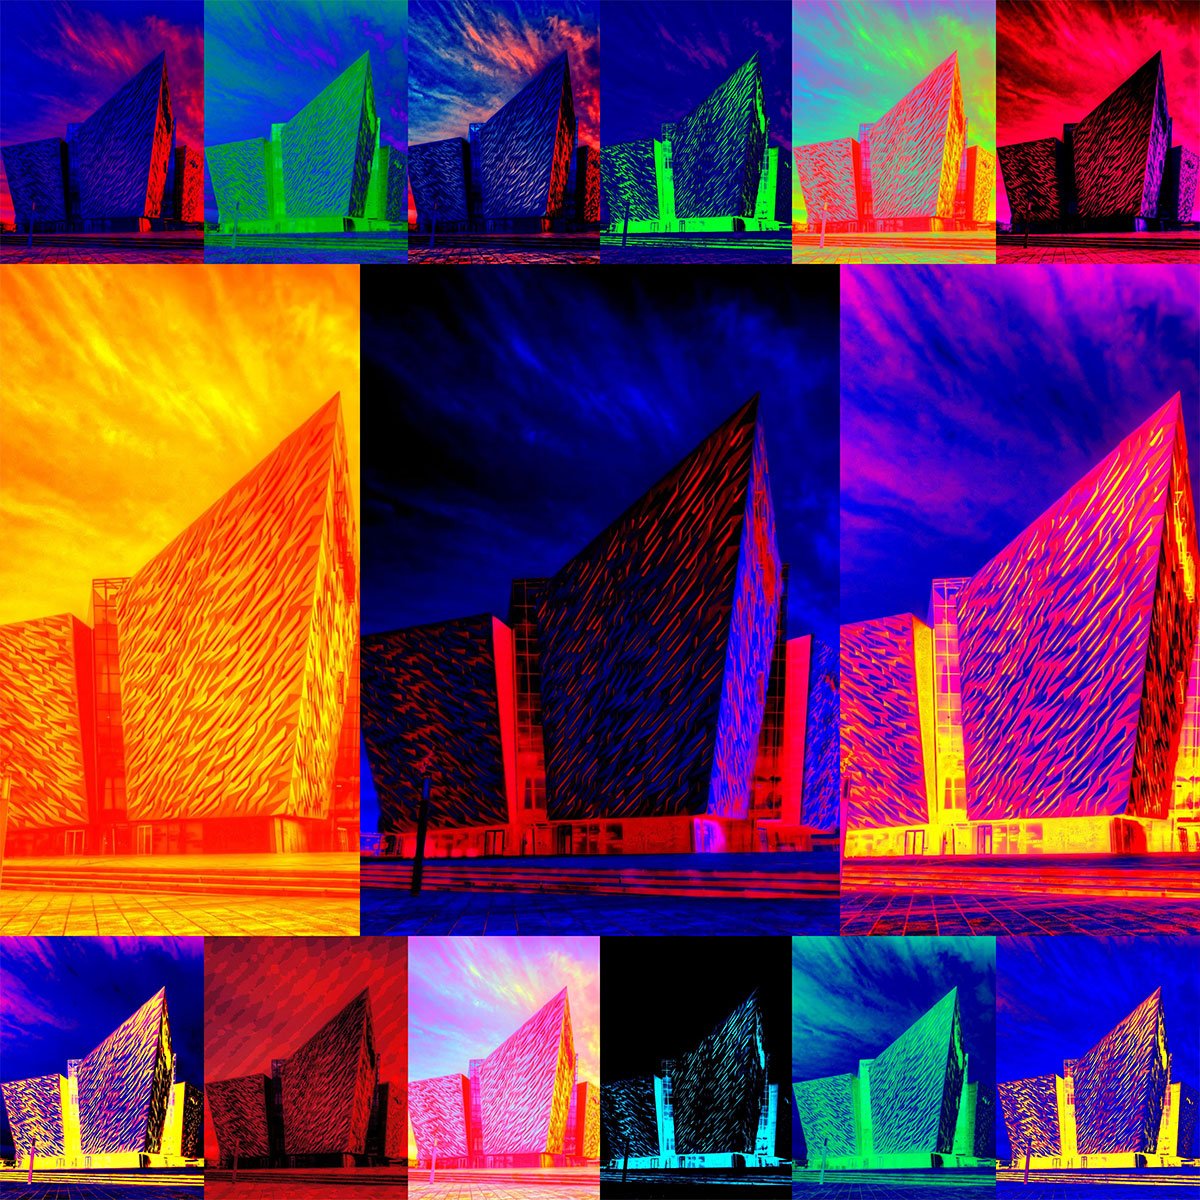
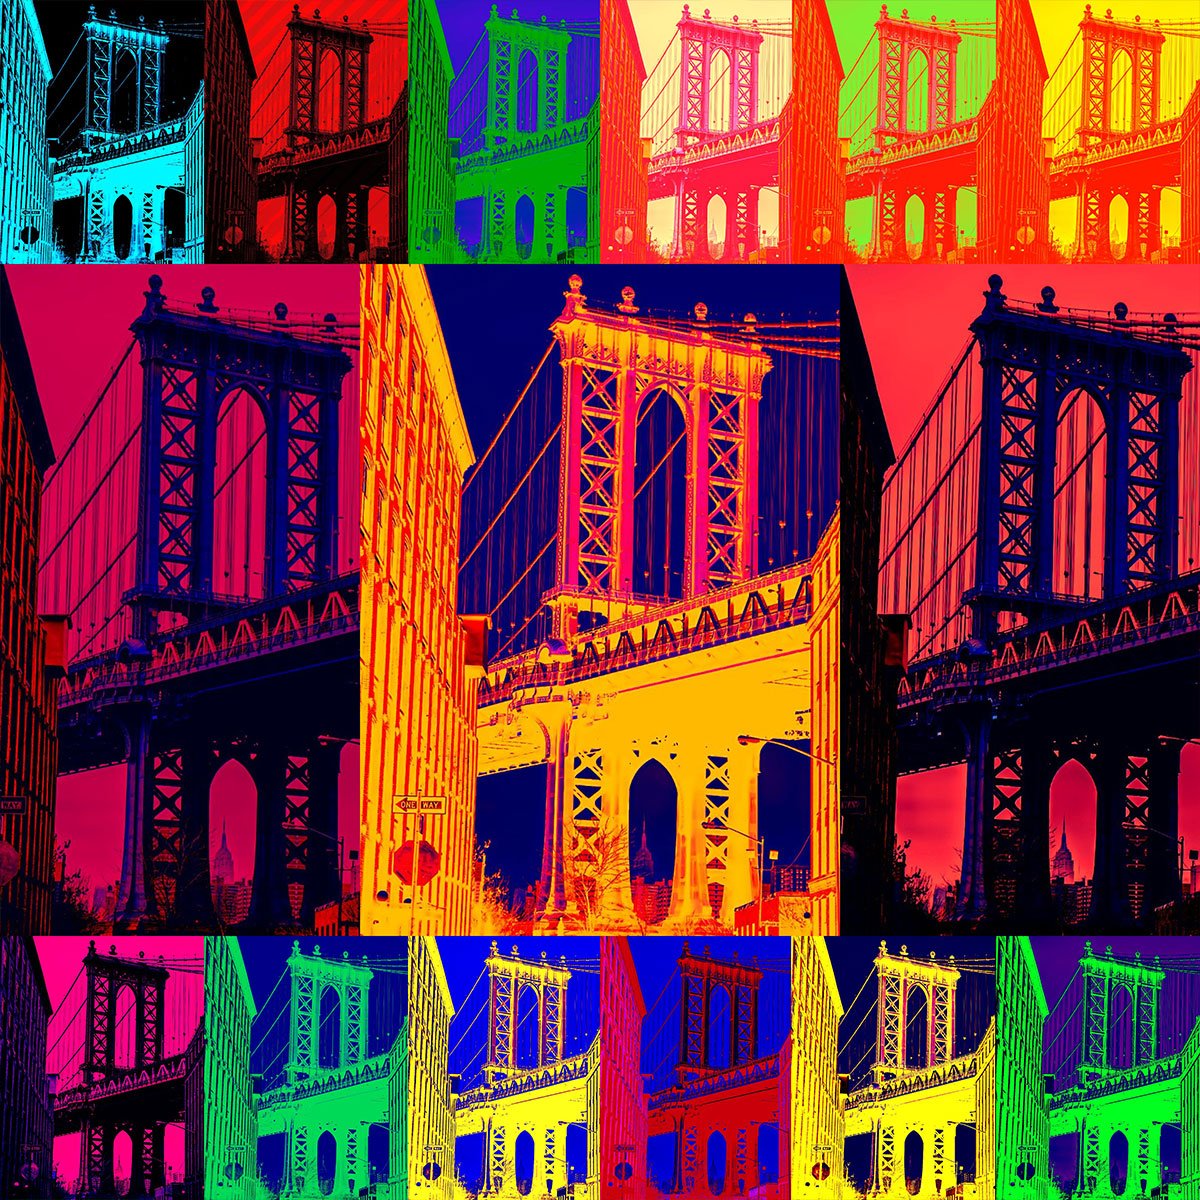
 Affinity Photo - Macro Bundle 1 (15 Styles) | Architecture Edition elathi-affinity photo-macro.mp4 Download Link 15 Different Styles of "Affinity Photo Macros Bundle 1 - Architecture Edition" as mentioned below. Heat Map 1 Heat Map 2 Smooth Colourise Cyber City 1 Cyber City 2 Trace Light Surface Radium 1 Thermal Scan Night Vision 1 Night Vision 2 X-Ray Comic 1 Comic 2 Comic 3 Diagonal Line Drawing
-
Now that I have made the switch to AP I am re-working many of my astrophotography macros. I will share them here with brief instructions and encourage others to share theirs. All my macros are for Windows OS This set of 3 takes the basic individual monochrome filtered R G and B images and converts each into a colour channel. Load each RGB file separately into AP, Run the respective macro and copy the output of each into a single AP layered document, then set the blend mode of each to add This will output a single RGB non white balanced file grey to blue.afmacro grey to green.afmacro grey to red.afmacro
-
 I was having an issue with Affinity Photo 1.8.4 and decided to delete it and redownload from my iMac, running Mojave. Exported my macros first, but forgot to export another category. I have CCC clones, so thought I'd just copy the macros over to the new installation, but can't find them and a search has turned up nothing. Any help is much appreciated.
 -
I found some old requests to add Macros to Affinity Designer, here, here and here, just starting new topic to make those requests live. I believe that Macros in AD will be appreciated by many users. Any comments from development team?
-
 I'm just new to Affinity Designer and so far loving it, but I was really surprised today to discover there is no capability for setting up macros to speed up the processes I use. It's a feature I rely heavily on in Adobe. Would love to see this in a future update as I'm sure I'm not the only one who uses macros to speed up workflow.
 -
 I have never used macros, and the way its going I may never. Here's HOWI am Trying to import the MACRO. Open Affinity PHOTO with a new as blank canvas. Add an object in case a blank canvas is not accepted - I tried a blank canvas with the same result then click on the import button This just pops an Error c:\users\parker\downloads\jr-channels.afmacros. That's it, it doesn't crash, just sits there?
 -
.thumb.jpg.476987bfdc608a922f362e0188703fe0.jpg) Hallo zusammen, ich beschäftige mich zur Zeit mit Macros, und ich habe das Problem wenn ich eine Ebene in eine andere Ebene schieben will, geht das beim Macro nicht. ich finde einfach den Befehl Abwärts Maskieren nicht. diese Ebene muss auf gleicher Höhe sein, wie eine Live -Filter Ebene (eine normale Unterebene ist kein Problem). Weis jemand wie das geht ? So sollte das Aussehen um das zu erreichen, Ein Rechteck welches unscharf ist auf dem man dann einen Text schreiben kann. Danke und Gruß Dieter
Hallo zusammen, ich beschäftige mich zur Zeit mit Macros, und ich habe das Problem wenn ich eine Ebene in eine andere Ebene schieben will, geht das beim Macro nicht. ich finde einfach den Befehl Abwärts Maskieren nicht. diese Ebene muss auf gleicher Höhe sein, wie eine Live -Filter Ebene (eine normale Unterebene ist kein Problem). Weis jemand wie das geht ? So sollte das Aussehen um das zu erreichen, Ein Rechteck welches unscharf ist auf dem man dann einen Text schreiben kann. Danke und Gruß Dieter
-
 Hi dear community, I hope someone can help me: I want to try batch processing for some jpg pictures in Affinity (photo persona). I worked a little bit with macros before and a saved some simple ones in the library (default), all working on jpeg. When opening the dialog "new batch job" the space where I´m supposed to choose the macros I want to use is empty ("available macros" as well as the space below that). What am I doing wrong? I am using the newest version 1.8.3 on Windows. Thanks a lot in advance for your support! Miriam
-
 En esta ocasión, quiero compartir con vosotros mi último tutorial: Marca de Agua con Affinity Photo. Espero que sea de vuestro interés.
 -
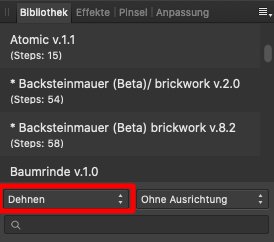
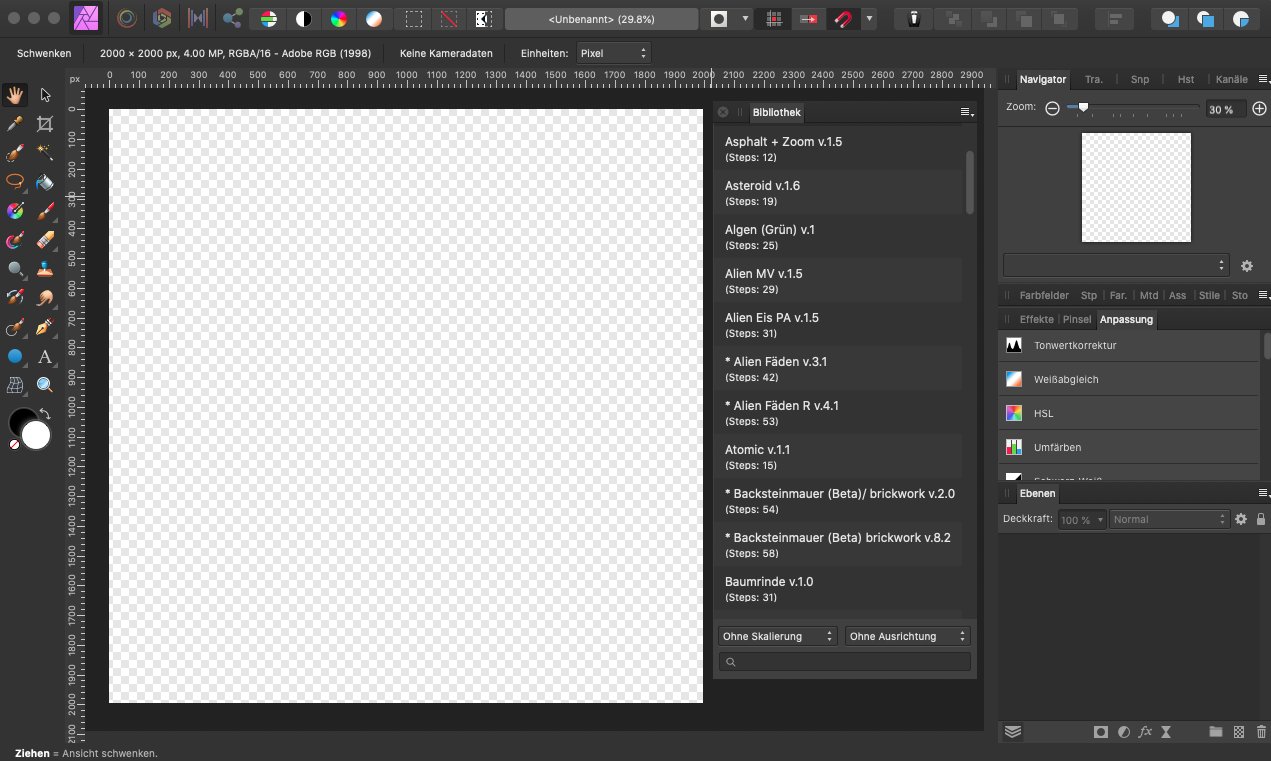
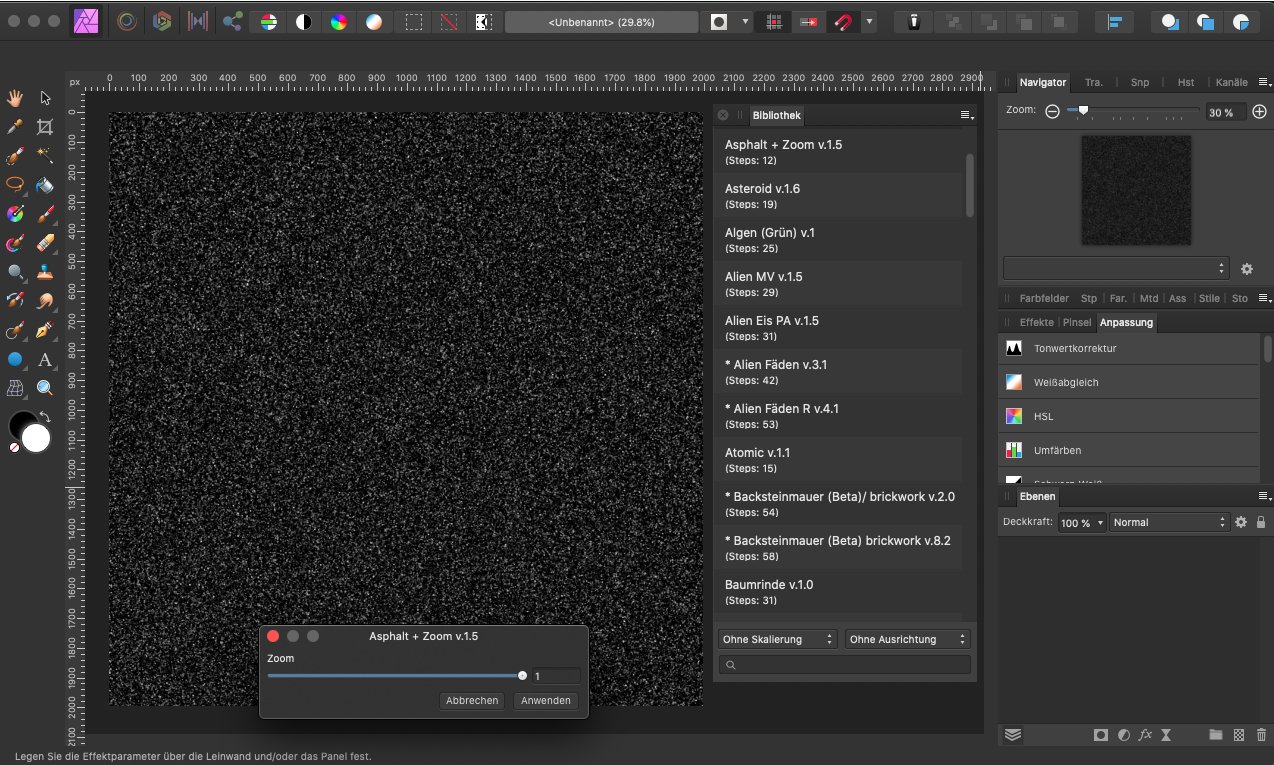
Hallo, ich stelle euch ca. 68 Textur Macros für Affinity Photo zu verfügung. (Cave) Achtung: Die Macros worden auf einen alten Mac erstellt ob diese unter Windows oder einen iPad laufen kann ich euch nicht sagen. Die Macros sind nicht geeignet für eine Pixelauswahl!, verwendet immer ein leeres Dokument (neues). Bei einigen Macros muss in der Bibliothek - unteres linkes Feld (Dehnen) Eingestell werden. Zum Beispiel bei: Macro Backsteinmauer v.2.0 und v.8.2 sowie Candy 1.0 und Draht 1.0 / Tranc v.1.9 Verwendet die Macro nicht direkt in euren Bildwerken (Composings) da sonst ein Ebenen Chaos entstehen könnte oder schlimmer Ebenen verloren gehen könnten. Erstellt lieber ein neues Dokument und Copier dann die Textur in euren Bildwerk (Composing). Anwenden der Macros: 1. Ihr braucht nur ein leeres Dokument zu erstellen Beispiel 2000 Px X 2000 Px 148/300 DPI (PPI) 8 Bit RGB oder 16 Bit. 2. Bibliothek aufrufen und das endsprechende Macro starten. Aus Zeitlichen gründen, konnte ich leider nicht die Macros ins Englische übersetzen. Viel Spass. Download:Texturen Makro by WIngendahl jr 2020.afmacros Beispiel Ansicht der Macros: Google translate: Hi, I provide about 68 texture macros for Affinity Photo. (Cave) Warning: The macros were created on a Mac, I can't tell you whether they run under Windows or an iPad. The macros are not suitable for pixel selection !, always use an empty document (new one). For some macros, the lower left field (stretch) must be set in the library. For example: Macro brick wall v.2.0 and v.8.2 as well as Candy 1.0 and wire 1.0 / Tranc v.1.9 Do not use the macro directly in your images (composings) as otherwise a level chaos could arise or worse levels could be lost. Rather create a new document and then copy the texture into your image (composing). Applying the macros: 1. You only need to create an empty document. Example 2000 Px X 2000 Px 148/300 DPI (PPI) 8 bit RGB or 16 bit. 2. Call up the library and start the corresponding macro. Due to time constraints, I was unfortunately unable to translate the macros into English. Have fun. Download:Texturen Makro by WIngendahl jr 2020.afmacros
- 2 replies
-
- 1
-

-
- macro
- affinity photo
- (and 1 more)
-
 Going through the suggested process to install the Free Macro Pack supplied by Affinity, I find that the macros are installed under the Library tab, not the Macros tab. In fact, if I go to the Macros tab and click on Import Macros, and navigate to the Free Macros Pack, none of the items in the Macros Pack will be available to choose.
 -
 I want to create a batch job as a macro, means I can restart it anytime without creating the batch job each time. Example. I put some photos in a folder A. Two macros I have created apply the action AutoColor and then AutoContrast. Then, the photos are saved to the folder B. I know how to do this with a batch job, but I don´t want to create each time a new batch job, because I have to repeat this sequence of actions or macros each day. How can I do it? I mean I just want to select somewhere a batch job named "AutoColor and AutoContrast" and then the macros are executed as described. That's something I used to do in Photoshop before.
 -
I have created a macro to wrap an image around a bottle. This works very well. One option is to alter the viewpoint above or below the horizontal. If you wish to use this option, you need to expand the canvas above and below the image first to make room. Within the macro, you adjust the perspective by altering a slider in the b (or Perspective) parameter The wraparound action also shrinks the image horizontally, so that you end up with transparent areas at the sides. I thought that it would be an idea to clip these using Document > Clip Canvas, .so I added this step to the macro. Unfortunately, the macro applies the Clip Canvas before the user has a chance to alter the sliders, after which the sliders are unresponsive. Note: I would have liked to incorporate the Document > Resize Canvas. command into the macro, but, as seems to be well-known, the dimensions get baked into the macro, so I have not attempted this. John
-
 New to Affinity. I found that I can import macros, Can you create a Macro in the iPad version? If so, how?
 -
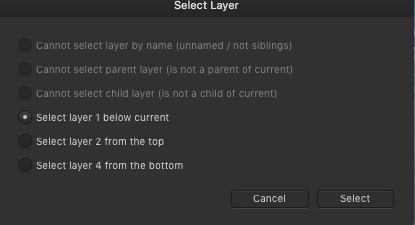
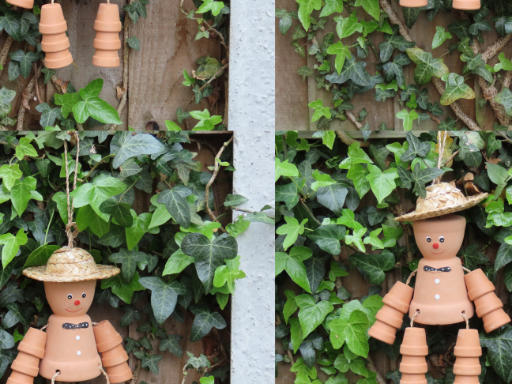
 Hello Affinity I would like some advice / guidance please? I'm trying (and failing) to create a macro from existing edits, I've already edited a photo to create light beams through the trees and would like to save these edits as a preset, however when i select "Macros" if i record and select either of these layers it will say i cannot select current layer, below, but will not allow me simply create the macro from all my existing edits. I really appreciate some help here, I'm not even sure if a Macro is the answer here, but is there a way to save existing edits as a preset for future use please? Many Thanks Daryll
-
 Hey guys! Is in your plans allowing programmers to control the affinity programs with code? Like commands/actions in Python, C# or Javascript? Preferibly Python or C#. So we programmers can develop commands/actions that people can install or run to execute certain tasks. I need a definitive answer to this, to see if it's worth waiting for it, or a definitive NO! Thank you!
 -
I'm unsure if this is a bug, but I'm using the latest production version of Affinity Photo (1.8.3) on an OS X Mojave platform. I noticed that all previously imported macros had inexplicably disappeared. Retracing the steps prior to this, I had inadvertently launched a previous version of Affinity Photo (1.7.3) -- the default macros remained, but all imported macros vanished. After re-importing the macros, I quit and reopened Affinity Photo (1.8.3), and all remained in the library. Then, I decided to quit 1.8.3 and open 1.7.3 to determine if that might be the cause. I immediately shut down 1.7.3 and again launched 1.8.3. The imported macros had in fact, disappeared. I'm assuming this is a bug and it can easily be recreated by launching a back-level version. Obviously, the workaround is not launching the back-level version of Affinity Photo, but from my perspective, this shouldn't behave in this manner.
-
Finally a dedicated professional place for Affinity Photo macros! They are even giving away a few free ones. https://affinityfilmpresets.pb.studio I've brought the Gold Pack, its perfect!
-
In a recent posting @skitchy enquired about shifting pixels using Procedural Textures. I was not able to help, but I realised that you could perform an Affine Transformation (Filters > Distort > Affine) using Equations (Filters > Distort > Equations) instead. I used two parameters which control the horizontal shift and the vertical shift. Here is a photo before applying the macro: and after applying the macro: The horizontal shift was around a half, and the vertical shift about 0.8. Here are the equations: x= irem(x+a*w,w)y= irem(y+b*h,h) As I said, they do not do anything that the Affine Transformation would not do (in a macro), but I offer them here as an alternative which might be more convenient within the context of a more extended procedure. Here is the macro, and the macro library: Macro: Affine Transform.afmacro Library: Affine Transform.afmacros John
- 13 replies
-
- 2
-

-
- affine transform
- macro
- (and 1 more)
-
Hello All, I have been inspired by a thread I started this morning on Basic Procedural Texture Deconstruction to allow beginners to see into the process and the math to be able to create their own Procedural Texture. I thought sharing some of my documentation would be a good place to start and fortunately videos are available at Graphicxtra.com. They are a great resource. Unfortunately, not how I got started, but, I am so happy to have found them that I will start seeing if I can work through an entire video at some point. For now, I am still figuring out that gradient macro workaround and this is a linear variation that introduces another formula in a unique way. I hope you like it as I hope to expand on this one a little. LINEAR V2.0 Formula: smoothosc((c1*rx-d1*ry)*a1/w,b1) smoothosc((c2*rx-d2*ry)*a2/w,b2) smoothosc((c3*rx-d3*ry)*a3/w,b3) Inputs: a1(R),a2(R),a3(R) lines b1(0,1),b2(0,1),b3(0,1) hard edge c1(-1,1),c2(-1,1),c3(-1,1) horiz shift left, right from center d1(-1,1),d2(-1,1),d3(-1,1) vert shift up, down from center For now, this produces linear gradients that shift left or right, up or down, rotate limited( this happens when using the horiz shift and the vertical shift at the same time). The R,G,B creates multi colored gradients. This layer is non destructible and applies at 50 percent grey coverage at 100 percent opacity for choosing color gradient. Set blend mode to overlay or soft light to see image and adjust transparency to taste. T V - LINEAR PT R,G,B V2.0.afmacros Enjoy and Experiment - T V NOTE - I started a new beginners supplement to the Procedural Texture Help section in the tutorial resource section. You will be able to find more examples with free Macros and my attempts to break them down in understandable ways. It should help others become a little more comfortable with this incredible process. Future examples will show up on the tutorial forum page...
- 1 reply
-
- 1
-
-
- linear gradient
- procedural texture
- (and 1 more)