Search the Community
Showing results for tags 'inpainting'.
-
 I've now come across this twice. After adding an adjustment layer the Inpainting tool ceases to function. I've tried closing and opening the file, rasterising it (as suggested in another thread). I also can't get the Merge function to work - finally had to use the Flatten option. Loving the programme - only had it since Friday. It's transforming my working life. Still so much to learn though. Lots of great tutorials, though the Black and White area is a bit sparse.
 -
 So you've just rotated your image and now have four nice transparent triangles in the corners. So what do you do? Here's a way of handling it: Select/Alpha Range/Select Fully Transparent Select/Grow/Shrink... (Radius 1px) Edit/Inpaint This should select the corners and give AP the opportunity to apply its Inpainting algorithm. At best it's a perfect fix. At worst, it's a start and you can clone bits that are not inpainted so well. You do need to do the Grow, by the way, as without it you can get missed pixels and an inpaint that is not fully opaque (I think these are bugs and have reported them - until the fix, you need the Grow).
 -
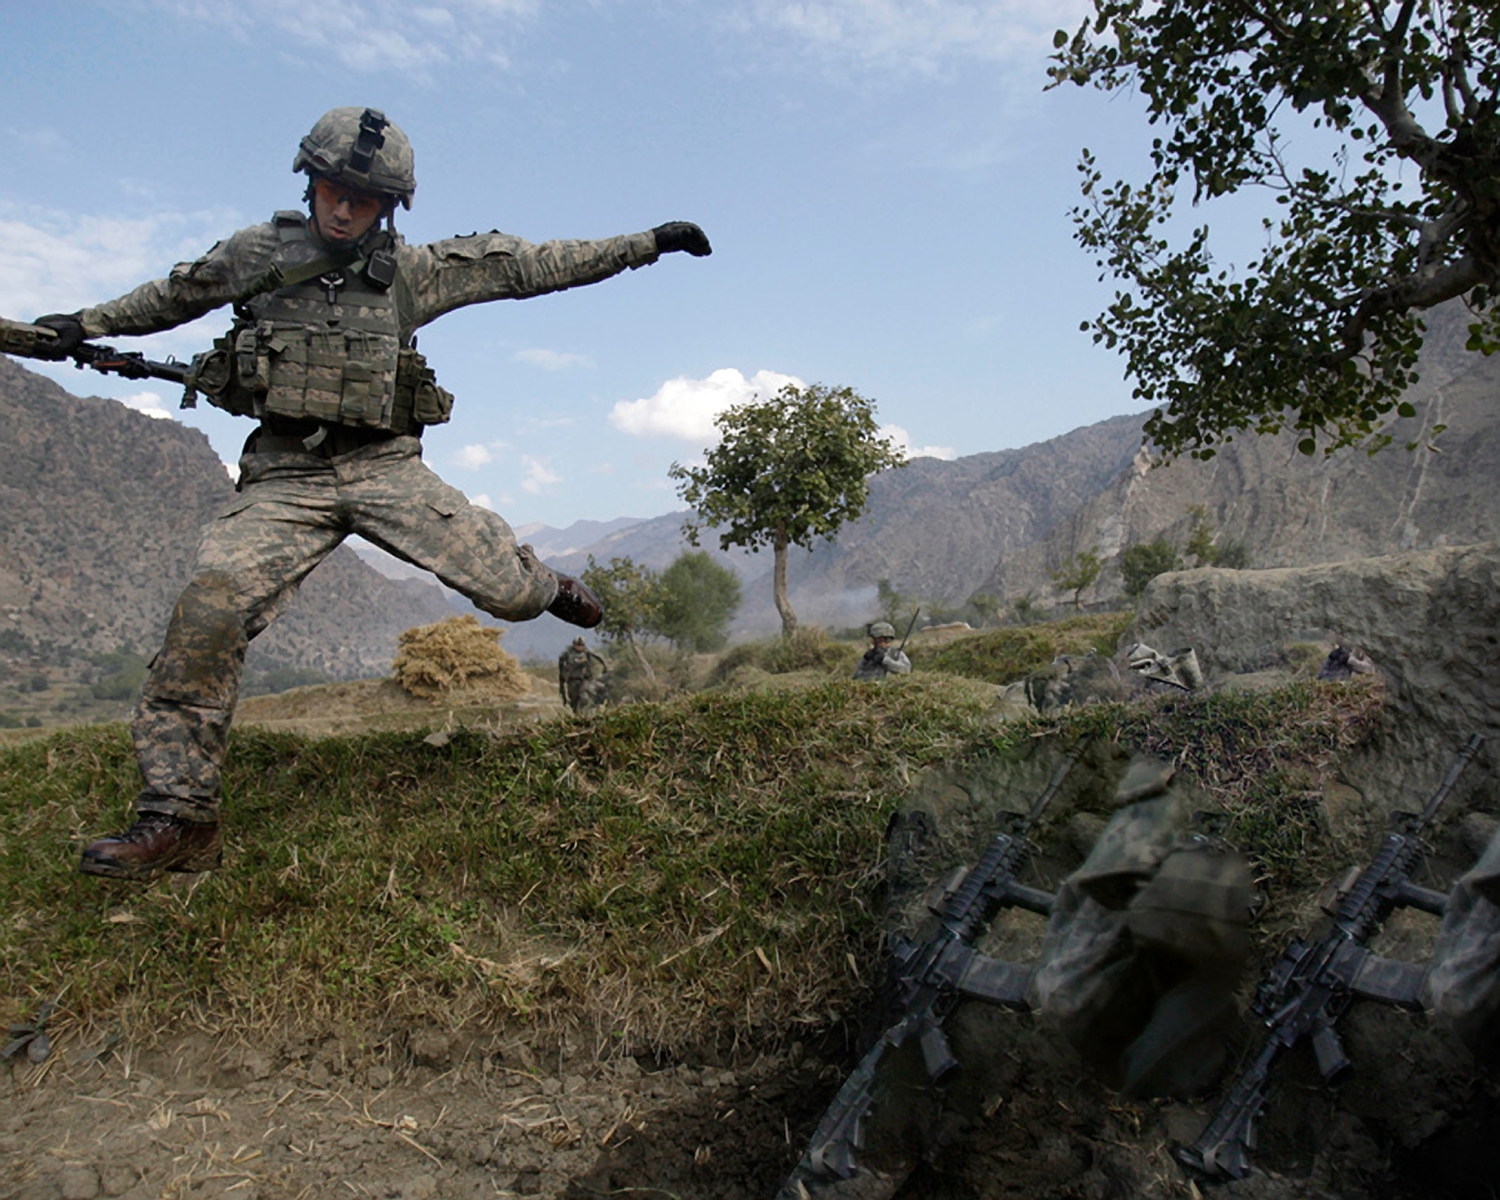
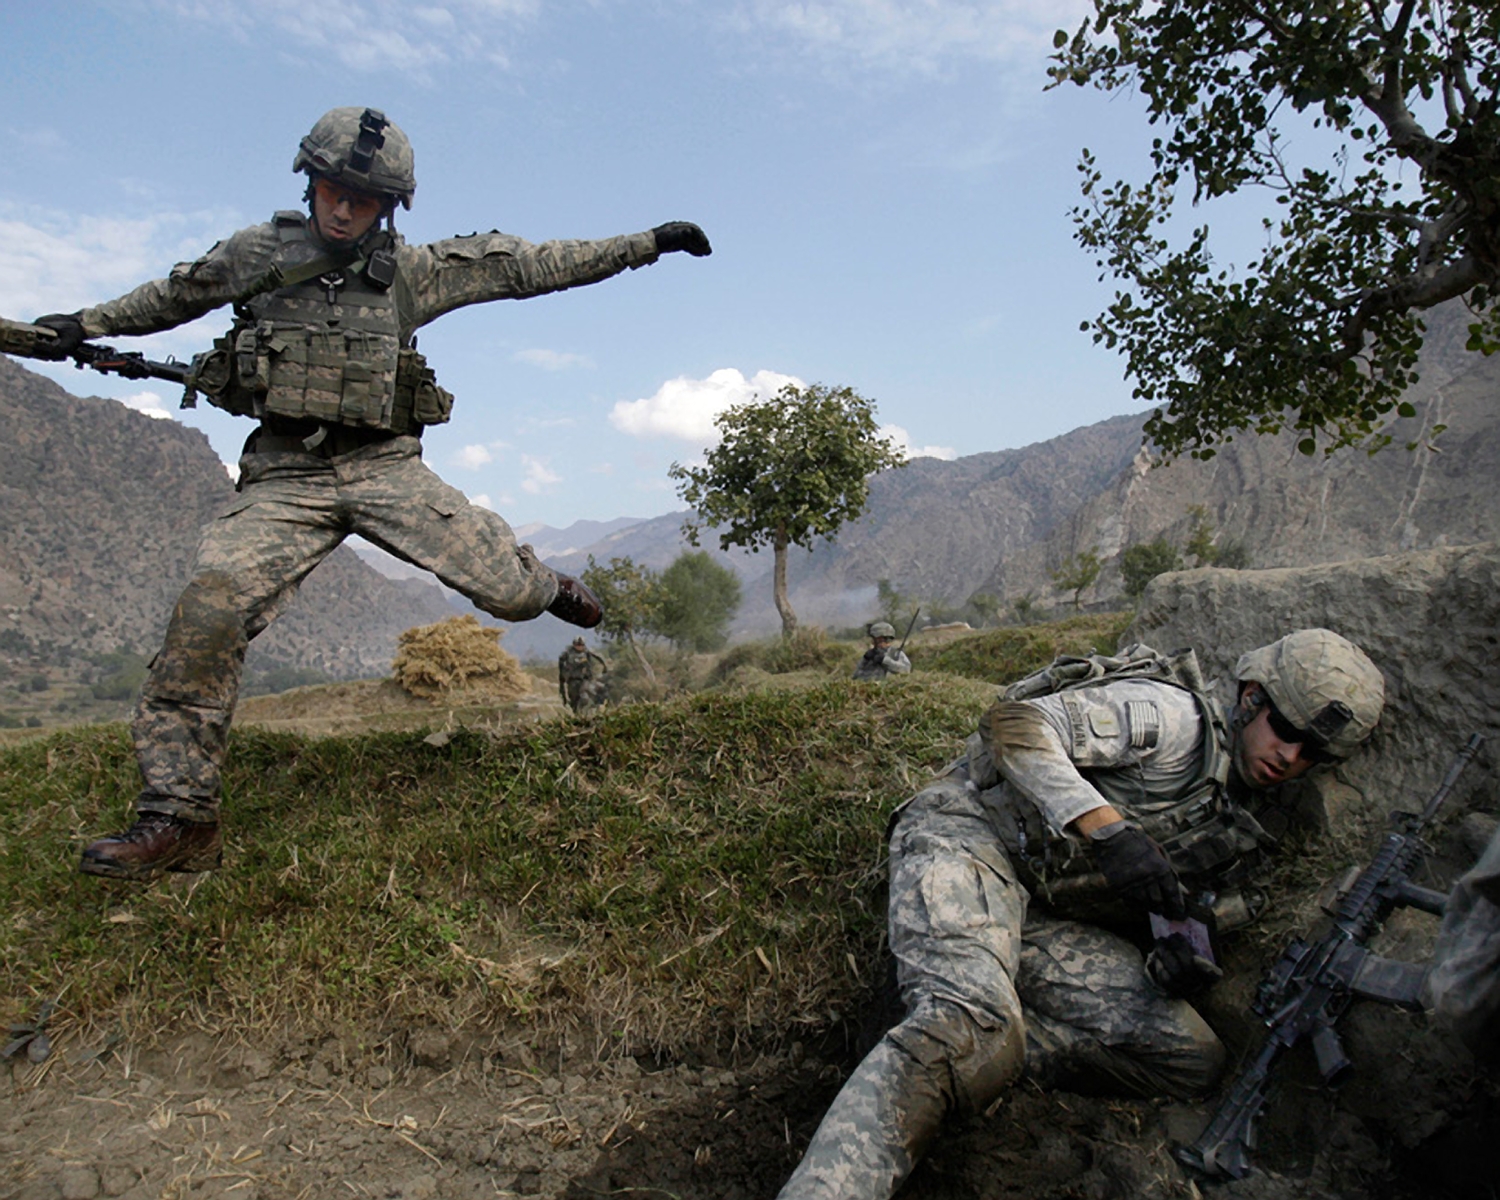
 I watched the Apple WWDC keynote and found AP for iPad amazing. Nothing else on iOS compares! While watching your video tutorials today, I paid close attention to object removal. Please jump to 1:57 in the following tutorial video: Notice how the woman is nicely removed but the left-corner edge of that L-shaped gutter has vanished and looks very wrong. In Photoshop there is a Clone Stamp Tool that helps one to manually fix things like that (restoring content beneath a removed object). Is there an equivalent Clone Stamp Tool in Affinity Photo for iPad? INPAINTING is very easy to use and is a good tool in many situations but not all. In the specific case of removing that woman, a clone stamp tool used by hand would make the removal nearly undetectable and allow you to retain the content shown between her arms. Thank you.
 -
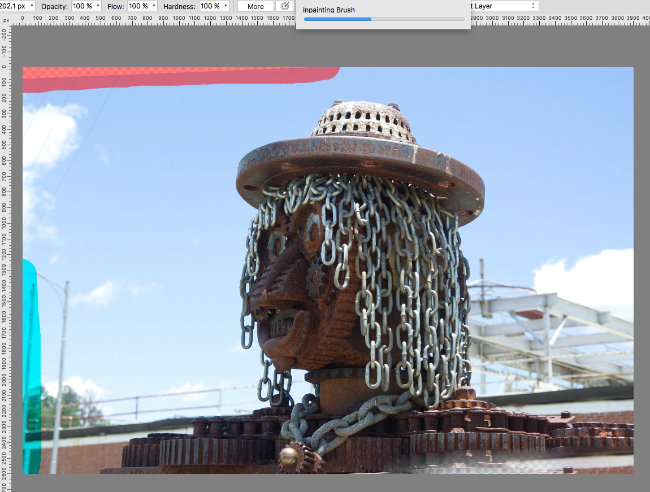
I don’t know if I’ve discovered a bug or simply an idiosyncrasy of El Capitan but I’ve been able to duplicate this “glitch” several times on 4 different images; Used Crop to Rotate (and straighten) the image as shown. Then used the InPainting Tool, beginning with the top right corner down to about halfway. Worked fine. The bottom right corner worked better on a subsequent image than it did on this one. I haven’t been able to duplicate the green effect in the bottom left corner. InPainting worked correctly there on the next attempt. However, in all of the attempts, on all of the images, this is what happens trying to InPaint from the top left corner. It goes this far and hangs! And the only option is to Force Quit. I have waited for as long as 3 minutes (Solitare on the ipad helps to pass the time) waiting to see if it would unhang and continue. As a side note, those little irritations (like having to close the Left Studio and then Use Cmd/0 to enlarge your image…every time!) become major irritations when repeated and repeated and repeated while trying to pin down a problem.

-
 Hello, 1.5.2 on iOS Sierra. Inpainting brush tool simply does not do anything on my images. No removing things no modifiyng things, nothing. What am I doing wrong? I just want to remove spots on an image, something I did before 1.5.1 no problems. Am i forgot and use the wrong tool?
 -
 I'm evaluating Photo via the free trial. So far, I like it and will probably switch from LR. But one thing is puzzling: in the Getting Started tutorial, the demonstrator shows the use of the Inpainting Brush. He gets it from the list of tools at the left edge of the screen, same place as the crop tool and a bunch of others. In my version, the Inpainting Brush is not there. I understand that it has to be used on a Layer and the Layer has to be in pixels, but in this case the Brush is just not there. Is the free trial missing some features that I'll get when I buy the program? Thanks.
 -
 Gentlemen, The inpainting brush (as well as a few of other similar functions) is not working well...Based on already existing topics: - the background image is in pixel mode, - the image has been rasterized, - current layer and below option selected, etc... No visible effect appears after using this tool. plz take a look at captioned video - https://youtu.be/92IbIOIGmfM have you any ideas what's wrong? (Win10, AP 1.5.1.54 Trial) d.
 -
 The inpainting option under the Edit menu is ALWAYS grayed out, even when I'm using the inpainting brush (or not using it) chosen from the tools menu on the left, and working on a pixel (background) layer. What is wrong? Also, I made a bunch of edits on the background layer, then wanted to undo the ENTIRE history of edits (shown under history). How do you undo the ENTIRE history, not just undo one by one? Thank you. Melanie7
 -
 New user to Affinity. Following tutorial working on a .jpg image, selecting inpainting tool... no affect. What may I be missing?
 -
 Hi! first time using Affinity I used it yesterday and it went perfectly! Today I used it and now the inpainting brush is not working? I highlight the part I want to get rid of and it doesn't turn red It says it is "inpainting it" but it doesn't actually get rid of it PLEASE HELP Thanks
 -
 The Mac based tutorial demonstrates the use of an automated inpainting tool from within the panorama 'wizard', but I haven't been able to get it to work. I have been able to use the inpainting brush from within the editor though (VERY Cool!). Has anyone else had trouble with this?
 -
 Affinity Photo Beta: I wanted to remove a sign post and man walking. I placed a rectangle around the sign post, no problem. I located the Inpainting brush and painted over the selection. The Inpainting began working but left a ghost of the sign. I repeated the Inpainting but first checked that Opacity was at 100%. The Inpainting began working but left a ghost again. I tried a third time but now the Inpainting copied an area adjacent to the sign and placed it in the rectangle. I tried again with a different photo and got the same result. I changed the technique by using the Selection Brush tool and then the Inpainting brush. Identical result right down to ghosts and on the third attempt I got a copy of an adjacent area. Please advise.
-
Version: 1.5.0.35 Beta Bugtype: Not working function After stitching a panorama you can choose to use the inpainting function. There is no indication after clicking on the inpainting button if the funtion has been activated or not. Furthermore after clicking on "Apply" no inpainting is been done on the missing parts of the panorama picture.
-
 Hi I am watching a tutorial video and it shows you how to remove an item from a photo using the Inpainting tool but it is not on the symbol list on the lefthand side of the screen, can anyone help ? Thanks
 -
 In Affinity Photo, I have removed an image with the inpainting tool and attempted to put an image (company logo) in it's place. The logo does not appear in the areas where the inpainting occurred. I tried right clicking, Arrange, Move to Front... to no avail. How can I get my company logo to show up where the inpainting was done?
 -
 Just uploaded a little video showing how to use the Inpainting Fill function to add image to a canvas. https://youtu.be/hY22H7_Epl4
- 3 replies
-
- 6
-

-
- Content Aware
- inpainting fill
- (and 1 more)
-
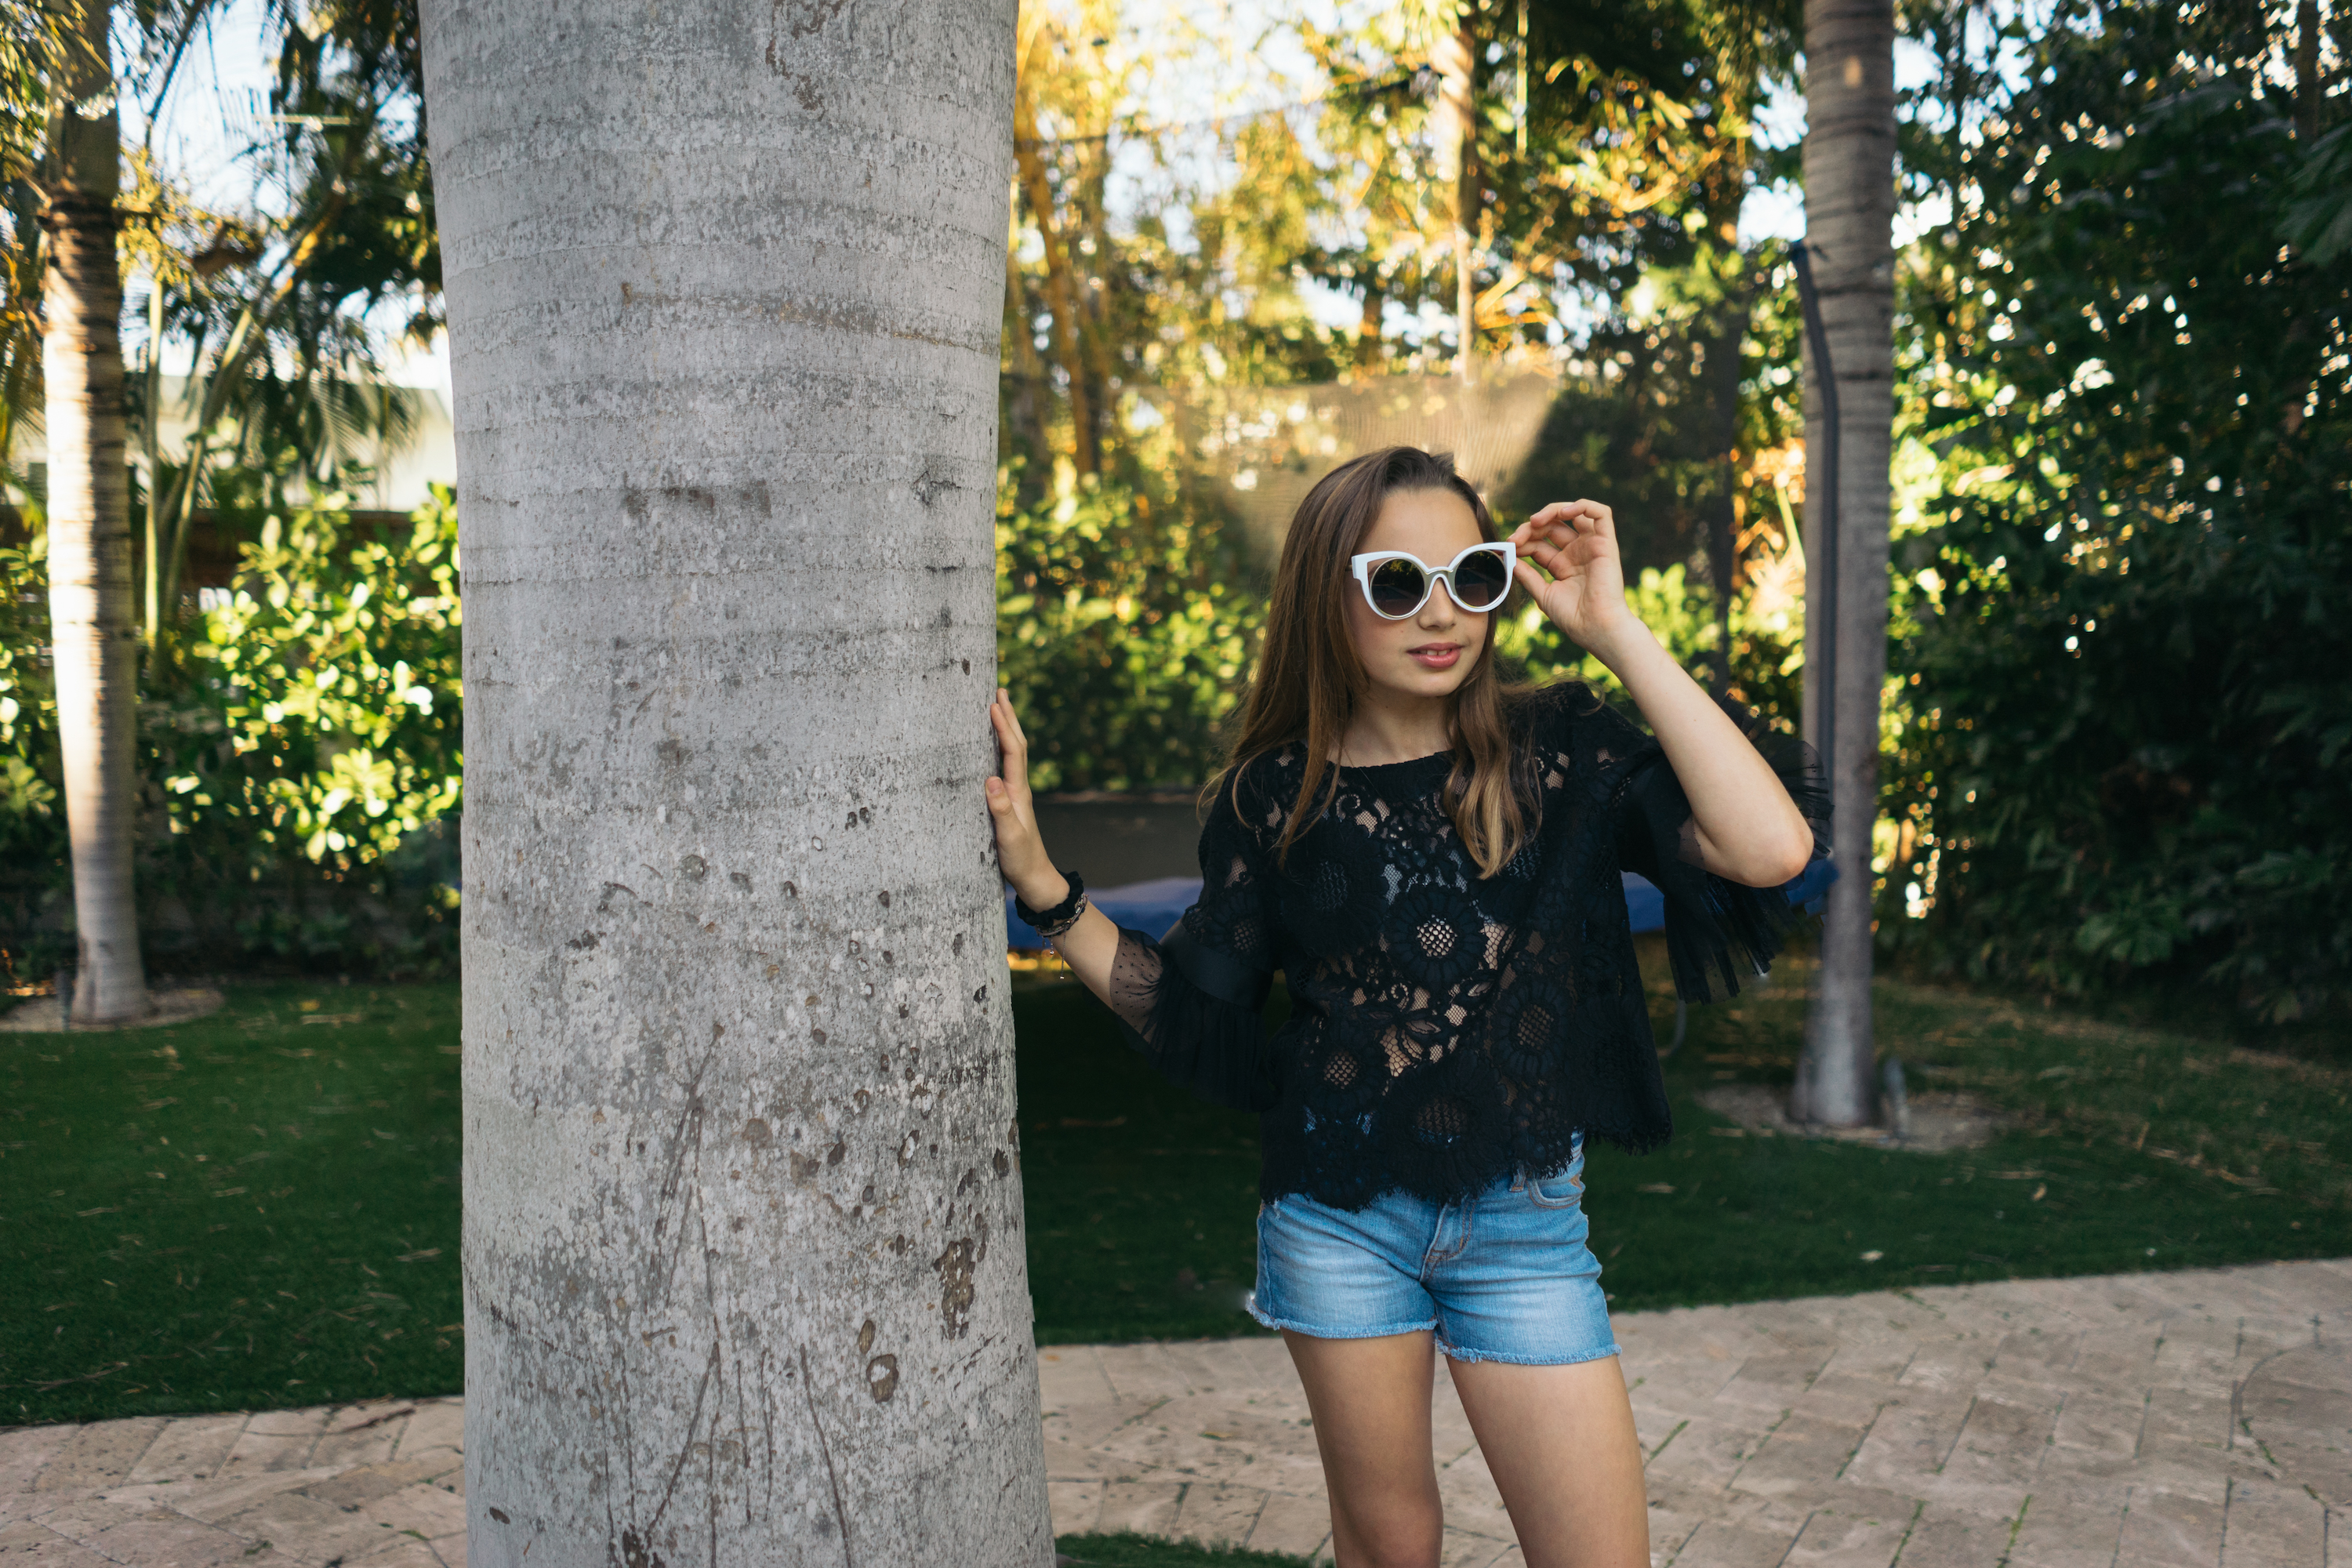
 Hi everyone, I am trying to remove an object from my image and after much searching on the forums and internet, I have not found a way to accomplish what I'm after. Basically, I have used the Inpainting Brush Tool on a Pixel layer as shown in the in-house tutorial to remove portions of it already, but I'm still left with parts of it that I can't take out with the same brush. On the image, notice that behind the girl there's a blue-colored trampoline that extends from one palm tree to the other. This is what I would like to take out. What would be the best and cleanest/professional way of going about this? Any ideas would be appreciated. Thanks!
-
 i just realized that when using the inpainting tool / patch tool and others on a layer that has a perspective filter applied, the tools get misplaced by the perspective. for example, the inpainting tool red trail appears where it would be if the perspective correction was applied again... that is in the position where the points where i dragged the tool have actually been moved by the perspective filter. the attachment is a detail of a screenshot i took: the misplacement between the trail and the cursor is well visible, since the cursor should be just over the bottom of the trail. is this the intended behaviour? imho, it looks like a bug, since i would expect a correct interaction between live filters and tools.
-
 I just watched the amazing inpainting tutorial. When I tried to work with it, I couldn't find the tool. Not on my side bar. I found a menu selection on the edit menu dropdown, but it is always grayed out. Using version 1.3.5
 -
 Hi, I've been using Aperture for several years, but need to replace it with a new photo editor. I downloaded the trial of Affinity and wanted to try out the program before buying it. I'm watching the For Beginners video on Vimeo and trying to duplicate the actions on my own photo. I got to the Inpainting Brush and Vignette, but nothing happens when I try to apply them to the photo. I was able to use the other adjustments mentioned before this on the video. What happened?
 -
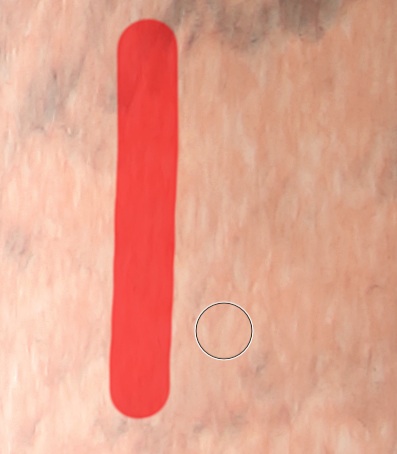
Ok, I am baffled as to how exactly the in painting works. I am trying to remove the blue in the bottom right corner of this photo (which is distracting, but I think the crop is better this way) If I highlight all of the blue tarp, it still leaves some in the corner. If I then re-highlight the remaining blue, then it grows. What is the principle behind how this works? Thanks in advance.
-
 How come after I have saved a photo then go back to work on it the Inpainting tool does not function?
 -
 Hey guys, congrats again for the awesome launch of Affinity Photo! I had this idea: it would be great if filters and commands (such as Straighten / Rotate while Cropping) had a checkbox enabling an "Inpainting" option to fill in the newly blank pixel areas with Affinity's awesome Inpainting algorithm. While it might not work perfectly every time, it gives a decent starting point for further cloning and clean-up without sacrificing the images original size due to cropping. Thanks for considering this, I think it would be a very handy option. Cheers!
 -
 Is anyone else finding that they have to frequently reset the brush preferences in order to keep the inpainting brush working consistently? Is this a bug that Affinity needs to fix? I have the Mac version, 1.3.5.
 -
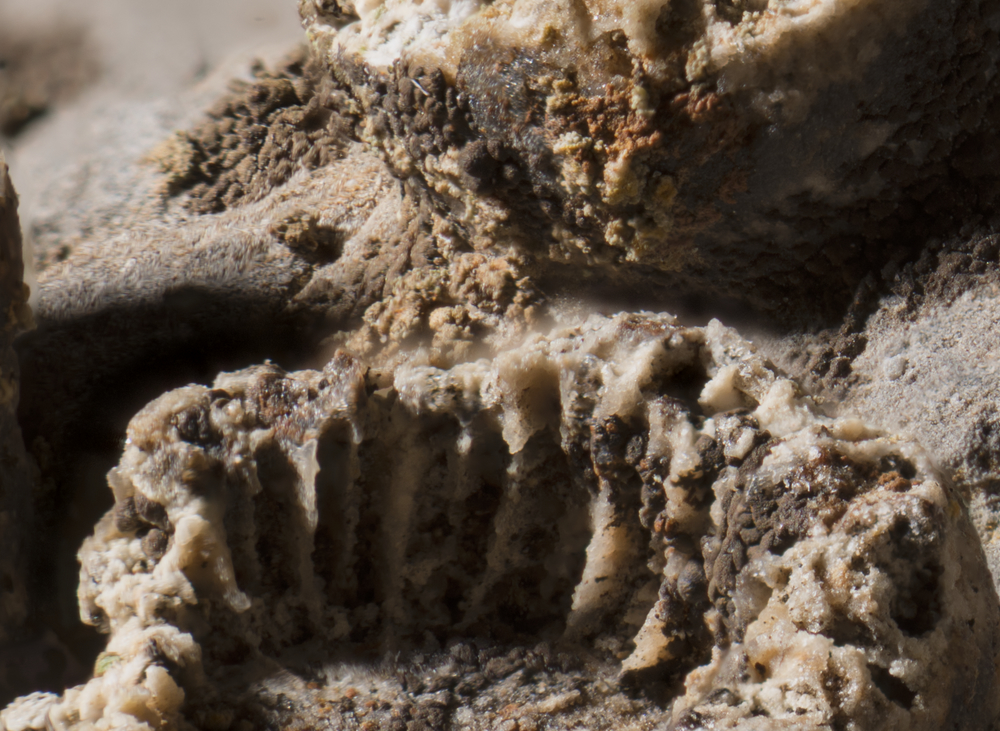
Hi, I would like the ability to control the source area for inpainting. My situation: I do a lot of focus stacking. When one shape occludes another in the scene, the one further from the camera gets washed out because the frame in the stack that has the background feature in focus also has a blurry rendition of the foreground feature superimposed (see center of example image). Inpainting would be a really quick way to clean this up --- if I could tell the tool to only use source material from the background feature (e.g. controlled by selection). Right now it often brings in material from areas that I don't want. Thanks Peter