Search the Community
Showing results for tags 'image'.
-
 Usually.I make my subtitle sequence by Photoshop.Now....I almost give up PS.But now I want to make subtitles.In photoshop. image-variables-define-next-import(text files)-ok,then file-export-data set as files Is there any functions like these in affinity photo or affinity designer?
 -
 How do you convert an image to an icon in Affinity Designer?
 -
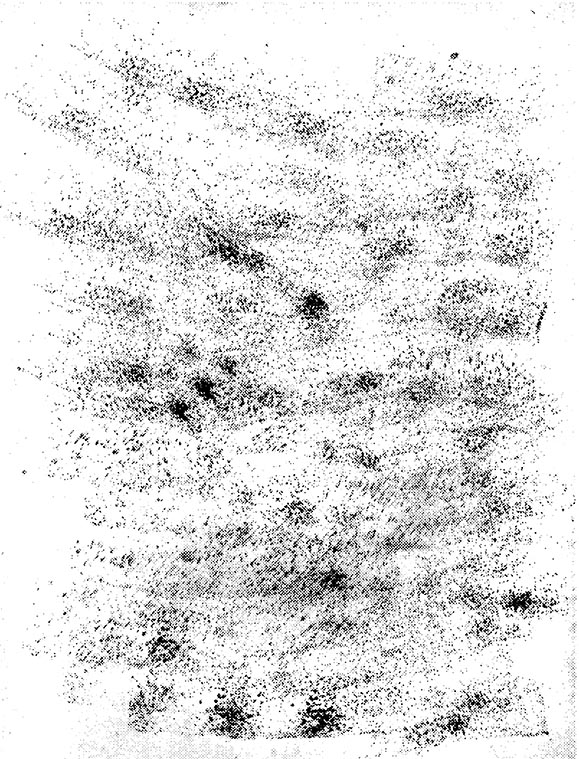
We need a way to use black and white images as a Layer Mask. I am trying to use some grain/noise images as a matte, but my final image needs an alpha channel. Currently, I have to use PS to convert my BW images to an image with an alpha channel to use. The workflow isn't very convenient. I have attached the type of image that I would like to use as a Layer Mask. You can see that creating a selection from the image would be impossible.

-
 This seems a little too basic to have to ask, but the Help system is not helping. I have an image that I want to rotate a few degrees prior to doing some perspective correction. The Help entry says I can grab "rotation handles" but all I see are a blue outline with blue X's at the corners and midpoints. When I try to "display rotation point" I get nothing. None of the shift type keys have any effect. Is this one of those "can't get there from here" features that I seem to run into on occasion? Thanks!
 -
 Hi, so I have a PNG file. It is fairly basic, and has a large part of its background and some other text etc. as a single solid colour (A) that I would like to change to a different colour (B). So basically, how do I change everything that is Colour A to Colour B, preferably the easiest and quickest option if there is one! Thanks so much in advance!
 -
 The Affinity team think in a add a options for can use duotones (monotone, tritone) images? This is a missing great feature needed for print designs in a few separate spot colors. The color mode right now can't be used in Affinity Designer or Affinity Photo. I wait for you help.
 -
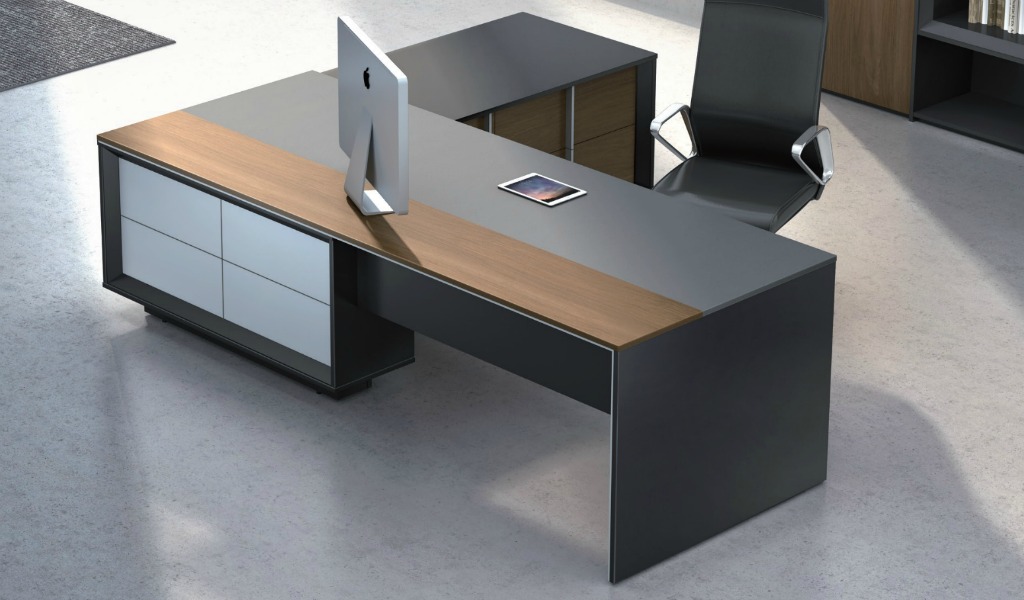
 How do I bend an image? For example say a phone. I know how to crop it out snd add a different background. I put the background of a table. I want to make it seem that the phone is KEPT on the table. For that, the image has to be bent in an angle. How do I do that? I've attached the phone pic as well as the table on which I want that phone pic too. I am using affinity designer v1.5.5. Please do help. Please ask me if you've any doubts regarding my question. Thanks.
-
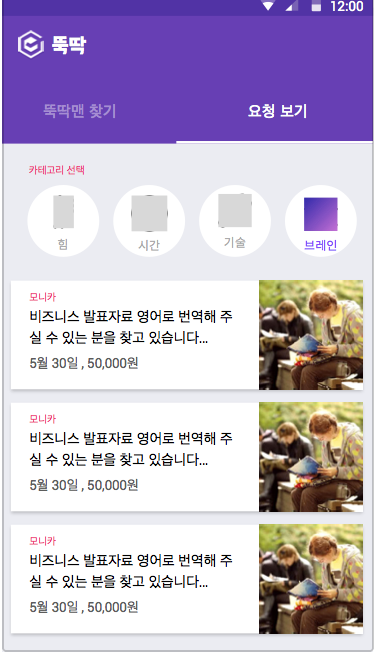
 Hi, i am trying to import my sketch work to affinity designer to convert my work to PSD. however, whenever I copy and paste my work to affinity, my icon does not appear properly, and I have to redo my work in affinity.. any ideas how to solve this problem??
-
 Hello, as a Designer & Dev (Game & Web) I usually need SVG's quiet often, I usually need to run those SVG's through a Converter (SVG => to Meshes). But now the Problem beginns, for example, if I use curves with brushes on them, then AD converts those brushes to simple images only (I looked through the exported code of the svgs). This is really bad news for me, Illustrator doesn't do that, Illustrator actually converts those brushes (even complex ones) entirely to SVG valid data. Is there a plan to improve the AD SVG Export Options anytime soon to make this work? If this isn't on the AD Roadmap anytime soon, is there a alternative way to do it then (e.g. Vectorizing those Brush Curves)? I am also missing vectorization of curves and other objects in AD in general, that would help out by quiet a lot. [EDIT:] Seems like most AD Brushes are more or less Images (not the simple standard brushes), what makes it impossible to export it as valid SVG Data / Vectors, except if AD has some smart vectorization features in the future. Why are even Image Brushes allowed in AD? It's the opposite concept of a Vector Application, just wondering. Kind regards, DK
 -
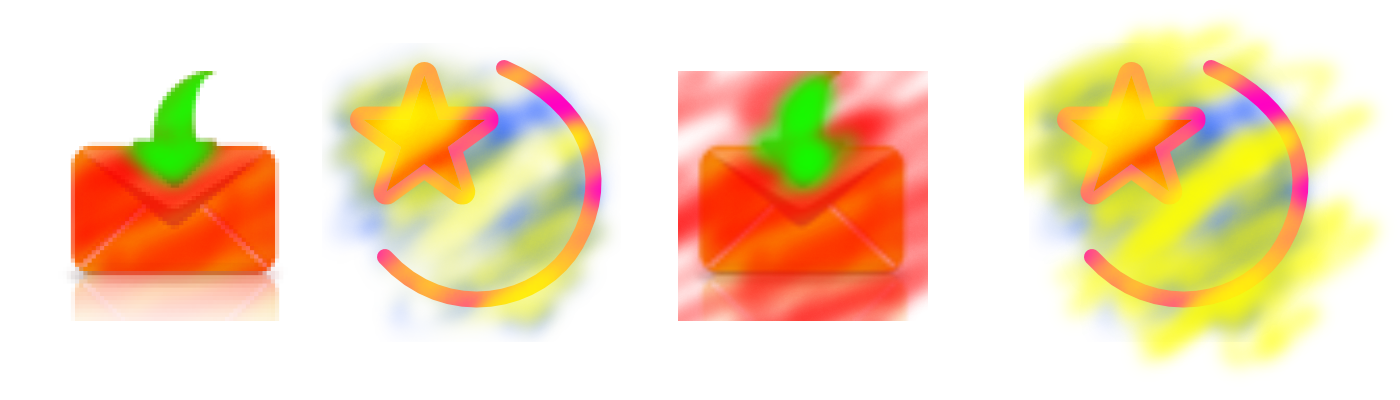
 Hi everyone, sorry if i can't speak english well! If you use an image or embedded document and move a layer inside it to make an overlay for that, the internal layer doesn't fade in faded places of parent layer. In attached file, two left layers are pixel layers so the overlay is affected by parent layer's alpha properly, but two right layers are image and embedded document and you see the problem! Version: 1.5.0.27 Windows beta Alpha.afdesign
-
 Hi all, I used a Affinity designer to create an logo. However, when I export to JPG and upload to WIX or other website, the image will show distortion (image not clear and has some square around. See attached cropped screen). I have try different image size, colour range etc but the result is the same. How do I fix it? Thanks. Matthew
-
 Unable to find how to rotate the image which was shot Vertically, but appears Horizontal. I need to see it Vertical as shot.
 -
.thumb.jpeg.6f143e8223547aba974205ef53397036.jpeg) While I'm on a roll, I figured I may as well post some more recent photography edited in Photo ;) Some of these you may recognise from the video tutorials: Lone Purple by James Ritson, on Flickr One of those nice surprises you get sometimes, I didn't think much of this photo until I started experimenting with blend modes - at which point it became very moody and striking. Spinning Out by James Ritson, on Flickr An abstract long-exposure shot of a spinning record. I was shooting some video for a personal project and decided to grab a few stills too. Monsal Tunnel by James Ritson, on Flickr A very wet day in Derbyshire, which kind of spoiled the view over Monsal Dale. There was this tunnel, however, which is really atmospheric with all the reflections from the damp areas. Sugar Factory At Night by James Ritson, on Flickr Shot at night, the initial image lacked impact until I brought in some brush work and blend modes - this resulted in the Creative Painting tutorial, where you can enhance colours in images with artificial lighting. Robin Hood Hotel by James Ritson, on Flickr A disused hotel building in Newark (Nottinghamshire), and I've brought some colour into the sign using brush work with blend modes (mainly Overlay, Reflect and Screen). That's all for now - just wanted to share some work, hope you find it interesting!
While I'm on a roll, I figured I may as well post some more recent photography edited in Photo ;) Some of these you may recognise from the video tutorials: Lone Purple by James Ritson, on Flickr One of those nice surprises you get sometimes, I didn't think much of this photo until I started experimenting with blend modes - at which point it became very moody and striking. Spinning Out by James Ritson, on Flickr An abstract long-exposure shot of a spinning record. I was shooting some video for a personal project and decided to grab a few stills too. Monsal Tunnel by James Ritson, on Flickr A very wet day in Derbyshire, which kind of spoiled the view over Monsal Dale. There was this tunnel, however, which is really atmospheric with all the reflections from the damp areas. Sugar Factory At Night by James Ritson, on Flickr Shot at night, the initial image lacked impact until I brought in some brush work and blend modes - this resulted in the Creative Painting tutorial, where you can enhance colours in images with artificial lighting. Robin Hood Hotel by James Ritson, on Flickr A disused hotel building in Newark (Nottinghamshire), and I've brought some colour into the sign using brush work with blend modes (mainly Overlay, Reflect and Screen). That's all for now - just wanted to share some work, hope you find it interesting!- 4 replies
-
- 5
-

-
- photography
- image
- (and 3 more)
-
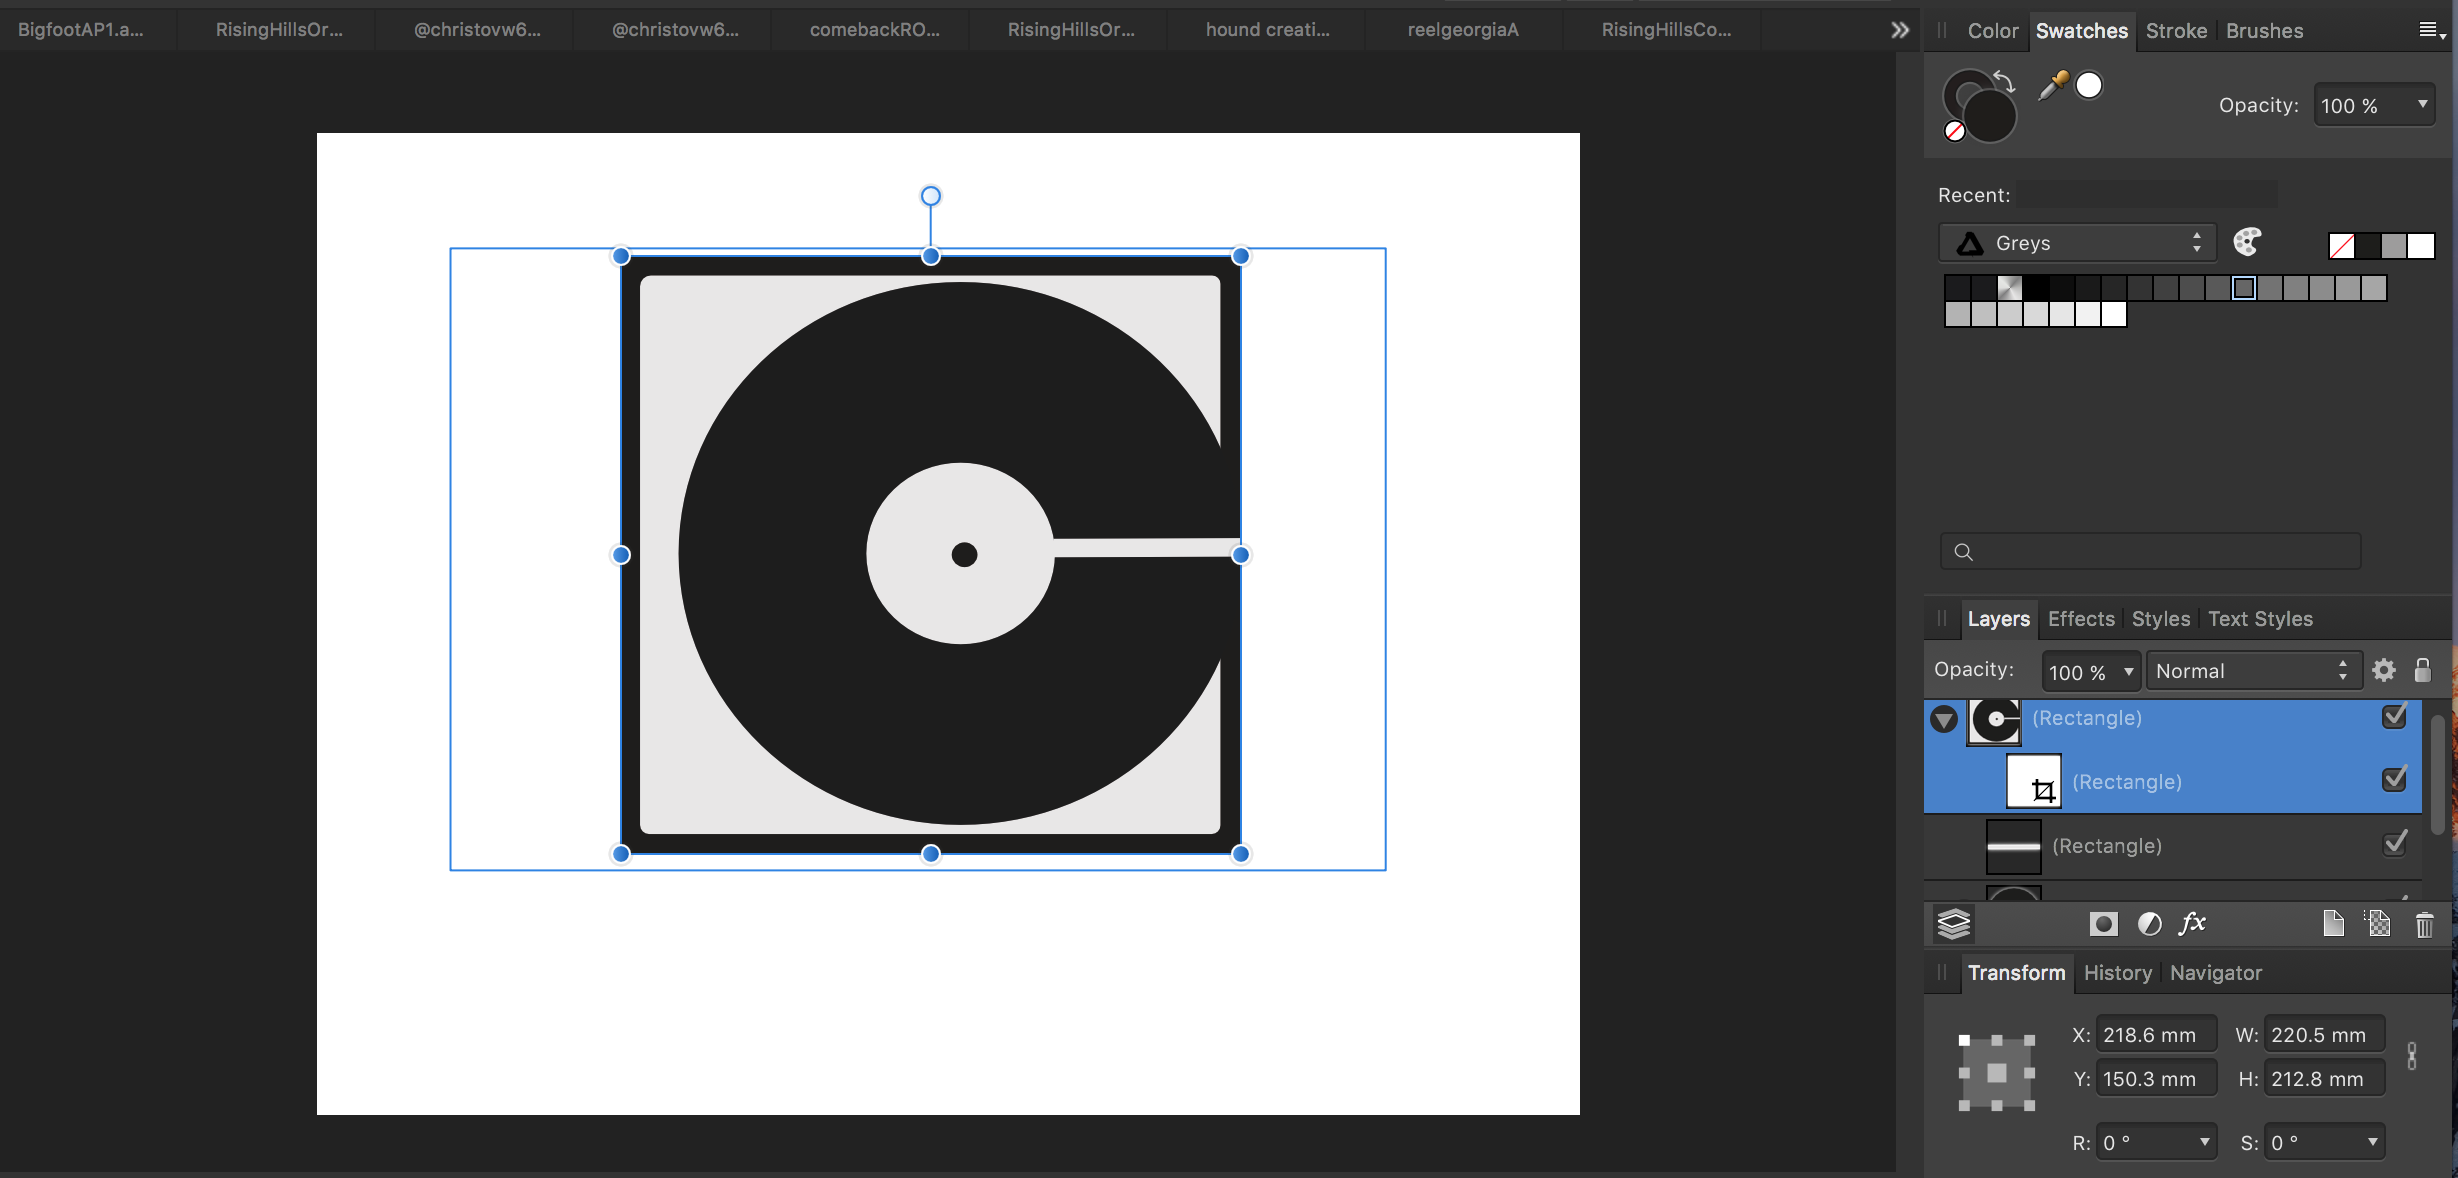
 'morning guys/gals, 2 quick questions please (and thanks): 1) in the image below (thumbnail and file attached) you will see a logo image that was originally on a black rectangular background. I cropped the L and R sides to get rid of portions of the background so as to create an even-ish border. How can I get rid of the still-remaining blue lines outlining the original boundaries of said black rectangle background? ...and, 2) in order to distort/stretch this image (logo portion), don't I simply 'convert to curves' the grouped layers then click/drag whichever node I'd like to 'pull' on? My goal is to be able to manipulate the image by independently move nodes to create perspective changes in some cases, or make the image look curved in other cases (as if on a cylindrical surface such as a telephone pole, etc). Does the image/layers need to first be flattened. Big thanks from a newbie! -Christo CVlogoBlueCropLines.afdesign
-
...me again - I am determined to learn this software (it's actually been a blast, just have so many basic questions - thanks for your patience) With the help of MEB, Alfred, R C-R, Callum, and MANY others I have learned a lot but am certainly still in the novice category. I have a relatively simple image (1 - 2 layers) that I want to save in my AD Assets-Panel (a custom panel created for this project). I've saved/moved a number of other images into this panel previously with no problem, simple click/drag operation. However, with this particular layer I'm seeing something I haven't seen before...when I click/drag, the image seems goes to go BEHIND the Assets panel and stays there, unseen. No vertical blue-bar appears in the A-panel, and upon release of the click/drag, the image does appear (or 'stick') in with other Assets. Anyone know why I would see this behavior? One additional Assets related query: what is the trick/procedure to assure the reasonable sizing of an image before dragging it into the Assets-panel so that it is not EXTREMELY LARGE when I access it for use on a newly opened image? Yet another basic skill that I'm 99.9% sure I've missed along the way. Cheers! Hope y'all have a great weekend. -Christo
-
Quick and simple question guys... What is the best/most efficient way to reduce the outer dimensions of this document, while MAINTAINING the size of the logo image within it?...masking?...cropping? Not sure what direction to go. I attached a copy of the file for your viewing. My desired end result is a thin border around the outer edge of the white curved corner portion of the logo. Thanks! -Christo (sorry for all the newbie questions) @christovw66ComebackROUNDEDprimary2.afdesign
-
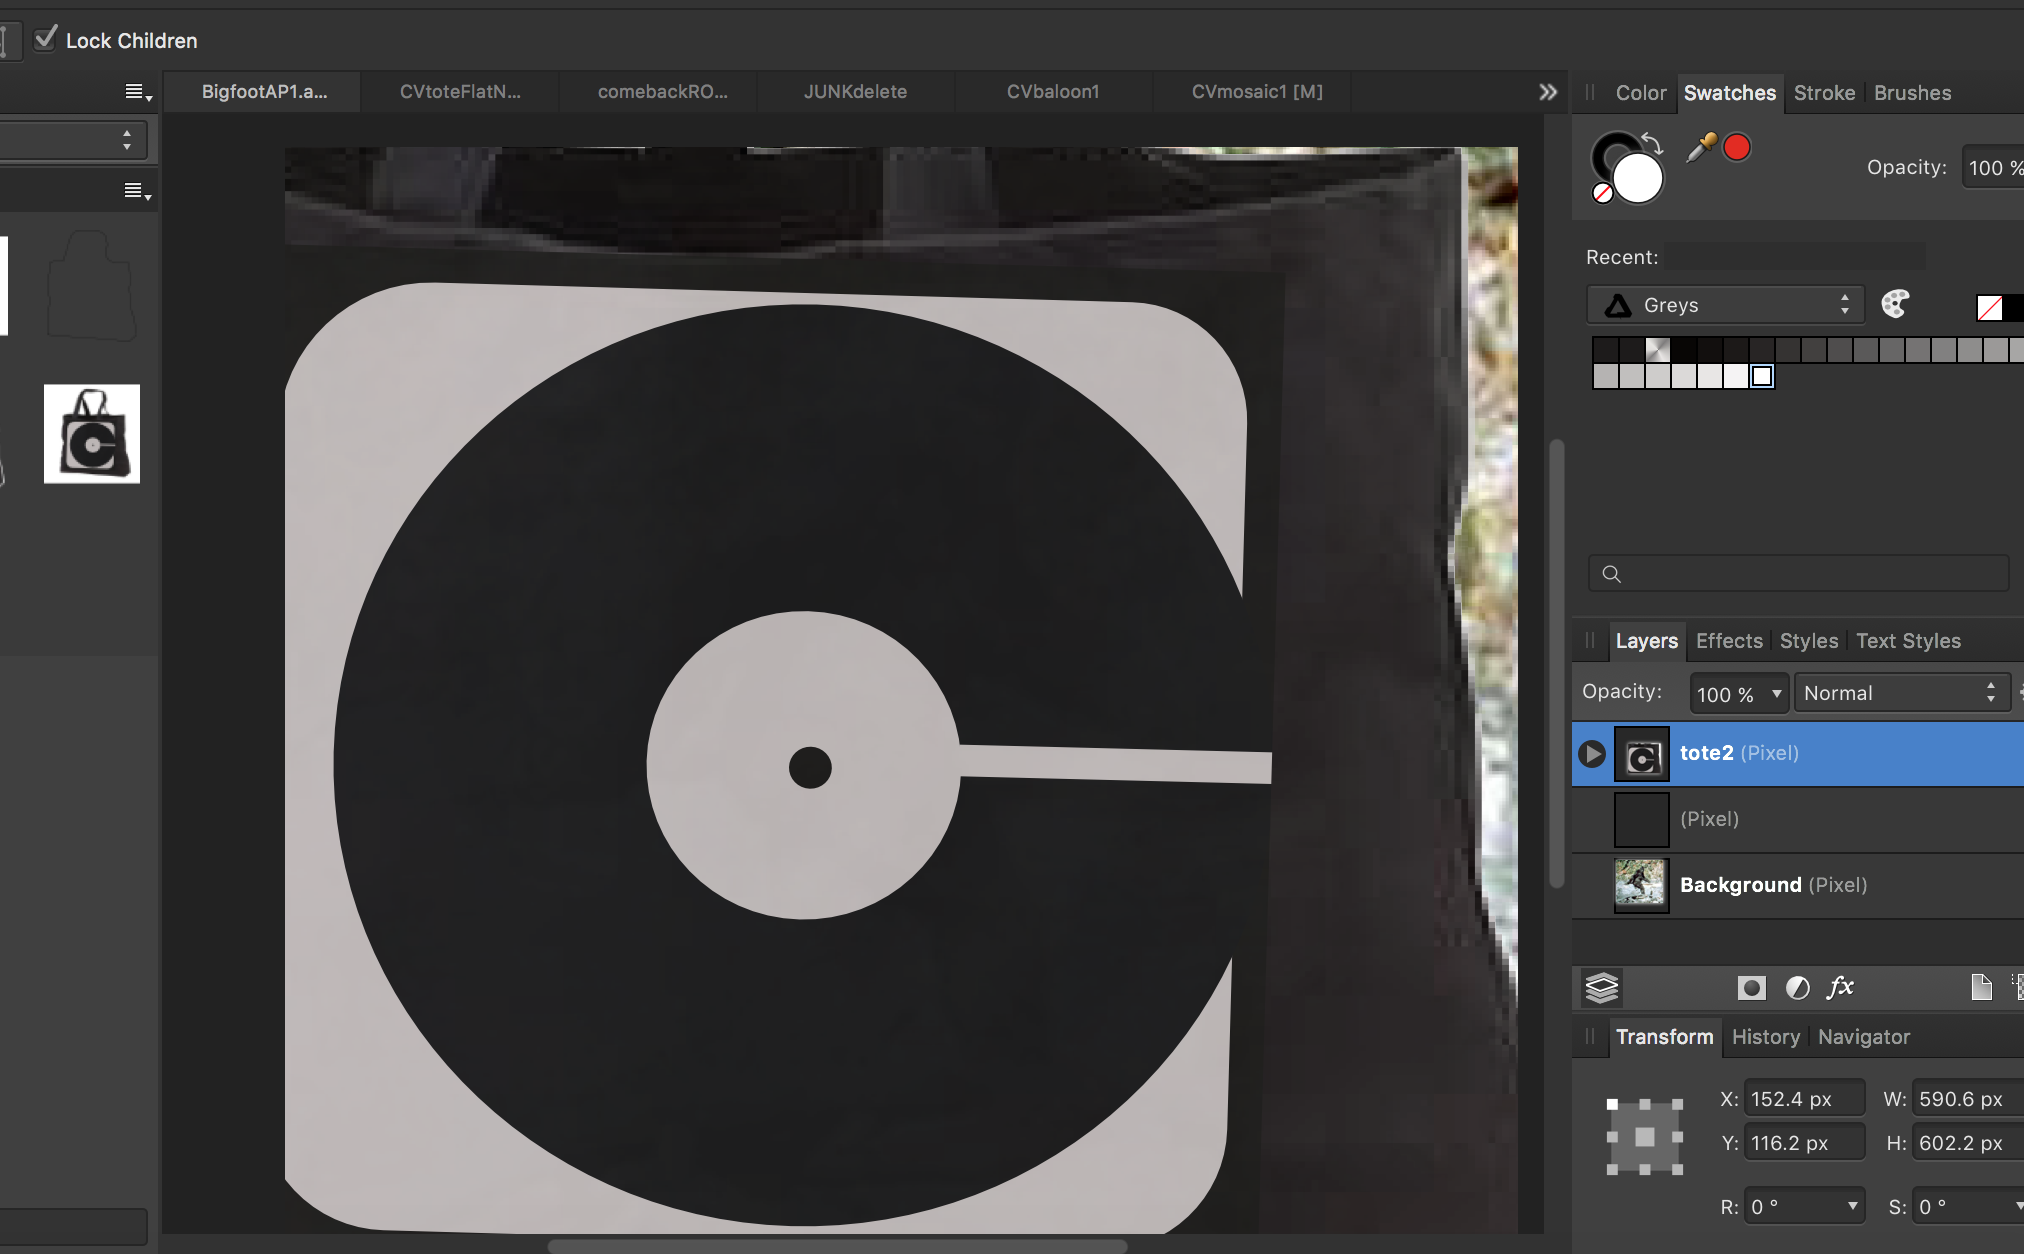
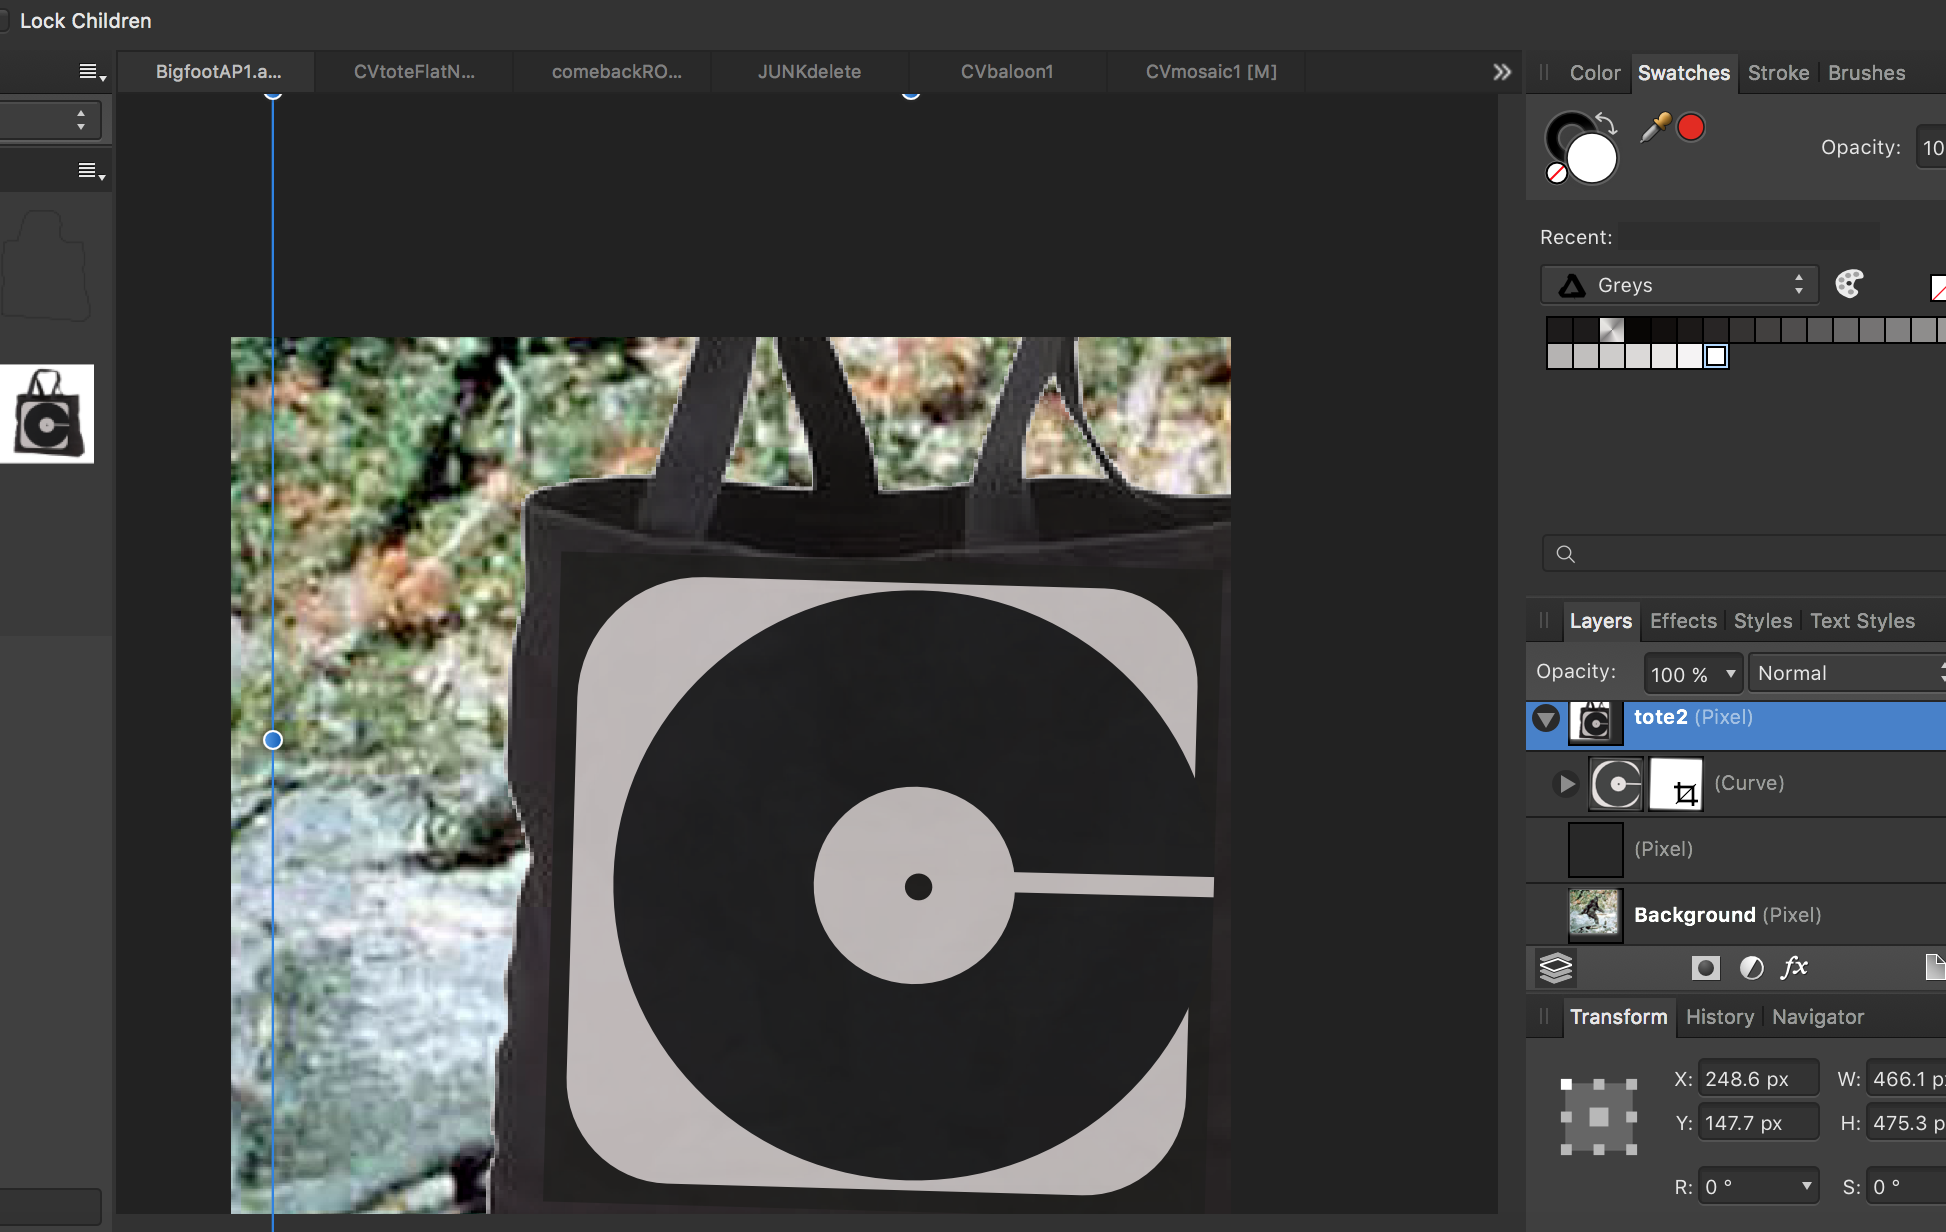
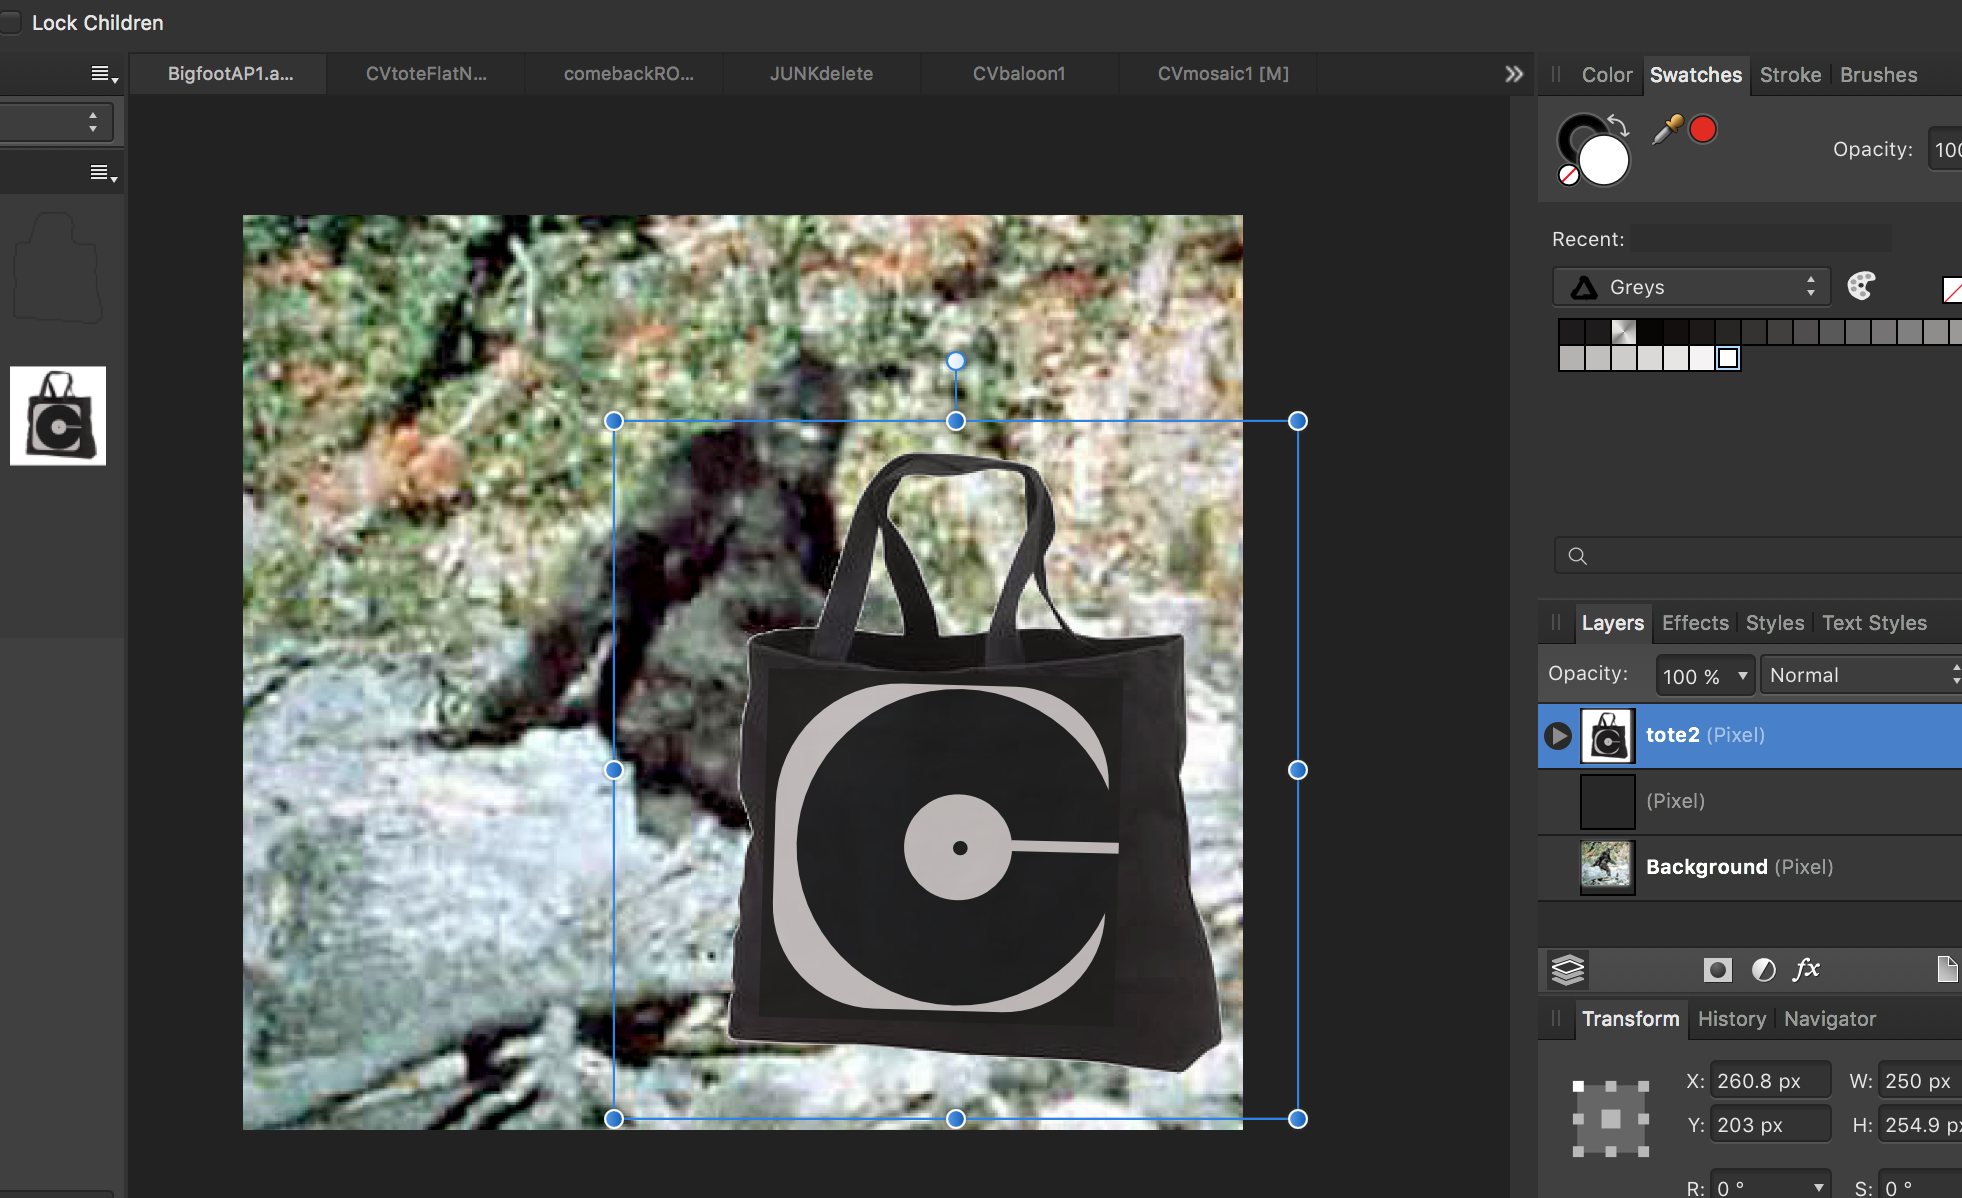
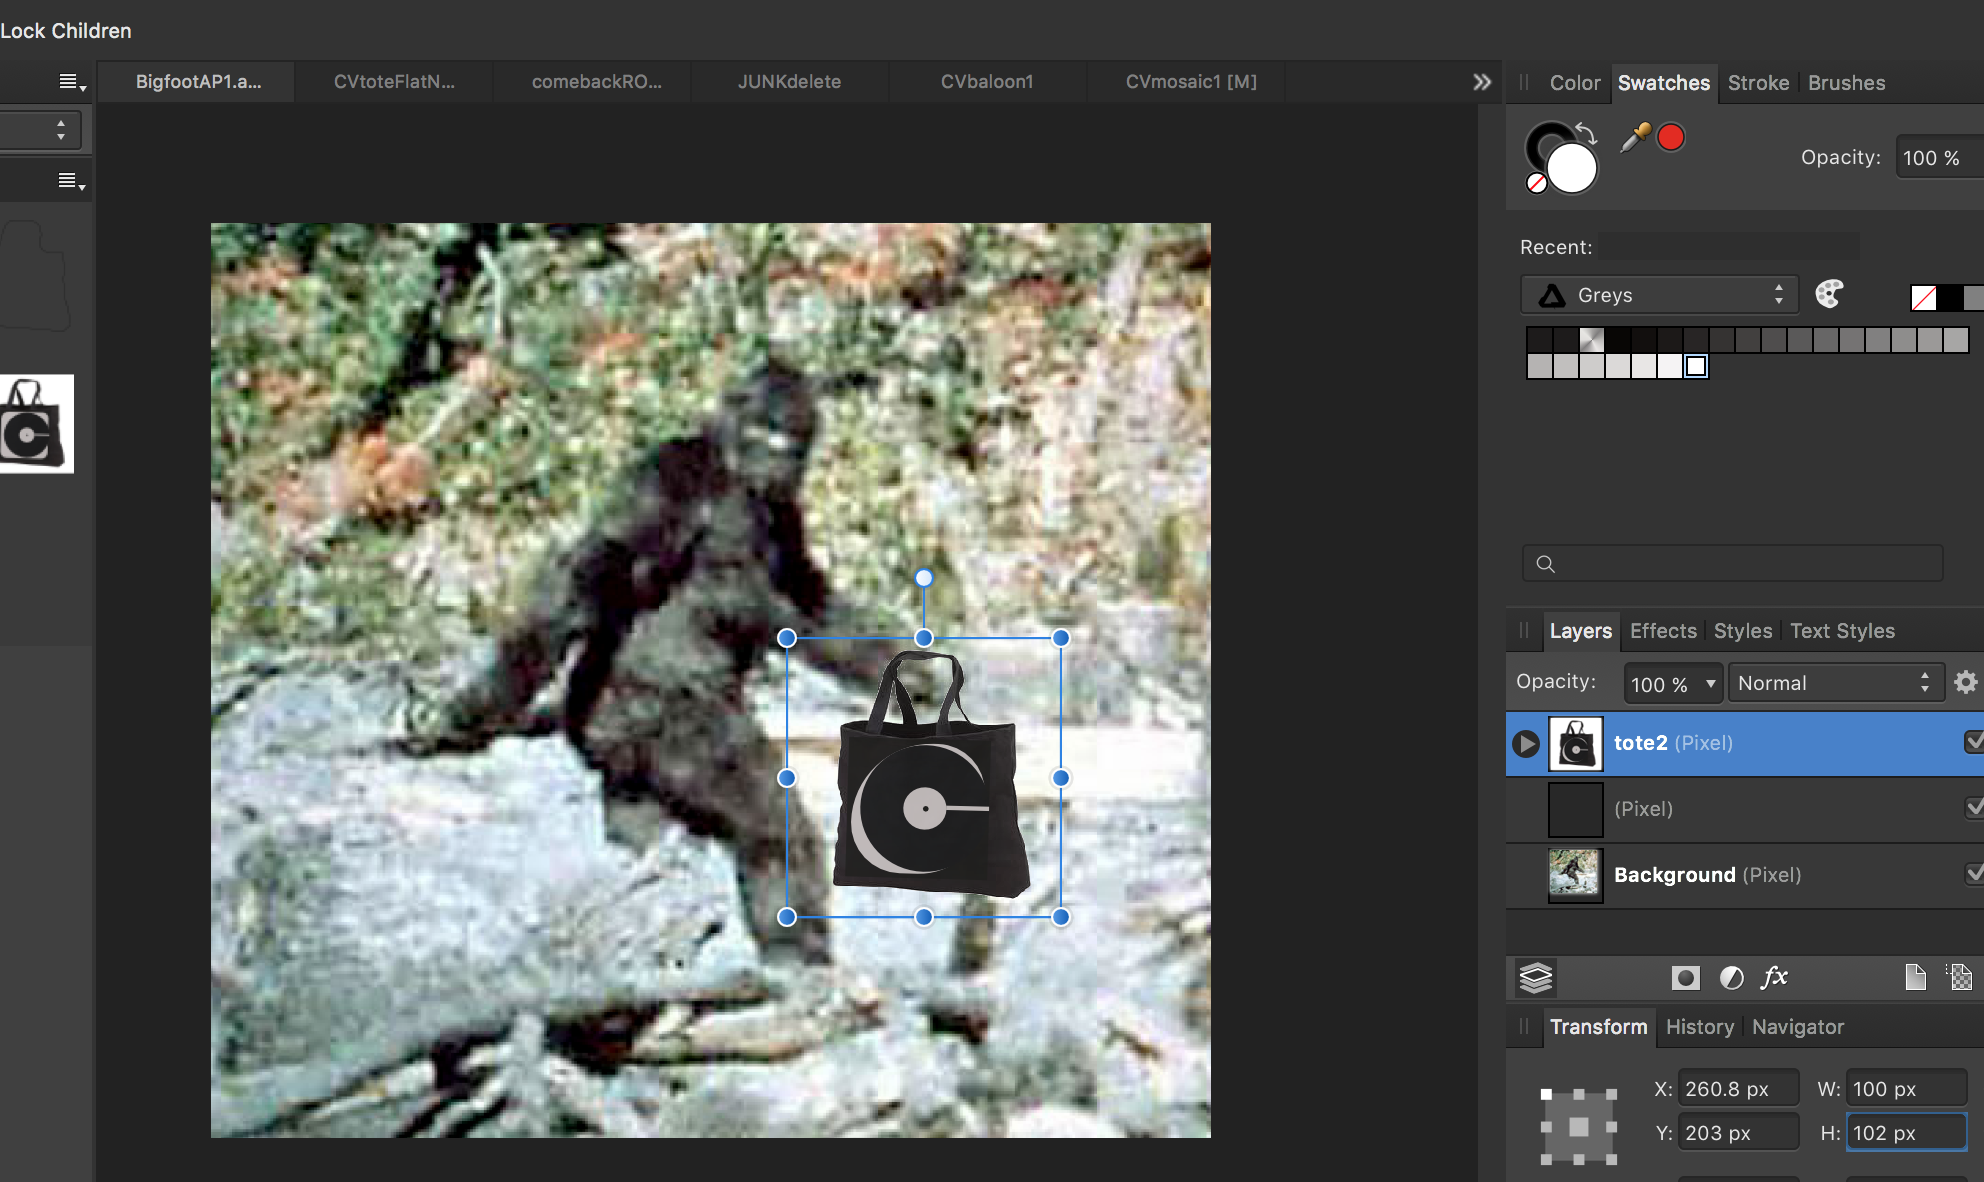
No doubt again something simple, again probably a simple fix, but I've already conceded my infant level AD knowledge - help please. How do y'all explain the following behavior upon my reducing the image size in AD, on a 3 month old MacBook Pro running AD 1.5? I've attached 4 thumbnails below to help illustrate. I drag a me-made asset (that stupid black tote bag) onto a photographic image of Bigfoot in an attempt create a crude image of him carrying a black tote bag with a logo on it. Obviously, the scale of the tote is way too large so I begin to reduce it's size. I used both the Transform Panel (W+H) as well as constraining via Shift/Drag. In both cases, the smaller I reduce, the more I see proportional changes in certain layers in the logo (which are grouped). I did NOT have the 'Loch Children' box ticked - would this have bearing on the effect I'm getting? Most obvious IMO is the change in the curvature around the black 'C'...just saying. Thanks for any help! (I love playing with this program - can't wait 'til i have a better grasp of it all) -Christo
-
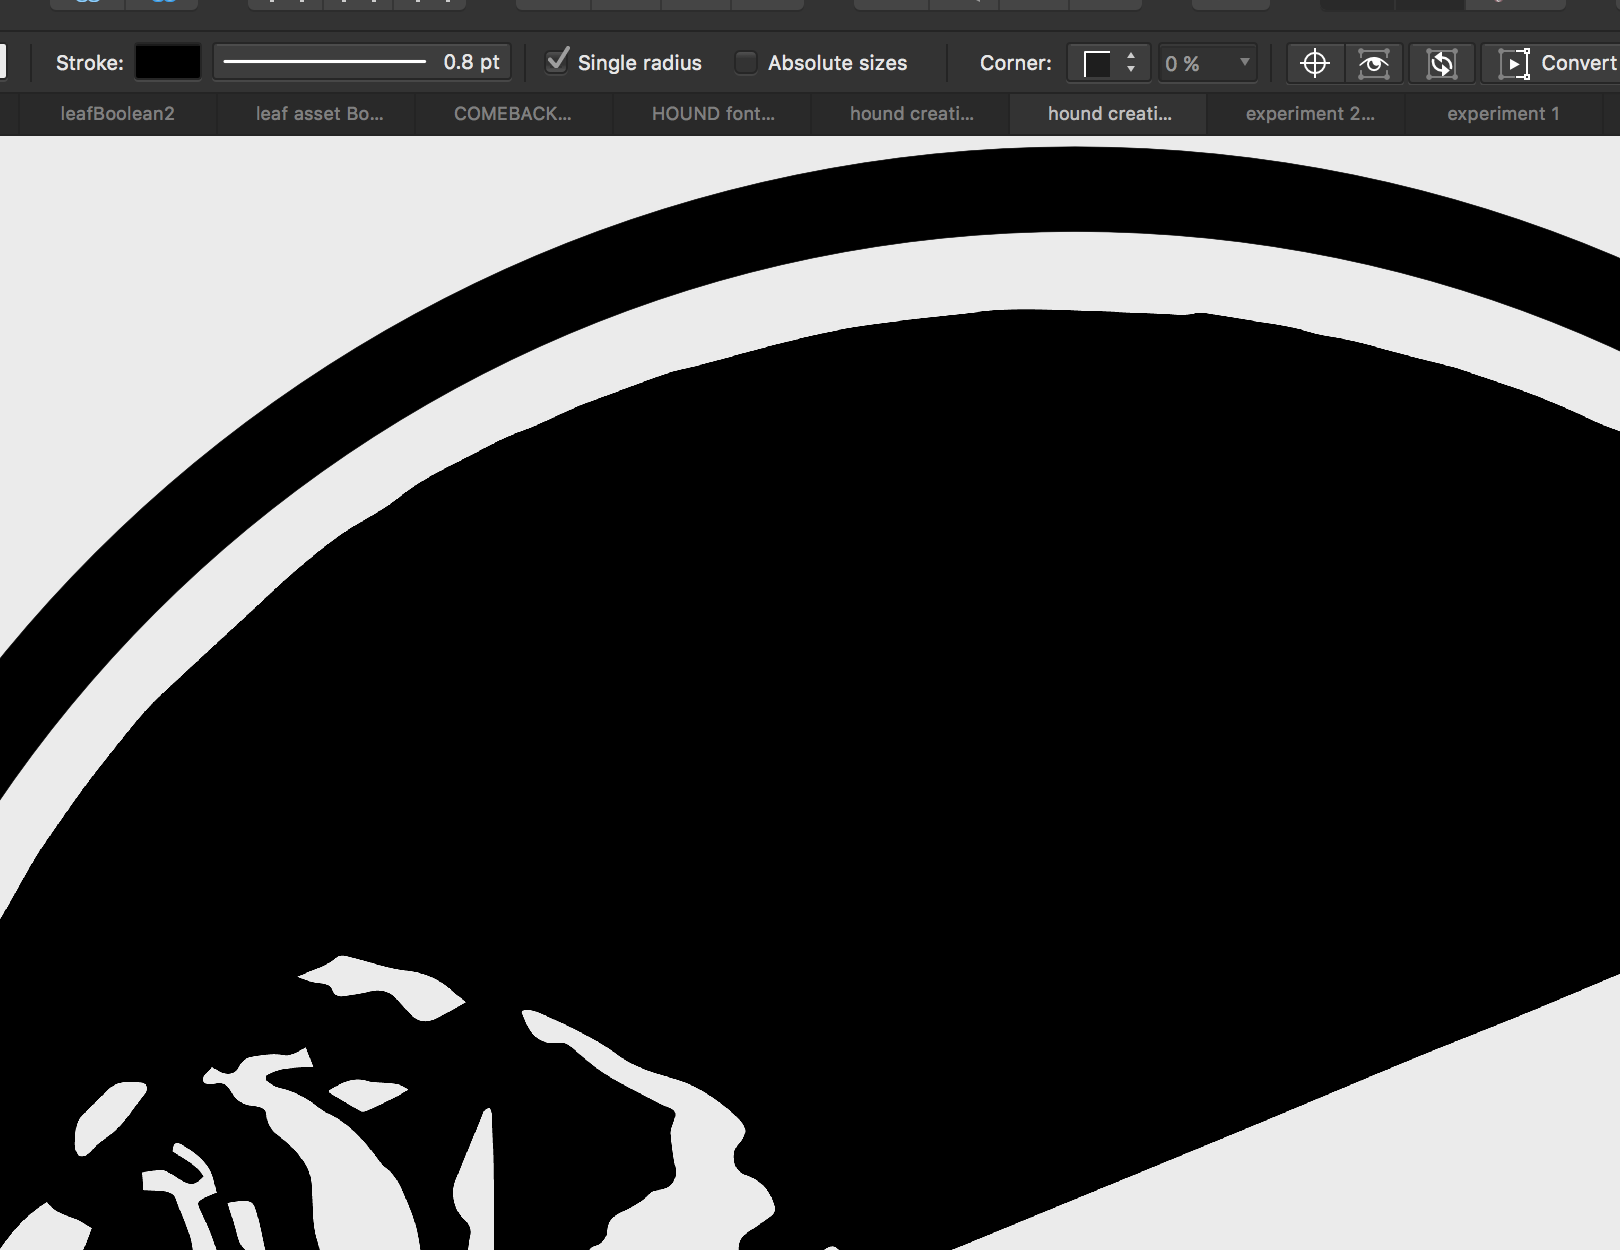
Straight-up newbie question from Christovw66 again folks, I've attached two reference images to help show the nature of this how-to question of mine. Pictured is a hand drawn image of a logo concept emailed to me by a friend. Using the donut shape tool I added the outer ring for contrast, and here is my question... ...what tool or which operation(s) can I use in AD to clean up the edge of the inner, solid black circle (seen in the close-up)? This inner black circle is also obviously not a perfect circle, which is the other thing I need to correct with this image...how best would I approach this? The logo appears to already be in vector form as the above mentioned 'rough-edge' does not pixelate upon zoom in. I appreciate any/all guidance on this, as I realize the questions are quite rudimentary. Honestly, I've tried to figure it out on my own - not being lazy, just have a shallow knowledge of AD ops at this point. Regards, -Christo
-
I would like to have the ability to use an b/w-image as mask for a layer without first converting it to a mask layer. Editing of a mask should be possible with mask as colored overlay, so I can easily see what I'm actually doing.
-
 Hi everyone, This may seem like a silly question, but I'm having issues exporting an image after editing it. Every time I attempt to save and then export the image, it saves on my desktop as the original unedited image. Here's what I'm doing: After uploading the image to Affinity Persona, I use the selection brush tool to select the desired part of the image that I want to keep, I then use the toggle quick mask tool to add a white background to the image. I then save and export the image to .PNG or .JPEG and both files still save as the original, unedited image instead of the image I edited with the white background. Am I doing something wrong? Thanks very much in advance for your help!
 -
 How can I replace an image that has been transformed (given perspective)? Explanation: I have an iPhone mockup and I want to replace the screen with multiple images. The background will not be changing just the content. The images will be at a skewed angle. When the image has not been transformed, in Affinity, it shows the tab 'replace image,' however when I click on the transformed image that option is no longer in the context tab. I'm not sure if this matters but... when I click on the transformed image it is selected and says PIXEL (withOUT the option to replace image). When I click on the image that has not been altered in any way it says IMAGE (with the option to be replaced). I want to replace the image with another image of same size(skewed). How can I easily replace that? This step I need multiple times. I need to replace that single image, save and then replace the image again and again. ------------- If there is no way to do what I want or the replace image option isn't available after an image has been skewed, is there another way to do the same thing I'm looking for? Thank you.
 -
Was I wrong to expect that a native Serif file-type could be imported into Affinity Photo?
-
 Hi, I want to snap individual object inside a group, but when I hovering my cursor to the object I wanted, the whole group was selected, and my candidate list is set to 6, so end up everything in my page were purple color indicated selected since all group selected when I point to more things. why this happen but not before? How do i solve this problem? Previously I can just hovering my cursor to whatever i want then a purple color will flash around the object to indicate you can snap to it no matter it is in a group or not. but now after 1.5 update or any reason, I can't do that anymore. even the whole group been selected, I can't snap to any object inside the group, only the boundary of the group. This is a follow up to my previous unsolved question https://forum.affinity.serif.com/index.php?/topic/30909-how-to-snap-object-base-on-bottom-object/?p=152215 This is my snapping setting, if anything wrong please correct me The snapping I wanted is like this Please help! I wanted to continue my project as soon as possible!
-
 May be a silly question - I brought in three images to edit and wanted to switch one to landscape. Is there a quick way to rotate the canvas including image without using the doc settings?