Search the Community
Showing results for tags 'image'.
-
 Hi, I am putting together a book and I am on the author page, trying to insert my photo. In this instance, I notice that the image is getting directly imported to the page, rather than me being able to drag and place the image. As a result, I am unable to resize the image. There are no edges that I can drag around to re-size. Do you know what has happened and how I can fix it?
 -
 AP 2.4.0.2301 Win 10 Pro 22H2 Build 19045.4046 This bug was not present in AP 2.3.x. Picture frames placed inside a data merge layout and linked to a field in a CSV file which contains a path to an image show the image when initially placed and linked. However, incrementing through the records in the file in the Data Merge Manager window causes the image to disappear completely. Reloading the CSV file does not correct the condition. Closing the AP document and reopening it does not correct the condition. Opening prior AP documents which worked fine in previous versions results in the same behaviour in 2.4.0. Oddly enough, when the merge is generated, the resulting file does contain the image. So the bug appears only to affect the layout view. Of course, this bug makes layout and editing complicated.
 -
 Please make the image frame properties a studio panel with keyboard shortcuts. Ideally, I'd like the frame properties to be accessible even when you select a placed image within a frame. That is because if you group an image with a text frame (to add a description for the image), it is the easiest to Ctrl+click the image to access it's fitting settings. But right now, it's tedious to select the image frame in a (nested) group. See this topic:
- 3 replies
-
- 1
-

-
- affinity publisher
- image
- (and 6 more)
-
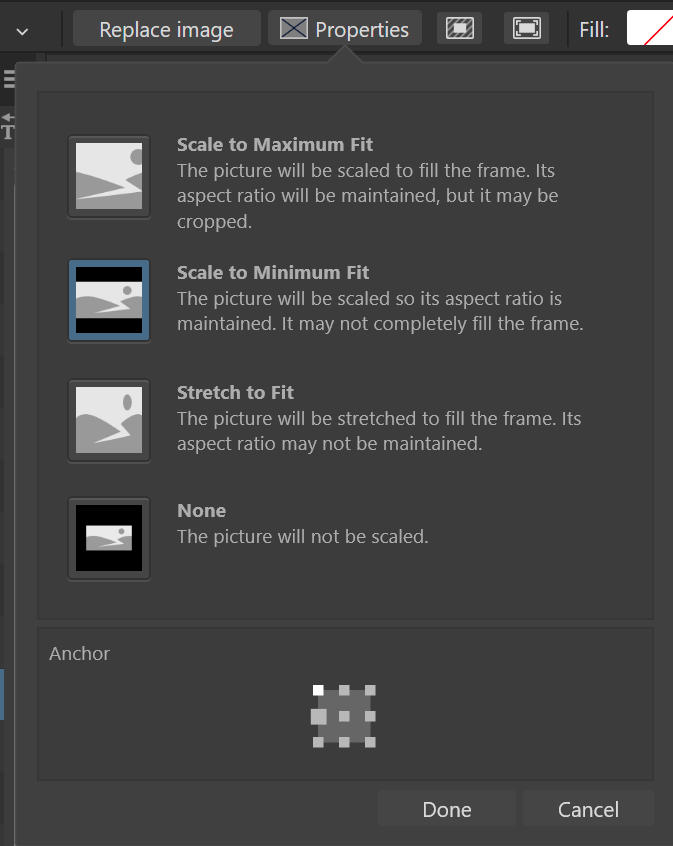
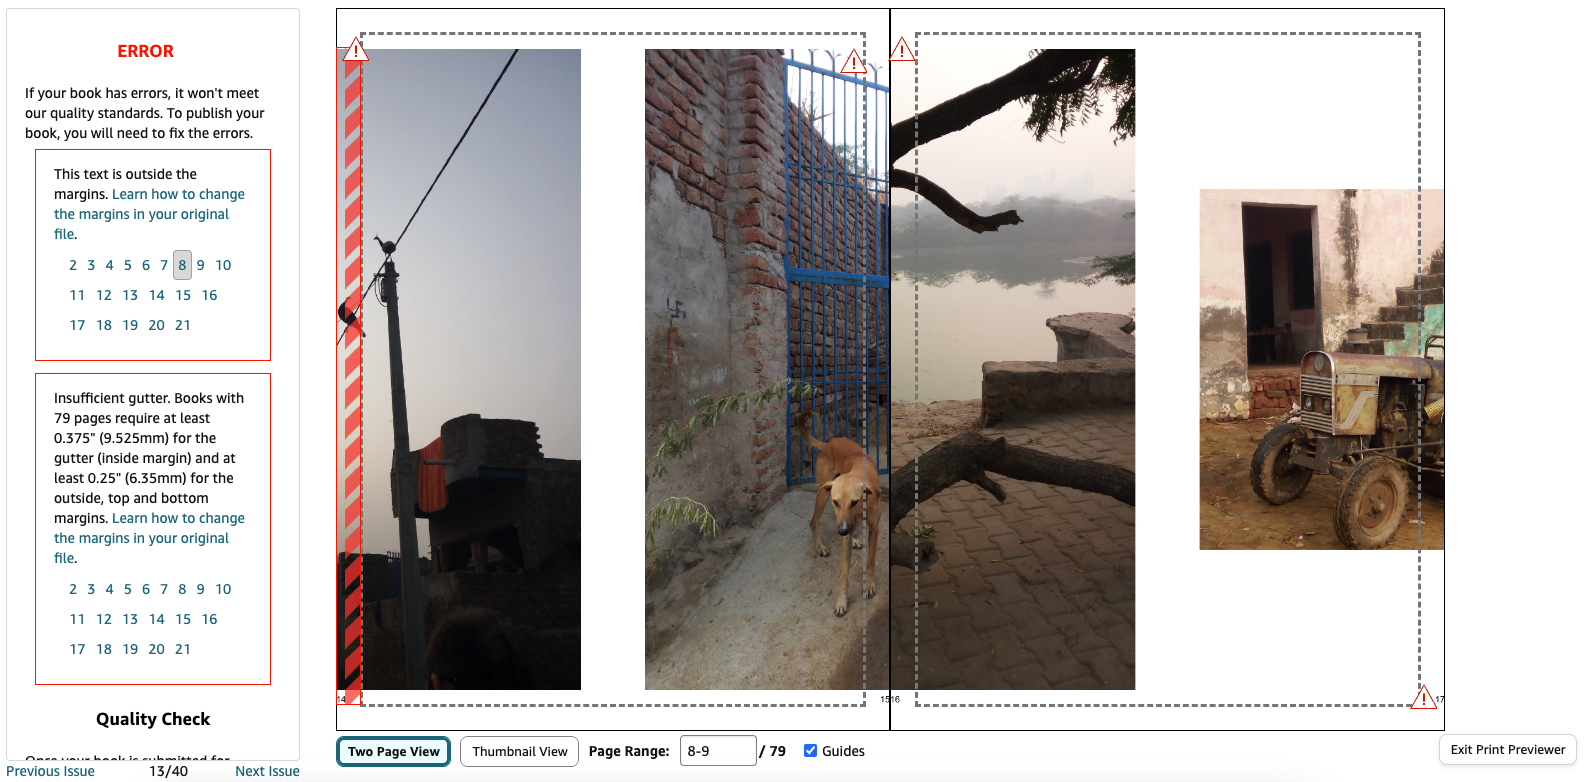
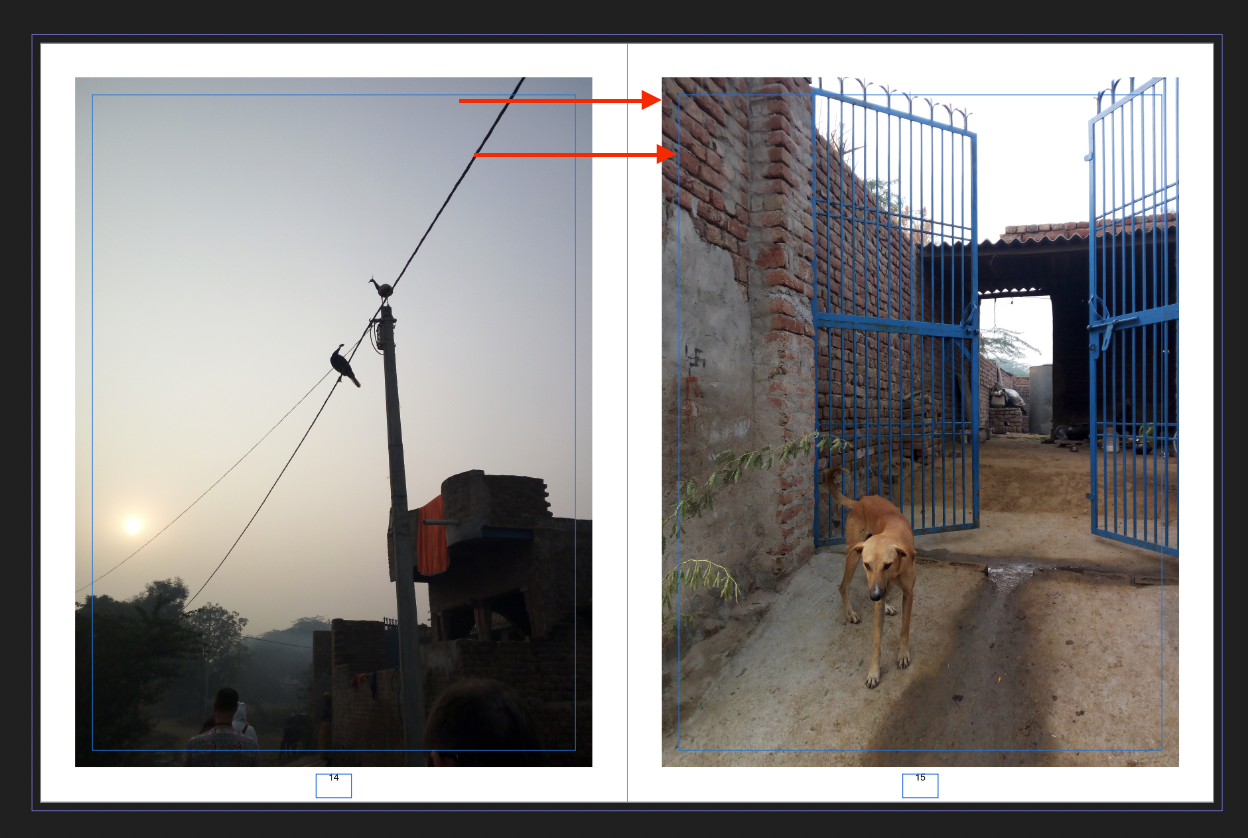
Been using Affinity Publisher for the 1st time over the last 3 days to create a photo book. Today, I submitted it to KDP (manuscript and cover) and I received the below error on their Preview. Please see attachment 1. Is the error because of the photo extending outside of the blue border as seen in attachment 2 with red arrows? Initially, I just dropped the photo into the Picture Frame Rectangle (set it in the Master template) without any resizing or position. Perhaps, I need to squeeze it within the blue frame as seen in attachment 2. If so, is there a way to do it bulk across my 150-odd images? There is a photo per page. If bulk editing isn't possible, what is the quickest way to push into the blue box without playing around with the edges?
-
 here's the example. How to delete this image's areas that fell outside of the canvas? Is there an option for the marquee tool to include outside of the canvas when creating a selection?
-
Hi everyone, I'm proud to share this dark fantasy novel made with AI images and reworked with Affinity Photo. I hope you enjoy the work. https://youtu.be/YUIBjkCj7HU?si=rugHqdLLfi7Xnnhz link to youtube from image too Let me know your impression!
- 1 reply
-
- 1
-

-
- norindem
- dark fantasy novel
- (and 1 more)
-
 Heya folks! So as I mentioned in the post for a different question I wrote 15 minutes ago, I'm working on a document I'm going to use with a data merge. There's an image for each item, stored in the input file (JSON, if it matters) using relative paths (in this case images/702366.jpg for example). When I use the preview in the layout document the images show fine, but when I use the data merge manager to generate the output file, all the picture frames are empty. Any thoughts or obvious things I'm missing? Edit: Just noticed in preflight for the generated document, it's full of this error: "img_local_url" is the name of the field in the JSON file that contains the relative path.
 -
 I am a new user to Affinity Pro 2 and I am trying it out as an alternative to Photoshop. I just finished downloading the app on my windows computer. Anytime I try to open a photo of any type the program goes “not responding” and eventually crashes. This happens no matter what type of photo I open or where it’s located on my computer. I’ve tried resetting the app multiple times, I’ve tried updating my computer, I’ve tried restarting the computer multiple times, and nothing seems to work.
 -
When i try to import from photo library my app crashes.
-
The current process of using a the Pinning Studio to place images floating with text or in-line with text could see some more streamlining. I would like to see a new handle appear when you select an image or image frame. This handle could then be used to click drag an image to a particular position in/ relative to the text. For simple operations, this would circumvent the use of the Pinning Studio and would therefore save users from having this studio open or to have to open it in the first place.
-
When placing an image, the fill colour of my image frames disappears in Publisher when the file is linked. The first file is copied from the web and pasted into the image frame. The second image is saved to disk and then brought into the frame with the replace image button (I had to actually replace images earlier to retain scale and position). 2022-11-17 17-48-02.mp4 Notice that when the image is deleted, it leaves a white mark where the fill is supposed to be. Removing the stroke of the object gets rid of this, despite not having applied a stroke, nor a stroke colour. Steps to reproduce: 1. Create an image frame that spans the entire page 2. Select the image frame and apply a fill to it 3. Click the replace image button and place an image 4. Notice how the fill colour of the image frame disappears. Image placing policy is set to embedded. This is on Windows 10 19044.2251 (21H2).
-
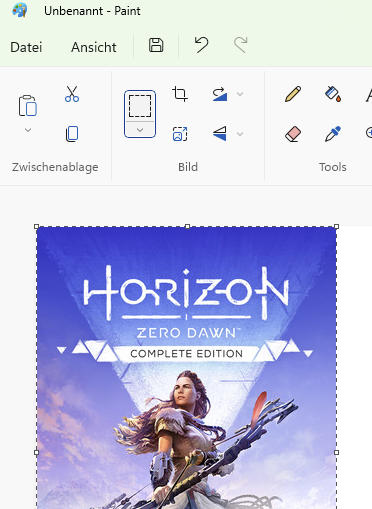
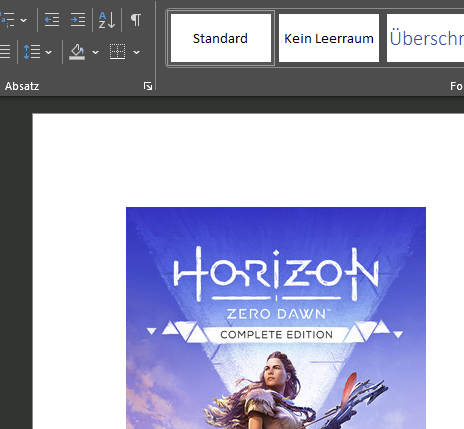
 OS: Windows 11 Pro 22H2 Firefox: 106.0.5 (64-Bit) Affinity Photo: 1.10.5.1342 Some days ago, I started switching my browser from Vivaldi to Firefox. When copying an image in Vivaldi that is opened in a new tab into the clipboard, I was able to paste it into Affinity Photo without problems. In my case, I copy the following image from the website via right-clicking the image and select "Bild kopieren" (Copy image). https://cdn.cloudflare.steamstatic.com/steam/apps/1151640/library_600x900.jpg?t=1593707775 In Affinity Photo I create an empty, white image and paste the image copied from the link into this white image with CTRL+V. This worked for years. Now in Firefox I try to do the same, and it doesn't work. Trying to paste the copied image into the new image only pastes the temporary local link. Creating a new image from clipboard (CTRL+ALT+SHIFT+N) works. But I need the copied image in an existing image. When pasting the image into MS Paint it works as expected. Also, pasting the copied image into MS Word works, too. It seems that it's an issue in Affinity Photo, only. I already asked in a Firefox community if there is a difference in copying an image in Firefox and Vivaldi. But they send me to here. Is there any setting I missed for pasting images from Firefox? What can I do to get the copied image from a website into a blank image in Affinity Photo?
-
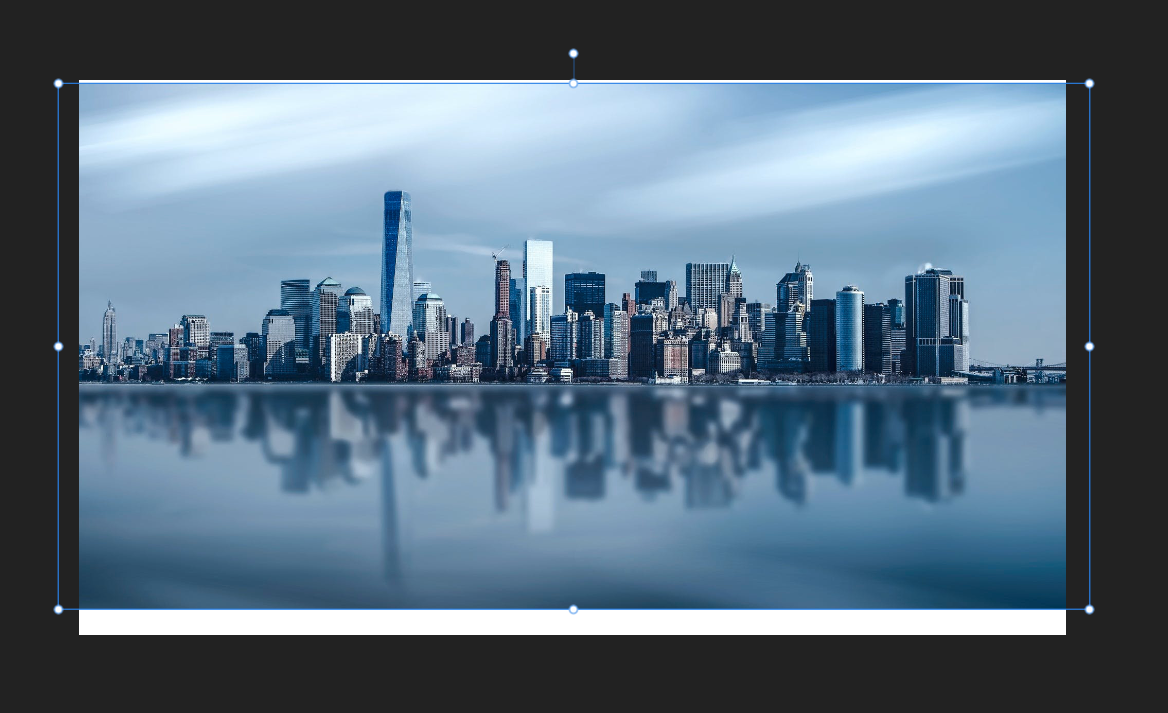
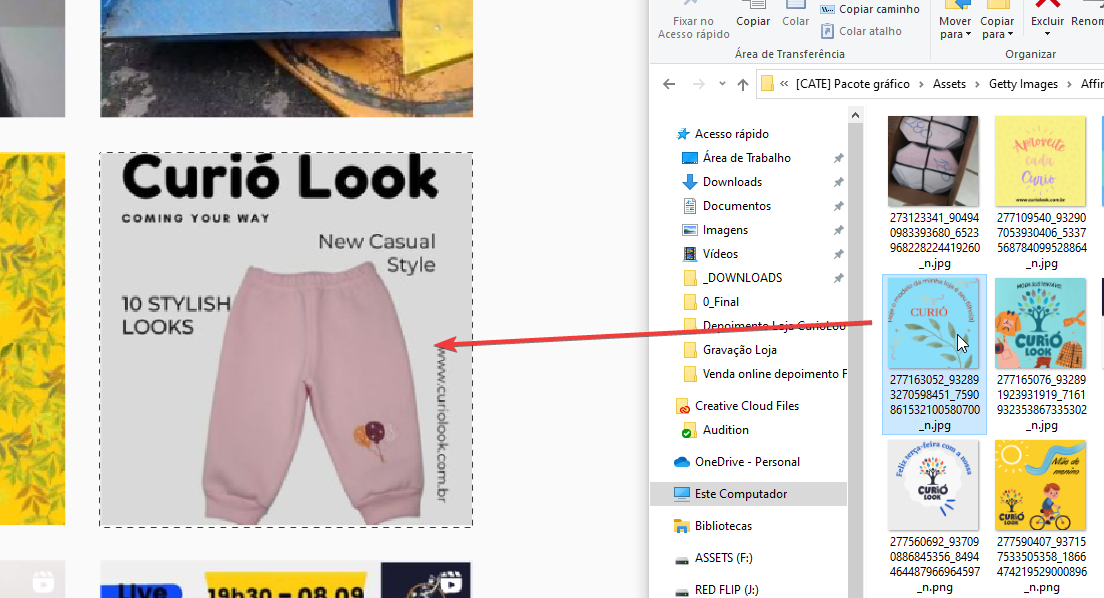
 Hello! I work a lot creating videos for social media and sometimes we need to alter the information of the screenshot, so I wanted to know if this is possible. In the example below, I've selected an area and I want to quick import an image to this area with the same size as well, this is possible? Like when you put a image on a mask and want to keep the image size but to replace it. How I do this on Affinity Photo? Cheers,
-
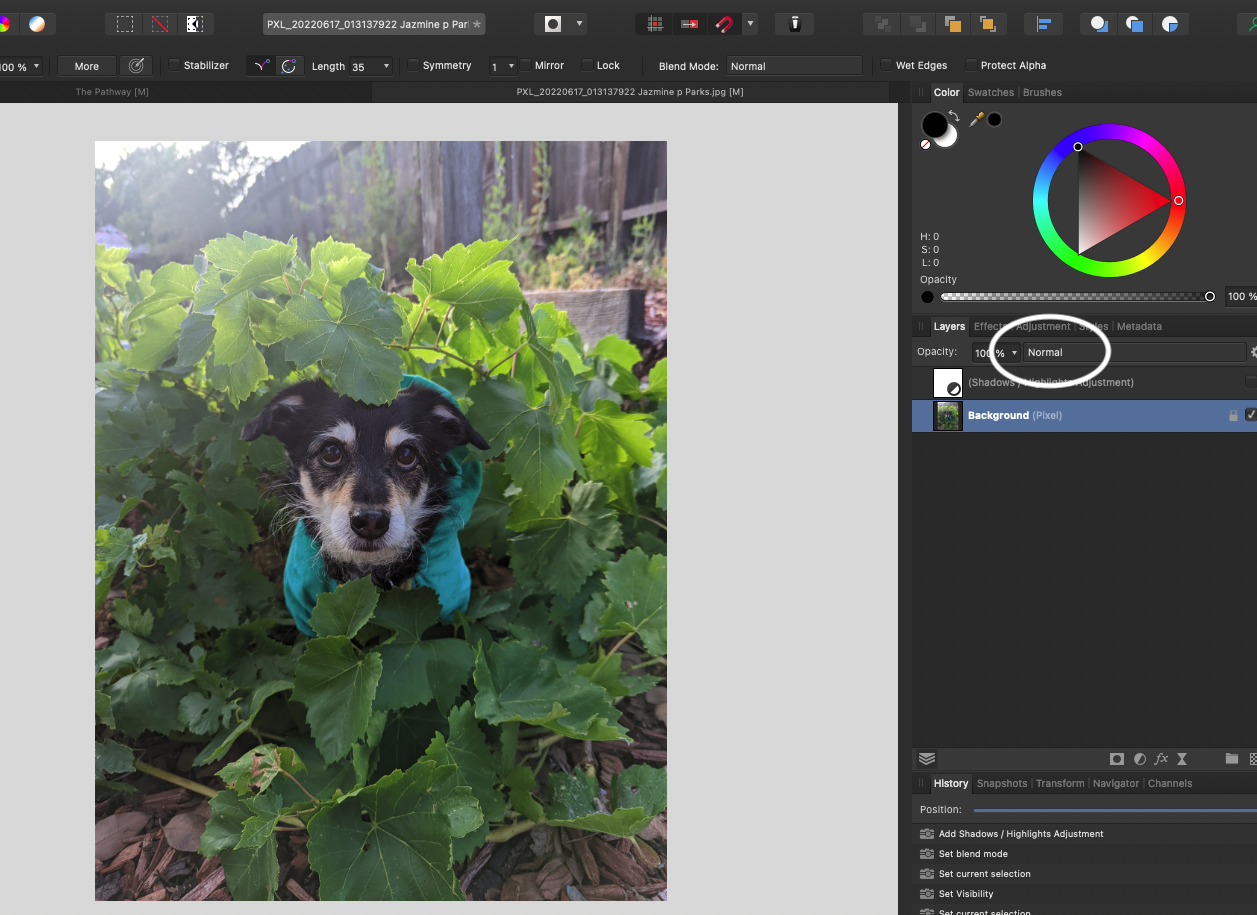
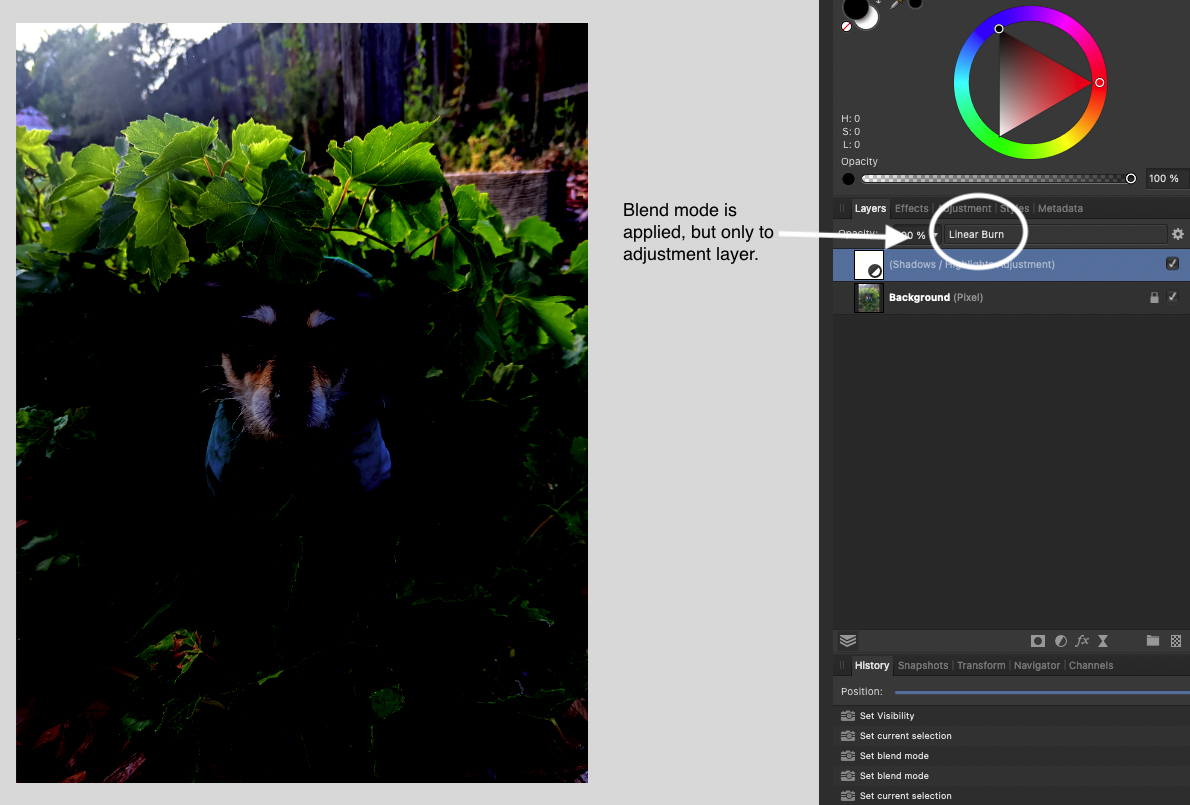
 I know I used to be able to change the blend mode of single image before, but for some reason I can't get it to work anymore. I can change the blend mode of an adjustment layer, but not the image itself. Is there a setting I need to change I'm not aware of or is this a new feature in AP? I've attached some screenshots to better explain. Can someone please help me with this?!
-
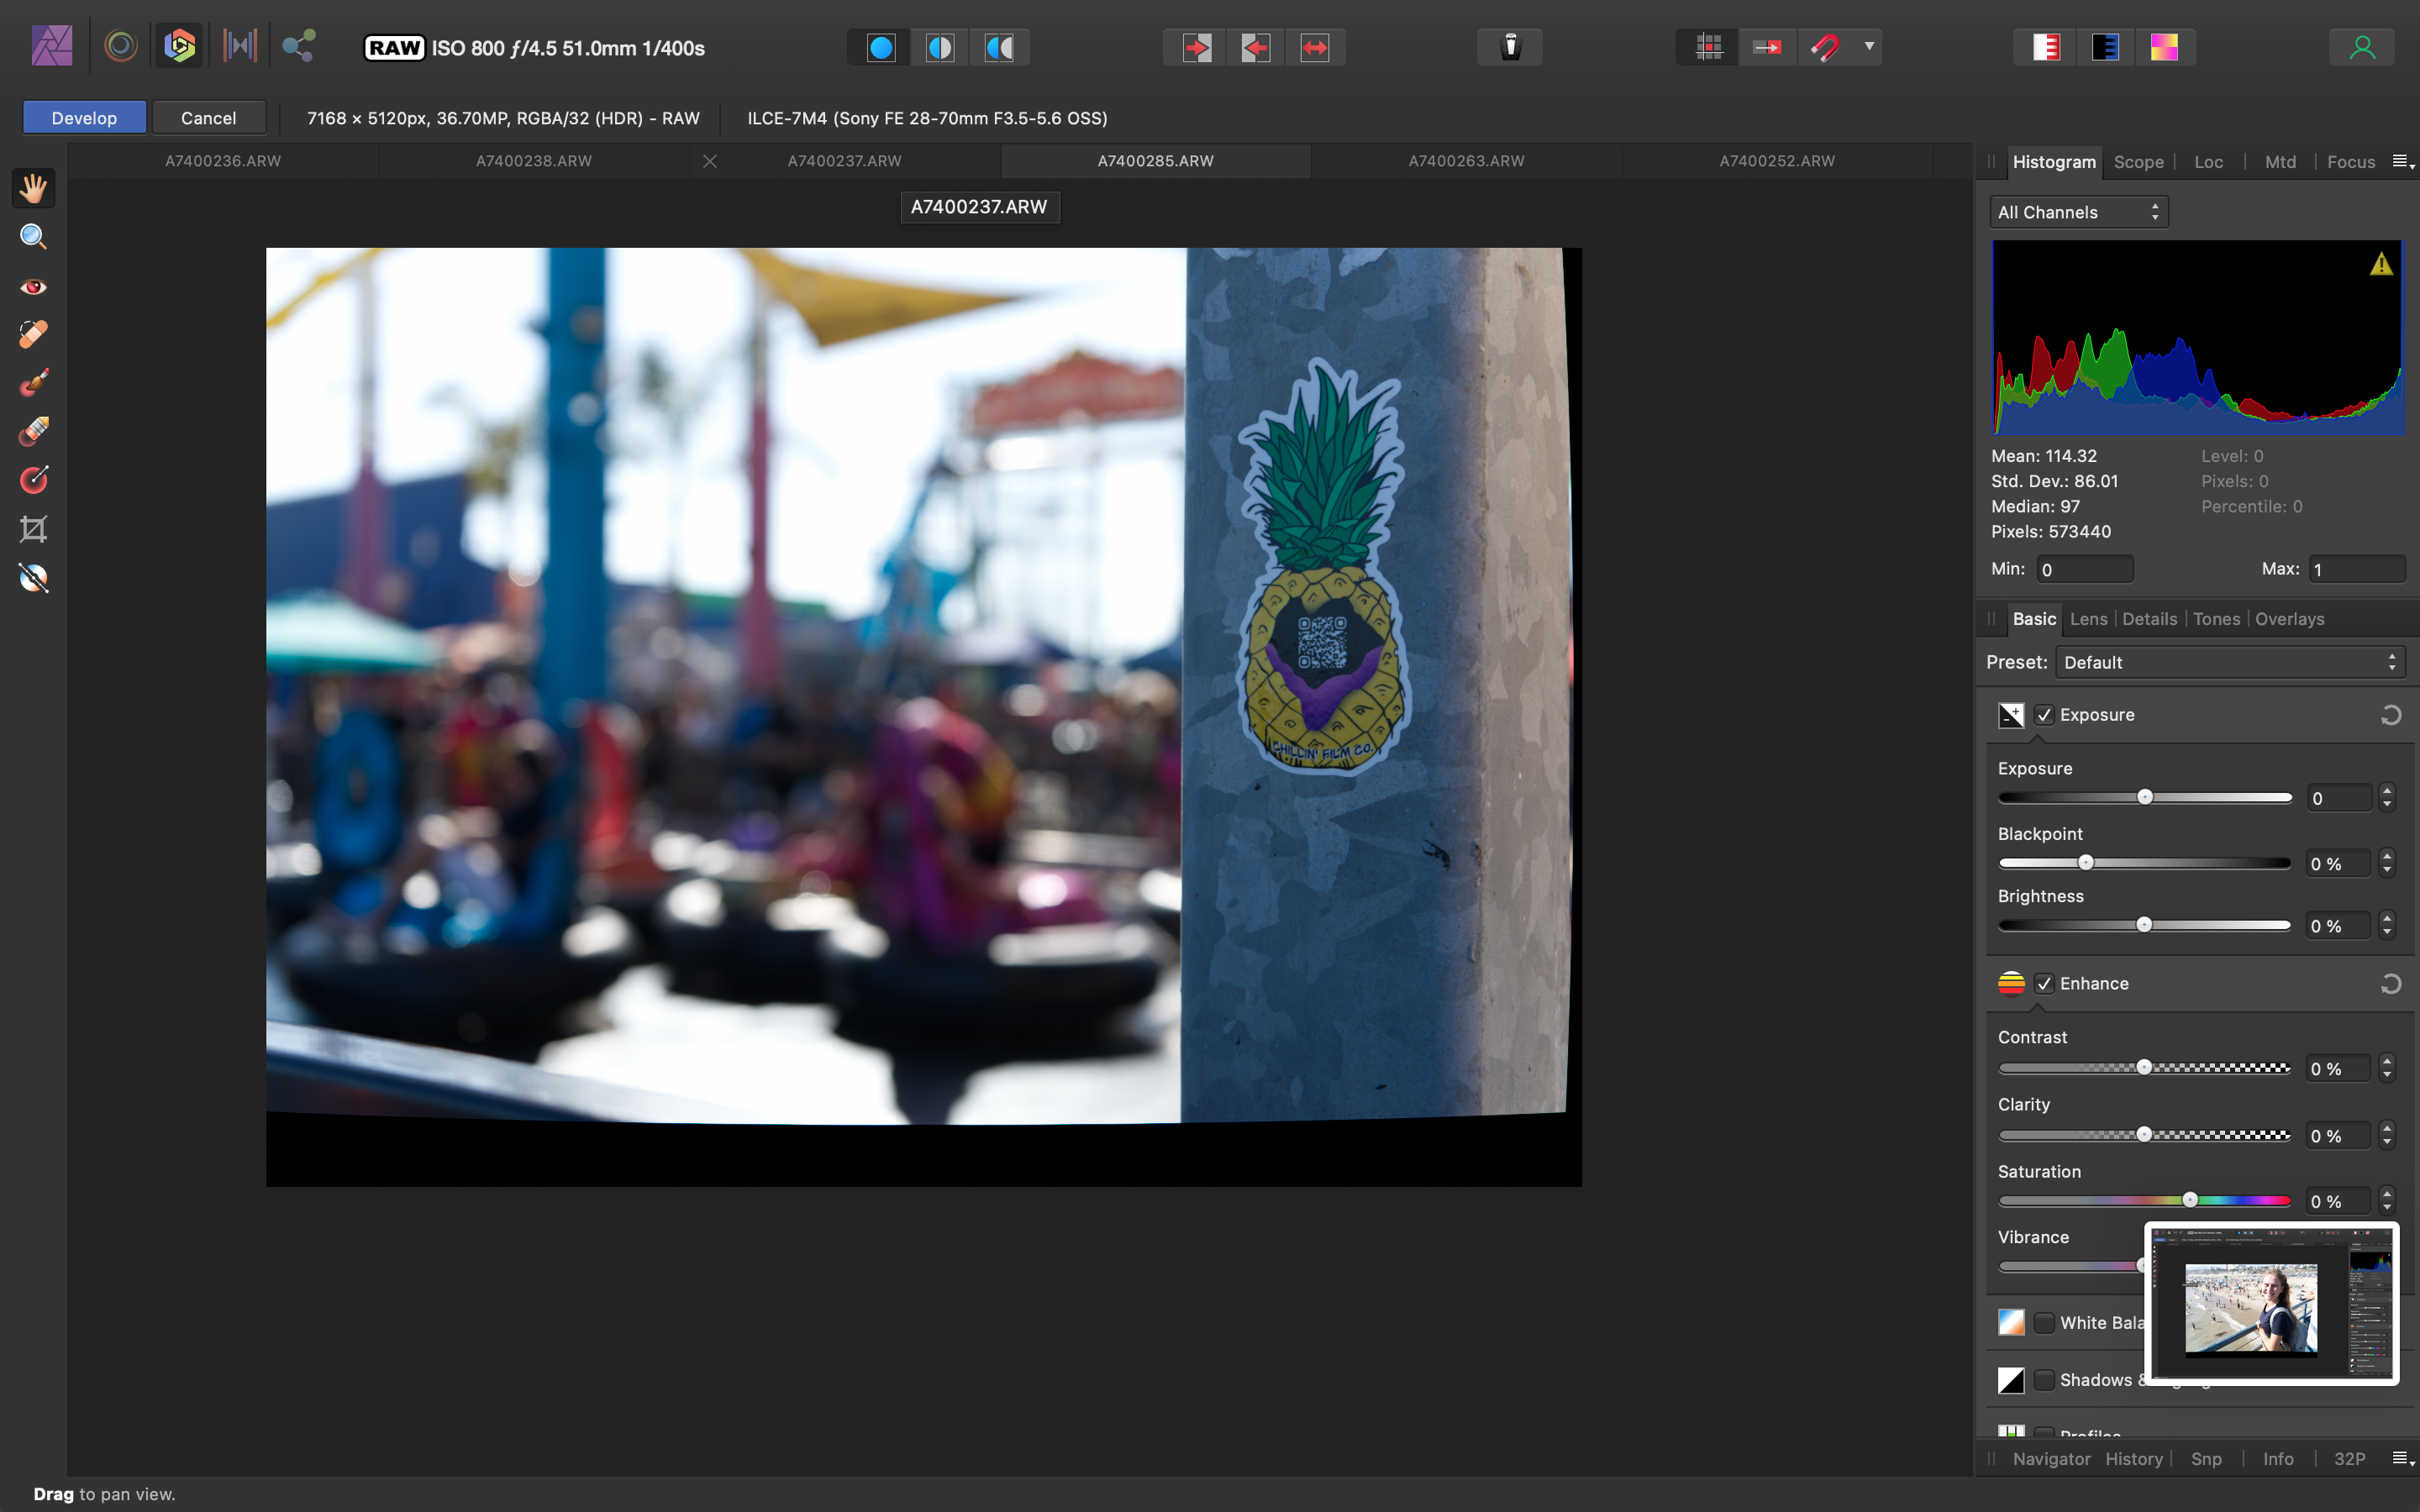
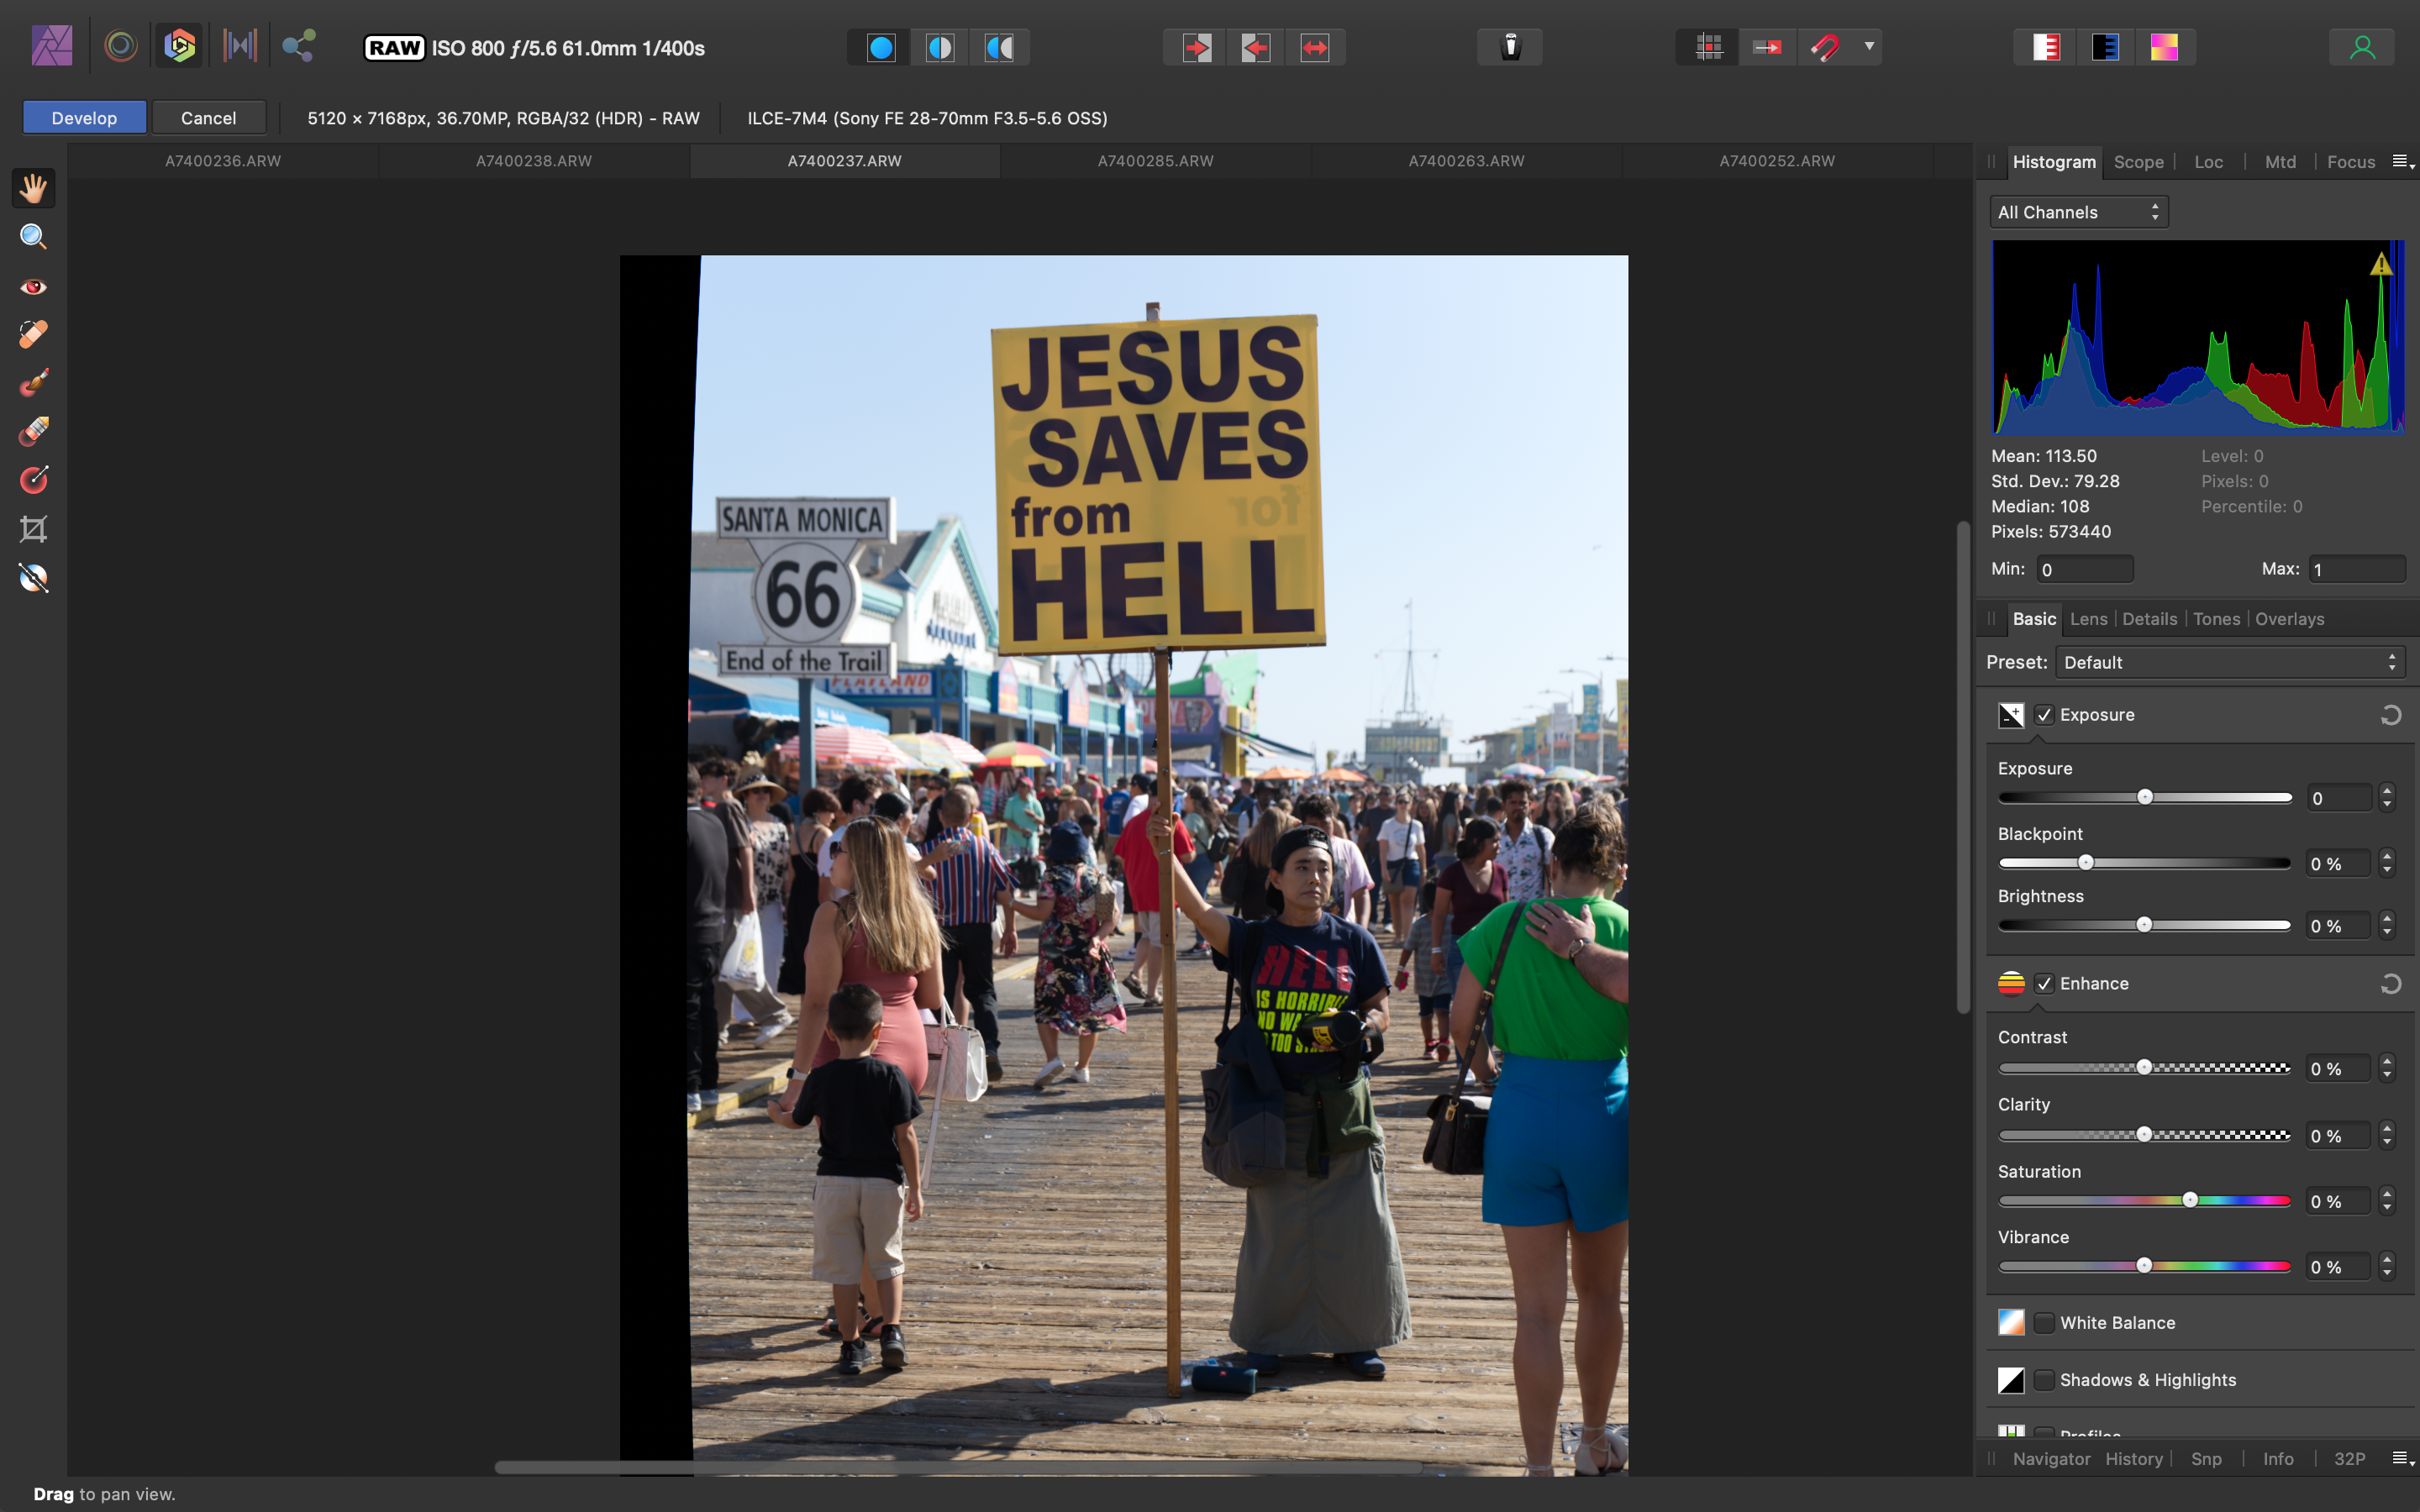
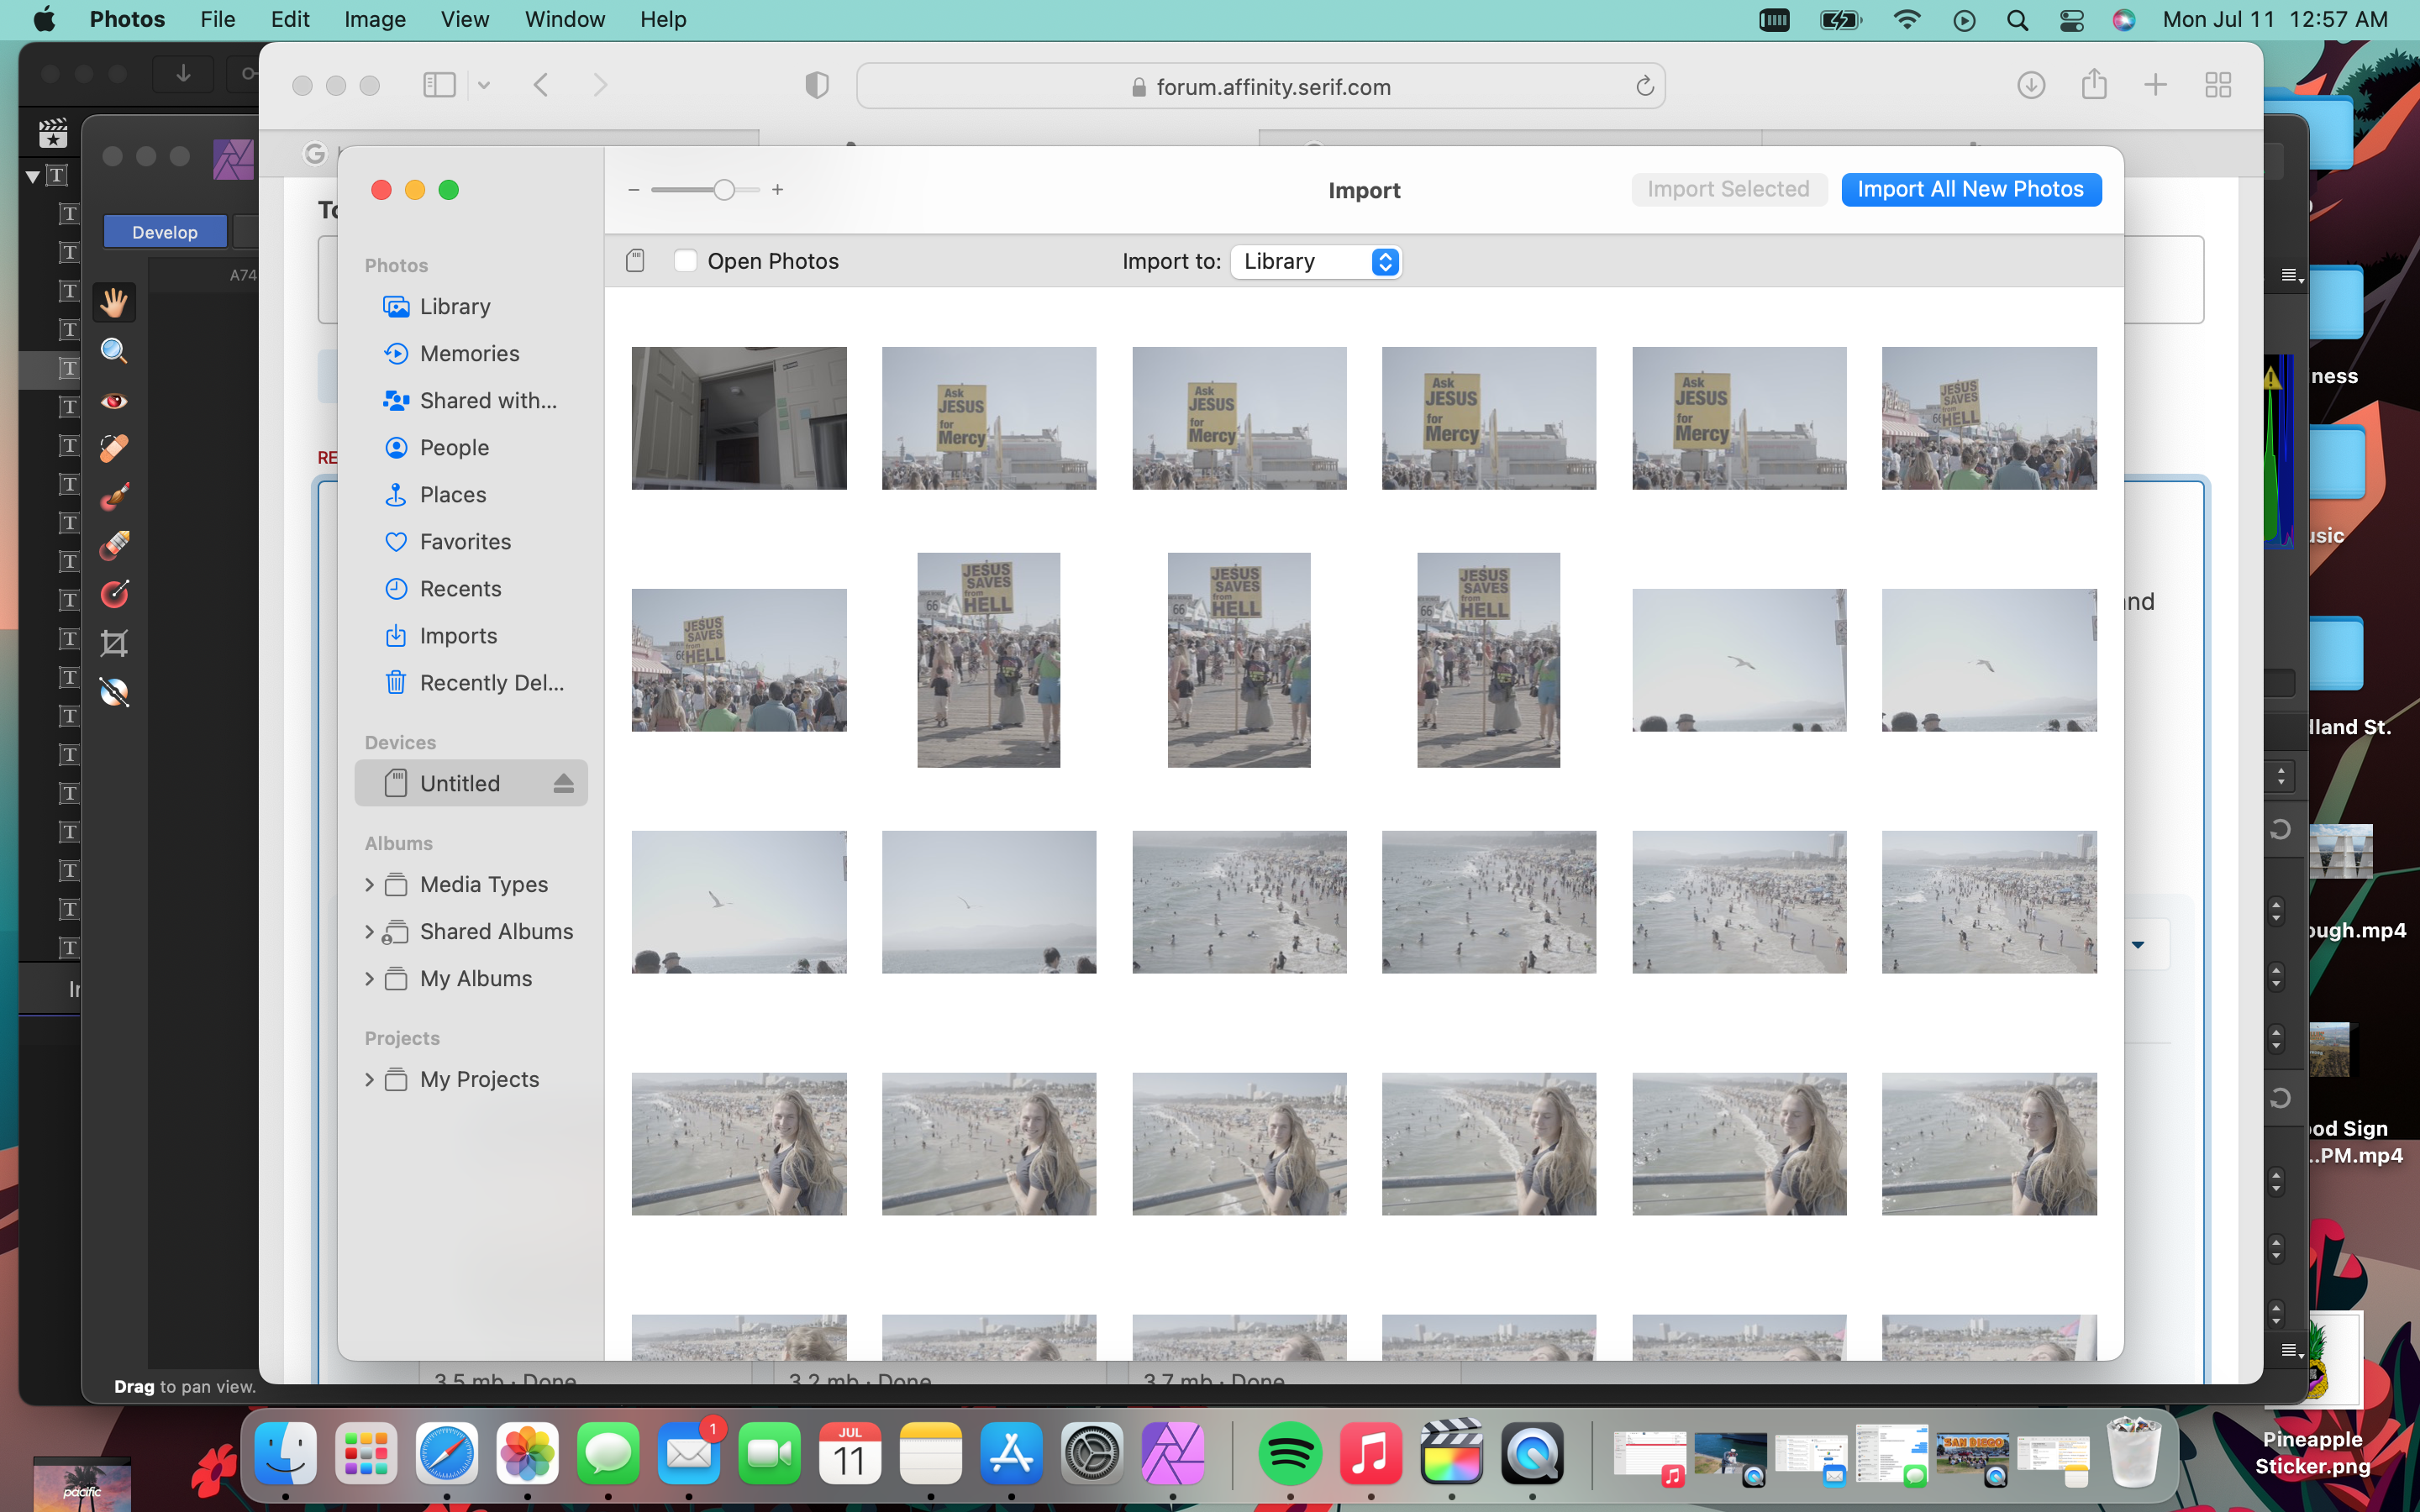
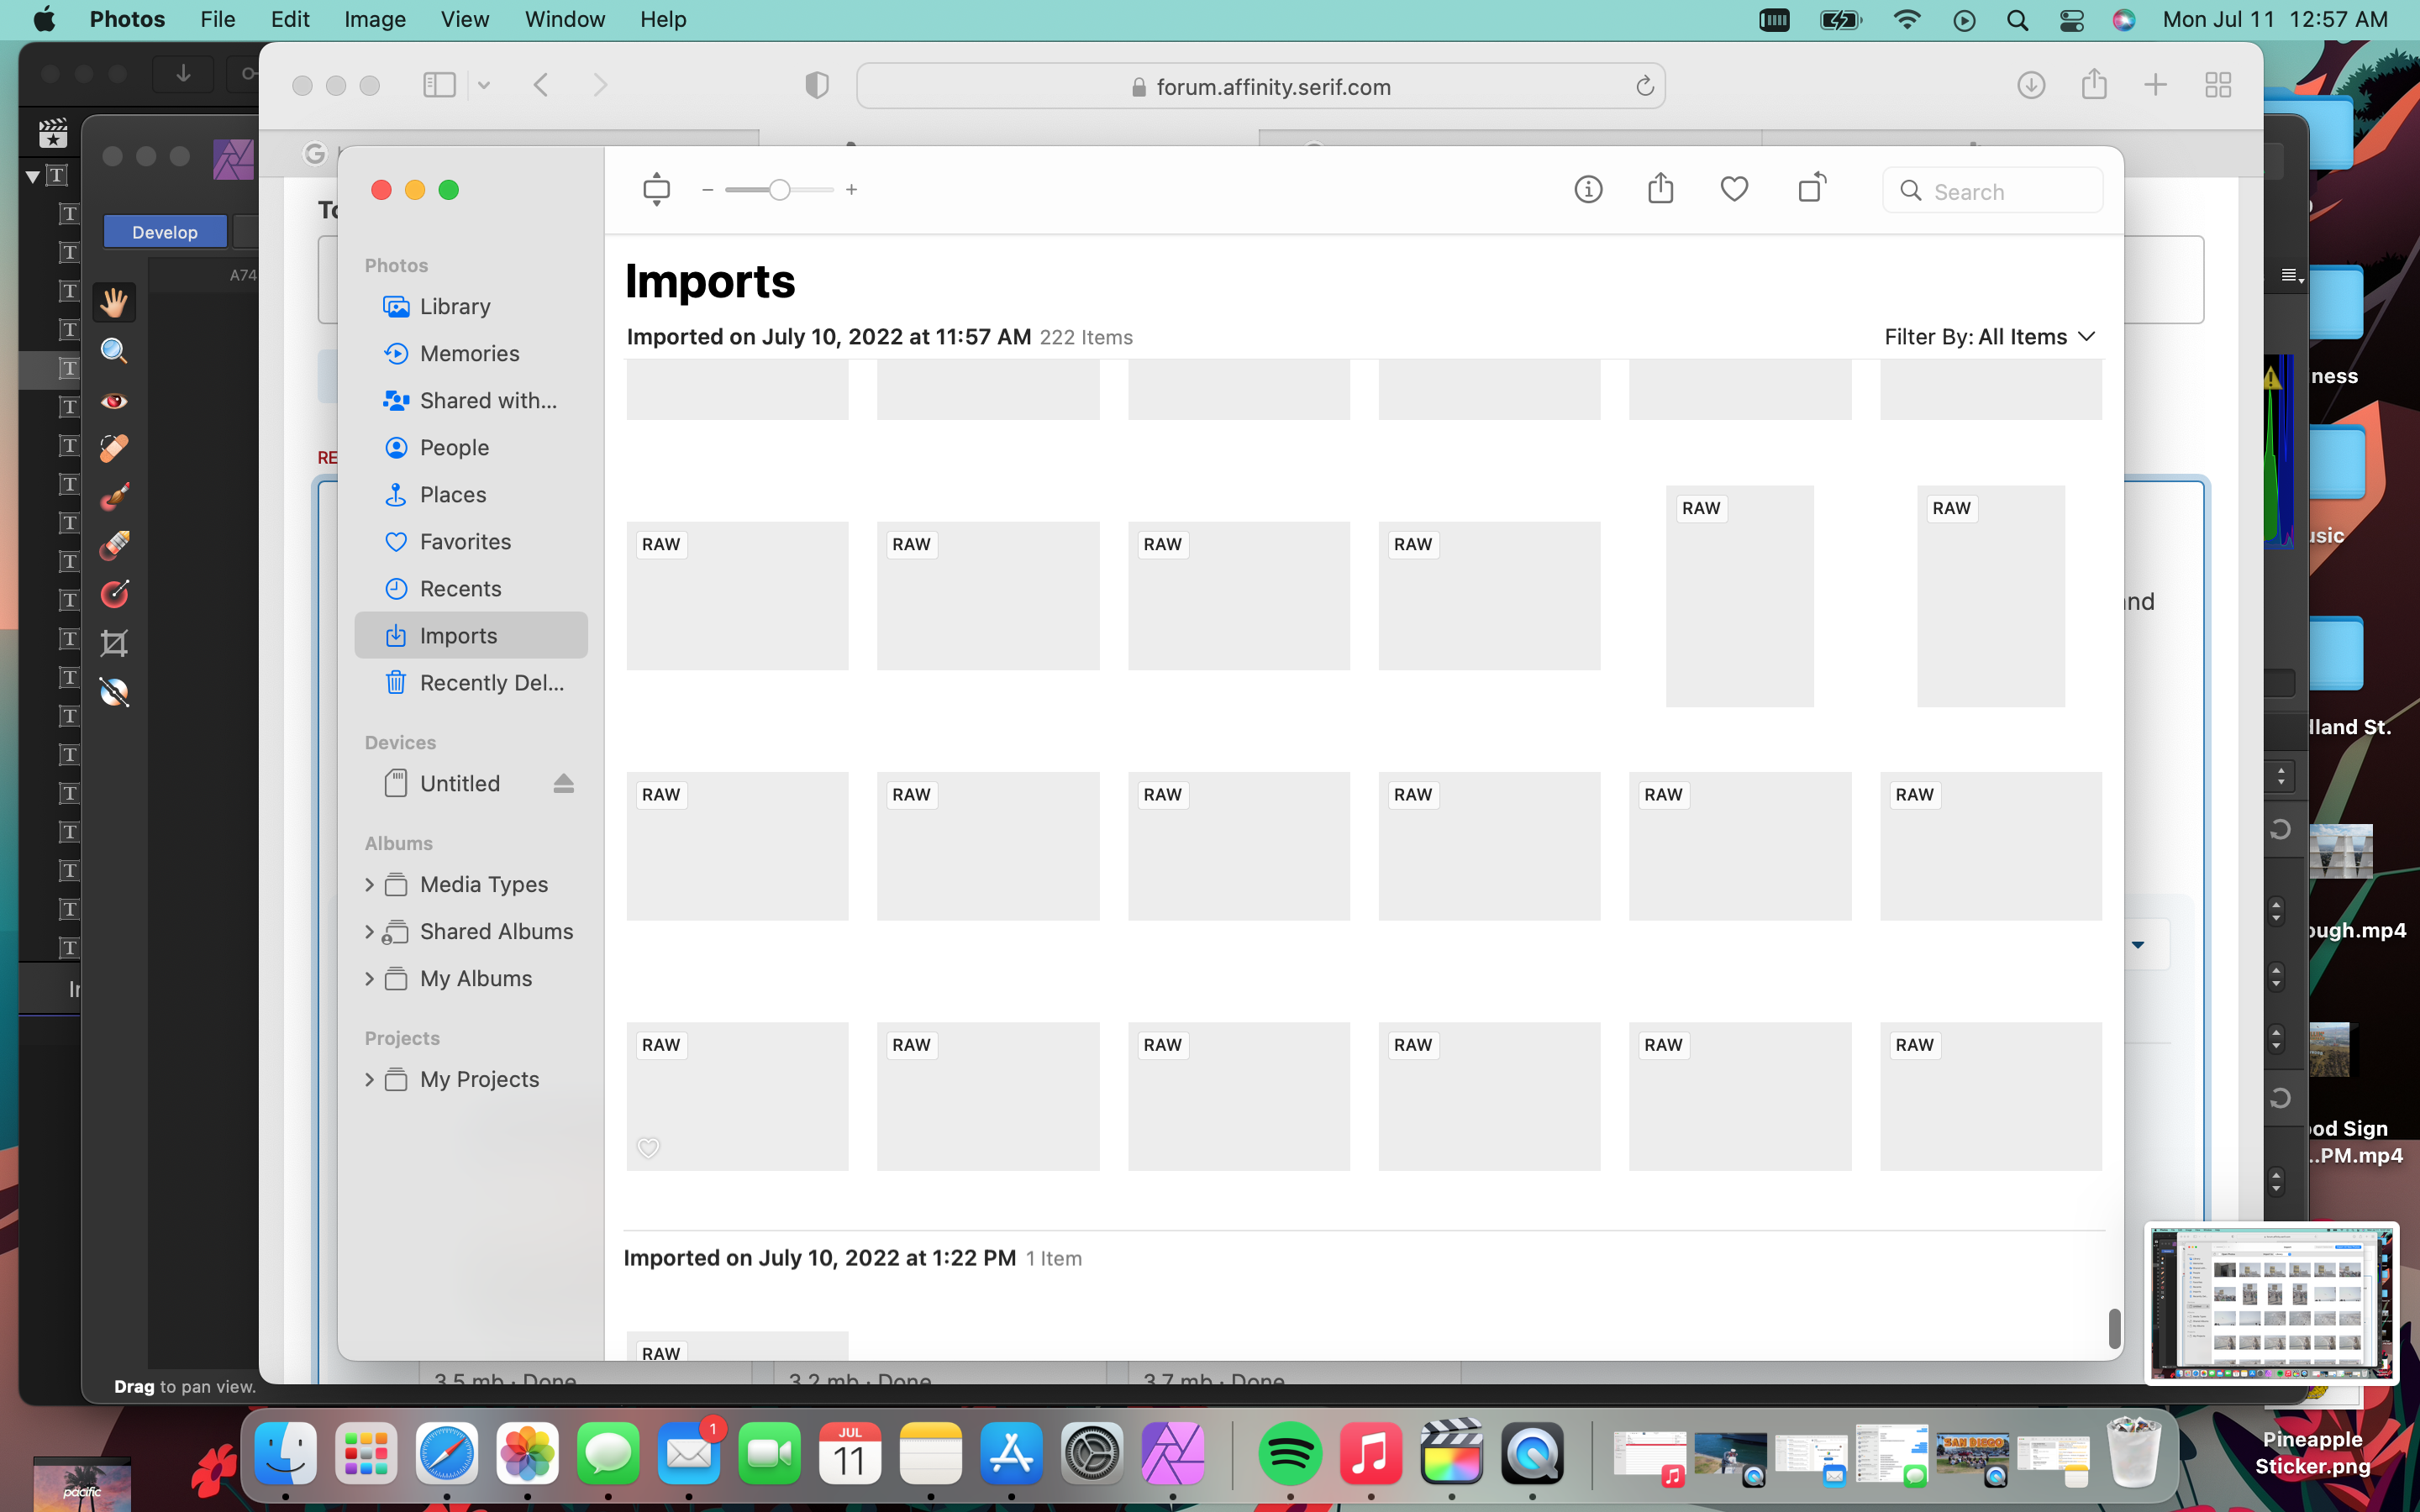
 I just got the a7iv recently and for every single photo I uploaded was distorted, cropped and just blown out looking when importing to Affinity photo. I have been looking heavily on the internet and have not found similar problems. I have my camera set to RAW. .ARW is Sonys format. All help would be appreciated. On my camera the photos look fine and in photos it looks fine as long as I don't import them. If I import the photos they just turn out grey as shown in the pictures.
-
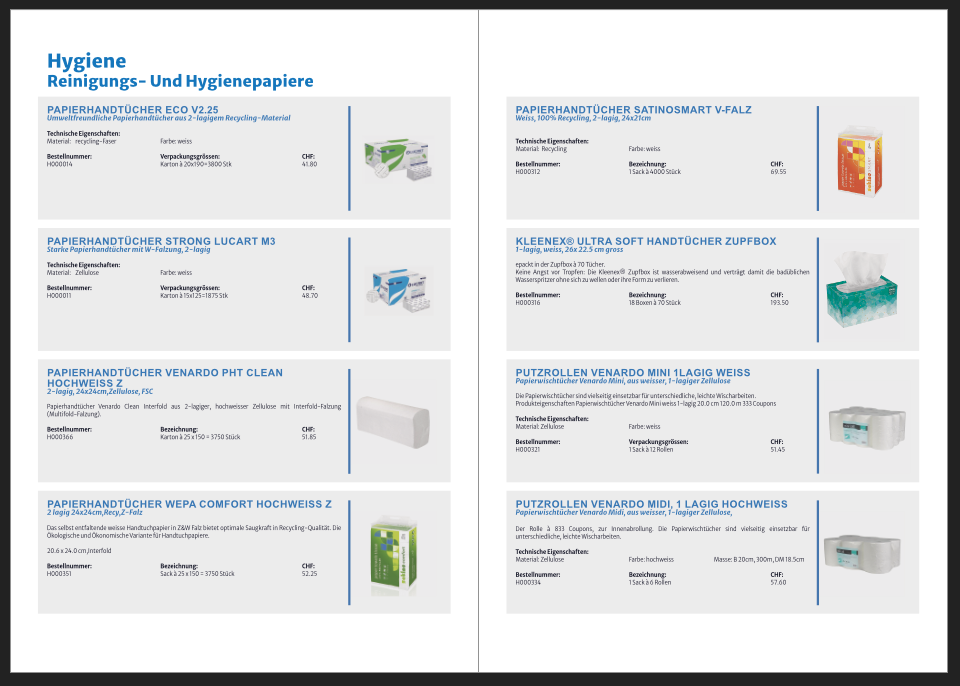
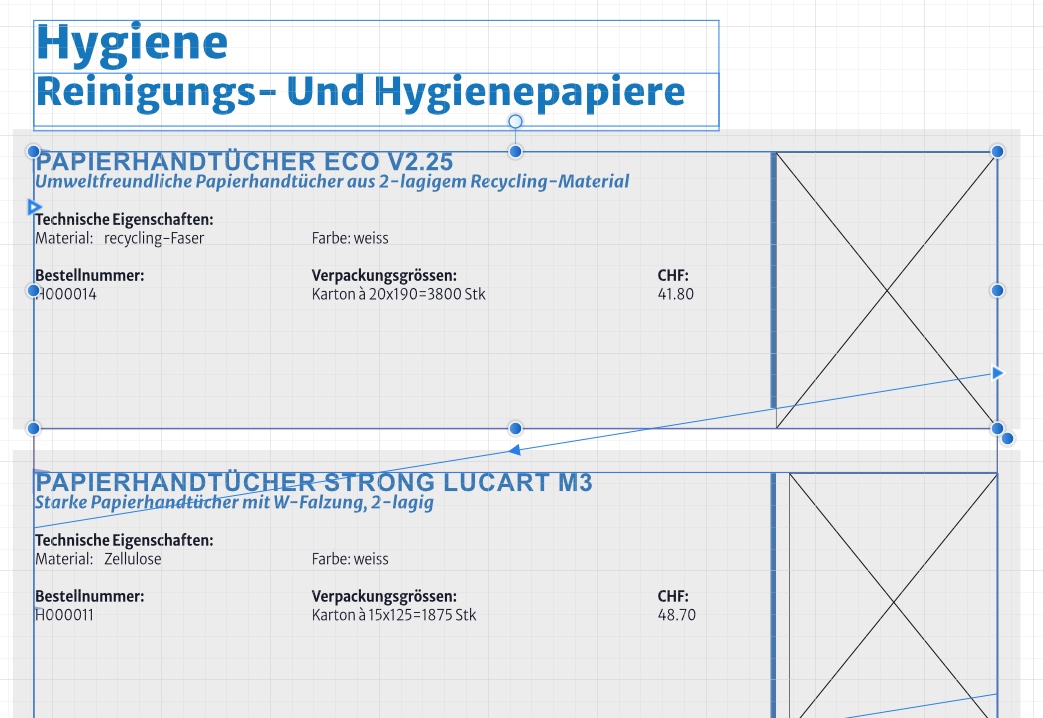
 Hi guys, I have been using affinity to make small flyers or brochures, so I have basic knowledge on affinity. Right now I need to do a catalog with around 500 products, and every week are coming new products. So it is quite important that images stays linked or pinned on the right text with the right sizes; and the tittles change of page correctly. I have already prepared a style text, pinning images and forms. What would be the best practice? Where could I found like a small guide for catalogs. At the moment when I added a new product sometimes the image scale change, Dont know why and this take me a lot of time to correct again and I need to move manually the tittles that fit with the products. Thanks a lot!!
-
 On MacBook Pro 16" Intel, macOS 11.6.7, Affinity Photo and Publisher 1.10.5 with Apple Cinema Display 30" (notebook screen closed) In Preferences I've changed Performance Settings for Hardware Acceleration, Display and Rendering but situation is not affected. Attaching the documents did not work in this form, so I have uploaded then here for you to download: https://www.gidman.ch/downloads/support/affinity_support_220615.zip 01 When I place the document created in Photo into Designer the appearance changes; it gets more contrast and is darker. See Screenshot: 01_affinity_photo_document_placed_in_publisher_is_darker.jpg 02 If I quit the programs and reopen the Publisher document, the Photo document image is displaying at a much lower resolution. Occasionally I can get it to display with higher resolution if I right click over the image, while the image layer is not selected, and wait a moment. See screenshot: 02_publisher_low_res_display_of_affinity_photo_document.jpg Your assistance is appreciated, kind regards PS: I was not able to use my Affinity Store account here in the forum, is this normal?
 -
Hello, I need to create a mask image but with a border colored, also the image need to be dynamic so my client can change it but keep the mask.. But when I try to put it with the program I use for web development, it's not working. I know that I am making something wrong with the design part. This is the final result I am trying to achieve with elementor : this is the form of the mask : but when I export it in svg or png I get this : or that if I put a pixel mask : please someone have any idea ? :)
-
 Publisher 1.10.4 on Windows 10 and 11 crashes when I select an inserted image and attempt any action on it such as moving it or clicking on the 'float with text' icon. Is there a crash report somewhere in the system? Where would it be located? Would it help to change the persona to Photo? Will this bug be fixed very soon?
 -
 I have an image that I want to position in the upper-left corner of a text frame so that the text wraps around it -- see attachment, which shows the image and text as separate objects. How can I do that in Affinity Designer? I am using Designer version 1.10.4 on a Mac running Version 12.0.1.
-
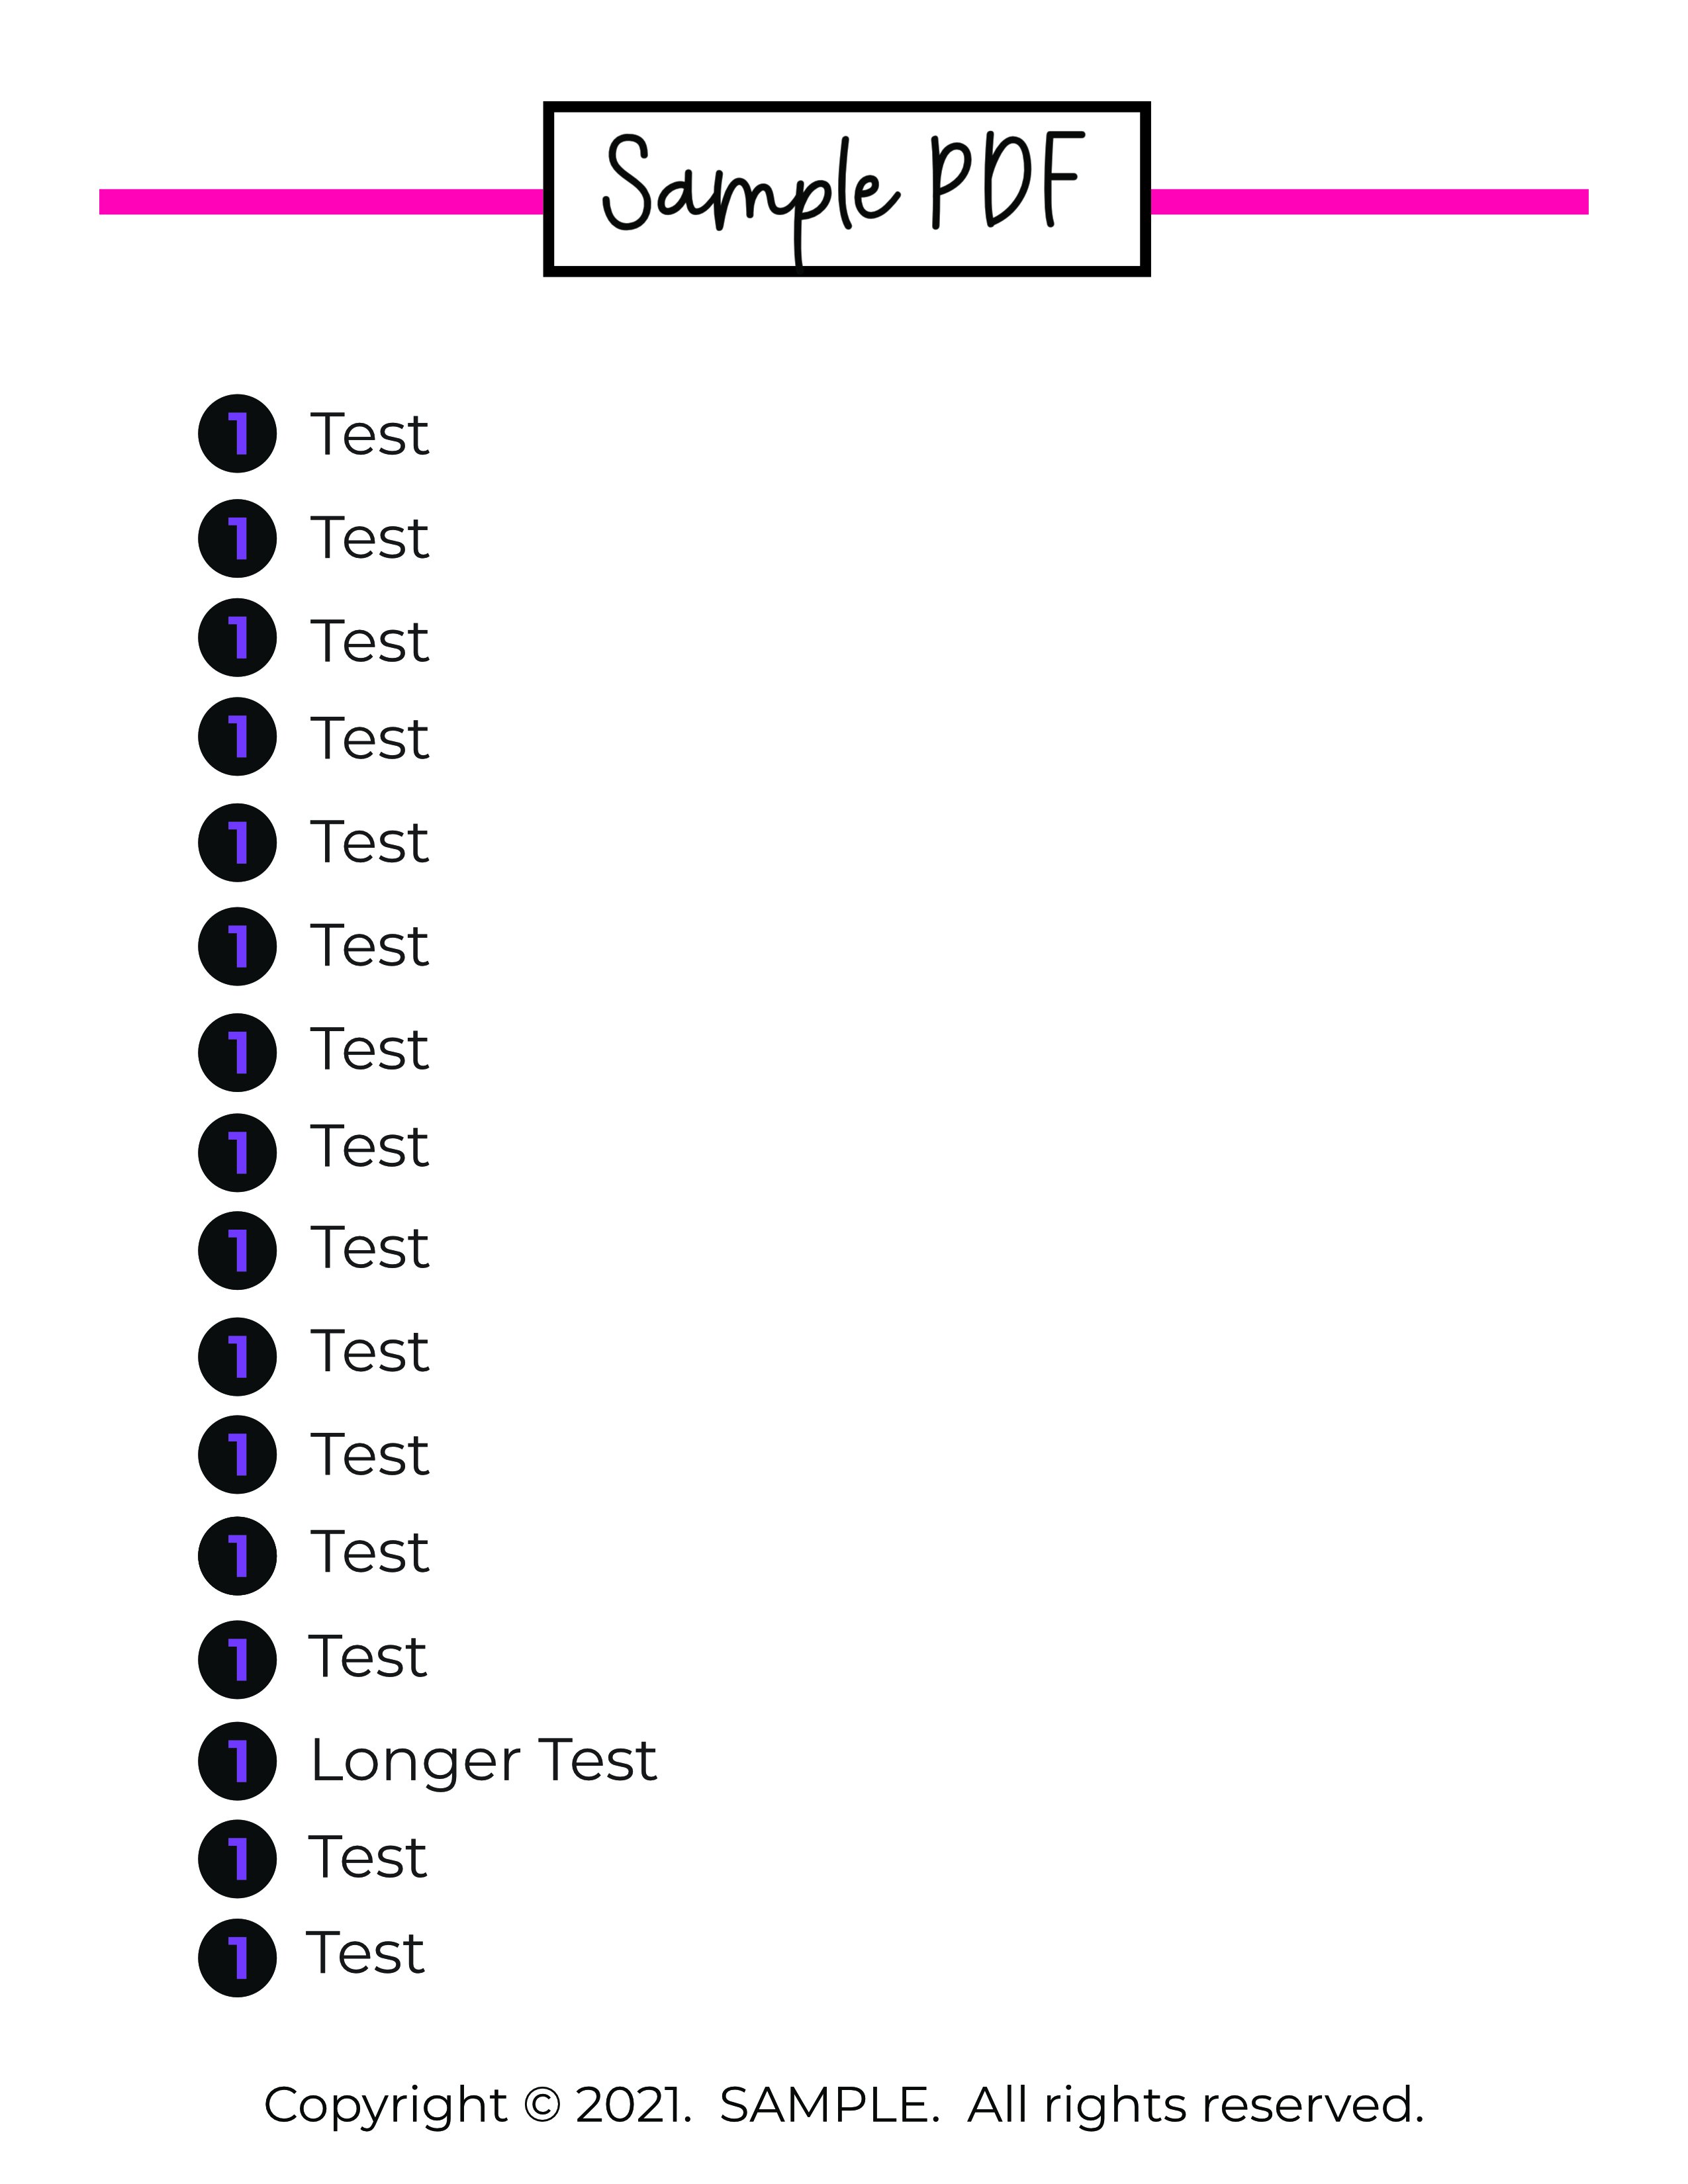
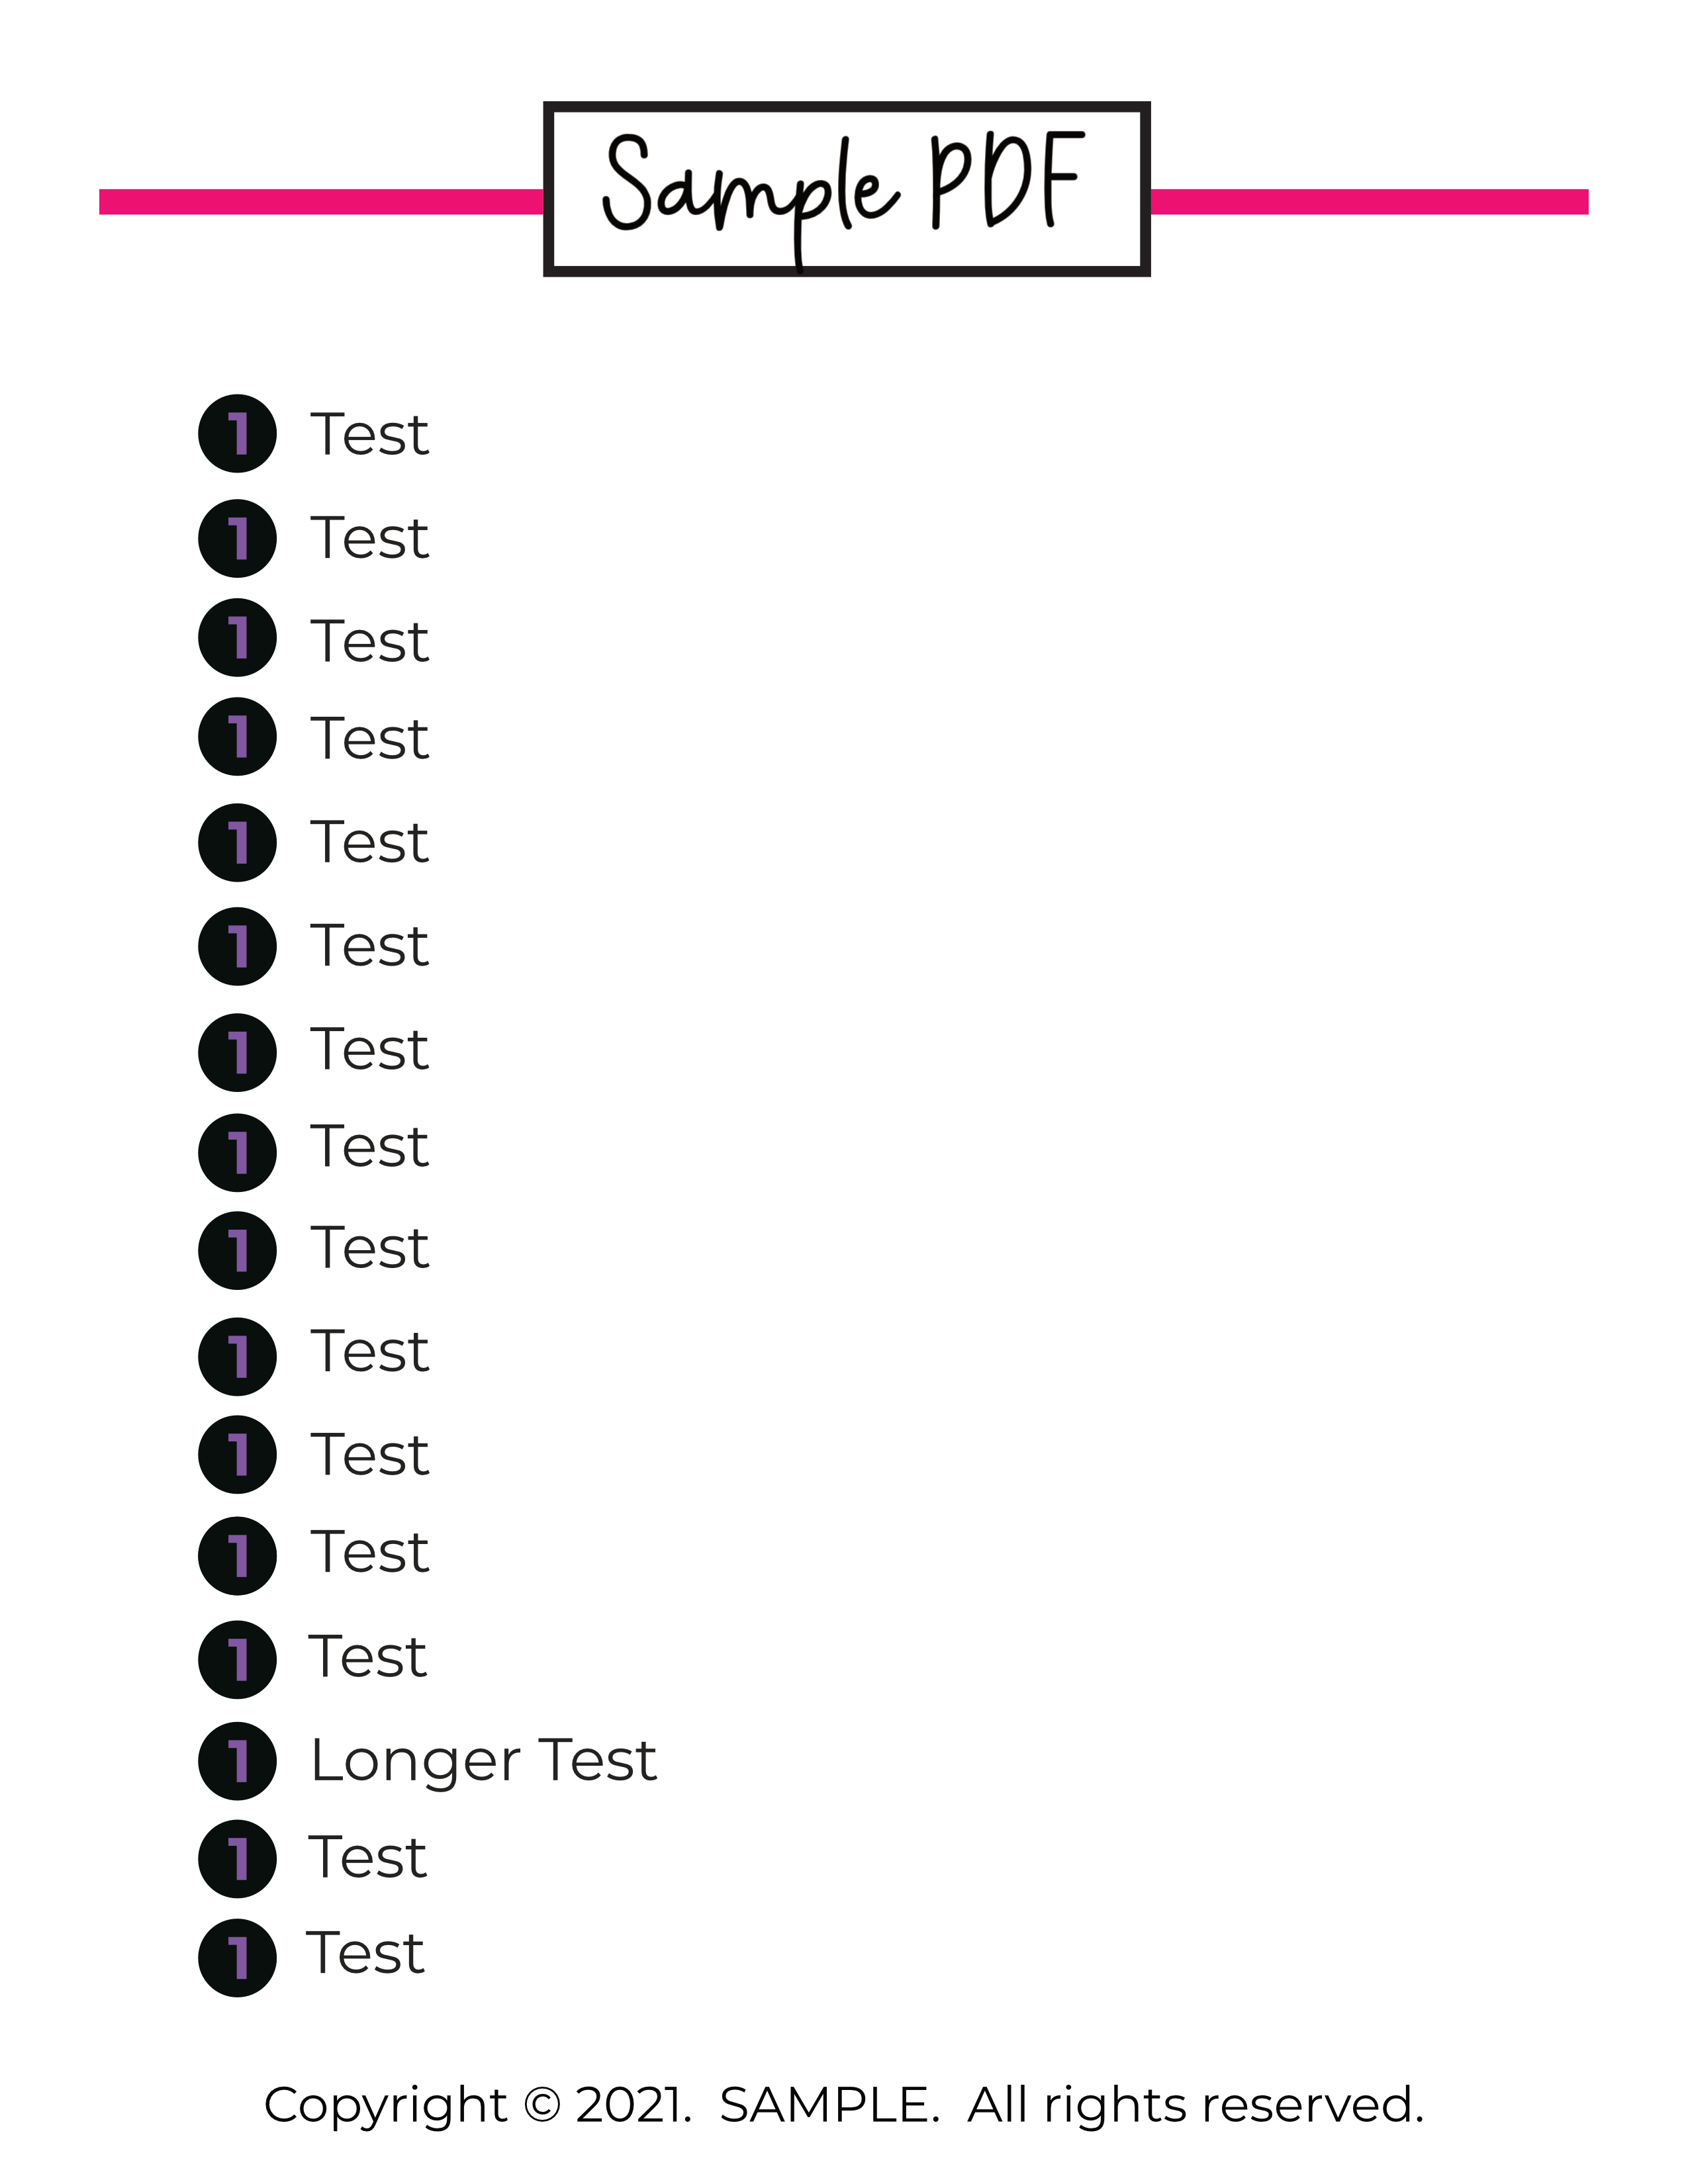
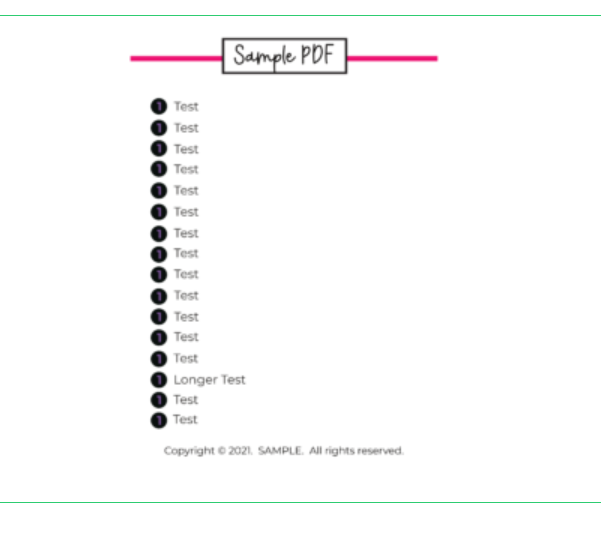
 I have been trying to convert this PDF to a PNG or JPEG to include in a Wordpress blog post and it keeps looking blurry upon upload. You can see that when I download these, they look normal, but as soon as I put it on a Wordpress post, it gets all blurry, like this: My plan was to put a shadow behind the JPEG or PNG to make it look like a digital download product but I can't get it to look right on a Wordpress post even without a shadow?? I don't know what to do anymore Any help here would be amazing. Random List - PDF Flattened.pdf Random List - PDF High Quality.pdf
-
I have a Newsletter that I have been working on for some time, including several images. Today I was attempting to insert another image into a textbox. I used the following procedure: In the Layers panel, ensure that I am in the correct text box. Locate the position in the text to insert the image and double-click. Use File > Place to locate and load the image to be inserted. Select the image with the move tool and ensure it is identified as active in the Layers Panel. Click on the Foat Text button in the context toolbar. This does not always seem to have any effect, the image still sits above the text, or sometimes it seems to have become almost fully transpaent. With the image layer selected and with the move tool selected, use the Shift-Arrow keys to move the image to the right place. At this point Publisher crashes. Despite always attempting this process the same each time, i sometimes find that the image gets loaded outside the text box and I have to explicitly move it into the text box layer. Having successfully re-located the image this does not seem to affect the crashing - it crashes whether it needed re-locating or not. Here is the Dump file: 2f6e1f30-107c-4d91-9e2a-b2fb573e2c96.dmp Here is the .afpublish file: FOCWNews44 Autumn Winter 2021 v10.1.afpub And here is the image I am trying to place and move: I do not have Hardware Accelleration active. I am using Publisher 1,10.4 (latest update). John
-
 Hello. So I've got the photo below. I wanna replace the marked with red arrows places with the white-ish color that's marked by blue. What's the best way to do that?
 -
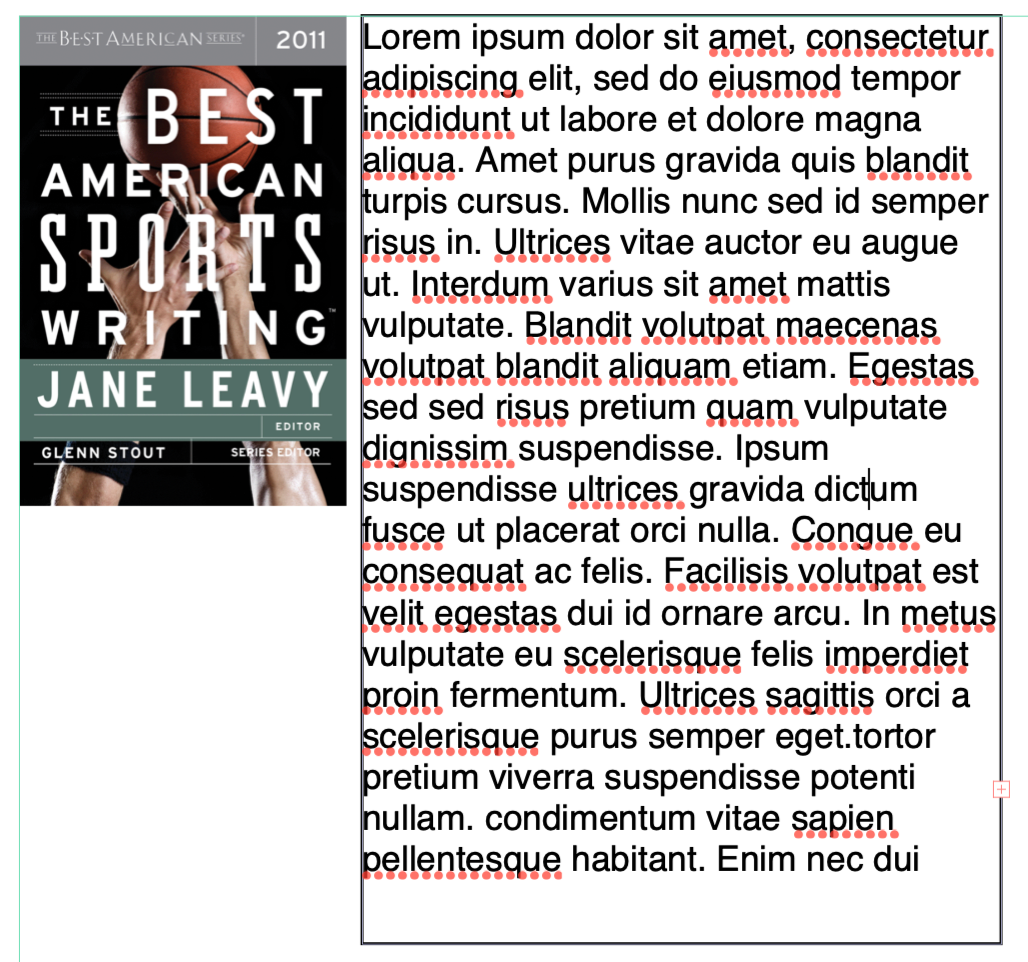
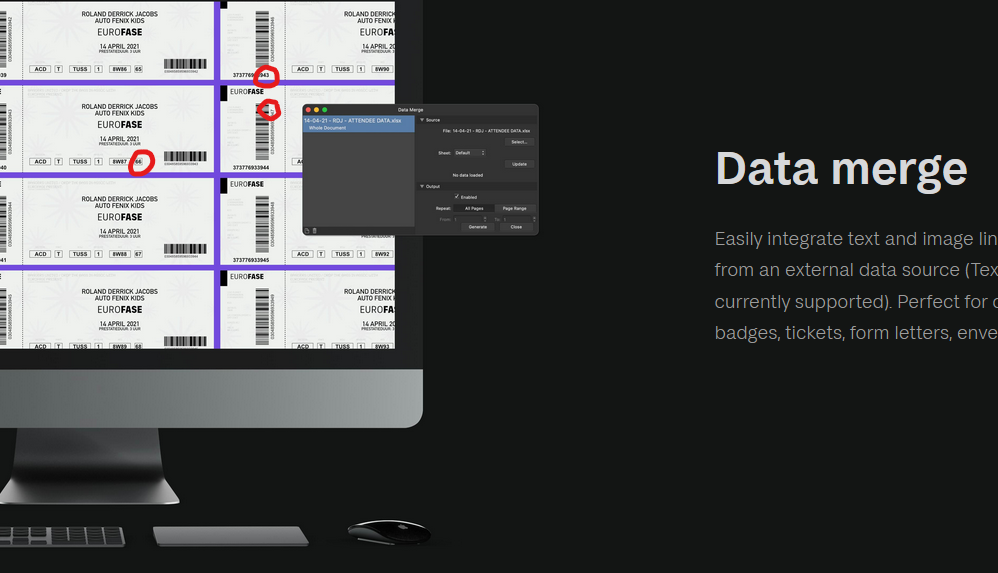
 I wasn’t sure where to put this thread so please move it to a more appropriate place if necessary. I have two very minor issues with the image used for the data merge functionality: 1. The changes between the samples are very difficult to spot – one digit difference in number under vertical barcode, one digit difference in number to the left of the horizontal barcode, and one digit difference in the vertical barcode number (red ‘circles’ in my attached image). 2. It includes barcodes, which might lead some people to think that Publisher can create barcodes, which it can’t (by itself). Would it be better to use an image which shows easy-to-spot differences, maybe conference name/photo badges or something like that? Not a major problem but something which I think could be improved.
-
 Would be nice if you could enable K Only option for RGB mode as well.