Search the Community
Showing results for tags 'illustration'.
-
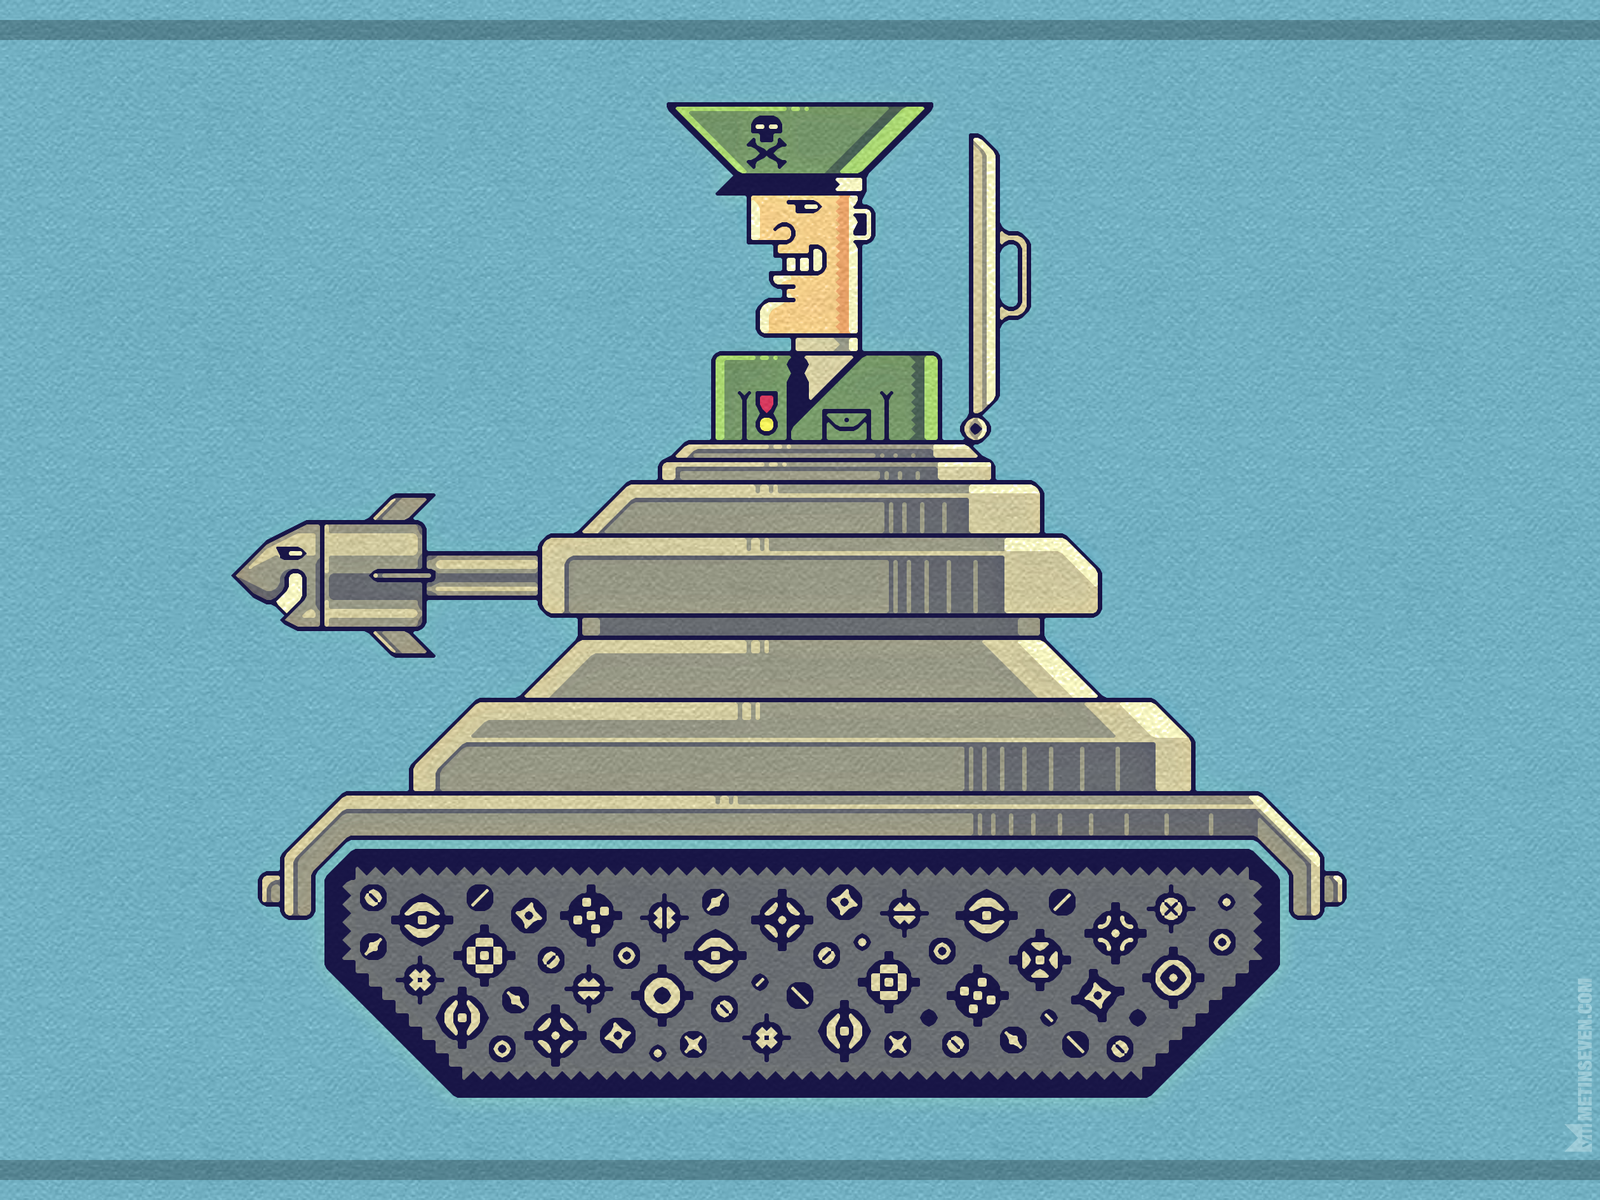
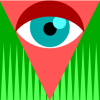
General Mayhem — cartoony vector character design and illustration. Hope you like it.

- 7 replies
-
- 10
-

-
- illustration
- character design
- (and 3 more)
-
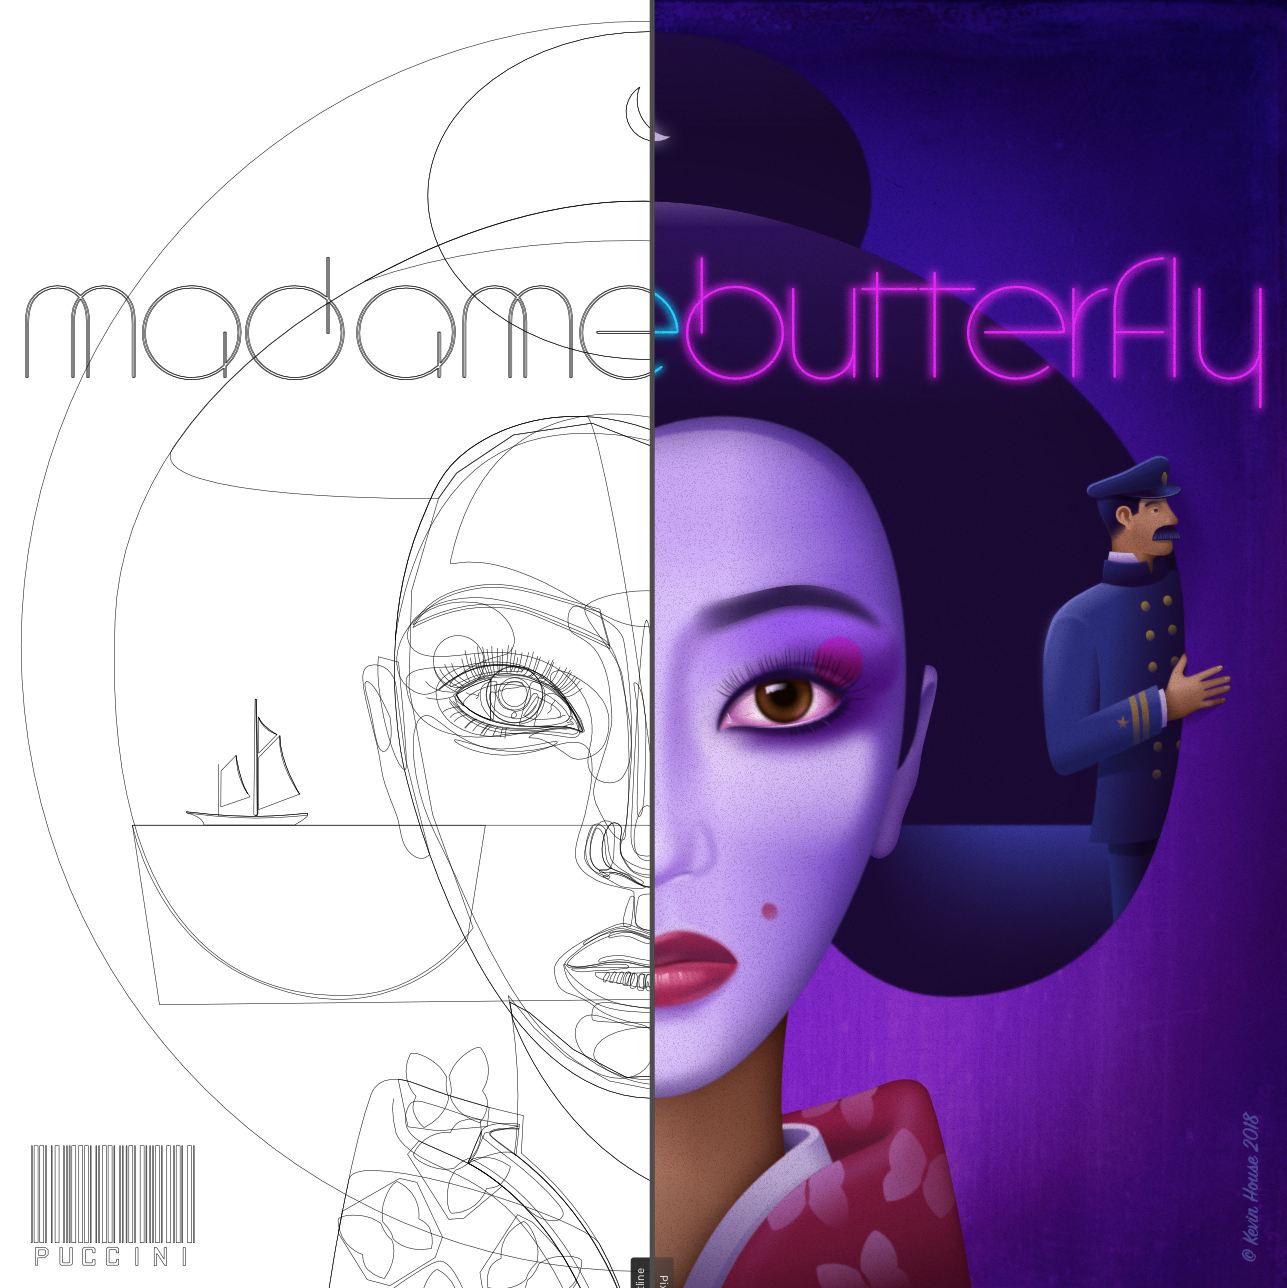
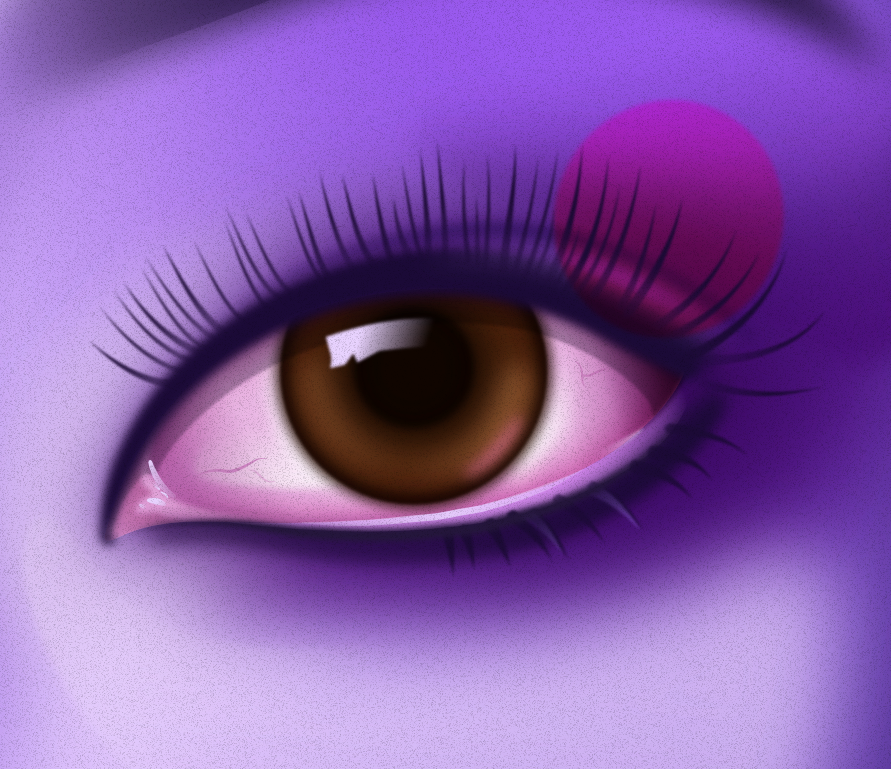
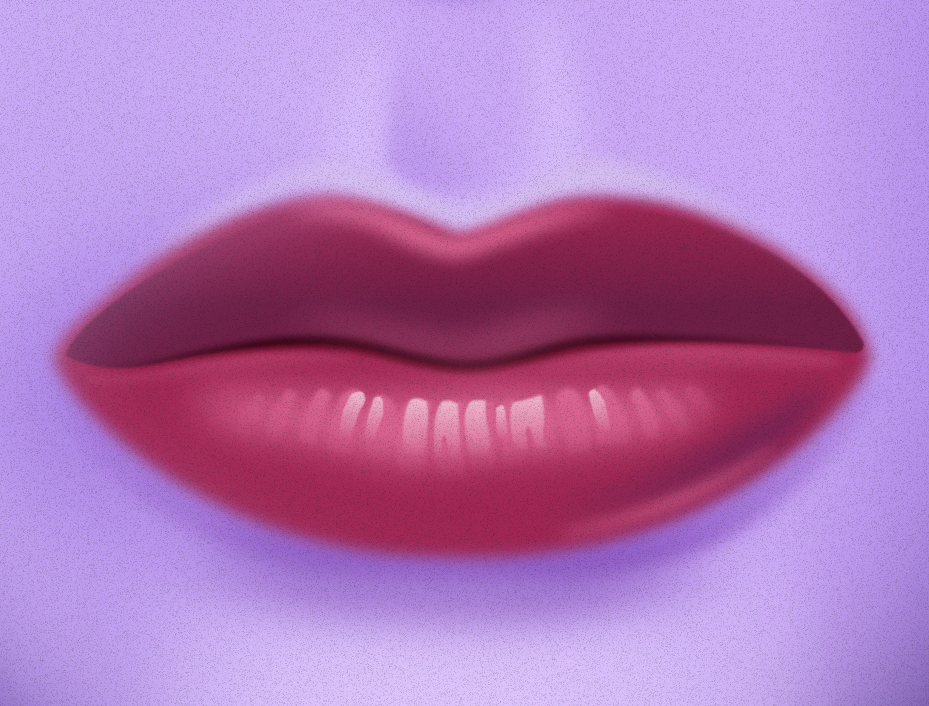
Just recently completed another fun project using Designer exclusively. I had this concept for a Madame Butterfly opera poster for awhile but really didn't feel like my previous app was up to it so I put it on the shelf until a few months back when I decided to tackle it in Designer. The look and feel I was shooting for was sort of like those rich coloured album cover airbrushed illustrations from the 70's and 80's. Where everything is soft and saturated. I was really pleased with the outcome and glad that I waited to do this in Designer. Below are some screenshots, with more on my Behance site and there's also a short tutorial just uploaded by Affinity's Andy Capstick on the new Affinity Spotlight blog specifically on the creation of the eyes for this piece. Hope you like! https://affinityspotlight.com/article/the-eyes-of-a-butterfly-with-kevin-house/
- 8 replies
-
- 8
-
-
- poster
- illustration
- (and 2 more)
-
 Hello there! I haven't shared this tutorial here, yet it's one of our most popular ones, so here you have. We'll show you how to create some delicious popsicles using simple shapes and Affinity Designer's FX Panel, we'll be also relying on Clipping Masks to speed thing up... all in all, a super quick and fun tutorial, for all those who want some refreshment in their illustration skills. Click on the image to read the tutorial, if it doesn't work, go HERE . Hope you enjoy this one, Enrique.
- 1 reply
-
- 3
-
-
- fx
- illustration
- (and 5 more)
-
 Using Photo trial 1.6.4.104 . Edit : In Windows 7, Wacom Intuos Pro 4 XL. The problem : The current interactive color picker tool, that is, switching to pick color with alt key, or my case, side pen button configured as alt key, while you are with the brush tool, to very quick pick a color between 2 big chunks of painted color, so to paint with an intermediate color. This is very very fast and common technique for color blending while painting. There are many other painting, illustration or texture making techniques that also need fast color picking. To all of those, this problem applies. The problem resides in several issues that I believe get solved with an easy solution. The magnifier lens that show up once you click on a canvas point (I am clicking, not dragging) to let you better pick the pixel you want is very good for photography but not important for painting. And I believe it is causing to lag the action, has a sort of small time there very noticeable when using very often, very fast (a need for painting-blending, also called glazing technique). Sometimes, if fast enough wont pick the color, at times. It's a bit hard to work so when painting (loosing focus, slowing down, etc). This all by setting the alt key in a wacom pen side button. One very big problem is that very often, a fast click wont pick the color. Probably because it is expecting a drag, not a click like in other software apps. A suggested possible solution : Could it be possible / easy (I have no idea) to add a "not to be default" option so that users can disable the magnifier / dragging ? The eyedropper tool works a bit more like this, although if dragging or keeping it pressed, the magnifier ends up showing up, but you need to drag more/less dry click for it to happen. Well, in any case, not to replicate with the interactive picker the blue marquee around the object that the eyedropper tool forces, that would be bad while painting. Having an "alt + pen click" (no drag, no magnifier) color selection on canvas like in any other 2D application. With not even the magnifier on it. As I believe the estimation/input about if is there dragging or not, or actually displaying the lens, is adding some delay there, and causing some times not to even pick the color. Or never pick it, if fast enough. There even might be photographers wishing to have at least the option to deactivate the lens, so to have a blazing fast color picker, so, I guess is a good thing to add for any group of people, always as an option that does not need to be default after install. This would be huge for me (and I suppose, for any other person painting, making comics, illustration, texturing, etc, etc) , for my workflow. (a reason to purchase, indeed) Too lengthy version here, but I realized I hadn't done a formal feature request, and I was talking about two requests in same post (about digital painting requests in general), mixed with another matters, and it was too long, in any case.
- 2 replies
-
- 2
-

-
-
- illustration
- comic
- (and 6 more)
-
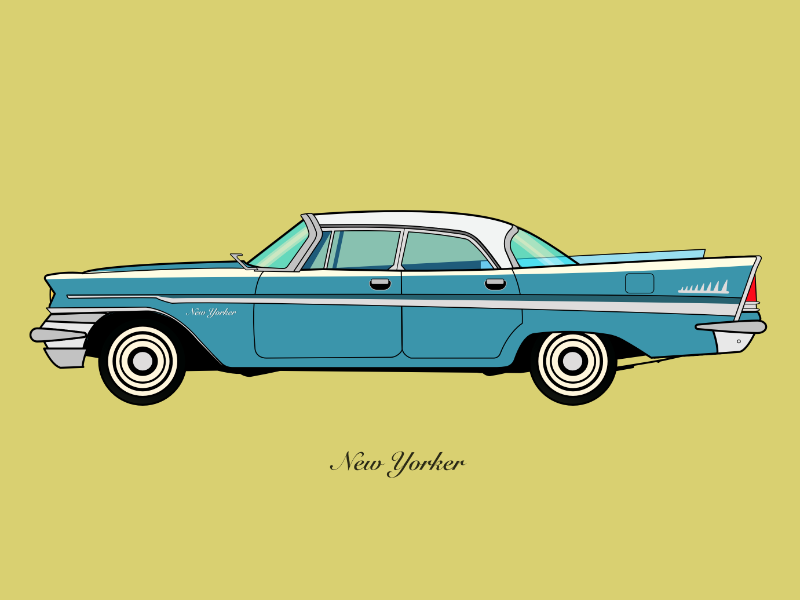
Hi, I used to use Adobe Illustrator but then I found Affinity Designer and I start to use it. I do all kind of illustrations which can print to t-shirts and all kind graphic design to my customers too. I do love to draw car illustrations and here are my works: https://automobile-t-shirts.blogspot.com/ My older car illustration is made with Illustrator, but about 2 years I have used only Affinity designer. Here are some cars which are made using AD: Opel Kadett B Opel Manta A Peugeot 206 Peugeot 205 (cornering ones) Citroën BX (cornering) Citroën GS Citroën XM Triumph Dolomite Renault Clio Saab 900 (NG900) I have also updated some of my older design by Affinity Designer which I made originally by Illustration (.ai) and it has happened without any problem.
-

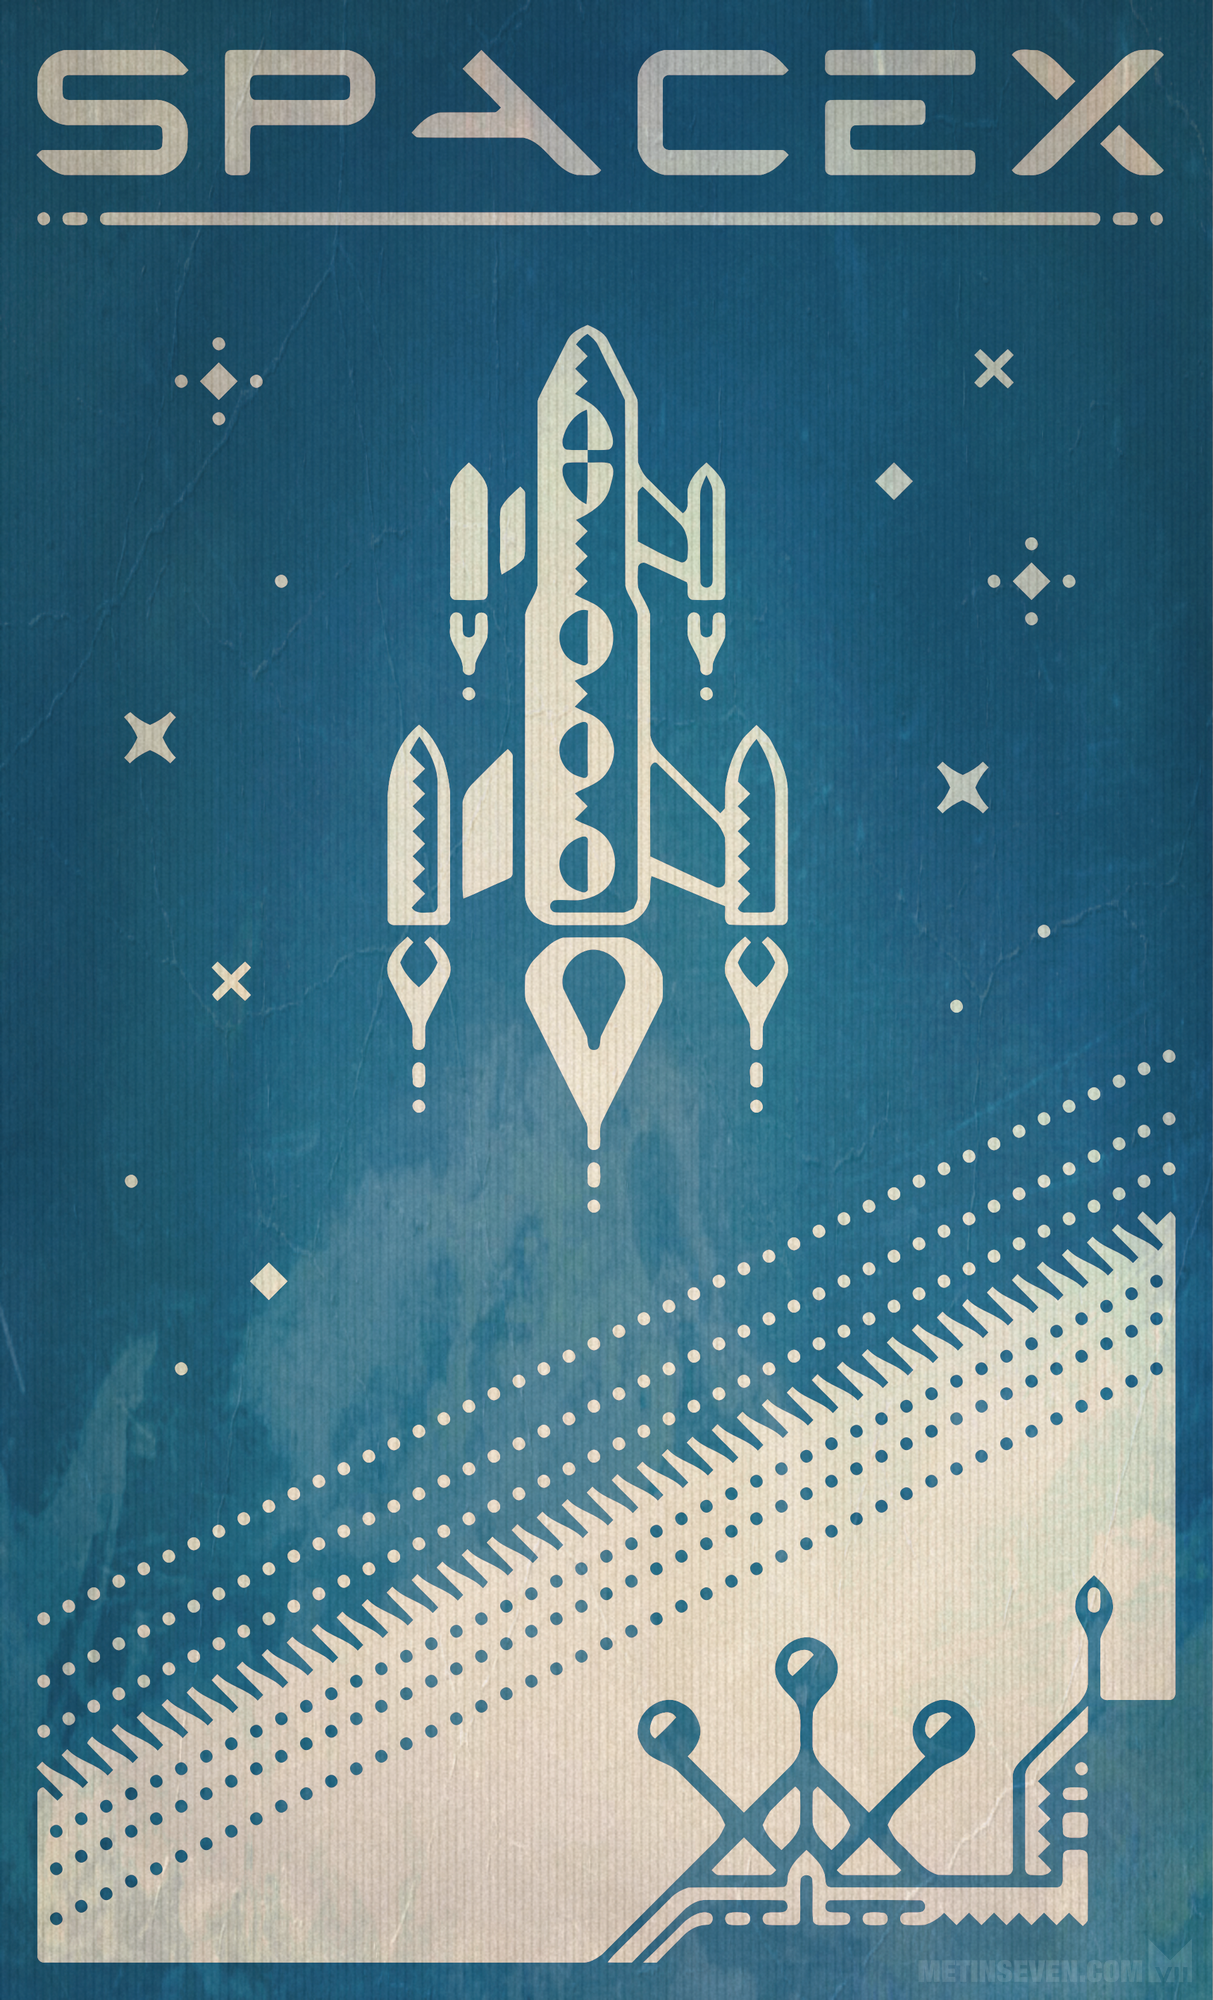
affinity designer SpaceX retro-futuristic poster design
Metin Seven posted a topic in Share your work
Tribute to Elon Musk's inspiring SpaceX corporation, in a retro-futuristic poster style. Hope you like it.
-
 This video is an excerpt from my -soon to be launched- "Learn Affinity Designer Fast" e-course. The most complete and comprehensive course on Affinity Designer. In this video I'll show you how to customize the object defaults, which allows you to set the fill color, gradient, opacity and noise values. You can also set all of the variables for the stroke, including color, gradient, opacity, noise, style, width, cap, join, alignment, draw behind, scale with object, and pressure curve values. This includes using a brush stroke! Being able to set the defaults for your objects whether it is just for that document or globally for future documents, is a great time saver. Your workflow will be come more efficient and your creative juices can flow freely without getting bogged down in the details. Setting defaults is a great web design tool for all you app creators out there. Enjoy and happy creating! Jen
 -
Is there a way to hide the outlined brush tip? I guess some people might like it, but for me it is totally disturbing, especially with complex brushes. The outline hides faint brushstrokes and makes it very hard to judge if they are correct, especially with large brushes, low opacity and short strokes. I prefer just a dot, or nothing, as I see the tip of the Wacom pen anyway.
-
light in the night . my recent works
-
 Hi peeps, Here a time-lapse on a flat illustration for my learning channel on affinity vectors and bitmaps. As usual, you can slow down the video on settings to get better insights. Also you can ask questions and make comments on my channel. Cheers all! https://www.youtube.com/watch?v=9-LChvQzzmM
- 6 replies
-
- 6
-
-
- flat
- illustration
- (and 2 more)
-
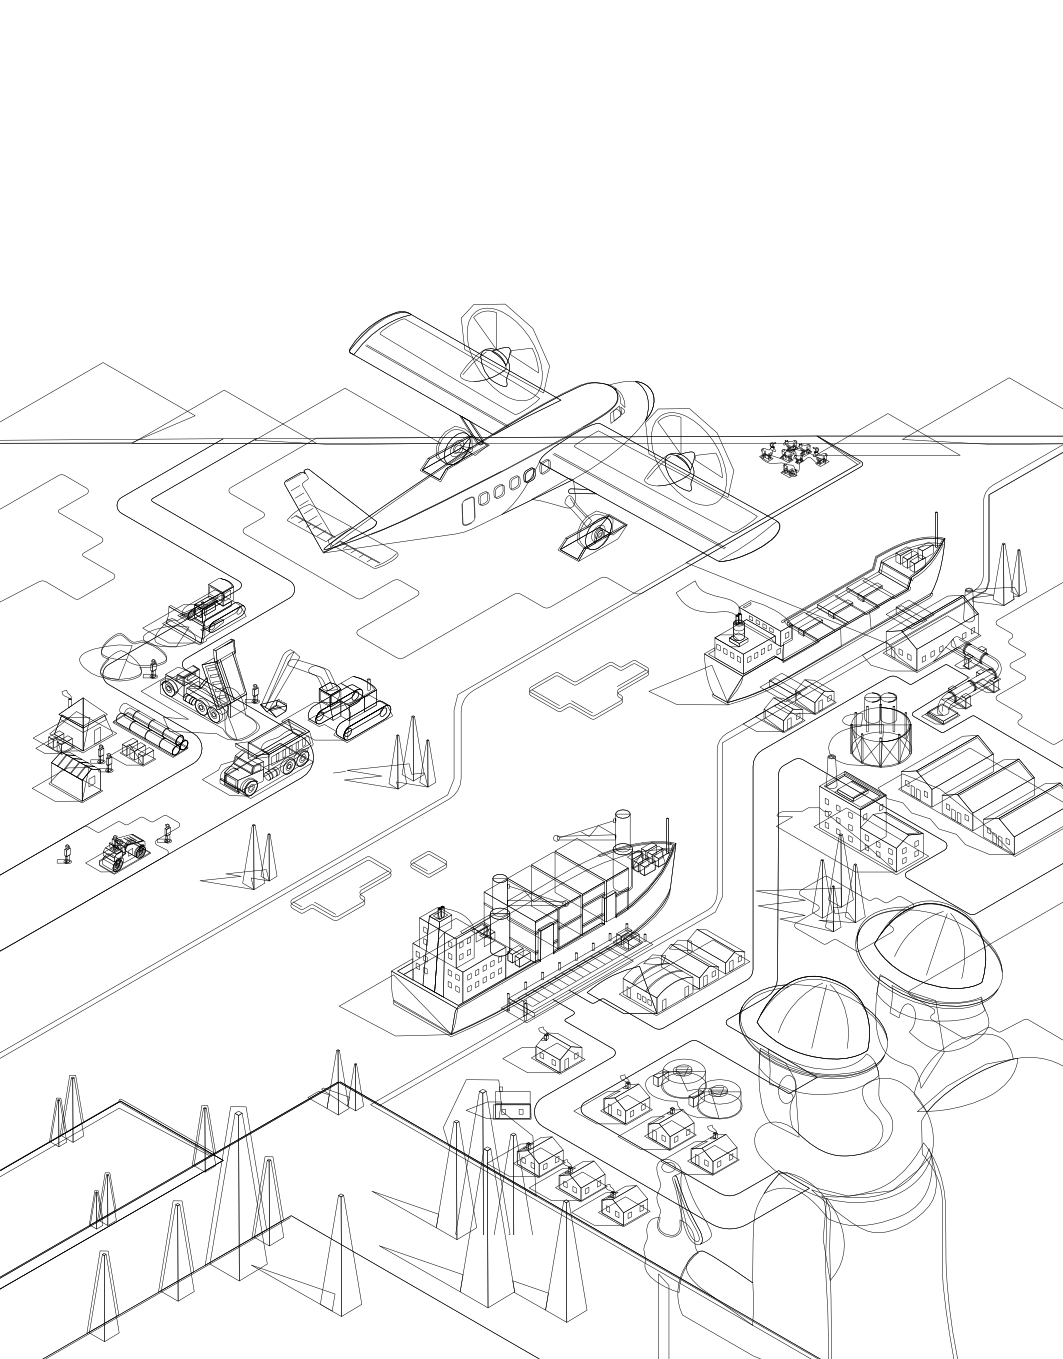
 Hi all Affinity-leaning creative types, here's a recent cover piece completed for a Canadian magazine entitled Aboriginal Business Quarterly based in Yellowknife, Northwest Territories. The theme of this Spring 2018 issue is Transportation and Infrastructure in Northern Canada. The snow and ice are finally melting, making way for a busy season of road work/maintenance and resupply shipping - by boat and float planes equipped with skis - supporting various remote communities and industries. It's another example of my Affinity Designer isometric styled compositions built up using a limited colour palette, simplified elements and extensive use of gradients... And of course the awesome isometric grid feature. For those interested, there are more views of this piece on my Behance site. Hope you like. :-) https://www.behance.net/gallery/65266715/Aboriginal-Business-Quarterly-Cover-Affinity-Designer
-
 Hello all ! I am Chrisas, a french student in graphic design and programming. I'm a user (BIG FAN) of Serif's softwares since October 2016. It really helped me in several fields such as logo design, illustration, web design, apparel and social media graphics. Since I started working with affinity designer and photo, I bought some specific resources I discovered after several days of research. But There was one problem, there is not a place to buy, sell or present resources for affinity softwares. I mean for illustrator and photoshop you can found thousands of stuff in any sorts related to them. Example : to present my work I sometimes have to open photoshop to use mockups ( i'm a mockup lover) but I always want to speedup my workflow so my idea is to create resources that will be useful for other creatives like me. I built some stuff for myself but I do not know what will be useful for you, what you need, and what you are looking for. For now, my aim is graphics pack about : assets, macros, colors palettes, styles, and mockups, uikits. The purpose is to make the work of creatives easier, faster and funnier. So here is my question , what kind of resources do you need ? I am open to any suggestions, so feel free to comment ! > An Illustration project I'm working on : https://prnt.sc/inpq5g > My dribbble : http://dribbble.com/chrisas > My Portfolio (5 months of work are missing x) ) http://behance.net/chrisas
 -
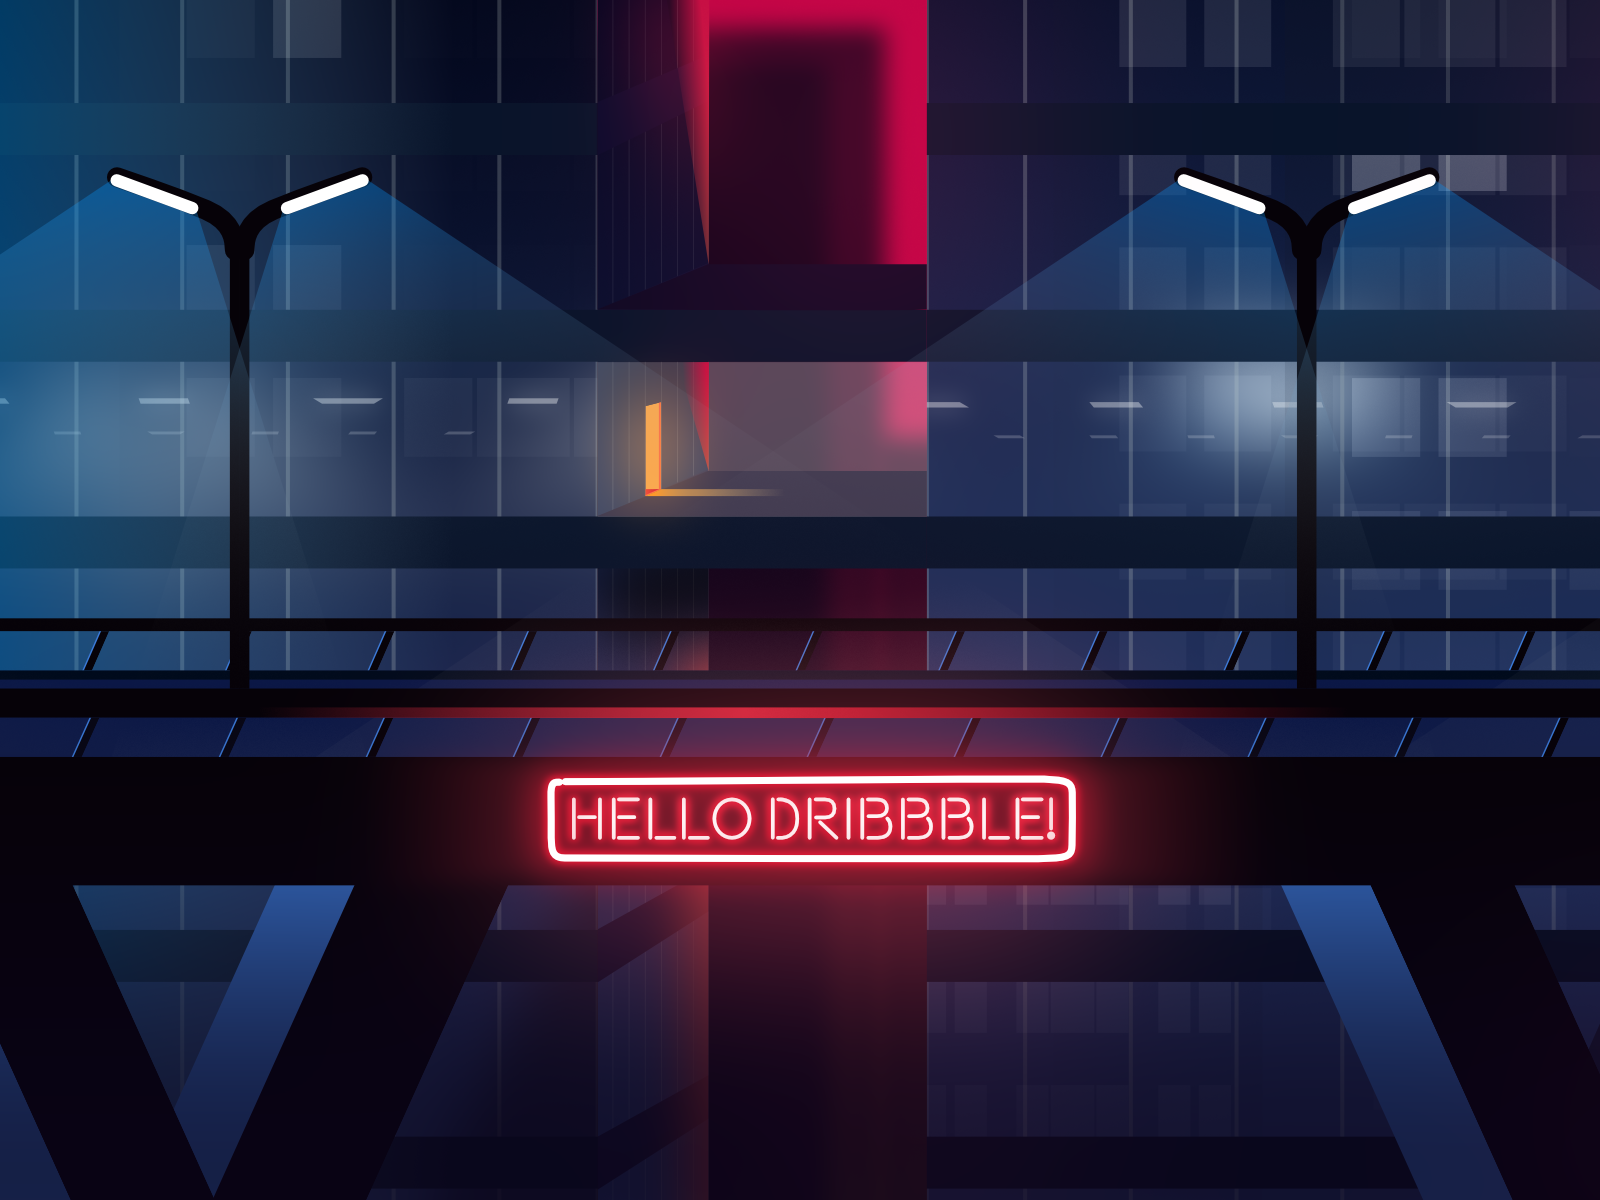
 Hello everyone! I've been working as a motion designer for 10+ years and I used Illustrator as a side software, mainly for pulling out usable bits from stock vectors to use in After Effects. Both Illustrator and Photoshop got bulkier and less responsive as they age, so I got used to drawing inside After Effects using the limited tools it has. Tried my luck in drawing with Illustrator a few times over the years to no avail, I don't have a single finished artwork from it. Luckily I saw one of the artists Serif commissioned while I was searching for some inspiration for my upcoming self project. I checked his other artworks, read the interview about Affinity Designer, then read some more reviews and user comments from Reddit. Installed trial, everything was buttery smooth and so much practical in comparison. Price was a bargain but it was even more so with the regional pricing in Microsoft Store, so I ended up buying it the next day. Long story short, I finished this piece yesterday for my debut illustration in Dribbble. I know it is not much and I definitely got influenced by the initial artworks where I discovered AD, but know that I'm an animator who couldn't draw a proper looking vector piece before. Really looking forward to drawing more in AD. I just wish there was a straightforward solution for importing inside After Effects with layers, just like the .ai files. Keep up the good work Serif!
- 12 replies
-
- 15
-
-
- illustration
- outrun
- (and 2 more)
-
The Secret to Sexy Curves is a 19 minute video about how to use the pen tool in Affinity Designer. I share the secrets to a perfect sexy curve and together we cover everything you need to know to successfully use the pen tool to create your own sexy curves. This is a great video for both beginners and intermediate users. You’ll learn how to join lines, add and delete nodes, determine the perfect placement for a node, and how to use and adjust the control handles. I’ll show you the shortcuts to moving in and around your artwork, and we’ll even set your mouse up to zoom in and out as you work with the pen tool. In no time at all you’ll be an expert user of the move, node, pen, and view tools. Join me in exploring the versatility of using the pen tool for all types of drawings: perspective, graphic designs, illustrations, fantasy, manga, cartoons, silhouettes, and literally anything you can trace with the pen tool. Using the pen tool is considered a core skill in creating digital media. Take your time, practice, and you’ll find it becomes easier every day. I’ve had a great time creating this video for you. If you like it - if you learned something - please show a bit of appreciation by subscribing to my channel. It really does make a difference. Feel free to leave comments, suggestions for future videos, and don’t be shy; go ahead and share your art with us. :-) Thanks for watching, & Happy Creating. Jen Timelapse segment begins at 15:00 Final summary & and complete illustration starts at 17:30
-
- 6
-
-
- affinity designer tutorial
- pen tool
- (and 8 more)
-
Glad to see. I want to share my work, for my personal project: In the work used Affinity Designer, Adobe After Effects. P.S: I really look forward to Serif releasing an analog After Effectts and more functional and fast. Thank.
-
During the long winter nights i often look in the starry sky at the Andromeda galaxy, which can be seen through binoculars. It is so small from our Earth, but actually its a huge galaxy, and i'm wondering - maybe some kind of girl, who lives there, looks right now back at me questioning herself - is there somebody else in this huge space?.. So this is how i see this girl. Damn, i was trying to figure out someone more romantic, but my humorous mind just played a trick on me. Goodbye, Andromeda girl, from now i'm not sure if i want to believe in your existence. :-) Based on all those sci-fi fairy tales i've read in my younger years. Just a bit about the process - i suddenly realise what i want to draw, then i make few sketches on paper or digitally, or both (here Wacom Intuos Pro 2 paper edition was heavily used with its ability to convert paper drawings into digital sketches), then i make final sketch and trace it in Affinity Designer with vector brush. Colors are added after that... So like this.
-
This one didn't make it to the final version:
-
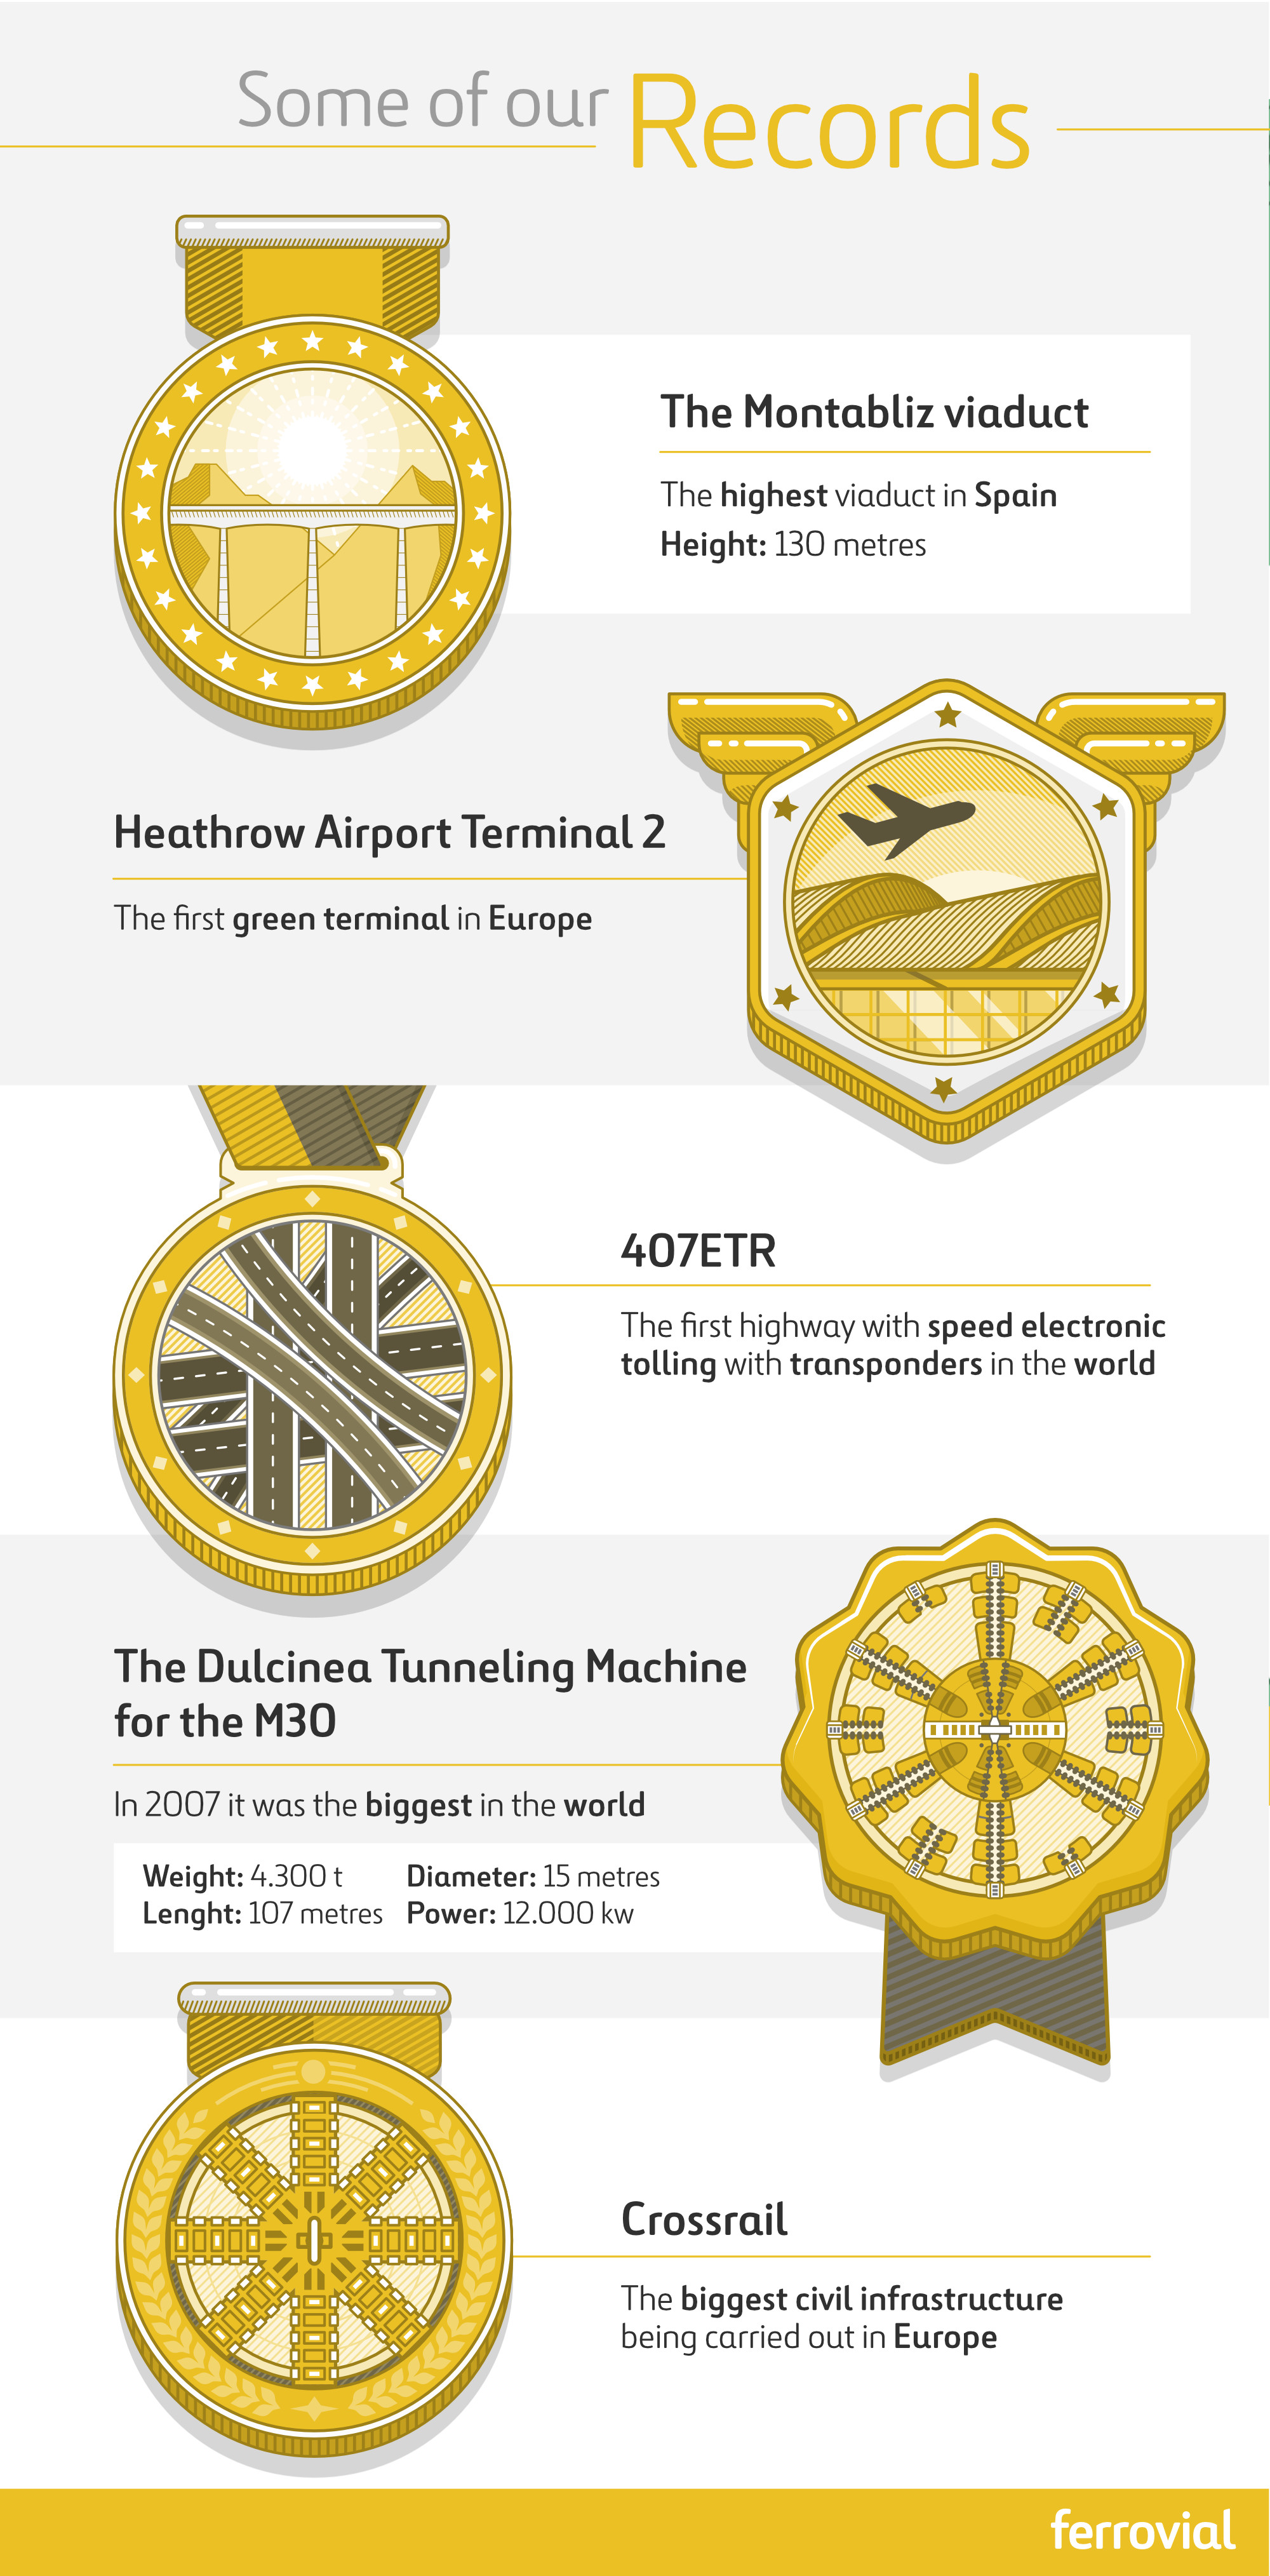
This girl loves her cute little pet toad so much she even lets it sit on her head! Affinity designer vector image.
-

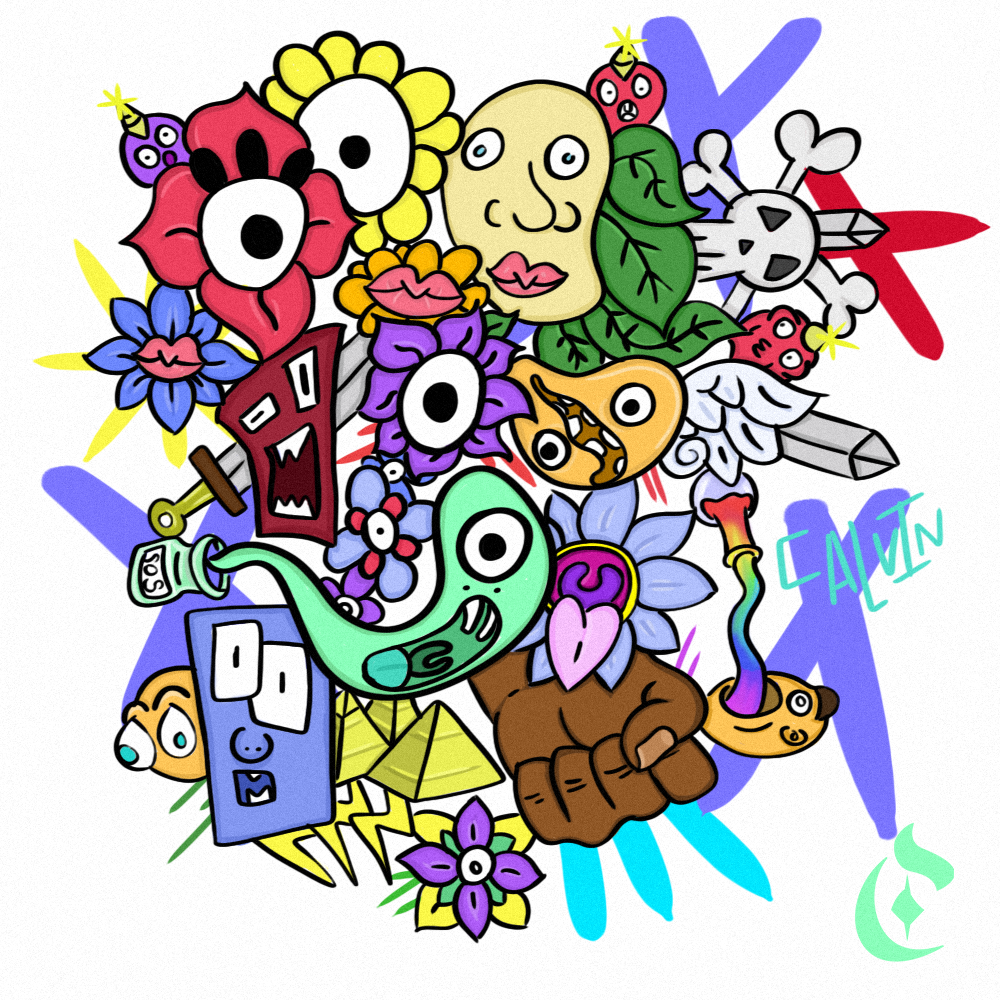
affinity photo Colored Madness by Calvin Coolridge
CalvinCoolridge posted a topic in Share your work
An illustration I did in Affinity Photo, tell me what you think Website // CalvinCoolridge.com Instagram // CalvinCoolridge Twitter // CalvinCoolridge
-
- 1
-
-
- killeen texas photography
- killeen
- (and 5 more)
-
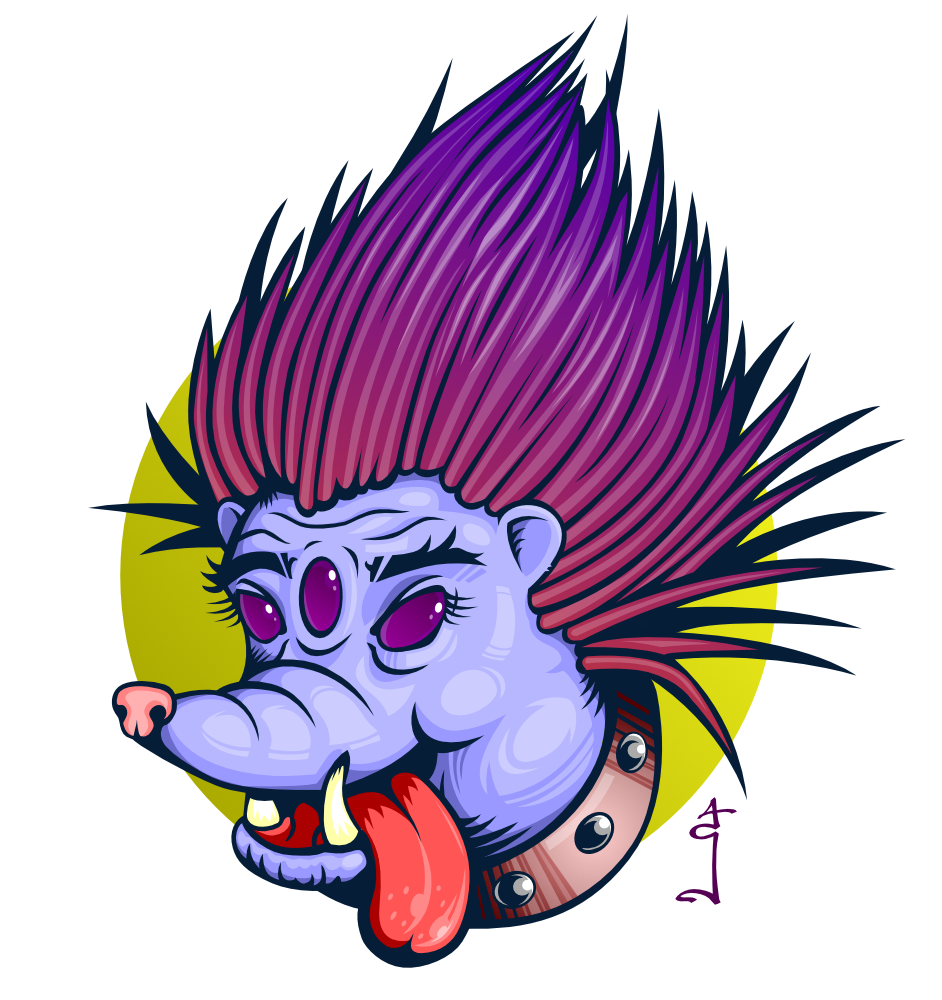
Another weird animal i've just drew. Its a hedgehog. With three eyes! AD is a joy to work with, if to talk about vectors.
-
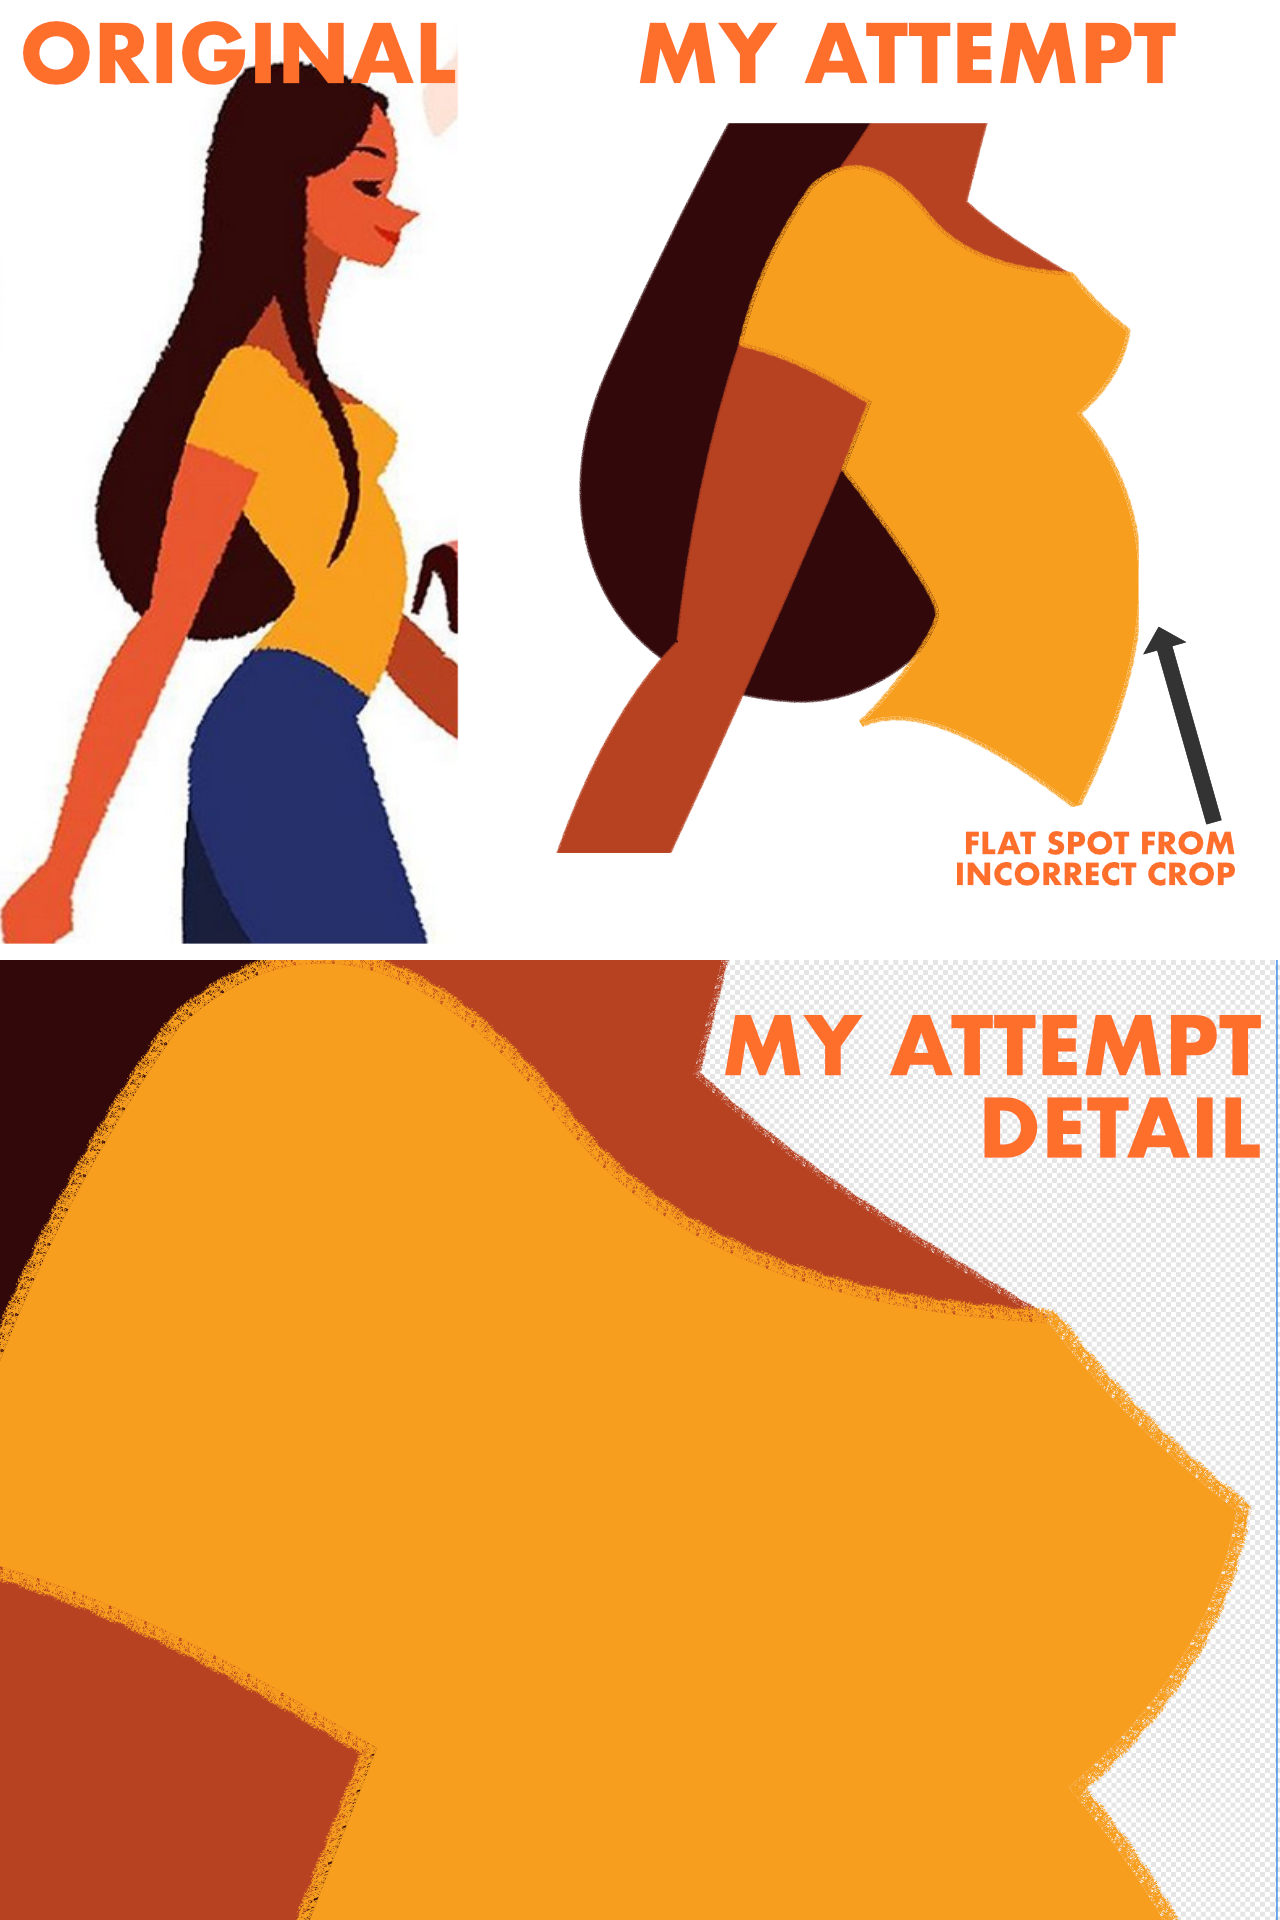
 Hey everyone, I was wondering if anyone knew how to recreate the rough effect shown in the attached image in Affinity Designer? I have included my attempt at the effect but as you can see it doesn't look the same. I could probably achieve a similar effect in the Pixel Persona/Affinity Photo when using a drawing tablet but I wanted to keep the smooth bezier curves that you get when using the pen tool. My attempt was achieved by adding a stroke to my shape using the DAUB Moloch vector brush but as you can see the effect doesn't look the same, instead of being one cohesive element as in the original illustration, in my attempt it looks like the stroke and fill are 2 completely separate elements with the stroke sort of just sitting on top of the fill (I hope that description makes sense). Is this a matter of finding the correct vector brush or is this style achieved another way? The original artwork is by Donghyun Lim, I'm not trying to rip off his illustration but just thought copying it would better illustrate the problem I'm having achieving the same effect.
-
Hello folks! Long time without posting here, but I promise I'll be checking more often since I've missed a lot that happened in the forums these past months! Today I wanna share a new character design tutorial we've just published a few days ago on our website. Hope you guys enjoy it and as always, any feedback would be more than welcome! Happy weekend! CLICK HERE TO READ THE TUTORIAL
-
- 4
-
-
- illustration
- character design
- (and 2 more)
-
Cover art for a friend of mine. Instagram : CalvinCoolridge
-
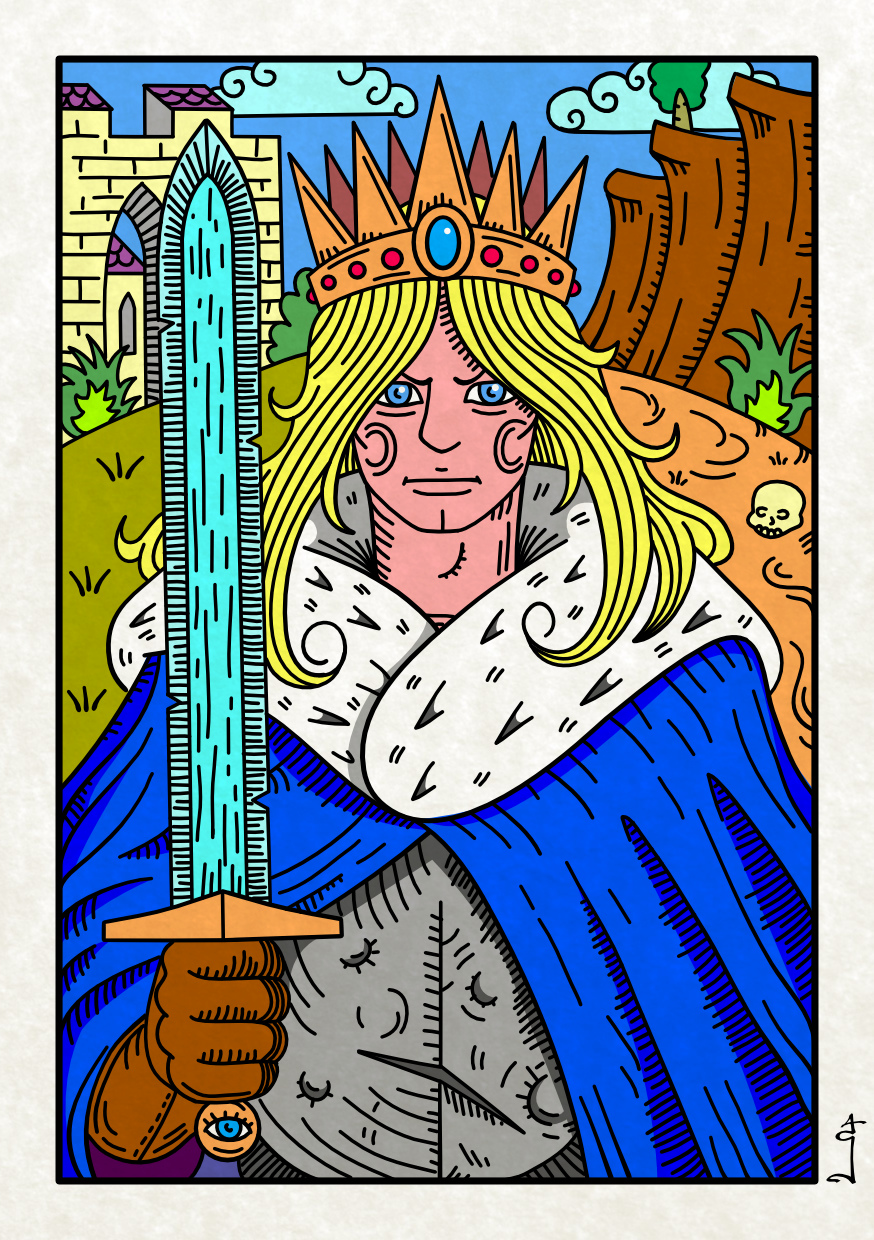
The king with the blue cloak. All started with paper and pencil, then outlined and colored in almighty Affinity Designer.
- 7 replies
-
- 7
-
-
- illustration
- woodcut
- (and 1 more)
-
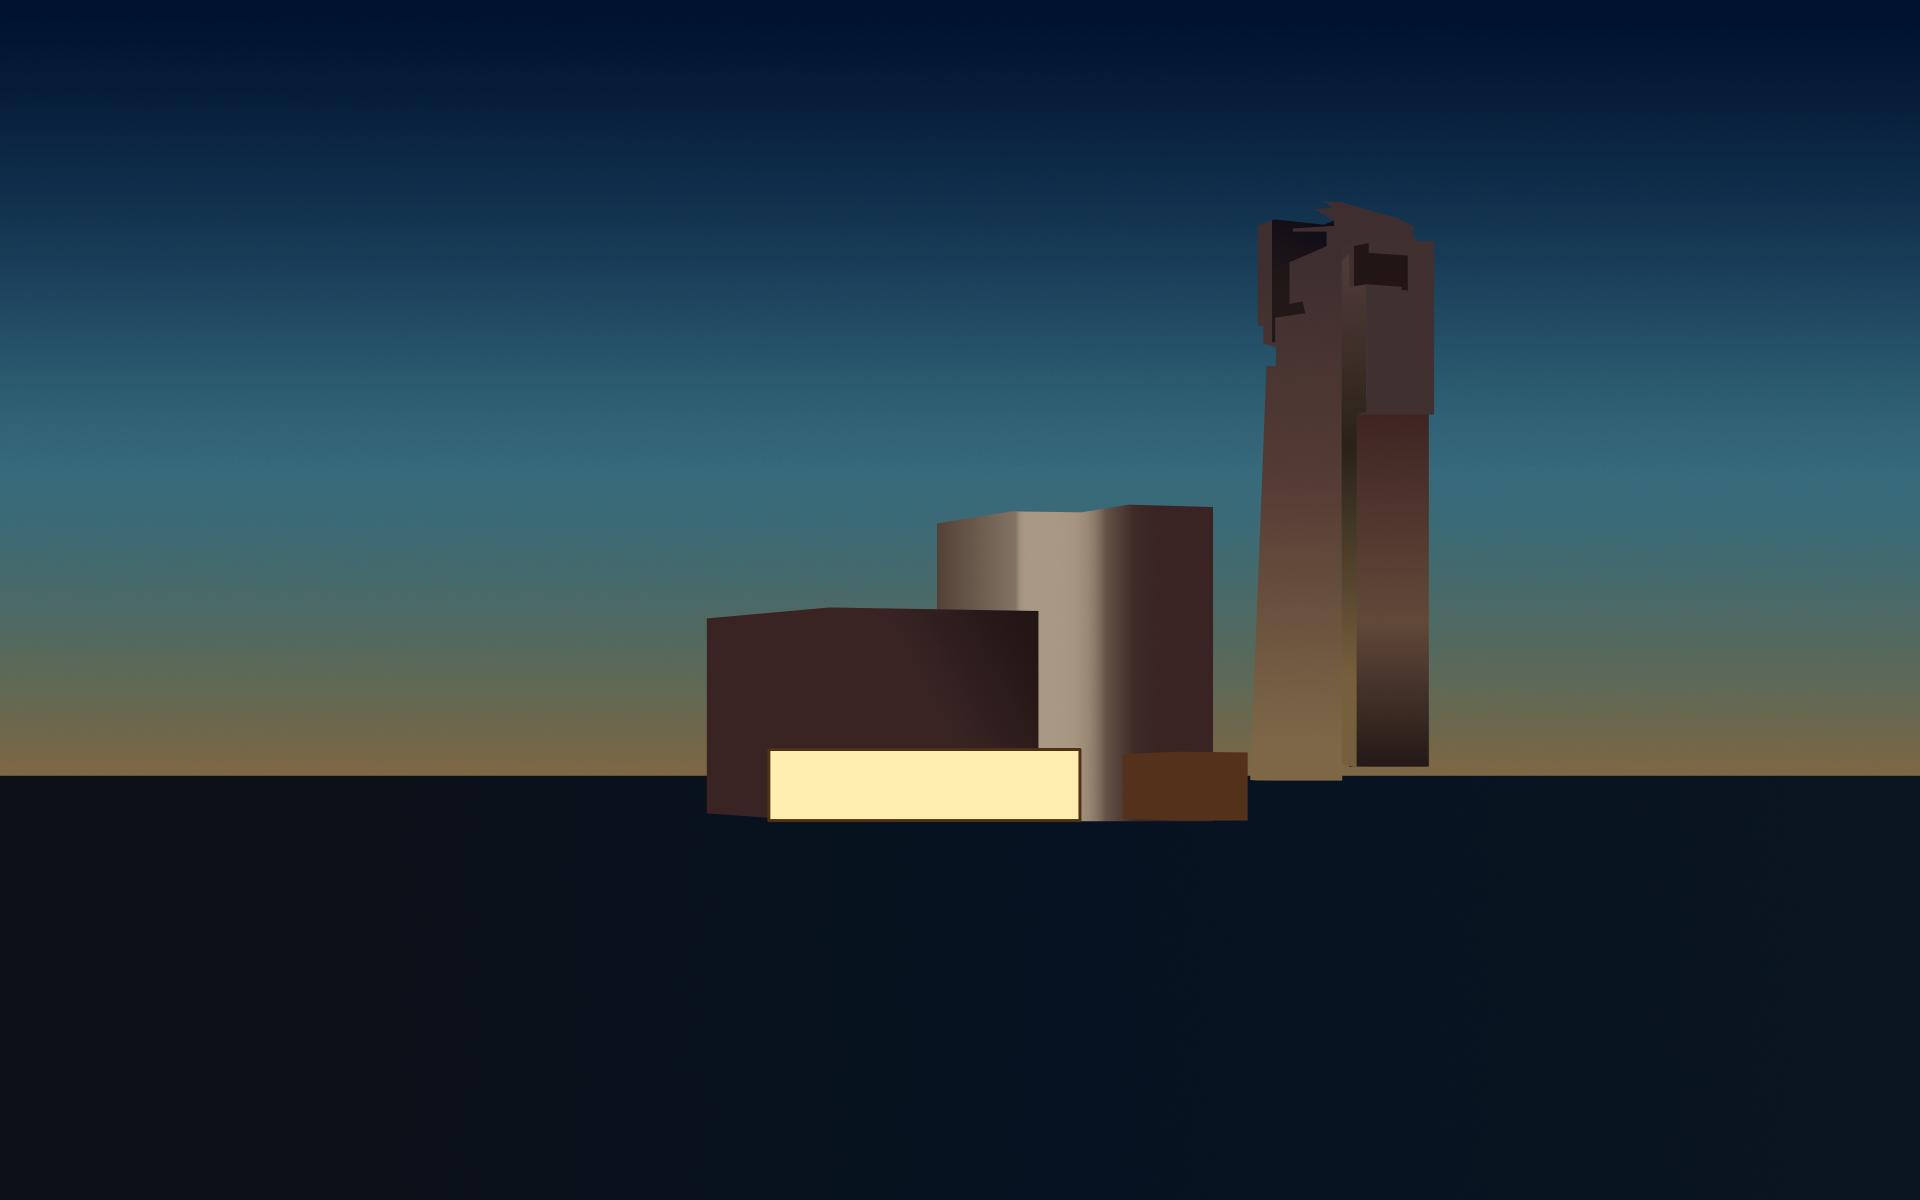
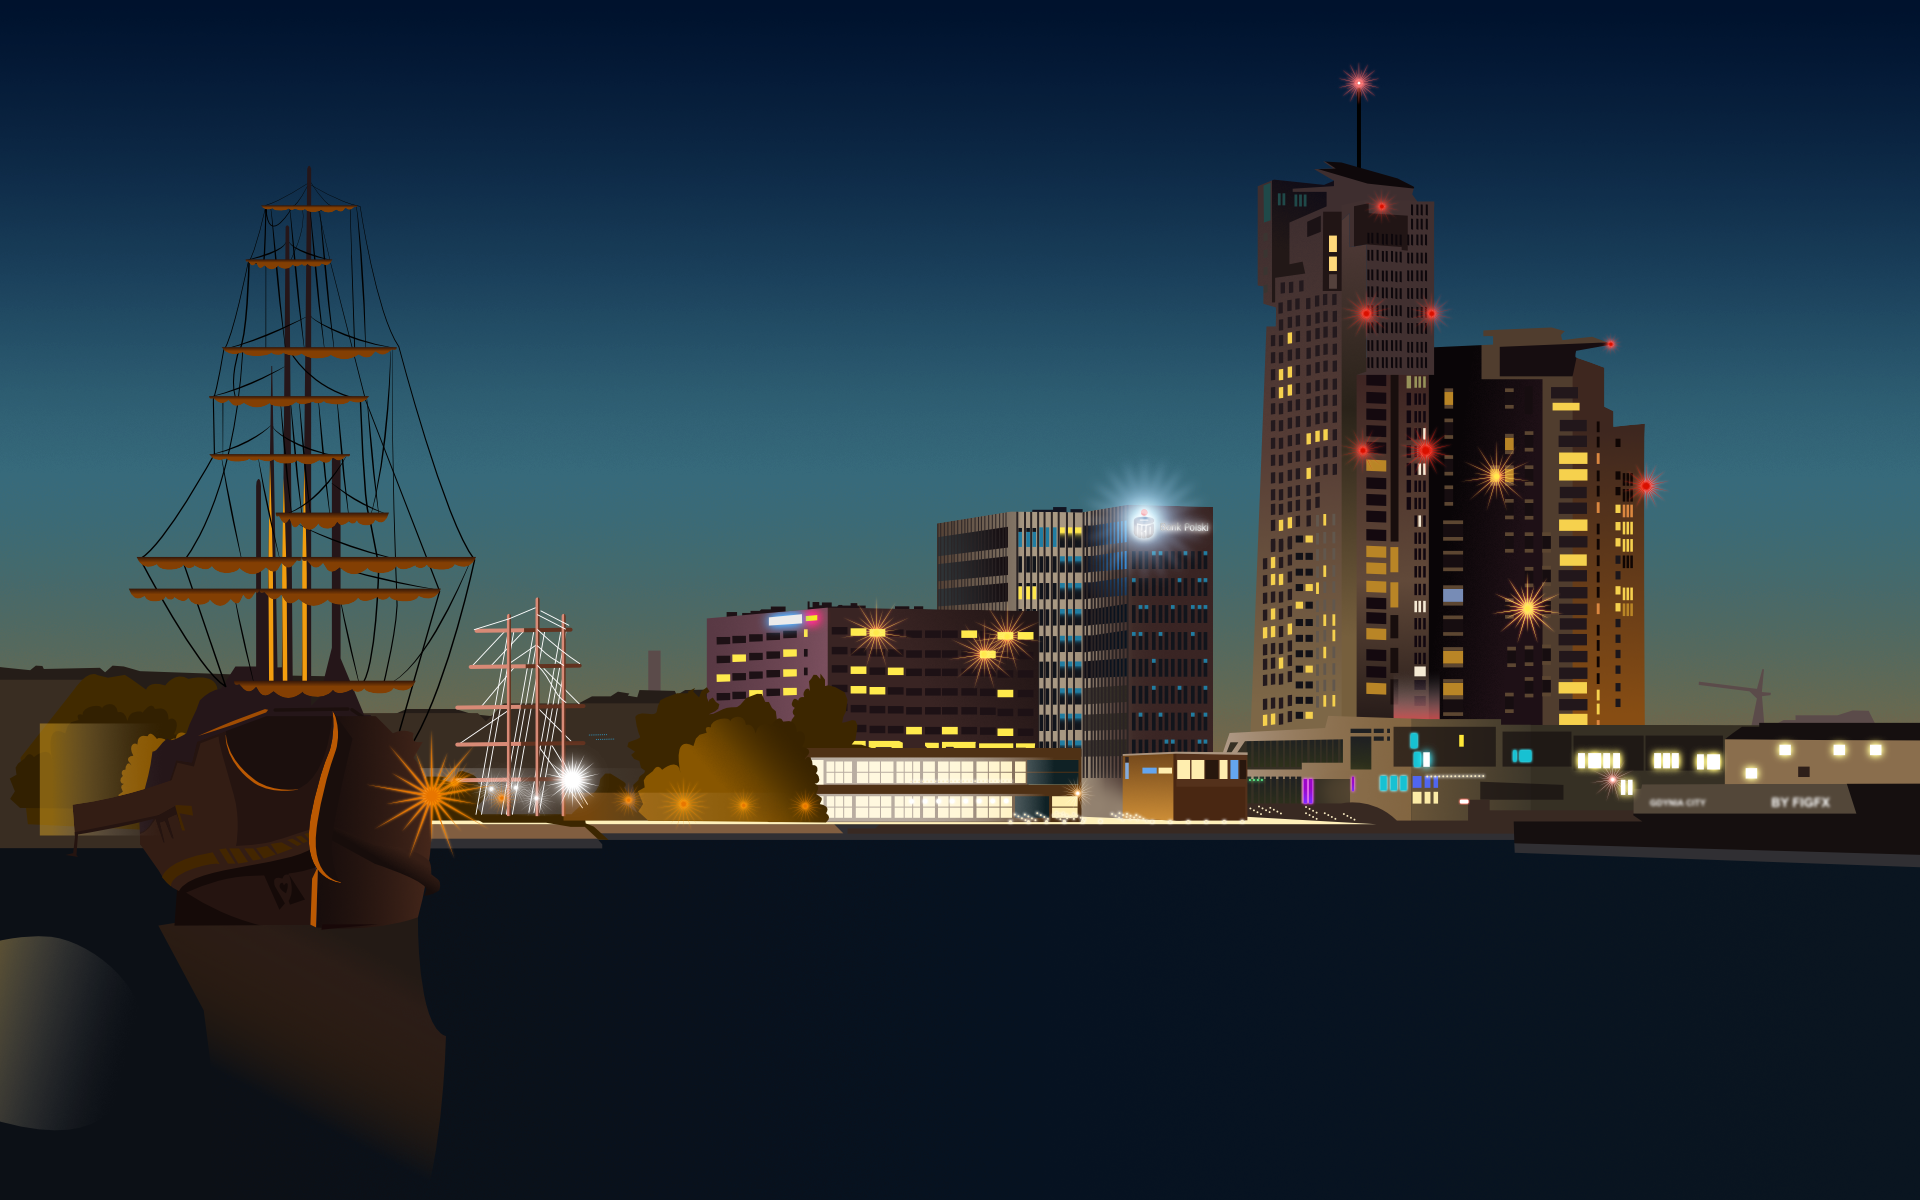
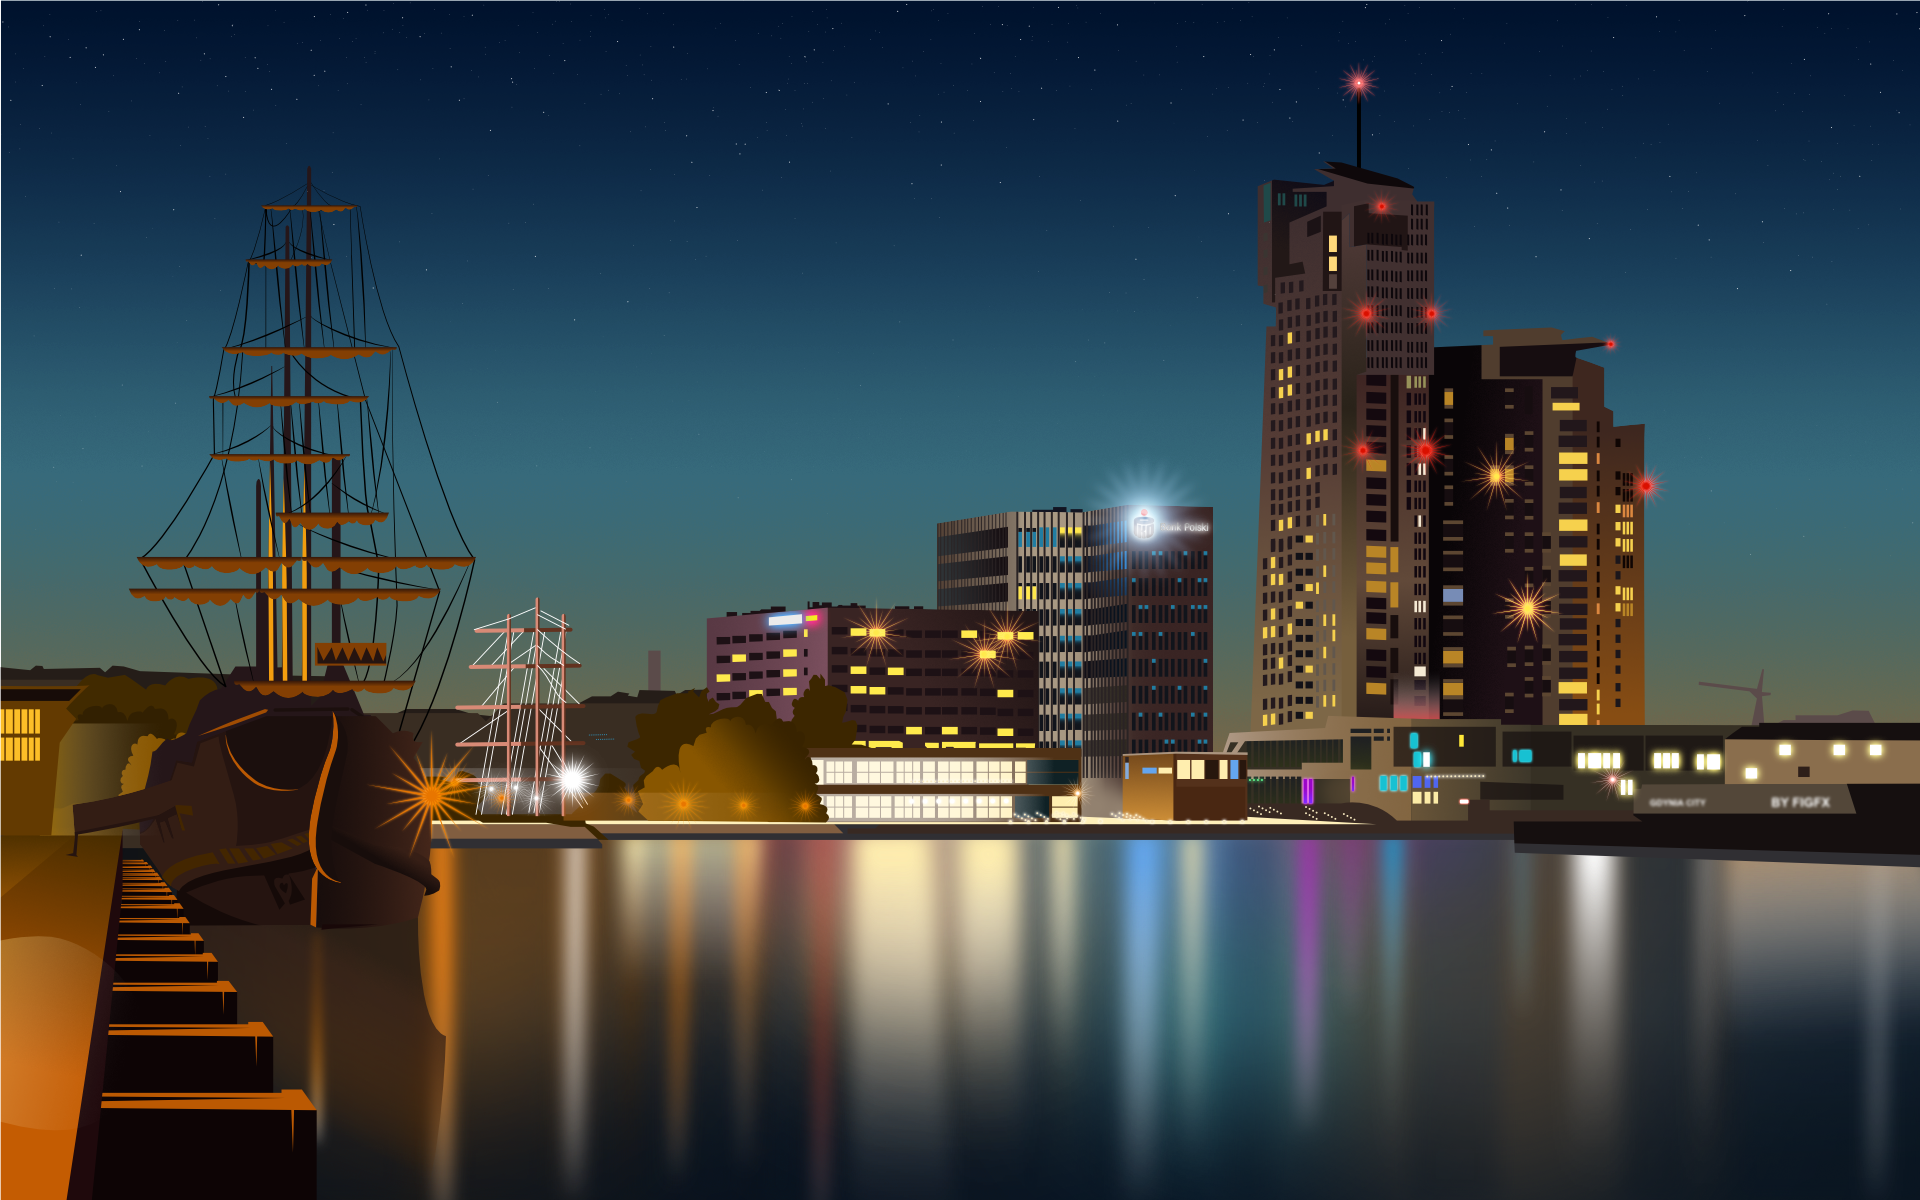
Hello to everybody in the forum, I'm getting started with landscape illustration. Today I share with you my illustration of Gdynia, the city where I live in Poland. The illustration was done with Affinity Designer. I would invite everyone to comment thoughts and feedbacks, or to share own works. This is my first landscape and maybe your works will teach or inspirate... Cheers Francky The project on Behance
-
- 4
-
-
- illustration
- vector
- (and 4 more)