Search the Community
Showing results for tags 'iPad'.
-
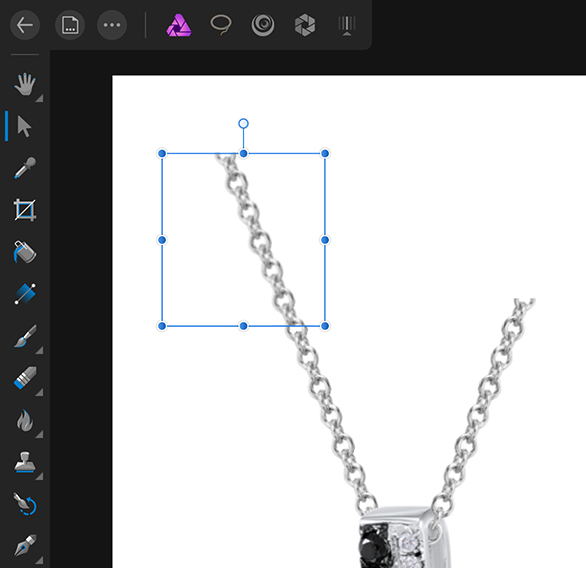
 Hi. Im using ipad and i have an image that i want to make it shear, but i see the only way i can shear it is horizontally. On desktop its easy to do with mouse. But i dont seem to find a way to do that here. Is there any help? while im at it. Im also looking for live perspective filter where i can select a perspective of a location and it can bring it up front so i can edit it and peace out of it. This also easy to do on desktop photo but somehow cant find the option in ipad. Cheers
 -
Hi. I believe its logical to have the option to choose (paste inside) while have an object selected on double finger tab pop up menu. Thanks
-
On the product/promo page for the new brush/macro offerings, the Studio Retouch pack has an photo example, then in one of the retouched examples the man in the photo looks like a 3D rendered cartoon version of the original image. Striking really. I wouldn't have guessed that began as an actual photo. Is that work that just took a very long time to do? If not, it'd be awesome if there was a demo video showing how to do that. I'm guessing it's just a lot of over-the-top retouching and using the liquify persona to exaggerate the size of his eyes, etc. but it'd still be cool to watch how something like that is done.
-
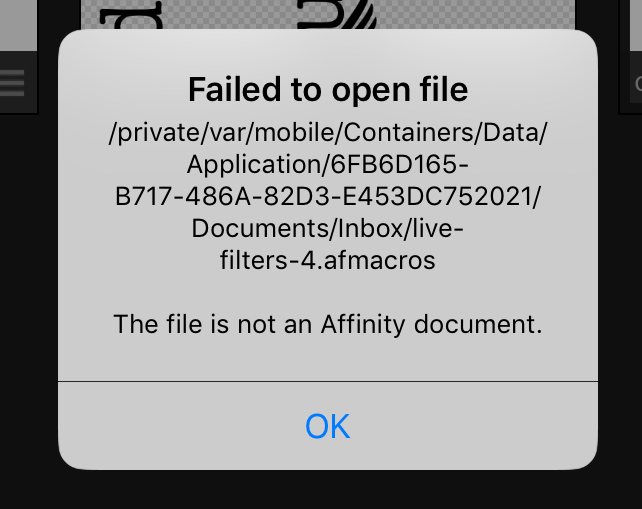
 The other two brushes freebies installed NP... but this is what I get with the Live Filters...
-

Affinity Designer for IPAD
JesusSheep posted a topic in Pre-V2 Archive of Affinity on iPad Questions
Ant news on Designer for IPad? -
 Hi, My app kept crashing while I was editing. So I decided to delete it and reinstall it. But all my files were gone!!! Total panic!! Luckily I had an old cloud backup so I could save most of my files. My how on earth can I reinstall Photo without losing my files (I hope nog saving and exporting them one by one, there must be an other way!).
 -
 I'm gonna guess this is in here somewhere... but I just got done spending 267 years of my mental life with Adobe support due to syncing issues their lovely cloud based system has brought into my already complicated life. If I have both Affinity for Desktop (windows 10 for now) and ipad pro... Will I be able to jump back and forth with my current edits. I know there is no cloud based syncing... I don't care.... But, if I'm editing on the go on my ipad, come home and want to continue where I left off on my desktop... will I be able to export from my ipad into affinity on my desktop and back again if necessary with my raw files? without creating 5 copies... or am I simply stuck with one or the other depending on where I start editing? P.S. sorry if this has been asked somewhere and answered... I just ... my eyes can't bleed anymore
 -
 Hi there,, I bought an iPad Pro for photo editing while on the road. I take RAW photos, and am very pleased that Affinity Photo can import and develop RAW photos. However, there are quite a few very basic shortcomings that outright annoy me when using Affinity Photo for a longer period of time: I do not quite understand the "persona" concept. I've been using GIMP before, and am used to having access to all commands at any time (when possible). Whenever I need to switch "personas", an annoying overlay pops up the right. Even when I have closed the navigator, history or whatever overlay before, it pops up again and obstructs the view on my picture. Which leads us to: Please save the last tool settings for later use! Whenever I switch to a new tool, I get the default settings - not the ones that I've previously selected! That is very annoying when you have to edit 50 or more photos in a row. Which leads us to: The same goes for photo export: please save the last settings! When I export a RAW picture, I would like a RGB8 PNG with no metadata embedded. This always requires lots of setting changes for each export! Also, please make it much easier to simply save a picture to the camera roll. It is not intuitive to tap "Share", and then abort the export process. Most annoying for my workflow is the crop/rotate tool - apart from the default settings coming up each every time. I can straighten the photo's horizon alright, but the problem is that only a LAYER is rotated, and not the entire photo. This makes for annoying transparent triangles on the sides, which I in turn have to crop manually (all the time having to select "Original aspect ratio" instead of "Unconstrained"). Please make a rotate/straighten option like in instagram, where the picture is automatically cropped after rotate so no transparency remains. Thank you.
 -
Can the fonts on affinity photo (the original fonts not ones I’ve downloaded) be used for commercial/business use?
-
To be honest I can't remember whether this happened in beta 2 but in beta 3 when I tap the gradient tool to creat a gradient map it over writes the current image. I thought previously it would create a new pixel layer? If you forget to create a pixel layer you now lose your image. Is this the expected behaviour? I've had a look at the hep file but it’s not clear there. I don't recall overwriting an image in previous beta.
-
 Hi, I have just tried Affinity Photo and am quite impressed, it seems much easier than photoshop. My question is: do I need multiple purchases or will one purchase of Affinity do all my devices? Regards JJPKB
 -
Hi, I have just tried Affinity Photo and am quite impressed, it seems much easier than photoshop. My question is: do I need multiple purchases or will one purchase of Affinity do all my devices? Regards JJPKB
-
There are times when attempting to Save a Copy (via Files) results in AP locking up. The process starts off ok, complete my edits, select save a copy from menu, Files opens, navigate to desired storage location and select Add. At that point the screen goes white and AP has be be shut down and reopened. This has occurred in all versions (release and beta). To get it to save successfully it is necessary to close other apps or in some cases hard reset the iPad. This makes me suspect it is a memory (ram) management issue. Unless the file has been closed (to save locally), any changes are lost. I have noticed a number of other posts reporting blank/white screen when saving and wonder if these reports are related.
-
With a file open in AP it is not possible to 'Share' a new image until the old one is closed. A message pops up to say Cannot Import. It would be nice if AP could either store new image in Pasteboard, or simply close current image (which saves it) and open the newly shared image.
-
 Hello, For the last few days, I've been trying to find out how to visualize selections as blck&white on the iPad version of Affinity Photo, and how to make sense with feathered selections. I've been finally able to understand how this can be done with the app, and I thought it would be useful if I share the details, in case someone else is wondering the same thing! First, let's start with a pixel layer with a white to red gradient. Then, go to the Selection persona, and in the menu, select the Tonal range Midtones. You can not actually “see” it, due to how Affinity Photos display the marching ants, but that selection has a feather. Some pixels outside the marching ants are in the selection, and some pixels inside are excluded. I learnt on this forum that Photos shows the marching ants for the area with 50% opacity. This can be “proven” by creating a mask layer: as you can see, there is some feathering around the diagonal line: Let's undo the alpha mask (we don't need it for now), and go to the Channels Studio. As we can see, there is a “Pixel Selection Alpha” channel. Let's click on the three dots on its right and create a Spare Channel: Spare channels are really useful because they can be later loaded on the individual channels of the image. Let's create an empty Pixel Layer (by going back to the Layers Studio), show only this one, and let's go back to Channels Studio. Now, we will do two things: first, we need to make the new layer opaque, which we can do by clicking on three dots next to the Pixel Alpha Layer, and choose Fill. Next, we click on the three dots beside the Spare Channel that we just created, and select Load to Pixel Green (or whatever channel, I just chose green because it is different than the red color I used for the gradient). What appears on my layer is a full representation of my selection: greener color are more opaque, while darker colors are transparent (they are dark because my document has a black background). I can use brushes to change my selection (and we will see later how to turn this back into a real selection): Now, what if I wanted to “unfeather” my selection? That's pretty easy, because I only have to deal with pixels. Let's deselect, then go to the Adjustement Studio, and pick Levels. Now, go to the Green channel, and enter 50% Black and 50% white: Next, apply the Levels adjustment (click on the down-facing arrow in the bottom toolbar) and select Tonal Range Midtones (this will select the green and not the black areas): This time, the selection looks the same, only it has no feather. We can hide (or delete) the green layer and go back to our original layer (with the gradien), and create a mask to see that, this time, there are no feather: Et voilà! We've been able to “convert” a selection to a pixel layer, actually “see” the feathering that Affinity Photos does not show around the marching ants, tweak the selection as a pixel layer and then back to a selection, where we could do further work. Hope this will help anyone with the same questions!
 -
I have been making a brush based on an eyelash. What I am unable to understand is how the rotation setting is applied. I have tried variations between 0% and 50% with the setting screen showing the the curve of the eyelash being 'rotaed' as expected. However after applying the setting and going back to photo persona and selecting the brush, the lash is applied with original rotation setting, not the new (expected) setting. What am I doing wrong?
-
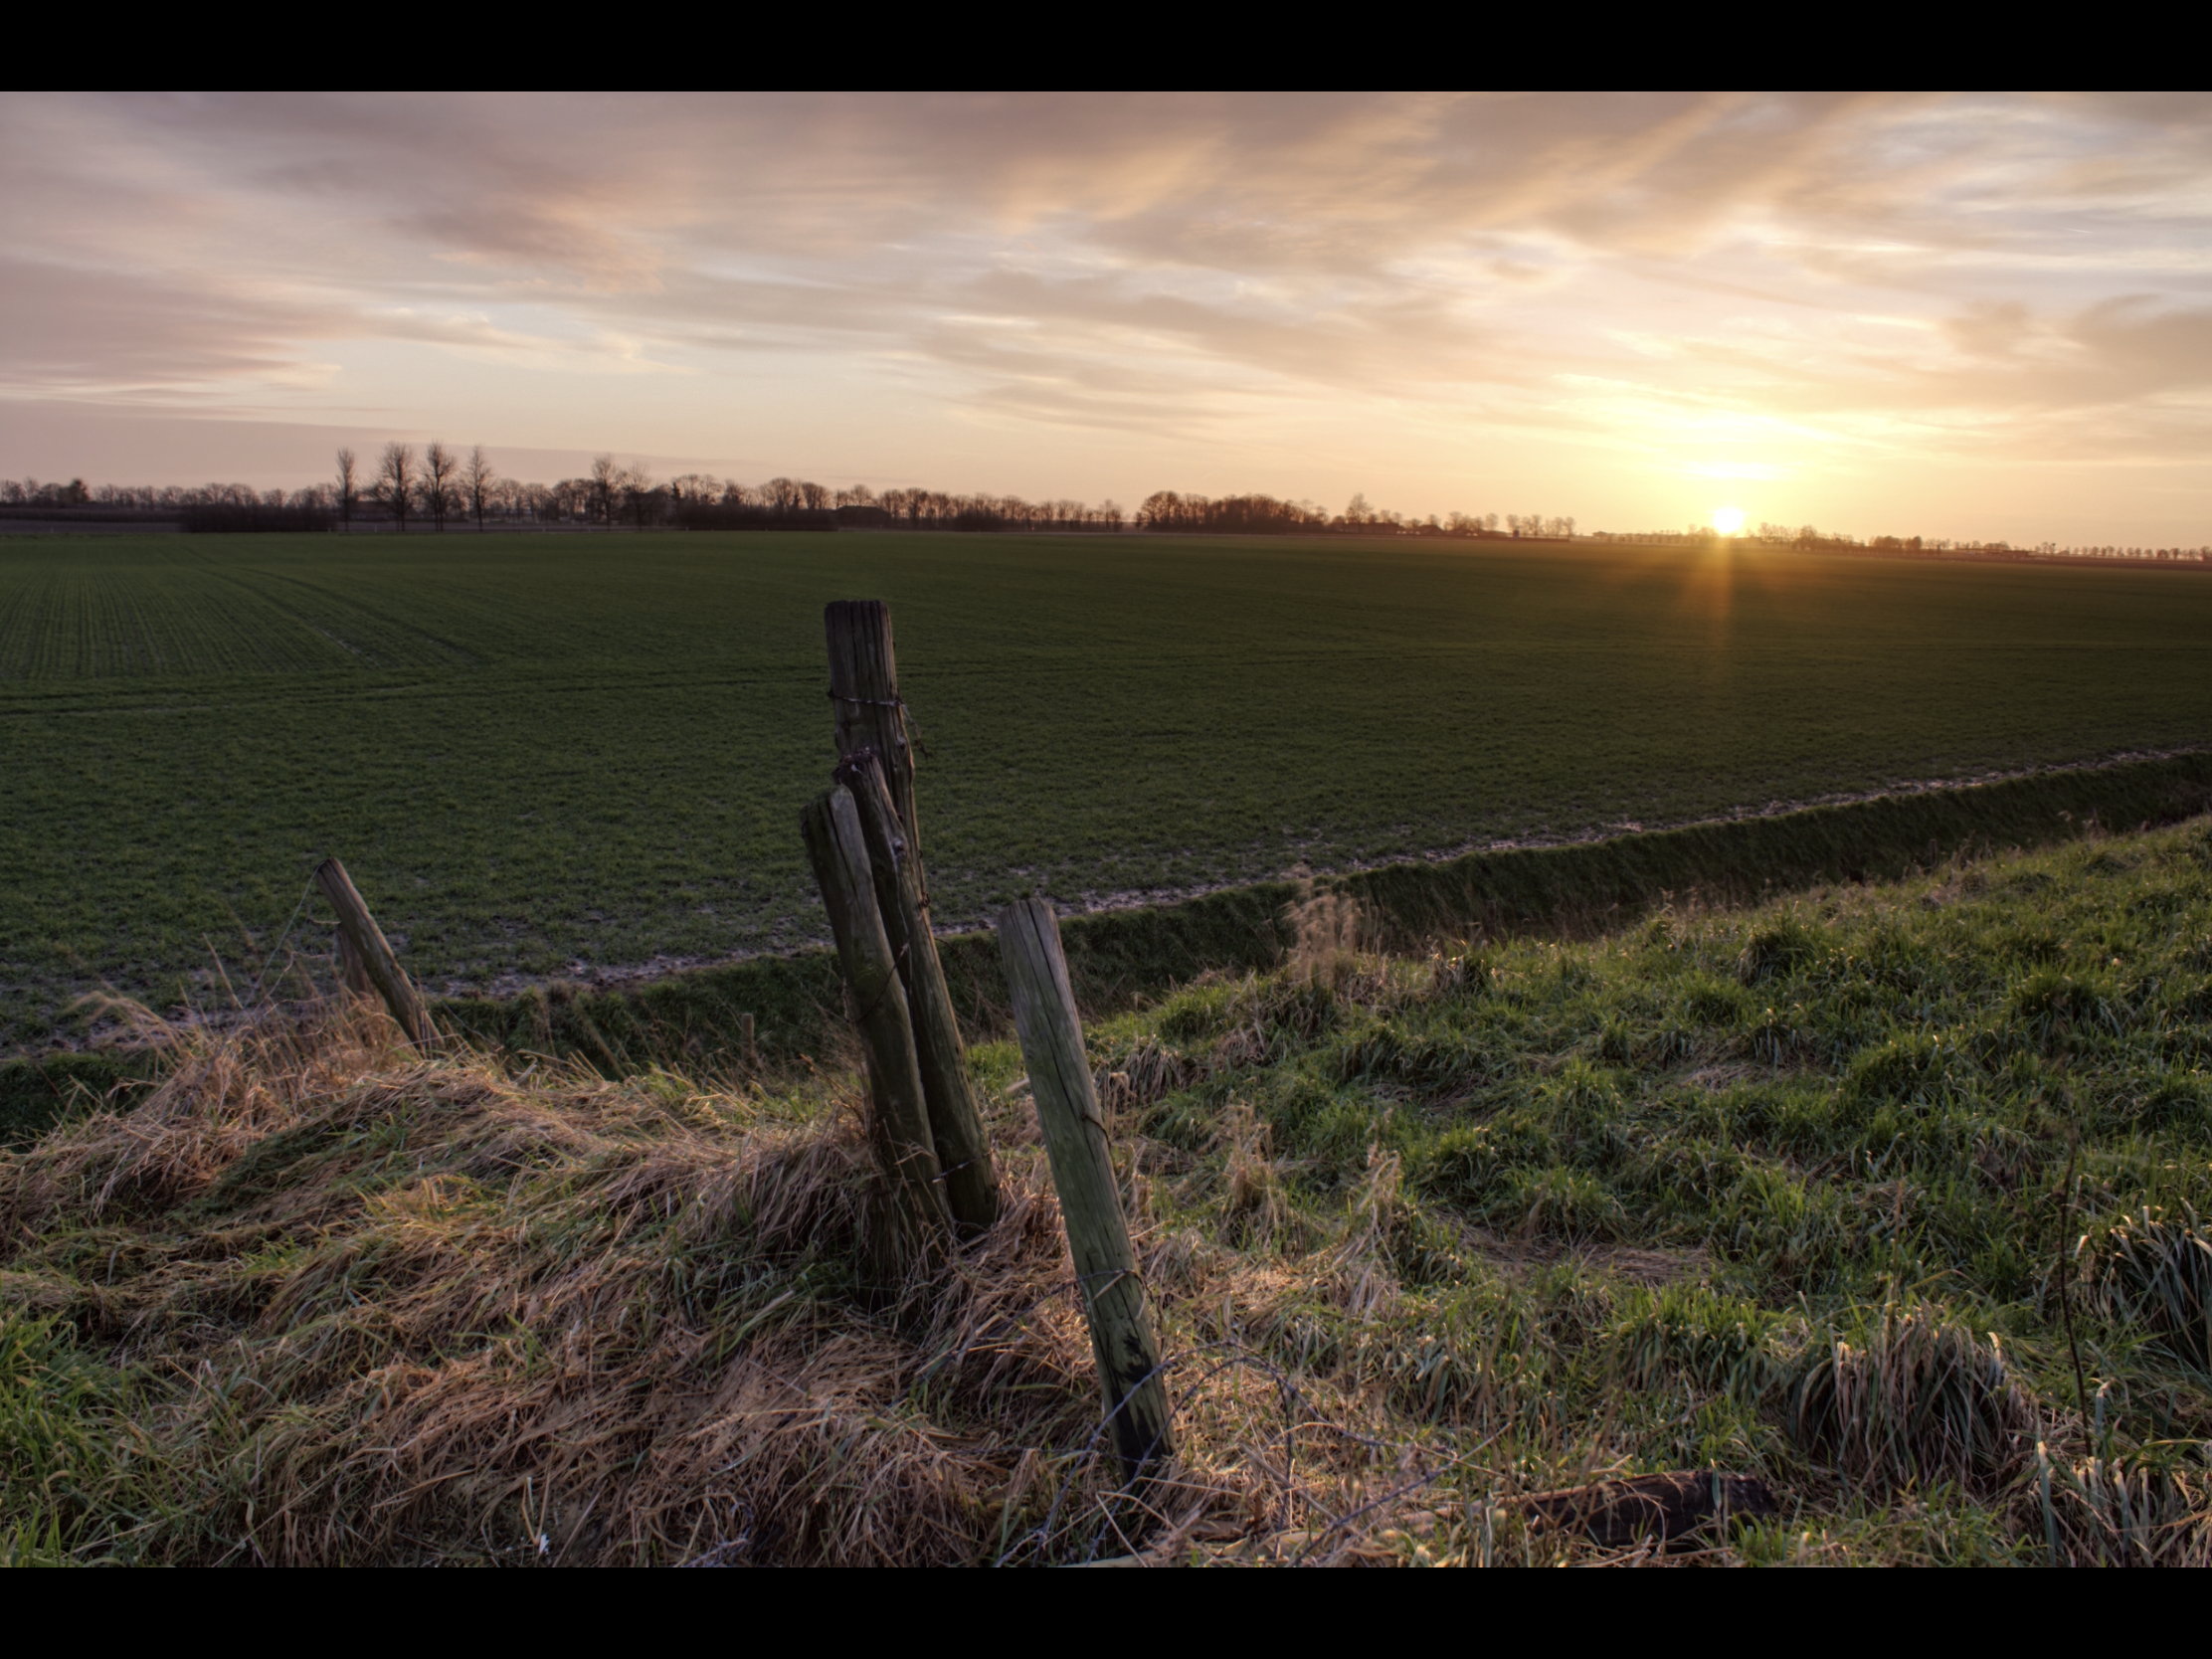
Hey everyone! I tried to export an HDR file as a jpeg photo, but somehow I lose a lot of contrast and colour (pictures below). How should I export my photo to keep the colour and contrast. Thanks in advance! This is the exported image. This is how it looks in Affinity Photo.
-
I have a big suggest for you. Your software is great and the hardware too (iPad 10.5). So why I still use AF on desktop all the time? Due to the lack of a cursor. When i do D&B, I never see the area affected by the brush and this is annoying me. I don't know if the brush size fit my needs. And I cannot be precise (which area will be affected when I use the pencil?) I know that iPad doesn't have a cursor as I have on my desktop, but it would be nice to have a button that once you press it, the Apple Pencil doesn't draw anything, but just moving a cursor on the canvas. When I release the button, still showing the cursor, I start to draw, as well as I do right now. Sorry for my english.
- 4 replies
-
- 1
-

-
- ipad
- affinity photo
- (and 2 more)
-
Hello! I'm Affinity iPad newbie and I have a problem with quality during the transformation. After Rasterise ▸ Rasterise my image lost quality after each move. If I want to cut the selection and transform it, it becomes blurred after one move. What can I do to save quality? I have already posted this question on another topic but received no answer. Sorry if I did something wrong but I can't use the app because of this problem.
-
When using the Gradient Map it would be more convenient to be able to call up saved presets from the bottom toolbar rather than have to go back to Adjustments toolbar and scroll through to Gradient map setting.
-
When using tone map presets in a normal size photo, the displayed preset gives a good idea of colour effect. When using on a 'panorama', the tone presets resize to panorama only too narrow to actually judge effect without applying. Would it be better to show a larger sample even if it was not the full panorama? It just doesn’t look or feel right at the moment (to me at least).
-
I was viewing a utube tutorial on shadow removal using Affinity Photo for Desktop. I thought it might be useful (for an inexperienced me) to document how to achieve the same result on the iPad version of Affinity Photo. The image used was made available for download and personal use so hopefully I am not infringing on any copyright. Admins please remove if in doubt. Others who are new to photo editing and AP on the iPad may find the technique useful too, hence posting it here. Removing_facial_shadows.pdf edit - reuploaded as pdf was not working.
-
After opening a photo (Photo persona) Apply a gradient map from the colour adjustments panel. Cancel (bin the adjustment. The gradient tool now appears in bottom left corner. Close the photo and open another photo and the gradient tool remains visible in the bottom left corner. Shut down AP and restart, now the gradient tool is no longer shown. Is this intentional behaviour, if so why not just leave the gradient tool visible in bottom left corner?
-
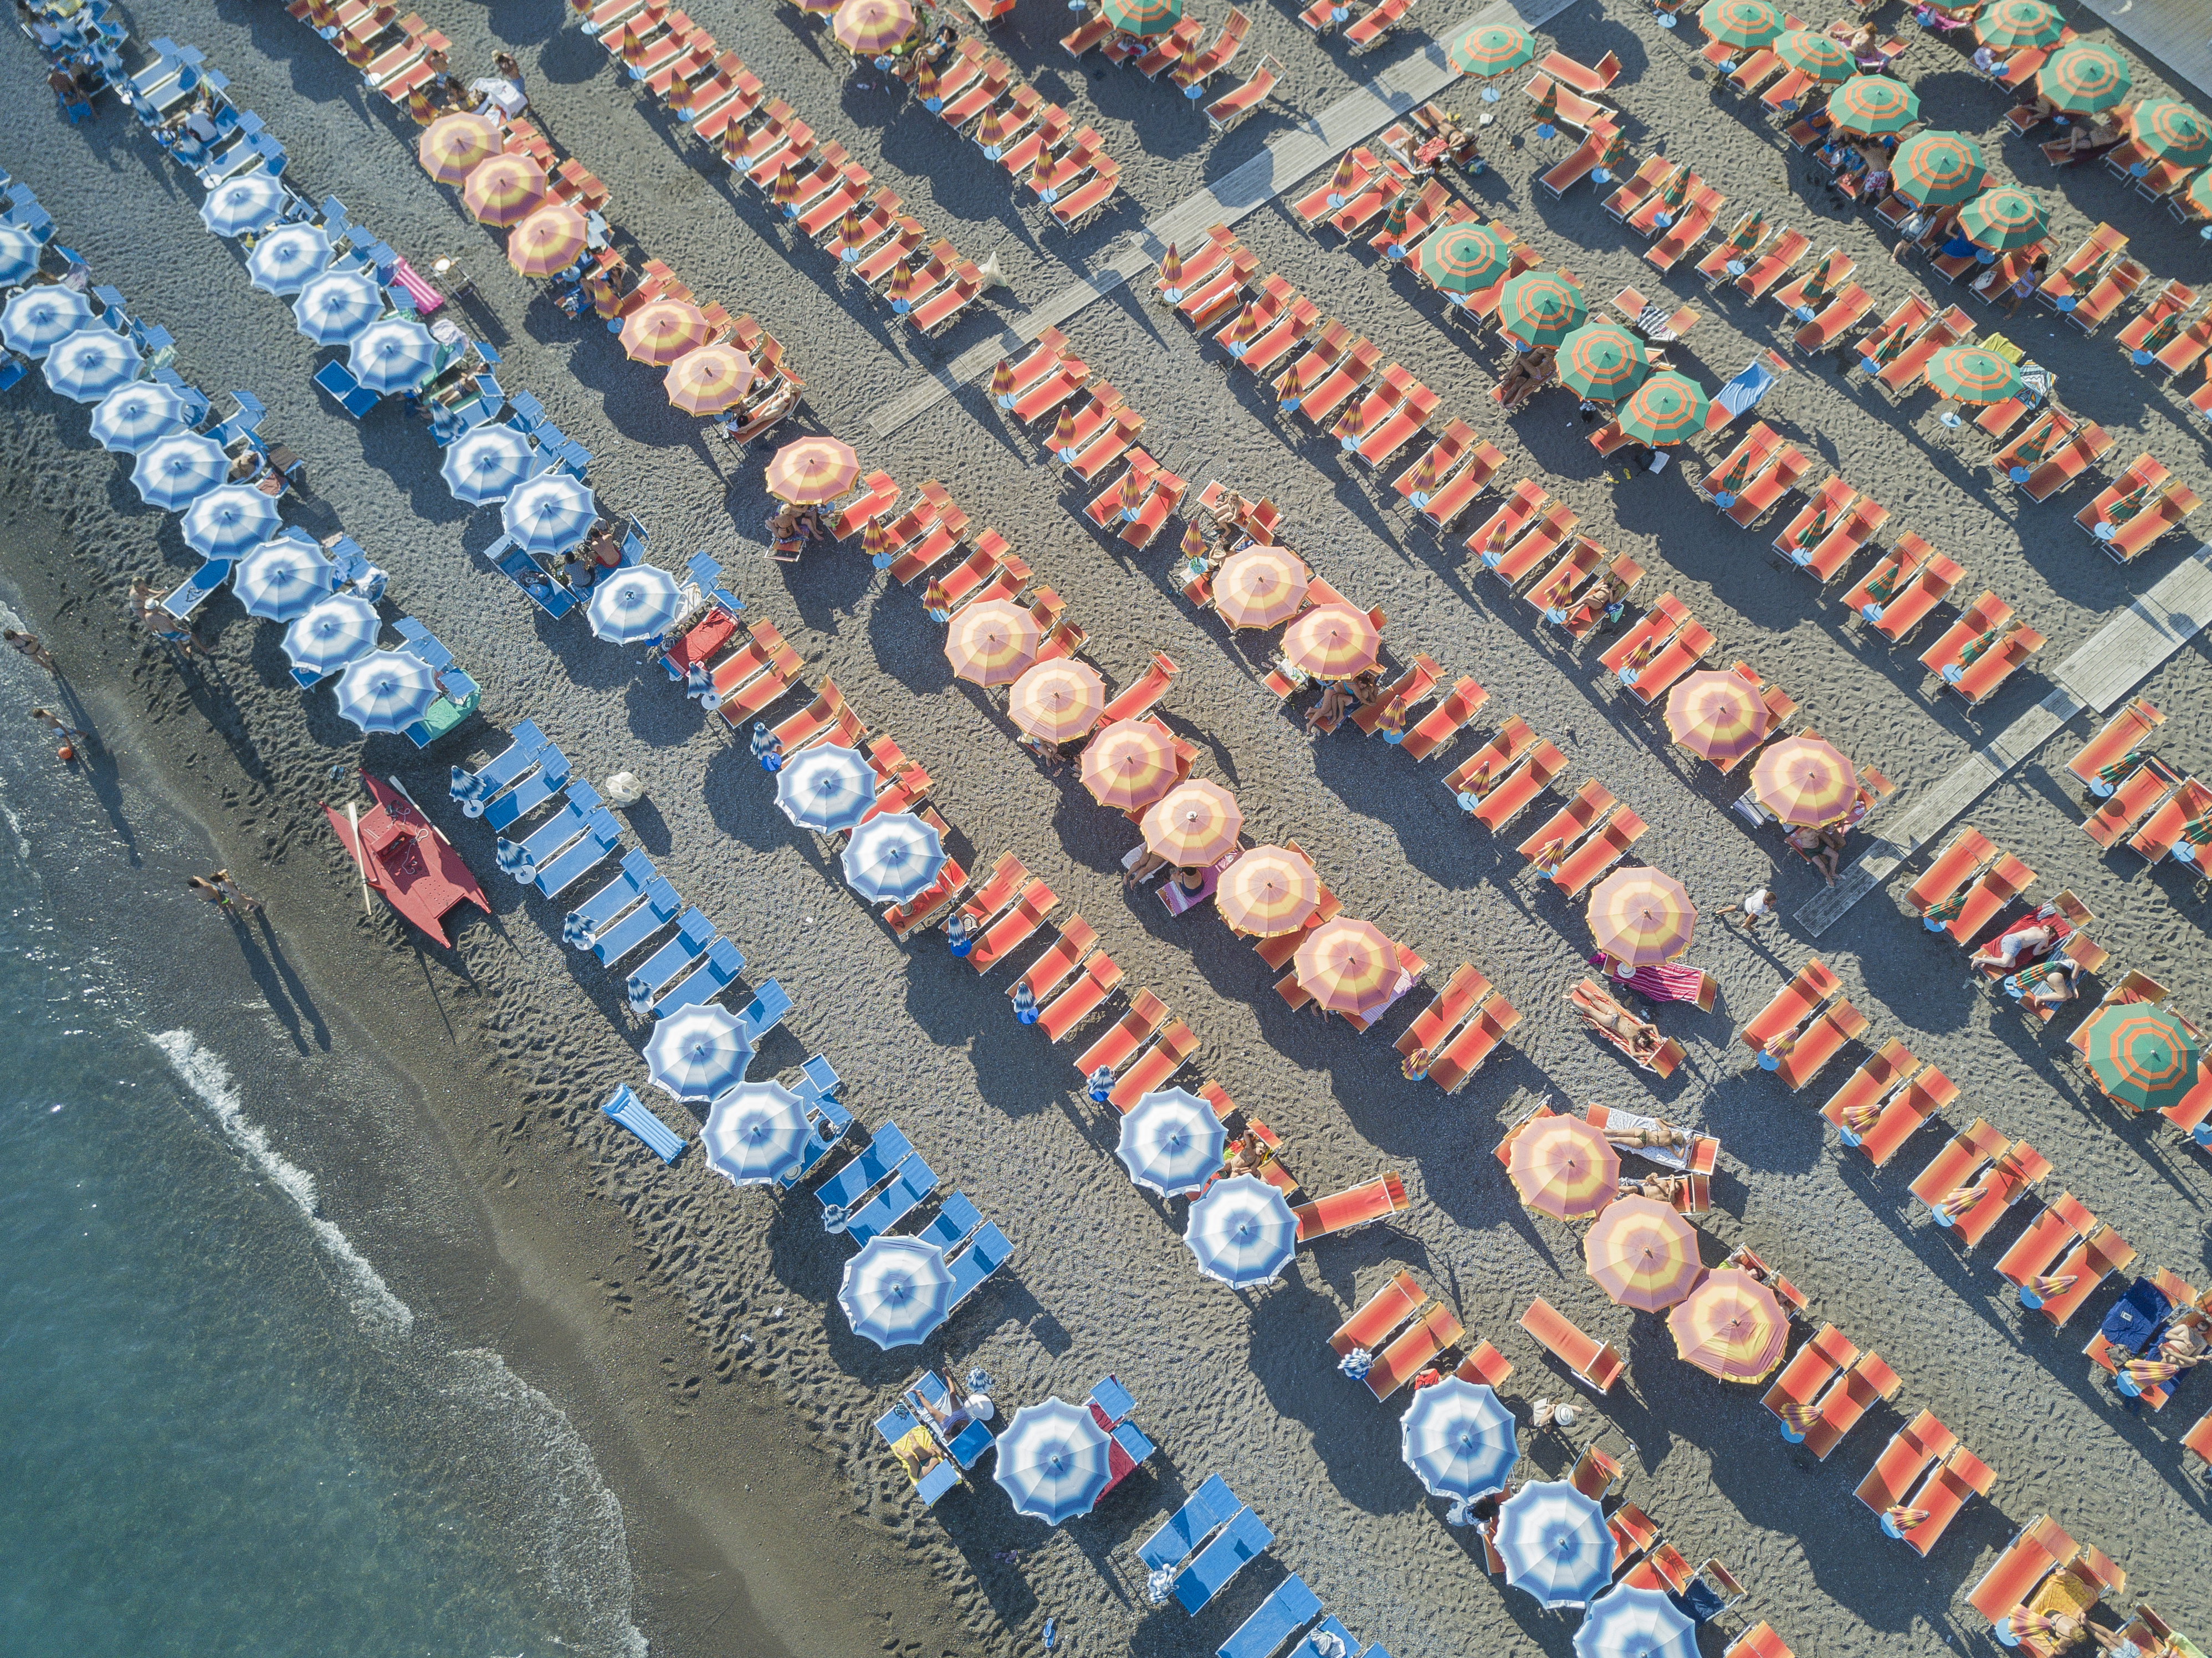
 HEY Hows everyone doing on here..... I wanted to share some of my work but figured since its my first post I'd share a little about myself as well. Im new to the whole Affinity program but Ive been a Hi-End retoucher for over the past 9 years. Currently Im a retouching manager in New York specializing in beauty and Product retouching. At work we're using the Top of the Line MAC's fully spec'd out with the "industry standard" photoshop ....... BUT I've been looking for something equally as capable as photoshop but mobile! AND HERE's where AFFINITY comes in... This thing is amazing! Every time I use it I find myself going back to work the next day with another "Guess what else affinity Does" story. lol. Im shocked It can handle the files it does and I'm sure its only going to get better from here. Ive been quietly looking around on this forum and all ready see SO many talented people. So I hope to bring some of my perspective from someone who uses photoshop all day at work. But then AFFINIY for my personal on the go projects. Some info on the file - Theres over 60 layers of just umbrellas and shadows! (ZERO Slow down in app). The file closed is about 400mb but opened its 1.18gb. This was shot with my Dji Mavic Pro. Completely edited start to finish in AFFINITY Photo for Ipad Pro
-
Current beta, from the help file it states: The Tone Mapping Persona contains a number of presets that appear on the left hand side within the Presets Studio. Simply tap one to apply it. You can also create your own presets, or import new ones. I can find the very good provided presets, but I can't see how to 'import' a set of presets into AP iPad. The menu offers ability to create category and save current preset, but I don't see any import option. What am I doing wrong?


.thumb.jpg.724bd0535cc61df496b45d26e99d94e3.jpg)