Search the Community
Showing results for tags 'height'.
Found 9 results
-
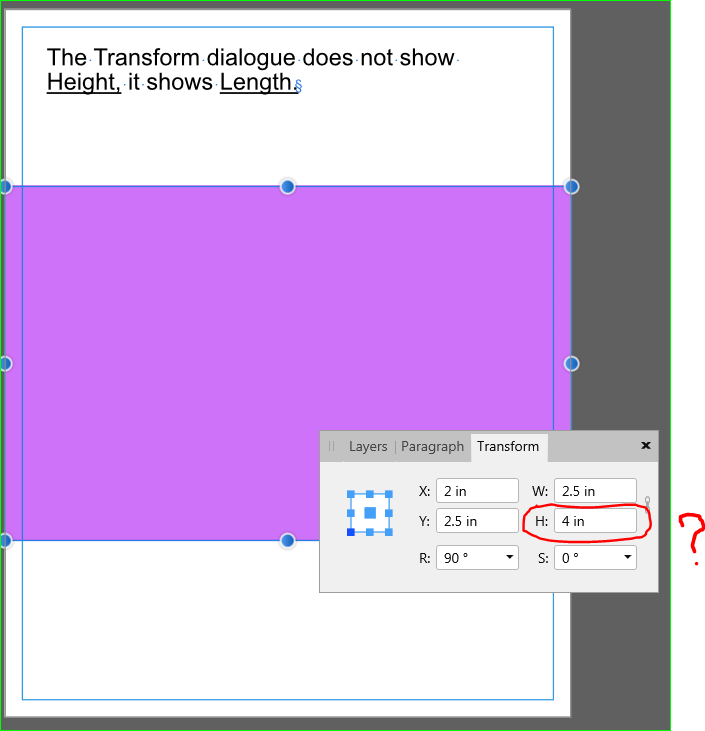
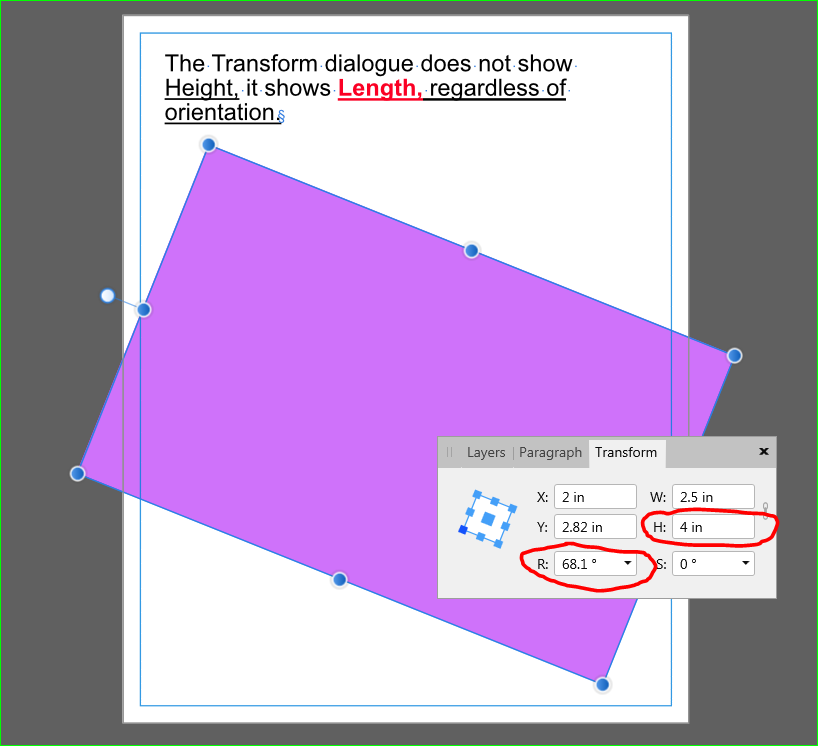
 The Transform panel does not show Height, it shows Length in all Affinity apps. A can of pop standing up is approx 4¾" high x 2 5/8" wide (120 cm H x 65 cm W). Lying down, it is approx 2 5/8" high by 4¾" wide. However, in all three Affinity applications, a pop can lying down shows as 4¾" HIGH x 2 5/8" wide. On other words, the Transform panel reports LENGTH (not height) regardless of orientation. Please see sample illustrations.
-
 Hey guys, So, when creating an object, the rotation handler is on the top of the object. If I rotate the object 90 degrees CW for example, the rotation handler will be on the left. Now if I want to change the height of the object, after the rotation, I will actually change the width of the object. Is there a way to reset the rotation handler to the top? Thank you
 -

Width & Height window format
rusty5 posted a topic in Feedback for the V1 Affinity Suite of Products
Suggestion: Some software programs place the width and height measurement unit name outside the measurement size boxes. This makes selecting and changing sizes easier and clicking on the unit name is also used to change the measurement between different units of measurement. I've attached a short video to show how this is set up. Could this be a possible future option for Affinity? Width Height measurement window.mp4 -
I have a table, and I cannot control the height of the last row. It grows each time I edit it. The boundry on the table even exceeds the table fill.
-
I've reported this issue to the Twitter team and they have asked me to post this here. Having created an illustration I selected one of the objects to check the size. For some reason I just decided to I click on the X and Y values in the Transform Panel and press 'Enter' and as I did this I noticed that the object moved ever so slightly. The same happens with Height and Width respectively. It's as though the values in the Transform Panel boxes don't match the size of the object on-screen. This happens in new documents too and isn't just on the illustration document. It happens in whatever unit of measurement I have the document set to and can be seen more clearly when zoomed in. Perhaps there's a tolerance between each digit in relation to the preview on-screen? Apple iMac 21.5-inch macOS Catalina 10.15.1 Affinity Designer 1.7.3 Document set to A3 Landscape CMYK with Create Artboard turned on Create a rectangle Click on the rectangle Go to the transform panel and observe the values shown Click on each of the values but don't change them and simply press 'Enter' If it behaves like mine you should be able to see the rectangle change ever so slightly Attached is a quick recording of this happening. After clicking on the values in the Transform Panel boxes, I simply press 'Enter' on the keyboard and the object changes as shown. This doesn't sound like much of a problem but when working on intricate illustrations with lots of detail, the slightest unintended movement or alteration can mess things up. Is this a bug or simply a programmed behaviour that I just need to get used to? Hope that helps! Affinity Designer Glitch.mov
-
 You can enter percentages in the width/height property fields under the transform tab. I just wanted to resize a rectangle by typing because I wanted it to be exactly half the width. I am lazy and bad at calculating by head so I figured I just enter "50%" in the width field of the rectangle under the transform tab. And it worked
 -
 I don't even know the right way to talk about this, so it's likely this is possible and I just can't find it. When I open a doc in AfPub, in the lower right corner there's a minitab labeled "Transform" -- this is distinct from the Layer -> Transform menu item; here I can just set the item's control point, X and Y Location (x and y), Width, Height, Rotation, and Skew for the selected item(s). Is there a keyboard shortcut (or way to make one) to alter these or put the focus in one of these boxes? Related, and again I don't know what to call it, but if the current selection is, say, a polygon, there's a bar of configuration options running just above the document. It has, e.g., the name of the shape, the fill, stroke, number of sides, etc. What is that called, and how do I get focus there without using the mouse? Thanks!
 -
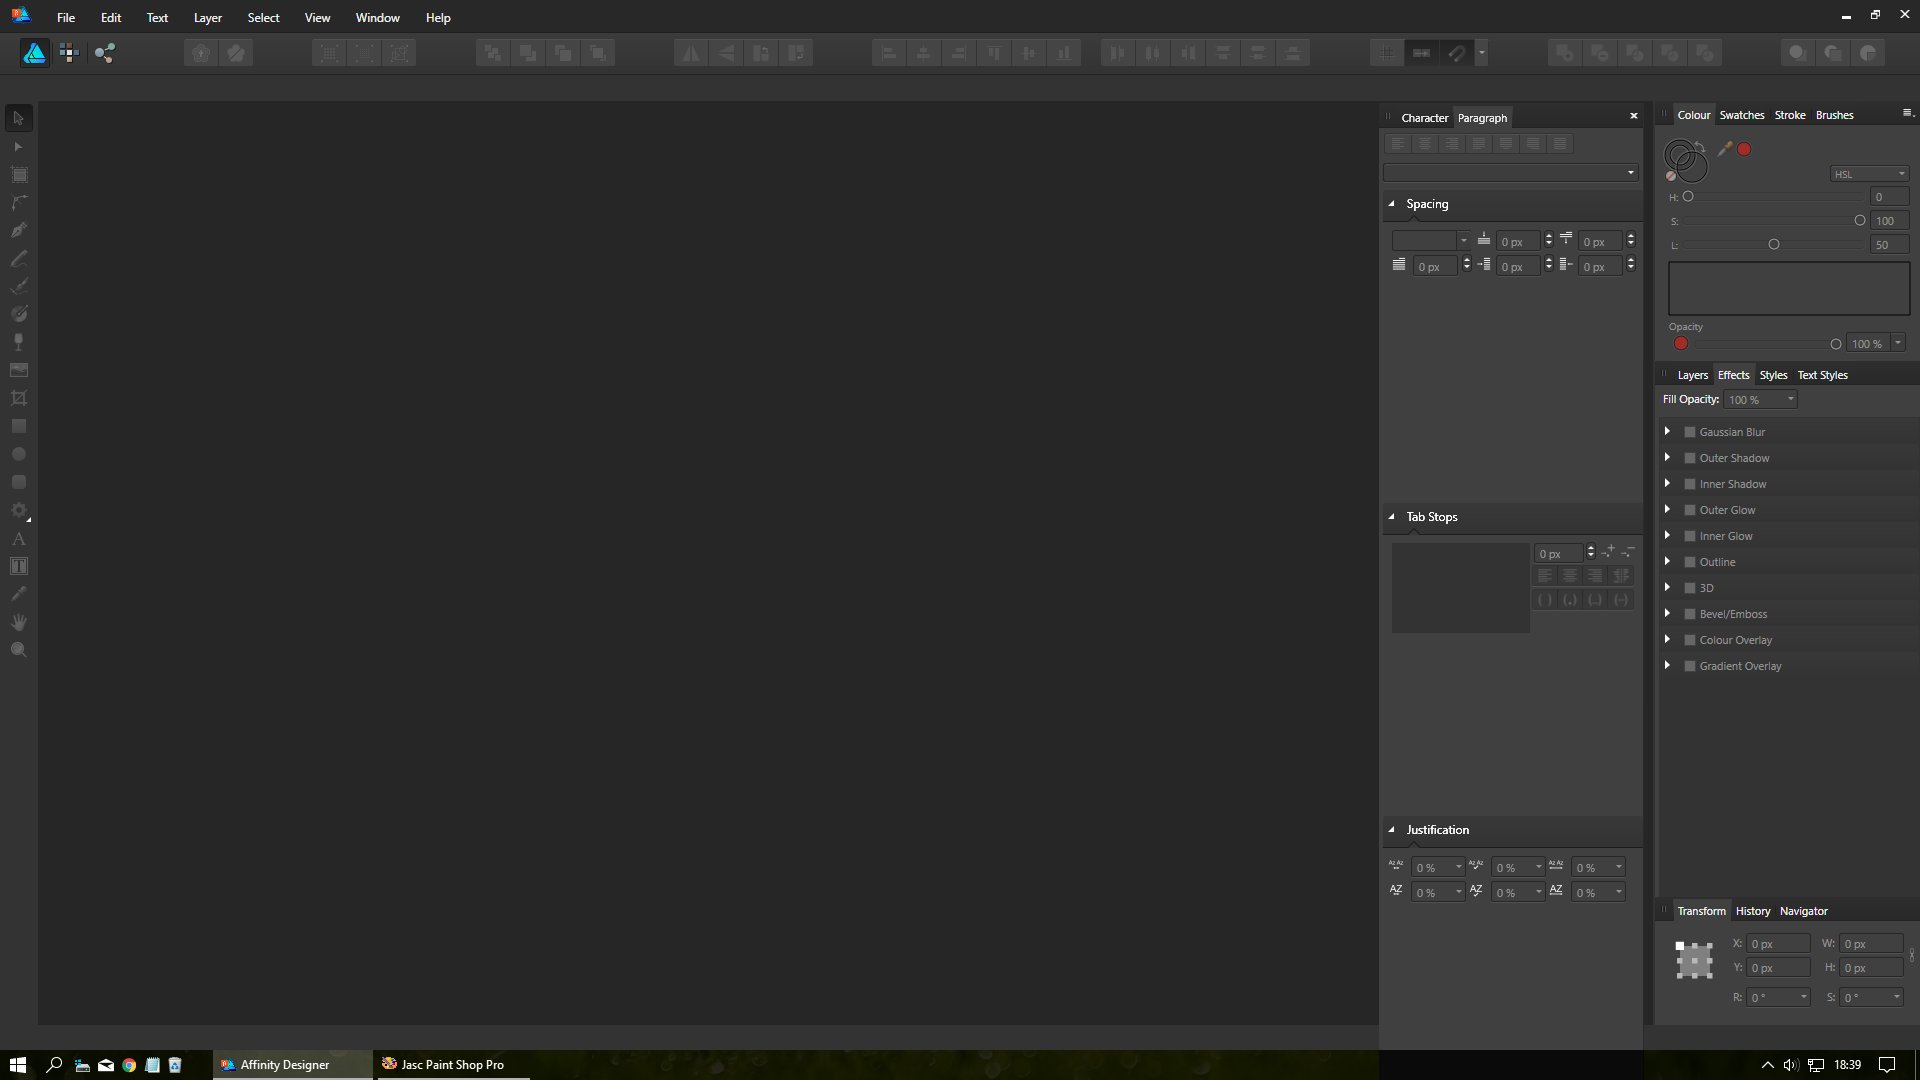
 I've noticed this in previous betas too. When I first load Affinity and click on the Paragraph Tab (docked with the Character Panel), the whole panel is stretched very long. The only way to shorten it is to contract then expand the 3 sections (Spacing, Tab Stops, Justification). Please see screenshot for a 'before' shot.
-
Hello Initially I expected the input fields for the width and height in the New Batch Job window were for specifying the maximal width and height an image could be (not unlike Photoshop's Image Processor). With that thought, I added a few images with portrait and landscape orientation in the batch and specified 1024 in both the width and height fields. I expected that the landscape images wouldn't exceed a width of 1024 px and the portrait ones wouldn't exceed an height of 1024, all while retaining their original aspect ratio. I just found out it doesn't work like that, and the image will be forced in the specified sizes by stretching their original ratios (a square in my case). Is this by design? I can't think of many uses for this and in that case, I hope you can add a maximum-option to the New Batch Job window in order to add the functionality I described above. I'm looking forwards to hearing your thoughts! Bauke