Search the Community
Showing results for tags 'gradient'.
-
 Hi, Does anyone know if there are plans for a 'Freeform Gradient Tool' in Affinity Photo or Designer? Thanks...
 -
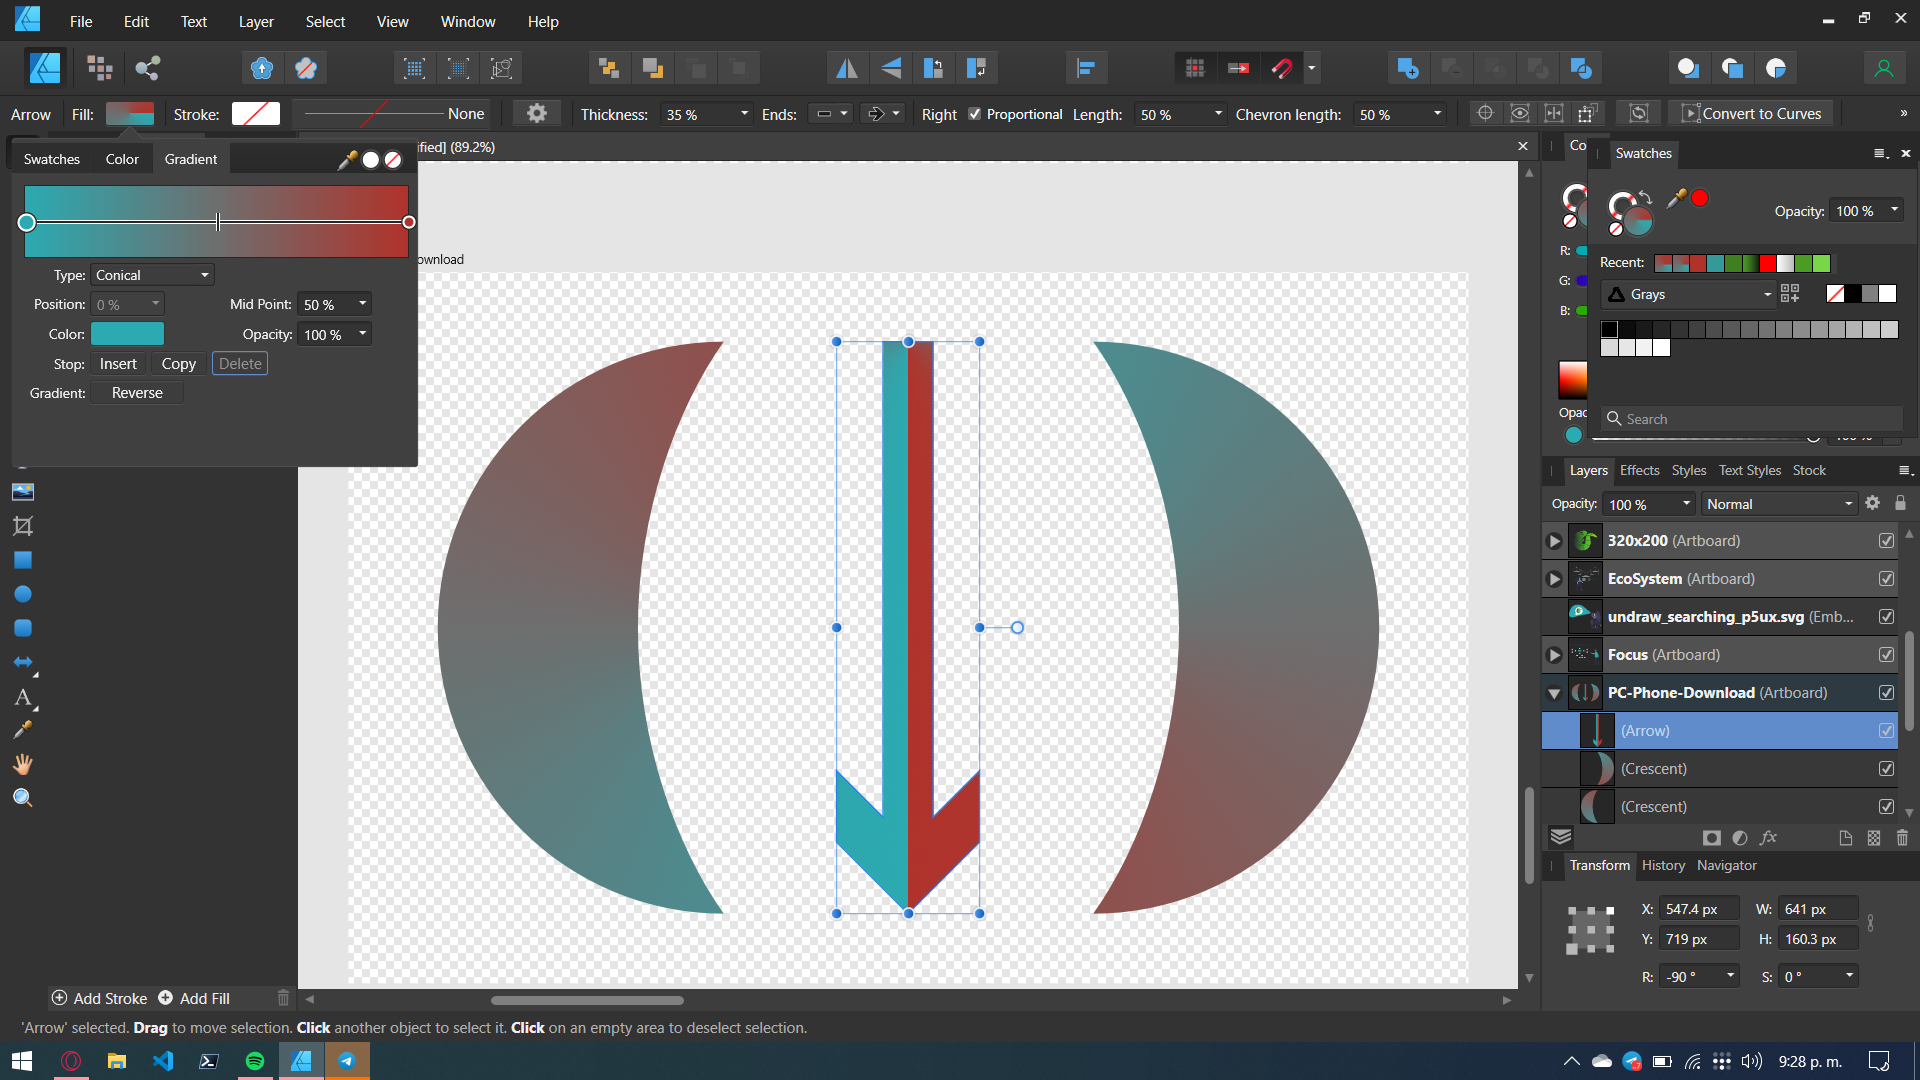
 Hello, when i try to apply the gradient to a element it appear this way, and the crescent one you said, if i click the option mirror it will appear the same way of the arrow.
-
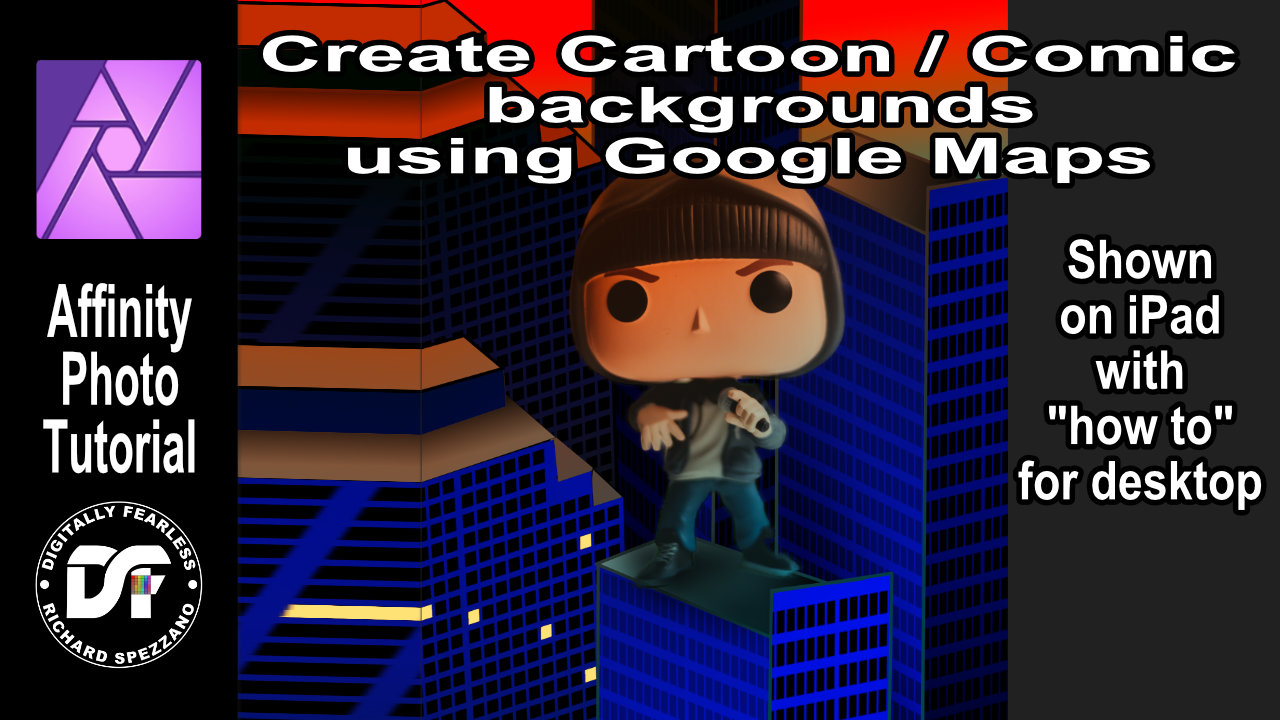
 Create comic or cartoon backgrounds with the help of Google Maps. A Digitally Fearless tutorial shown on iPad with explanation on how to do it on desktop. https://youtu.be/gn4-tGAC6SI
-
 Export GIF from a document with a transparent background and an object with a gradient from 100 percent opacity to 0. It is not displayed.
-
 I am trying to use the color picker when I use the gradient tool. It deos not work. 1) I click on the gradient and I select my first color 2) When I click on the color picker on the top right (nothing happen :-( ) > I should be able to pick a color on my design where I want. It should be the main idea of color picker no? 3) So I decide to open the color selector : again the color picker does not work. Nothing happens Its soooooo frustated Did I do something wrong ?
-
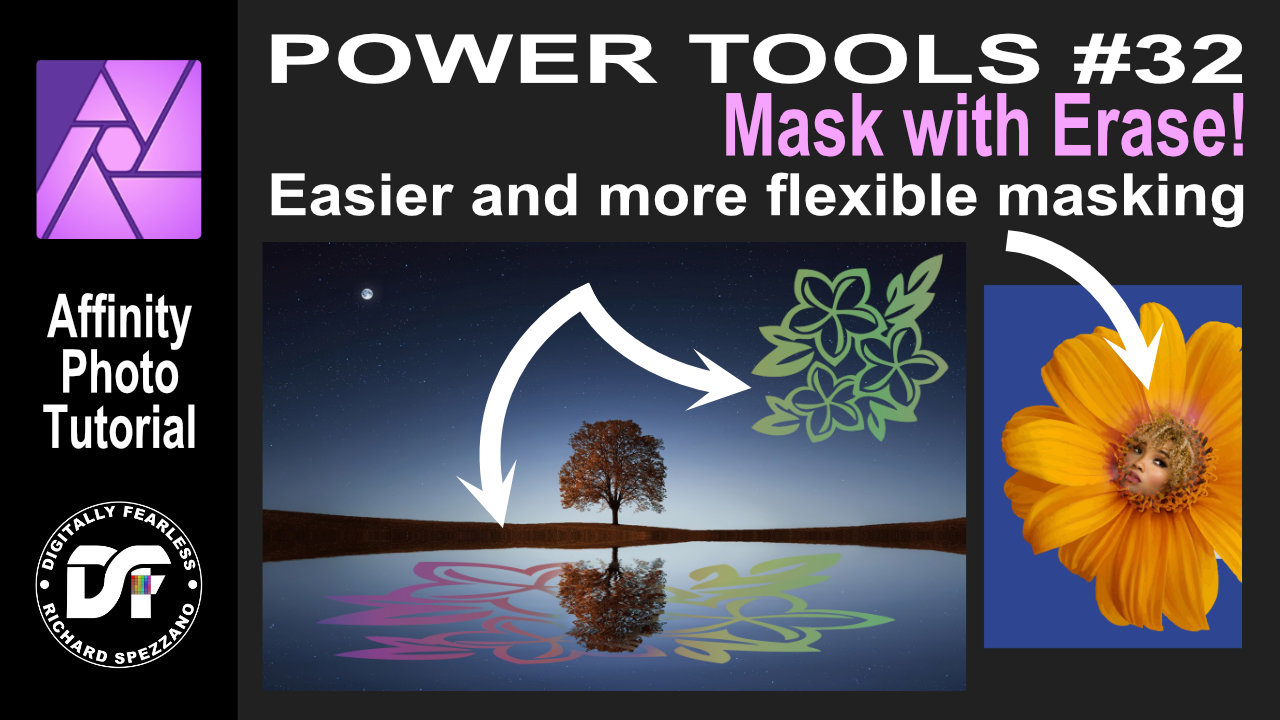
iPad and Desktop. Easier and more flexible masking | Affinity Photo Tutorial Power tools 32. This tutorial uses erase blend mode, gradient, & fill layer. There are two versions of this tutorial. IDesktop version: https://youtu.be/sA5T4ysswfY iPad version: https://youtu.be/YTx0S1BucYg
-
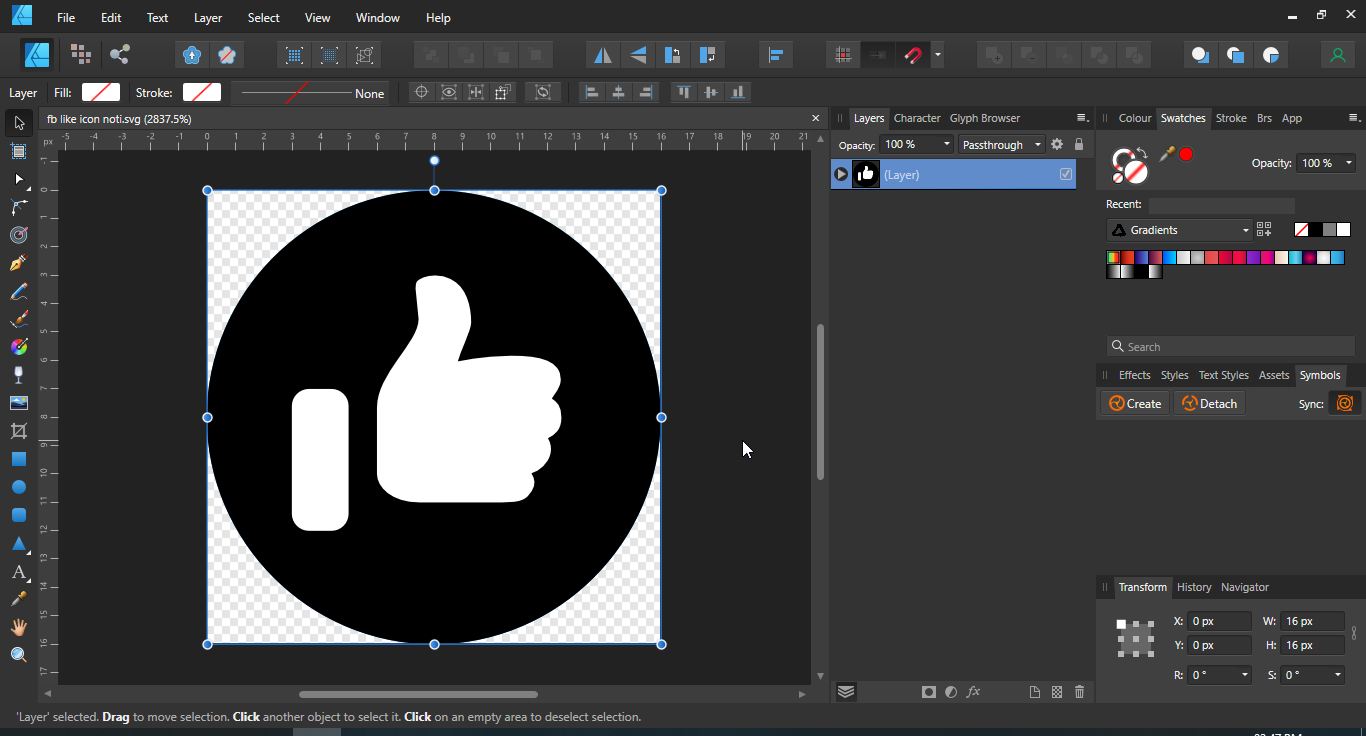
SVGs with gradient colours are getting imported as black. Thanks to Wosven, I didn't notice that gradient layer was hidden underneath the black layer. Here's how it appears in Inkscape: And here's it imported to AD: I'm attaching the SVG as well. fb like icon noti.svg I know similar SVG issues were reported in the forum before; so I hope the team will consider fixing this ASAP.
-
 When applying a gradient I'm noticing these dark lines within the inner white border of a shape. I have no styles or effects set. When I use a regular fill I still see it to some degree, but it isn't as noticeable. I thought maybe it was a rendering issue that would resolve itself out when I zoom out or export, but that's not the case. Any way to get rid of it ? GRADIENT FILL REGULAR FILL
-
 Wouldn't it better to use the same name for both the Gradient tool(in Photo) and the Fill tool(in Designer)? They are the same tool yet they have different name. I feel it's confusing.
 -
 Hello, I've been trying to export some documents for use on Adobe Illustrator, and one of the issues I'm encountering is the fact that all gradients are rasterized once the PDF file is opened on Illustrator. (The gradient is not rasterized whe I open it on Inkscape however, I can still edit it there) The thing is, just yesterday I tested some PDF export settings in Designer and actually managed to export editable gradients for illustrator, but I don't know if I didn't save those settings properly, but I cannot replicate this again. I don't have any files to attach, but I will continue to test the PDF settings. Please if anyone has an easier solution it'd be gratly appreciated!!
 -
 Hi There, how on earth do I pick colours from an existing gradient, without just using the eyedropper as close to the edges as possible and hoping i get the 'full' end stop colour, not just one of the in-between shades? Lets say I open a file provided by a client and an object has a gradient of blue to grey. I want to use the same blue and grey to create other objects. I can't use the eyedropper as I might not get the full blue or the full grey if I don't click right at the edge of an object fill. Is there an easy way to 'name all colours' or 'add all colors to swatches' that will know the gradient is basically just comprised of 2 solid colours?
 -
 In an earlier version of Publisher I gave a (gradient) colour background to a picture frame and placed a partly transparent picture in the frame. (a .png portrait without background) The background than appeared as expected. I now try this again, but the background stays white. Where did I go wrong? (I took a frame I made earlier and it just worked - I could even change the colour etc - . But when I make the frame from scratch it does not)
 -
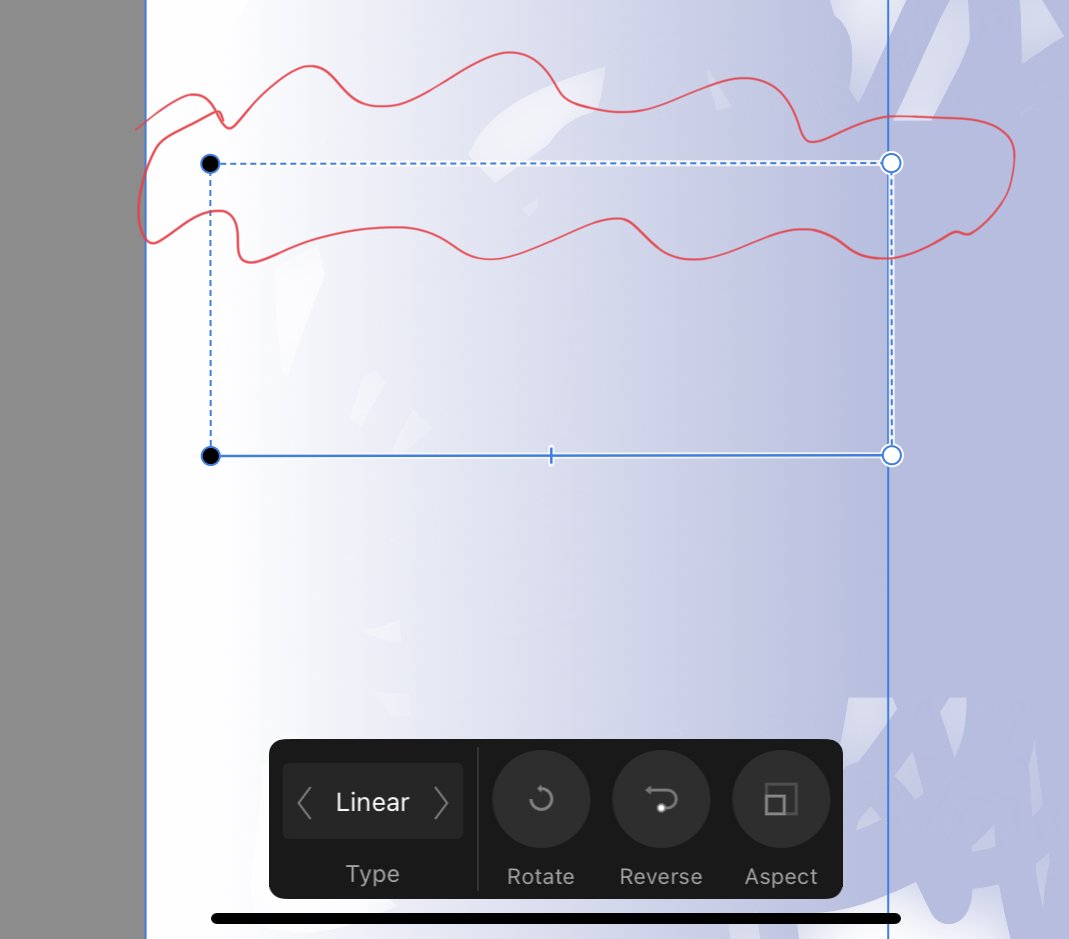
 Hi, I often find myself wishing I could make a linear gradient fill be curved rather than, well, linear (ie. a straight line). Wouldn't it be cool if you could add a node or nodes to a path perpendicular to the gradient fill path with control handles which could be manipulated as when using the pen tool in standard pen mode to create bezier curvature to the shape of the gradient fill....... In case it's not clear what I mean, I have attached a quick mock up where: A is a linear gradient fill applied to a straight object to give a 3D effect of, say, a pipe B. is the same linear gradient applied to a curved object (the 3D effect achieved in A. is lost) C. is the gradient following the curve of the object (shading done for this illustration using the brush tool on a pixel layer) where the red line is the bezier path and the blue line the gradient fill path Just saying....... 🙂 Thanks guys !
- 11 replies
-
- 3
-

-
- new feature request
- gradient
- (and 1 more)
-
Please make presets for gradient tool like foreground to transparent , two color and so on...like in the industry standard photoediting program(don't think i have to mention the name). Gradient tool in affinity is good but with these presets it saves so much time for compositing artists. Hope affinity will listen to this..
-
 I like to proppose anadditional feature for Affinity Photo, which I was missing: appling stored gradient fills from the color swatches panel in the fx-panel dialog.
 -
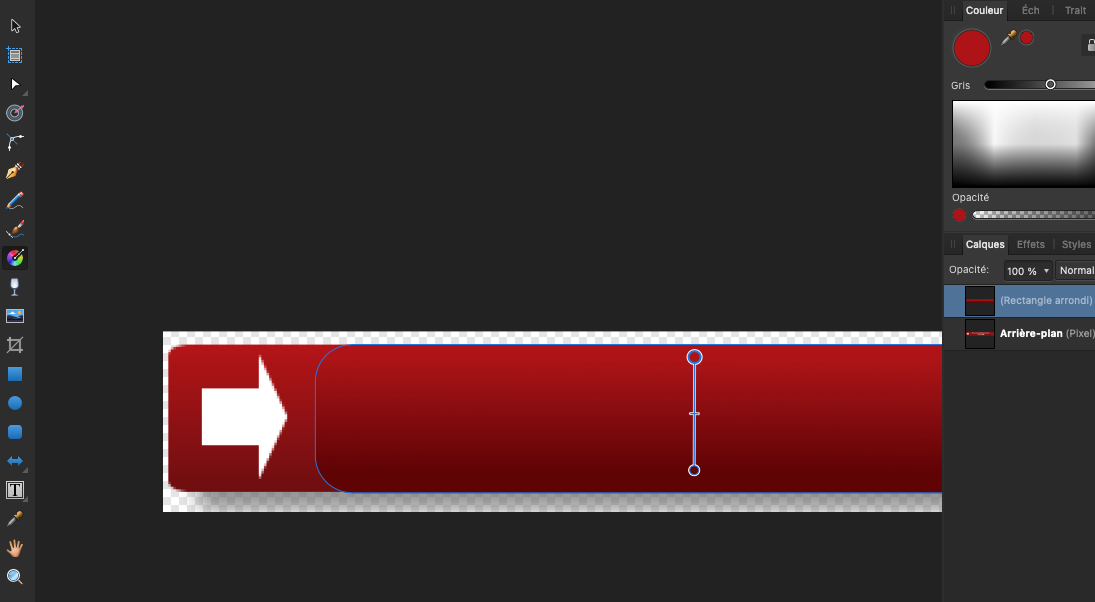
 I’m encountering this extra gradient line a lot. I believe it’s when an object with a gradient applied is scaled or transformed in any way. Then when I decide to tweak the gradient and choose the gradient tool -> this (attached) is what I see. Feels like the moment I do anything with an object with a gradient, this is added. 1) Is there an easy, quick, no-faff way to get rid of it, please? 2) Am I doing something when first applying the gradient that invites this? Put another way: can I apply a gradient and set something that prevents this? Thank you - all help appreciated, always.
-
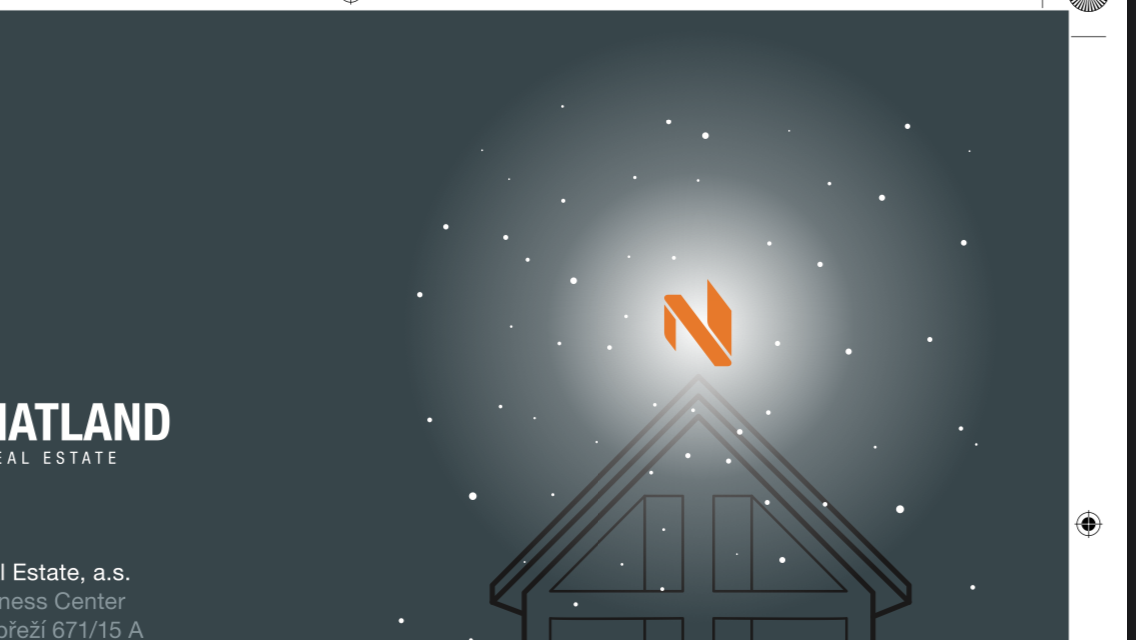
Greetings Team So I was making a nice glow behind some text by creating a gradient in a circle and then making it oval by scaling it down on the vertical axis. It looks great in app but when I export it forces the gradient back to a round shape which looks odd. I understand PDF may not support distorted or oval gradients but then it should be rasterized properly before it exports. In app... in PDF (CMYK conversion so the colour is different)... Thanks for your review on this.
-
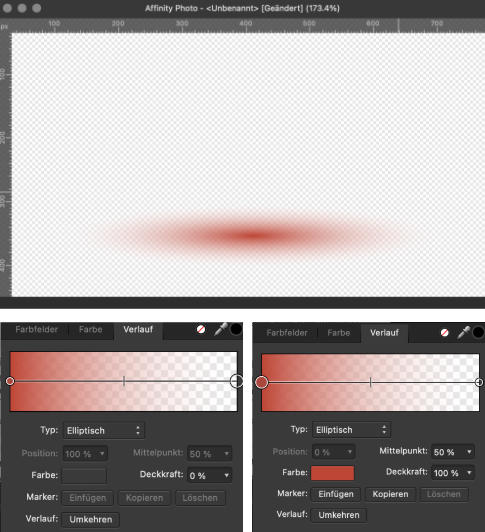
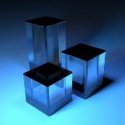
 Hi guys, First time I tried to use gradient for print and cannot figure out what's wrong. ;) Check the screenshots. On the display the gradient looks perfect. In the exported PDF it looks awful. I've tried circle with radial transparency 0-100% added, and also white circle with white to transparent gradient. Same result. Midpoint is at 40% and I even tried different transparency/color values for this midpoint but it's still the same. is there a simple way how to achieve this gradient for print? Thanks.
-
 I feel it’s not possible in AD, but just to be sure, is there a way I can apply a gradient to the stroke width? I mean, I know I can apply a gradient to the length of a stroke, but can I do it also to the width, so that gradient would follow the path of the stroke? My first thought that it maybe could be done via layer effects, but I couldn’t figure it out.
 -
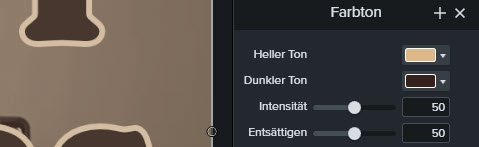
 Hi there, I have 3 branding colors (1 main accent, one near white and one near black). In my video editor I found an option to set a different color for the light and the dark tone independently. So I set 2 of my colors, set the saturation and the intensity each to 50% - voila, loved the result. Now I want to do the same to my photos for branding reasons. So I tried all the options I could find (including the colorize function with the 2 sepia presets) but didn't get really close. How can I do this in Affinity Photo? Thanky ou for your help, Andi PS: My exact colors are vintage white: #FCF9F2 / 252 249 242 (instead of plain white) beige: #DEB887 / 222 184 135 dark brown (instead of plain black): #35211D / 53 33 29.
-
 In the Develop Persona in the Overlay area: 1. Click on the gradient tool icon. 2. Create a gradient by dragging from top to bottom. Result: Gradient appears as coming across from the right edge of the image. Re-tested and this time drew a gradient from the left edge into the image and the result was a gradient was created from top to bottom. Windows 10 Version 2004 OS Build 19041.450
 -
 I don’t normally use HSL colours so this is a new area for me. In my attached image I have two rectangles, each with a horizontal linear gradient fill. The top rectangle gradient goes from RGB 0, 0, 0 on the left to RGB 255, 0, 0 on the right and that looks as I would expect (the colour at the middle point is RGB 128, 0, 0, as can be seen in the little square below it). However, the bottom rectangle gradient goes from HSL 0, 100, 50 on the left to HSL 360, 100, 50 on the right but I don’t get the colours in-between the two as I can see in the “H” slider of the Colour Chooser. I would have expected – possibly naively – that the middle point of the gradient would be coloured as can be seen in the little square underneath (manually chosen colour), and I would get all of the other colours too, but it’s not. Am I doing something wrong? Is there some fundamental thing which I’m not understanding about HSL? I did a little searching in the forums but didn’t notice anything relevant. Some related questions but no answers that explained it (to me). (I’ve also attached the document for people to experiment with.) HSL-on-gradient.afdesign
-
 I could do this in Photoshop with the gradient tool, but I can't find a way to do it in AP. I want to have a photo in a full-page ad at the top of a page to gradually fade into the copy block below it. In Photoshop, I could apply a gradient affect that would melt into transparent space at its bottom edge (or any age, for that matter). It was great for doing collages. Anyone been able to do this in AP?
 -
 Hi Using Gradients, or shadow effects dramatically increases the exported SVG file size. Do anyone have any tips/tricks for how to use gradients in a way that does not affect the file size? This is important for use on webdesign etc. By example, a file was 4kb, without gradient. Introducing 1 gradient and 1 shadow effect resulted in a 60kb SVG file. Anders