Search the Community
Showing results for tags 'glow'.
Found 13 results
-
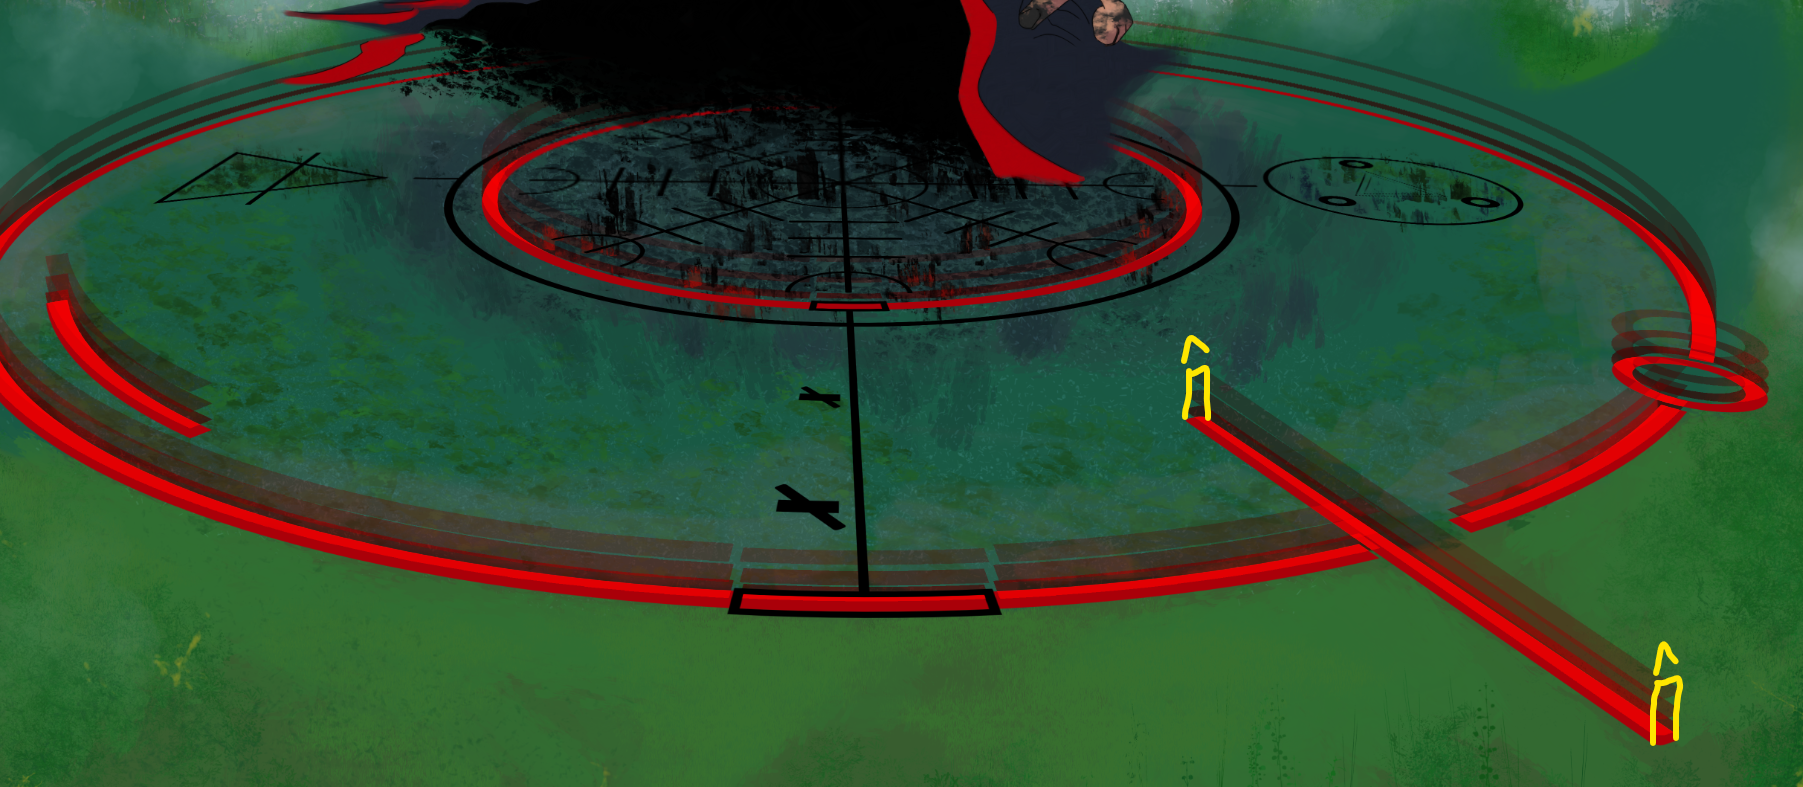
 Hi, apologies if this is the wrong forum, I saw there is a tutorial category but it seems it's more for posting guides than to ask questions. Is there a way to create a continuous glowing effect being emitted from the surface, like shown below with multiple fading layers? I am trying to make the effect have the same volume throughout the front and back without it being visible that they are just multiple flat layers. I can imagine creating the circle as a 3D cylindrical object in another program and then using that as a layer mask but is there a more efficient method? Thank you
-
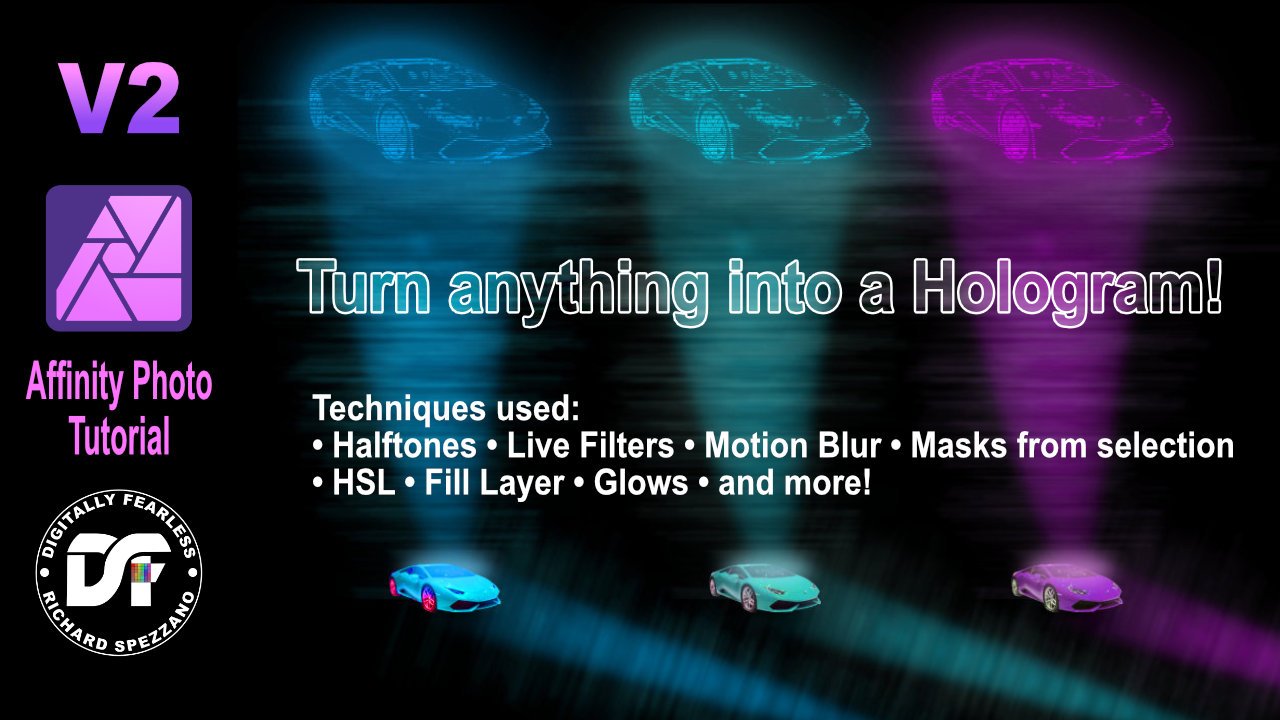
 In this Affinity Photo 2 tutorial for the desktop, I show one way to make holograms using live filters, halftones, different types of blurs, masks from selections,HSL filters, glow FX and more. I also did this tutorial for the iPad. Check out my YouTube channel for that version. https://youtu.be/ENdlHsLpGZY
-
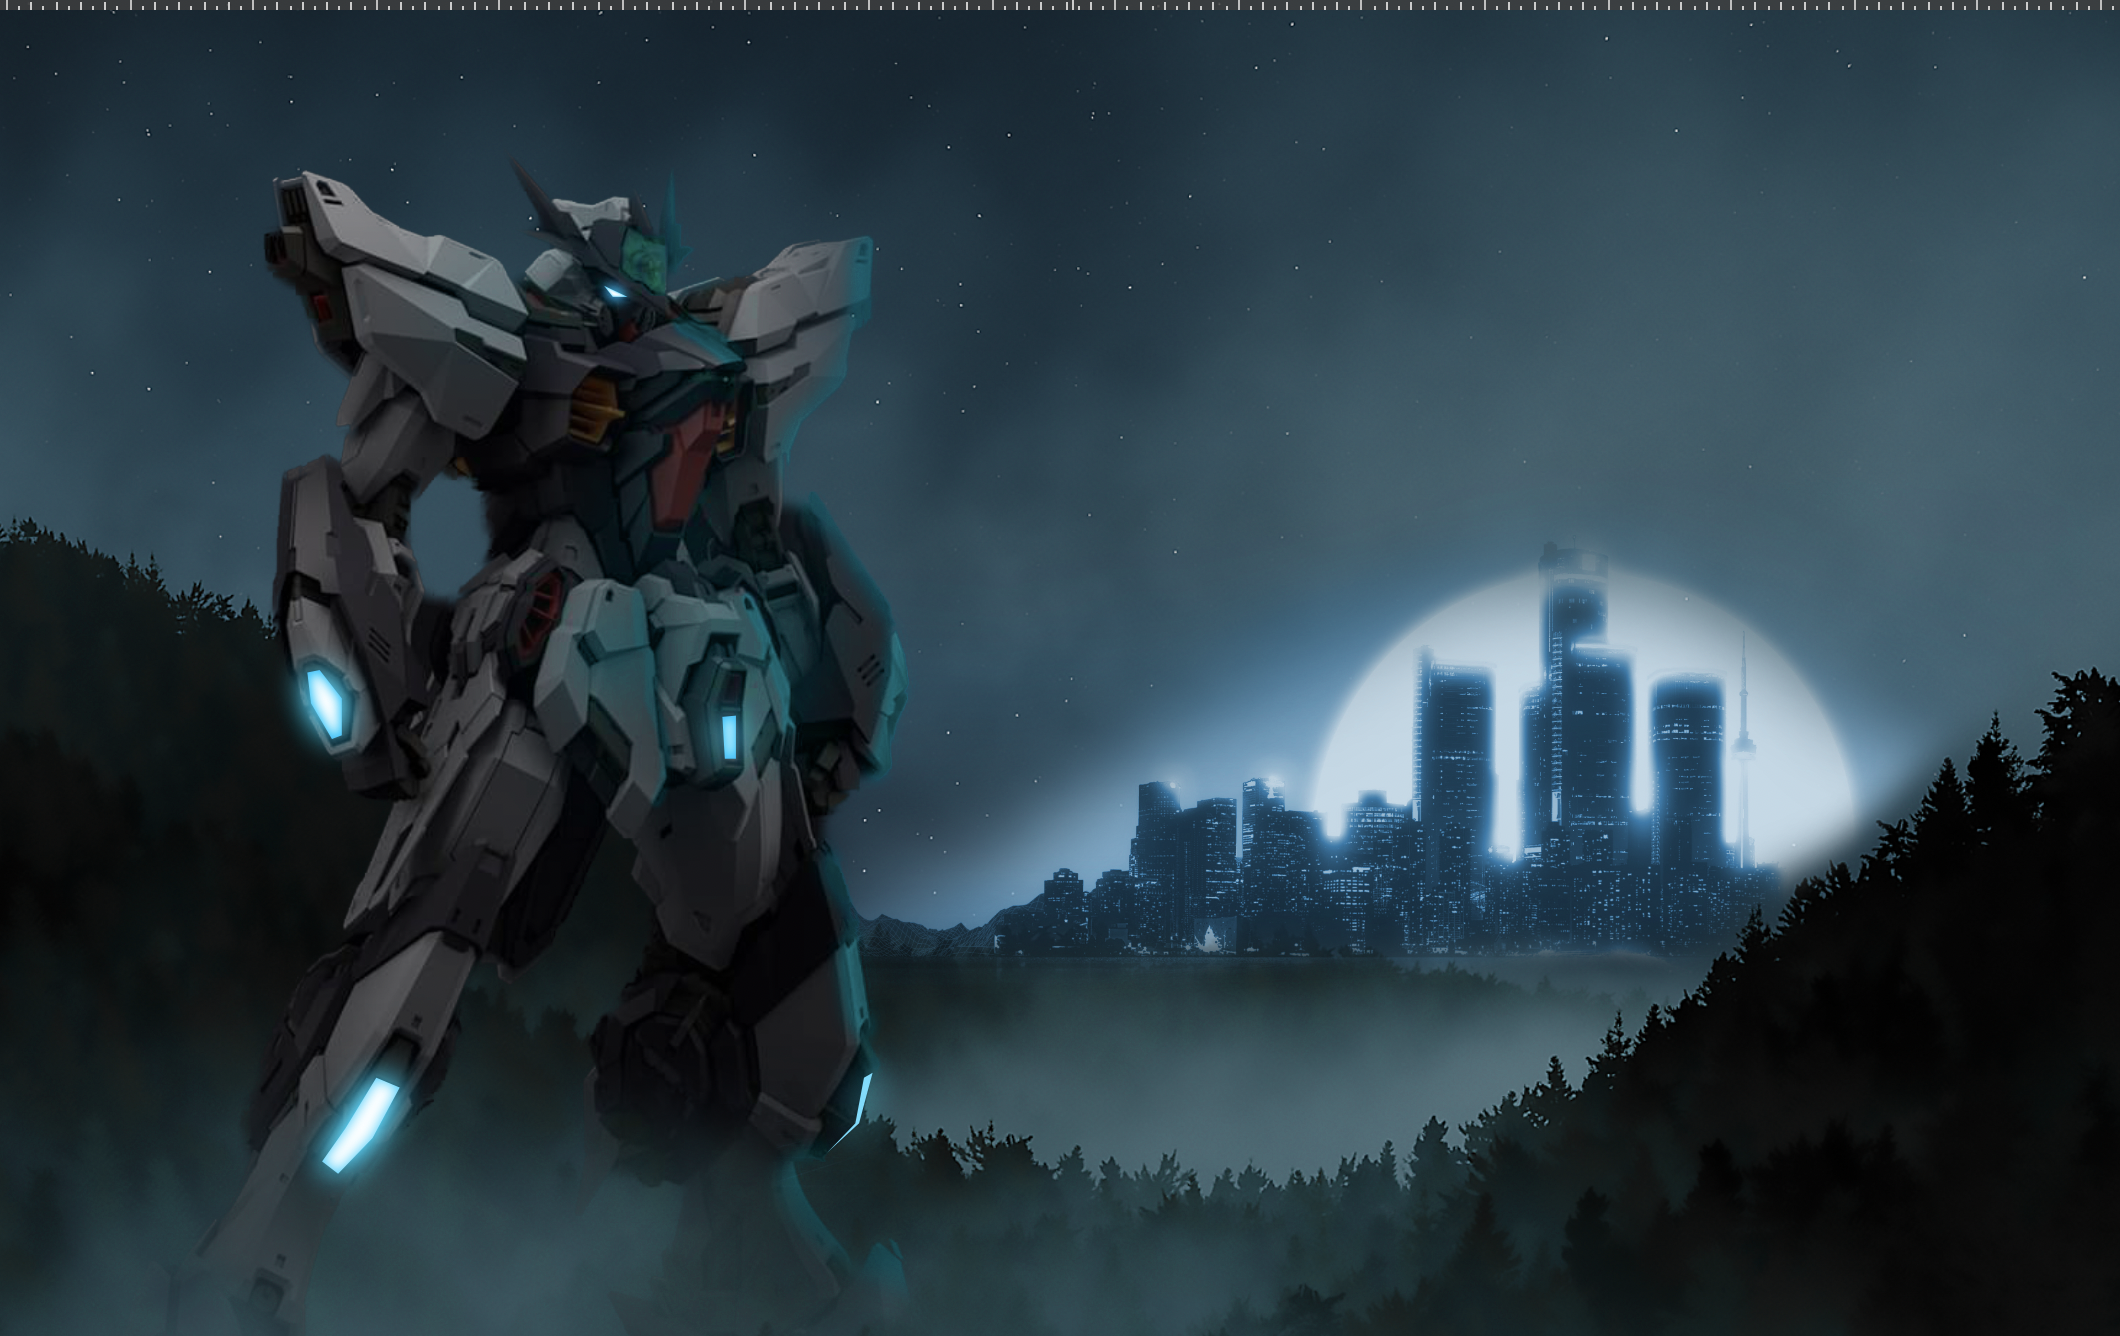
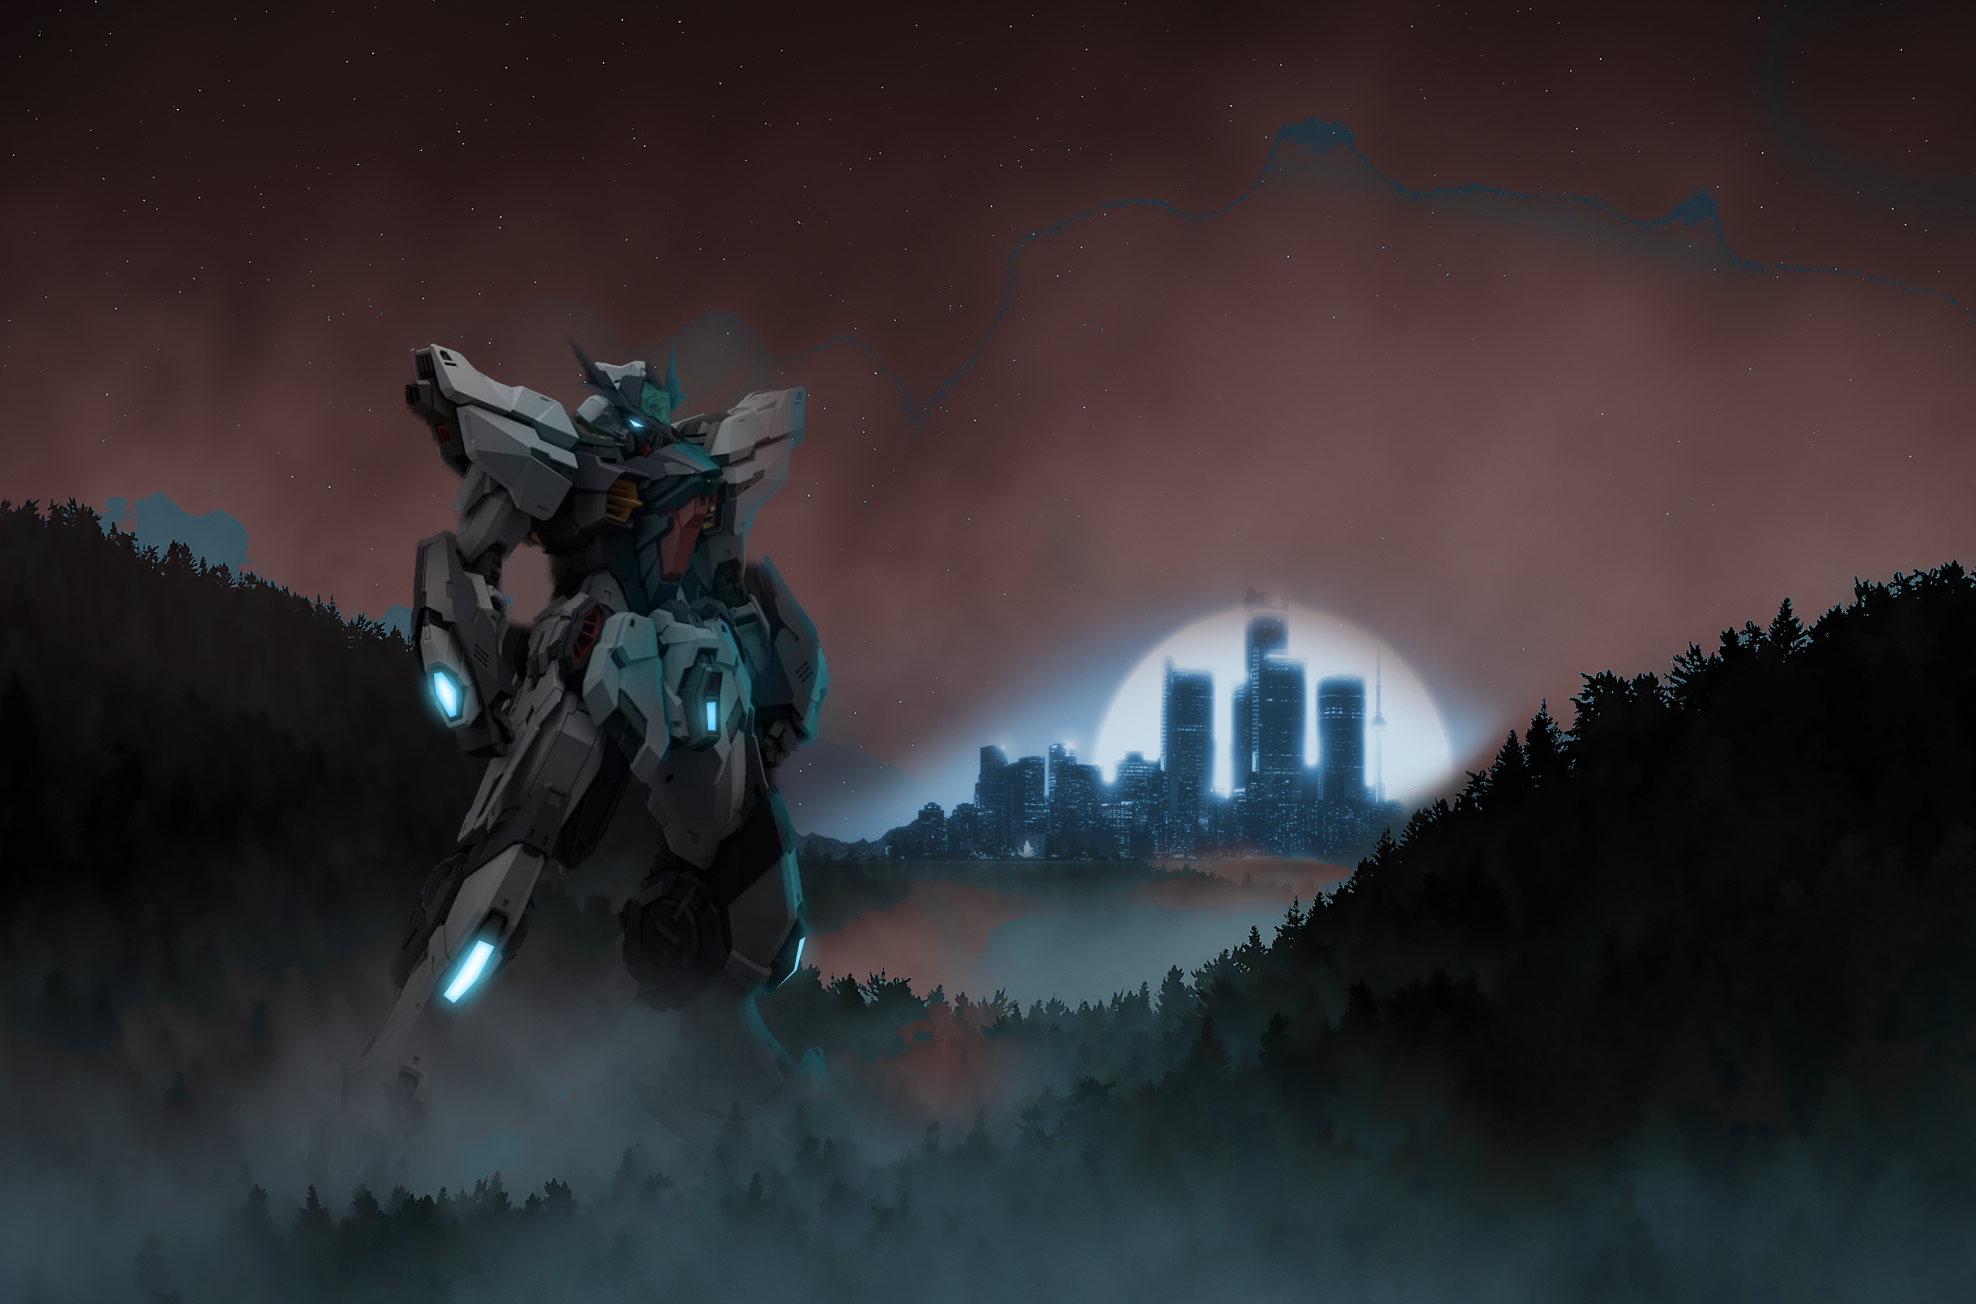
 Hi! After 3 years I finally decided to open up Affinity Photo and start to practice (I mainly use Designer and Publisher). There are a couple of road bumps that I cant seem to find the answer too. I am familiar with the brush tool and the basics such as keeping the colours black and white when you are blending to remove or add. My issues come when I am trying to add artificial light or highlights using the brush tool. In the example below, I have a Mech in a forest with the city in the back. I was able to blend them in, but I am having troubles adding the highlights from the city onto the edges of the mech and trees. It allows me to paint with any colour but they seem to be very dark. I have no control over the vibrance of the highlight or the contrast. I only have control over colour and opacity. Could it because whatever i am paining on a mech that already has adjustment? I usually add highlights at the end in Photoshop! Q1: If I wanted to add a very thin or thick glow / highlight on the mech from the city, how would I do that? Q2: Recolouring seems to have this obvious separation where the blends happened. How to fix? (blue shows through red) Q3: When I am changing the exposure, shadows or light on the mech it selects the entire project even though I specifically click the single masked mech. I then have to copy the adjustment and paste to group only the mech. Is there a fast way of only selecting mech and not the forest? Hope someone has an answer! Also, great community and great software. I've been more than satisfied for the last 3 years and I rarely have to come on here to look for solutions. :)
-
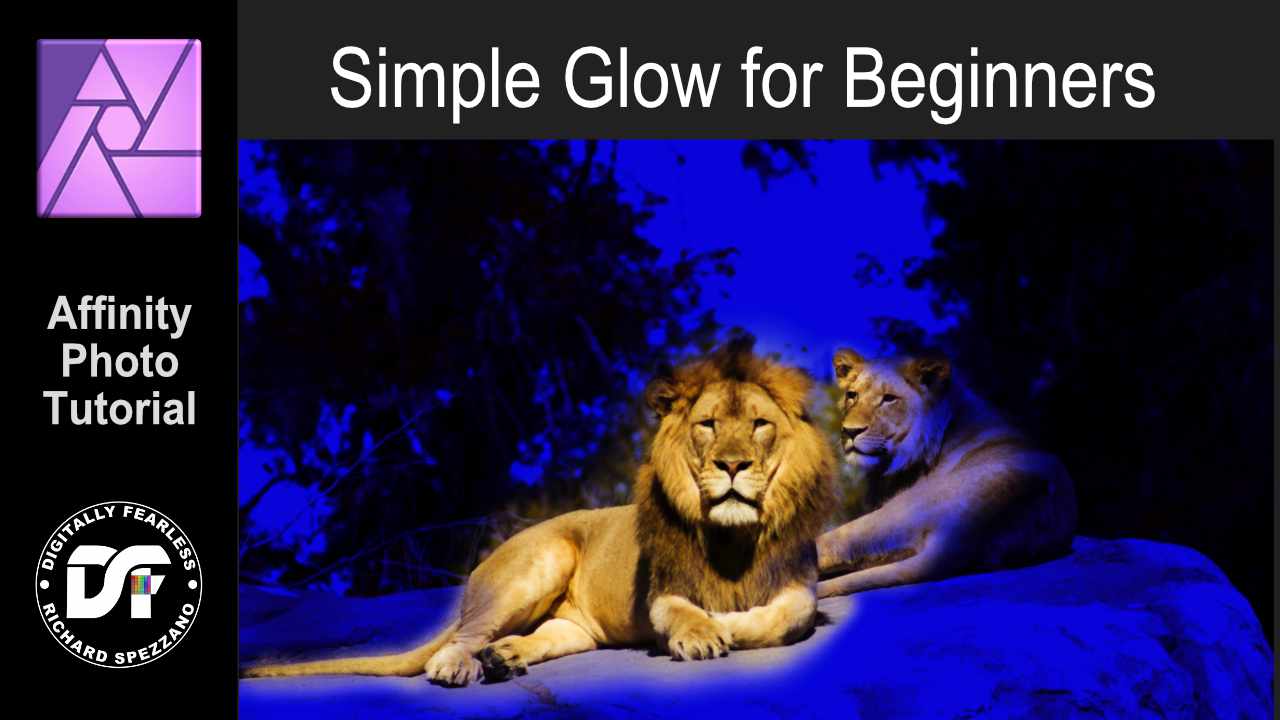
A simple glow - photo manipulation for beginners. Affinity Photo tutorial. This is for those just starting out in Affinity Photo. I kept the video short and there is so much more to improve the look of the photo, but I just wanted to give you a start. It uses layer fill, HSL, masks and blending modes. https://youtu.be/lsX9UW_rMps
-
 In this Affinity Photo Tutorial, You will see, How to create Neon Glow Line around persons in Affinity Photo. In this tutorial, I used the Pen Tool and Node Tool for creating the line. I hope you like the video. Thanks #affinitytuts, #neongloweffect, #affinityphoto
- 2 replies
-
- 2
-

-
- affinity photo
- neon
- (and 3 more)
-
 Hello, I am a newbie with the Affinity Designer... I check different Video Tutorials, but I didn't find exactly what I need... I would like to make my normal png like the Glow effect couch.png. What is the best and easiest way to do that....? I would really appreciate each help... with kind regards from Germany AD_Rookie49
-
 Hey, just wanted to share with you my latest tutorial on Affinity Designer. In this video you will learn how to create a nice looking flat design moon in Affinity Designer. Hope you'll find it useful! Click here to view the tutorial
 -
Hi guys, I've recently completed this new artwork using all vectors. The challenge had been to avoid 3D modelling while reaching a similar effect with the power of lights inside Affinity Designer. I used Affinity Photo only to apply the light effect on the in-graphics vintage poster, simulating a rudimental light from up left corner. Hope you appreciate.
-
 Hallo, I want to add an outer glow to a text. Found a few resources saying that there is an outer and inner glow layer effect. However I cannot find these effects in the software. I searched in Layer - Live Filter Layers (german: "Neue Live-Filterebene") but could not find these filters. Where can I find these. Thanks in advance and regards - Ulrich
 -
Free Neon Elements you can use them conveniently thanks to the assets panel .afassets file included. You can use it in both personal and commercial projects for yourself, your company or your customer. hope it will be useful for you Download it from here http://www.affinitytemplates.com/neon-kit-resources-for-affinity-designer/
- 3 replies
-
- 5
-

-
- neon
- affinity designer
- (and 7 more)
-
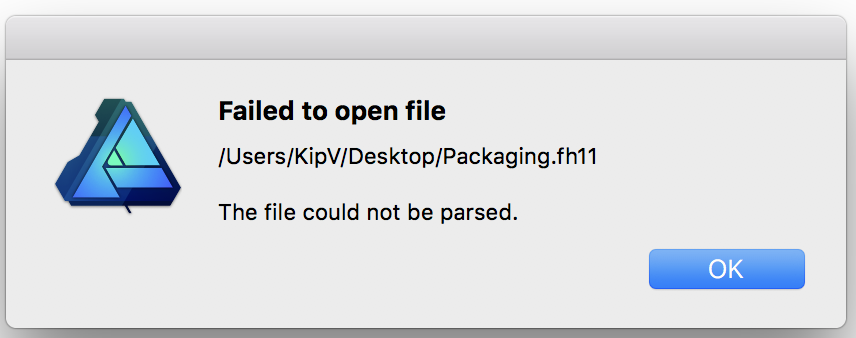
 I have a FH file that extensively uses the glow effect; I am wondering if AD can't open that? Another FH files without the effect appears to be able to open the file.
-
 Hi Affinity pros, I am struggling already some time with a supposedly simple problem: I have a photo of a wooden plane (see attachment), which was taken with flashlight. In the middle of the plane is a nasty glowing area. I try to get rid of that. When I try to reduce the glow the picture becomes either blurry or the area tends to become grey instead of brown. Any idea, what I can do? Thanks in advance for any advice! Best, Chris
-
 Based in a topic here at the forum I made this tutorial to cover how to create a glow effect in letters. ;) https://www.youtube.com/watch?v=ejB93TiS4mU The language in the video is portuguese with english subtitles. Hope you enjoy the video, Pedro
-
- 3
-
-
- affinity photo
- glow
- (and 5 more)