Jump to content
You must now use your email address to sign in [click for more info] ×

Search the Community

Showing results for tags 'frosted glass'.

  • Search By Tags

    Type tags separated by commas.
  • Search By Author

Content Type


Forums

  • Affinity Support
    • News and Information
    • Frequently Asked Questions
    • Affinity Support & Questions
    • Feedback & Suggestions
  • Learn and Share
    • Tutorials (Staff and Customer Created Tutorials)
    • Share your work
    • Resources
  • Bug Reporting
    • V2 Bugs found on macOS
    • V2 Bugs found on Windows
    • V2 Bugs found on iPad
    • Reports of Bugs in Affinity Version 1 applications
  • Beta Software Forums
    • 2.4 New Features and Improvements
    • Other New Bugs and Issues in the Betas
    • Beta Software Program Members Area
    • [ARCHIVE] Reports from earlier Affinity betas

Find results in...

Find results that contain...


Date Created

  • Start

    End


Last Updated

  • Start

    End


Filter by number of...

Joined

  • Start

    End


Group


Website URL


Location


Interests


Member Title

Found 1 result

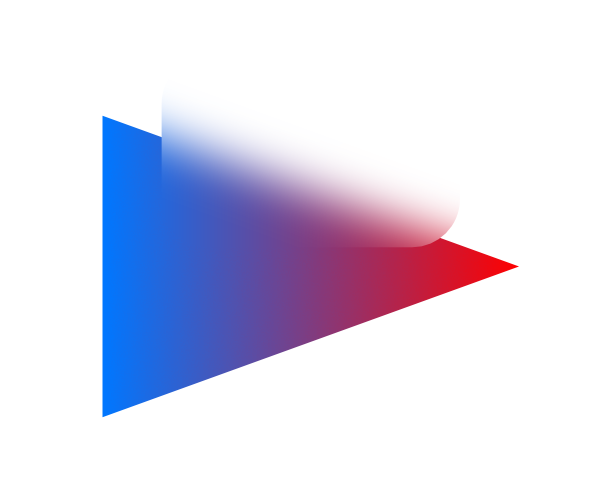
  1. This is a short tutorial for Affinity Photo that shows you the steps for creating a frosted glass effect. The finished effect created in Affinity Photo can be used and edited in Affinity Designer. 1. Deselect all layers. 2. Click the "Live Filters" icon in the Layers panel, and choose Gaussian Blur from the list. Move the slider so that the effect is visible. 3. Create a shape, it must be filled with color, it can be vector or raster. This shape will be the silhouette of the frosted glass. 4. In the Layers panel, drag the "shape" layer onto the "Gaussian Blur" layer icon so that a small vertical bar appears on the layer icon. Thus, the shape will limit the effect, i.e. the shape will be a mask for the blur effect. Tip: For the effect to work properly on the artboard in Affinity Designer, the artboard must have a background as a vector or raster non-transparent layer, or just apply color to the artboard. Also, the "Preserve Alpha" option must be enabled in the blur effect settings. Example files: Blur.afdesign Blur_Artboard.afdesign Video tutorial: Blur.mp4 -
×
×
  • Create New...

Important Information

Terms of Use | Privacy Policy | Guidelines | We have placed cookies on your device to help make this website better. You can adjust your cookie settings, otherwise we'll assume you're okay to continue.