Search the Community
Showing results for tags 'frames'.
Found 13 results
-
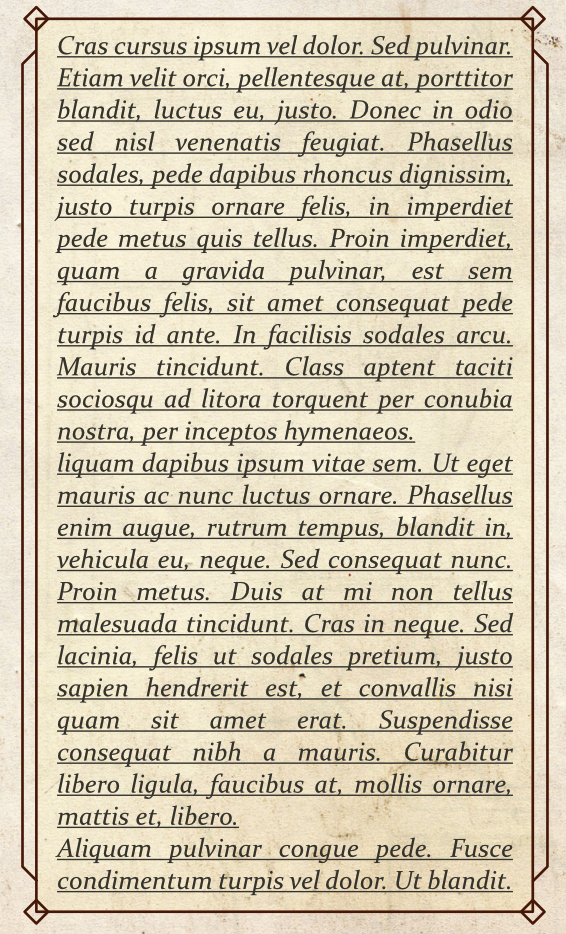
 Hey everyone :-) I am wondering if there's a possibility to link custom frames (made in Affinity Designer) to a text style decoration? I've attached an example picture to show you what I mean. I built the frame in Affinity Designer and just put it on top of the text with a really low opacity. But because I have my text in a textbox on a master page I also can't put the frame (and its coloured background) BEHIND the text, as it is on the master page... To further tell you what I am working on: I am writing a rulebook for a RPG game. And some parts will be examples of how to play the game. I got my custom example text style but I would love to highlight it with a coloured background (that I can easily do in the decorations tab in the text style) AND a custom frame surrounding it. In the decorations tab I can only find a solution to frame it with a basic frame but no custom shapes. Does anyone know if there's a possibility to somehow link/import or do whatever to use a custom frame in combination with a text style? Thanks in advance. Cheers Michael
-
 Affinity Photo V2 For some reason I'm getting theses pink frames around every single object in assets that I insert in a picture: These are not selection frames! And I have no clue where they come from, what they are supposed to be good for nor how to get rid of them. I disabled all possible setting in the view menue already - but they remain. Most likely it's just me beeing stupid - but can't find anything. This effect did not appear in AP V1. Maybe it's just a setting I overlooked. If someone's got any idea please share. Cheers, Timo
-
 Hi, I'm new here so apologies if this is in the wrong room, but I'm trying to create a frame like the one in this image using Designer and failing miserably. Anyone have any ideas?
-
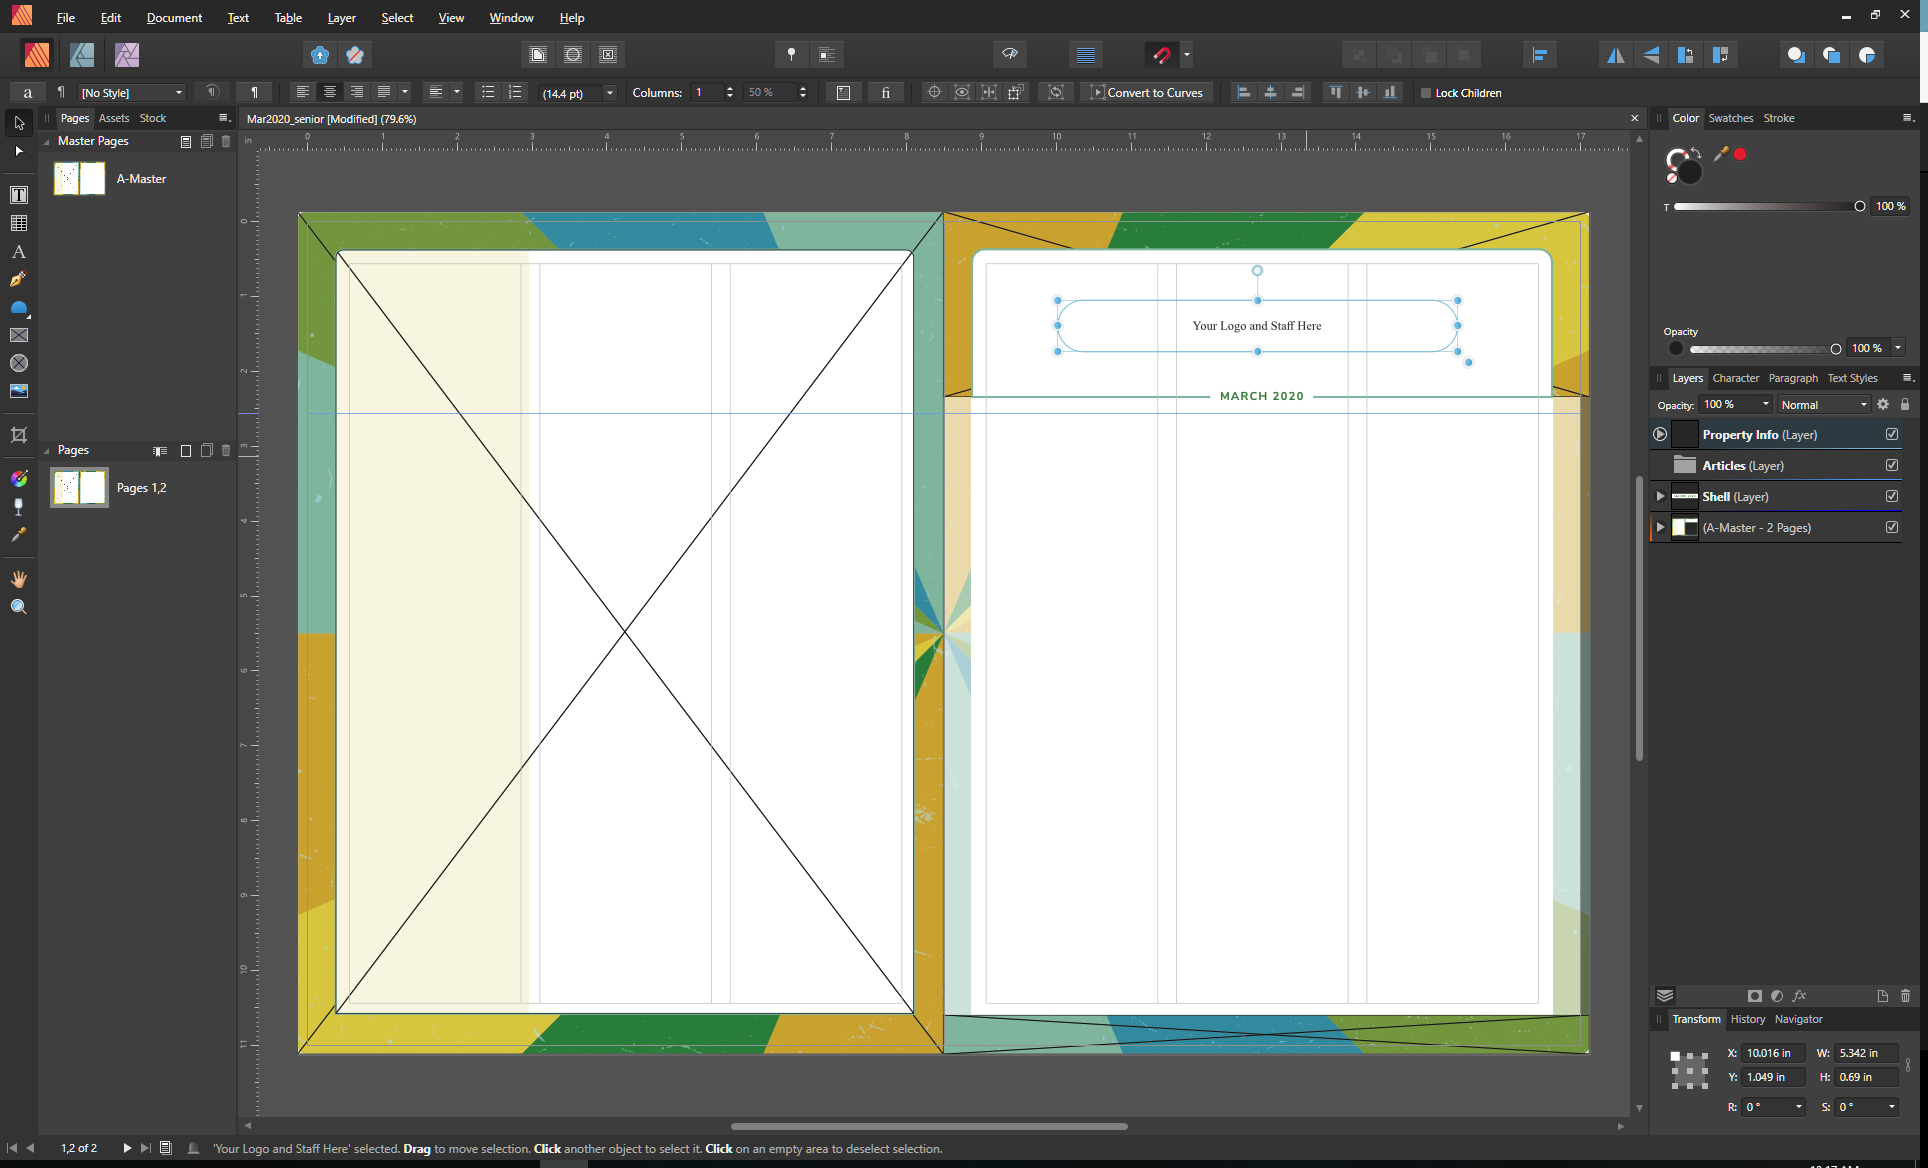
 Hope everyone is well. Adobe user here. Hoping there is an easy fix for this. I imported an InDesign IDML file. There are image files on the master pages. Some have an X through them and others do not. Sorry, but I cannot figure out how to get rid of the X so it doesn't interfere when I place a text frame. On a similar note, a text frame (masthead) imported with rounded corners. How do I restore it to a rectangle?
-
Christmas is fast approaching! Here is a set of over 50 Christmas and Celebration style frames, suitable for print, print on demand (POD), video, posters, cards, photo frames and more. All in 300 dpi png file format. https://www.creativefabrica.com/product/christmas-celebration-frames/ref/63430/ Christmas_&_CDelebration_Frames.mp4
-
Cool, I created a doc frame with a leaf theme to it. Leaf Frame.afdesign
-
Aff. Publisher 1.7.2, MacOS 10.13.6 (High Sierra) Not really bugs but annoying deficiencies in user interface : 1. I can find no way to keep all frame boundaries visible, making it impossible to butt one against another. (No snap on here.) 2. After detaching a master page (via ctrl-click menu), the 'Finish' button is obscured by the studio. 3. I like the listing of matches following Find but when you highlight one in that list, it really should be highly in the text also. In fact, the first instance ought to be highlit there anyway. 4. The rendering of a page still doesn't look anything like as clean as it does in InDesign, somehow. 5. I can find no way to directly kill an instance of hyphenation. 6. InDesign's 'Composer' does a better job of formatting a paragraph. Not sure exactly what it does, but it seems to juggle tracking as it lays out a paragraph, and perhaps hyphenation. I can only match it in Publisher by applying different tracking to individual sentences and words. I do NOT mean to be negative here, just helping with aspiration. Over all, I'm happy with the job Publisher does and am moving over to it (despite CS5.5 working acceptably well on High Sierra). I don't feel the need to catalogue the things it does better than InDesign. The recent MacFormat review said enough. Well done guys, but please keep at it (especially Footnotes and IDML import).
-
Is there a way to remove overflowing text from a publication? I am splitting a very large document in chapters by doing a save-as and deleting superfluous pages. But then every last page has a text-frame with overflowing text, containing all the rest of the text...
-
 I have noted that both text frames and index frames will wrap around entire words and will not split a word into two lines and will not put a dangling comma starting a next line (keeps the word and the comma together always) and will not allow a dangling space to start a next line. However, numbers are being split across two lines both in text frames and in index frames and a comma or a single space (such as found between index page numbers) may end up starting a next line both in text frames and index frames. I believe that these are bugs or broken features; that numbers (with commas and spaces) that wrap around to another line should be treated the same as alphabetic characters (and not split between lines ever) and commas and spaces should not be starting a line that has wrapped around. I have not found any way to control this from the UI. Here is one example that I have in an index (and confirmed that it has a similar problem when formatted separately in a text frame with the default "body" style). (Example shows the split page number "60" on the first line of page numbers, and the dangling space starting the next to last line and a dangling comma starting the last line of page numbers). Photo ii, 5, 18, 20, 21, 22, 29–31, 34, 40–42, 44, 45, 56, 6 0, 66, 67, 70, 71, 73, 78, 98, 99, 115–117, 119, 123, 126, 155, 173, 189, 190, 191, 193–195, 197, 200, 206 , 207, 212, 221 A quirk that is unusual to me: if the number of pages for an indexed item are few, then the item and the page numbers are all on the same line. If the number of pages is larger than will fit on the first line, then all of the page numbers start on the line after the indexed item (as shown above). I would think it more efficient and consistent-looking to always start the page numbers on the same line as the indexed item (as is possible if the indexed item itself is not too long) and then wrap around to the second and subsequent lines as needed. Is there a compelling reason for this inconsistency between a short page number list and a long page number list? Thanks for any information on how to control the formatting or confirm if these are bugs.
 -
 Requesting the ability to import a video file that breaks down into frames that have layers, edit each frame like a photo, play the video back, and export video. Would be productive for video touch ups, VFX and tittles. I could imagine some cool techniques using the liquid brush and some of Affinities other tools on video frames
 -
 Hi, i am searching for any option to reset any squeezed or transformed picture to its original aspect ratio and to scale pictures numeric in %. while the rotation can be set to zero in the Transform Studio there is nothing like "Reset X/Y to 100%". The four different scale-options in the Pictureframe Properties don´t reset to the original aspect ratio of the file once the content is distorted. When working with files like floor plans, it is necessary to make exact changes like: 25% back to 75% etc. there should be deninitly x% and y% in the Transform Studio. I would like to have the option "Reset X/Y to 100%" at the image properties or some easy way to reset distorted images with a click thanks!
 -
 Toggling the visibility of margins, guides and frame edges is something that designers working by eye need do be able to do easily. Publisher has a keyboard shortcut for guides, but this doesn't affect the visibility of margins (in ID, the same shortcut toggles both simultaneously). To toggle the visibility of margins requires a separate operation involving manual selection in the View menu. This seems unduly cumbersome, so it would be good if there were a keyboard shortcut for this. Having for years had the visibility of margins and guides governed by the same ID keyboard shortcut, I have never myself encountered any reason for them to be treated separately; a margin is, after all, a kind of guide. As for frame edges, which admittedly are something else, their visibility in Publisher seems to be governed only by the hand tool, which Publisher unusually calls the 'View tool' (when this tool is selected, frame edges disappear ). This can be activated with the tool palette shortcut keystroke-H, and deactivated with another toolbox shortcut, such as Keystroke-T (one of the text tools) or Keystroke-V (the 'Move tool' - dark arrow). But if you happen to be keying in or editing text in a text frame, you obviously can't use these simple alphabetic keystrokes - unless you come out of your editorial operation first, they will just add a T or a V to your text content, and the ESC key seems not to get you out of this for some reason. The combination of an alphanumeric key with a modifier key would be a more convenient way of toggling frame edge visibility. Louismac
 -
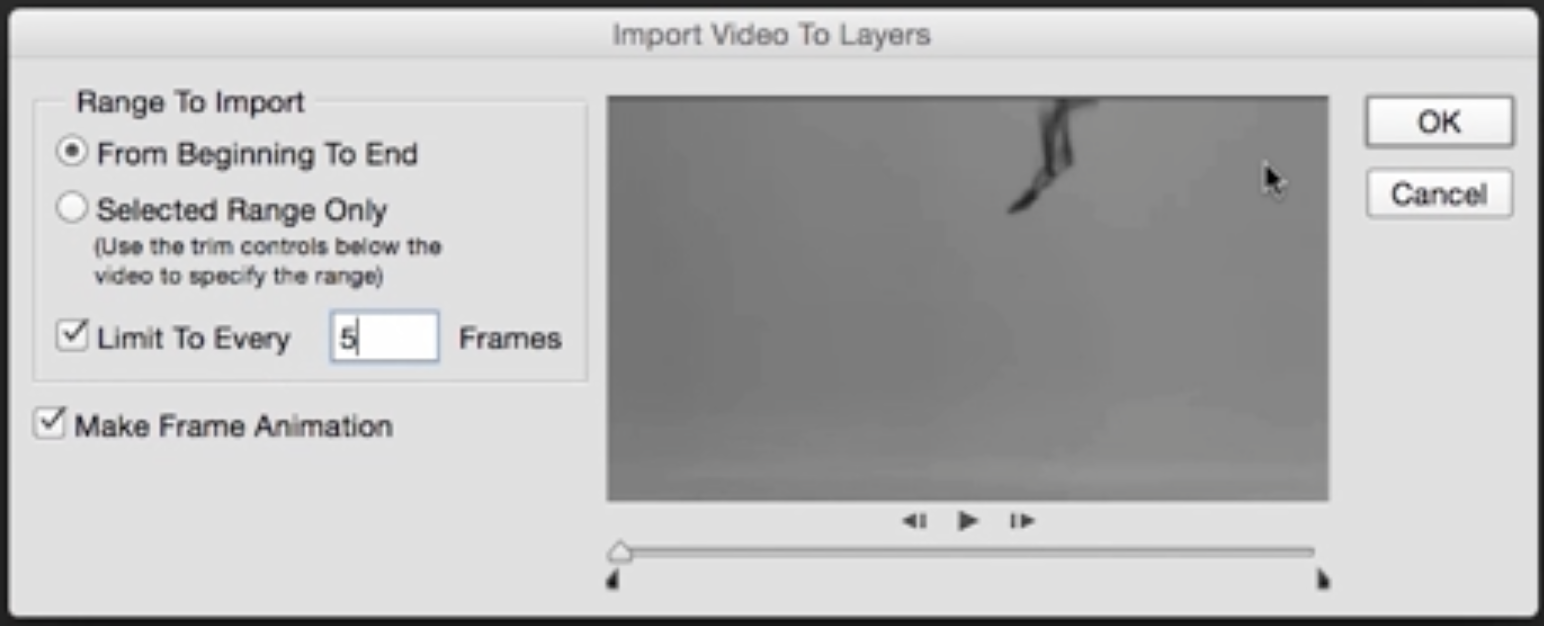
 Please add the feature to import a VIDEO file to get single frames of that video as images on separate layers. = „Video Frames to Layers“ in Photoshop: „Video Frames to Layers“ File-> Import -> „Video Frames to Layers“ The Option „Limit to every _ n_ Frames“ is essential to have in this feature. This feature maybe was not sooo important for a long time, but now it has become a very interesting feature, esp. for web designers, as one can „fake“ a video-scroll effect with such an image sequence, without having the disadvantages of video on (mobile) websites. I hope, you get what I’m trying to describe here? ;) It would be very, very helpful just to KNOW, if you are planning to implement this feature. Thank you very much in advance! And thank you SO much for all the great work you do! I wish you best of luck with just everything!!! :) P.S.: http://www.muse-themes.com/products/frame-scrubber Here you can find a video (next to „Widget Highlights“) that will explain, why this feature would be so extremely nice to have… :)
- 2 replies
-
- 1
-

-
- image sequence
- video
- (and 3 more)