Search the Community
Showing results for tags 'filters'.
-
 Hi guys, prior to this problem I could 'Place' an image and add effects from the 'Filters' toolbar but now it's not showing at all. I have just updated to the 1.8 version and this problem started on the older version ( cant say which ) Im a complete novice and would just like to add simple 'blur' to my images like i have been doing for the past year Thanks Steve
-
Good day, I found that the preview of applying filters in develop persona is not consistent over the image, the filters being applied partially, please see the attached images. The filter is correctly applied on the exported image, the problem exists in the develop persona, when editing the image. I am using Affinity Photo 1.8.3.180. This bug does not exist on MacOS. Love Affinity Photo, keep up the good work!
-
 I'm using the latest version of both Photo and Designer and didn't have this problem before updating to the latest version 1.8.2.620. The bug happens in all documents, both newly created and older projects opened up in this version. I'm on the latest update of Windows 10 and have a NVIDIA GeForce RTX 2070. Here's how to create the bug (It requires both Designer and Photo): Start a new project in Designer Create at least one Artboard (This is essential) Create a few objects (or import a few images) and make them overlap (may not be necessary to overlap them, but do this to be sure) Select File->Edit in Photo... from the menu In Photo select one of the layers and apply the Live Filter Denoise Most filters don't work, but a few do. I was specific above just to make sure to have one that doesn't in my description. RESULT: Now some layers completely disappear and others partly show (there's a patterns but it would be a waste for me to explain). Deactivating / activating the filter clearly shows that the filter isn't doing what it's suppose to do. Lastly to answer if this worked before: Yes. I had no problems with this before the latest update. The gif below show an example how it behaves. Sorry for the crappy quality, but it shows clearly what happens. I also included the Affinity-file for this example with the post. bug example (activate and deactivate the filter).afphoto
 -
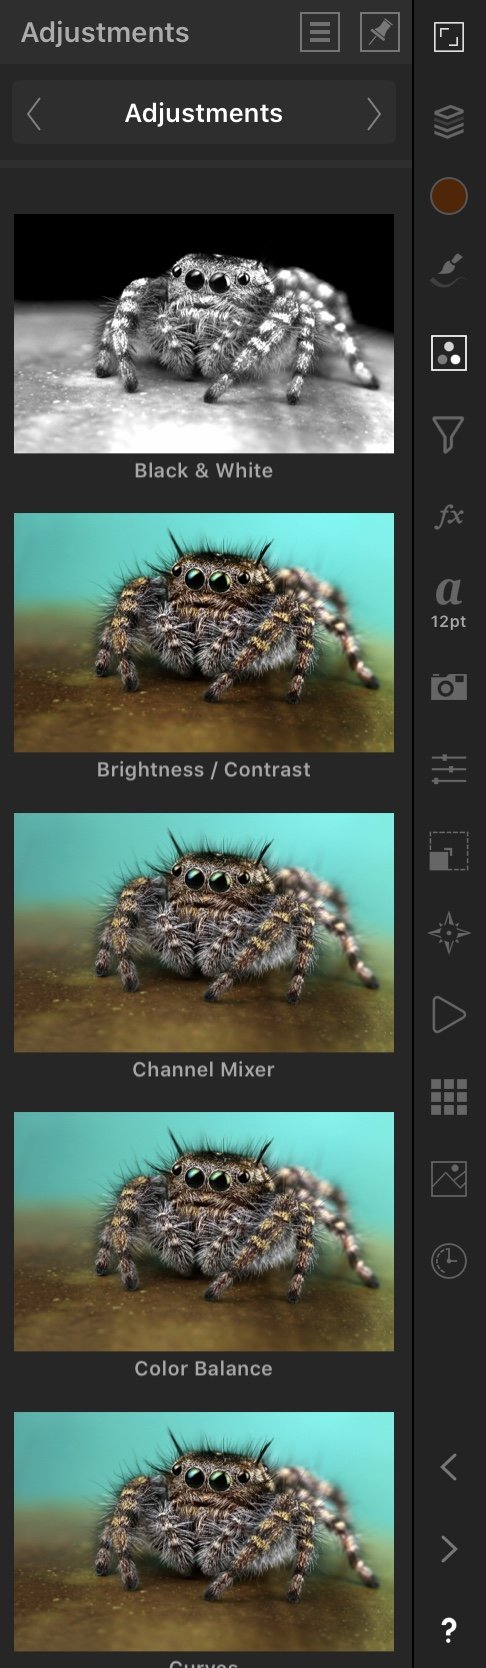
Please excuse me if this has been requested. Please consider option to change Adjustments/Filters panels to List. The panel fly outs are pretty, but take up a lot of limited space on the iPad. Thank you.
- 2 replies
-
- 1
-

-
- ap ipad
- adjustments
- (and 3 more)
-
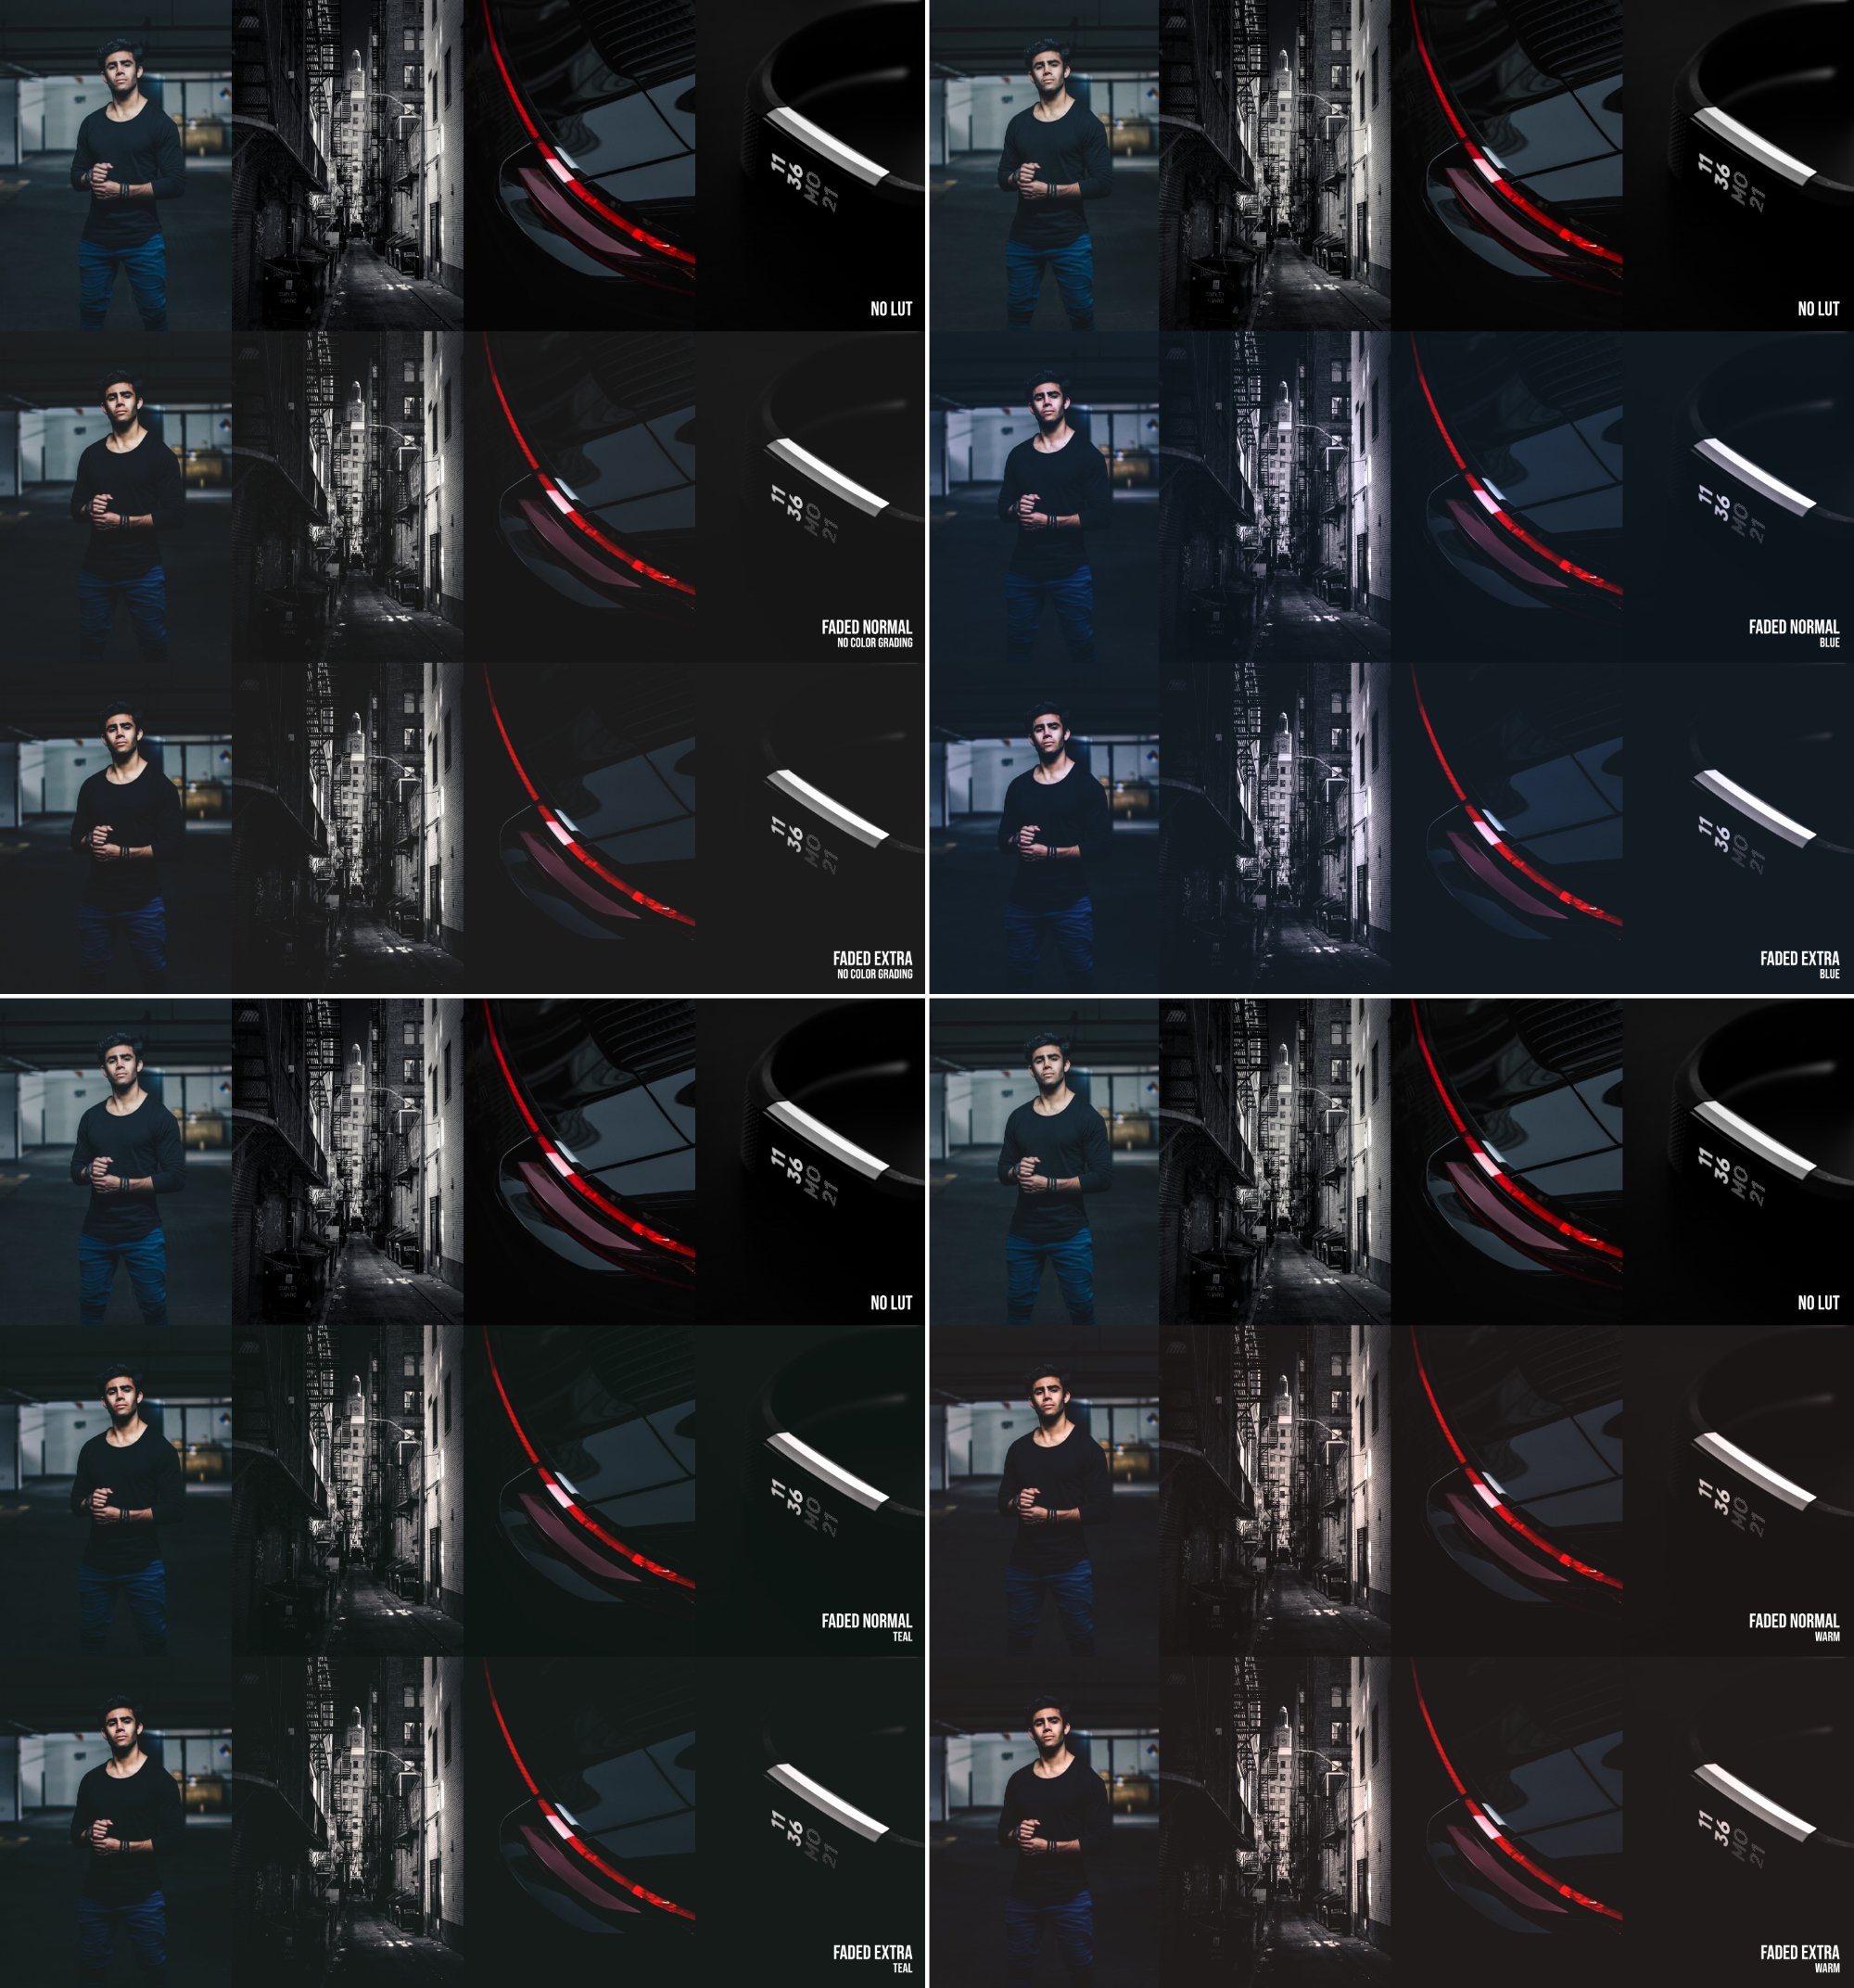
Here are 8 LUTs that I've created to give images that stylized faded look. These LUTS work by lifting the dark's of an image (usually the blacks and dark grays), and slightly pushing the highlights to create a faded look. There are a total of 2 variations: Faded Normal Faded Extra NOTE: Extra doesn't mean that the color of these LUTs are increased, but rather it's adjusting the degree in which the dark's are lifted. I have provided 3 undertones: Faded - No color grading Faded Teal - Teal undertones Faded Blue - Blue undertones Faded Warm - Red undertones faded.zip
-
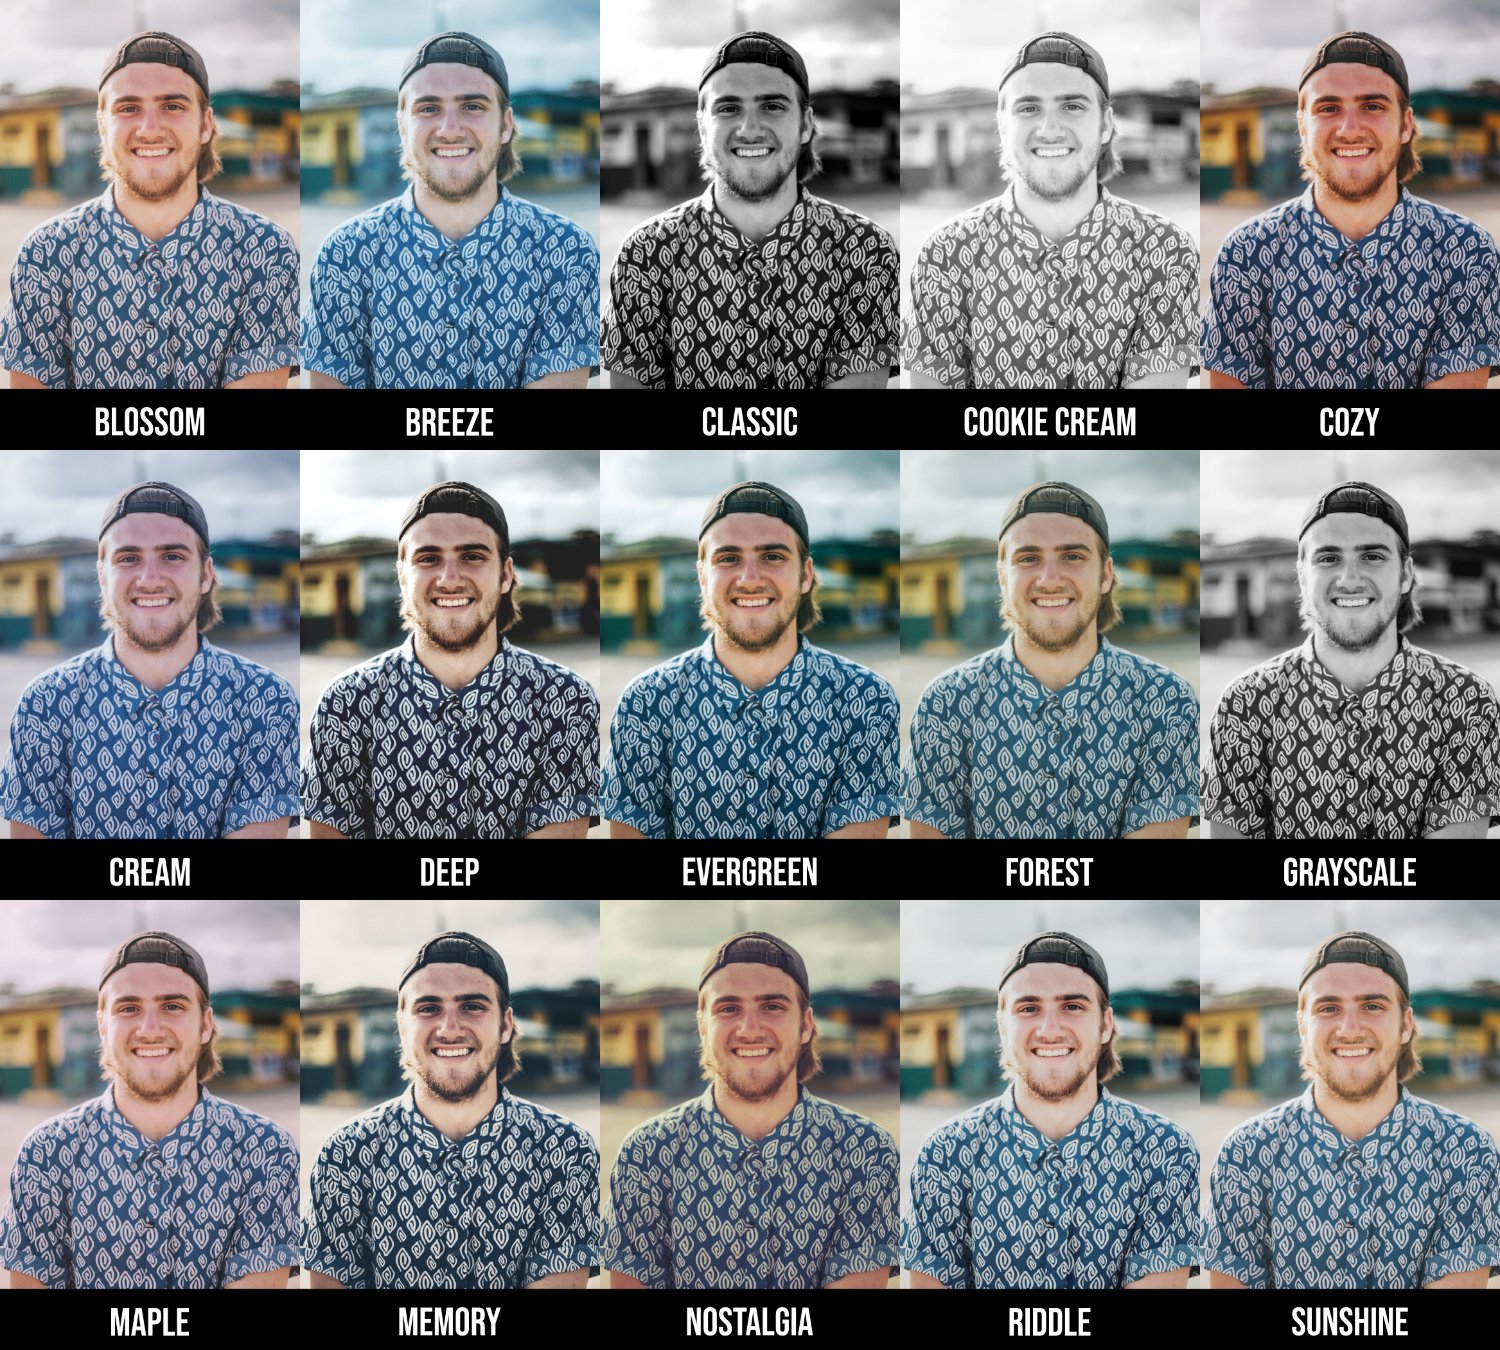
I created 15 LUTs that are provided as filters for the Galaxy S9 photo editor. I tested each LUT by comparing two images, one created by the phone and another created by Affinity Photo, and all of them are accurate. If you're curious of how this was achieved, then here is a video that explains that process. Galaxy_S9_Plus_LUTs.zip
-
 Hi all, I saw on another post that 'Artistic' filters such as Cutout are on the roadmap but does anybody know a workaround to get something approaching the 'Cutout' filter result using the current tools? As below:
 -
Hi, Would it be possible, in a future update to make the ripple filter linear as well as circular? Also, give it some degree of adjustments. ie. height, frequency and randomness. The reason I ask is that there is a filter in Photoshop distort that mimics frosted glass. I use this a lot in my work turning photos into digital paintings. I never subscribed to the Adobe pay plan and am greatly relieved to have found Affinity Photo which is now my go-to programme. Keep up the good work. The Digital Trickster.
-
As a professional graphic designer who seeks to replace Photoshop and Illustrator by Photo and Designer, I would have these humble suggestions what to add to Affinity Photo for iPad: Possibility to switch off spellcheck in global settings. It is annoying to switch it off in the Text Studio every time after opening a file. Select all visible pixels of a layer by one click. Text on a path (so we can make a curved text). Paint a pen stroke with a selected brush. More filters (like image to sketch etc.). I know some of these features were allready rejected to add by the developer because they have said, Affinity Photo is just for editing photos and we should use Affinity Designer for design. Dear developer, please, reconsider this. I have, and I believe many others these days, been using Affinity Photo as a replacement for Photoshop (and Designer as a replacement for Illustrator). If we want to make a design primarily based on raster graphic, or prefer this way of work more, we go to Photo and make the design there. If we want to make something typically vector, like logos, we go to Designer. You do not need to be afraid that we will not use Designer because we would make everything in Photo. We just need a raster focused tool with also vector tools (Photo) and vector focused tool with raster tools (Designer). In other words, replace Photoshop and Illustrator, that is it. If you want to win us, please, reconsider viewing Affinity Photo as just a better photo editing tool. Also please consider, that we are already using some of these features in Affinity photo by means of macros. There is a famous set called "Mud's Macros v3" including e.g. Slection from Layer, Pencil Sketch filter and Text on a Curve. Hopefully this will be understood by the developers. I should also say that you did already a great job!
-
 I'm still learning Affinity, but as yet I haven't come across a clear method for making an Xray image or reverse b/w or reverse color. If there's already a tutorial, please call me an idiot and link me. Otherwise, if anyone has an idea of how to do this, I'd really appreciate your expertise. Thanks for your help DaveAnyc
 -
 Here's a common operation I've done in the past with Photoshop: 1. Create a mask for a layer 2. Extract the mask as a regular pixel layer by copying the mask channel contents to a new pixel layer 3. Use filters and adjustments to refine the pixel layer (I find that Levels does a great job of uniformly hardening edges, for example) 4. Select all and copy the refined pixel layer 5. Paste the clipboard contents back into the mask channel, thereby applying the refined mask I'm trying to adapt this workflow to Affinity Photo, and I've noticed that adjustment layers can supposedly be applied to pixel mask layers by making the adjustment layer a "child" layer to the mask. However, I'm not seeing the adjustment affect the mask. This leads me to two questions: 1. Can adjustments, filters, and adjustment layers be applied to pixel mask layers, as if they were a non-mask pixel layer? 2. If not, would you consider a feature request to have adjustments, filters, and adjustment layers (when dragged onto a pixel mask layer, thereby appearing as a child layer to the pixel mask) operate on pixel masks in this way? 3. Is there some other way I may be able to accomplish this workflow already? My one requirement is that it doesn't involve re-selecting and filling the selection on a pixel layer; while this is possible, it's far too error-prone in my opinion. Thanks, Joe P.S. For clarity, I've attached a screenshot of what I mean by making an adjustment layer a "child layer" of a pixel mask layer. Unfortunately I'm not sure what the correct terminology is for this is.
-
 Any ideas if I can use Topaz Studio and Filter Forge with Affinity Photo? I have to hang onto PS until I know I can.
 -

Noise reduction filter has no functionality on 1.7.0
Bob185 posted a topic in V1 Bugs found on iPads
After upgrading to 1.7.0, the noise reduction filter is not functioning at all. Anyone else experiencing this problem? -
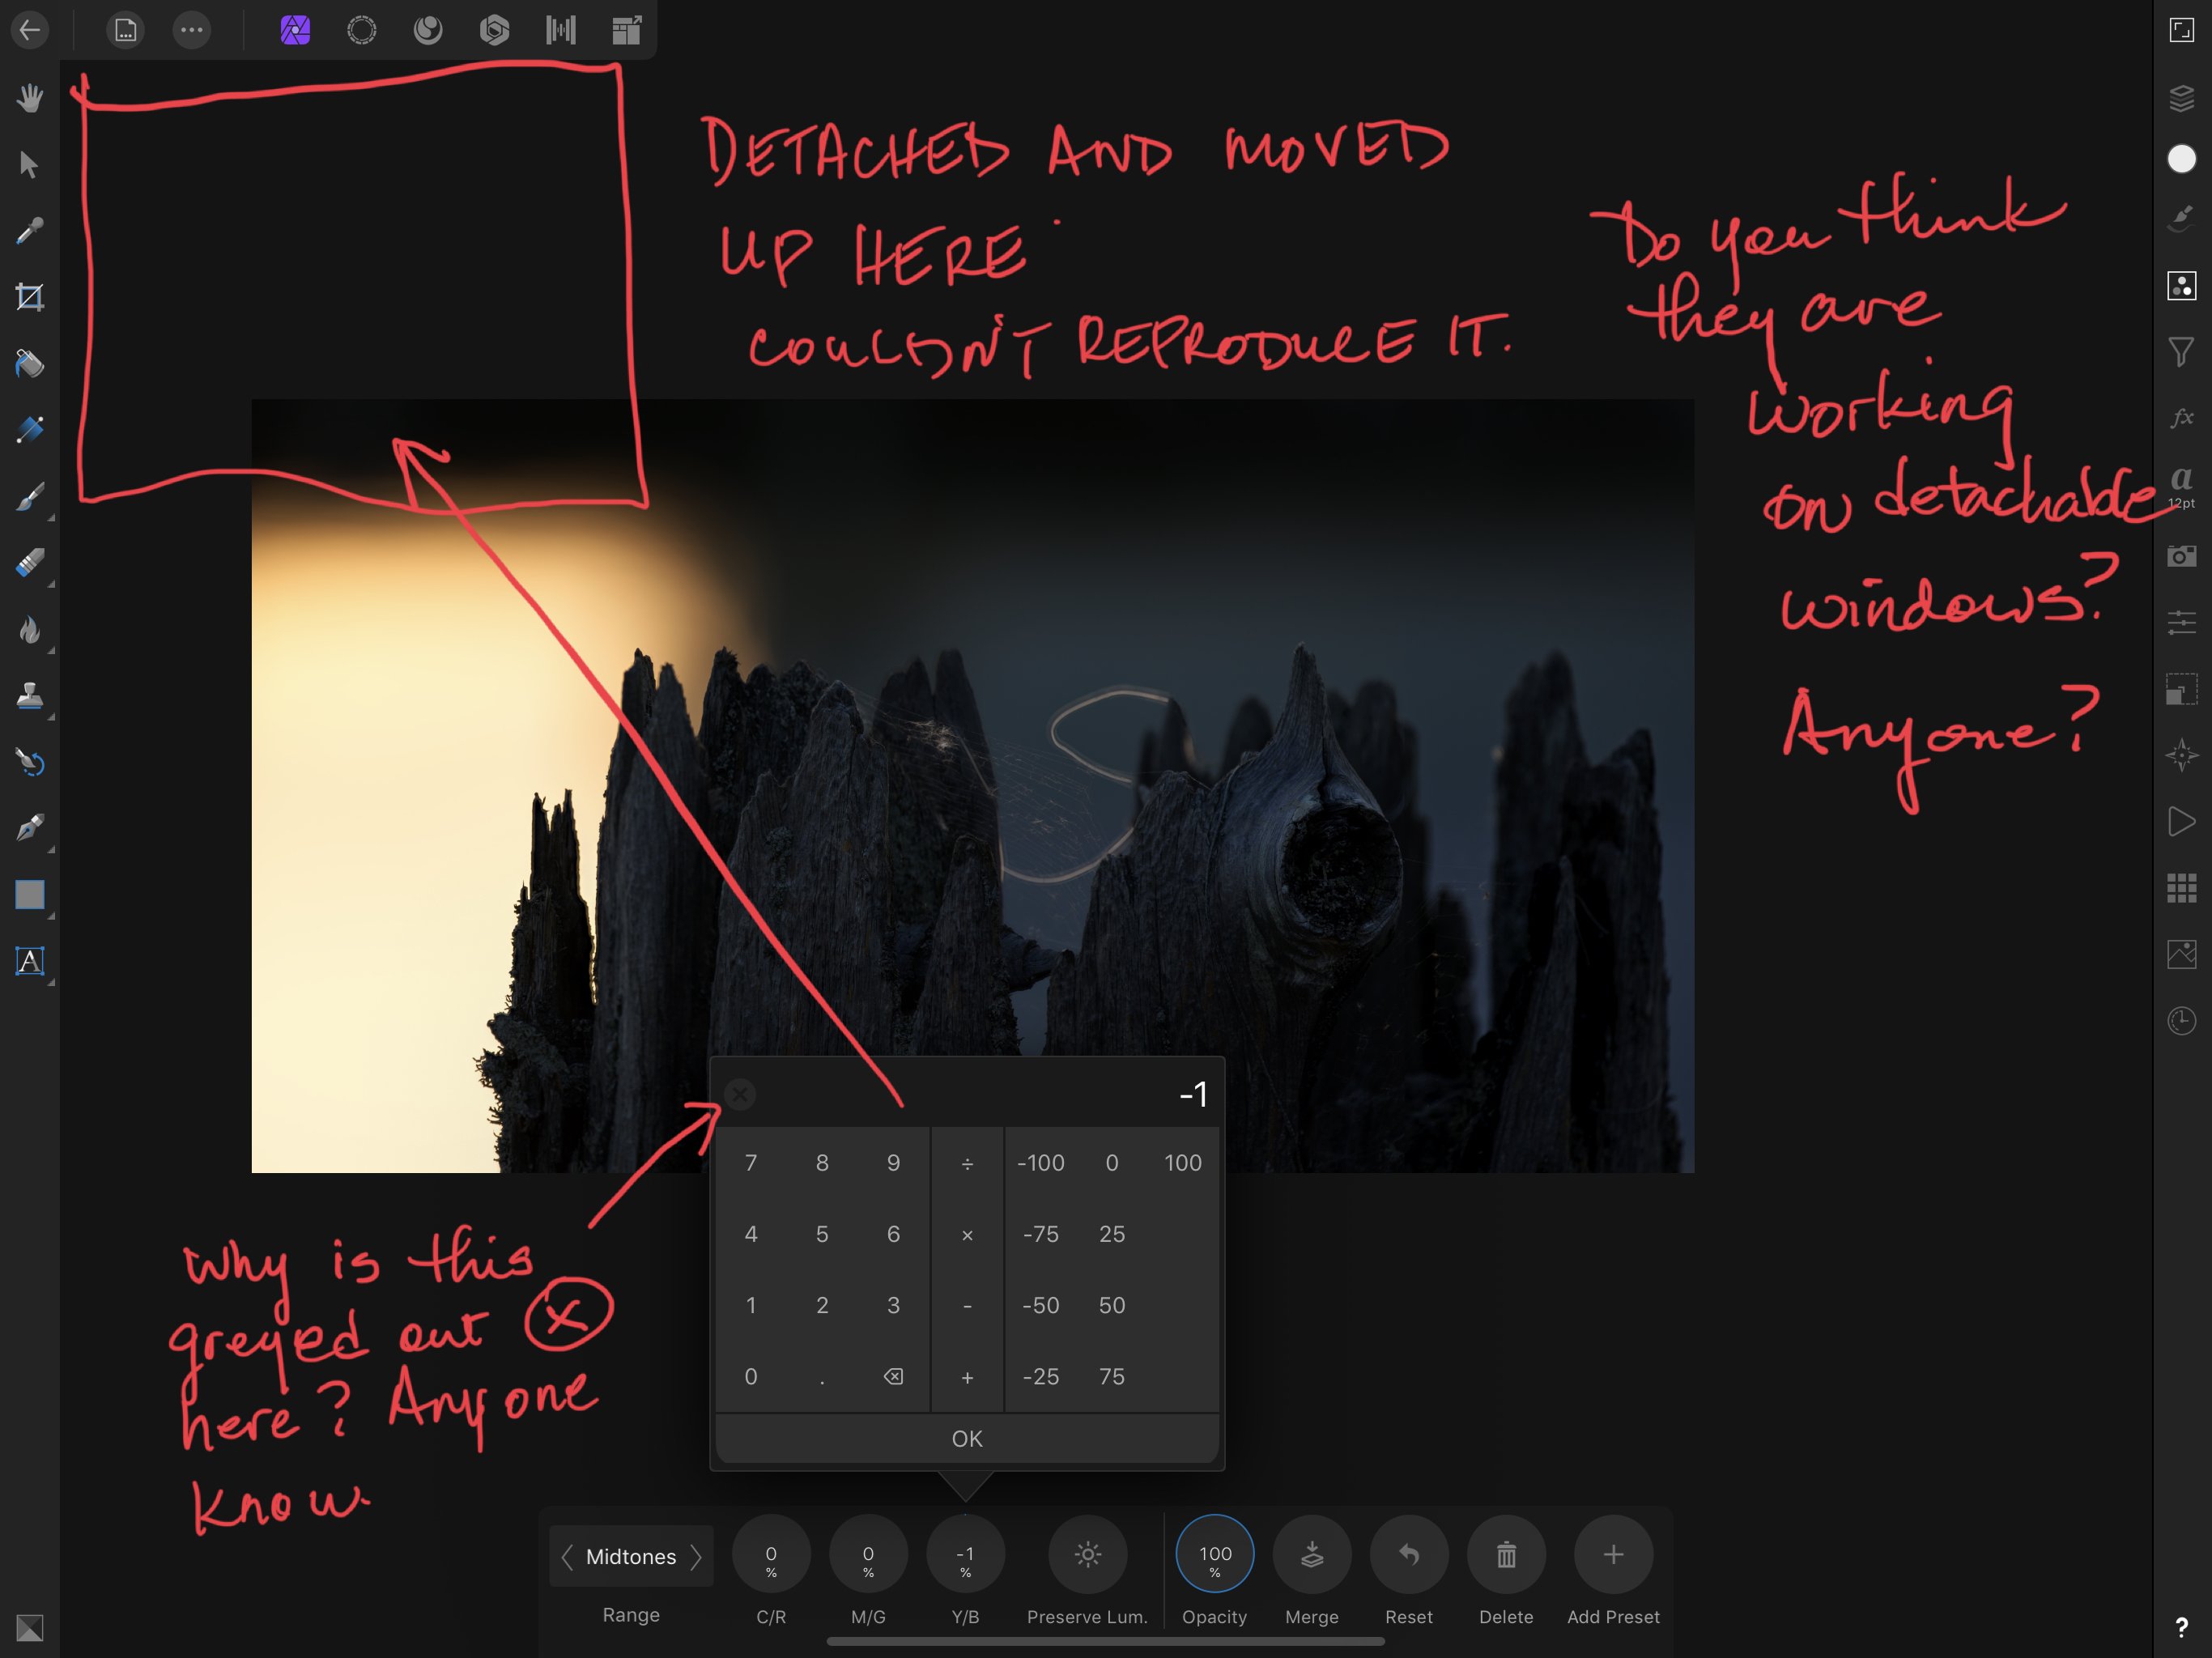
This happened. Has anyone experienced this and what is the greyed out x for? It would be great to move these windows out of the way. Hey devs, are you working on this?
-
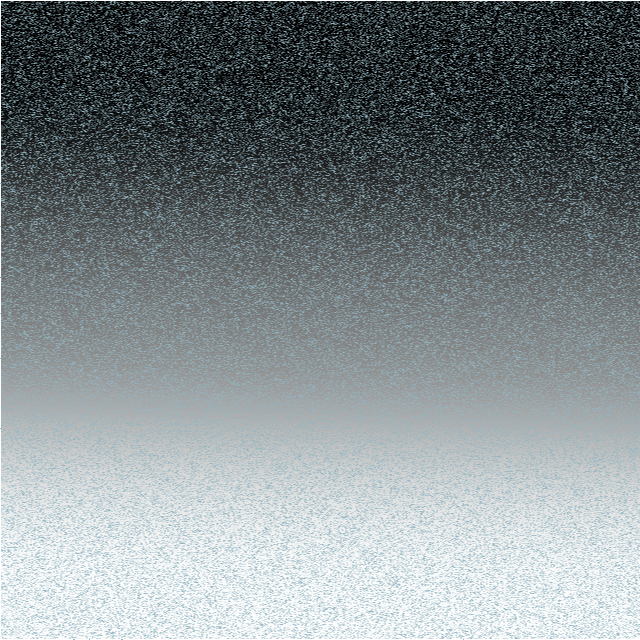
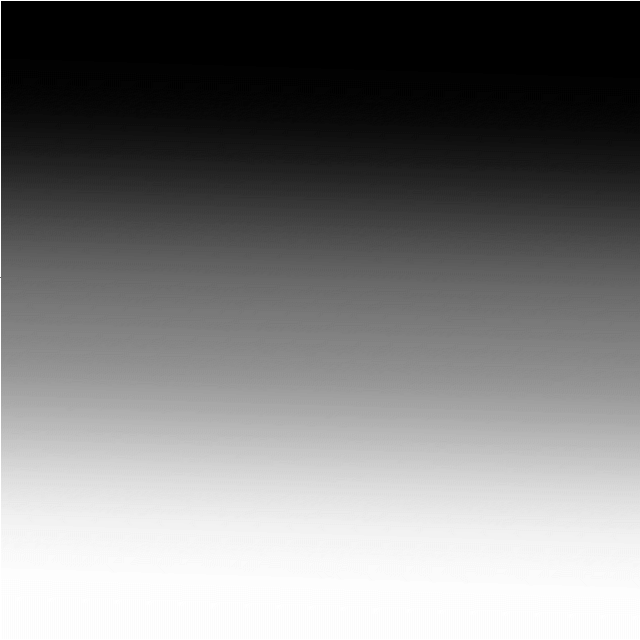
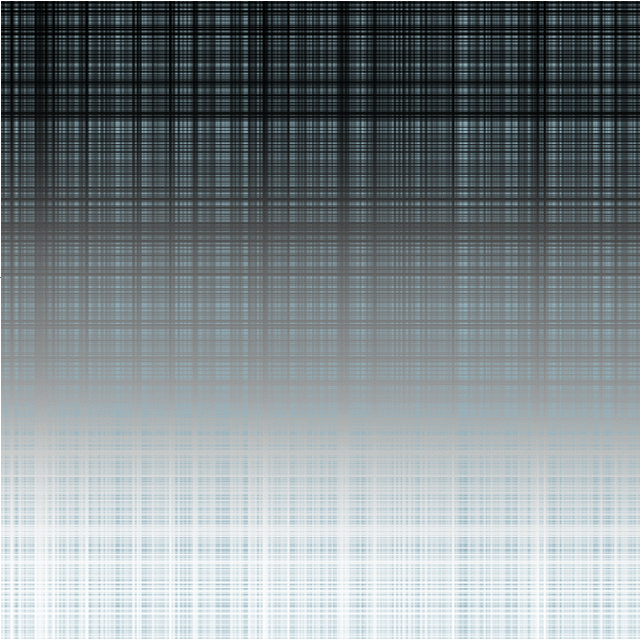
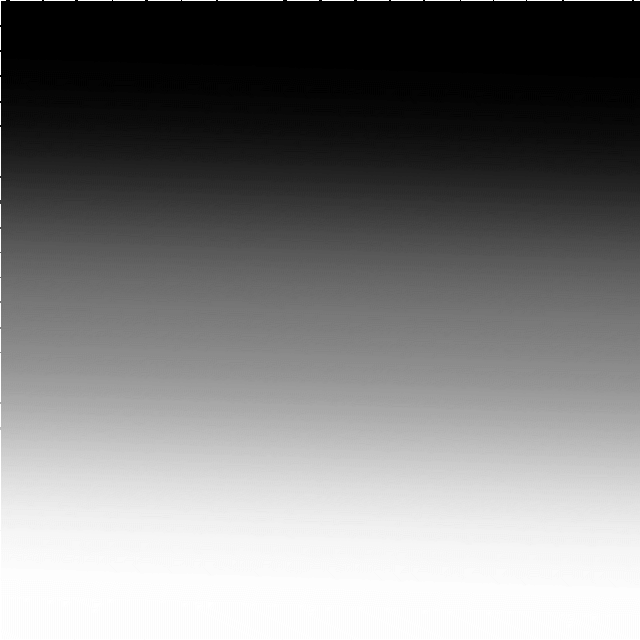
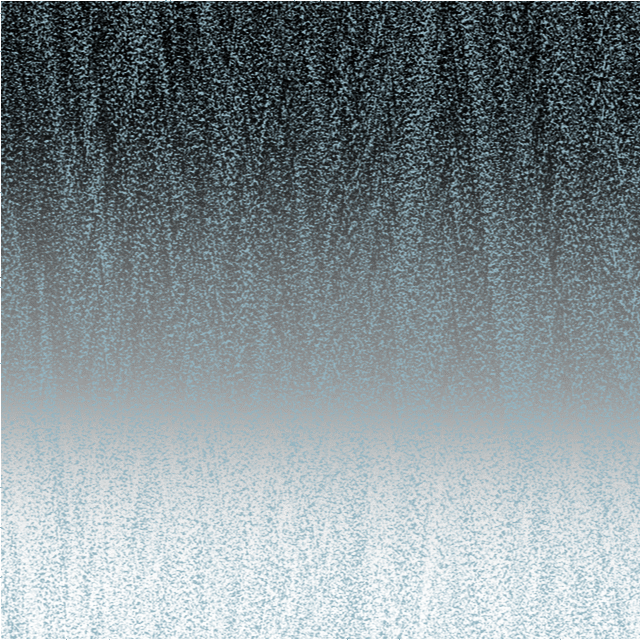
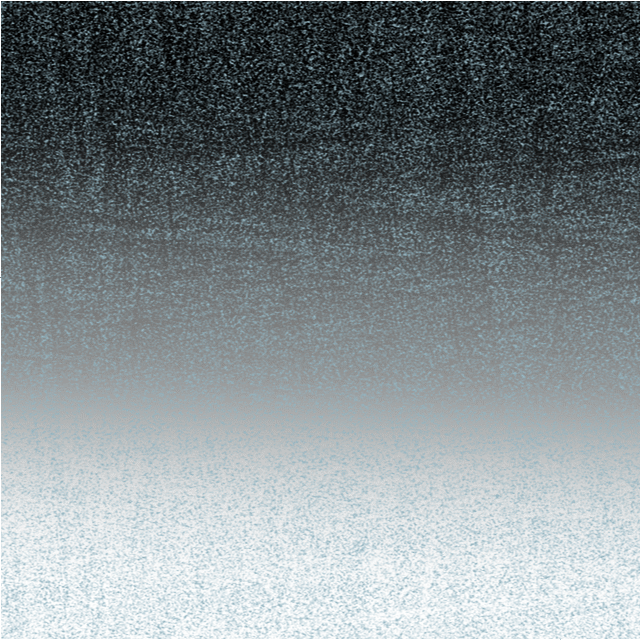
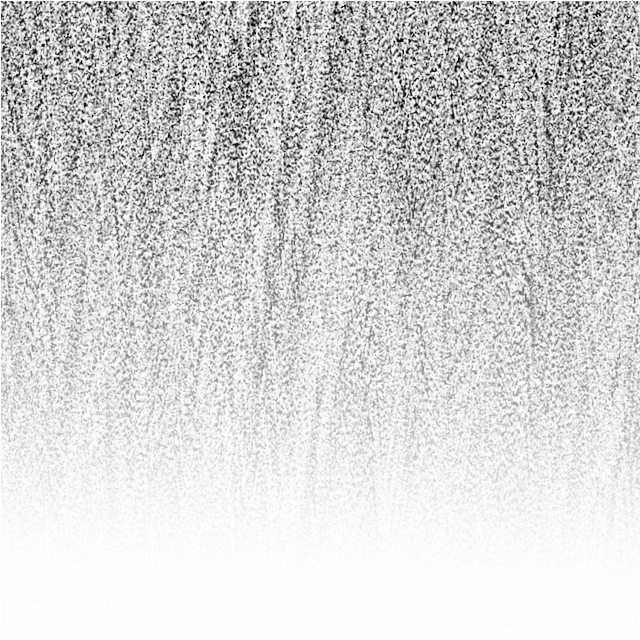
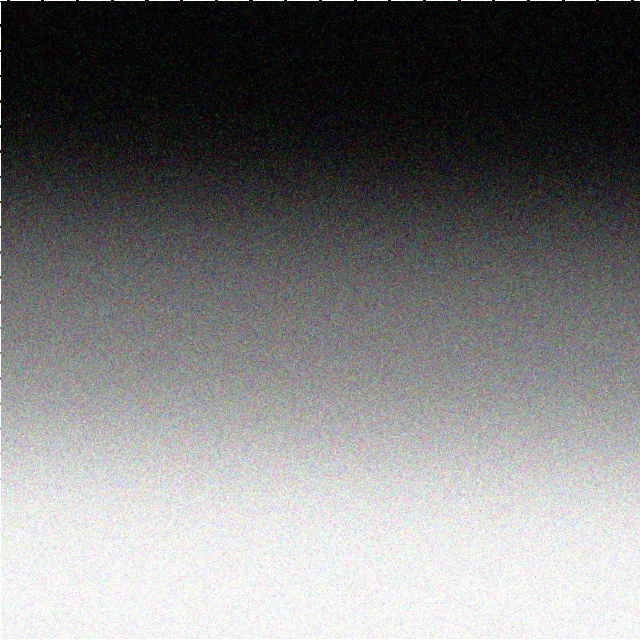
 WARNING: for the technically-minded only! The Noise functions in the Filters > Distort> Equations facility are supposed to add (unspecified) noise to an image. The only description I can find of this is in the video by James Ritson. He first duplcates the layer and then uses either noise(x*y)*a or noise4(x*y)*a in his equation. This produces a grain-like effect over his image. The documentation for equations is limited. There is the Expressions for field input in the Help system which gives, under : Noise(seed/x,y), an explanation: Generate 1D noise either from a seed or based on X/Y input with similar definitions for noise2, noise3 and noise4. James uses both the noise and the noise4 functions. In his video he is using the single seed parameter x*y, with the magnitude controlled by the a parameter. I have been experimenting with these noise functions and present here my findings Although the Expressions for field input names the functions Noise ... Noise4, with a capital letter, these will not work. You need to use a lower case n for noise. The function noise2 has no effect. The functions noise, noise3 and noise4 seem to produce identical visible results. The histograms are also identical. Using a single parameter, either a simple number, or an expression such as x*y, has no visible effect unless the Full option is selected in the Extend Mode at the bottom. When using two parameters, they need to be different in the x and y axes to produce any visible result. Multiplying the parameters by a number, such as noise(10x,10y), has no visible effect. I show here the effect of varying these parameters on a simple gradient field: Here is the effect of x=noise(x,y) and y=noise(y,x): The results for noise3 and noise4 are identical, as are noise(3x,3y) etc as are the histograms. If the parameters are the same, say x=noise(x,x) and y=noise(y,y) You get a very different effect: Almost like a tartan effect. If the noise functions are the same in both x and y such as x=noise(x,y) and y=noise(x,y), it works OK, but if you use x=noise(y,x) and y=noise(y,x) there is no visible effect unless you select Full: The difference between using Zero and Full in the Extend Mode at the bottom is subtle. Using Full seems to convert the image into a monochrome effect with the background invisible. However, the noise is based on the luminance of the background. Just for comparison, I append here the effect of the effect of the Add Noise filter (Filter > Noise > Add Noise...): You can control the intensity of the noise here, which is more than you can in any of the noise functions I have described. In conclusion, I would recommend that if you want noise, then use the Filter > Noise > Add Noise... option above until such time as the devs at Serif come up with a more understandable noise function in Equations. Having said that I am not holding my breath on this. Using noise in equations is probably a minority pursuit amongst users and the Add Noise filter is much easier. John
-
 hello everyone. Q: why do my original images return to their original state after using filters (mirror filter). i change the new image name and save them. new images then revert back to the original image. how to preserve the changes to these new images? i did buy the book but they are sold out right now. it will be a while before getting it. thank you all for all your help to this newbie. your help is much appreciated. thank you, everyone, alison black
 -
 Hi I just installed the new beta and gave it a bit of a whirl. so far the issues I`m seeing are as follows 1. using the square bracket keys to increase/decrease brush size is not working 2. redraw on blur, smudge etc brushes is very slow and resulted in a lock up 3.procedural texture needs sliders not equations. I can't figure out how to experiment with this at all! I suck at math and even simple algebra is very difficult for me but give sliders to visually experiment and this filter will become useful. as it is i can't use it at all. 4. Filter forge 7 works for me with the stable version but generates an error with the beta.
 -

Procedural textures: interface revisited
h_d posted a topic in [ARCHIVE] Photo beta on macOS threads
In the Procedural Textures filter and also the corresponding live filter layer, if you add a Real Number Input (snap below) the popup over the double-arrow control always displays "Kerning": Same for Integer Numbers too. Cheers, H
-
 Hi I want to apply Instagram style filters to loads of images there a plugin or a way to do this in Affinity photo? Thanks Dlabz
 -
 Hey, new Affinity Photo user here. I'm really happy with the program itself, it seems very intuitive, and easy to get into, especially when you're used Photoshop Elements, which i used before. Now, there's one thing which i miss, coming from that software: The filters. PS Elements really had a big selection of quality filters, and, compared to that, the selection in AP really seems quite sparse. I'd especially wished there were more artistic filters, for text, or narrow object decoration, for example. Wonder if there's anything bigger planned in that regard. At the moment, i rather feel like doing the base work in AP, and then switching to PS Elements, to apply some filters, which, of course, is not optimal.
 -
I tried a few different settings but didn’t see any change. the tutorial video showed change as the dials were used. Am i missing something? Thanks
-
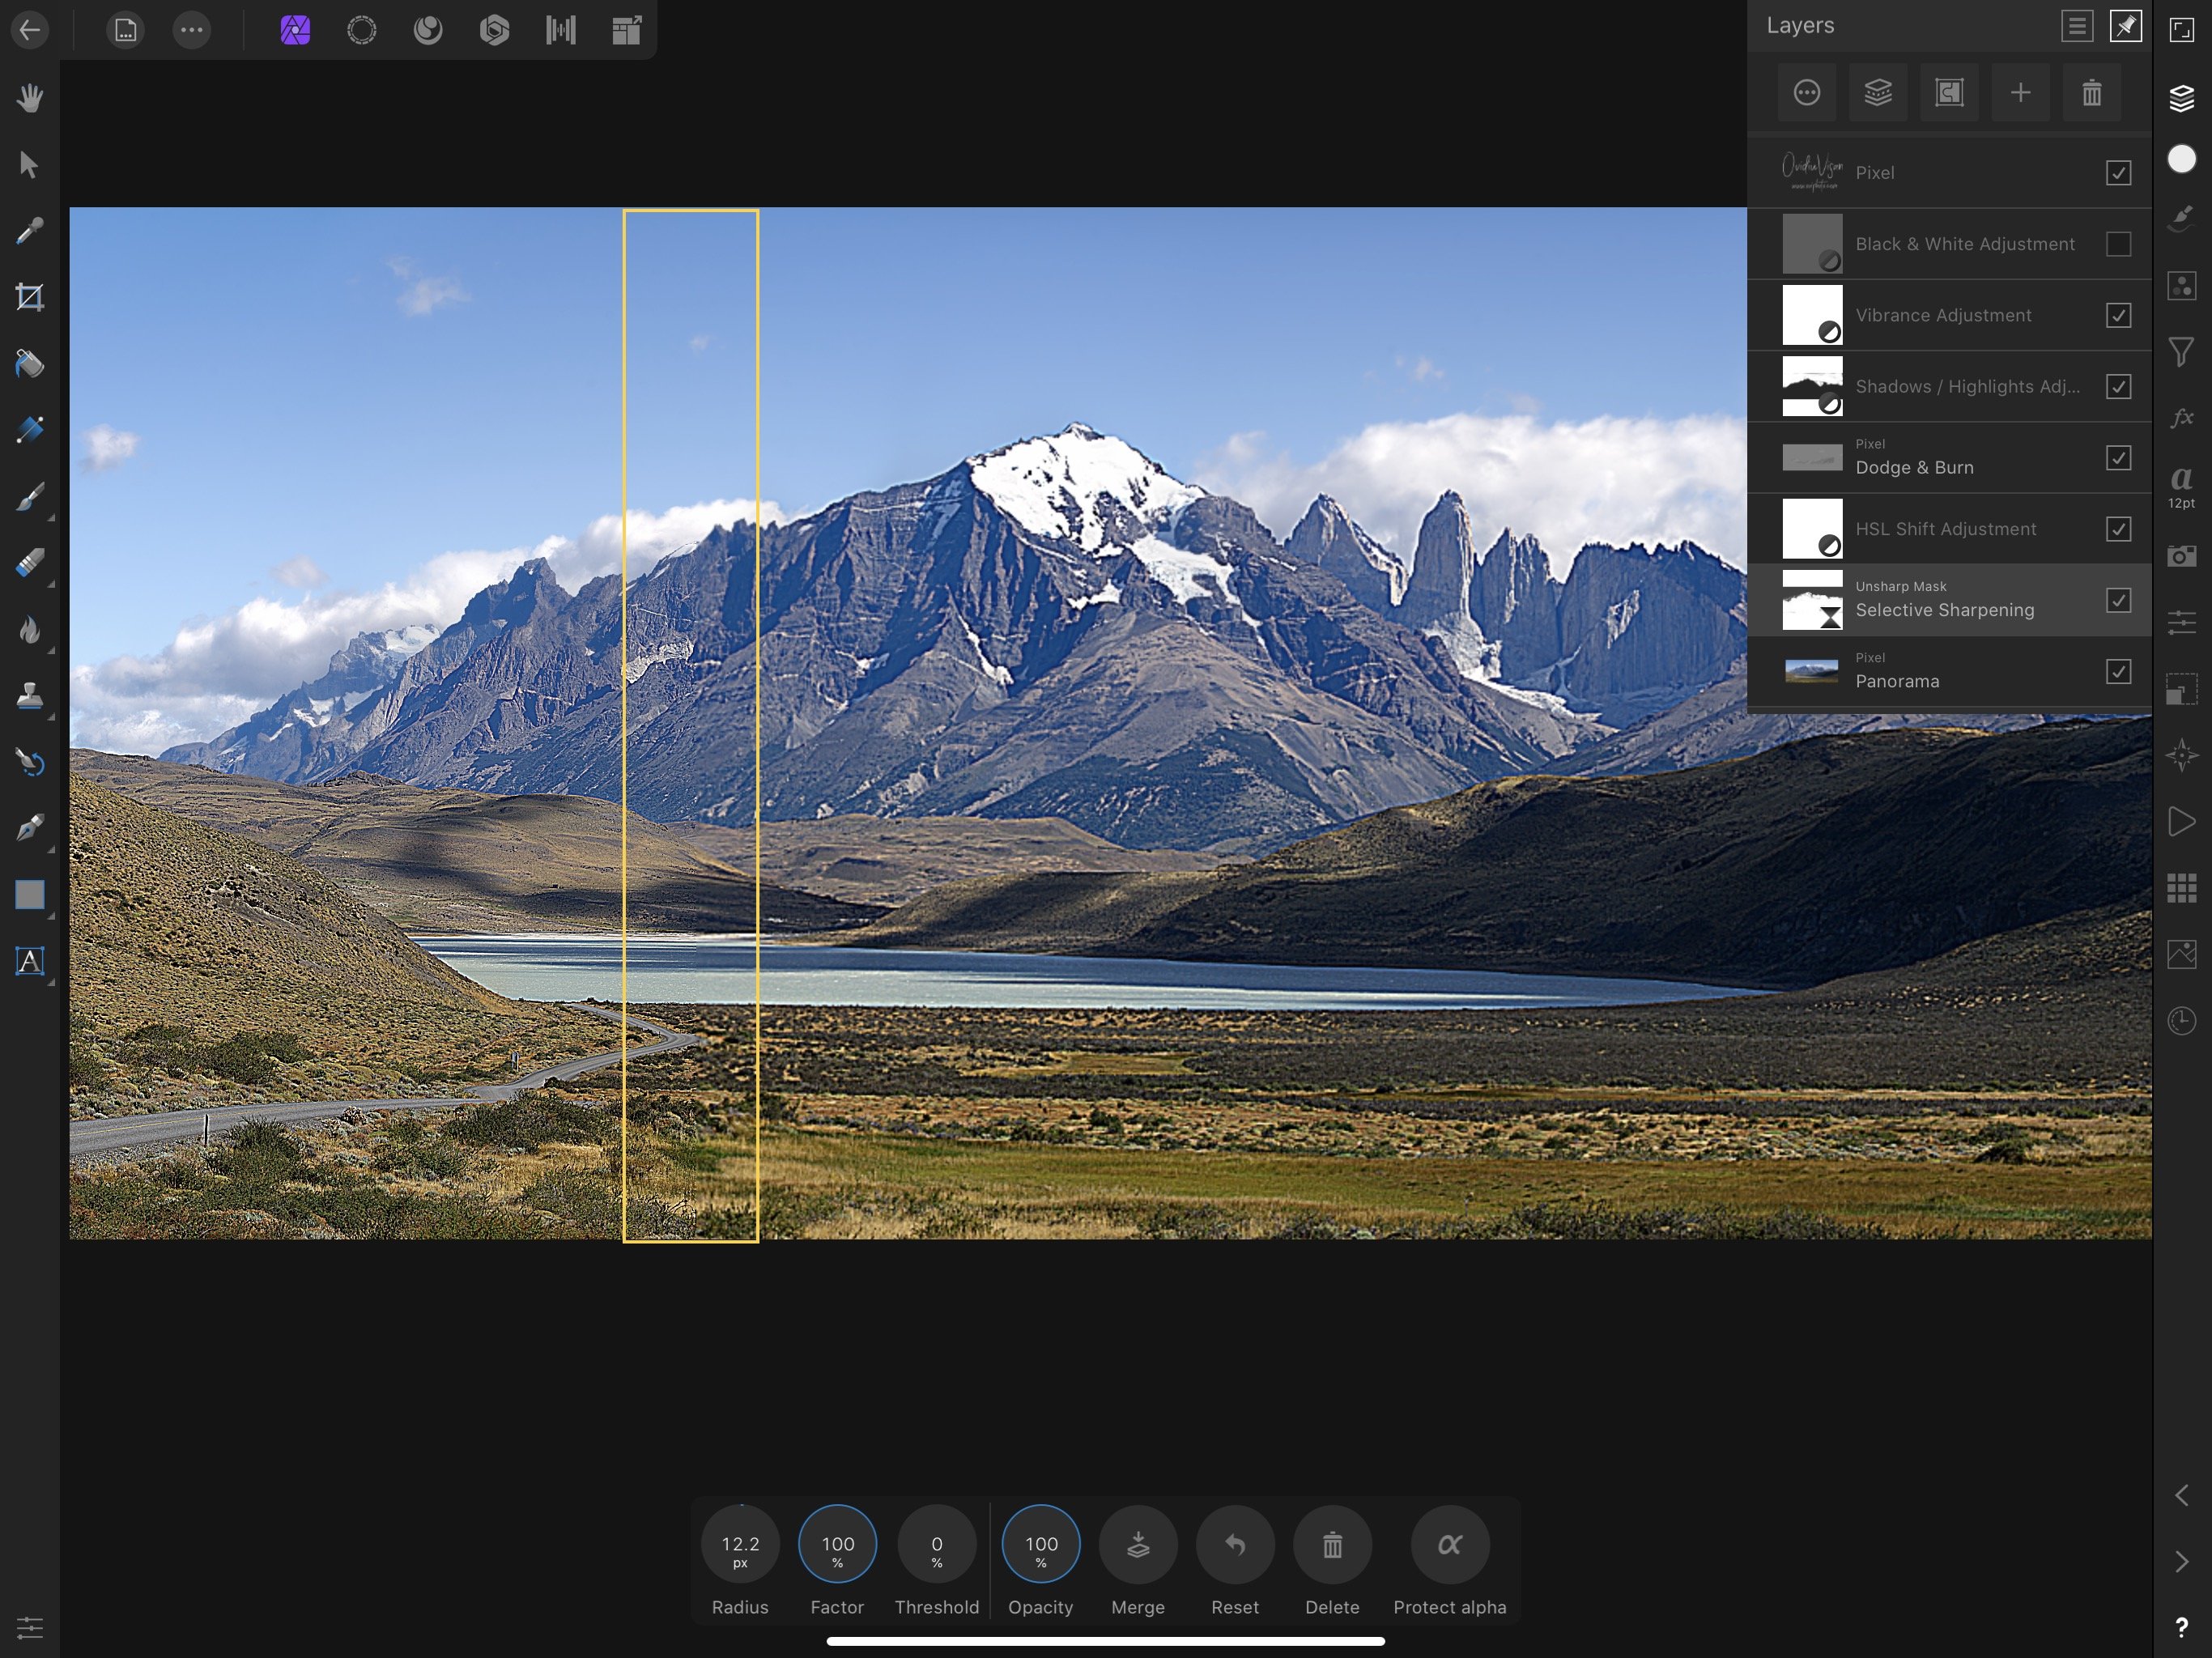
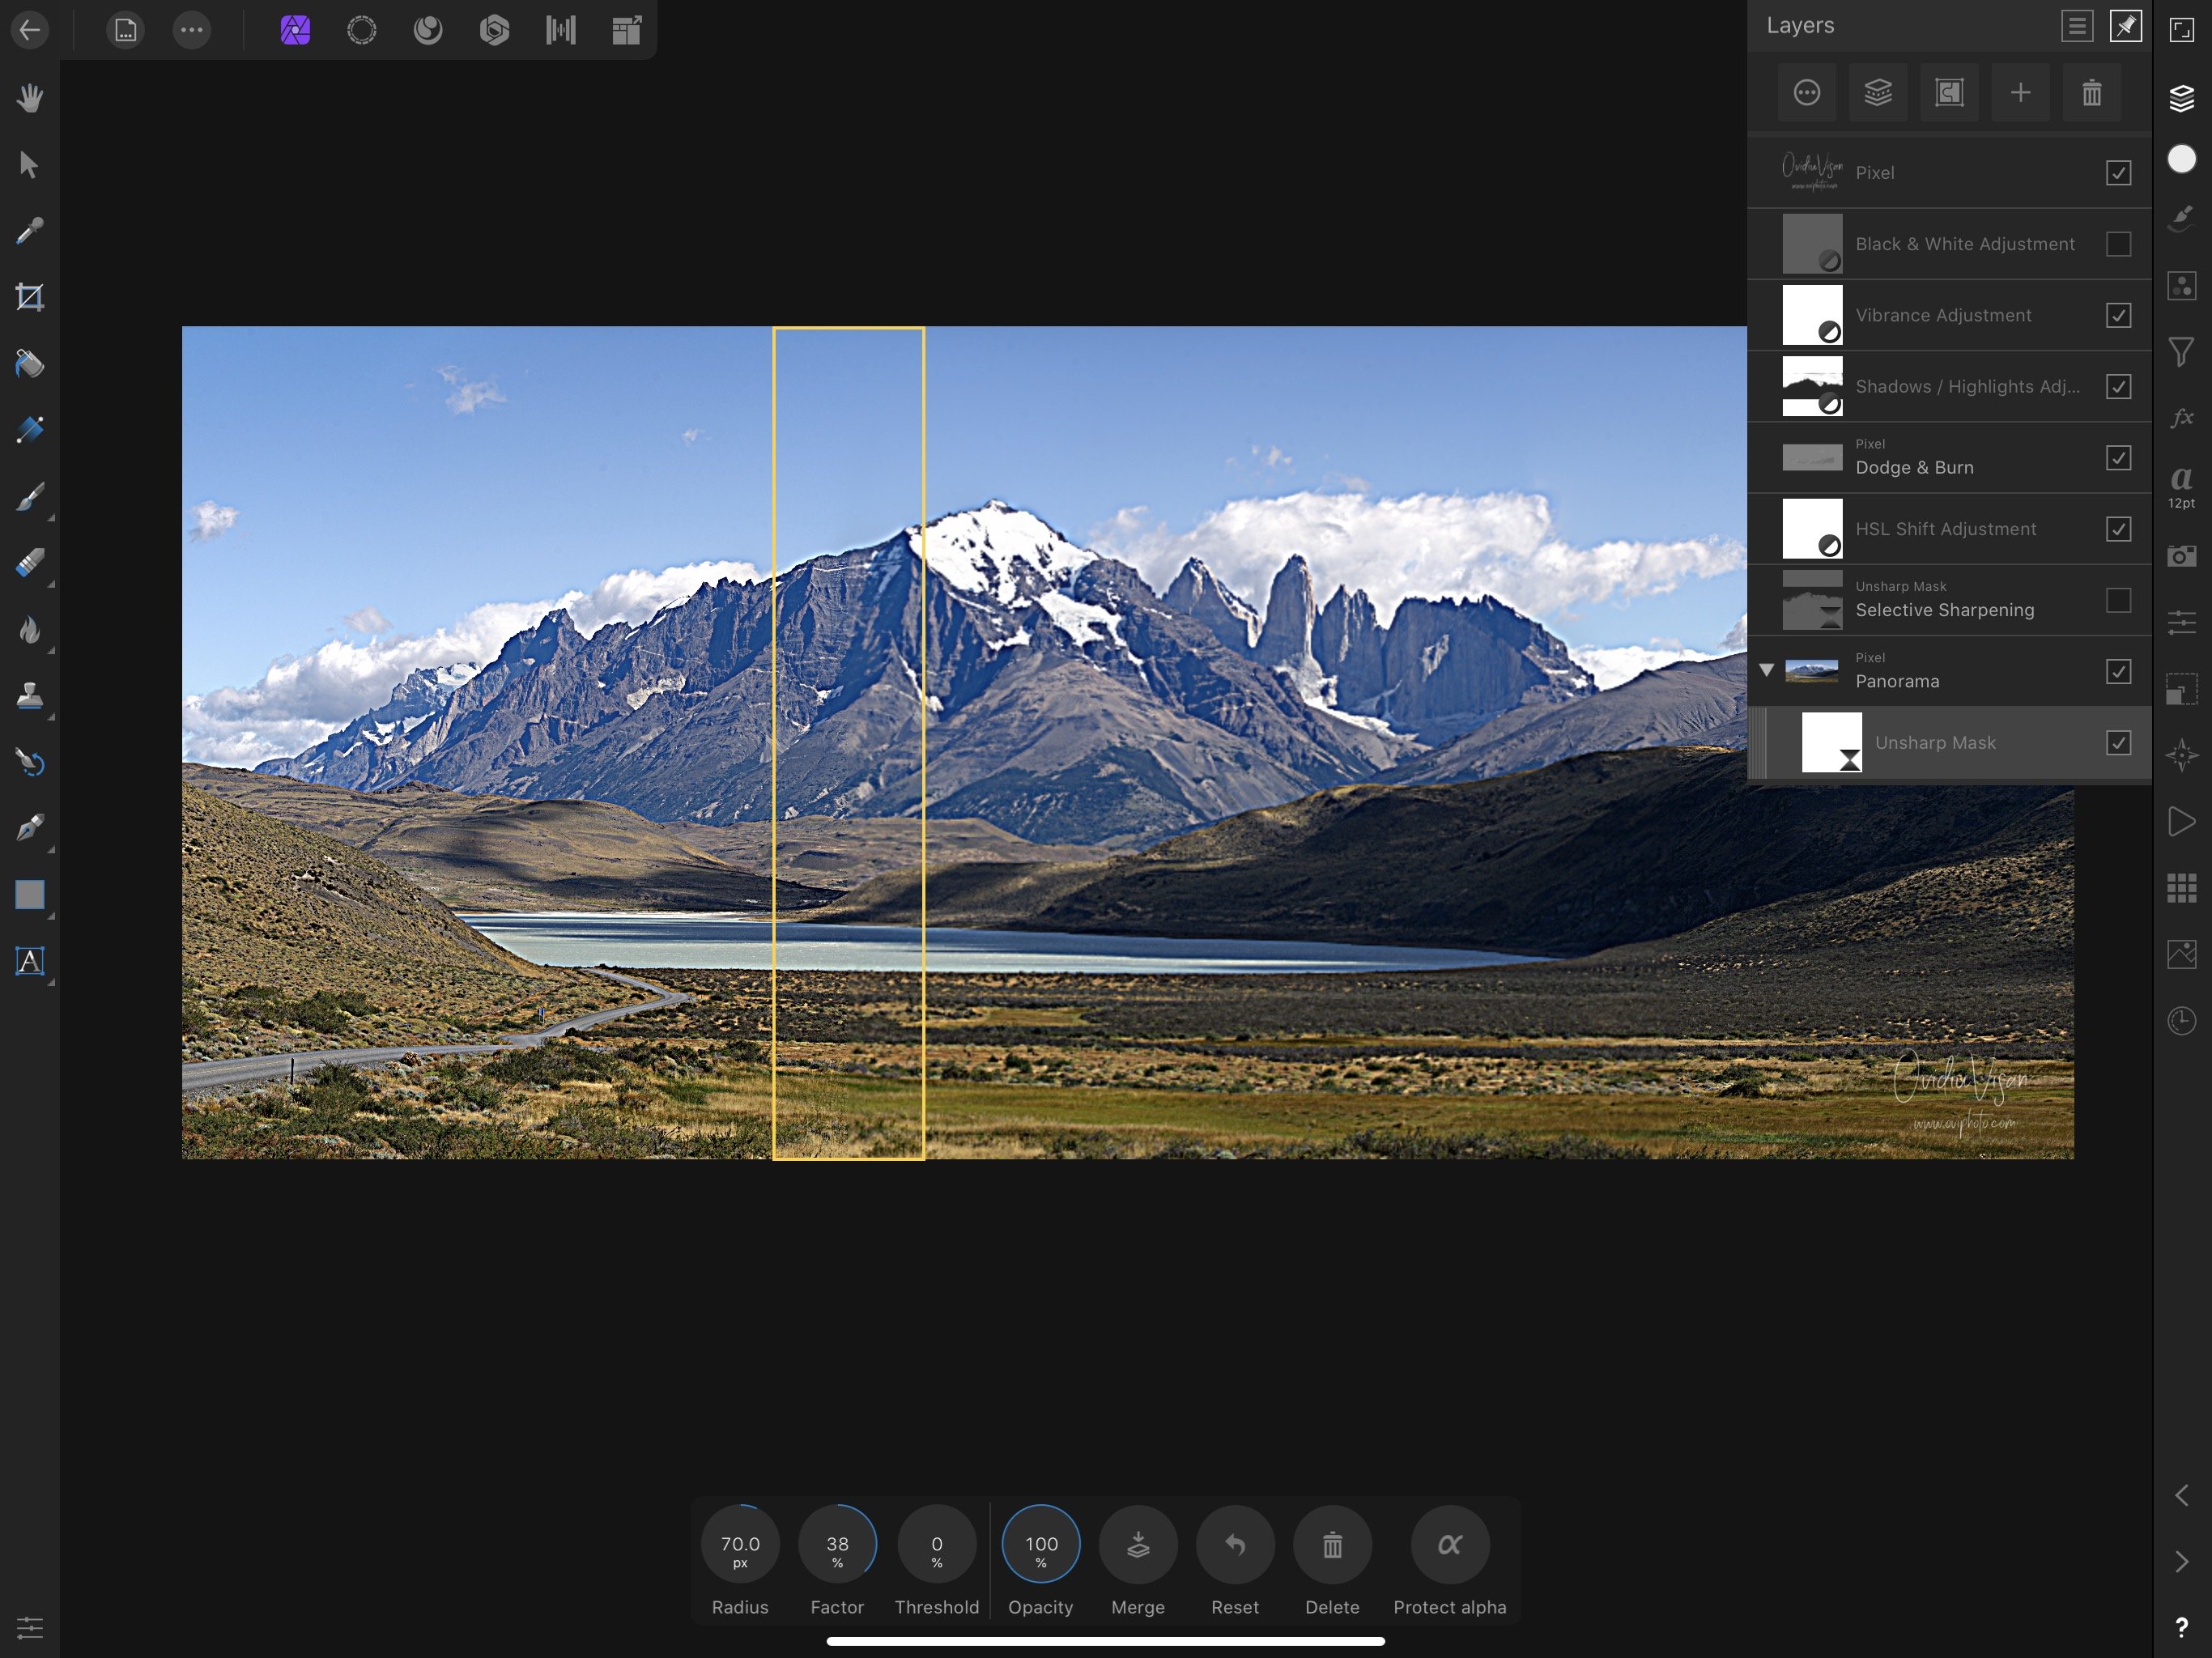
I have sometimes been puzzled as to why some filters don't work in Photo. I think the reason is often that the filter is applied to the wrong layer. For example, set up a background layer, then do some adjustments, such as a Curves adjustment, then do an Unsharp mask filter. Sometimes nothing seems to happen - and indeed most probably nothing does happen. This seems to be beceause fhe filter will only work on the layer below it, which is not the actual layer which is to be filtered, but is an adjustment layer. It would perhaps be helpful if a warning could be given if a filter is being applied to a layer which is itself not going to be modified. Of course knowing about this issue makes it much easier to manage, and the filter can be dropped down onto the layer to be modified, and the effect is immediate. Experienced users probably won't need the warning, as they'll know about this already, but other users may find a warning helpful. SORRY THIS IS A DUPLICATE. HOW DO I DELETE AN UNWANTED POST?
-
I have sometimes been puzzled as to why some filters don't work in Photo. I think the reason is often that the filter is applied to the wrong layer. For example, set up a background layer, then do some adjustments, such as a Curves adjustment, then do an Unsharp mask filter. Sometimes nothing seems to happen - and indeed most probably nothing does happen. This seems to be beceause fhe filter will only work on the layer below it, which is not the actual layer which is to be filtered, but is an adjustment layer. It would perhaps be helpful if a warning could be given if a filter is being applied to a layer which is itself not going to be modified. Of course knowing about this issue makes it much easier to manage, and the filter can be dropped down onto the layer to be modified, and the effect is immediate. Experienced users probably won't need the warning, as they'll know about this already, but other users may find a warning helpful.
-
There's still a bug in scaling filters with an object. E.g. having a HighRes picture with gaussian blur filter (scaling with objects activated) and I scale the document, the gaussian blur radius remains the same what - of course does not make any sense - and the picture is wrecked ... the blur parameters still do not adapt to a new document size :-( Cheers, Timo