Search the Community
Showing results for tags 'effects'.
-
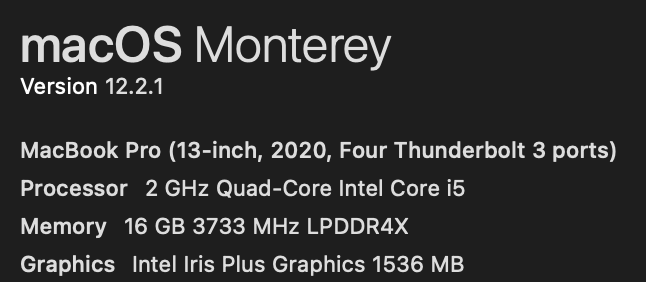
 I cannot put an inside outline on a layer that a topaz plugin has been applied to. Doesn't matter if its photo, denoise or sharpen ai. Please see attached files. bug report on layer effects and topaz plugins.afphoto computer info.txt
-
 I've noticed that applying any effects to live text is good until you change the font size. All the effects sizes stay the same even though I clicked the Scale Effects button in the places I could find, it still will not scale the effects added. SURELY, I'm doing something wrong.
 -
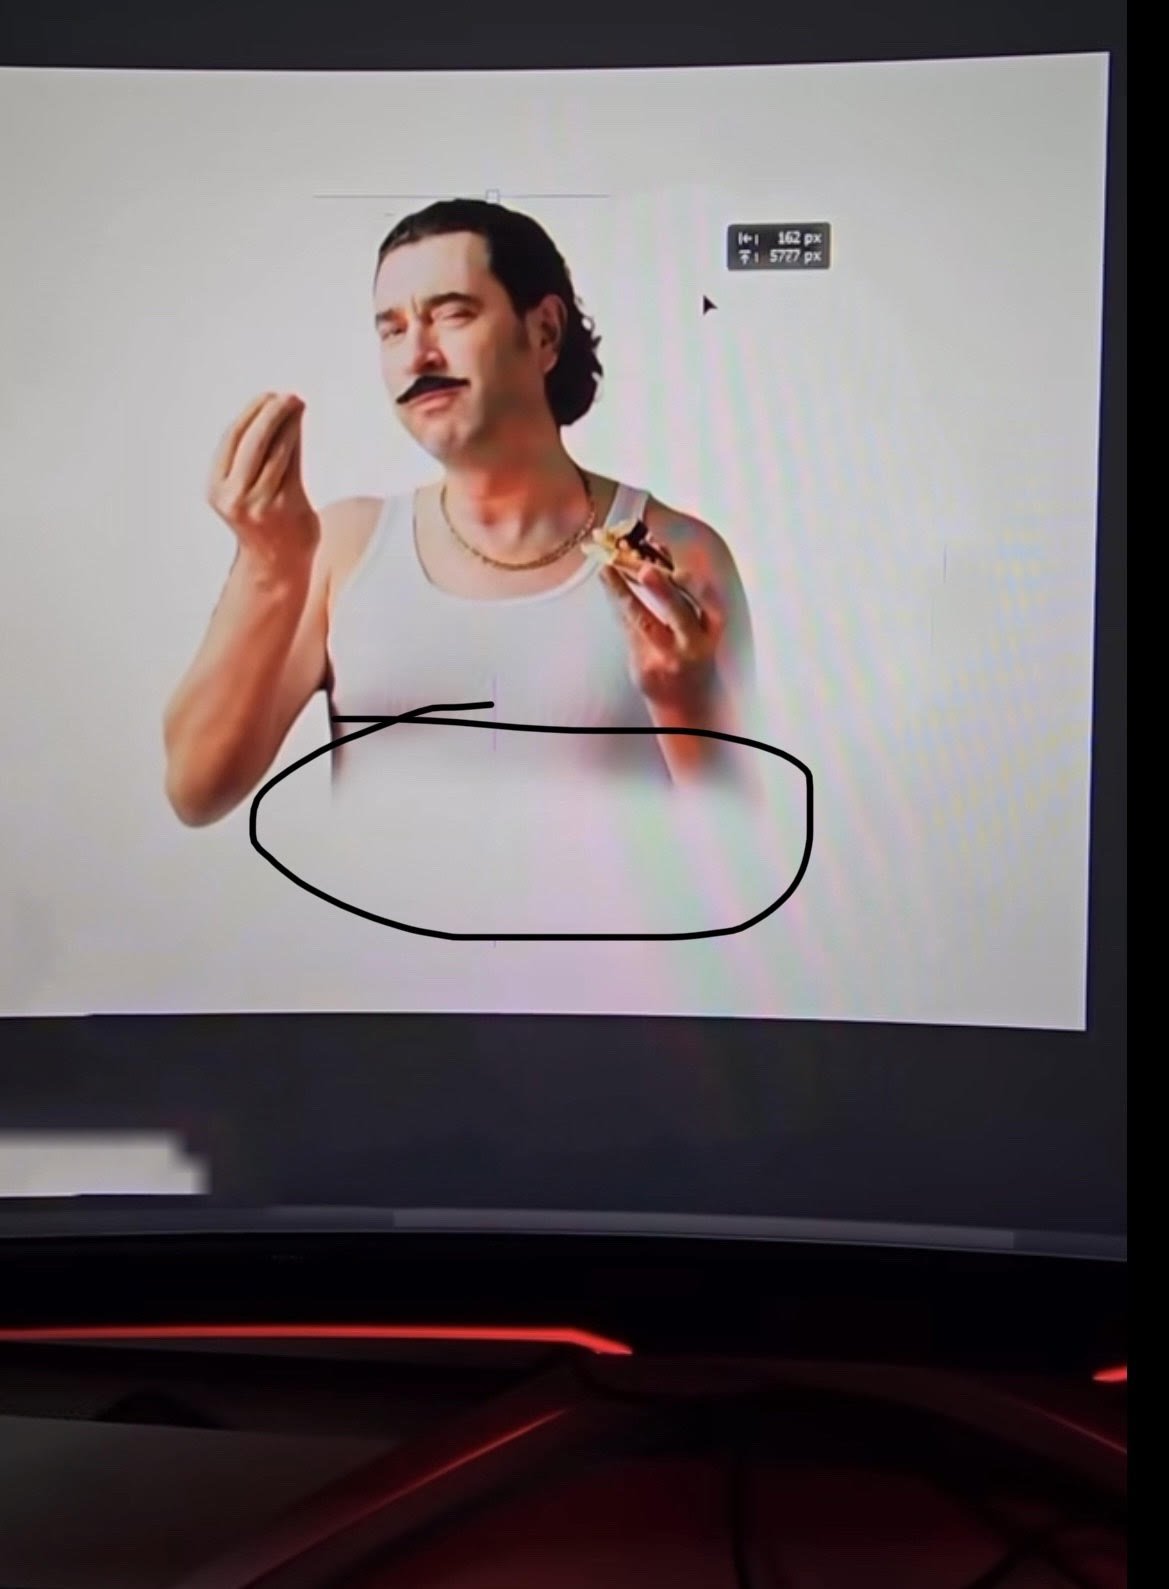
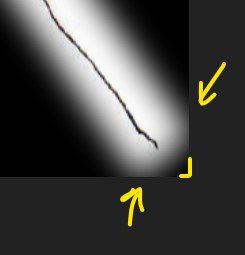
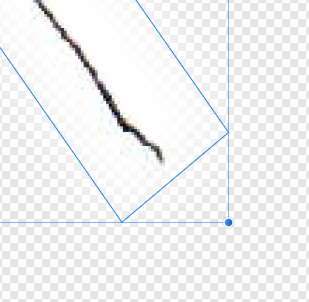
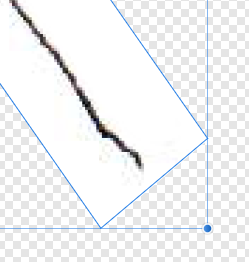
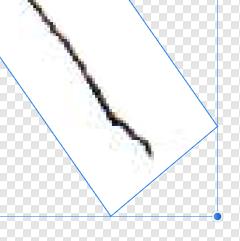
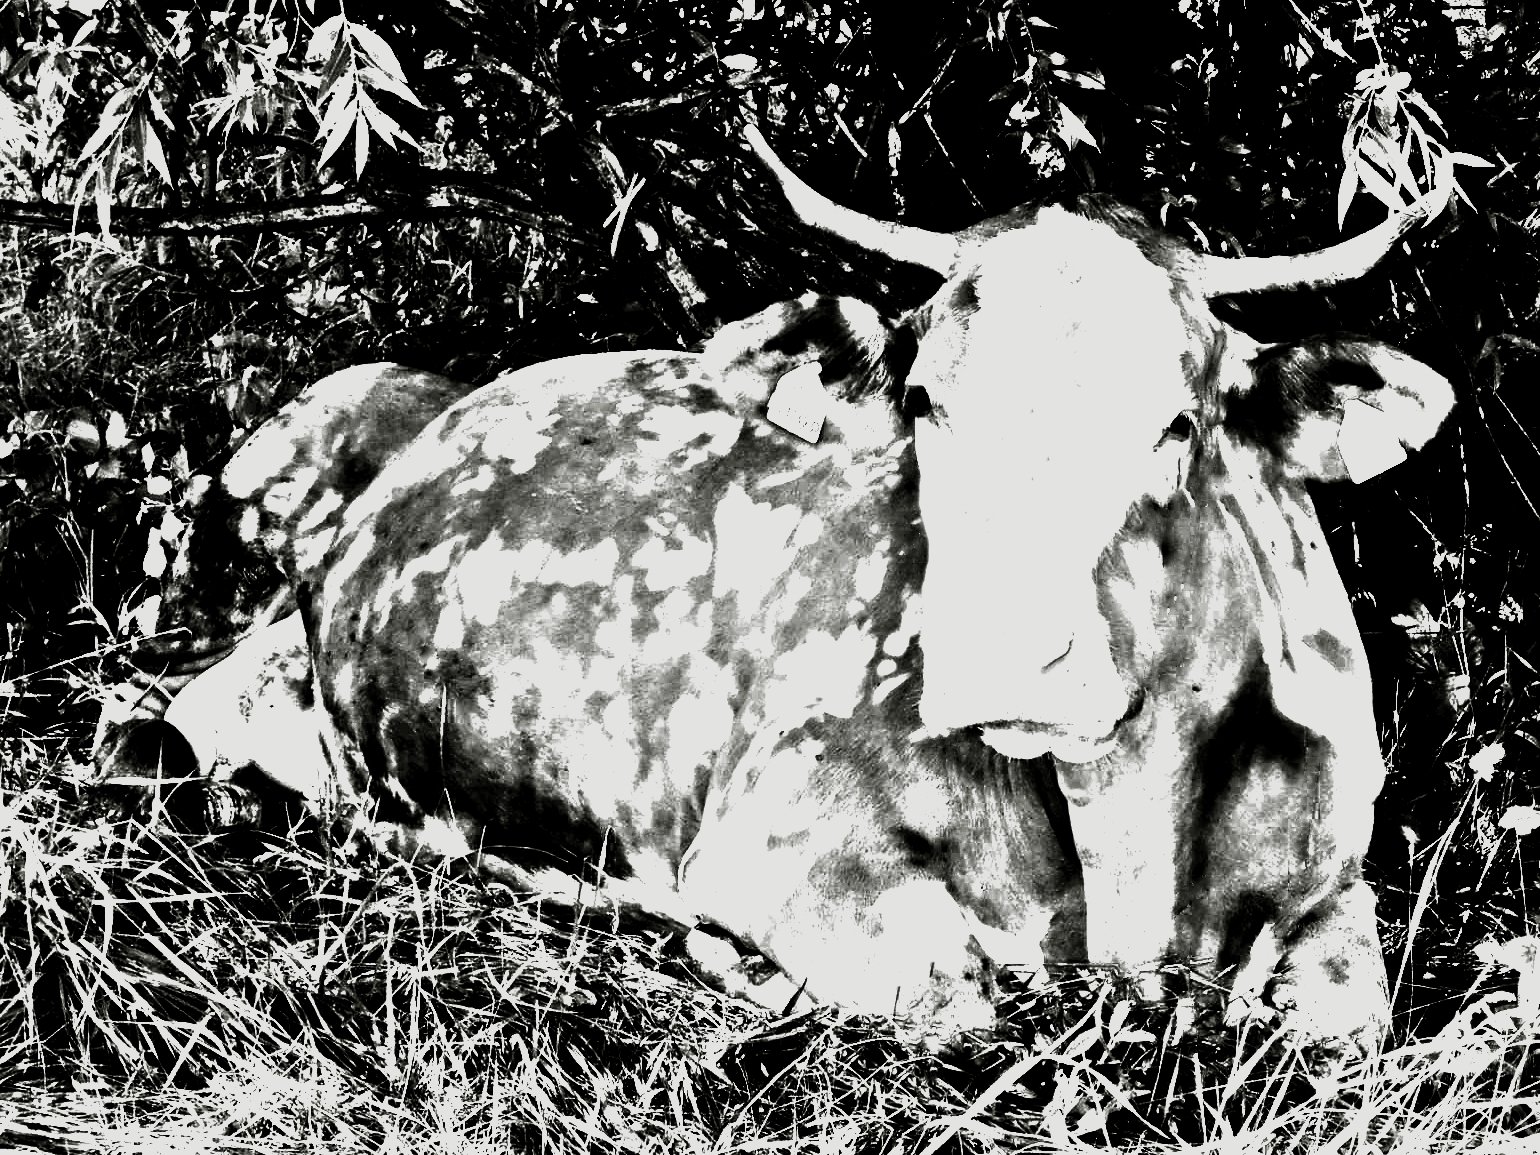
 I don't know if this is the right place to put this question. I'm brand new here but would love some feedback: How did the artist do this effect with the image (circled in black). Seems like it might have been done with a brush, but I've been fooling around with brushes but haven't been able to repeat this effect to success. Anyone veterans know? THANKS!
-
Hello to the forum, is there an affinity photo plugin that can be used to create this effect like the attached image? thanks for a tip Ludwig
-
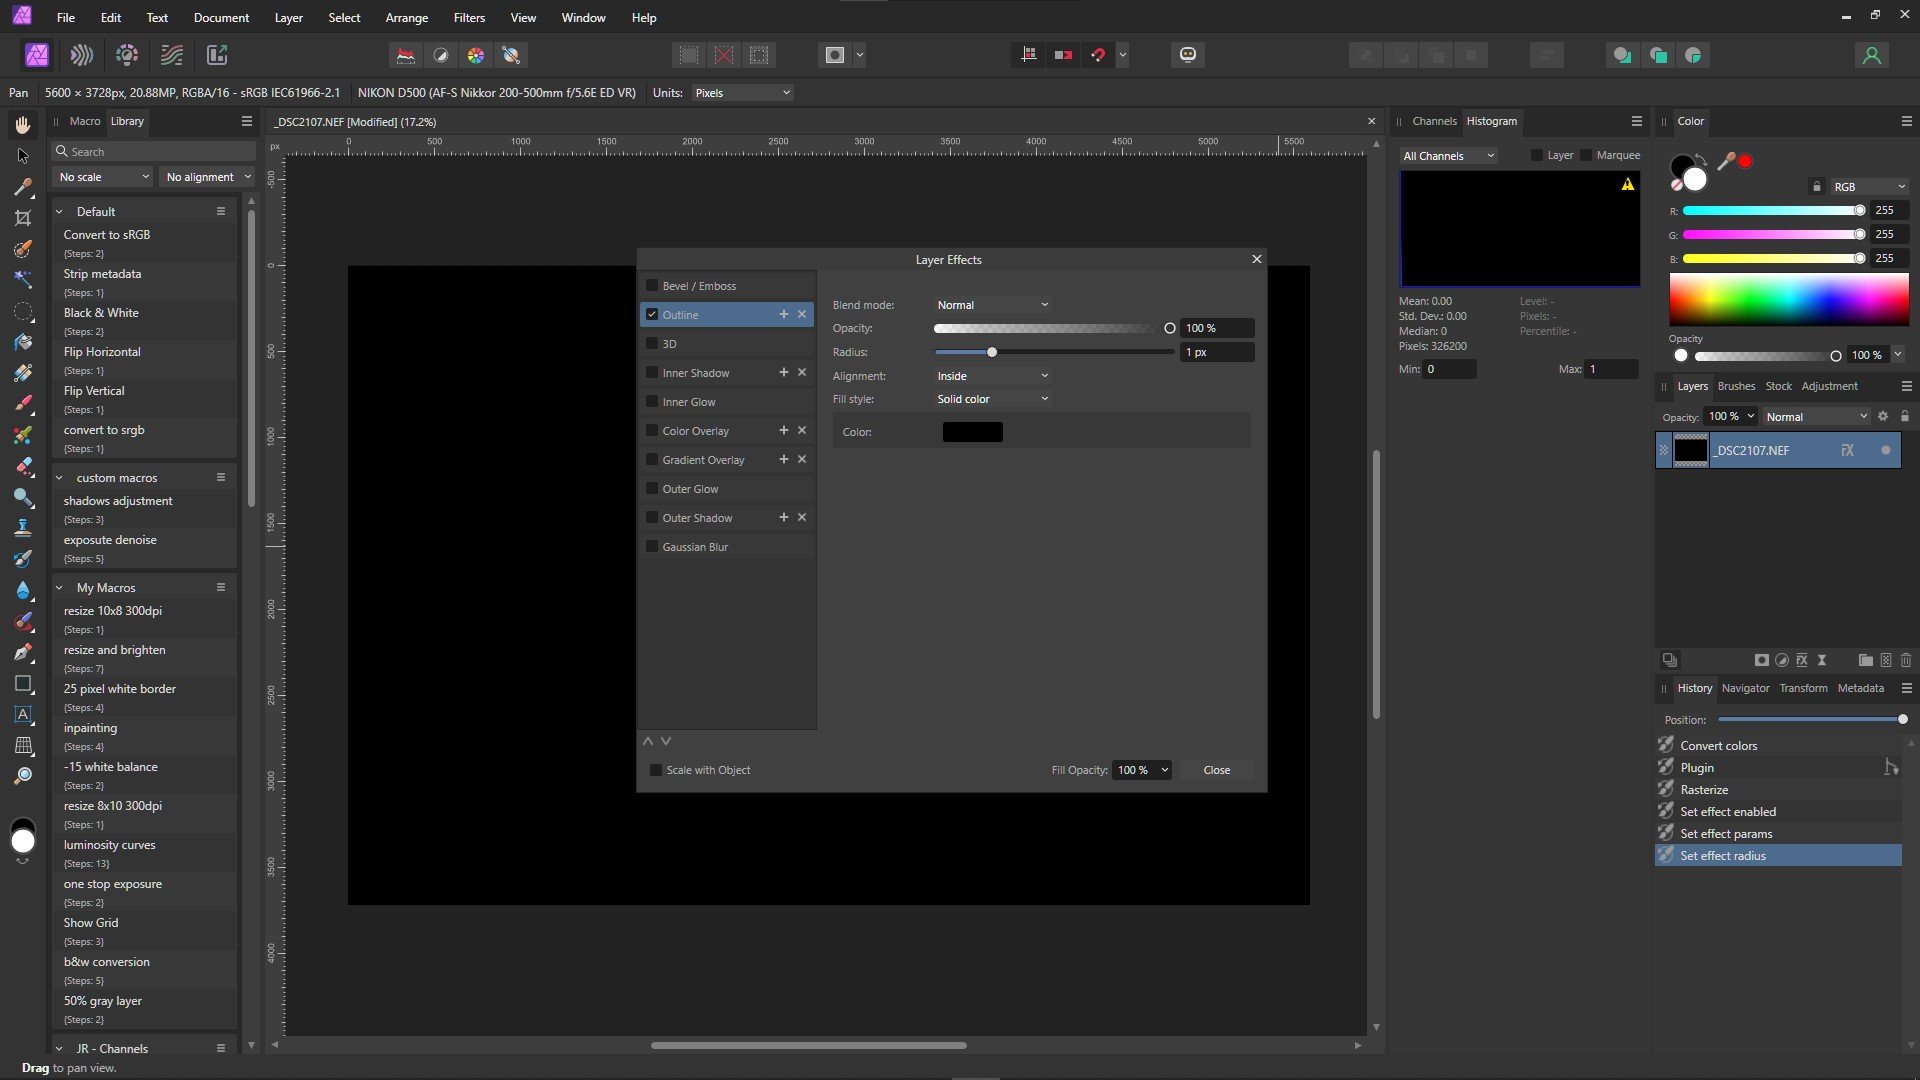
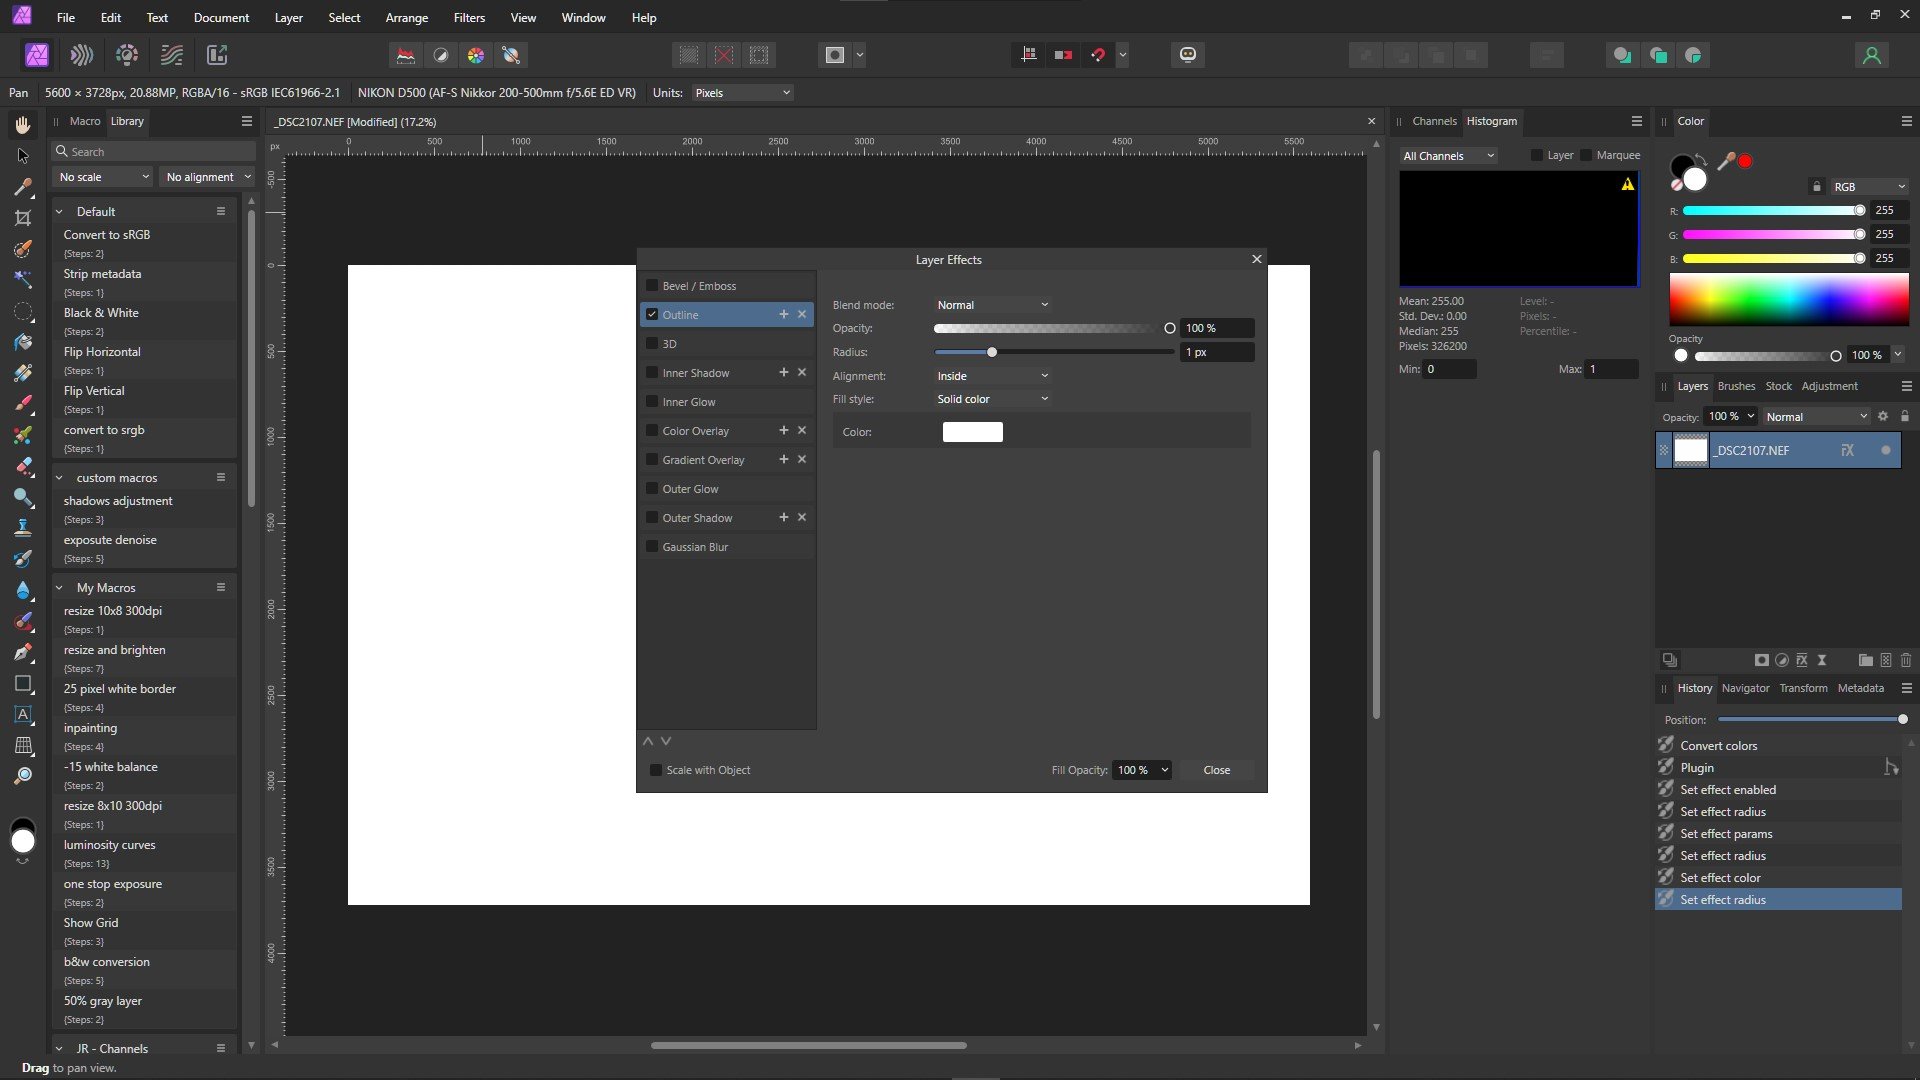
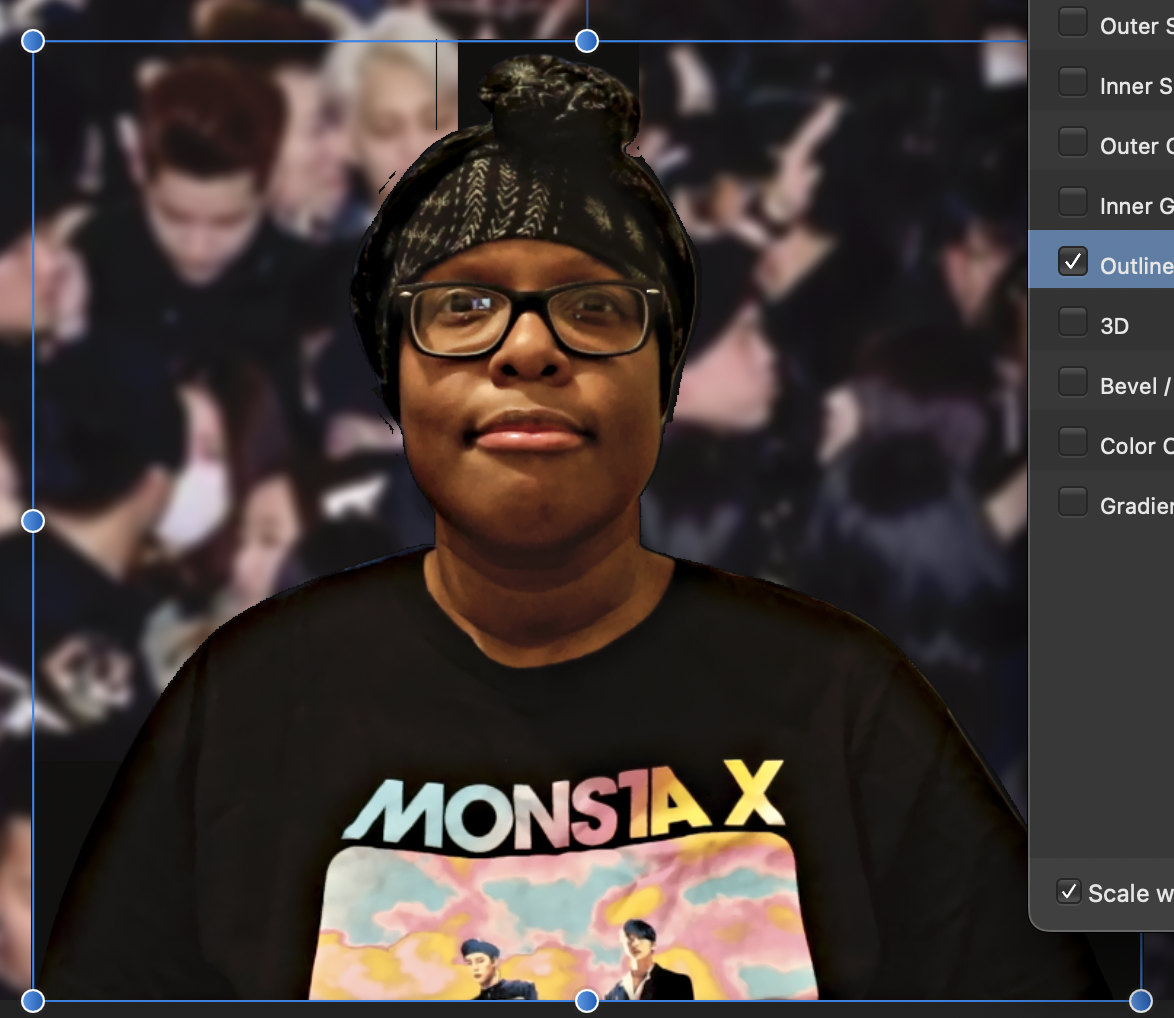
 Fans Need To Respect K-Pop Idols Privacy.ytn.afphotoHere is the source file. Hello, I'm Michelle. I'm having issues with Affinity Photo. So I'm having issues with Layer Effects. When I click; on Layer Effects(FX) panel and click on one of the effects, for example, 'Outline' and change the settings like 'Radius.' Blocks would show up around a cutout image of me. The same goes for the other Layer Effects as well. I have attached a screenshot; so you know what I mean.
-

Seamless pattern problem
Frankly posted a topic in Affinity on Desktop Questions (macOS and Windows)
I am making a half drop repeating seamless pattern in Designer that I'm using lines with multiple overlapping gaussian blur effects applied. I always have problems with shadow effect matching up at the seams of the pattern, and was hoping to find some solutions. Matching up lines that cross a seam can be a challenge, but when I create a blur effect, it never matches on the other side of the seam. The has to be a method for using shadows and highlights that can be learned that works reasonably well, but I haven't seen found any instructions that deal with such that specific niche of using this program. Here is a screen shot to show what I'm referring to-- you can see the seam where the tile doesn't match up with the blur effect, especially in the corner of the half drop.
-
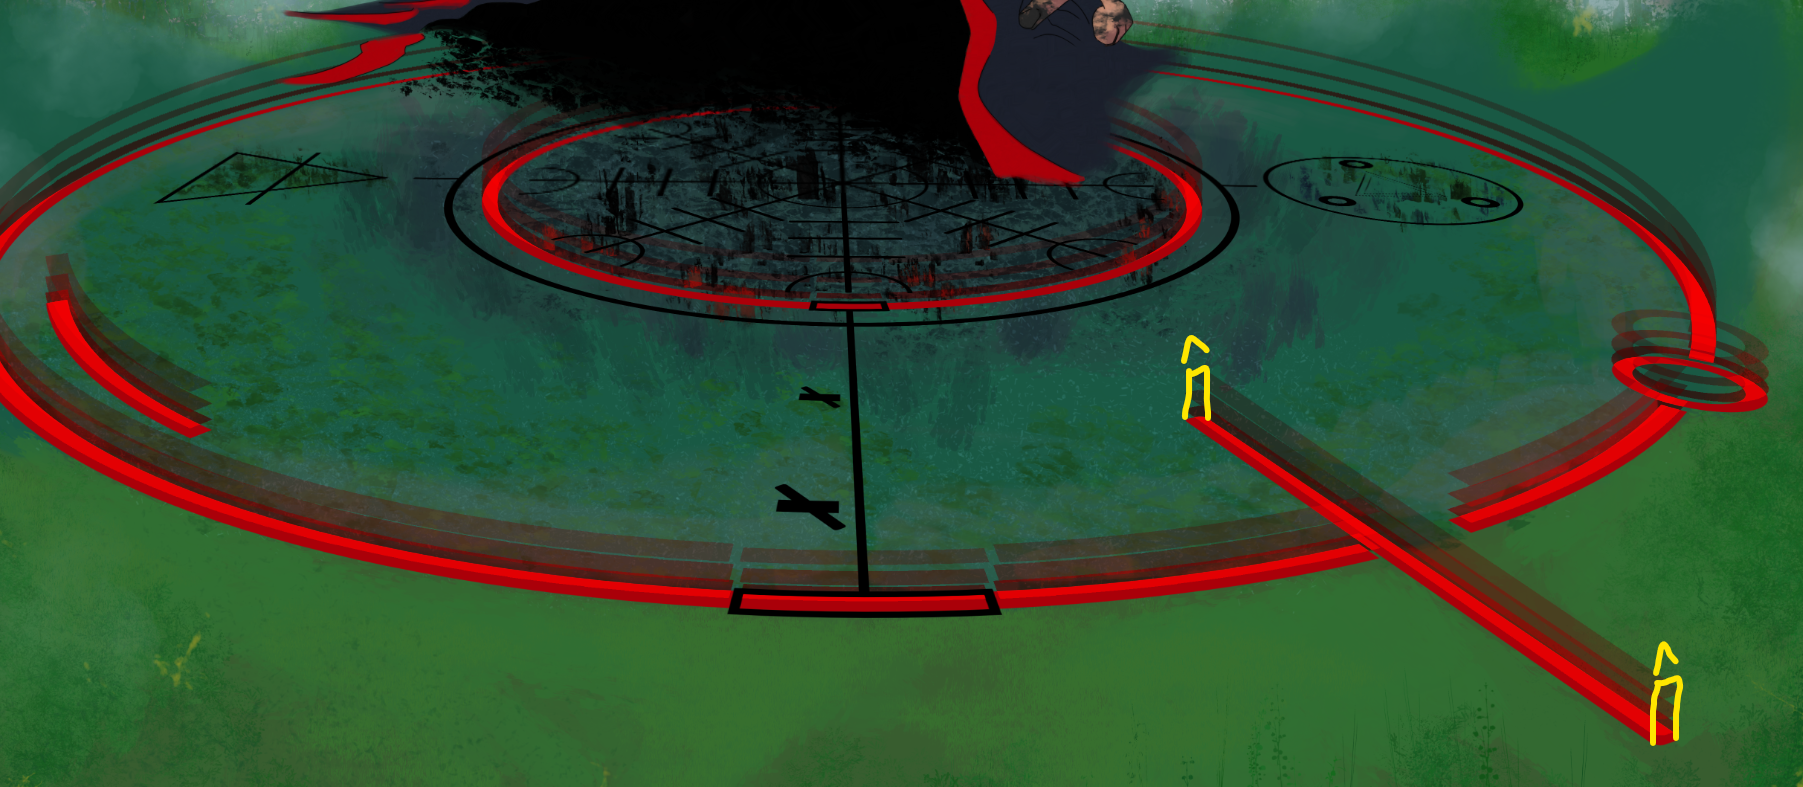
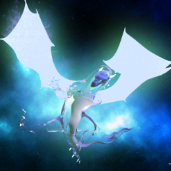
 Hi, apologies if this is the wrong forum, I saw there is a tutorial category but it seems it's more for posting guides than to ask questions. Is there a way to create a continuous glowing effect being emitted from the surface, like shown below with multiple fading layers? I am trying to make the effect have the same volume throughout the front and back without it being visible that they are just multiple flat layers. I can imagine creating the circle as a 3D cylindrical object in another program and then using that as a layer mask but is there a more efficient method? Thank you
-
Hi guys, Bevel & Emboss is cut of by live filter layer perspective. Didn't test anything else, didn't test on pixel layer. - Please see video: Effects + Live Filter Layer issue.mov
-
 This has probably ever be reported by somebody before, but I couldn't find any reporting on this issue with the forum search, so just to be sure it's known and hopefully can get a fix: Slices created from fill layers having a mask vector layer with gausian blur applied to it have bounding boxes that are cutting off the blur. This results in unusable export files as we obviously want the effect to be there fully, not cut off. It looks like effects are ignored by calculating the bounding box to create a slice. [edit] The bounding box of the mask in the normal editor is already ignoring effects by calculating the bounding box. Which is fine in the editor and even wanted in most cases IMO. But the same calculation results in issues in wrong sizes/positions to create slices in the export persona (please see images below) The same issue happens in Photo. I'm sure I know a way to work around this for now, but that's far from ideal and especially in the project I'm currently working at a loooot of (redundant extra) work. This obviously needs to work out of the box, so hoping for a fix! Thanks in advance! 😀 layer and fx situation Masked with this construction by dropping here 🙂 bounding box of the fill layer in the editor mode: bounding box of the mask layer without effect in the editor mode: bounding box of the mask layer WITH effect in the editor mode: created slice is too small (you see the bbox is way smaller than the real boundingbox as seen in the normal editor). The slice seems to ignore the effects applied at calculation time or something else is wrong in its cropping method: output file after exporting using the export persona: blur is cut off
-
 Working on a poster style design. Applied text to design. It shows up fine with a stroke, but... I want to apply an outer glow to the text and omit the stroke. Text that is not connected to the artistic design looks great -- the other text near design layers appears as if it's in a fog, like it would if it's behind a 50% white layer. I have triple checked the layering and opacity. Text is out front of every other layer and 100%. Any ideas?? AlleyOop
 -
 Hi guys, here's another new video about how to create a speed effect in Affinity Photo. I hope you enjoy and learn something new from this video, thank you!
 -
I tried some variations. Not so good, not so bad. Need some improvements.
-
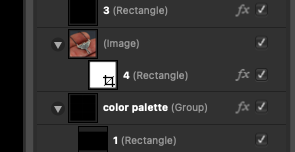
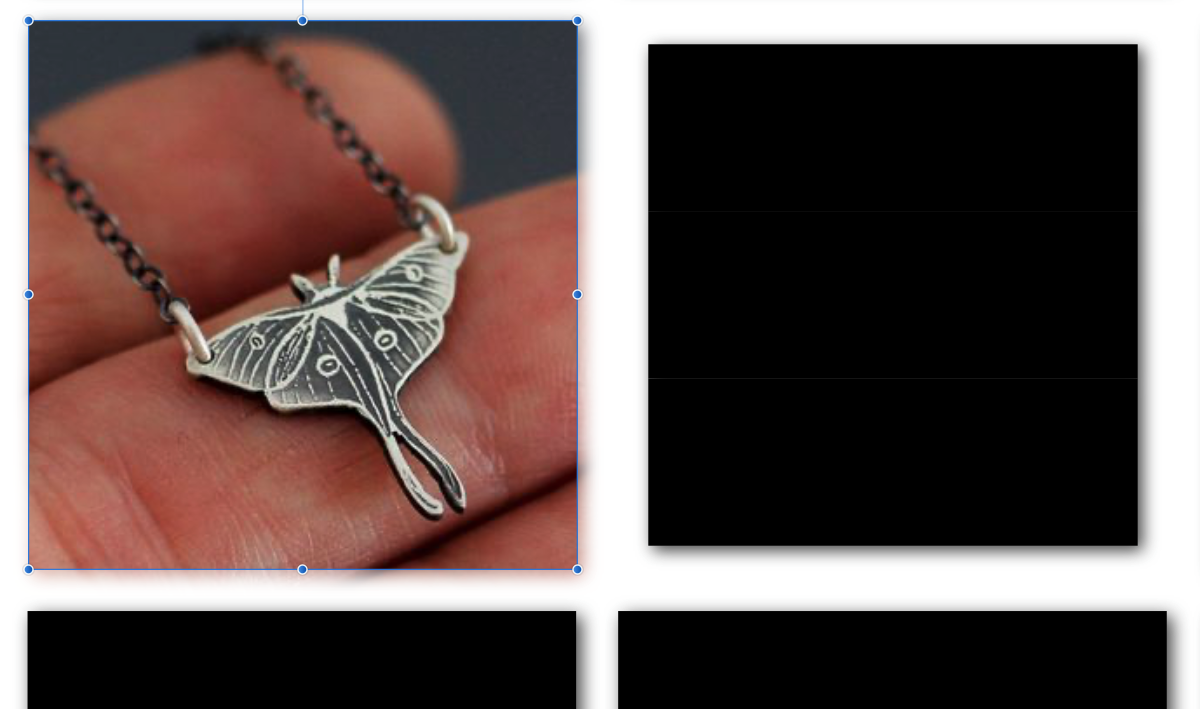
 Hi! I'm trying to make a mood board with squares that have drop shadows. In the squares, I put my images. When I tried it out today, the drop shadow took on the image instead of remaining black like I intended. (Please see screenshots.) How do I stop this and keep the drop shadow black?
-
I purchased Affinity Photo months ago. Ever since then, I have been having a few issues with the software. The issues I'm having with the software are the layers are blurred or something like that for a few seconds when I use Effects. When I used the text or a specific type font or do anything with the text, like change the size of the text, duplicate the text, and move the text, the transparent canvas would show up (some of the transparent canvas would show up). Also, when I open up a file, the layers, adjustments, layer effects, and live filters become blurred for a few seconds, then go back to normal. Now, I'm going to tell Affinity support about the issues I'm having, but I just want to post it in this forum to see if anyone else is having the same issues, as I am. Also, if someone could help me solve these issues.
-
 Windows 10. Version 1.10.5 of all three products. Within the las couple of months, I have noticed that several adjustable parameters reduce when I stop moving. In the attached video, notice the noise in the red stroke drops off significantly as does the 3D effect. This happens with all three products but it does not happen on my laptop. I have done a master reset on Photo but that has not helped. I have a Xencelabs tablet that has always worked fine with Affinity. I have been researching this for a couple of weeks and don't know where else to turn. Thanks, Dave Davis effects.mov
 -
This is something that I feel is kind of missing from the effects board. While having both overlay color and the fringe option - one still feels like its missing. The "Fill-Effect". Having a Fill-Effect would be a huge improvement when thinking of a more non destructive workflow. This would be especially helpful for artists that work with outlines and want to reduce the layer count while still maintaining a non destructive workflow. This fx could come with modes like these: - Símple Fill-In which searches the outlines of and object/lines inside of the outest outline and fills the spaces that do not yet have any pixels in them. - Fill the whole image (fills the whole layer with all the outlines similar to overlay color but also fills any gaps inside the main outline of the layer) -> This could help creating black versions of objects for more simplified artstyles, masks or sillouettes) (- Fill the whole background behind an object - including outlines) An export fill option would be super helpful here btw - so you are able to just click a few buttons and fill out the whole object without having to fill out each single space on your own. This would give artists the option to create a backlayer quickly while keeping the outline layer separate if they want to. Also, if the artist would change an outline the object would still be filled perfectly which would safe a lot lot of time not having to erase background of add new background to the outline. Please consider adding this. It would make so much so much easier. Greetings, Chris
-
Hi guys, here's an easy photo manipulation idea that you can try, it's about how to create a portal effect in Affinity Photo. I hope you enjoy this video, thank you!
-
- 2
-

-
- affinity photo
- tutorials
- (and 6 more)
-
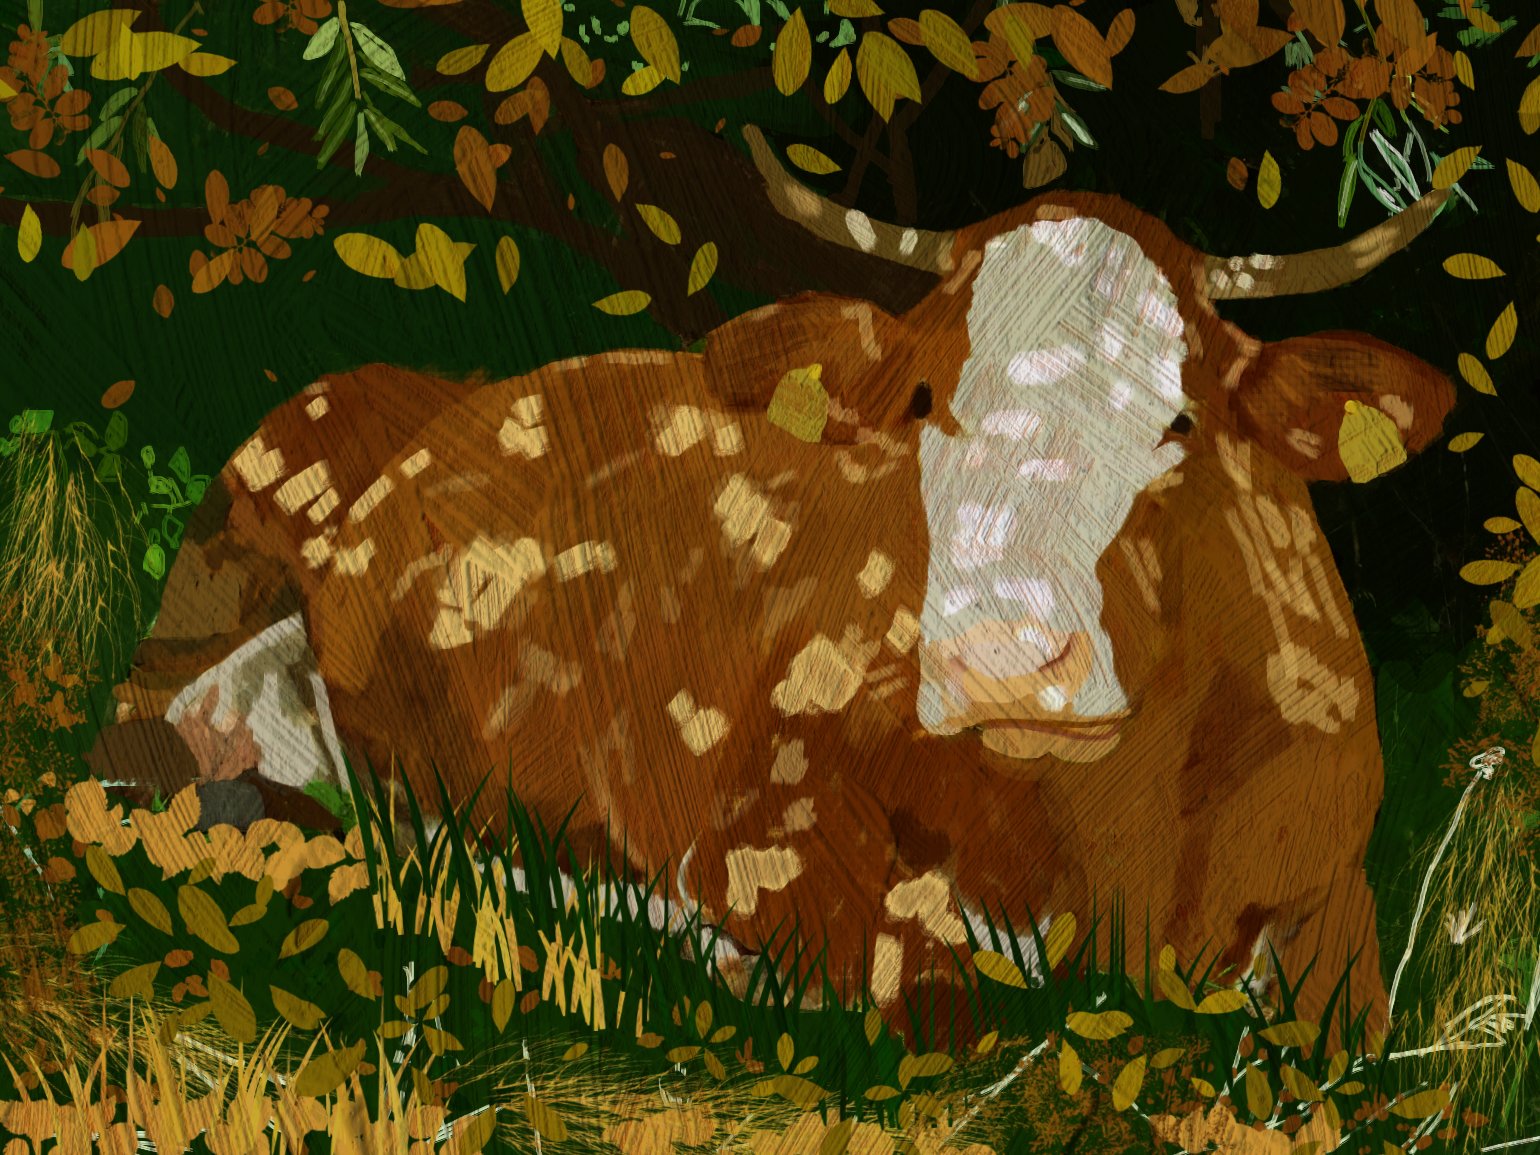
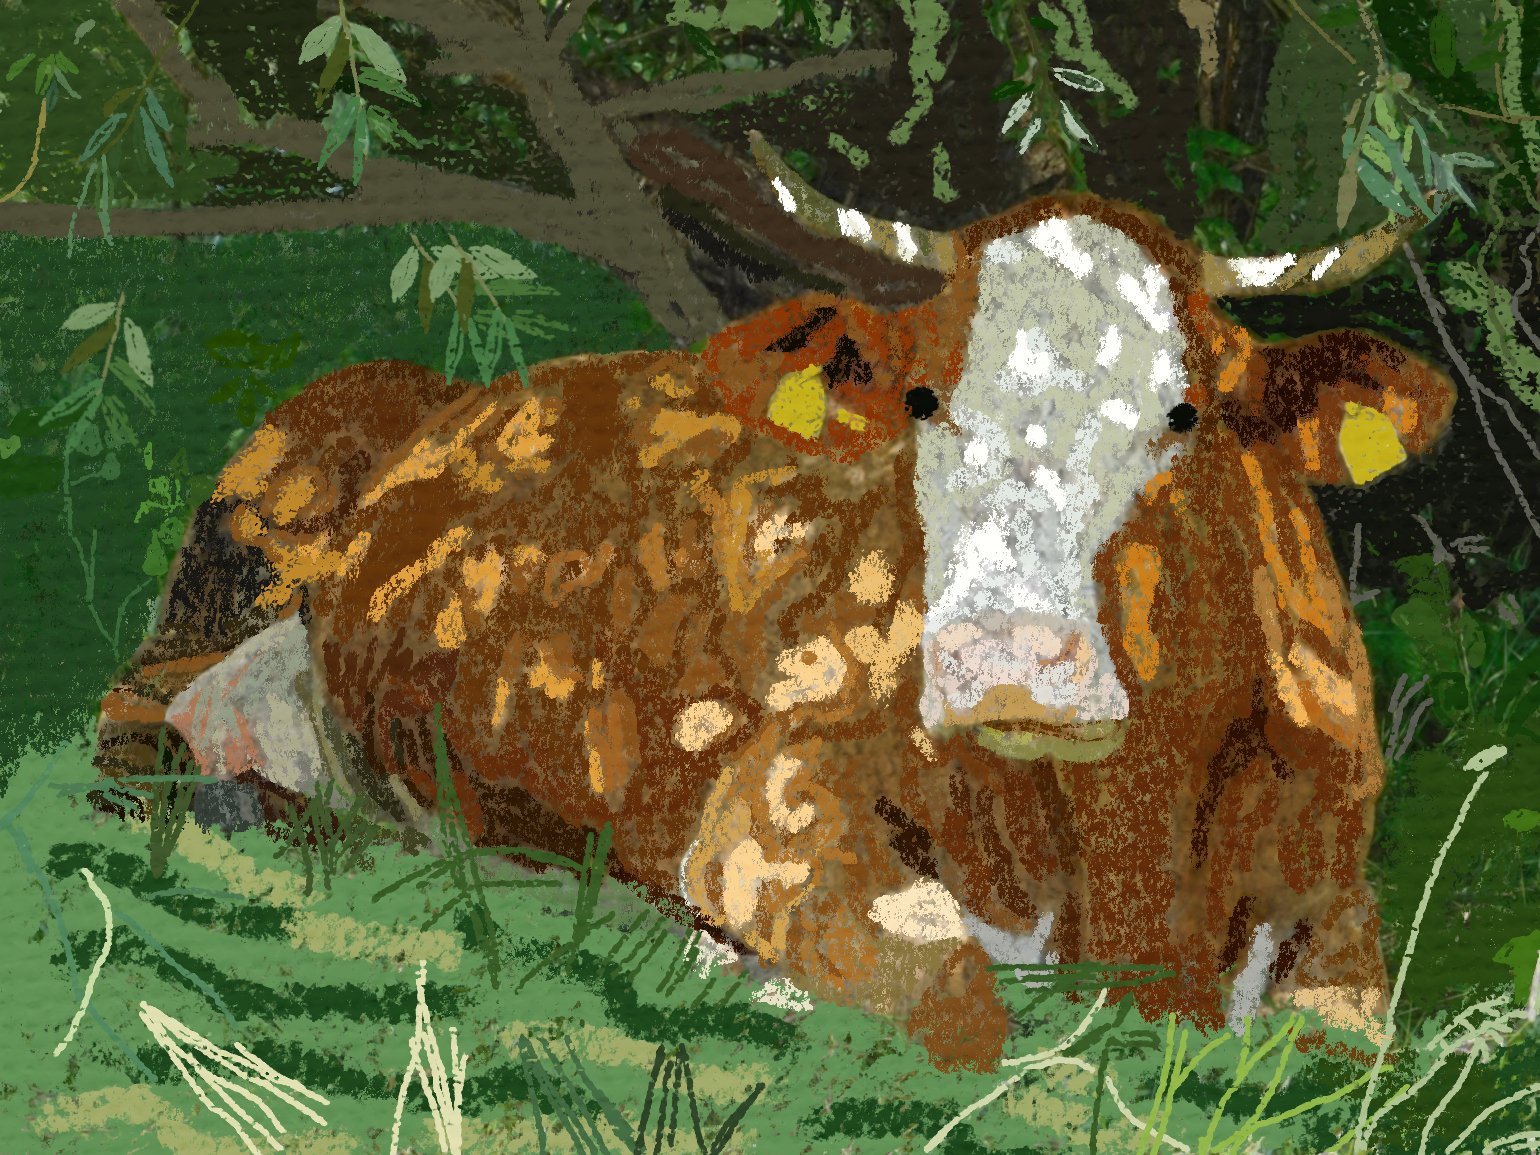
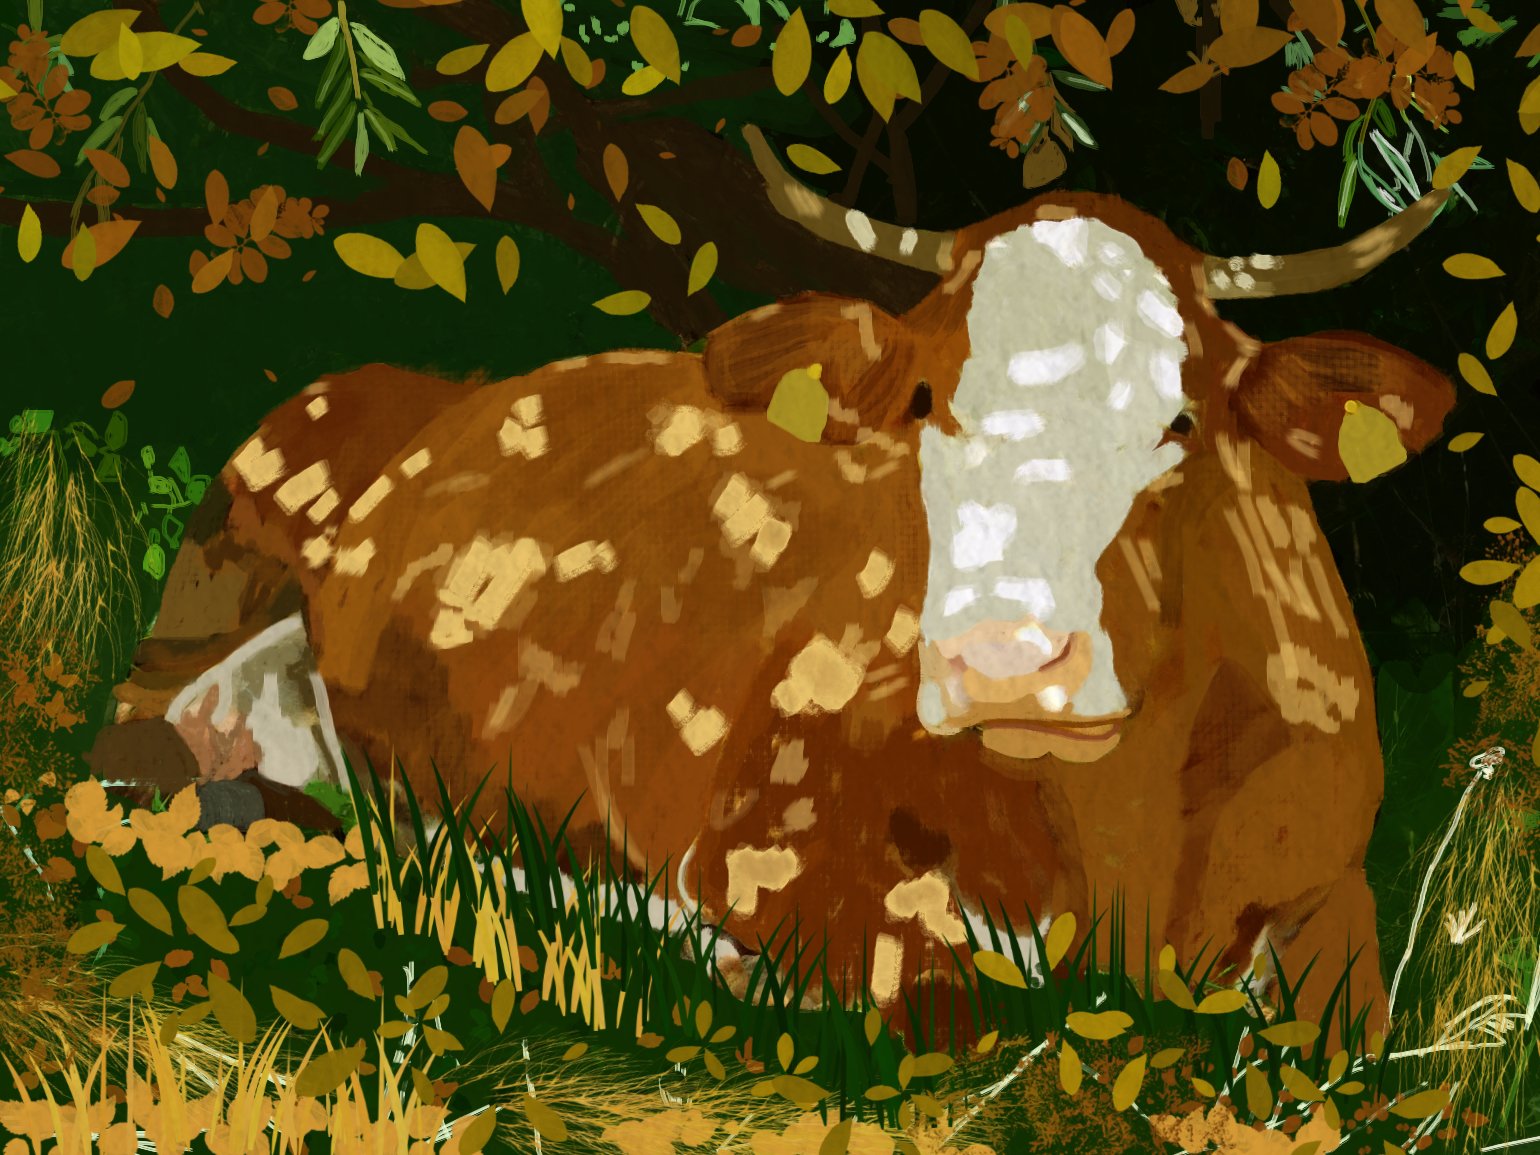
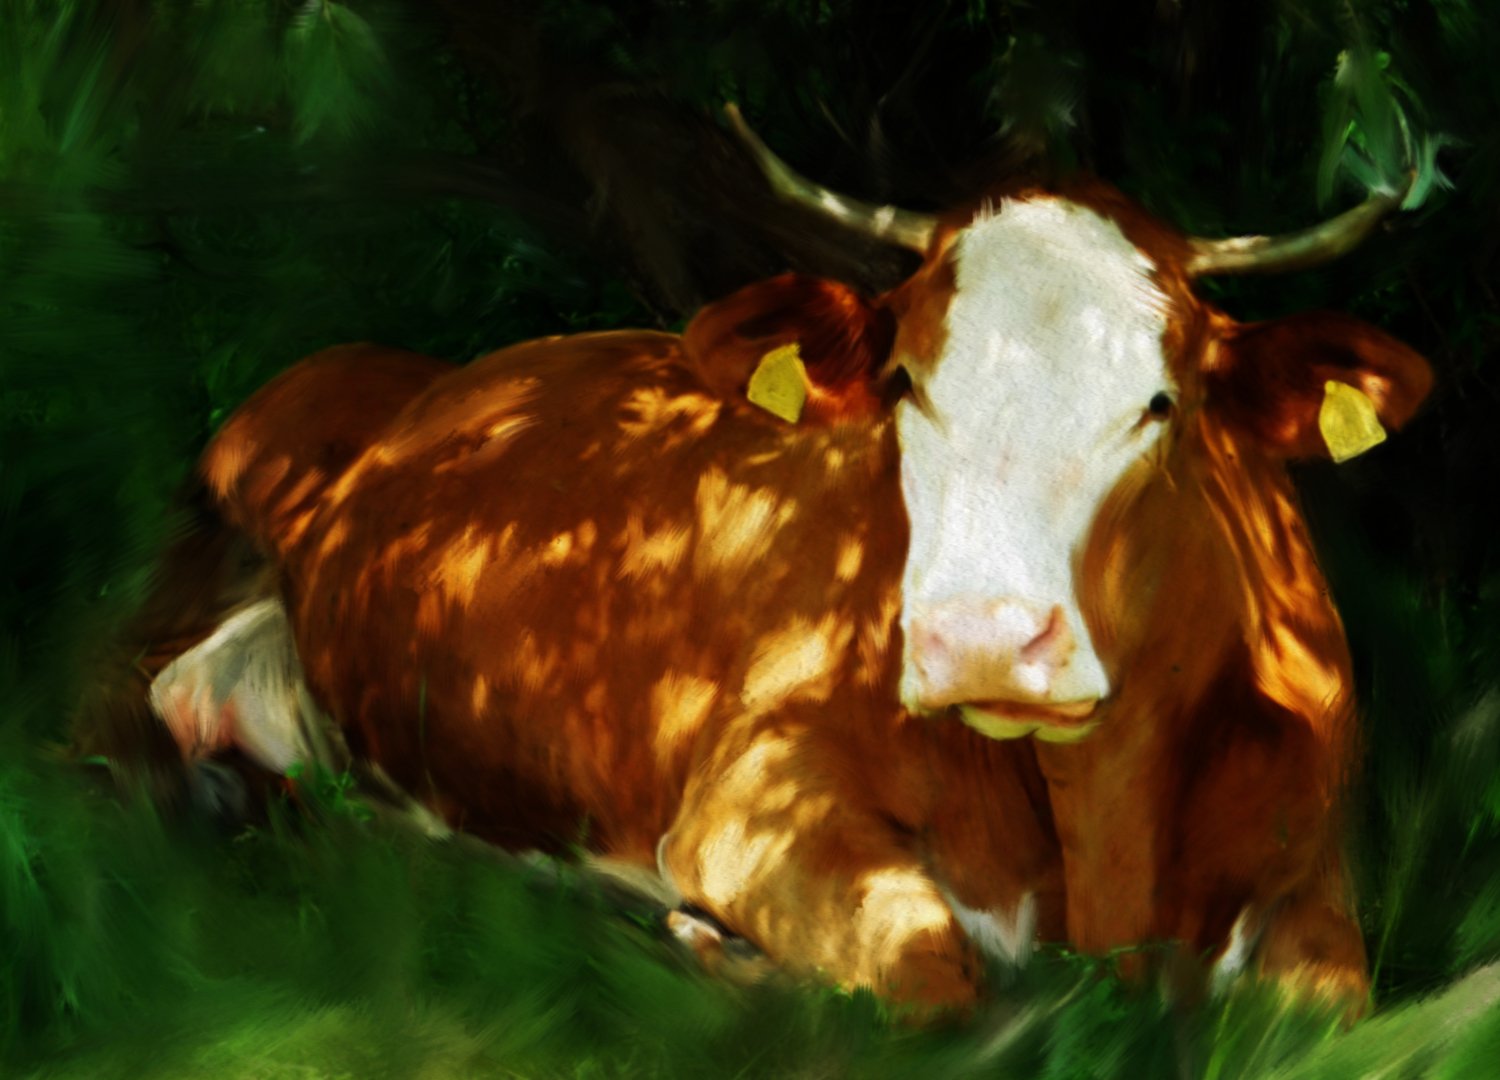
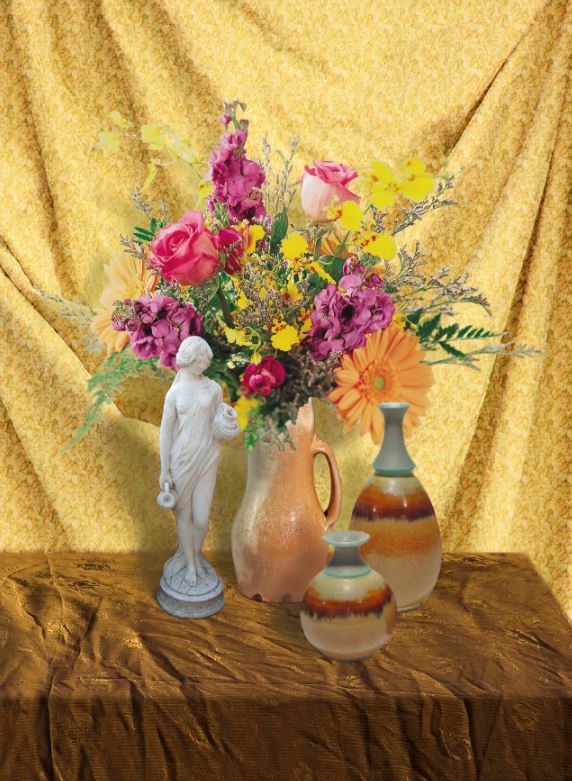
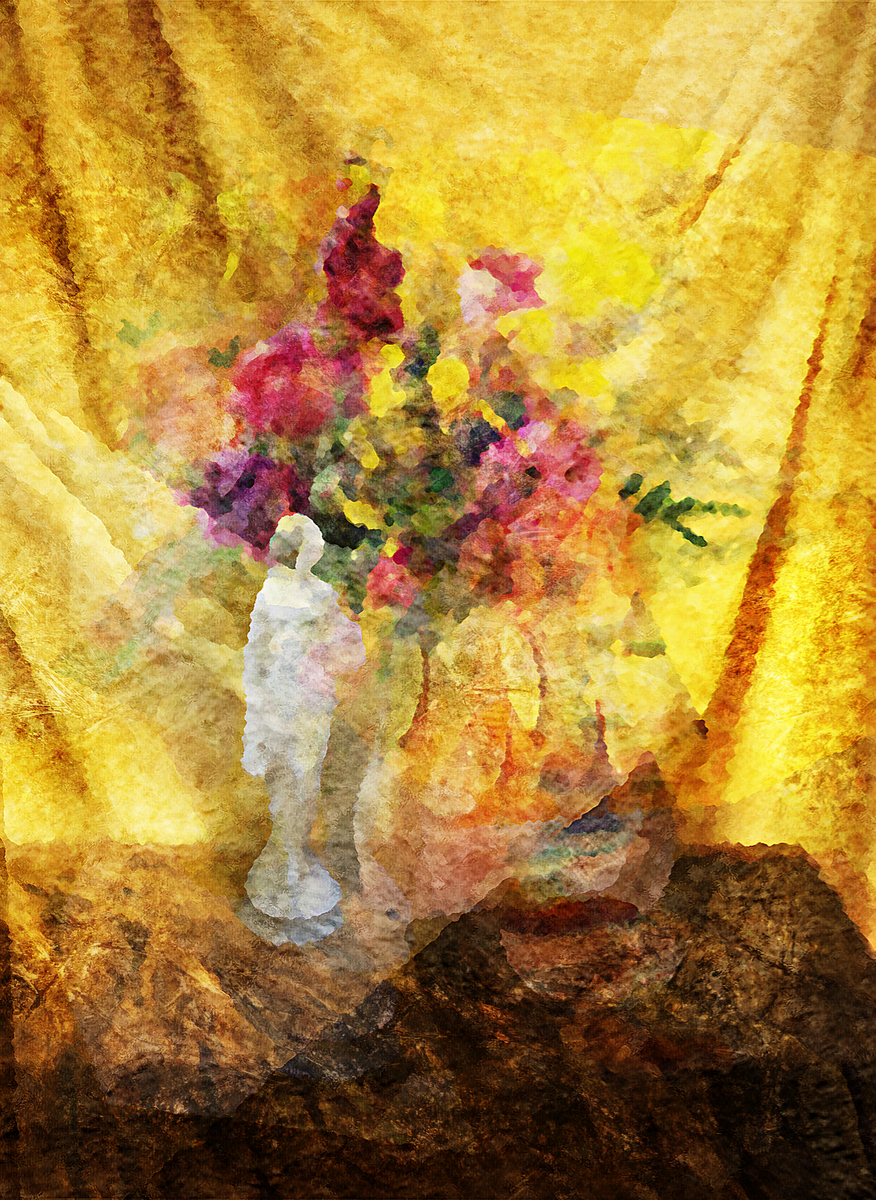
I love to see how far I go with creating a painterly look beginning with a photo. The original photo (below) is actually a montage of many images found on the web - vases, flowers, draperies, figurines, etc. were are separate images. The resulting combined painting was created solely from Affinity Photo's default filters & layer blend modes, and without using any brushwork. Ultimately, the document contained 22 layers. Original Photo/montage
-
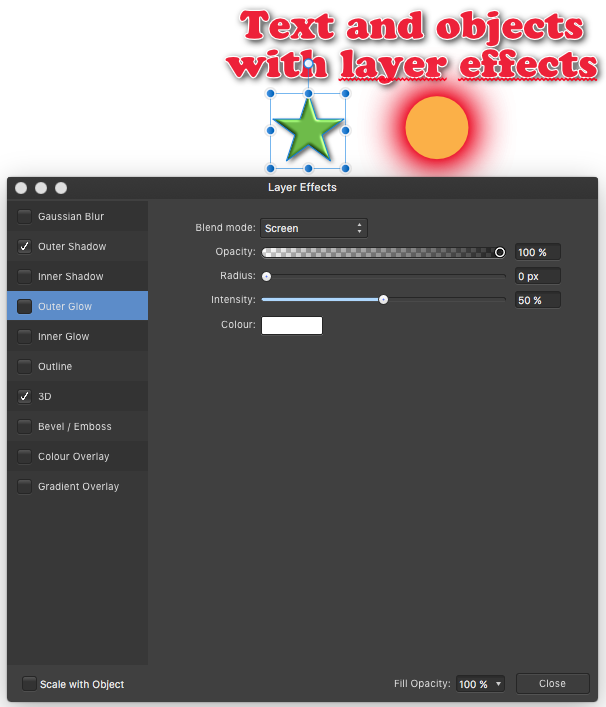
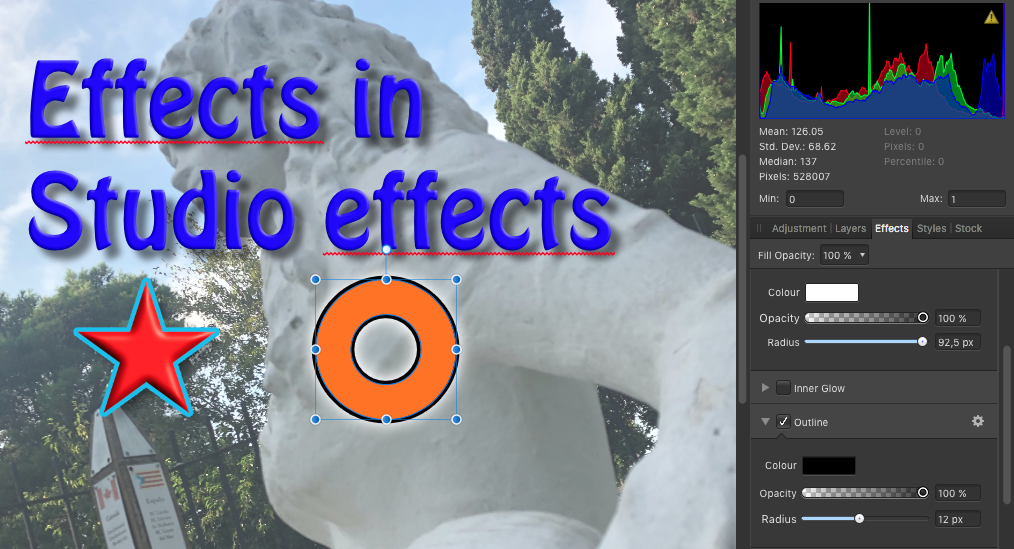
 Hi! In Affinity Designer to apply effects to text and objets is made via Layer - Layer effects. In Affinity Photo there is no the same way. Layer effects des not exist. Go to Studio - Effects. I know that it seems something obvious, but for people that use a lot Affinity Designer could get lost finding a way to do the same effects to a text or/and a object in both applications. I do not know how this effects are applied in Affinity Publisher but I hope that I buy soon the third application of the suite
-
Hi guys, in this video, I'm going to show you how you can create a fast-moving effect in Affinity Photo, to make an object of the photo look like it's moving fast. I hope you enjoy and learn something new from this video, thank you!
-
- 2
-

-
- affinity photo
- tutorials
- (and 4 more)
-
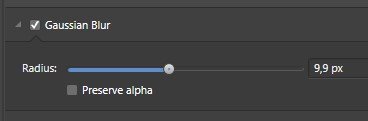
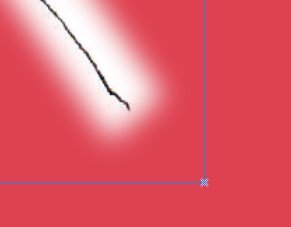
 Hi guys, I am missing permanently a slider based/non destructive possibility to blur masks. E.g. by "Gaussian Blur" of "Effects" tab. Please don't get it wrong I have some emotional moments in the video, that's only because I'd like to prefer AP over Ps, but due to things of that, I can currently not do a full switch to AP. Video (unlisted) should explain
 -
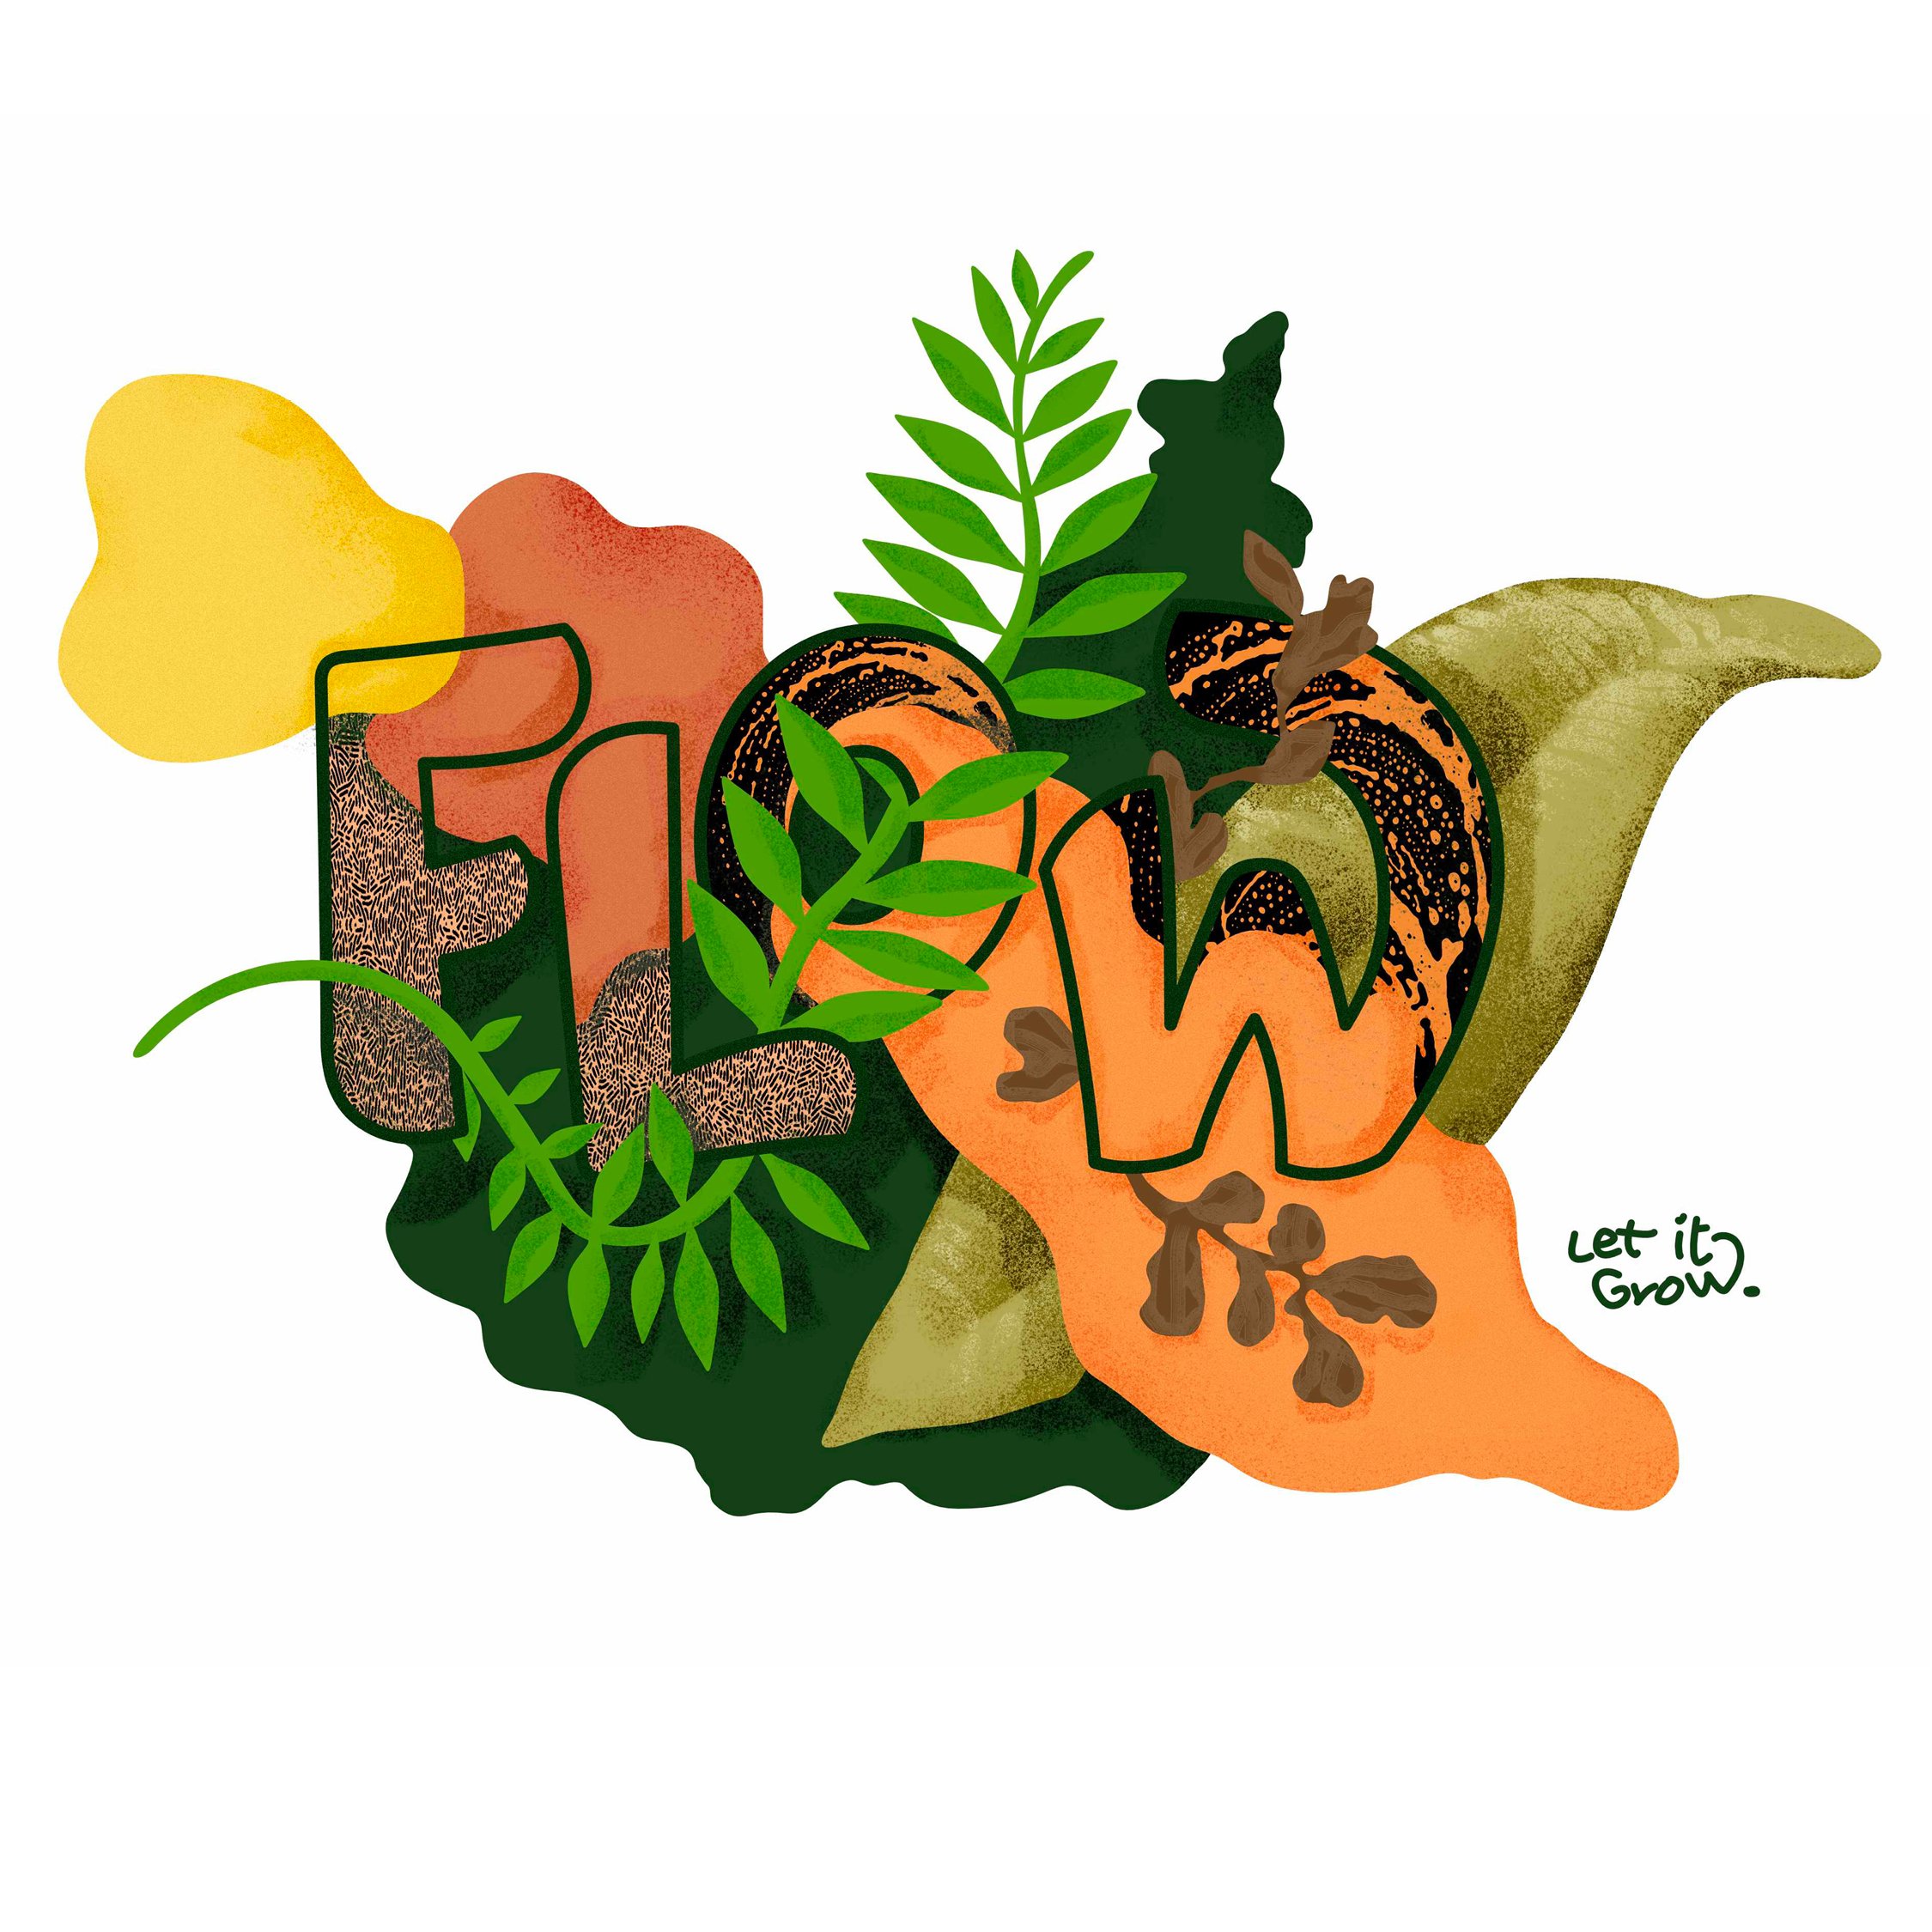
First time I designed in Affinity Designer in sted of using Illustrator. Really loved it! Also I used "The Shizzle" pack from Bob Byrne – very cool stuff hi makes!
- 2 replies
-
- 4
-
-
- illustration
- type
- (and 3 more)
-
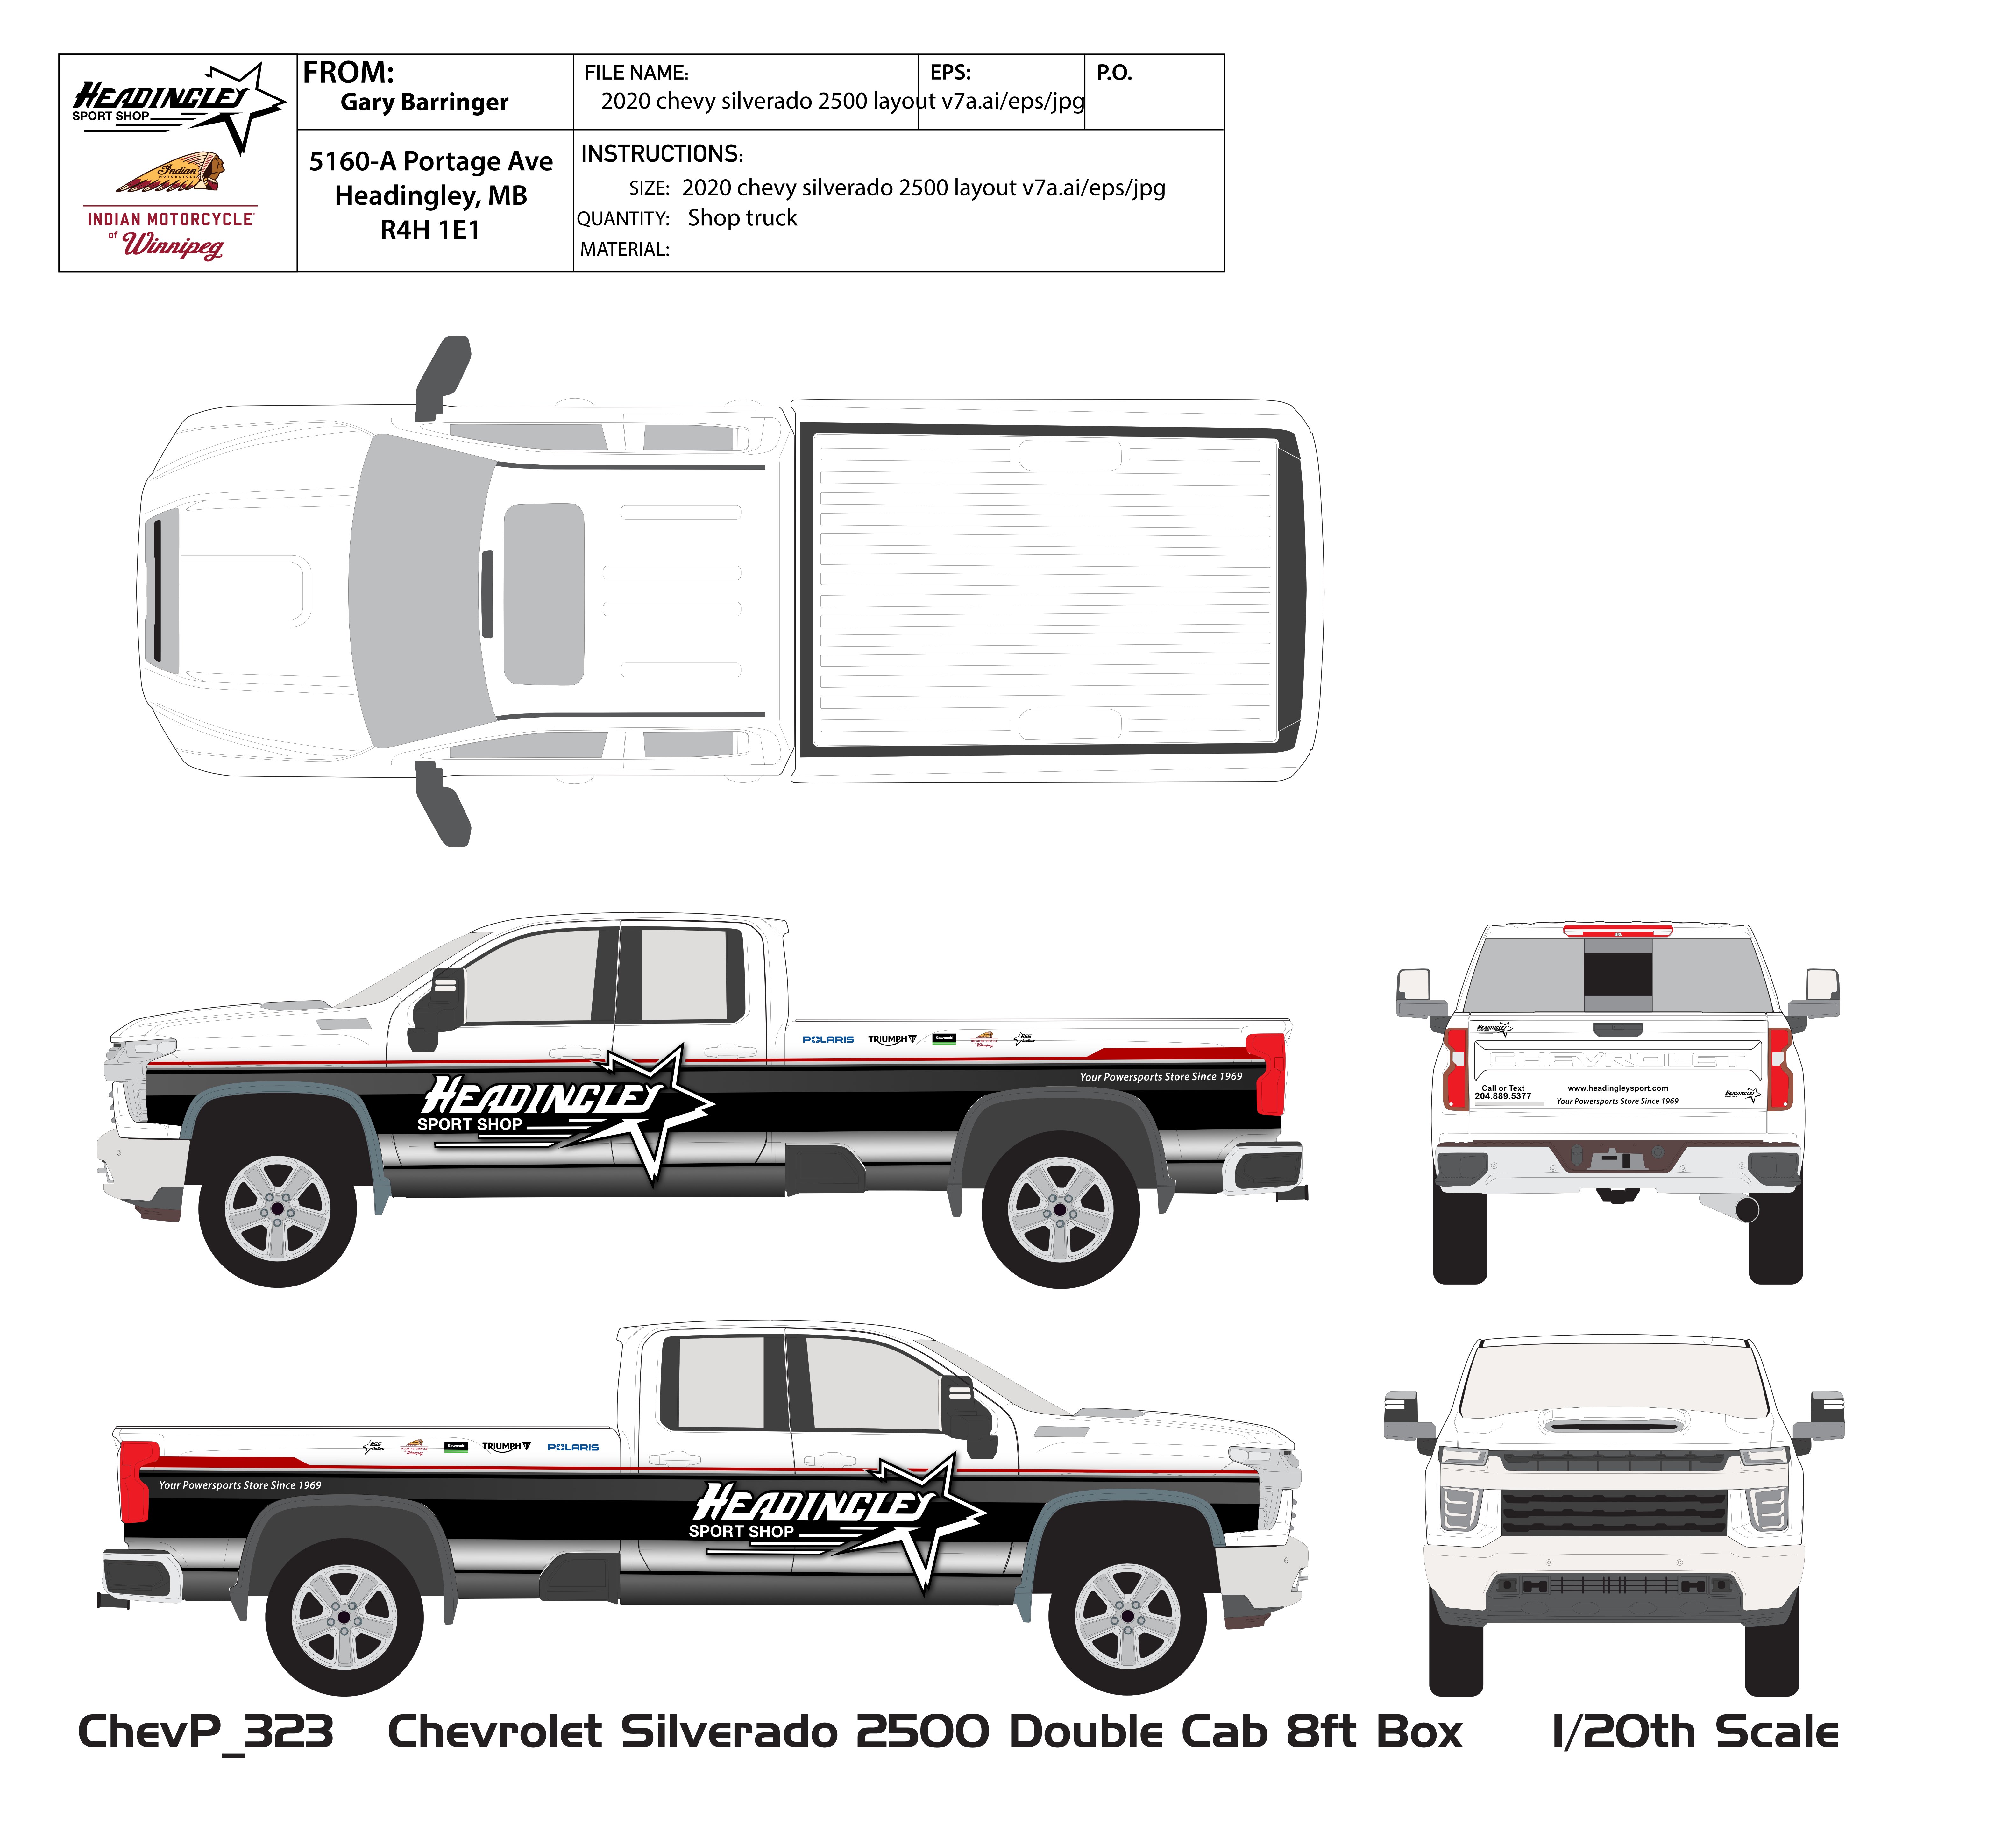
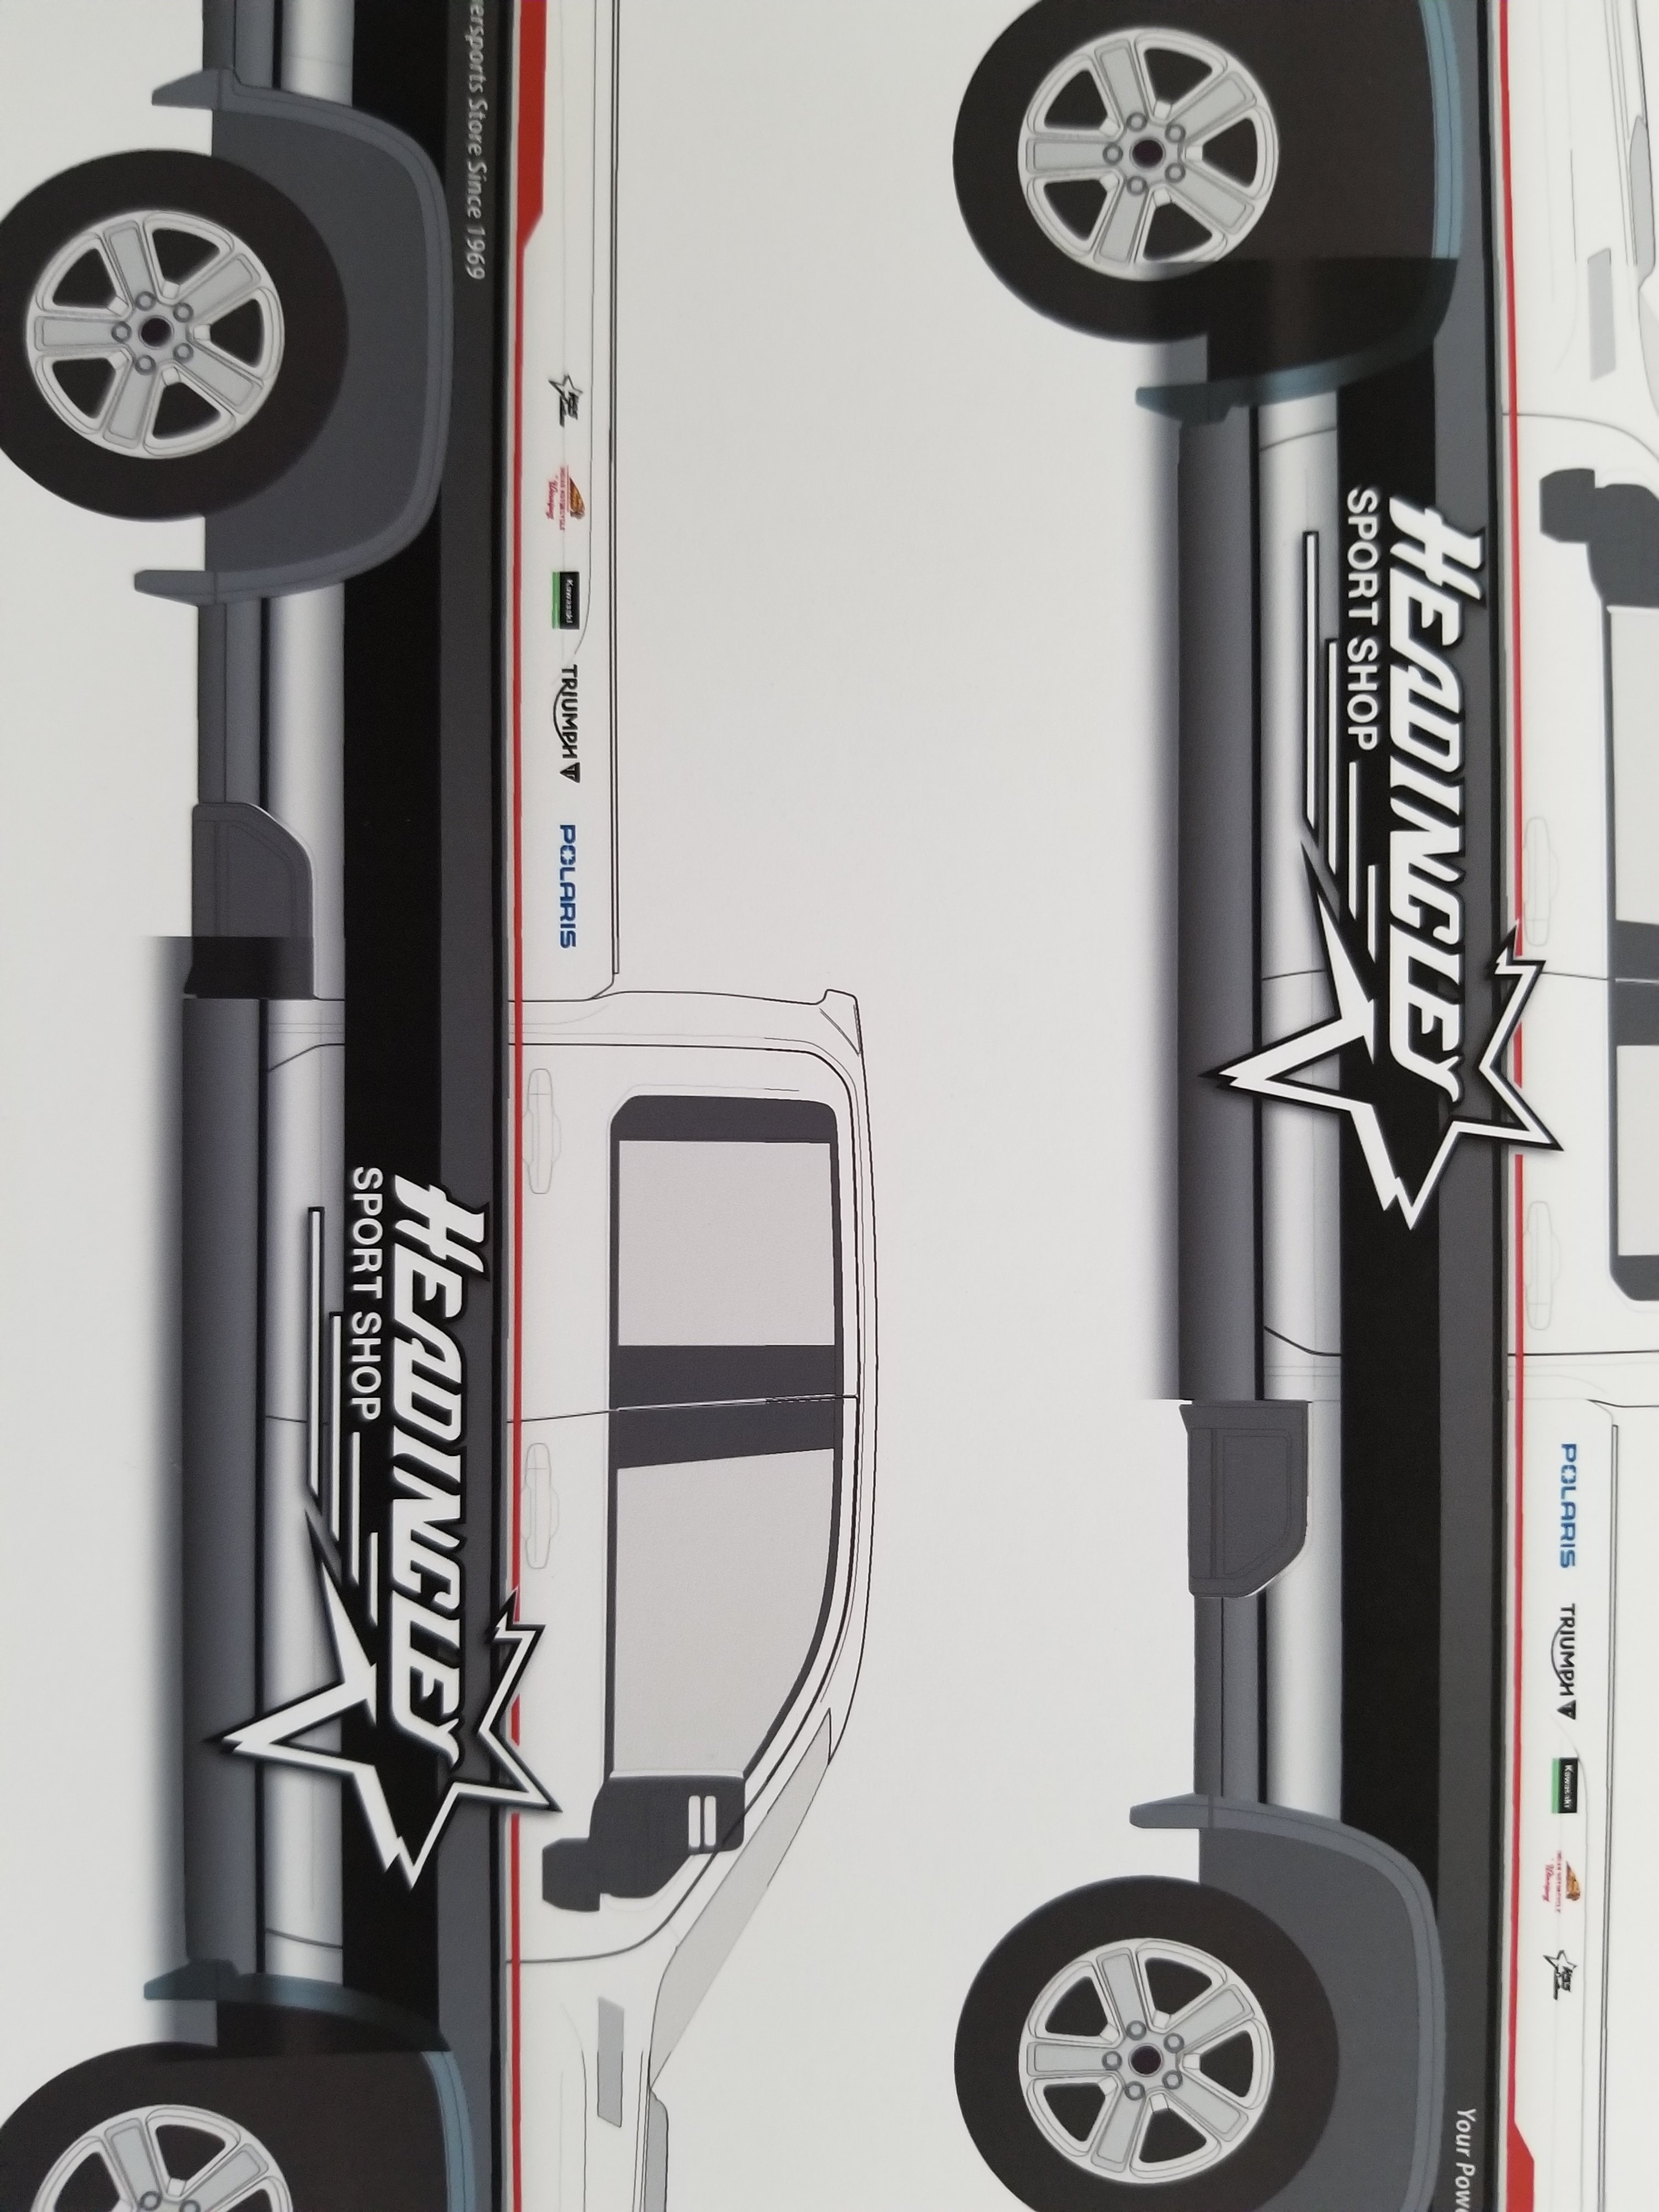
 Hello the most recent build is not printing Files correctly. The effects of layers seem to not stay clipped when printed. They are perfect on screen, but not while printing. the first file is the original file and how it should look, the other three are photos of how the the drop shadow is leaking out side the clipped area. For now i am printing from a JPG to fix it, but i should be able to print from the DESIGNER file without having this happen. Gary
-
 One thing I have missed for a long time is the ability to copying and pasting individual Layer Effects. What I mean is that I have a set of Layer Effects which I have spent a long time tweaking saved in a Styles Group. And I have another set of Layer Effects which I've also spent a long time tweaking saved in Styles. I wish there was a way of copying some elements from one style and combining it with elements from the other style. When copying and pasting styles and effects they overwrite other styles and effects already applied to an object. Especially gradient outlines and overlays in the Layer Effects panel are a nightmare. There is no way of copying them as far as I know, and so the only solution is to make new gradients from scratch, which is enormously time consuming. It would be an enormous time saver to be able to copy, say an outline gradient from one object and an overlay gradient from another object - and of course other effects as well - on an individual, effect by effect basis. I envision an "effects palette", where you could pick for example the 3D effect settings from one object, the overlay gradient settings from a second object and the outline effects from a third object, apply them all to the object you're working on, and when you're happy with the result, maybe even be able to save the settings of this "palette" as a new style or as an "effects palette preset", where the individual settings can be tweaked further, enabled, disabled and combined with new effects picked from other objects and/or styles.
 -
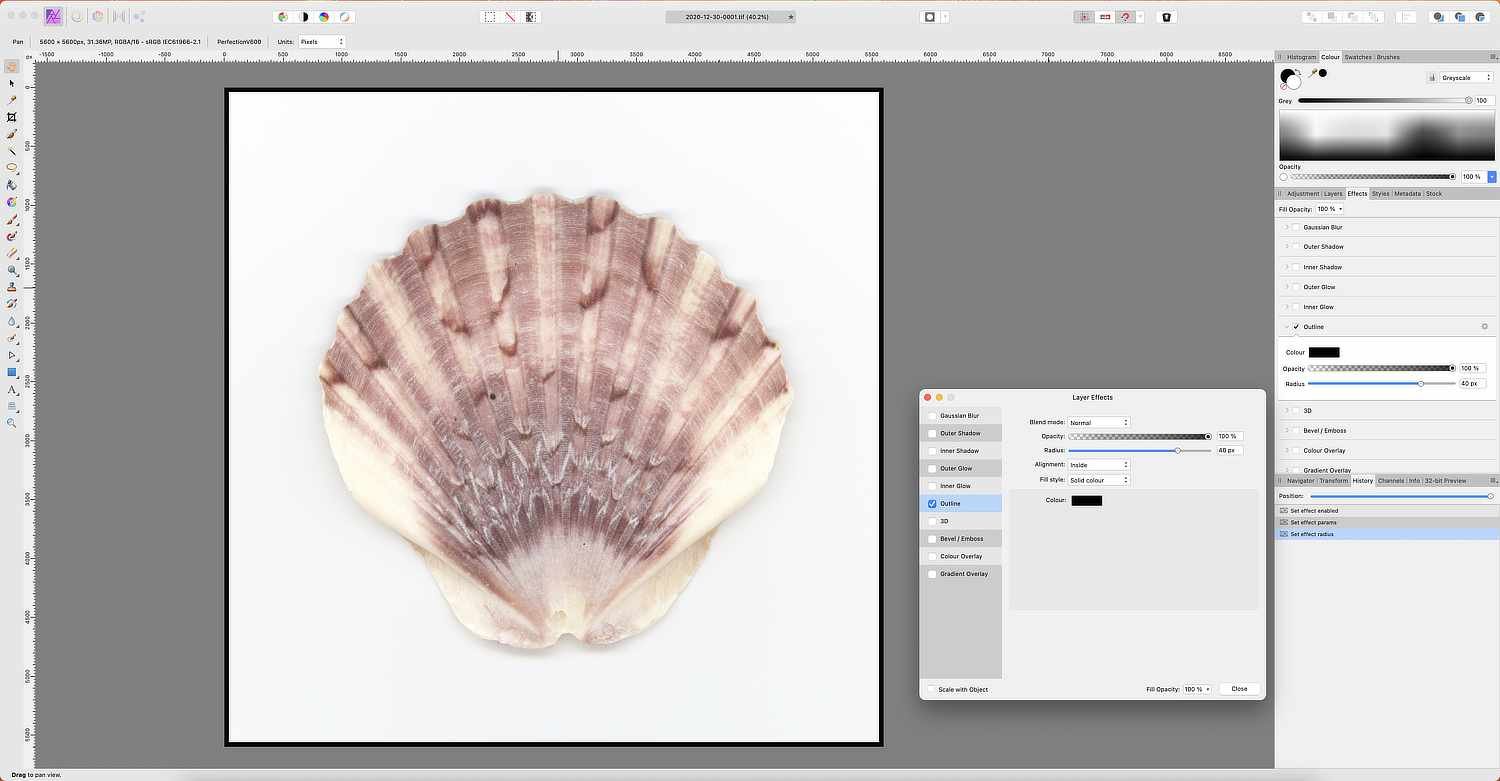
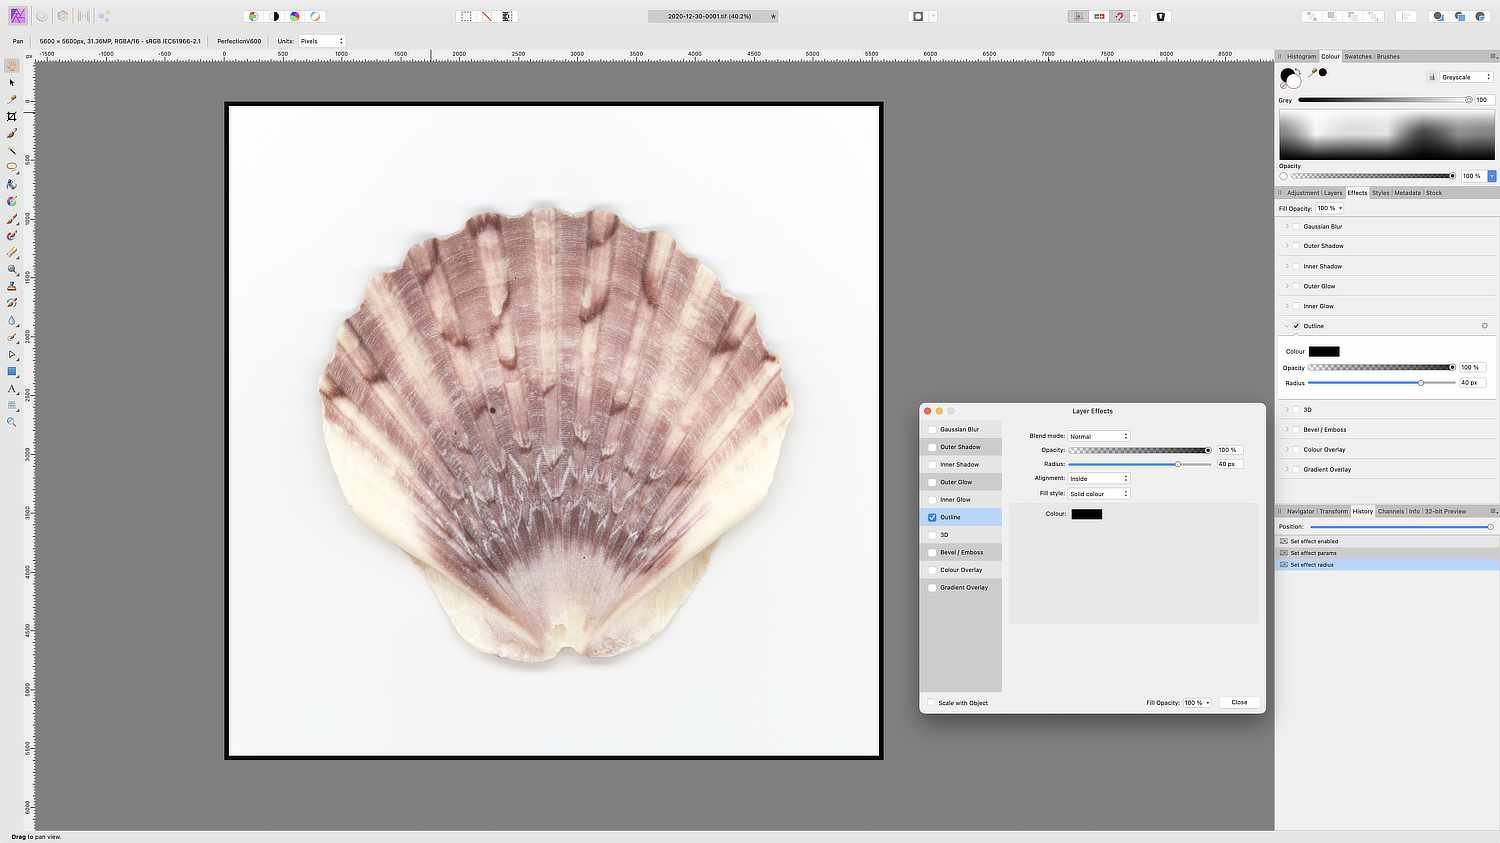
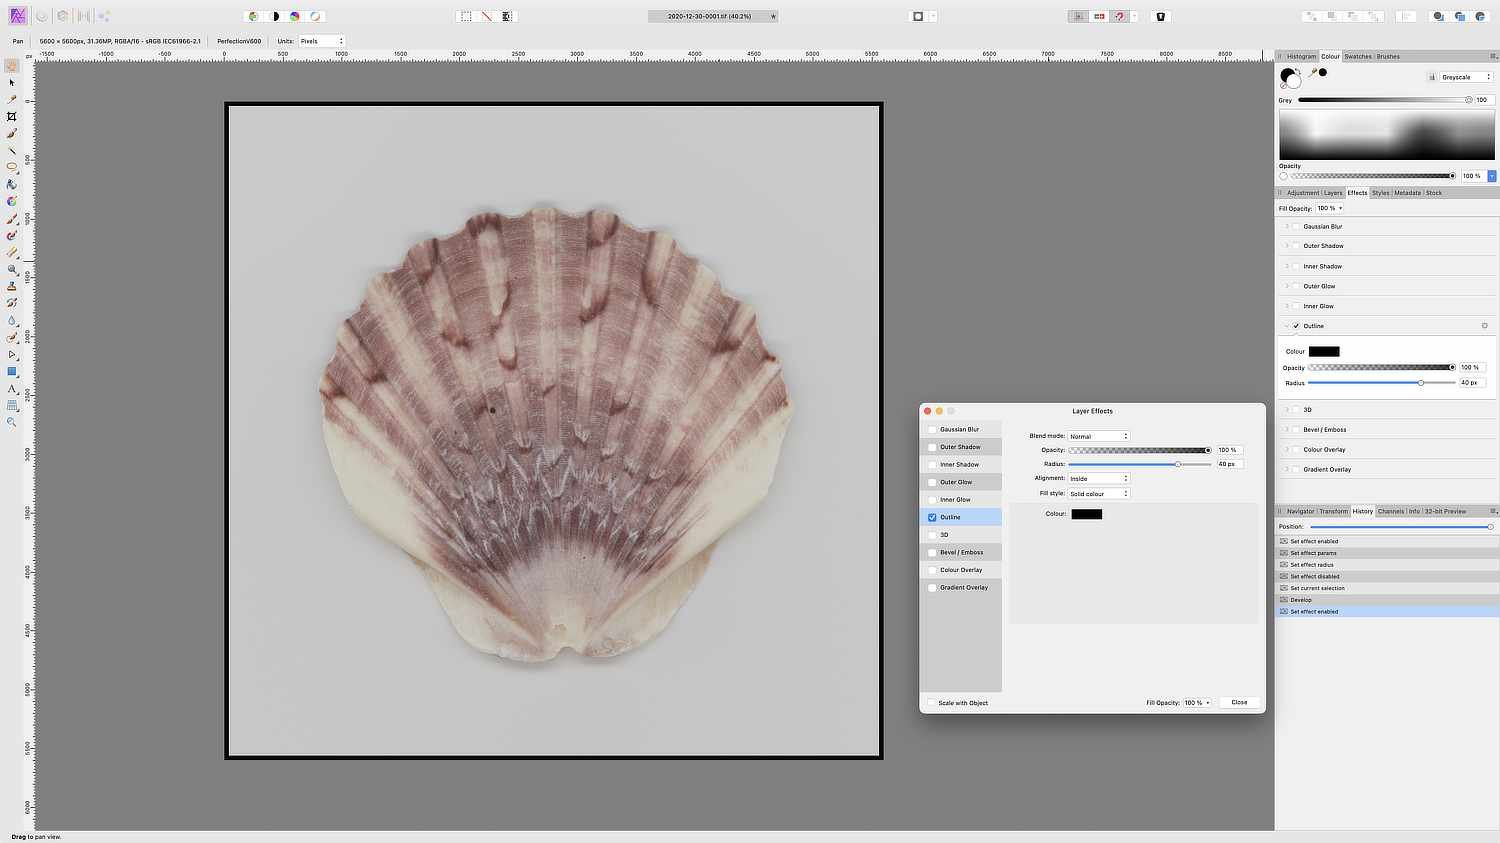
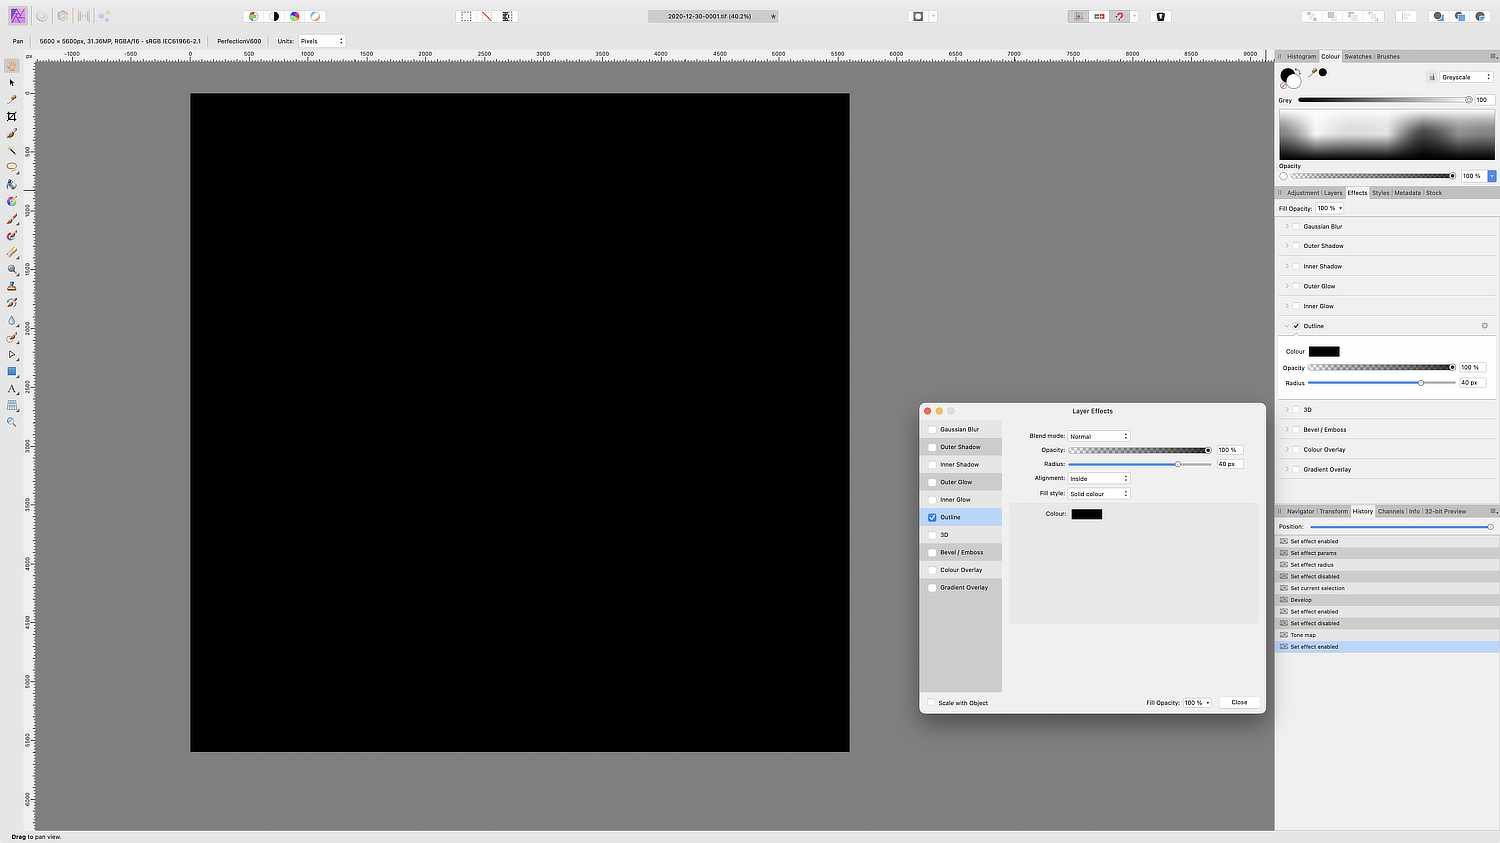
Adding an outline to an image is relatively straightforward: using the Effects Panel. However, some Strange Behaviour has been noticed: I opened a 16-bit Tif file (from a Scanner), which opens into the Photo Persona. An outline (inner) can be applied: I initially opened a TIF file (from a scanner), and applied an Inner Outline: Using same file, after being sent to the Develop Persona for some adjustments: still behaving itself: The same file, sent to the Develop Persona, then to the Tone Mapping Persona. This is where the problem lies: Opps!! Now, why?? In Frustration, regards Biff PS: Happy New Year