Search the Community
Showing results for tags 'edges'.
-
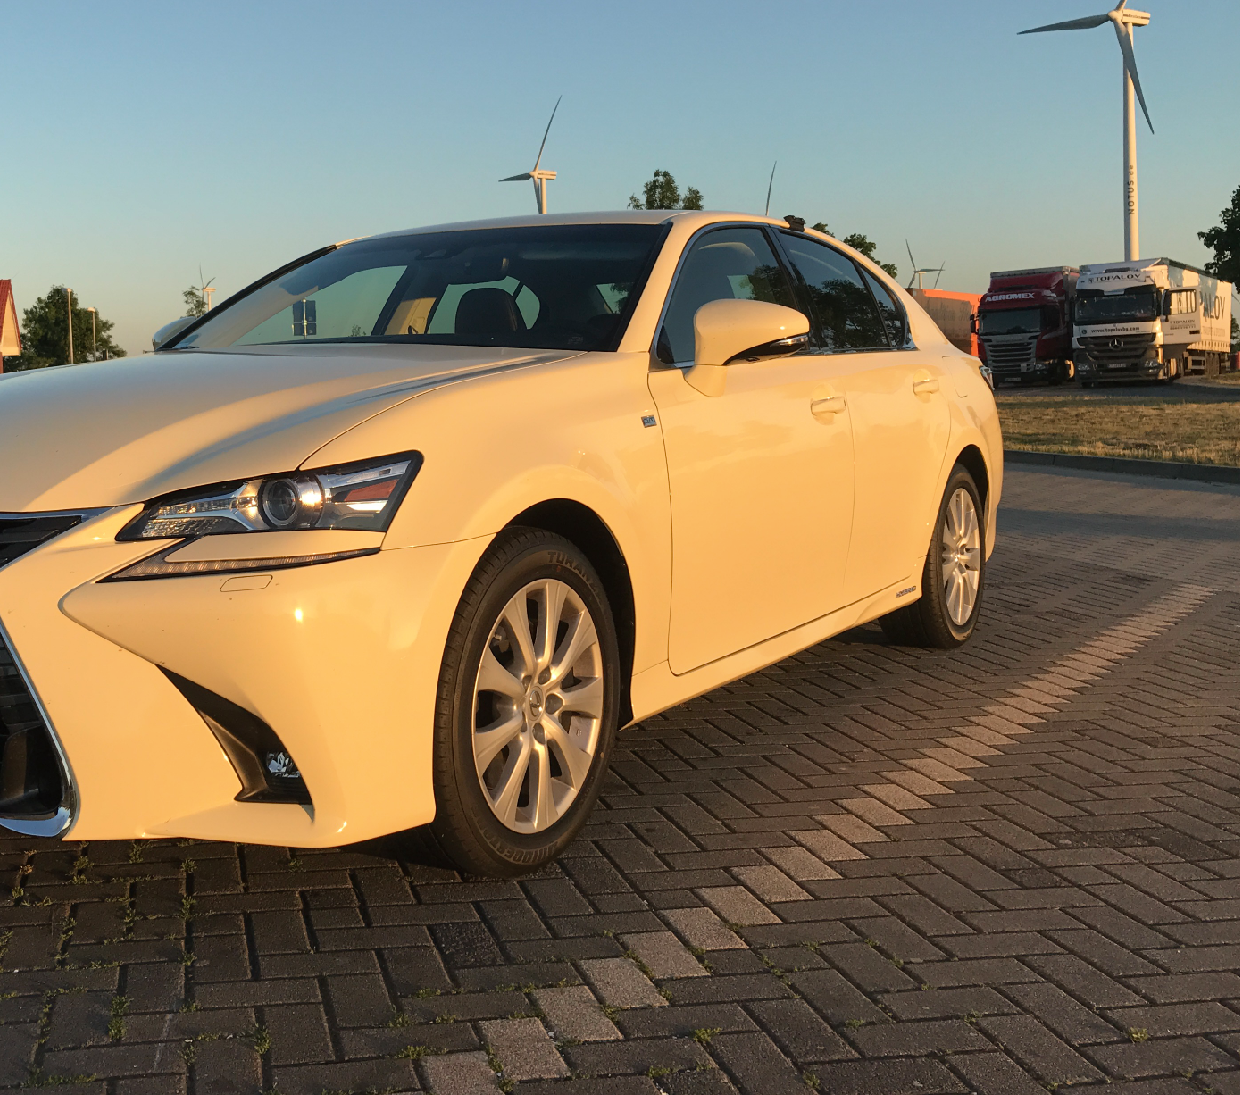
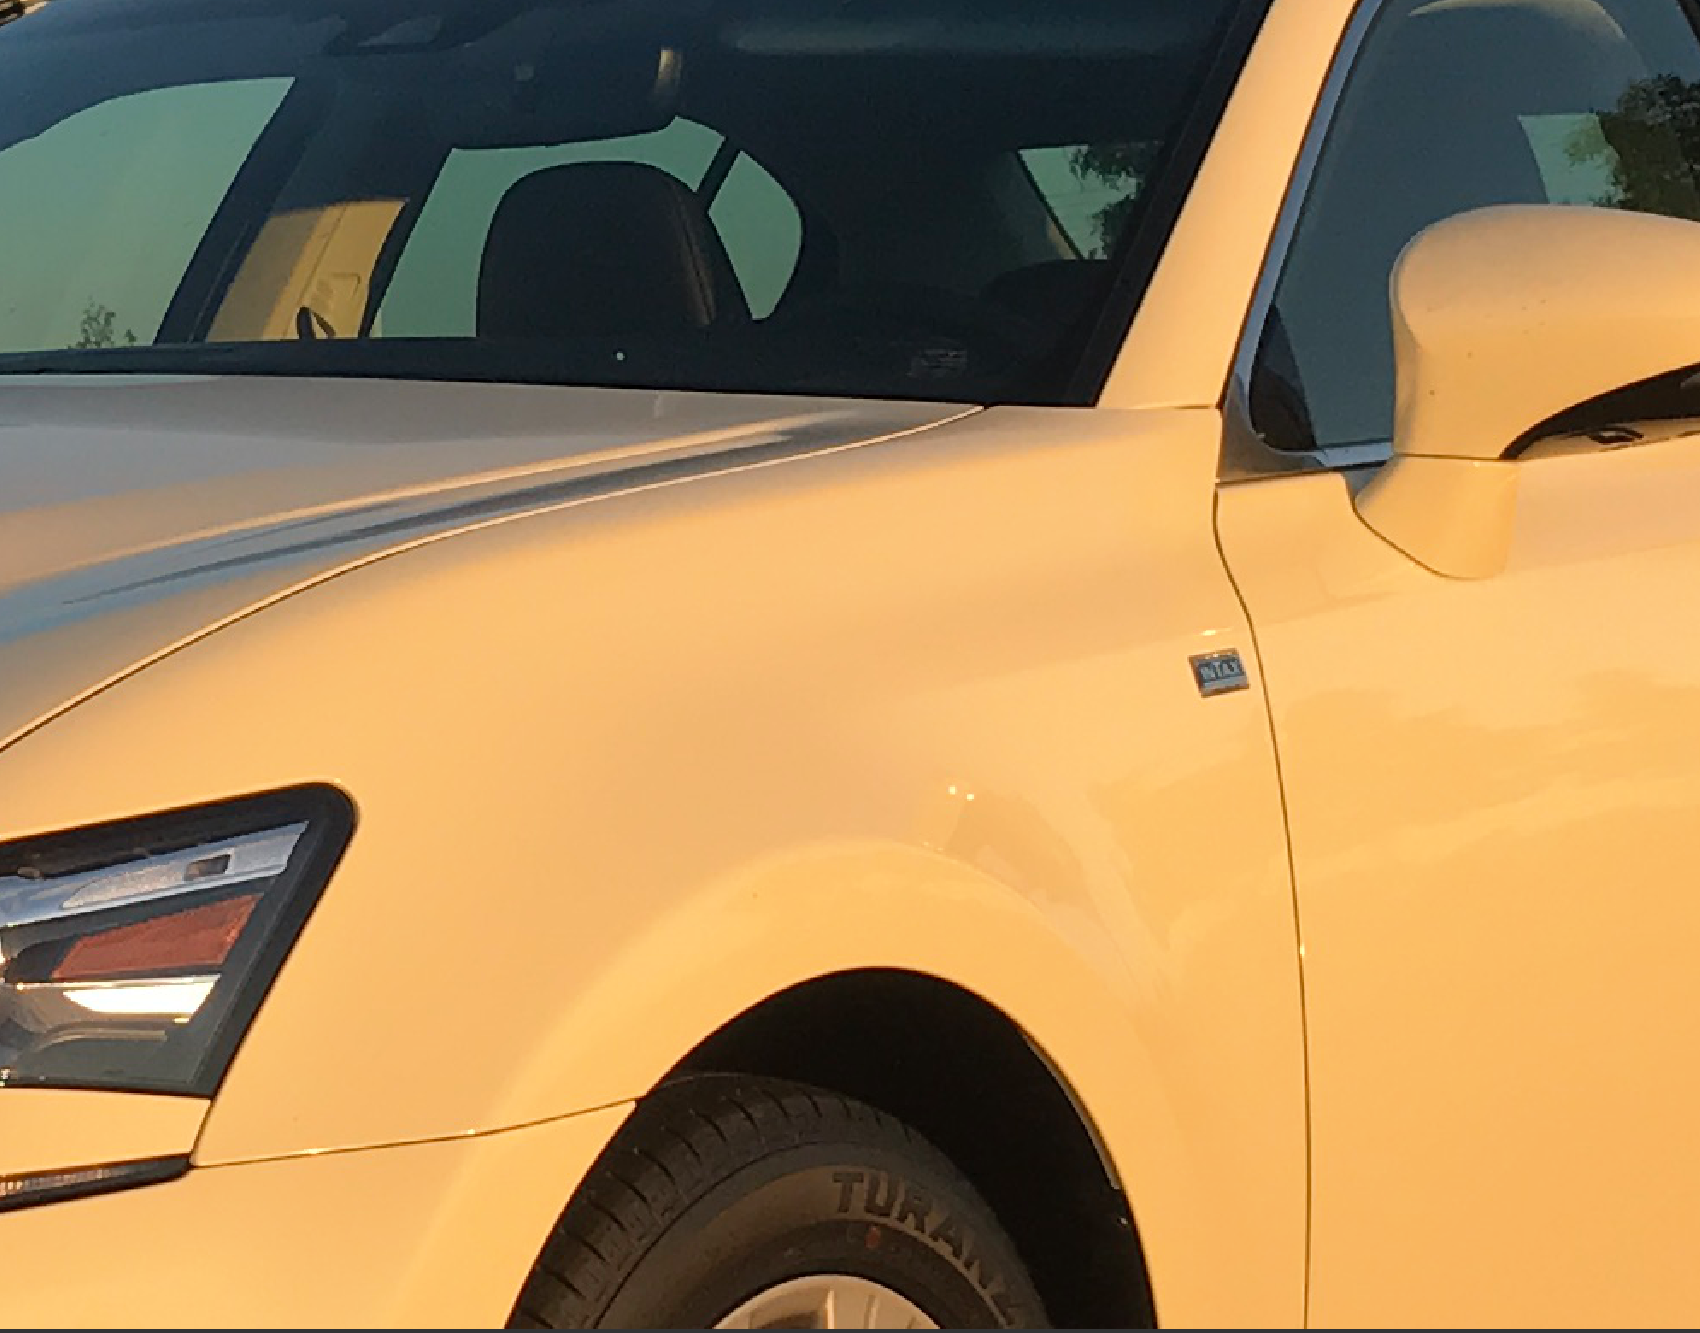
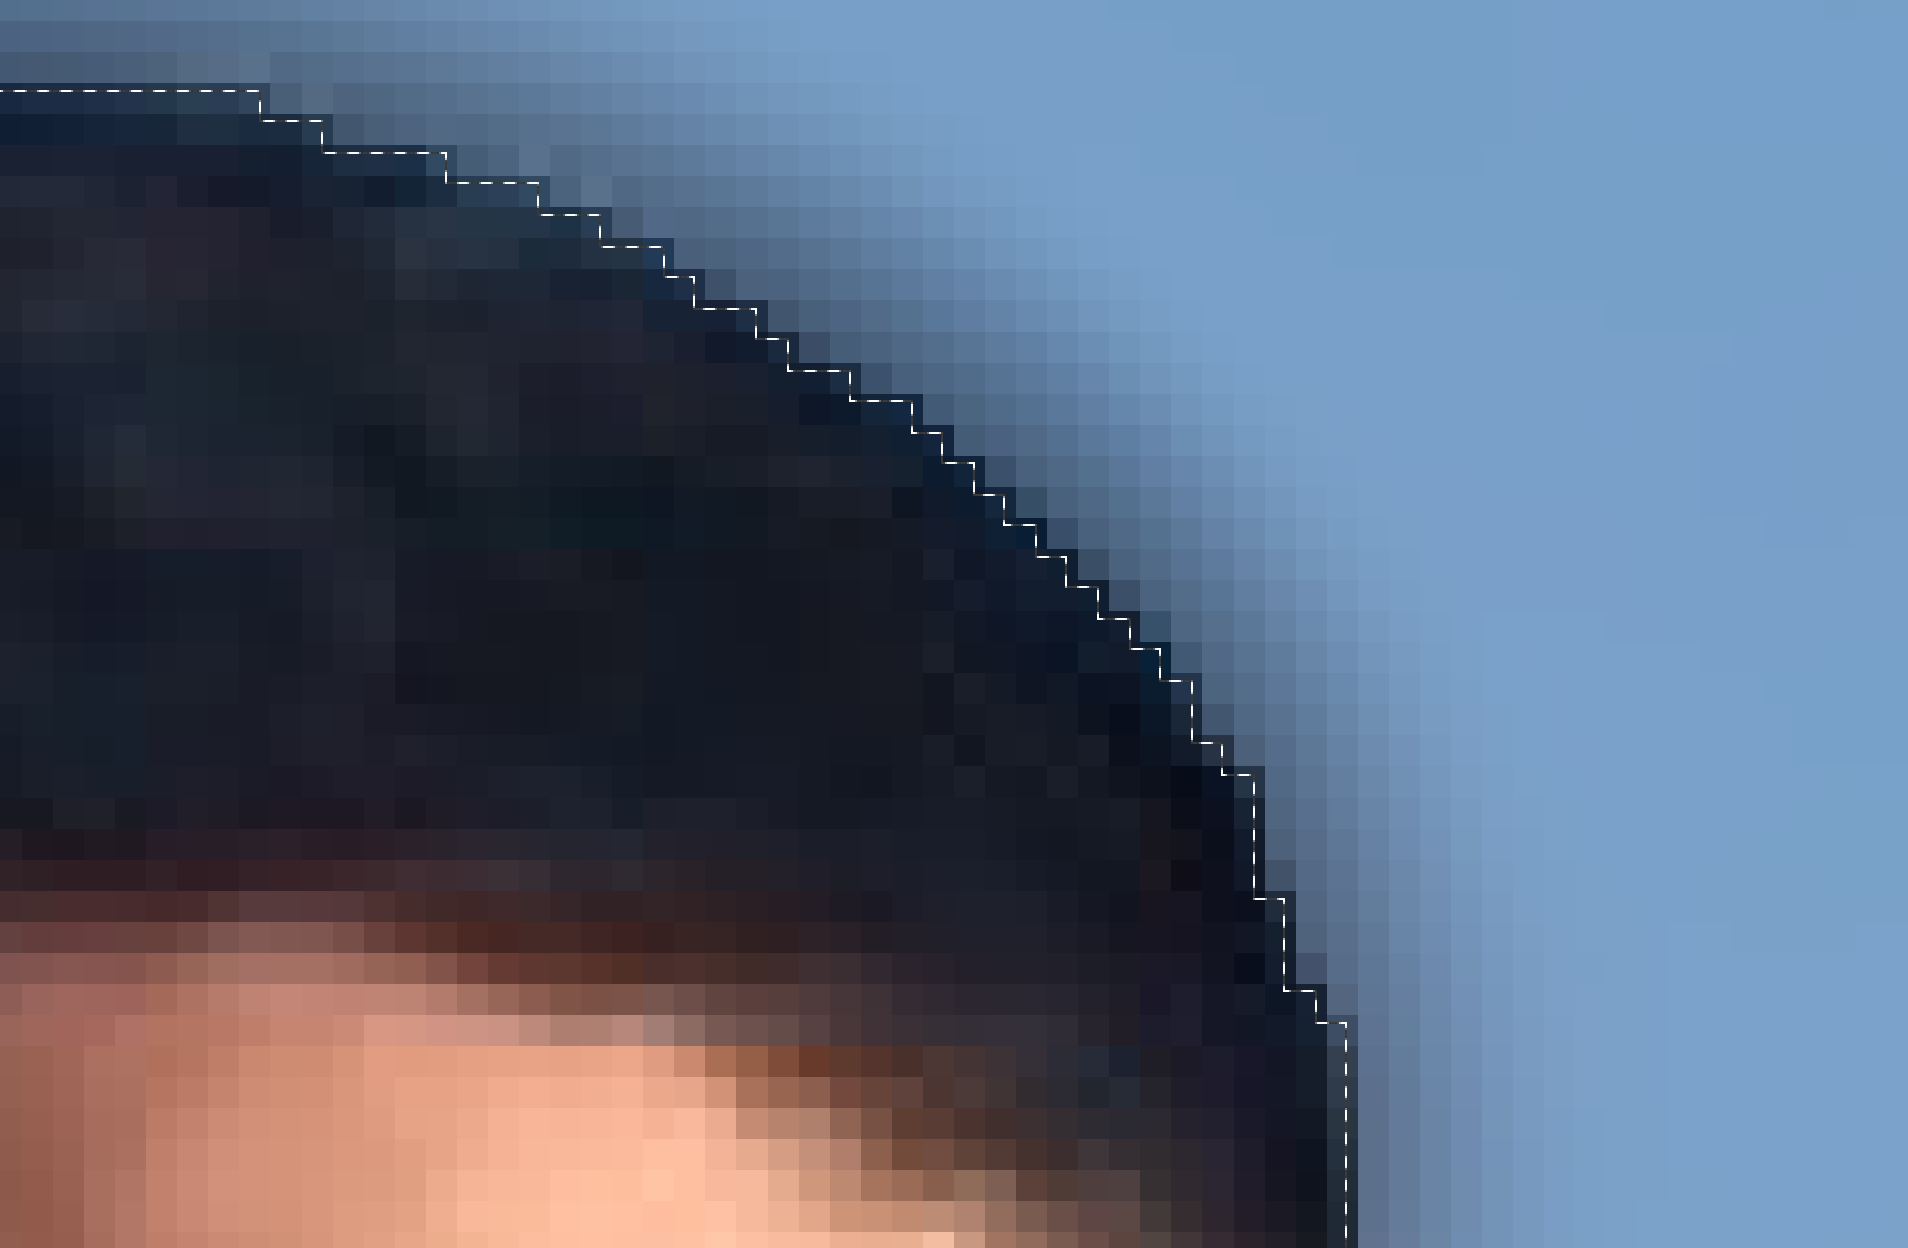
 Dear Community! After rotation of images in Photo diagonal lines show edges. But it's not only edges. It seems that small areas (looking like columns) are shifted (s. screenshots, seen by 410% magnitude resp. 800%; 1. unmanipulated, 2. rotation 1,1°, 3. like 2., enlarged ). Theese edges are already seen by 100%. How could this be avoided? Screenshots derived from an afphoto-file, so they do appear after export RAW-file (Sony-ARW). With increasing degree rotation th areas become thiner. Further tech notes: Affinity Photo 2.04, Windows 10 Pro (22H2), ATI Radeon RX550/550 Series Has anybody a solution or workaround for this problem, please? Best regards Paul
-
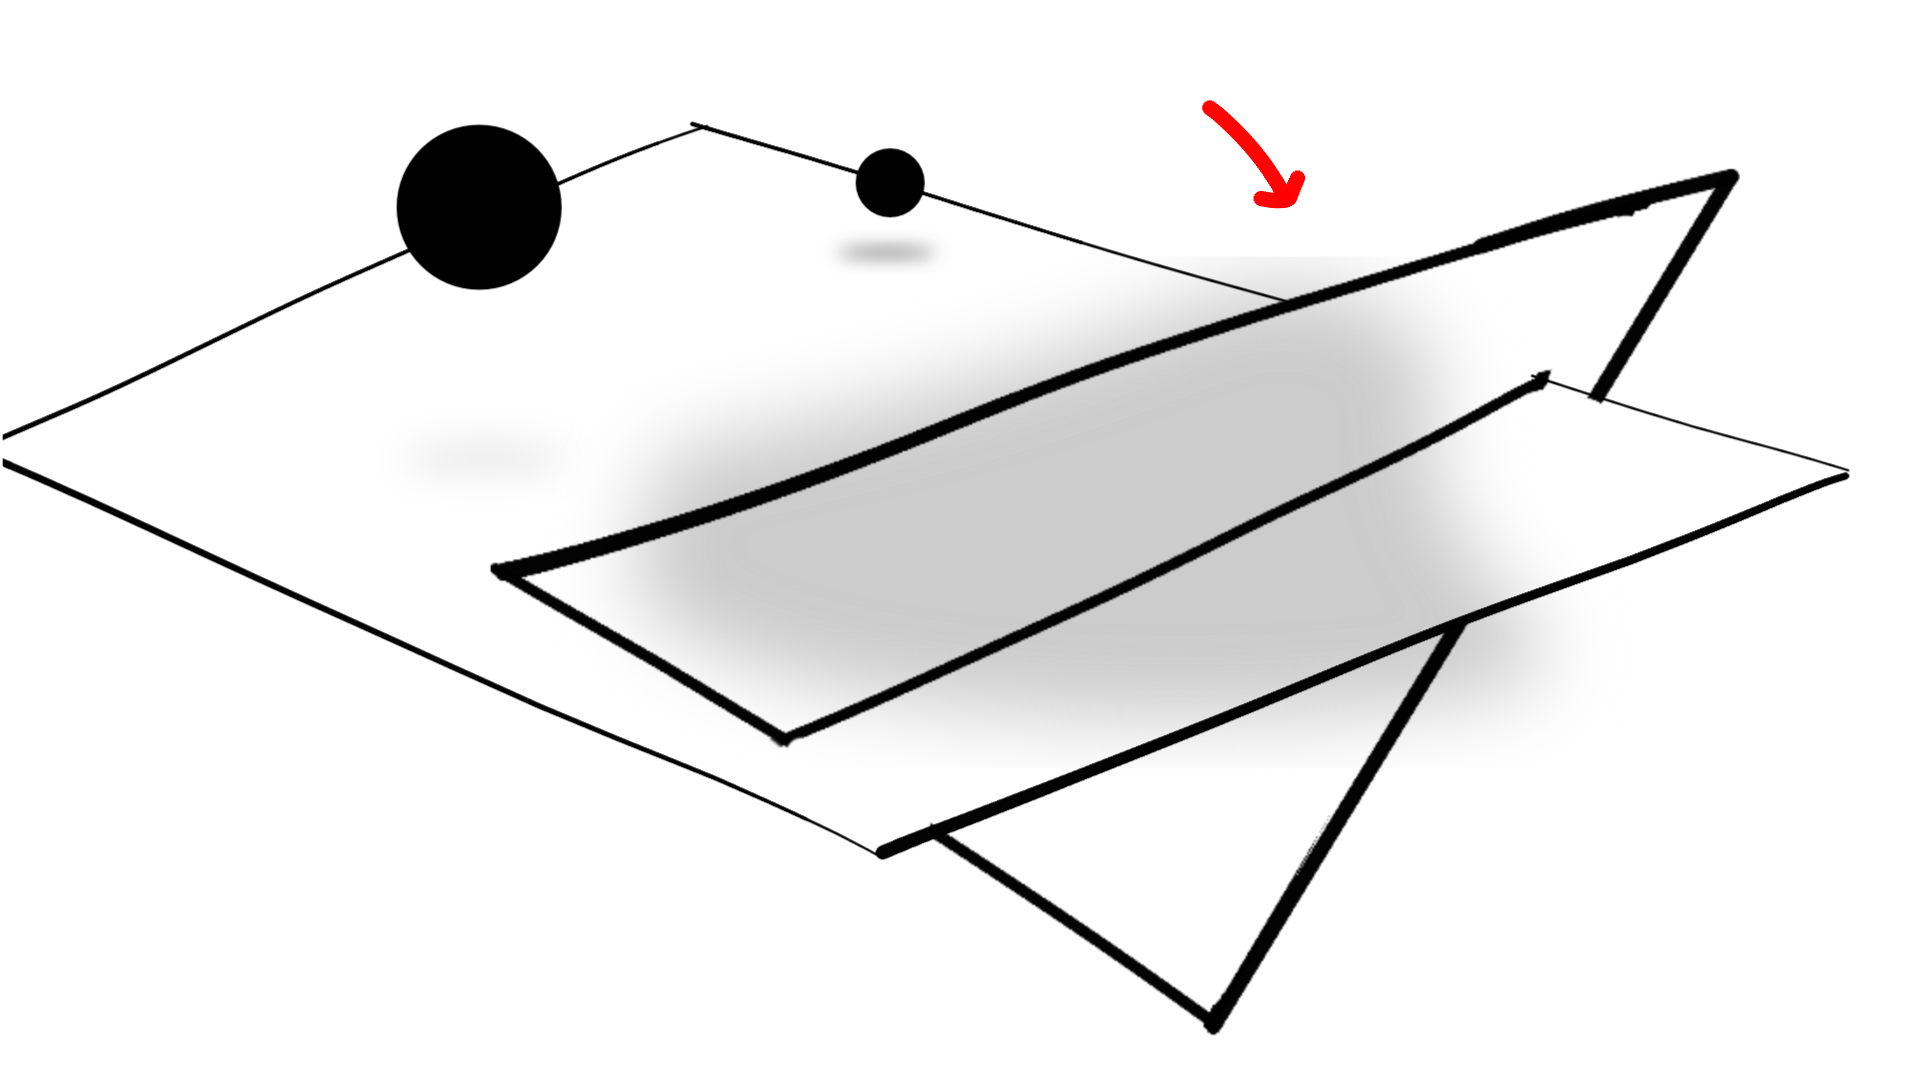
 I'm having this recurring issue, where if I clip something to a shape/curve at an angle the original shape/curve fill bleeds into the edge, which is particularly obvious when clipping a light color to a dark color as shown here: Can anybody help? Much appreciated clipping mask error.afdesign
-
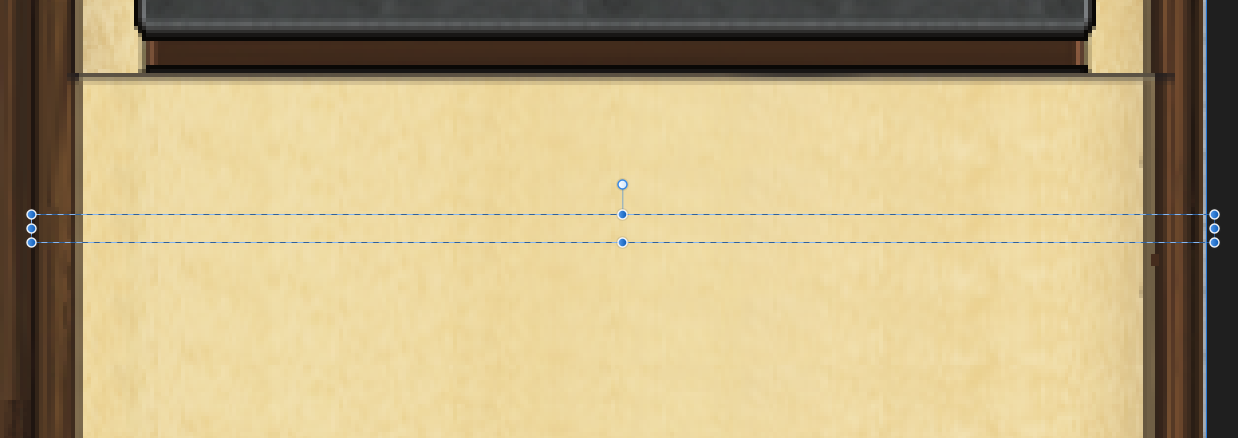
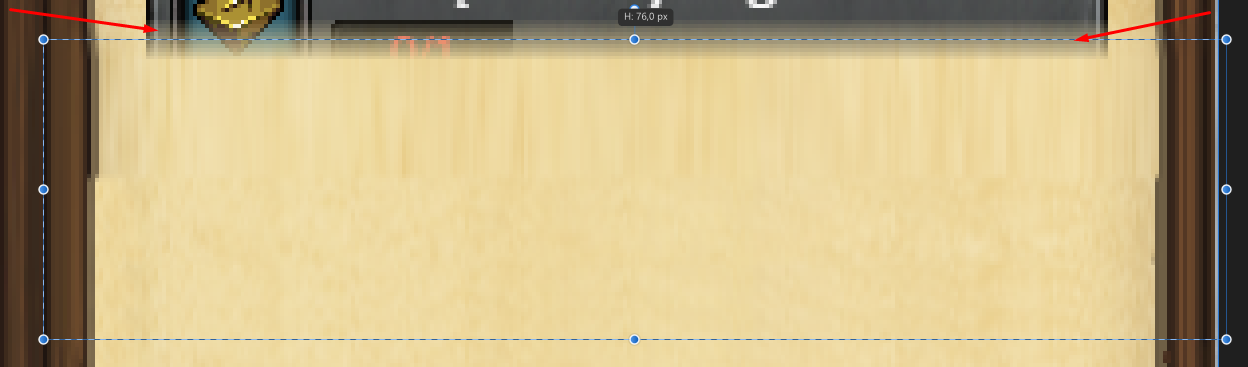
 Text frame tool buggy behaviour Affinity Designer v1.8.6, macos Catalina 10.15.7. Reproduce: Set cell stroke > 0 on a tab " " or a space " ". After doing that you can visualize the bug by moving the cursor around the text frame. The cursor will change into an editing caret even if you're far outside the text frame. Also if you click with the selection tool somewhere above and well outside the text frame; it will still be selected. Select the text frame and export "Selection without background". Expected result: a pdf showing only the text in the selected text frame. Actual result: the pdf displays white areas to the top and left of the text frame extending all the way to the top and left edge of the page as it was appearing in Designer. See below for a better explanation:
 -
 Hello, I have been wondering and trying to get a constant Blur around the sharp edges of a photo. I found tutorials for Photoshop but I couldn't figure out how to apply that on Affinity Photo. It used to be that the live filter layers could be edited by creating a mask but that worked really bad to not anyway and I am wondering if there is a way to have the outlines of a photo extremely blurred, so that it fades away? Thanks.
 -
Hello there! I have a problem with Marquee tool and tranforms along with importing images. When I select area with the tool (Issue_1) and try to transform it (Issue_2) it gets really blurry. In the last image I did the same but in photoshop. Can I get the same result in Affinity Photo?
-
 Hi y'all -- I am trying to do in Affinity what I used to do in Photoshop using a "Photo Edges" filter -- to reduce and simplify an image into a set number of colors, in flat areas, in a way sort of like the Obama "Hope" poster but usually not in patriotic colors. Is there a filter like this under a different name in Affinity? I'm sorry to ask for a translation -- with software as complex as both Photoshop and Affinity, it's quite a learning curve.
 -
 How are we able to get this very sharp lines and edges? I have tried expand stroke function but I believe that there is a lot more efficient way to achieve this. Additionally, how are we able to remove or delete excess lines (and intersecting lines) without using the erase tool in the pixel persona? Thanks in advance.😁
-
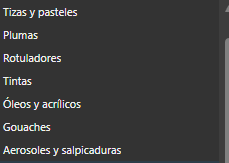
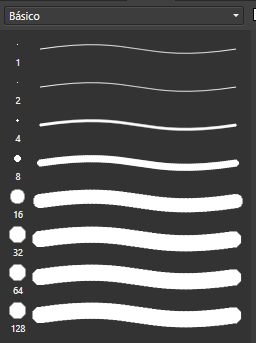
Hello: I have found an error that occurs on edges of a brush stroke in pixel persona. What it should be: The stroke has the same colour in the inner part and in the outline. What I get following the steps: The colour of the outline is different from the inner part. The steps are: 1. Change to pixel persona. 2. Use brush tool. 3. Select a pen brush and paint (the second one of the list below). 4. Change the brush to a hard basic one, change hardness to 0% and paint (I´ve used the 8th). Please, let me know if there already is a solution. For the moment to fix it, what I need to do is to change to draw persona and get back to pixel persona. Thank you very much.
-
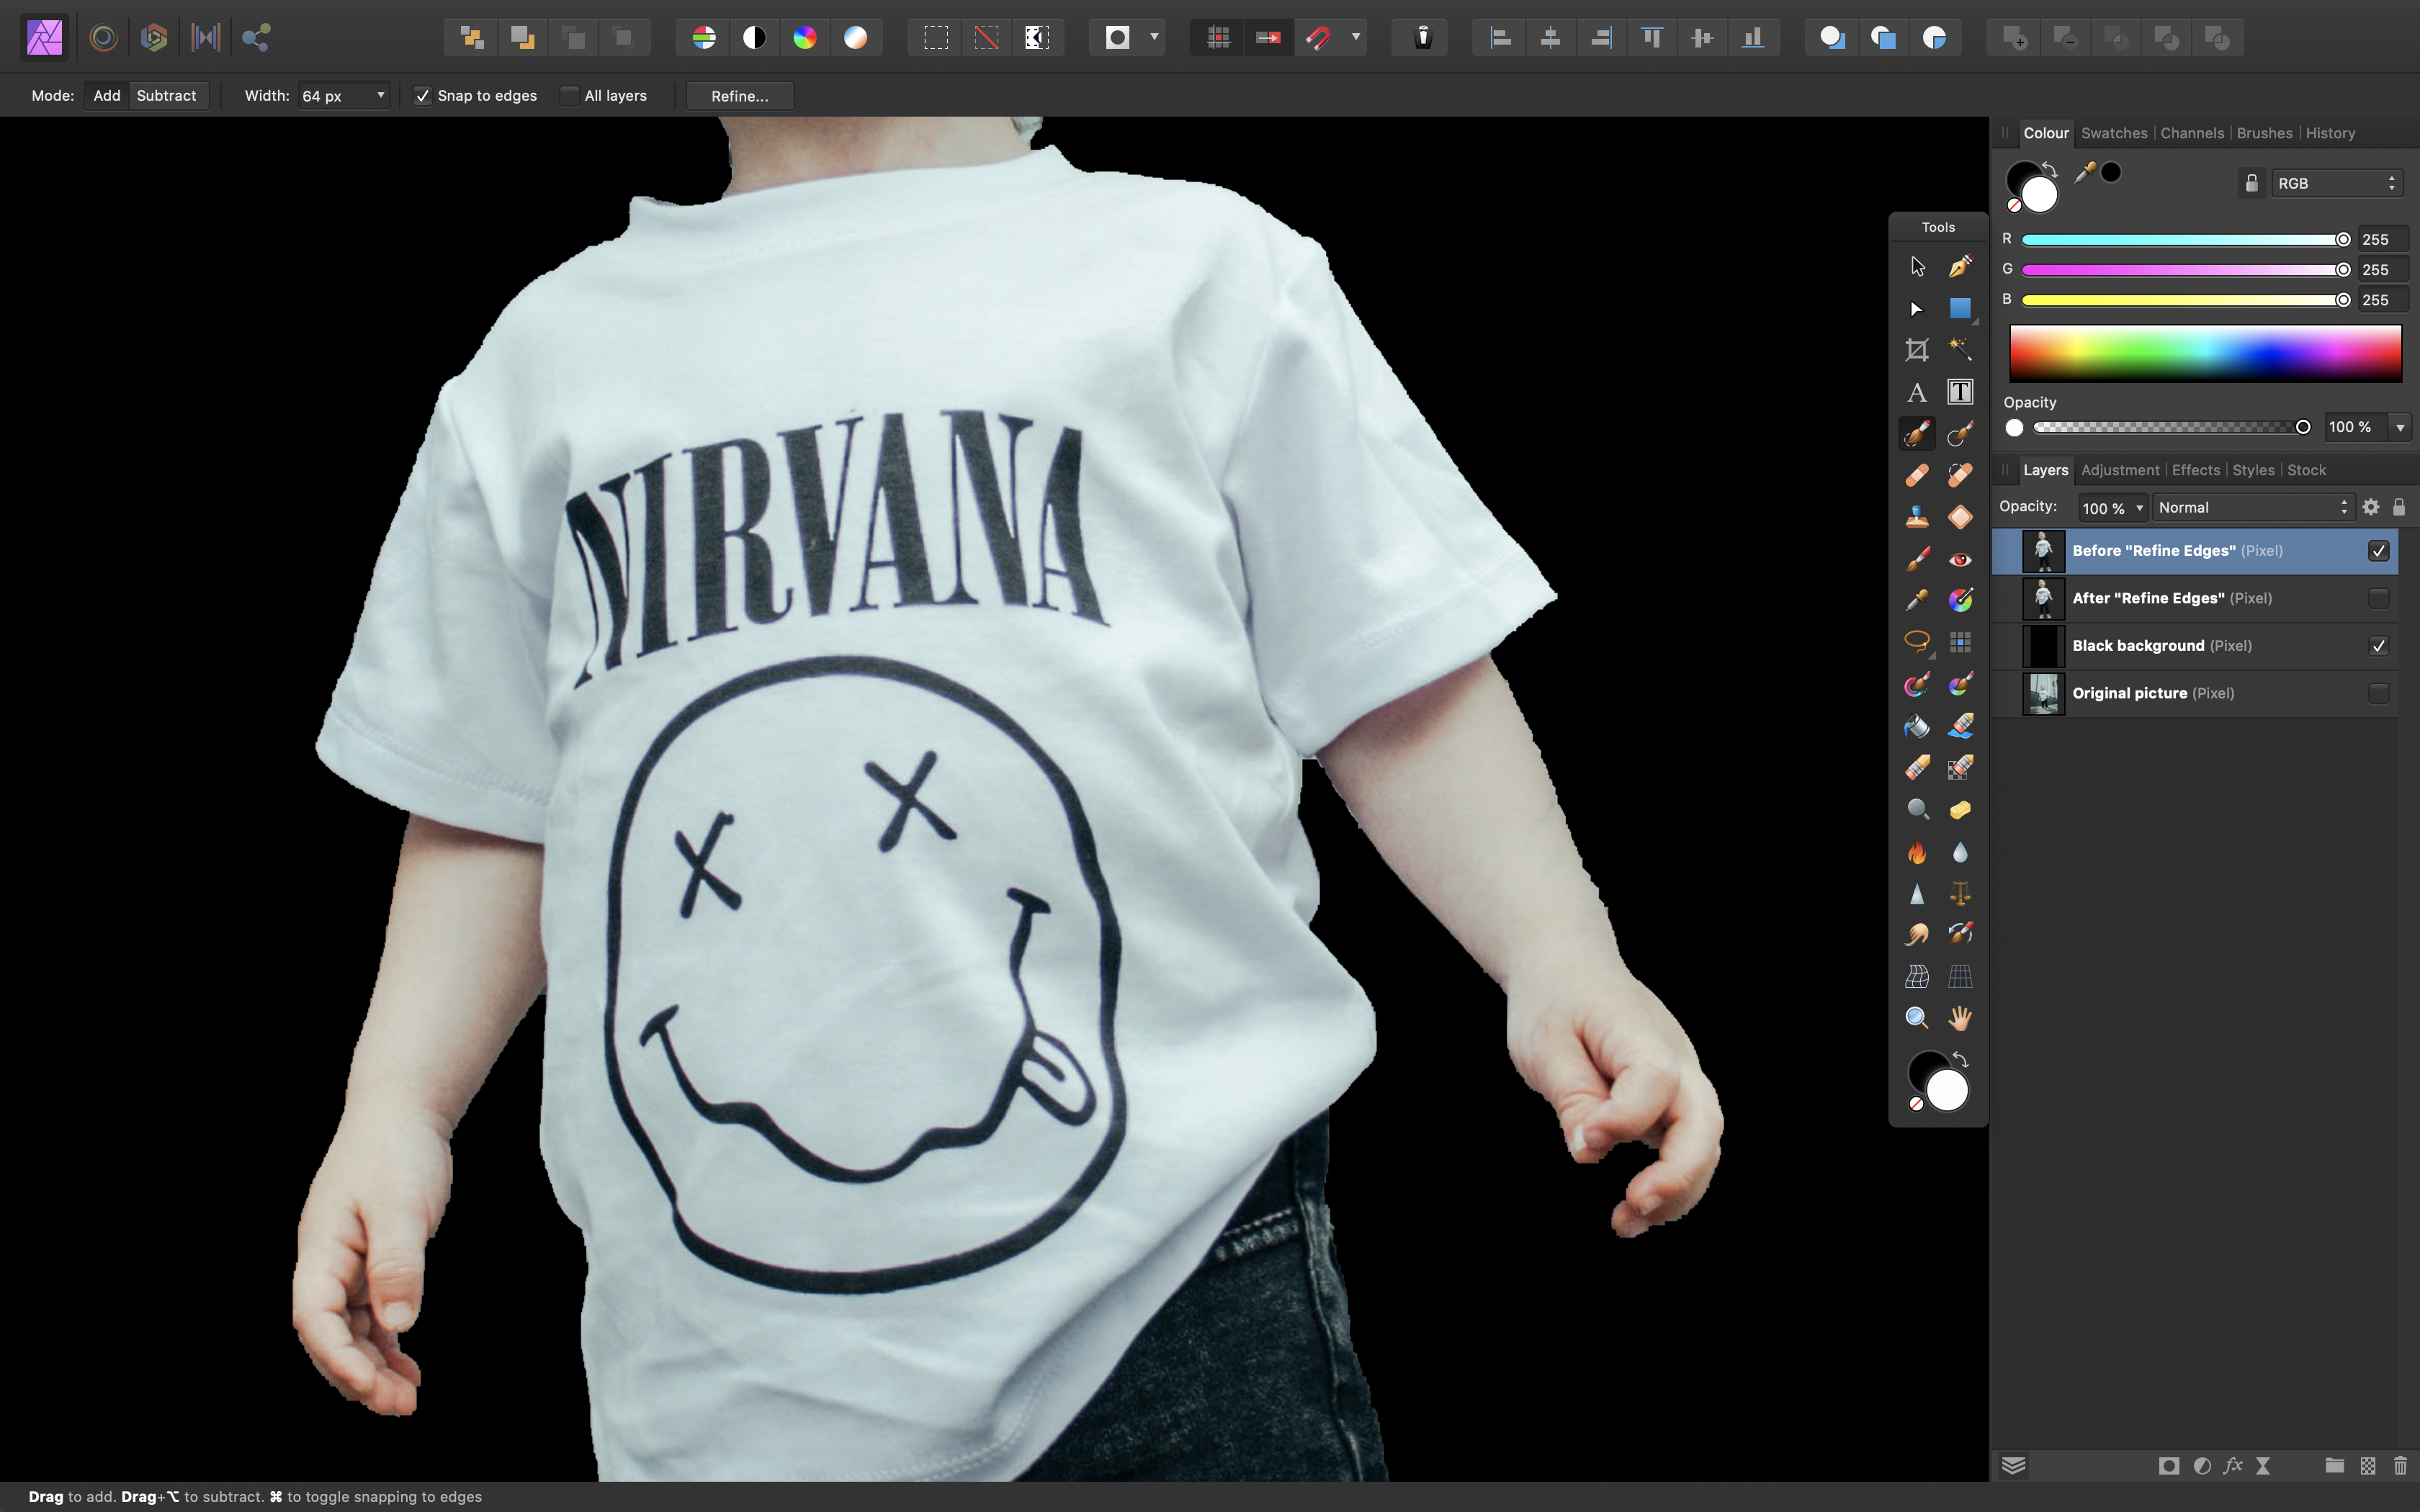
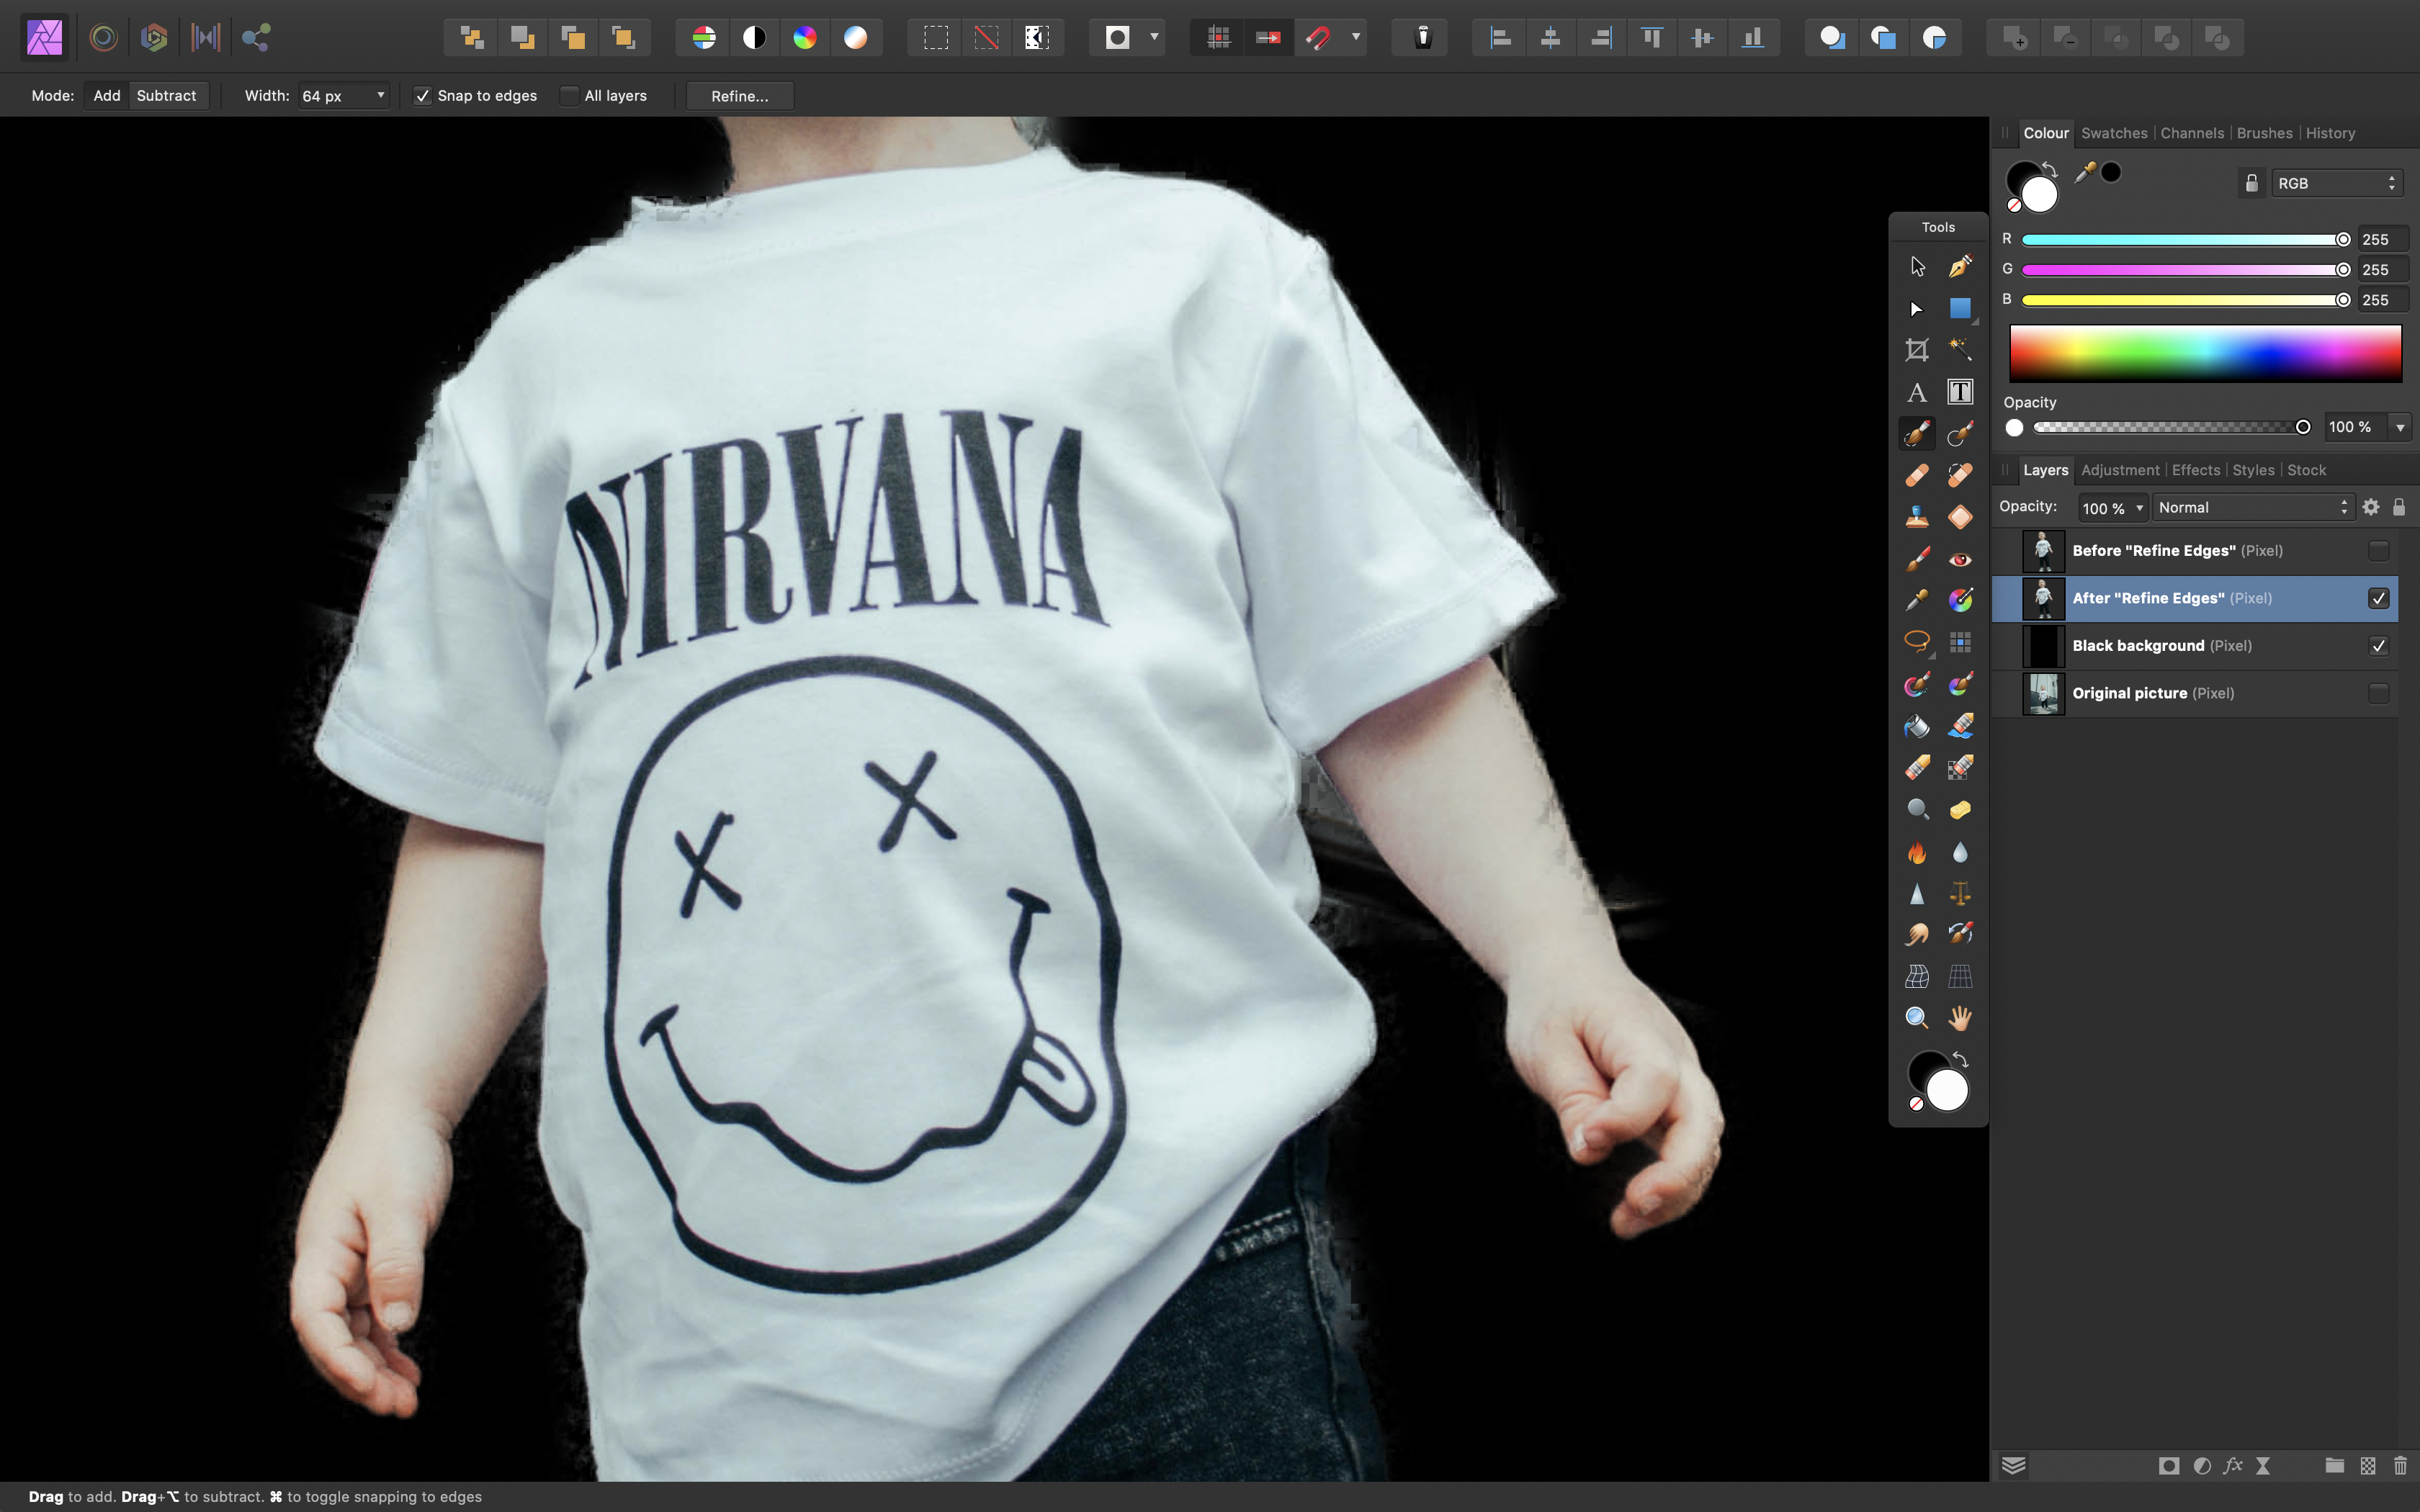
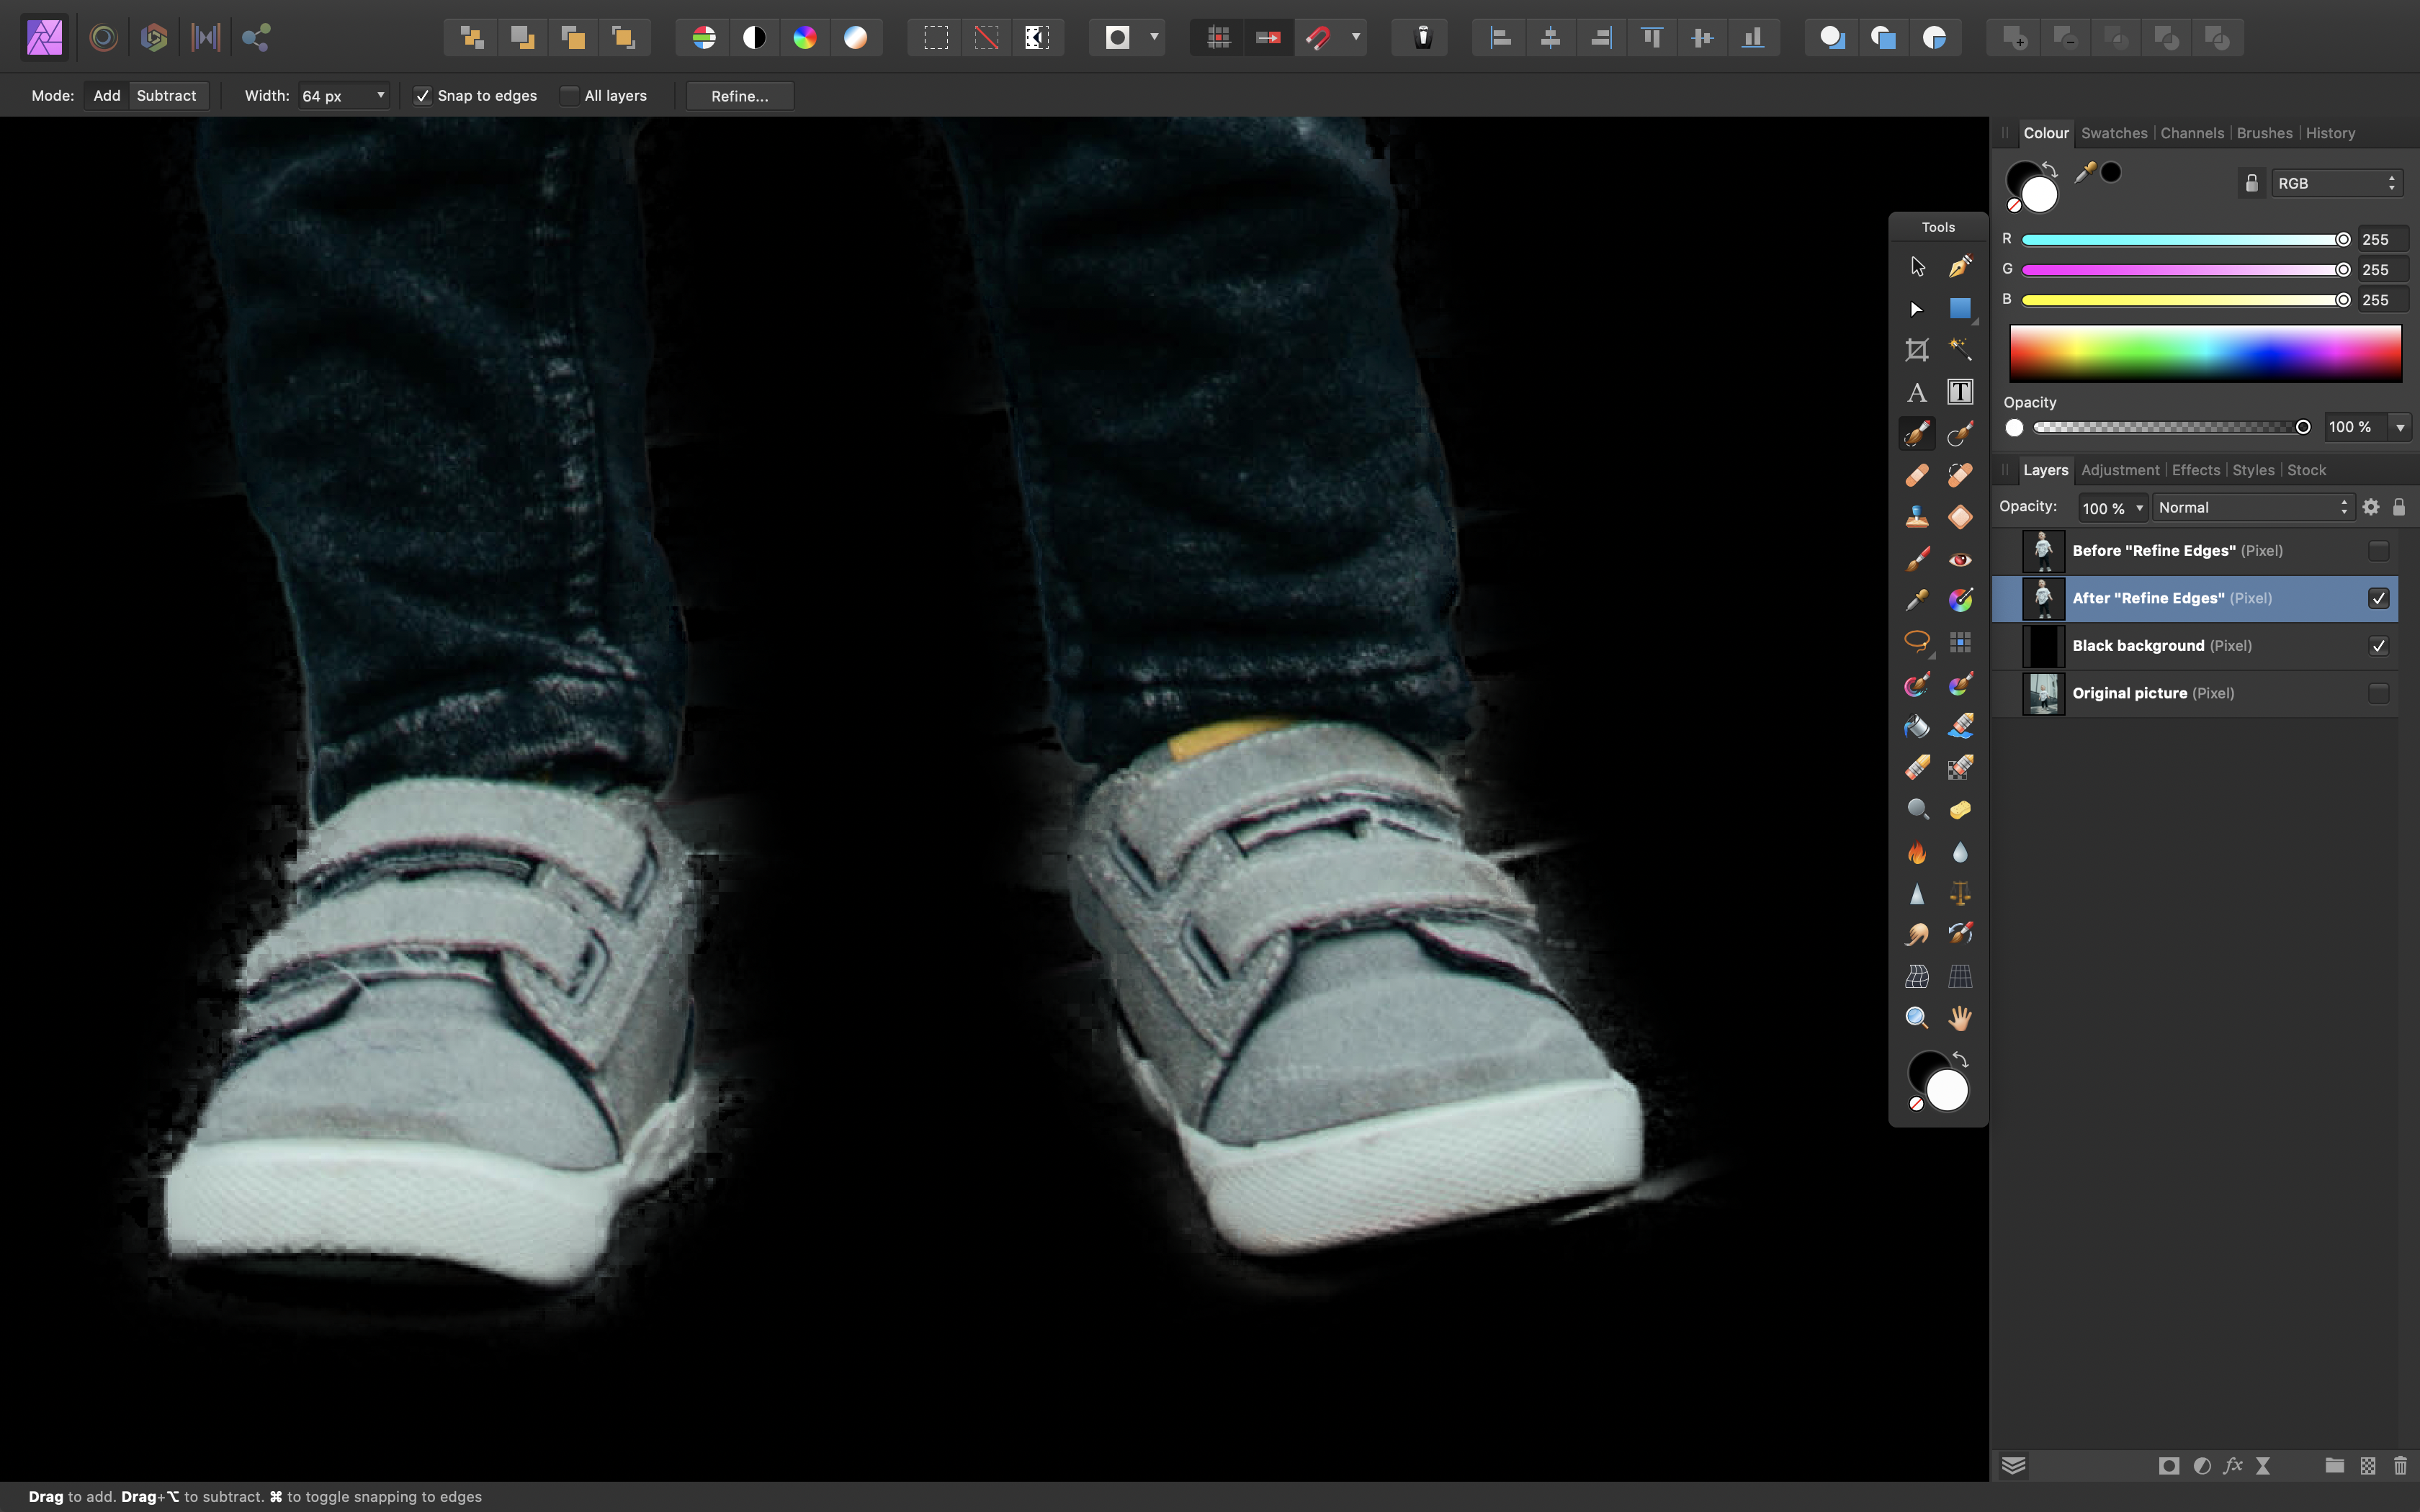
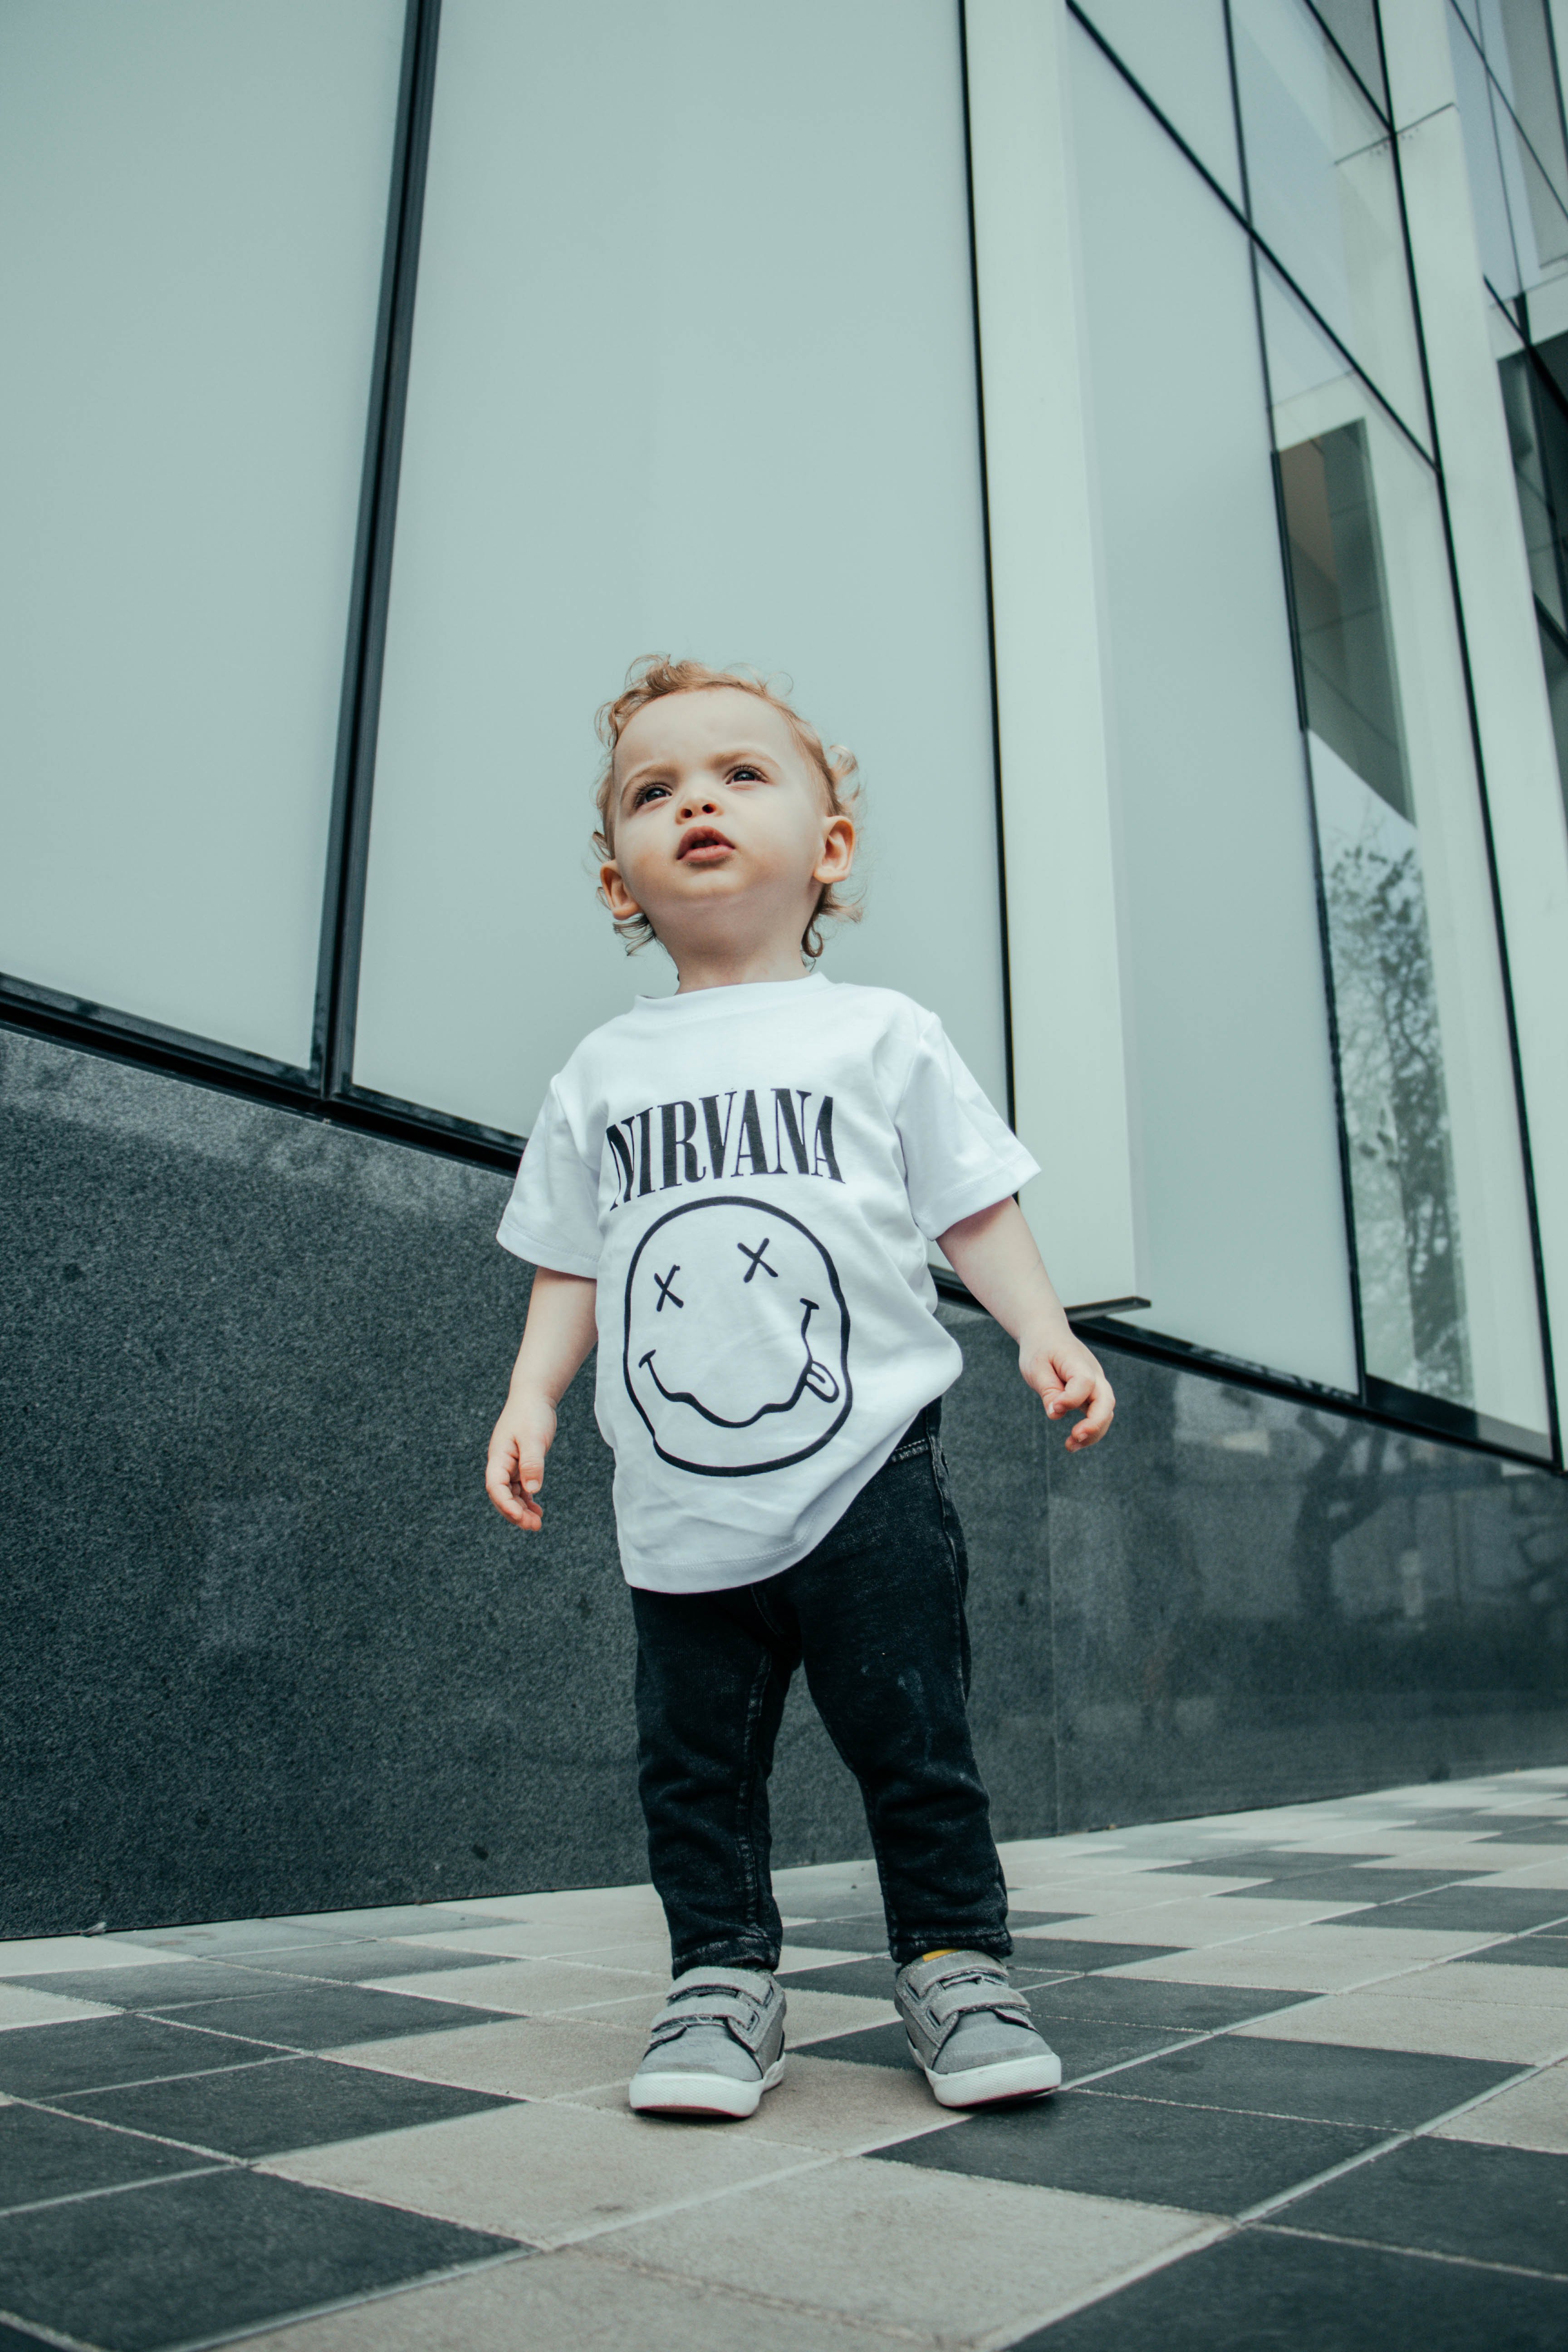
 Hey there, I've been having some issues with the "Refine Edges" tool when it comes to selections. After carefully selecting my subject in the picture, I intended to refine my selection when I noticed that as soon as I clicked on the "Refine..." button, the edges of my selection became fuzzy and inaccurate right away, making my overall selection much worse. This happened without even altering the settings or painting with the brush. After spending plenty of time trying to refine the selection with the help of the "foreground" and "background" brushes the result was not much improved, so I had to resort to Photoshop in order to get the job done. Here you can clearly see the what happens: Recording.mov Now I'm aware of the low contrast in some of the edges which make the task more complicated, something moderators keep mentioning in similar posts forgetting that's often the case in real-life scenarios. However when I managed to get a nearly perfect selection on Photoshop, I realised that was just an excuse (not to mention the improvement "Decontaminate colors" makes, a feature currently lacking in Affinity Photo). You can find the original image and my results in Photoshop as a comparison below, as well as the .afphoto file with the original selection saved as a Spare Channel, in case you want to give it a try. I've seen several posts regarding this issue, but since no actual solutions where provided and the topics were just forgotten (as you can see here, here and here), I decided to post about it myself before having to unfortunately switch back to Photoshop for good. picture.afphoto
-
I need to create large documents average 2 x 4 feet at 300 dpi for sign graphics. I place the text and then “find edges” in Photoshop, but my computer died and I want to be able to do this all on my iPad Pro and Dropbox it to my printer. I’ve tried several different ways in Affinity. Can anyone tell me how to do this please? I don’t want my printer to have to use a ton of ink for a graphic that I’m just going to transfer to a sign and then throw away. Would also Love to just use Affinity for everything and skip Photoshop all together if possible but I must be able to do this. Thanks so very much! Joanne Hopper
-
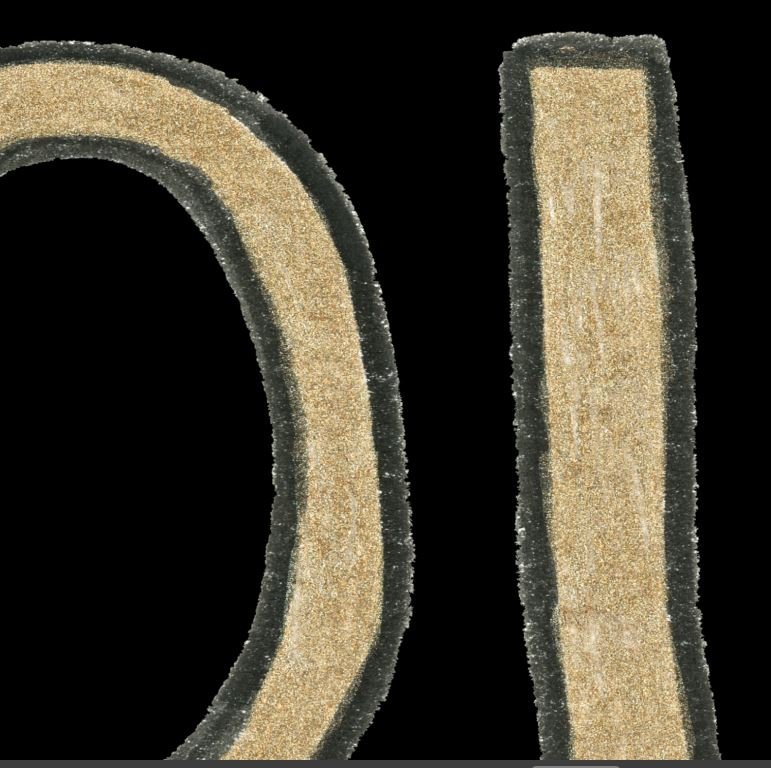
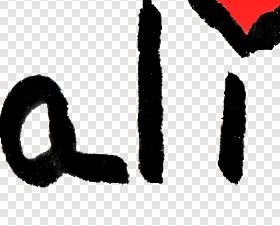
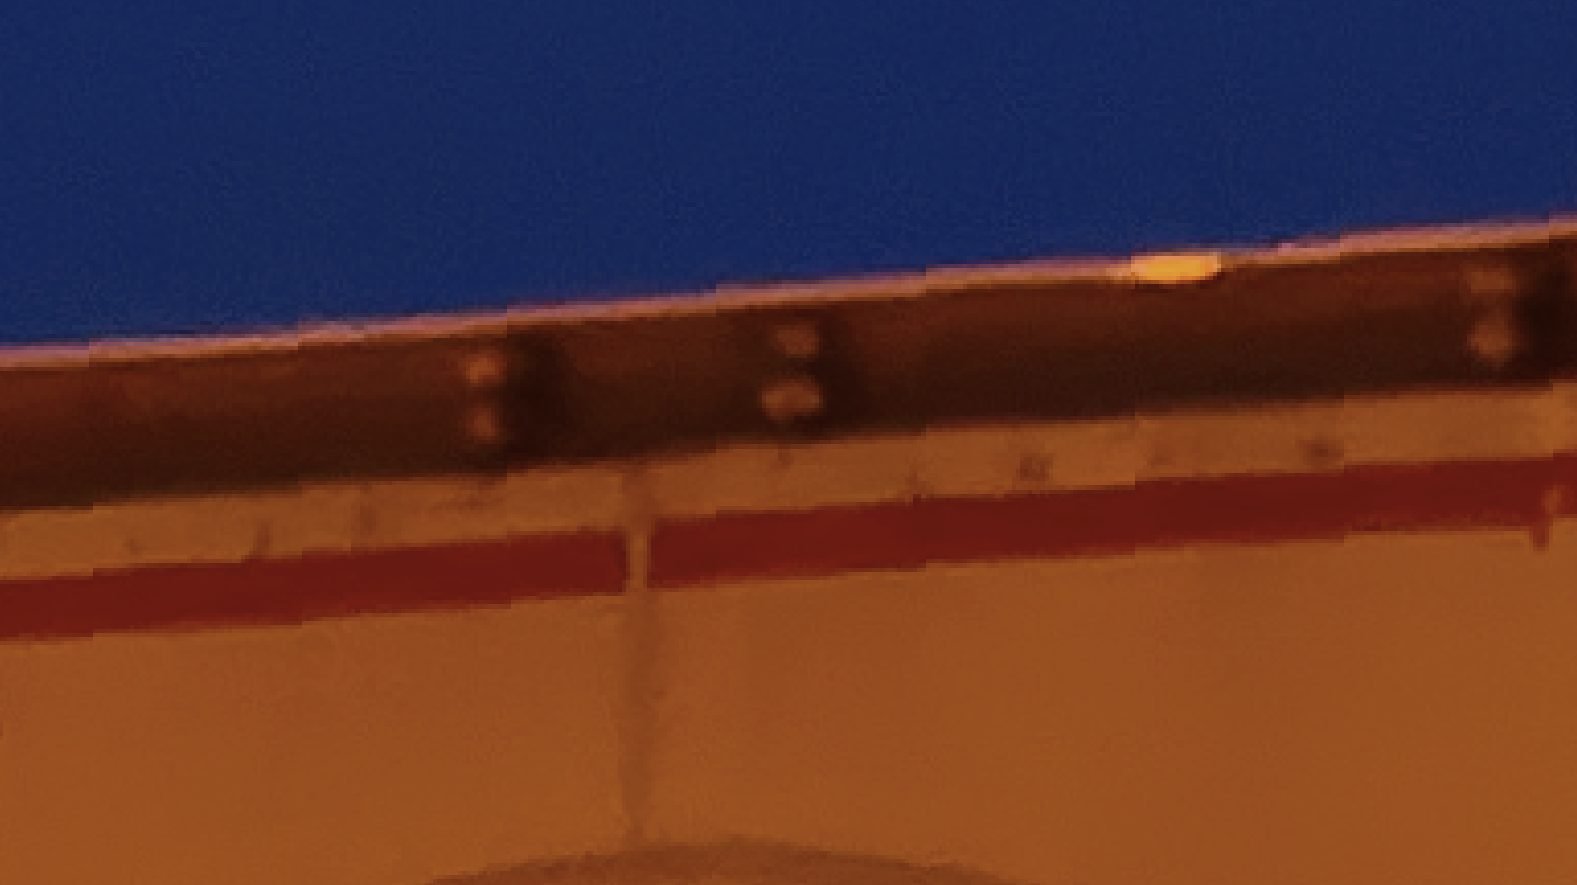
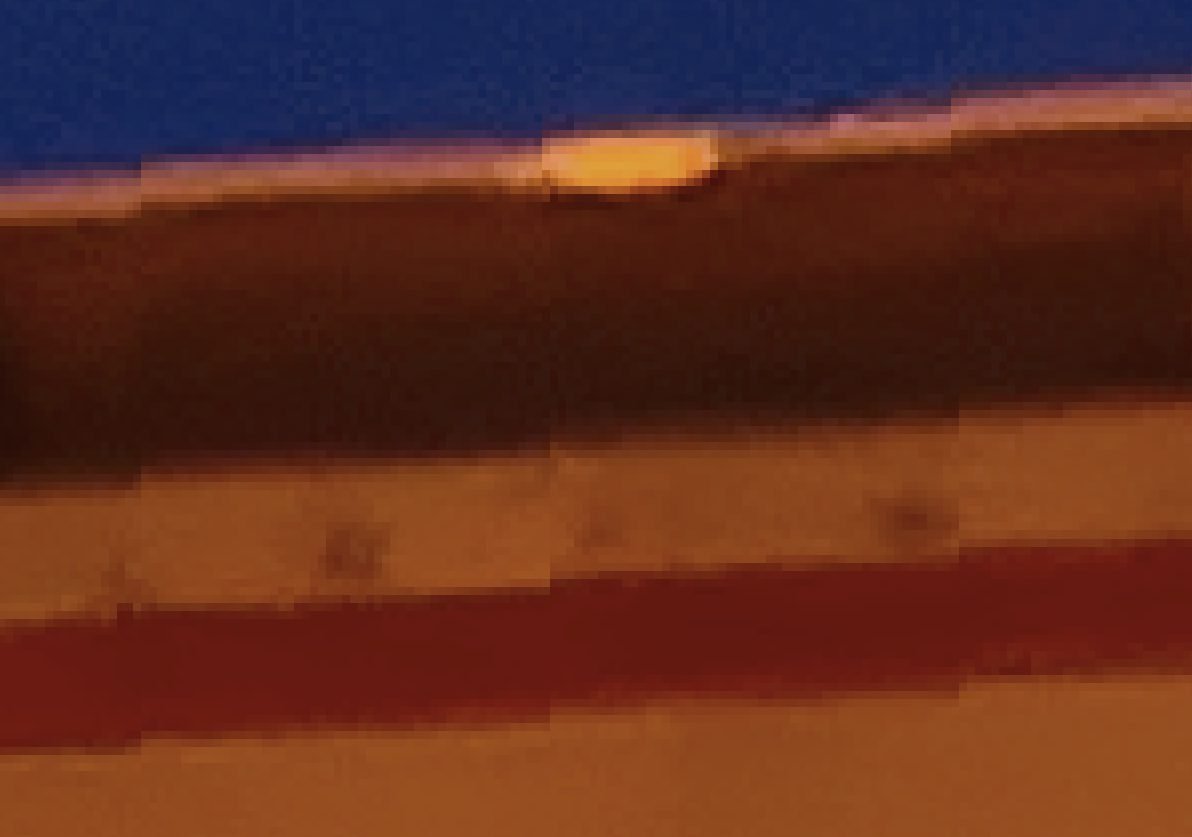
 I'm pretty new and am beginning to create artwork for t-shirts. But I'm actually scanning in hand-drawn pen and ink artwork and then cleaning it up in Affinity Photo. I can get rid of the background with the selection tool, but realized today that there are remnants left on the edges and am not sure how to clean this up. I don't need it to be completely crisp and clean. But these light remnants look awful when the artwork is on a colored background. I've attached three screenshots: 1. Edges.jpg shows the "halo" around the edges. I want to eliminate the light color on the outer and inner edges (not the gold fill inside). 2. & 3. Edges2.jpg and Edges3.jpg show examples clearly with black and red ink and the remnants. Can you please tell me how to fix this? Thanks for your help. Susan
-
 After developing into photo persona, all the smooth edges go jagged. When I click on the 'un sharp' mask filter the jagged edges smooth out and altering the sliders doesn't affect the edges at all. When I click 'apply' and the application guide slides across then disappears, the jagged edges are still there. The 'un sharp' mask filter has no effect. This has only happened since the latest update. I have just switched the photo back into develop and the jagged edges smoothed out. Then I put it back into the photo persona without doing anything else to it and the jagged edges appeared again. I have just tried several raw photographs in the Develop Persona. Everything was fine all edges, straight and curved were smooth. When I put them into the Photo Persona, all the edges went jagged. Just by switching them from Develop to Photo, all the smooth edges went to jagged.
 -
 Hi I made element with pen tool that I have used in my design and after I export it I realized that edges are not perfectly clear like they should be. Please see attachment and see how they have some ugly imperfections, and they look like they are pixelated... Can someone tell me why is that happening and how we can change that! Thanks
-
 Hey beebs! I'm using the trial version, tried to use the Gaussian blur but it makes some edges when moved, I guess it made to after I merge the filter. I told my self it would be a rendering thing but it turned to be rendered with the edged as you can see in the photo attached. Please I need help with this error! Cheers!
-
 Why there is edges around like a box in the transparent bg photo edited when exported
 -
 Hello, I'm playing with symbols and constraints to make some kind of a framework. Both work well but I'm facing a problem with rounded edges. They are in percent and I need them to be in px, because each time I resize, let's say, a form input, it resizes the rounded edges too. Here is an example of what's happening : http://jmp.sh/G8Mu132 Is there a way to lock the radius to it doesn't adapt to the shape size ? Thanks
 -
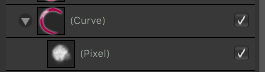
 Hello, I am on my second day of AD and I'm enjoying it, but I have seem to run into a problem that is really bugging me. I have a vector object (red circle) on a layer with another layer nestled under it that is being used for brushes (white) in Pixel Persona so that the brushes are constrained to that object (red circle) only, and all this is on a white background. There seems to be an issue of the brushes not fully coloring the edges of the red object. You can see a thin red line at the outer perimeter of the red object. It's visible at all distances of zoom. There is also no stroke on the object. I've included screenshots of the thin line issue and how the layers are setup. How do I get rid of this? Is this common? Any ideas on a fix that isn't a janky work around? I'd like to be able to constrain the brushes to a specific object without having the unsightly edge. Thanks for your time, Rick
-
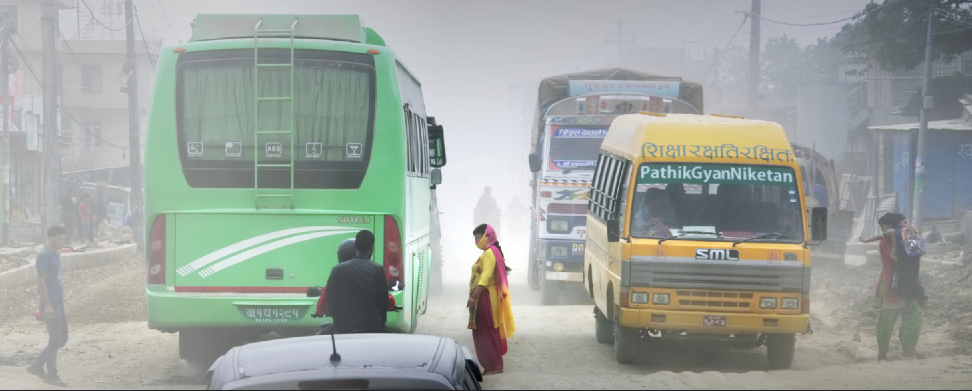
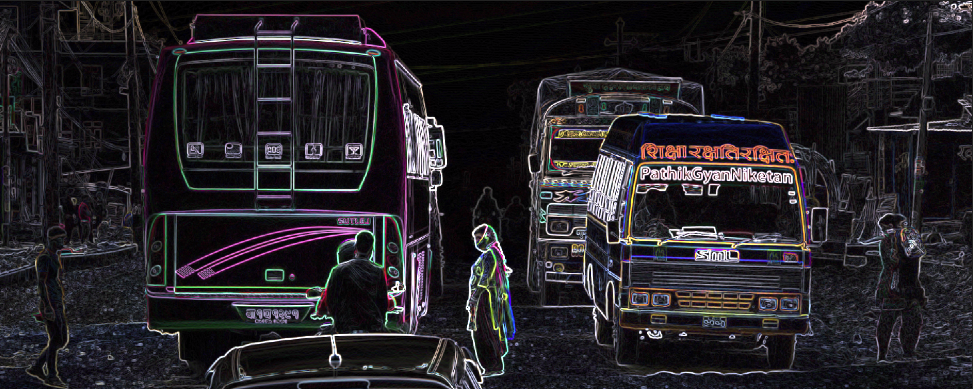
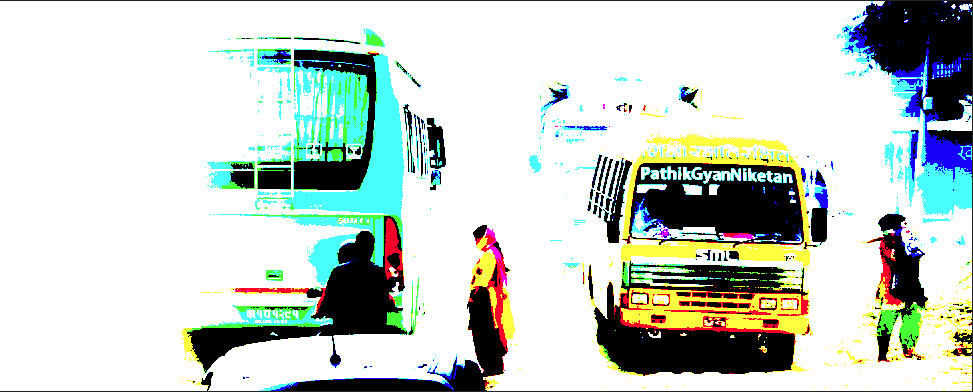
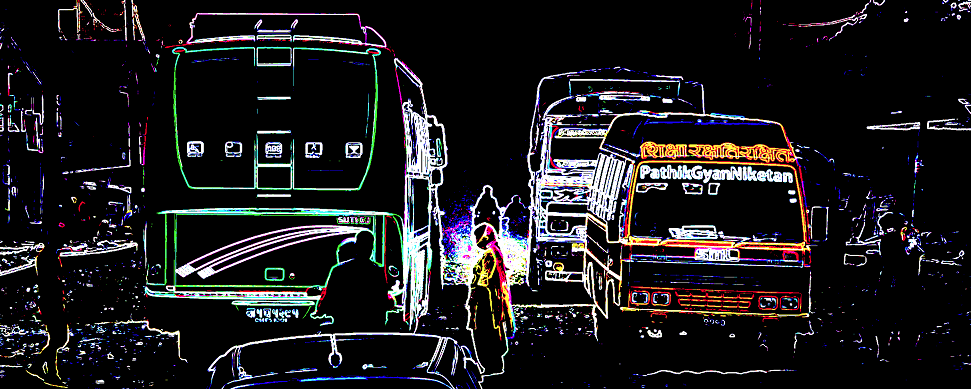
 Here's a novel way of detecting edges and creating a simple outline layer. Start with an image. Here's one taken in Kathmandu. If you do a 'detect edges' on it (Filters/Detect/Detect Edges), it looks like this: This can result in lots of little bits being selected too. What if you want to select less? One way is to use Levels or Threshold. Another approach is to go via blending. Duplicate layer and set Blend Mode: Hard Mix. This simplifies the picture. Now if you do a detect edges you get a simpler and slightly different set of lines. The result is similar to Detect Edges, but with a harder edge selection effect. Beyond this, you can Merge Down, Invert the layer, convert to b/w, do a Filters/Colours/Erase White Paper, play with Levels, Threshold, fx, Opacity, etc. Then you can use the line layer to darken, mask sharpening, etc. You can also replace the Hard Mix with other contrast-increasing blends, such as Colour Burn and LInear Light. You can also force a hard contrast with Levels, squeezing the black and white points close together. Even cranking up the basic contrast forces edges to be more distinct. Like many methods, it will work better on some images than others, and experimentation will help you figure out if and when you might use this.
-
 Hey, when I open this image in affinity photo (Photo Persona), the edges are pixilated (or stepped, warped). When i zoom in it's back to normal. If I open the image in Develop Persona, it's normal too. why is that? many thanks for your help
-
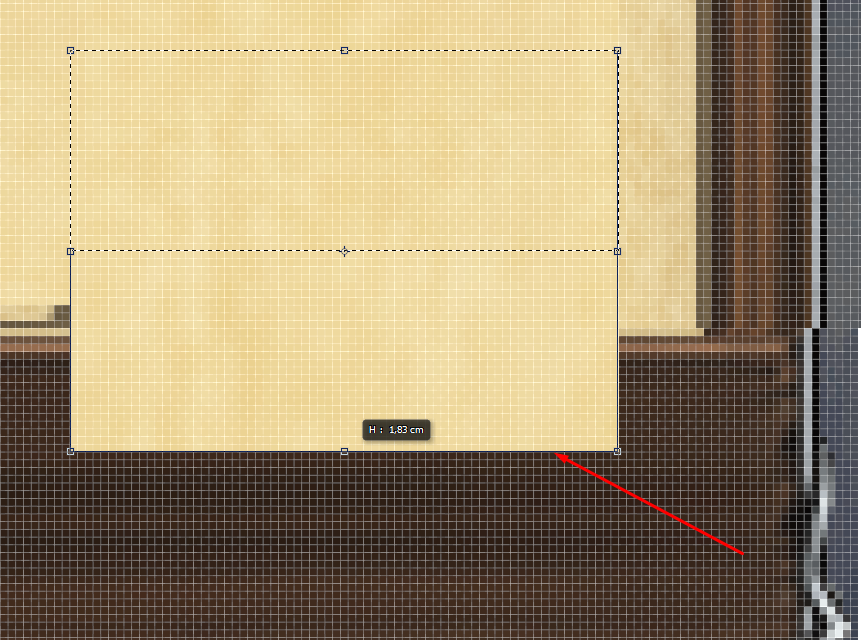
 Hi there! I need an advice in the following task: I want to have the exact same corner, that I have on the left side of this L-shape, on the inner (right) side of the shape. Can you provide a simple way to achieve this? Cheers, Robin.
 -
 Hello Mask was created from black and white image I want to erase white edges by adjusting mask boundaries I want you to tell me a good way Thank you 4691.afphoto
 -
I wanted to enhance dark lines in an architectural image, so needed a layer with only outlines and otherwise transparent. Here's what I did. Duplicate background Detect edges Adjustment layer: Black/white, Merge Layer/Invert Adjustment layer: Levels black 50%, Merge Filters/Colours/Erase White Paper Opacity to suit. (Yes, I could Blend Mode: Darken rather than erase white paper, but having just the lines gives a bit more flexibility). Is there a better way?
-
 (Picture attached) I selected the subject (which is a person), and blurred out the the background. However, when I blur out the background surrounding the subject, another surrounding blurred marks appears on edges of the subject outside of the selection, which I do not like. I want to get rid of these marks around edges in order to make the subject look sharper.
-
 Hello I have just purchased AD (windows). I was quite excited. I opened a photoshop PSD file and i zoomed it to 75% and it seems the edges aren't smooth. It's smooth in photoshop with similar zoom. It's smooth when i use 100% but not 75% (in photoshop it's fine in 75%) I have tried this with Grade UI Kit. Zoomed it to 150% and the edges of the UI aren't smooth. I have checked different view modes : Pixel, Pixel Retina, Vector. So i have tested it. It's still edgy. I have attached screenshot of Photoshop image and AD side by side. Also attached Grade UI Kit image in AD. Left is Photoshop and Right is AD. I would really appreciate some feedback.
-
Would love to see a feature where we can target a blur on an edge only. Say I have a fill with some painting in it and maybe some noise applied, if I'd like the edge to be soft and apply a blur to it the whole things blurs, losing any painting detail and noise... be cool to just be able to blur the shapes edge without the contents getting blurred. Would be nice to have a slider and preview. Maybe there is already a way to do this? Any ideas? Again, a boy can dream. :D


.png.eabbf1763dd6578bf9d24c4b2c5aeba9.png)
.png.053503e34b6b40a0e2355ff051f2e089.png)