Search the Community
Showing results for tags 'designer persona'.
Found 8 results
-
 This is latest published Designer 2 on MacBook with most current OS for my 2016 MBP. The Issue My problem is that slices created from layers in Export Persona do not have same width (in Export Persona) as the source layers, as reported by Transform tool in Designer Persona. Slices are 2662px but layers are 2661px wide. Background I have a document that I use as a template even though it’s not saved as one. It includes 16 slices that were created from layers (these are all groups that represent a small section of the host artboard). I sometimes have to edit the constituent layers in these groups, specifically to change their width to a very specific value using Transform (Designer Persona). After getting ambushed a few times I now check individual layers one at a time to make sure they are the correct size, and at the correct location on the artBoard. Each export group is renamed following my naming convention. Groups are completely distinct, with no shared layers. To make sure the derivative slices have the desired name, the first thing I do after switching to Export Persona is to delete the previous slices. I then select all the source layers, and create new slices. My problem is that the 16 slices created this way (from different source groups) are ALL the wrong size - by which I mean that the size of a newly created slice differs from what Transform reports in the Designer Persona - by 1 pixel. Export Persona reports 2662px, Designer Persona claims 2661px - the value I specified when doing the Transform. I’ve checked sizes in Designer Persona before and after creating the slices, and the outcome is always the same: Export wants to give me 2662px from a 2661px-wide group. The 2661px target width is specific to this document, and is based on document-specific content created very early in the edit process. I had another one yesterday with different width requirements, and that worked perfectly. I believe I have the same behaviour on my iPad running latest published AD2 with iPadOS 16.6.1. I’m open to suggestions, can make a document available to Affinity if they provide a link, please. I will provide a document for the forum if it survives sanitizing.
 -
 I really wonder why there is no proper way to select points in the Designer persona other than the rectangle. I wish we had a lasso tool that would allow me to quickly select points / lines freely, just like we can select pixels with the lasso tool over there. The rectangle is stiff and why I understand that I can add or remove dots from the selection with keystrokes, nothing beats the speed of drawing around just the points i need in one stroke. From a technical standpoint as I see it: The tool itself is already in the pixel persona - all it takes is an algorithm that works with designer / vector data to find all points inside the area. And it needs an icon / shortcut to activate it. This is needed for both, Desktop and iPad Versions, as it would speed up certain workflows immensely. Especially when using Tablets on Desktop or the Apple Pencil.
- 4 replies
-
- 1
-

-
- lasso tool selection
- lasso tool
- (and 4 more)
-
 Hi. I am using some STYLES collections in Designer V2 - imported them and they show up each time I start Designer. So far so good. BUT: When I switch to the Designer Persona in Publisher V2 these styles are not there - just the default style category. I can import the styles in the Designer Persona in Publisher V2 and use them. But each time I start Publisher V2 and switch to the Designer Personal the styles list is empty but the one default style category and I have to import the styles again.. I think the styles should show up everywhere in the Affinity suite as soon as I imported them and not disappear from one usage of Publisher V2 to the next. Thanks Chris
 -
 ... or better: Behaving wrong. In my case it is an opened PDF generated from APu having a text frame containing text with 80% black and text with HKS 7 and there is a rectangle with HKS 7. 1. Switch to the Designer Persona (or Edit in Designer - makes no difference) 2. Click the rectangle and use Select > Select Same > Fill Colour 3. Now elements are selected. Use the Colour panel to change the percentage of the tint Result A: Even the gray text is changed although no HKS 7. Apart from that: 4. Revert history to the beginning 5. Select the gray text with the text tool 6. Select > Select Same > Fill Colour Result B: Same as Result A. Conclusion: Colour replacement is not working on text frames having text with different fills. colour-replacement.mp4
 -
 I have noticed that when in Publisher and switching to the designer persona that vector brushes do not operate as smoothly as they do in Designer proper. There is less smoothing and the temporary render updates quickly but looks very rough. It is just a quirk but may need investigating. Using Windows 10 on a Lenovo T430.
 -
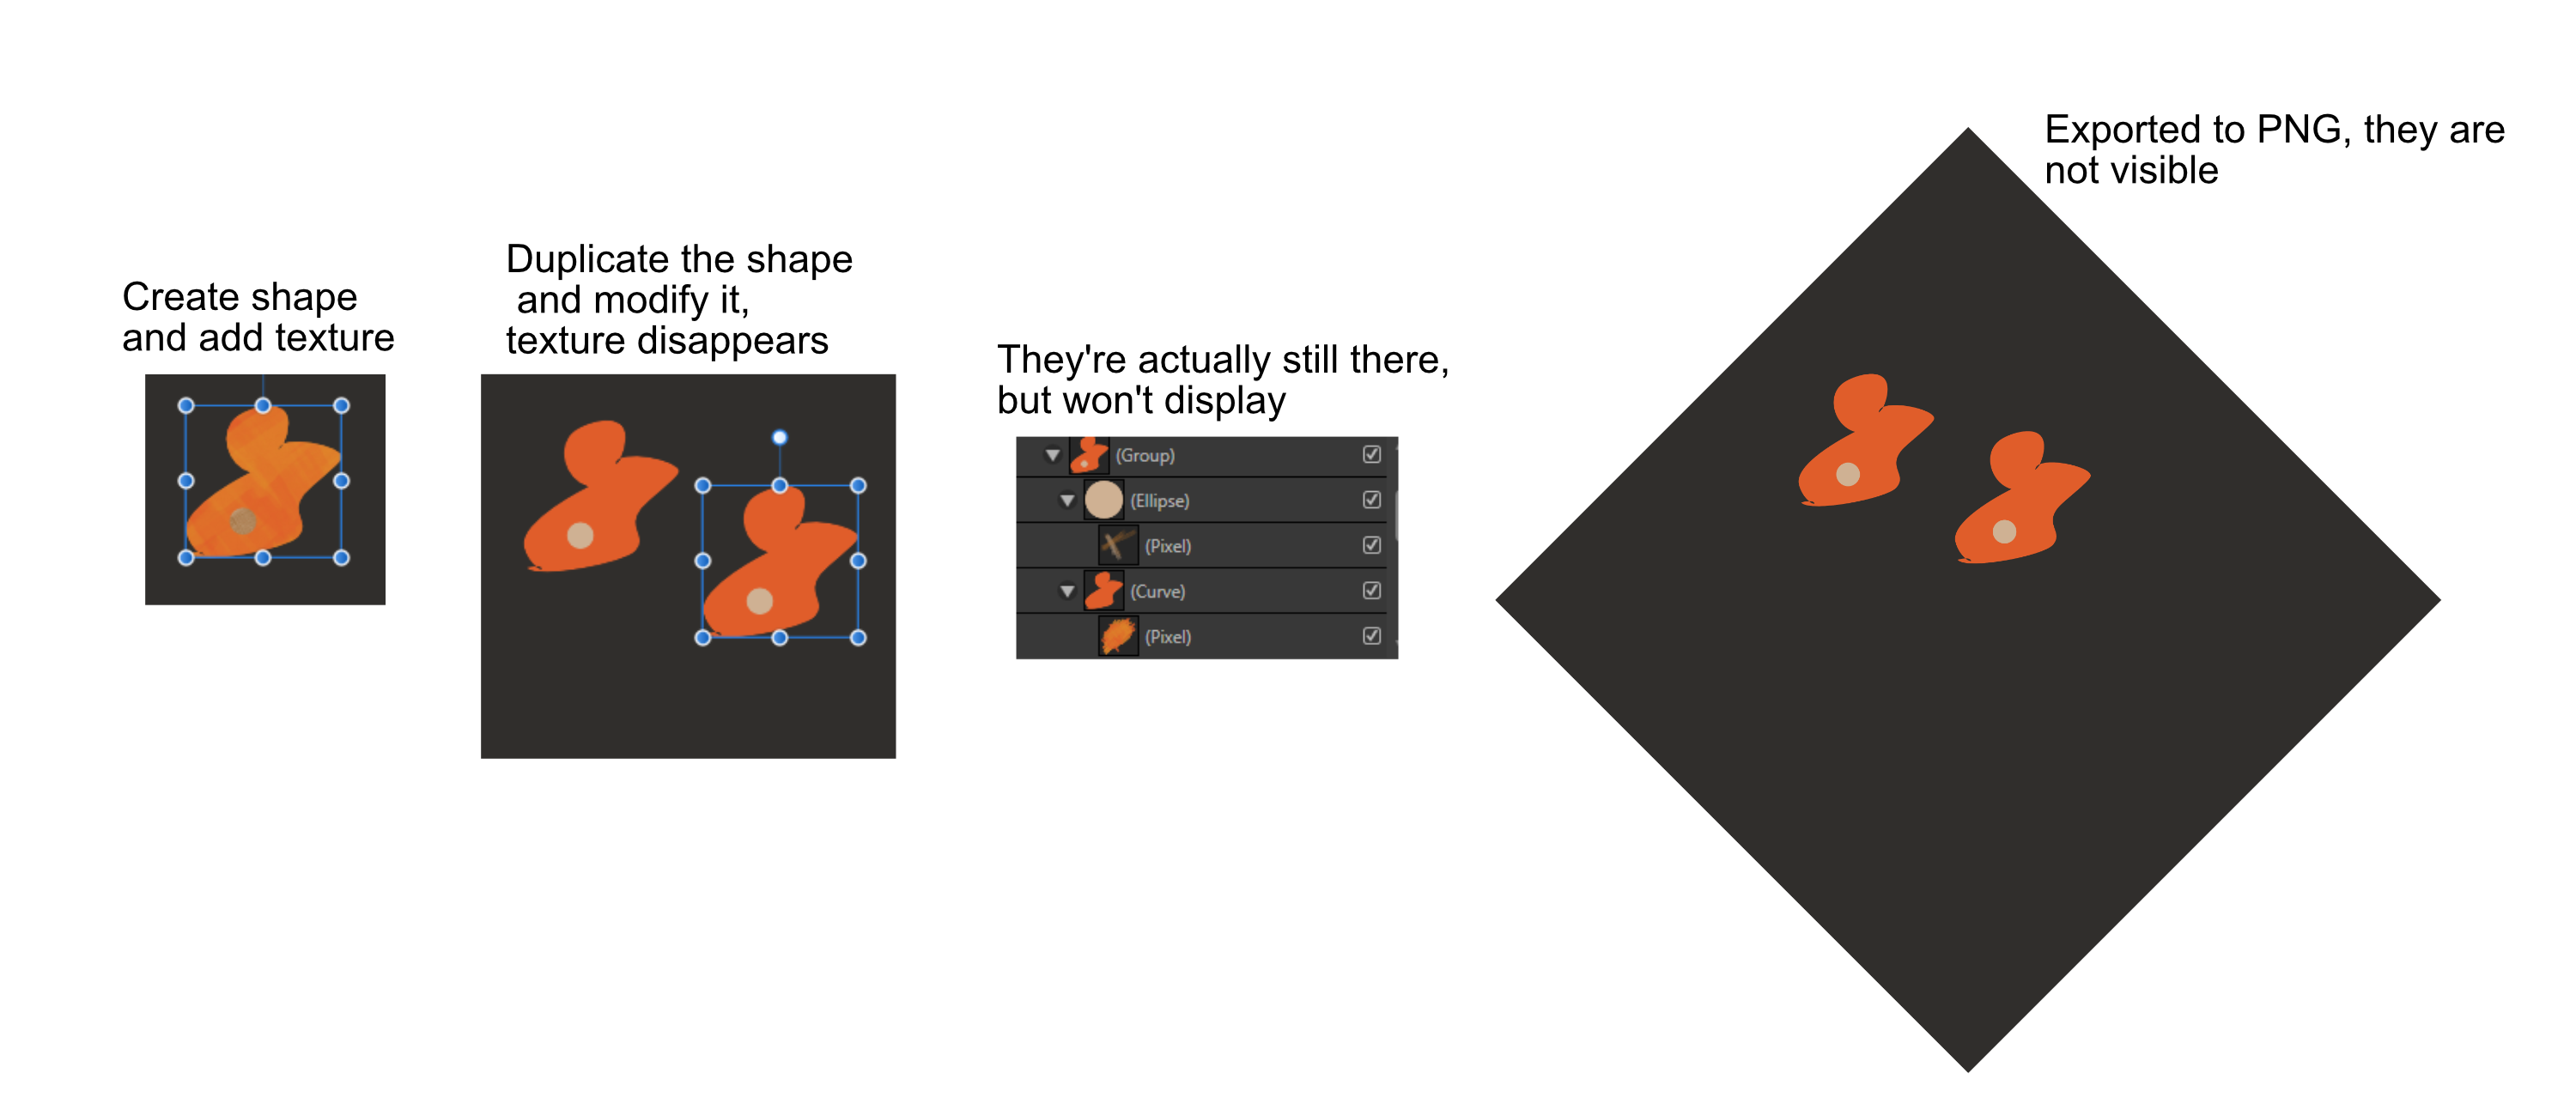
 Hi, I am experiencing a serious issue with Affinity designer. I have a vector shape in Affinity designer, in a group with another shape. I add some texture to both shapes by using gouache brushes in the pixel persona. Then I come back to the designer persona and duplicate the group with ctrl+J. The pixel layers then disappear (or better they are still there, but won't display). I thought it may be just a visualization issue, but if I try to export the file to PNG they won't display. Even closing and reopening the file doesn't help. It doesn't happen sistematically, sometimes I have to duplicate it multiple times, or rotate/transform the copies. The original file I was working with where it first happened had several copies of the group, but then I created a new file with just one shape and it still happens so it seems a bug. I attached this new file in case it may help, and some screenshots of the issue. It's honestly the first time I try to do this so not sure if it might be a bug with the latest update or what, but it's seriously frustrating and disappointing as this kind of operations working with vector and raster layers are supposed to be one of the main benefits of using Affinity... Is there any way to fix this? Thank you very much. test.afdesign
-
 I don't know if it's already reported here but I'm annoyed by this switching behavior when I switch from "Designer Persona" to "Pixel Persona". When I close the tab "Assests" in "Designer Persona", they still appear in "Pixel Persona". Also the colour tabs on the right side jump between "Swatches" and "Colour". So for my understanding, if I close the "Assets" window in one editing area it should not appear in the other editing area and if I select a colour tab it should not be toggled. AD_1.8.2.620_view_studio_assets.mp4 AD_1.7.3.481_view_studio_assets.mp4
-
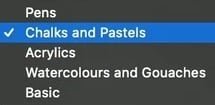
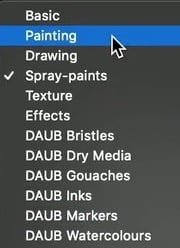
 In each of the two Affinity Publisher video tutorials demonstrating StudioLink interworking (Designer Persona: Vector Brush and Pencil Tool & Photo Persona: Paint Brush Tool), at one point the presenter selects a brush from a set of brush categories: Q1: Are these brush categories included by default when Affinity Publisher is installed, automatically created when StudioLink becomes available for access to either or both of the personas, or what? Q2: What happens if in Preferences > Miscellaneous I click "Reset Brushes"? Is there any difference if StudioLink is available (IOW, if Designer and/or Photo are installed)? Is there any difference if "Reset Brushes" is ticked using the Control key factory reset instead of the preference? Q3: Are these brush categories the same as the defaults in the 1.7.x versions of Designer & Photo?