Search the Community
Showing results for tags 'brush'.
-
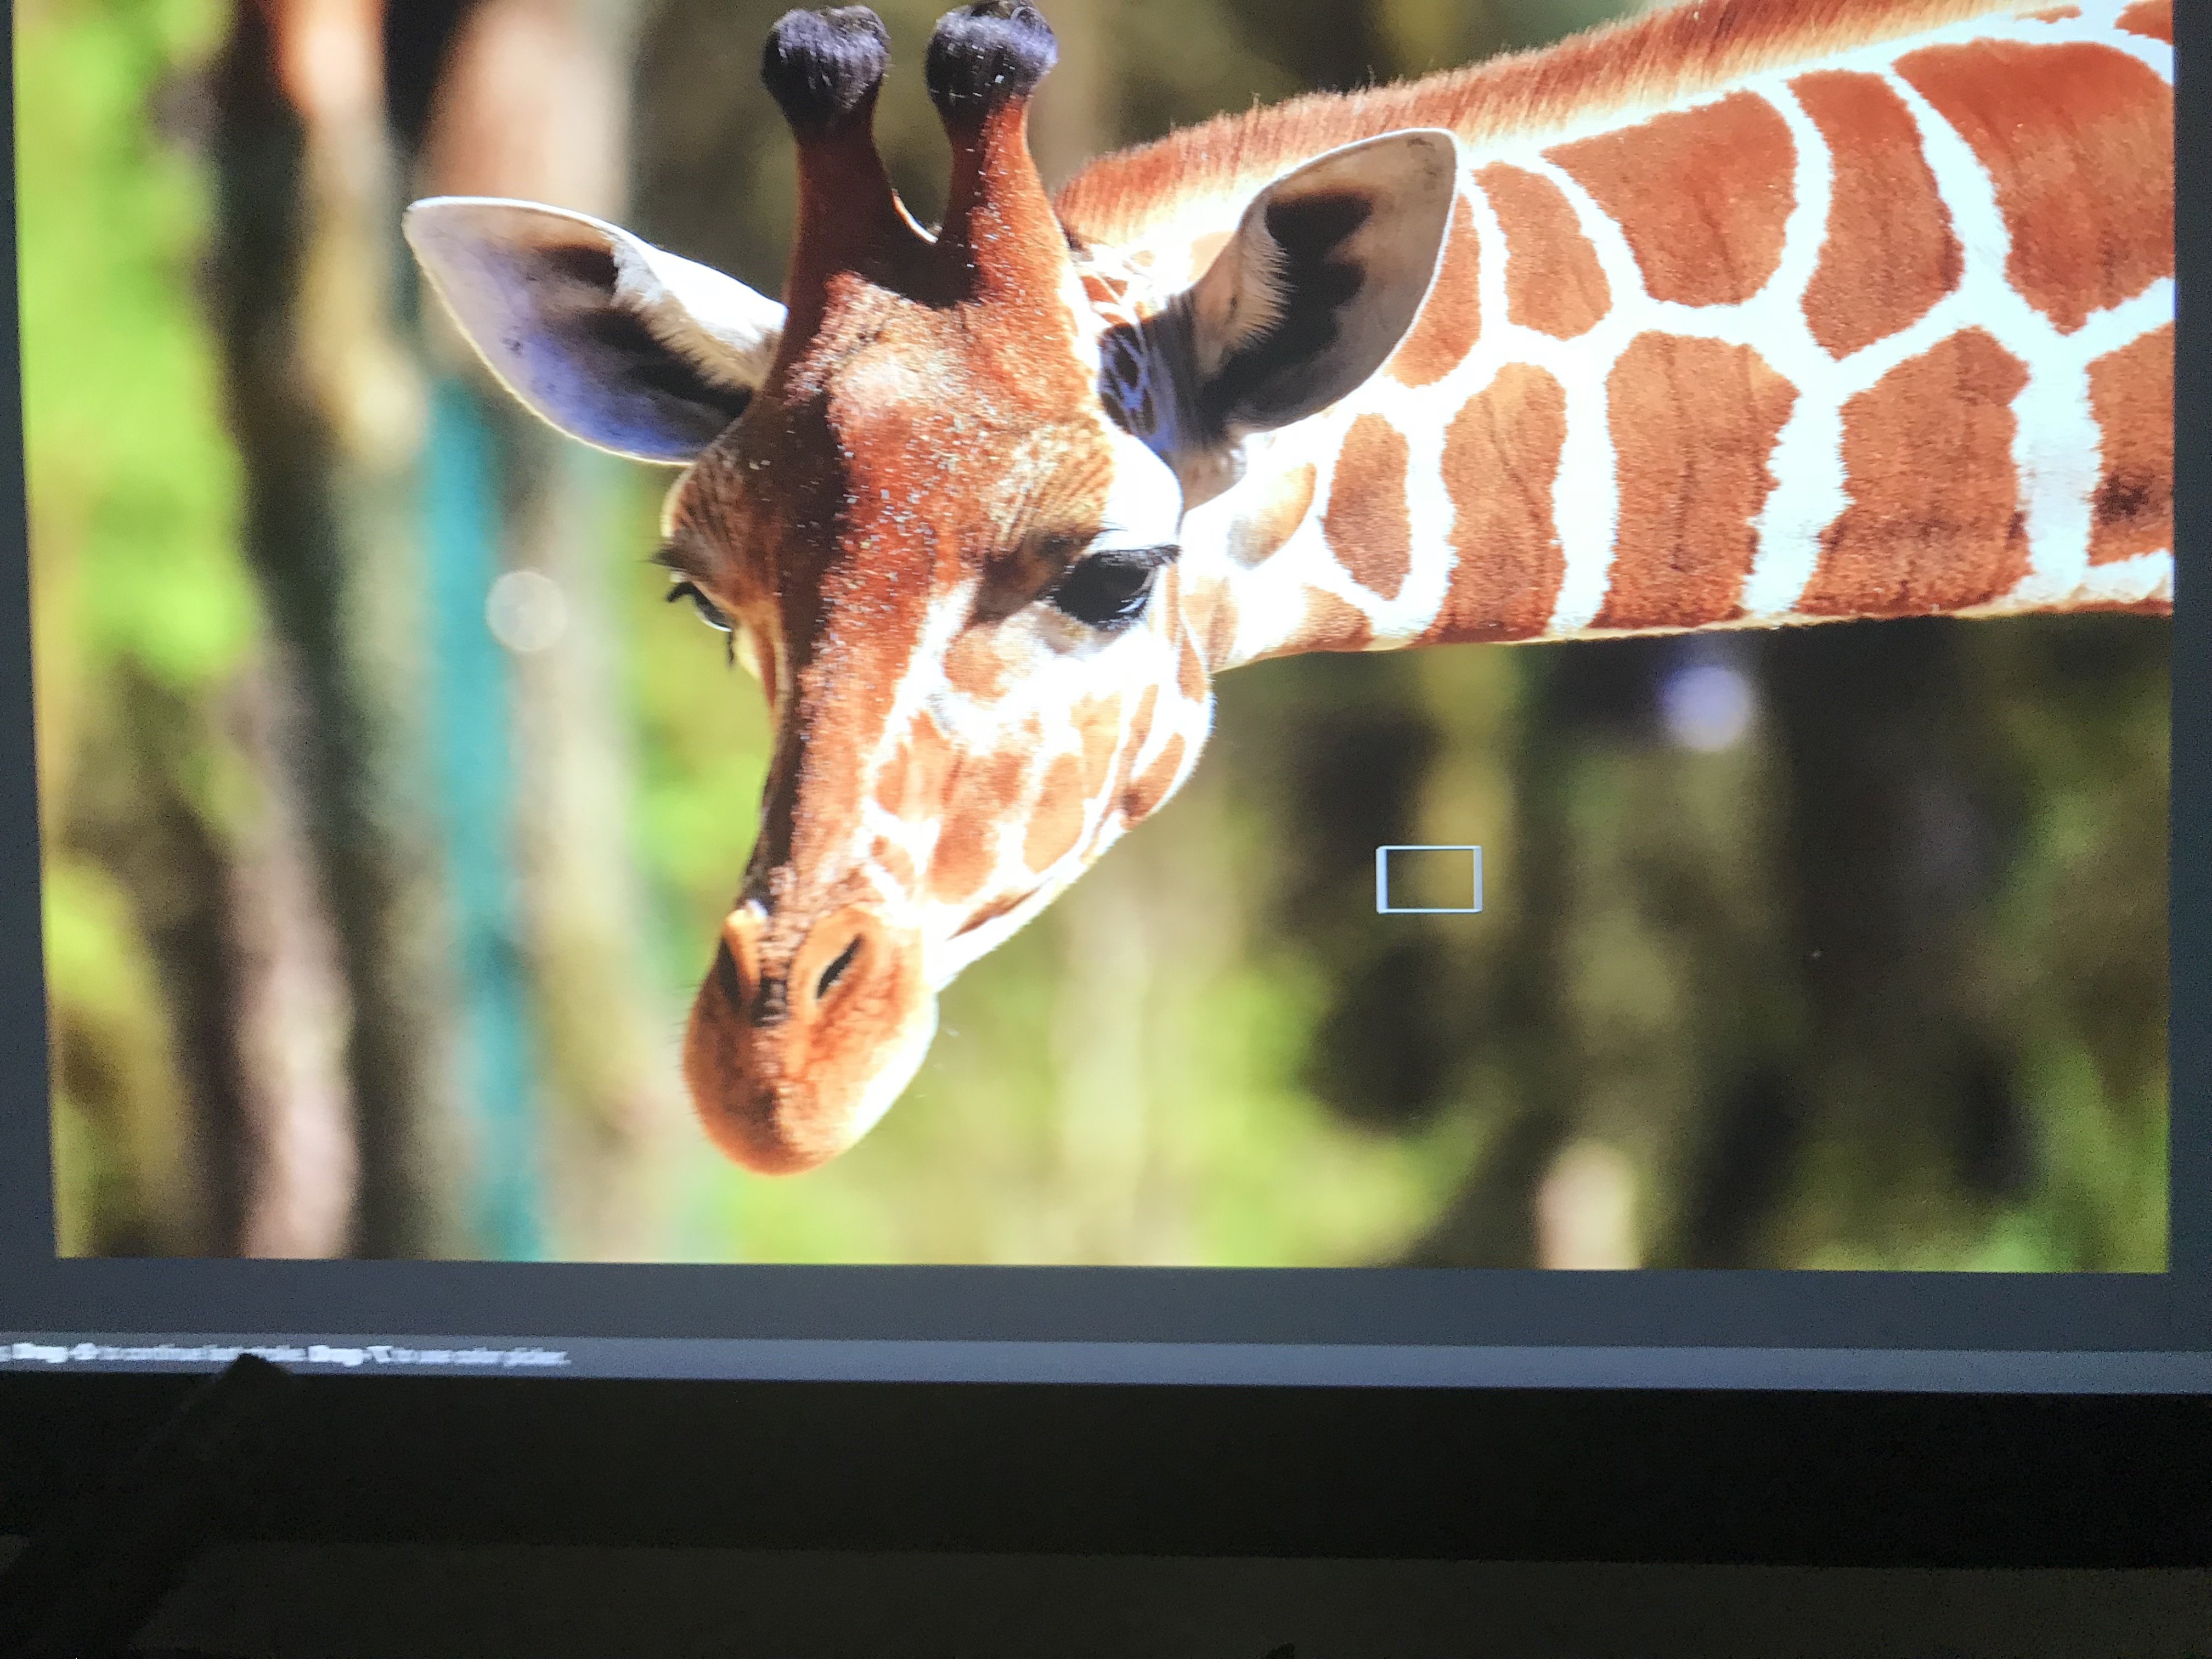
 Hello there, I have been experiencing issues with my Paint Brush tool. I purchased Affinity Photo a couple months ago and installed it on both my iMac (late2015) and MacBook Pro (late2012). Everything has been working with no problem until last week when I opened a project on my iMac. I was trying to mask a layer, I press B and the Painting Brush was a SQUARE instead of a CIRCLE. It started acting weird. I don't know why. I don't have that issue on my MacBook. Everything works fine. I tried uninstalled it and installed it back and still had the same issue. Please help. I attached two pictures.
-
 Hi! I'm new on forums and on the wonderful Affinity universe. I have Affinity Designer on my new iPad and I can't find how to get back to the default brush. I drew with it from the beginning and now I tried some others brush and I can't find it!! Some help, please?
 -
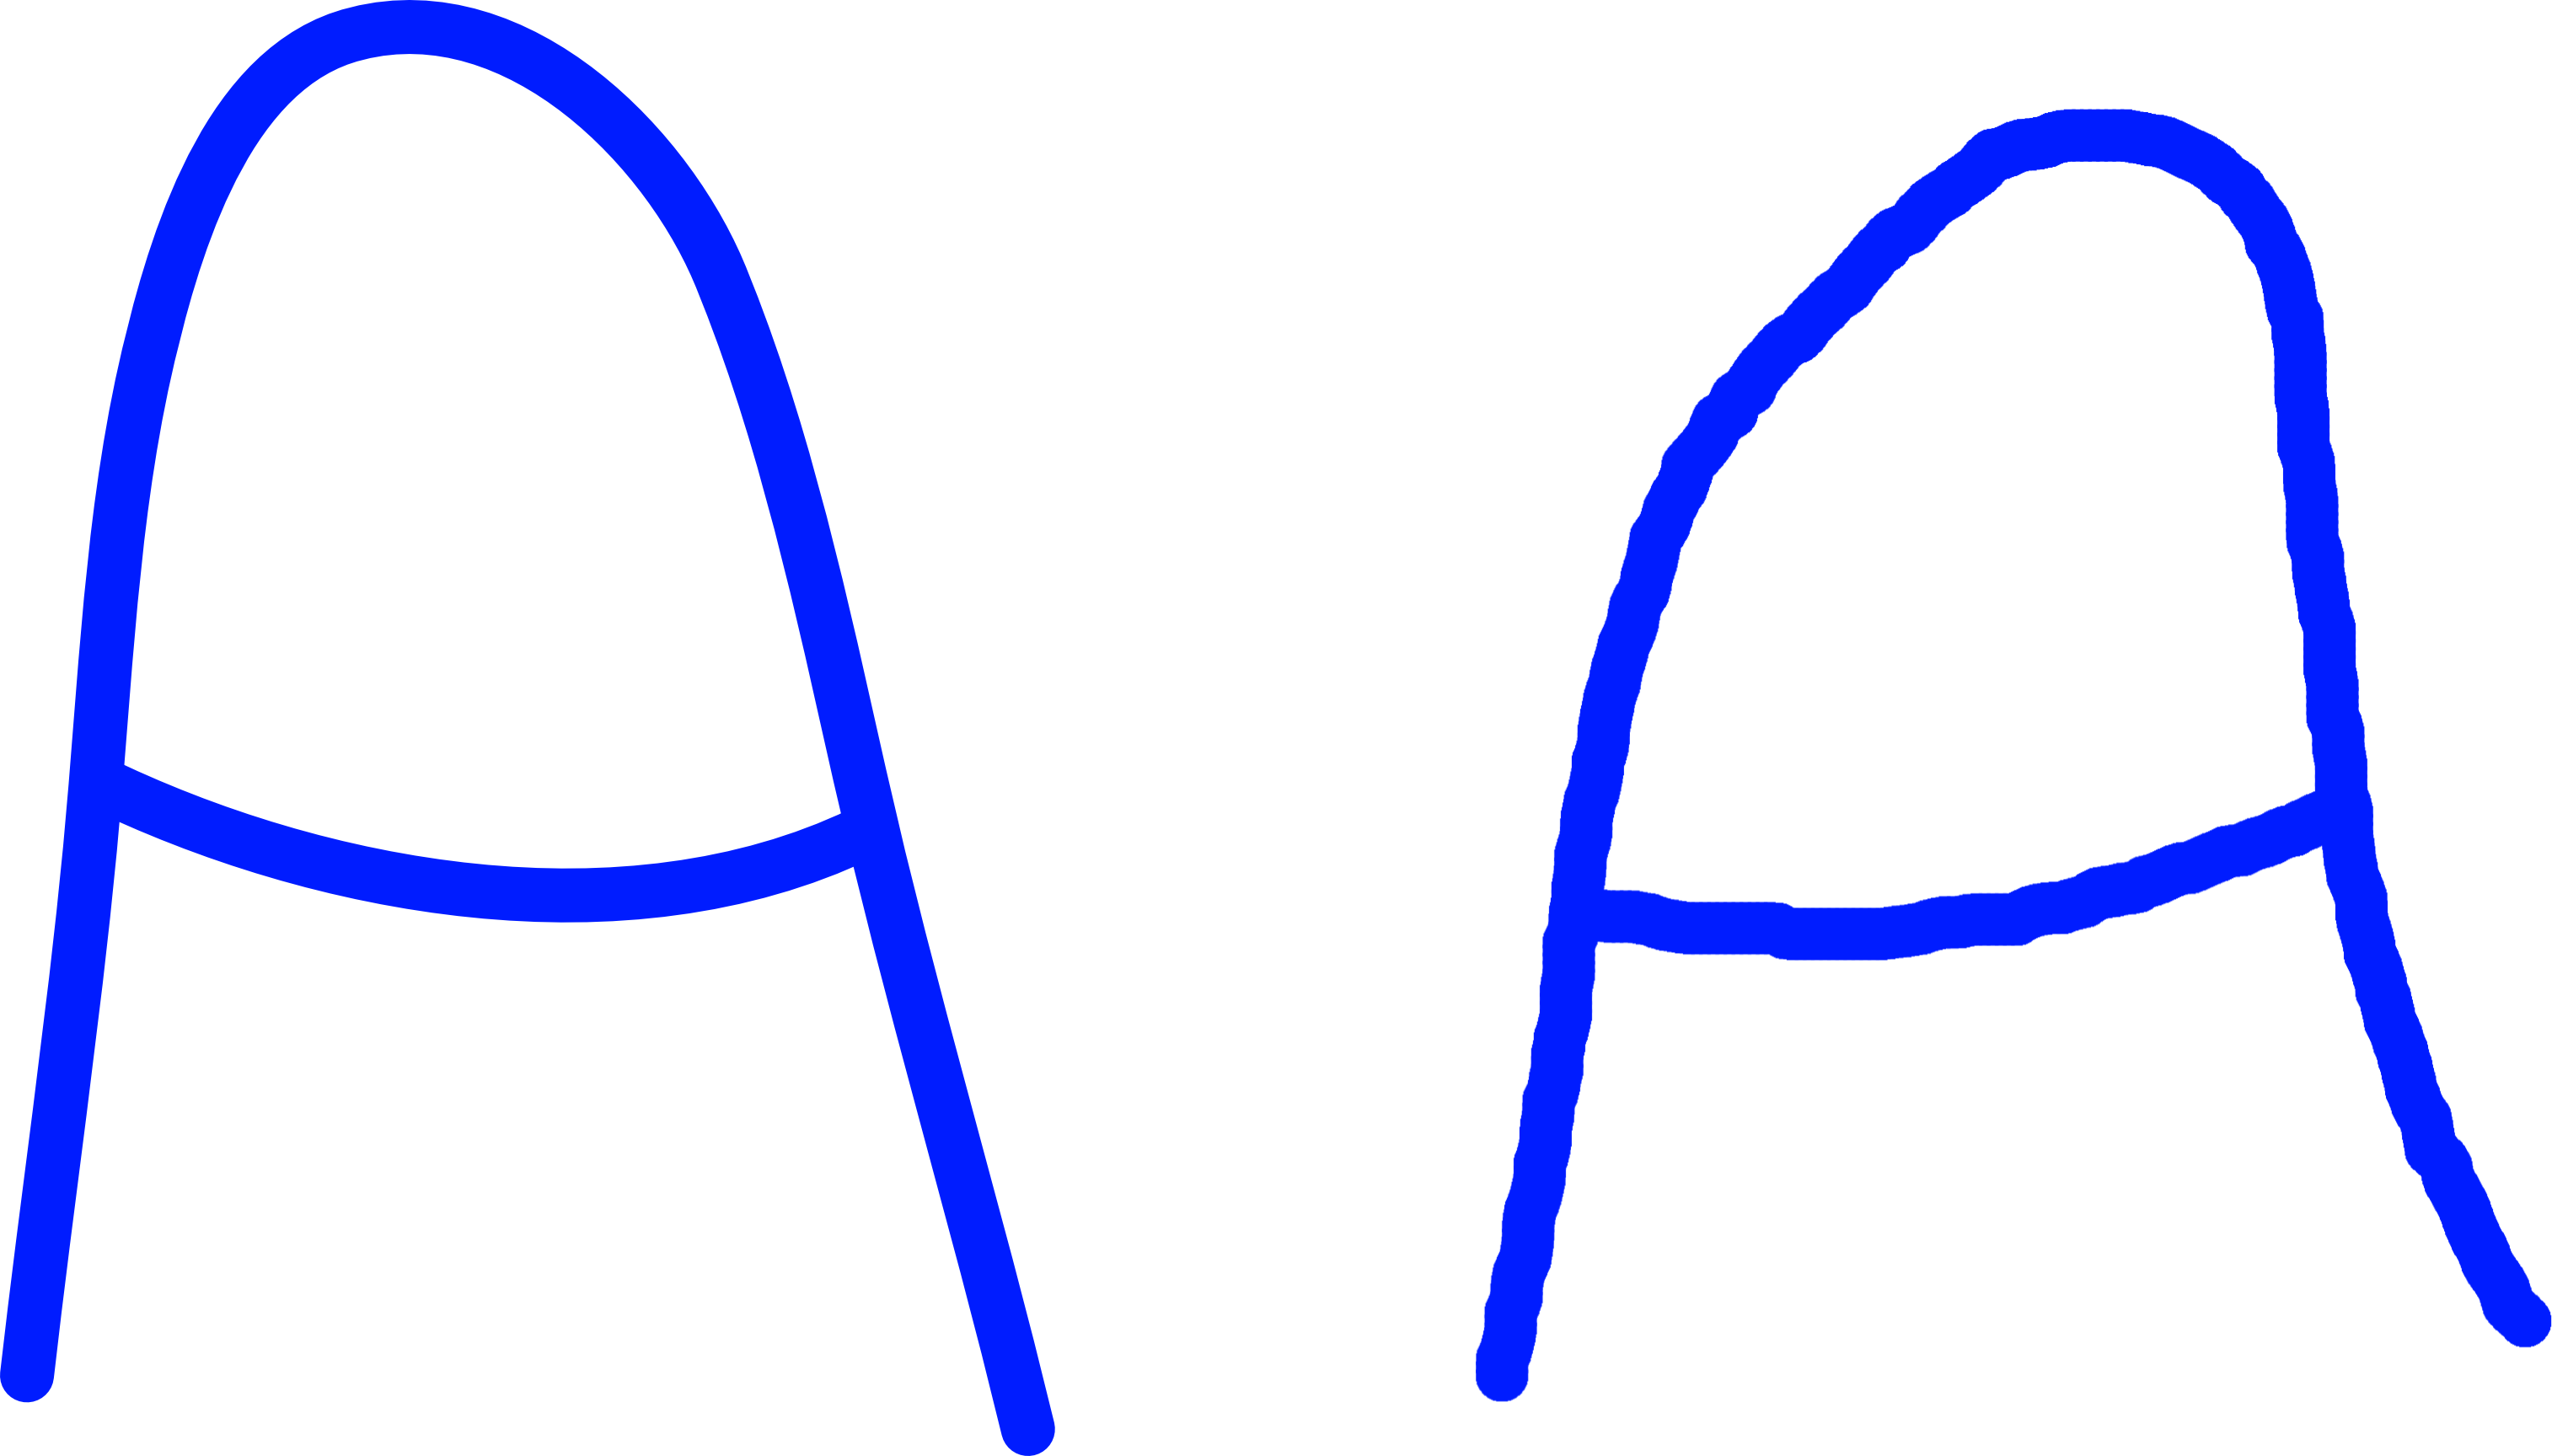
 Hello Everyone, I am new to Affinity Designer, i can say that Affinity Designer is a Very good Software so i was working on brush today and i found something un-usual In Pixel Persona the Brushes is not smooth when i draw anything. but in Draw Persona there isn't any problem like this. see the Image, the Brush i used on the Left is from Draw Persona & the Brush i Used to the Right is from Pixel Persona. can anyone tell me why is this happening. am i doing anything anything wrong or missing anything i am using affinity designer version 1.6.4 on Windows 10
-
 I used a number of different style vector brushes when I inked a design in Affinity Designer. When I went to convert the brush strokes to curves, only the solid standard brush strokes were converted and all specialized or non-standard brushes were gone.... I backtracked and selected a single stroke made with a non-standard vector brush and went to convert to curves or expand... and it was grayed out. Is there a way to convert these types of brushes to fills? I need to be able to use my vector line work made in Affinity Designer in other apps as vectors.... Is there a solution to this? Thanks
 -
 When using the overlay brush in develop i have to repeatedly go over the area to achieve 100% opacity. I have tried setting brush attributes that work for other brushes but this does not work on the overlay brush, plus I have tried using a tablet & pen and a mouse. Where can I change the attributes for this brush?
 -
 Hi I've downloaded the Trial version 1.6.4.104 (Trial). Can't find the Inpainting Brush icon at all. Working on a jpg (but brush should be at least ghosted there even if no file, I think). As per a forum note I have created New Layer (Pixel), checked for Pixel vs Image. As there is no Brush to chose, I've nothing else I can see to set. Also did restart. Thanks
 -
Dear All, Any idea how to restore all deleted brush? HELP :( Regards, Thank you.
-
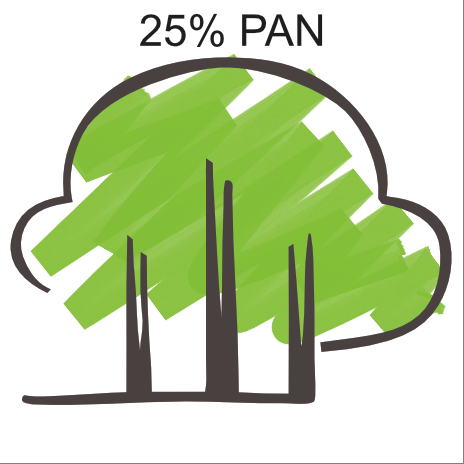
 hi how can I create a brush stroke that looks like this in this youtube video https://www.youtube.com/watch?v=7b-70EDYiFQ and use it to outline portraits … I don't have the money to get an art tablet so would be helpful if someone new how to do this on affinity designer
 -
 I am new to Affinity so perhaps I am missing something basic here, but every time I select the specific brush I want to use, a default brush replaces it upon my stroke of the pencil. After drawing my line, I have to then go back to the Brushes window and reselect the original brush I intended on using. In other words, from line to line, the default brush takes overs/reverts back. I cannot seem to find any settings whereby I can select and set a default brush. In Adobe Illustrator, the last selected/used brush would also be the brush of your next stroke of the pencil. Why is it different in Affinity? I would like to use my own selected brush consistently. Can some please explain how to do this? Thank you.
 -
 Up until now I have been a PaintShop Pro (PSP) and Photoshop (PS) user and was expecting Affinity Photo to support the Magic Wand function. Instead, Photo uses 'Brushes' to do the same thing, but I haven't encountered any tutorials that show me how to use your function with the same level of accuracy and precision that PS and PSP do. For instance, whilst selecting parts of an image for applying effects/actions to, I am finding that even when the colours are dramatically different, it overlaps the boundary even when the mouse isn't close to these areas. Maybe I am just not used to Photo, or I haven't found the controls that will enable me to 'pin down' how critically I want your alternative function to work. If you know PS or PSP, you will know by using it, just what I mean, so can you enlighten me on how I get your function to work as precisely as the Magic Wand does when using PS and PSP? I am currently trialling Photo, so a prompt reply would be appreciated, as in other sespects it seems to be pretty good.
 -
 Currently every time I start a new document I have to set the Pressure Controller for a brush manually. Would like to be able to set it as a default either in the Tools preferences or in Edit > Defaults > Save as Default.
 -
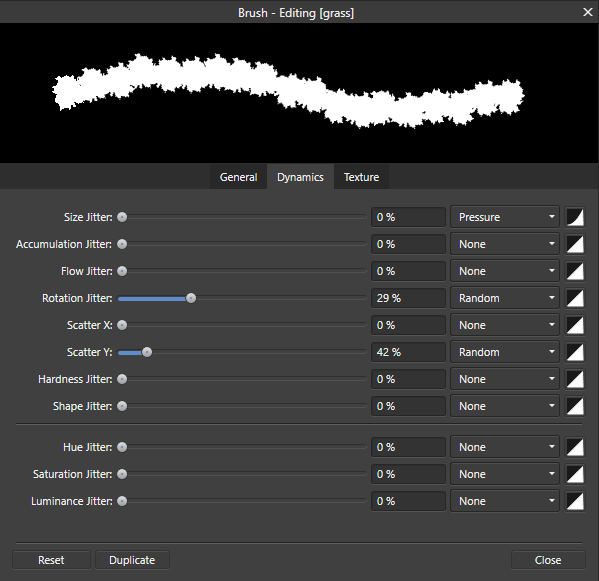
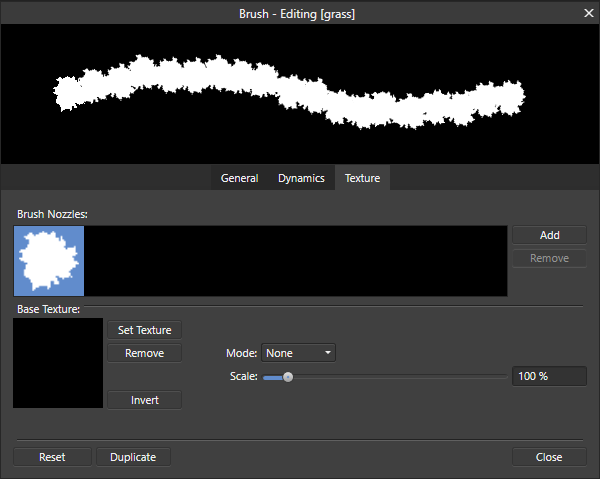
 Playing with the brush engine in Photo & Designer and found that Hue / Saturation / Luminance Jitter work differently from other apps… In Affinity the jitter is applied per dab. Compare with Photoshop (and others?) where the jitter is applied per stroke. In my limited experience per stroke is more useful in digital painting for creating subtle variation between painted strokes. Could Affinity have the option to choose how the jitter is applied? Thanks for your consideration.
-
Is there a way to hide the outlined brush tip? I guess some people might like it, but for me it is totally disturbing, especially with complex brushes. The outline hides faint brushstrokes and makes it very hard to judge if they are correct, especially with large brushes, low opacity and short strokes. I prefer just a dot, or nothing, as I see the tip of the Wacom pen anyway.
-
 This has been an issue for a while now. The blur brush tool adjustments in the tool bar (opacity, hardness and flow) don't seem to be doing anything. I've been using affinity photo now for about 7 months now. This never used to be an issue - the opacity, hardness and flow sliders would all have an effect on the blur brush tool. However all of the sudden, one day they stopped working and the blur brush tool is stuck on max blur! Can anybody tell me why or how to fix this? Note: these adjustments work just fine on paint brushes, burn/dodge brush tools etc its only an issue with the blur tool.
 -
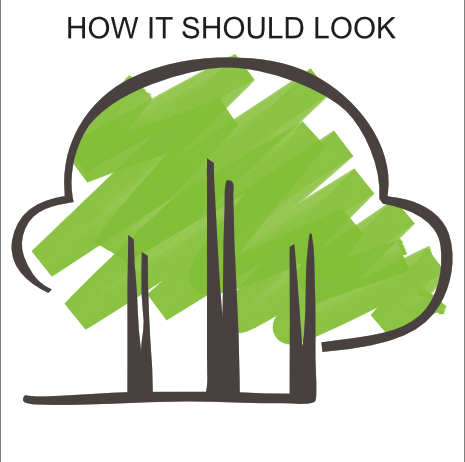
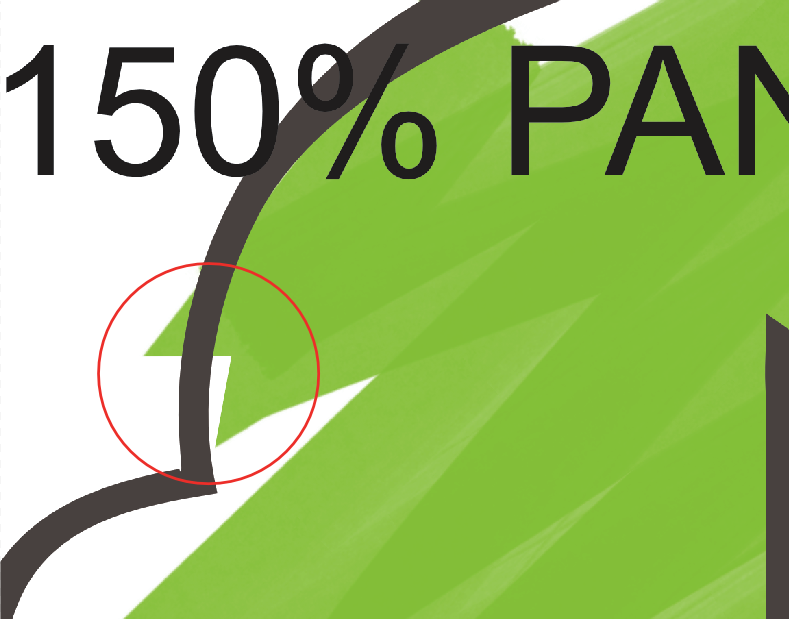
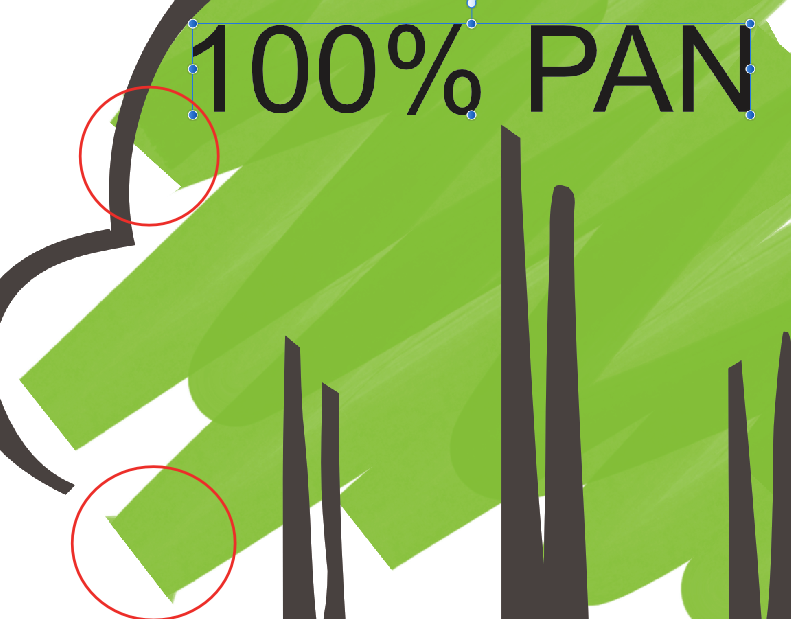
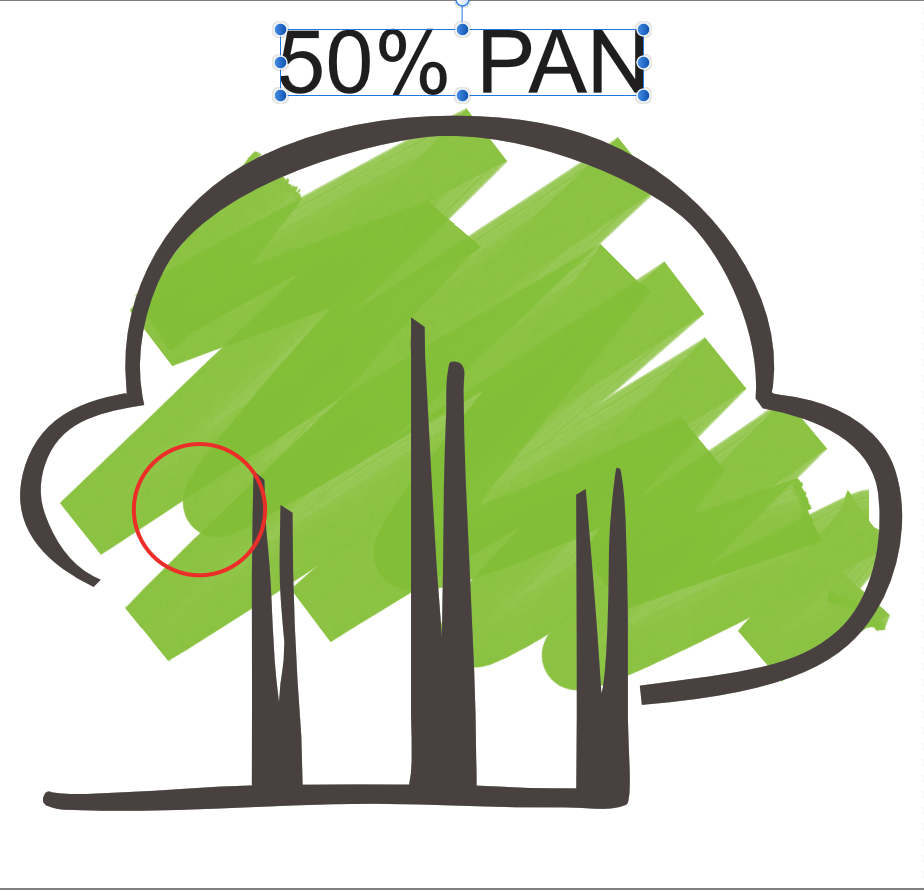
 I am experiencing an issue with AD 1.6.1. I have used a DAUB vector brush to create a sketchy effect on a fill on this logo. I am having problems where the stroke caps and joins are distorting when enlarged over a certain size (est 75mm in width) and rasterised, either directly in the document or when exporting in any format. I understand that these brush sets contain raster elements, therefore must be rasterised on export, but why this is skewing the joins and caps i cannot explain. Weirdly, i have also noticed that the caps and joins change in appearance when i zoom in on the paths, not even resize, just zoom in, they look completely different. Is this a bug with the brush? Am i doing something wrong with my Nodes? Please help!
-
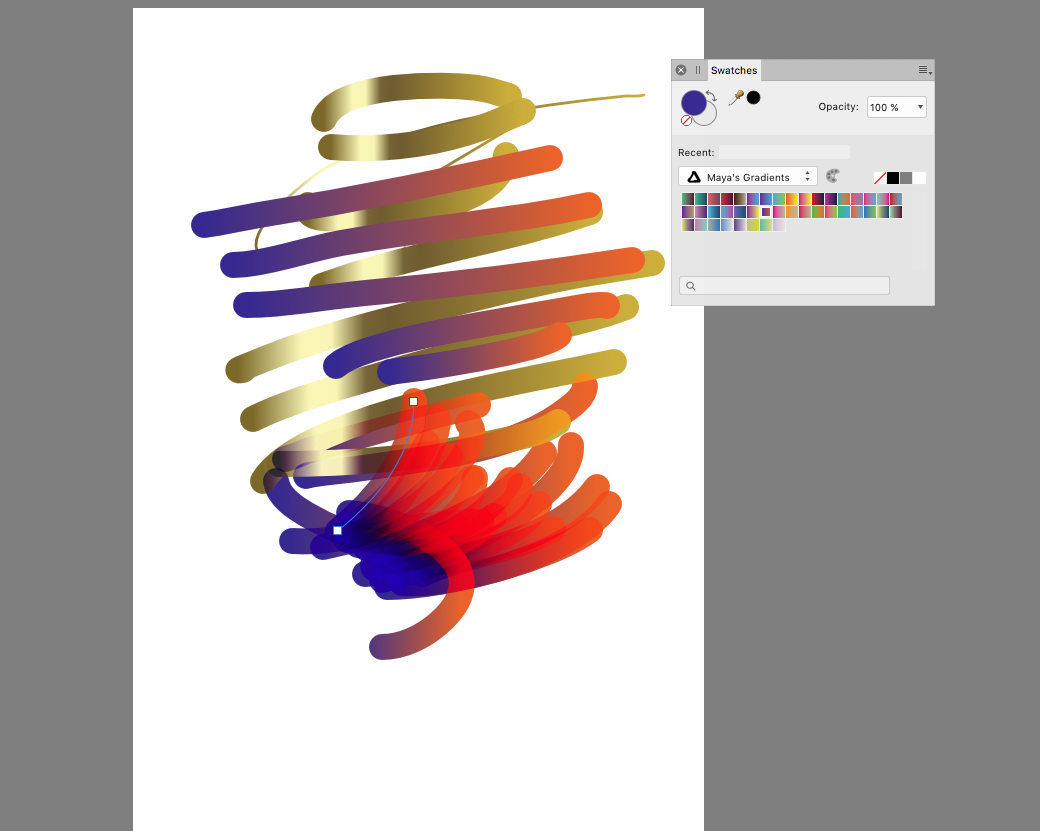
 If I use a gradient swatch to paint with using the paintbrush in Draw Persona, how do I edit the gradient to change up the colors?
-
 Hello everyone, I'm trying to create some custom brushes to use when painting over masking layers, but I cannot achieve my desired result. This is the new Image Brush I made (white on transparent background): The layer setup: What I want to use this for is adding/subtracting from a mask, but the transparency is not ignored in the process, resulting in something like this when adding to the mask: As you can see the transparency acts on the mask layer as an eraser (I'm using the pixel brush), and the only thing that I want to do and can do is removing from the mask while holding down CTRL (to erase). Is there a setting, or color combination in the brush image that I can use in order to have the desired effect of only adding or subtracting the brush shape, ignoring the rest of the image? Thanks in advance for any help! Cheers
-
I‘d love to see the brush size of the brush while i change it‘s size... for now i‘ve to close the slider panel first to check the size i chose just to open it again to resize it once more until i have the wished size then finally... so i‘d like to see it like in PS... yay... thats it for now... thanks for Reading me... cheerio...
-
 I tried to change the stroke to be pointed at the both ends. Applying all kinds of brushes provided that look thin at the start and the end doesn't show the effect desired, only change the stroke thickness ( see attached pic). How to get this function to work?
-
 Hey! So I had this specific issue where I want to fast and easy change brush size without accidentally affecting brush hardness while using the shortcut alt+R click+L click. Right now this command both affects brush size and brush hardness depending on if you move the mouse/tablet pen horizontally (size) or vertically (hardness). I would like to be able to disable just the vertical command so I can keep the brush hardness the way I originally customized when creating them while keeping the horizontal functionality. Is this possible to do, or is this option not available as of now? Edit: On another note, is there a fast way to switch from brush to brush in the form of a quick pop-up brush toolbox like how you do it in Photoshop when right clicking? If not, are there other shortcuts available in Affinity Photo? Thanks.
 -
 I am trying to create a brush with my watermark to add to photos. When I previously created it in Photoshop, the brush size was 589 px, which is typically the size I need the brush for most of my photos. When I create the brush in affinity photo (by creating a png file of my watermark, and then creating a new intensity brush from the dropdown menu in the brushes panel, the brush is created as size 64 px. It doesn't matter how big my original file is. I have tried making the png bigger as well. It always ends up size 64 px. Is there a way to control the pixel size of the created brush? Thank you!
 -
 Hehe good people, I must miss somthing obvious : (I am not working with a drawing pad, so) I just create a line with the path tool. To this line I can apply a texture/image brush, but the basic brushes that look like they would add a quill/pen-appearance don't work. I can make the path look thicker, but the line-thickness stays the same everywhere. I'd like the line to be thicker when more vertically oriented and thinner when horizontally oriented... 1) How to I achieve this/apply this look to an existing path? 2) When drawing a new line, using the vector-brush tool (behold, i draw using the f* mouse) from all the ways to apply the brush (pressure, automatic, velocity, etc.) only velocity shows any result (of course) but I have to draw super-speed-fast to have any result. Can I adjust the "sensibility" somewhere? Can someone help, please? thank you guys very much in advance!
-
Hello, I want to retouch some scanned black and white negatives on the iPad. The blemish removal tool and the inpainting brush work fine but sometimes I need to use the clone stamp or the patch tool. The tools clone the film grain structure very unsharp as you can see in the attached files (before and after, in the middle of the pictures). Are there any preferences that I have to change?
-
Does brush reset really work in the brush editing panel? If so how? I can't get the values back to how they were by pressing this button.
-
Hi after selecting the region which shall be cloned both brushes don´t work anymore. Maybe my fault, I have tried the Help but for the brushes there are only headlines (links don´t work) Gerhard


overlayed50opacity.png.3b00748300399588ae56e89b55c685ff.png)