Search the Community
Showing results for tags 'blend modes'.
-
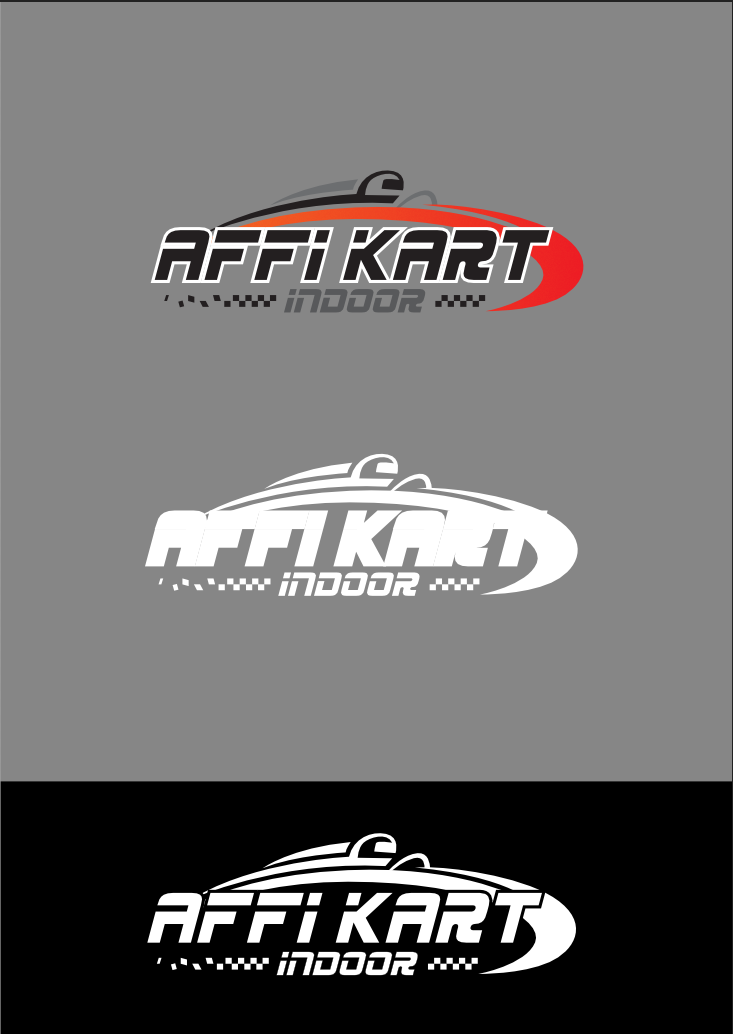
 Hi, I am trying to design a negative (white/black) version of a coloured logo. The text "Affi kart" is composed of the actual two words in black plus an outline curve in white. The issue is that when I set the black "Affi kart" text to white, as it should be, the separation between the text and the sweeping curve disappears (see picture below). Of course, I could just paint the white outline black. However, that only works on coloured backgrounds and I actually need to print this logo as a transfer sticker. Another way to do it would be to set the blend mode of the outline to "erase", but that only works in a raster file and I would like to keep everything as a vector, if possible. Is there a way to cut/erase the white outline from the sweeping curve? Thanks for any help anyone can offer. AFFI KART.pdf
-
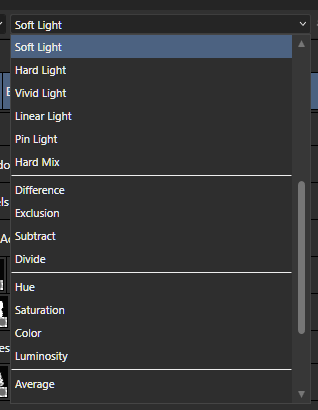
Hello, I tried to search and didn't find any related topic. I have been wondering why the Layer's blend mode's list is short and doesn't display all the modes at once. Is there a setting in the preferences that I might be missing? 🤔 Juan
-
 In this Affinity Photo V2 tutorial iPad version, I create a colorful graphic using power duplicate, blend modes, FX, adjustments and more. I also did an iPad version that you can find on my Youtube Page. https://youtu.be/3iBa4Gz5dGM
-
- 2
-

-
- affinity photo
- power duplicate
- (and 5 more)
-
 AP adds blend modes Average, Negation, Reflect, Glow, Contrast Negate and Erase. Is there a detailed technical description of how these work, including the blend logic, please? Rationale for inclusion and ideas for use also would be appreciated. Also, is there any reason why Divide blend mode is not included? Thanks!
 -
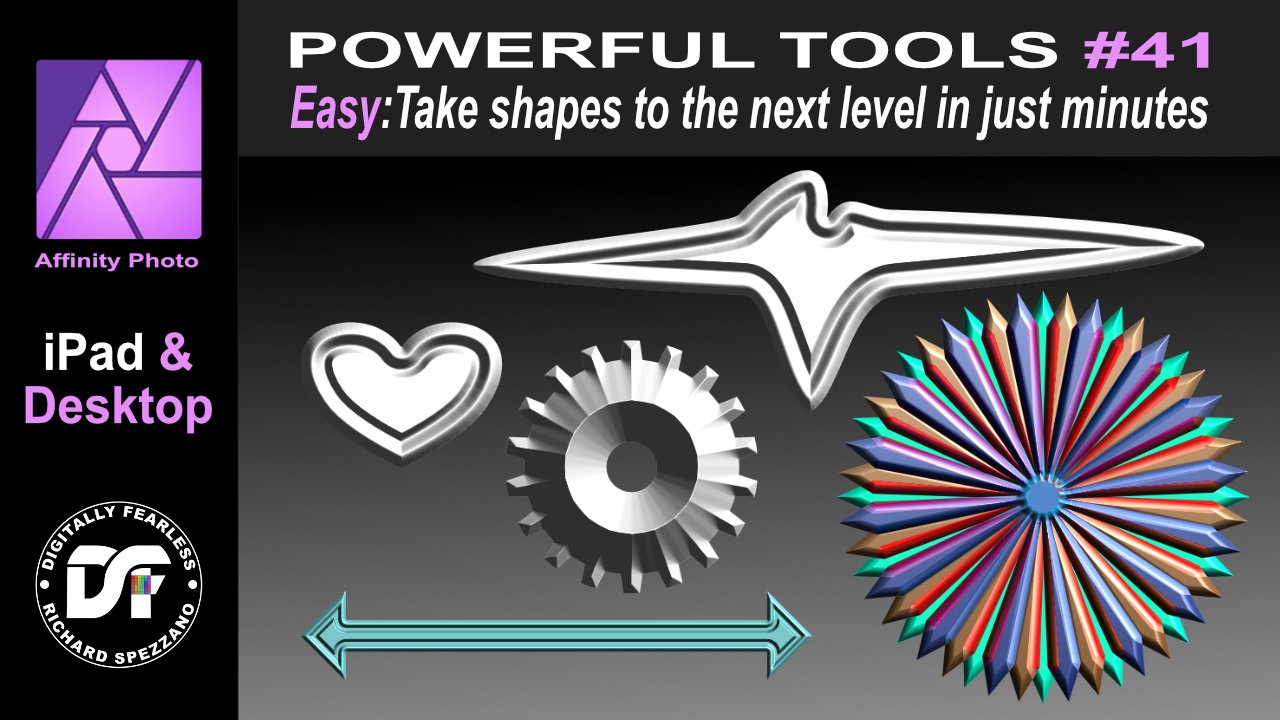
Easily take Affinity Photo shapes to the next level. Don't settle for the default shapes this Affinity Photo beginner tutorial shows how to change the shapes and add effects (FX) and blend modes to create unique graphics. This is number 41 in my Affinity Photo Power Tools playlist. the link to this playlist is below. https://youtu.be/JZrGgtn3RAA #madeinaffinity #affinityphoto #affinityserif #tutorial #photomanipulation #graphicdesign #affinity #digitallyfearless #AffinityiPad #iPad #shapes #fx #3D #blendmodes
-
 This is mostly for the sake of lighting. Colored lighting looks nicer if represented with highlights tending towards the lighting's color and shadows contrasting that lighting's color; or, to put it another way: for the sake of highlights, I'd want to be able to change the hue to be the average (weighted average, if taking into account opacity) of the blended layer and the underlying one (so with resulting hue = (underlying layer's hue + opacity of blended layer * blended layer's hue) / (1 + opacity of blended layer) as the formula) for shadows/shading, I'd want the resulting hue to be like the hue of the blended layer was subtracted from that of the underlying one (so basically operating on the formula of resulting hue = underlying layer's hue - opacity of blended layer * blended layer's hue, wrapping around at the 0/360 point) This seems like it should probably be an obvious application of blend modes, but I have so far not been able to figure it out, so I'd appreciate any help people can give. I'd sort of hoped the Hue blendmode would work for this, but it changes the luminance more than the actual hue.
 -
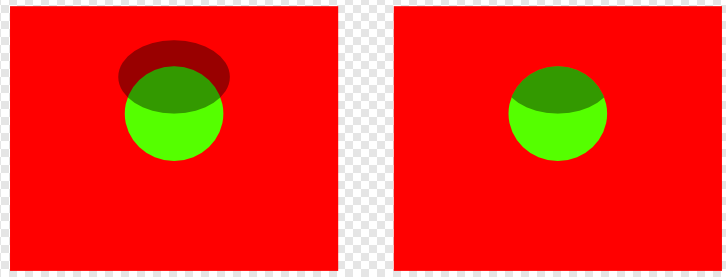
I know that it's possible to do some tricks with using a copy of the layer one wants to apply a blend mode shape's effect to (optionally kept synchronized with the symbol feature) as a mask for the blend mode shape, but that's circuitous (and somewhat lag-inducing when that means copying complex layers) and is a lot of effort for something that workflow-wise should probably be fairly simple, so it makes me feel that I'm probably missing something when it comes to the correct way of doing this. To clarify, let's say I have a shape A that I want to apply a shadow to using shape B (which has its blend mode set to Multiply), but I don't want shape B's darkening effect to apply to any part of shape C, which is beneath A. Do I need to make shape B match shape A's, well, shape perfectly (either via use of a copy of shape A as a mask, or via manual editing), or is there a trick to get Affinity Designer to ignore the effects of shape B on shape C, which is outside of the A-B group? Below is a picture showing the situation, with shape A being the green circle, shape B being the darkened circle above it, and shape C being the red rectangle; left is what happens if I don't edit the shape down (regardless of use of groups), right is what I would like to have happen.
-
Theatrical lighting using the lighting filter - Affinity Photo beginner tutorial Power Tools 27
-
Attached is my complete set of notes about blend modes, now spread across 52 pages of A4. These are significantly updated from the previous revision, with lots more 'recipes' and organisation of these under main topics, hopefully to make them more usable. Enjoy. Blend modes notes V5.pdf
-
Dithering filter. Affinity Photo beginner tutorial Power Tools #25 You can create some interesting effects by combining the Dithering filters and blend modes. This is an Affinity Photo beginner tutorial and number 25 of my Digitally Fearless Power tools of Affinity Photo playlist. https://youtu.be/x5aqafgKbyo
-
If you have trouble getting layers to clip, try using the Insert Inside Selection button. This is an Affinity Photo beginner tutorial and number 24 of the Digitally Fearless Power tools of Affinity Photo playlist. https://youtu.be/0rkizBHum50
-
Hi, is there a list of the features and their names in different languages? I could not find any. There are lots of tutorials out there, mostly in English. Sometimes I struggle to reproduce a certain step because I have no idea which tool is used, as the name is not obvious in German. eg. blend modes or filters. thanks Philipp
-
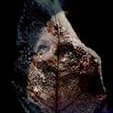
Painted Face in Minutes! Affinity Photo beginner tutorial on how to give a face a painted look in just minutes. The tutorial uses black and white photos and a black background to manipulate the photo. https://youtu.be/lhoqEDRjELQ
-
- 1
-

-
- photo manipulation
- affinity photo
- (and 8 more)
-
Erase White Paper Tips and Tricks. Affinity Photo video tutorial showing several ways to use the erase white paper filter.
- 2 replies
-
- 4
-
-
- affinity photo
- erase white paper
- (and 3 more)
-
 Hi there I´am trying to erase part of a mask using the brush in overlay blend mode. It suposse that if the mask is un black and white and the brush in overlay mode, when the brush pass over a white part of the mask, it should not affect whites, but it does. How can I fix this?
-
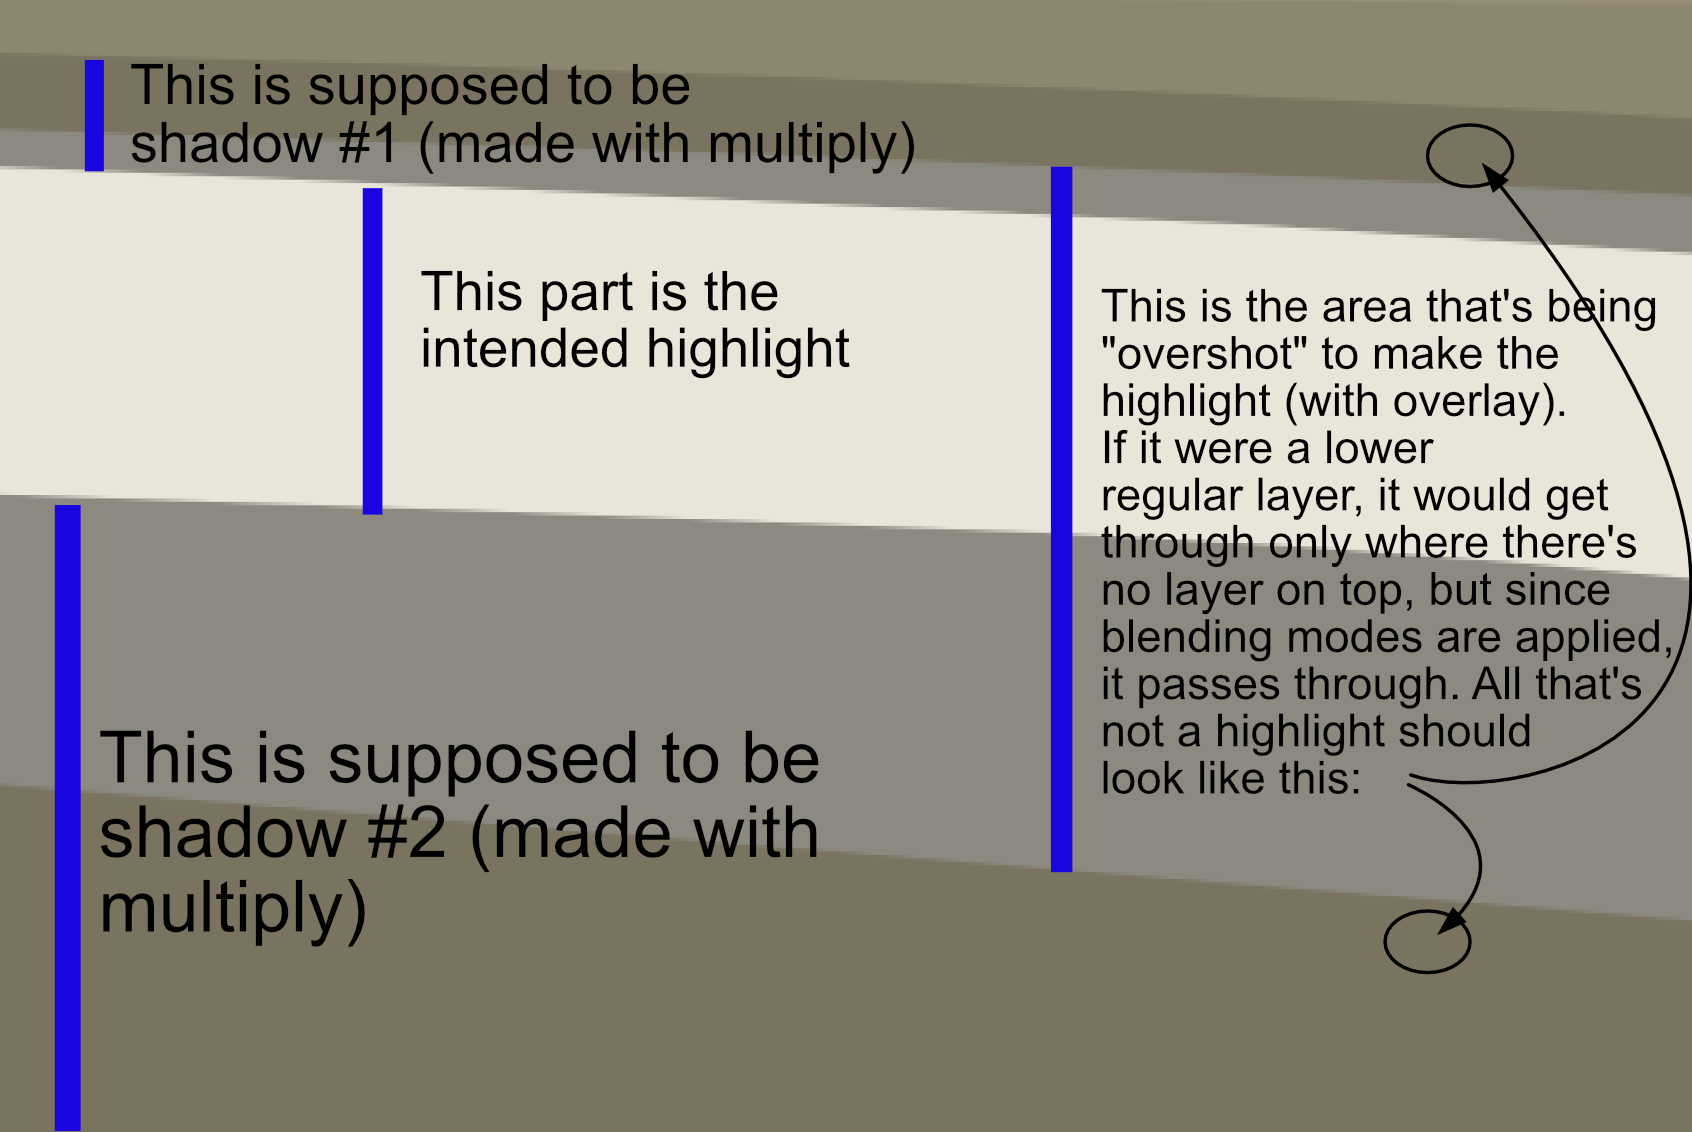
 Hello everyone! I'm having a hard time with something I'd like to do in Affinity Designer and don't know if it's because I don't know how to do it, or because I'm understanding things the wrong way. Is there a way to use multiple blending modes but that between them they don't affect each other? I have a base layer (flat colour). On top, I have a shadow layer and a highlight layer with multiply and overlay blending modes respectively, but because of how I stack my layers, it's easier for me to do one layer and the other below it, instead of making them precise. In 100% opacity normal layers, this works because the top one hides the one below, but with blending modes they, well, blend. Is there a way for me to make them not apply to anything but the "base layer"? I tried masking a copy of the base layer but the blending mode wouldn't apply, and in any other way, undesired interaction between layers was happening. I'm adding an image to make myself more clear The layer panel at this time looks like this: - (Stuff) - Shadow group (with multiply) - Highlight group (with overlay) - Base colour layer Thanks a lot for your time!
-
I couldn't find a way to set a keyboard shortcut for the following 'most used' blend modes Normal, Multiply, Overlay, Screen/Softlight Photoshop uses a Ctrl+ Shift+ a letter (M, S, F,)
-
 Hi Blend mode video tutorial is interesting. However, for completeness please advise how to create various layers(e.g. shadow, reflection, refraction and etc) used in the tutorial. Thank you.
 -
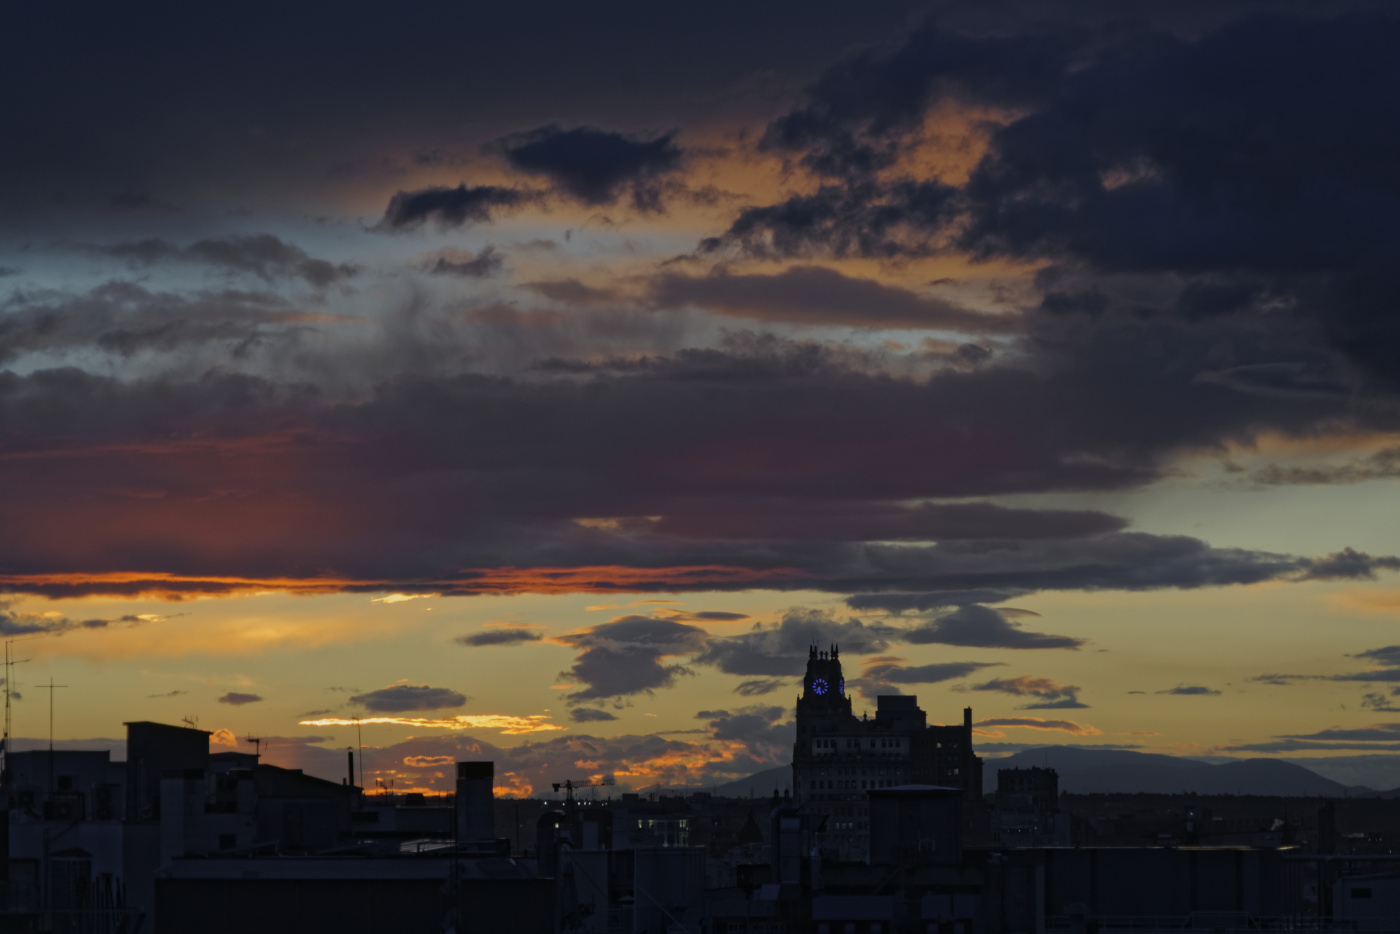
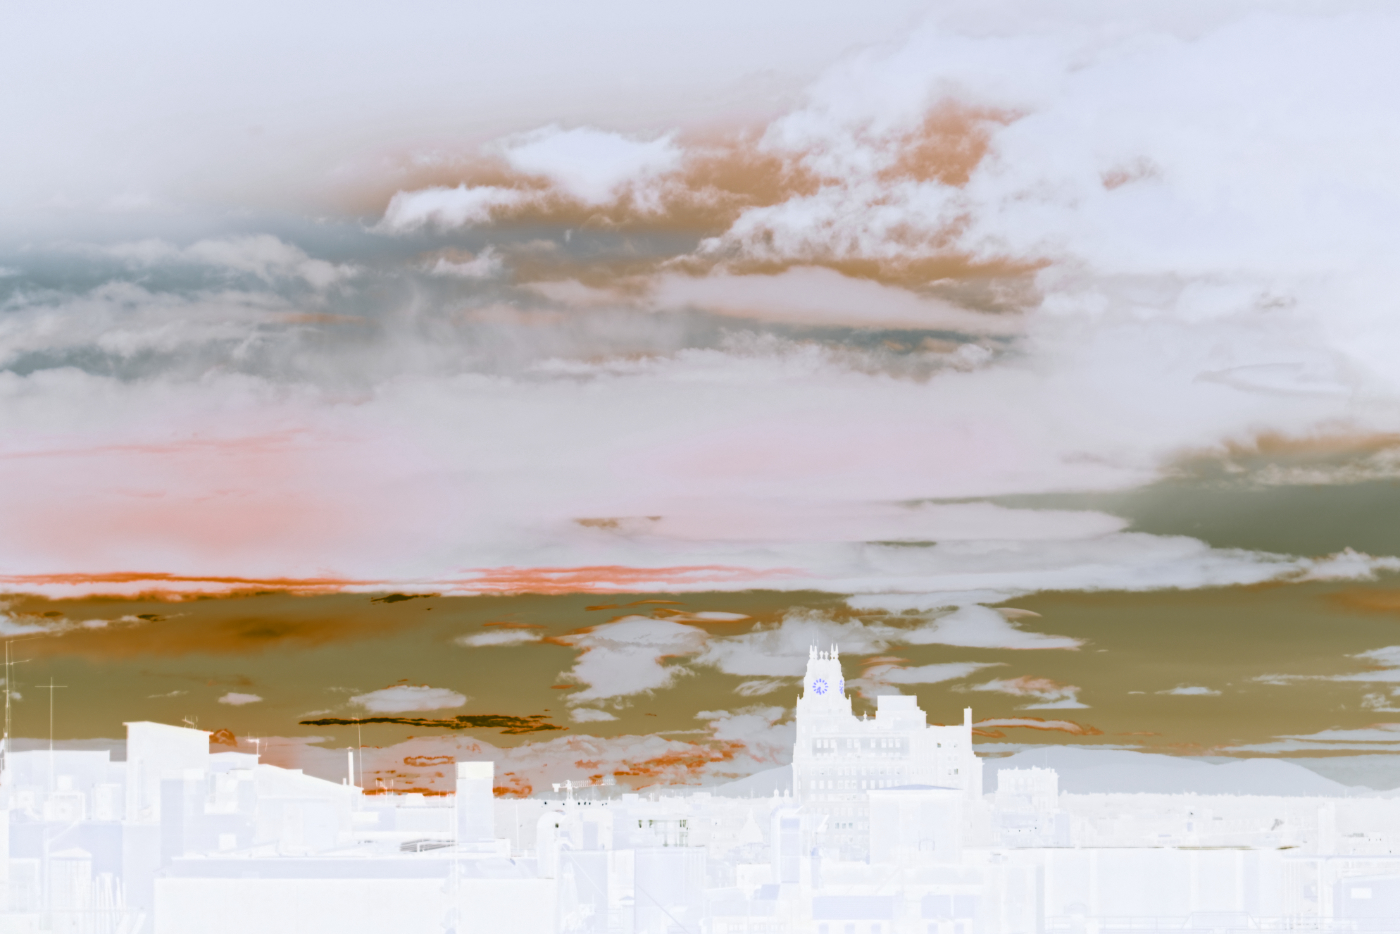
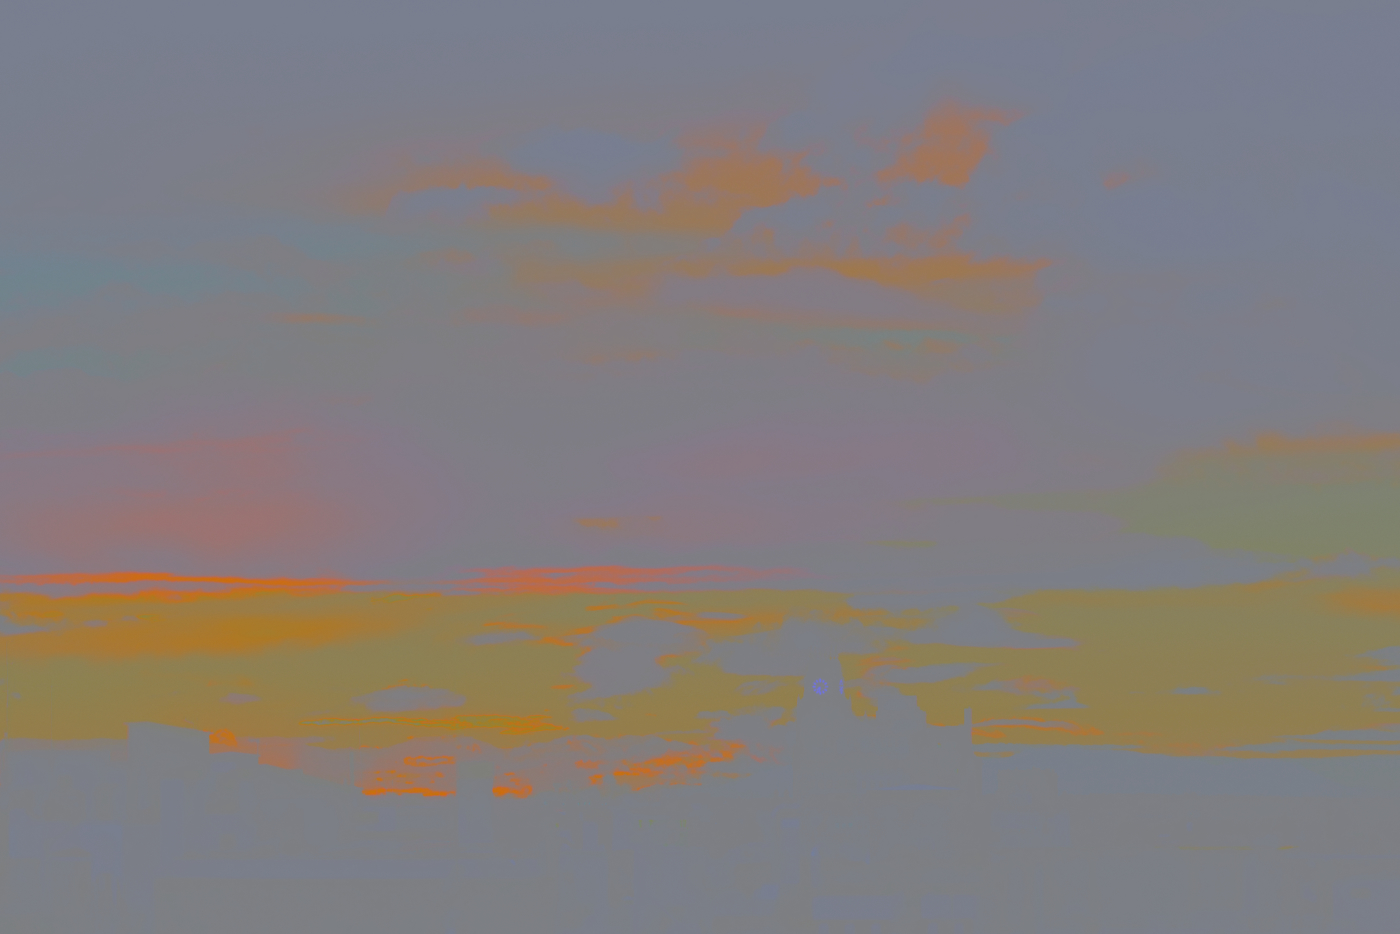
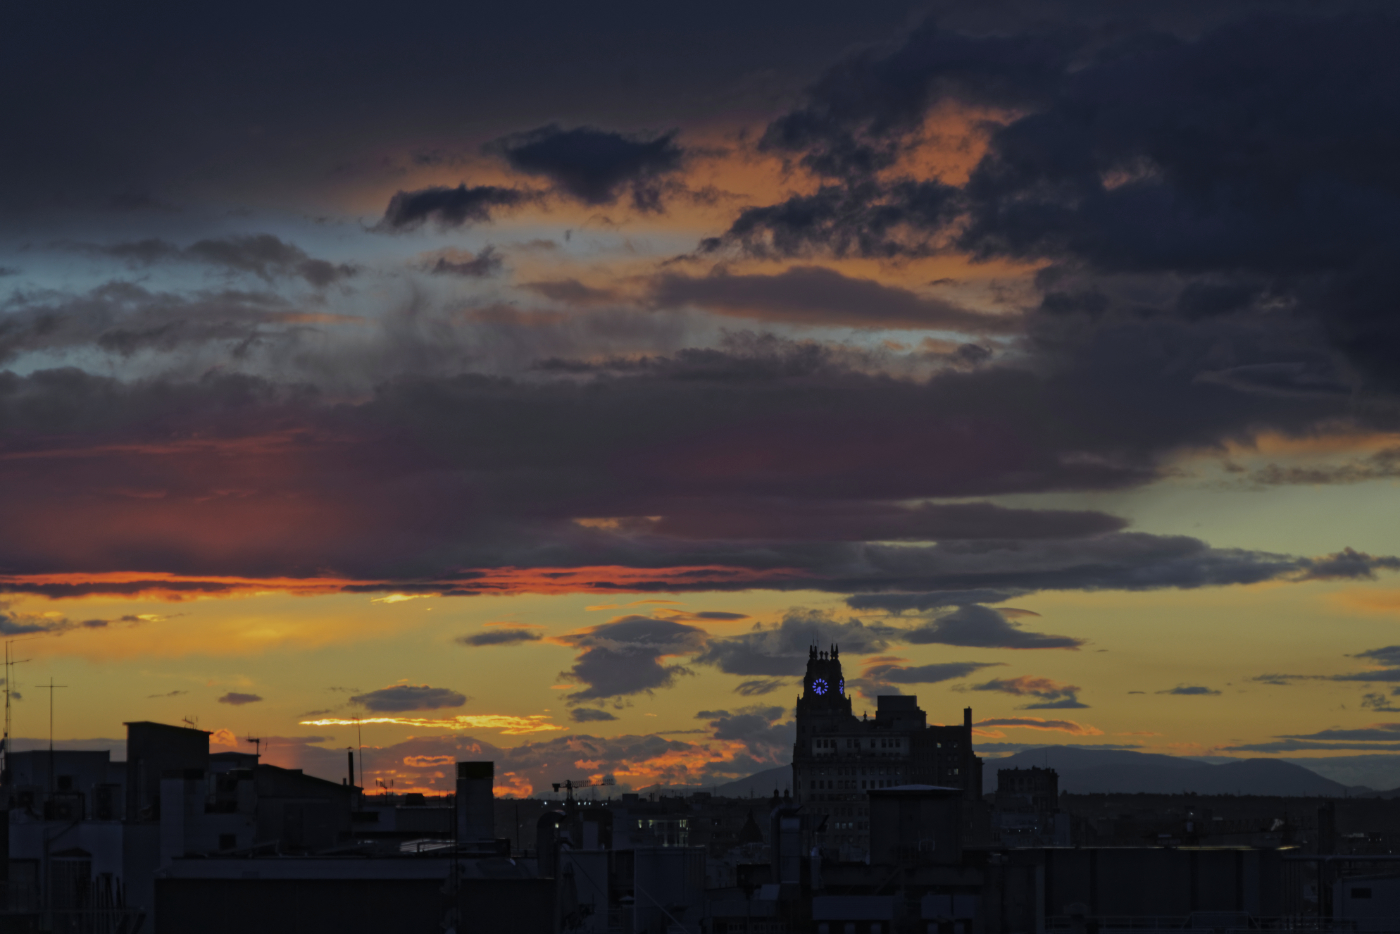
Here's a way to quickly perk up a sunset, using just blend modes. Let's start with a basic sunset picture. This is a view over Madrid a couple of weeks ago. Now duplicate this layer twice (Ctrl-J, Ctrl-J), then turn off the top layer (check mark on right in layers panel). Select the middle layer. Invert it (Ctrl-I). Change Blend mode to Luminosity (drop-down box at top of layers panel that says 'Normal'). Hmm. A bit strong. Turn Opacity (top of layers panel) down to 50%. Now we have (a) interesting colours in sky and, notably, (b) grey elsewhere (the invert turns darks into lights which turned down are grey). So we can use a contrast mode blend which ignores greys. So turn on the top layer (box at right of layer) and set blend mode to Hard Light. Ole. A perkier sunset. You can play with the blend modes of layers. The middle layer, for example, is also good with Colour Dodge. If the result is a bit too colourful for you, you can always add a HSL layer above and turn down the saturation. So it looks something like this. This shows something of the joys of using blend modes. To get something similar could take a lot of twiddling, while this was a few seconds (well, actually a bit longer first time as I was just playing around to see what happens).
-
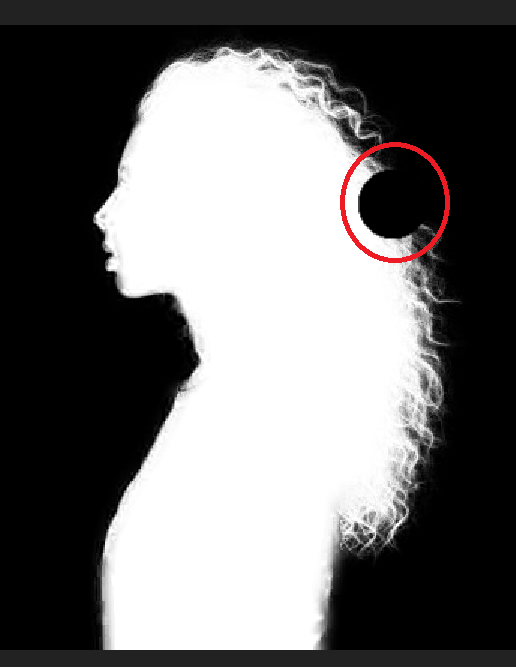
 Hi everyone! In this file, so far I have been "drawing" the dragon using a layer mask. Now that the actual content is all on the layer mask, I wanted to edit the layer mask in a sort of non-destructive way. I wanted to add flowers and all kinds of patterns to the area outside of the dragon, but wasn't sure how to do that without having them all on the same layer mask. I don't want them on the same layer mask because in case I end up not liking the flowers and stuff, I'd have to retrace the whole outline of the dragon. Then I thought of the great erase blend mode and wanted to use an erase layer to clear out flower patterns in the blue paint but instead it erases the vase under it as well. Is my approach completely wrong? How should I proceed with what I have with as little extra work as possible? Is what I want to do possible in AP or should I make a feature request? vase_mouse_painting.afphoto
 -
I’d like one. Just realized it’s missing when I opened a PSD that had a layer set to Linear Dodge, which is very useful for creating nice glow effects.
-
In Affinity Photo blend modes are a feature - and I guess most people with some experience have tried them or know how to use them. They are arranged in groups - but it would be helpful if the menu could be presented either with spaces or other delimiters between groups in the menu, of with different backgrounds or features so that the groups become clearer - e.g. Darkening group, LIghtening group and so on. I've not checked right now with the iPad version as well, but it would be good if this also applied to that version. This wouldn't alter the functionality, but might make the interface easier for some people.
-
- 1
-
-
- blend modes
- group
- (and 1 more)
-
 As I've seen in many videos, the Mac version of Photo shows the blend modes as a complete list, all items are visble at once. Still without separators like in some competitor's product but at least you get a complete overview of all available blend modes. The Windows version is different here, it shows a drop down list with a vertical scroll bar. So it is always harder to find the desired blend mode. It would be really nice to have the same completely visible Mac-kind of list in the Windows version of Photo too. Speaking of the blend mode list, some separators for the different blend mode groups would come in handy as well.
 -
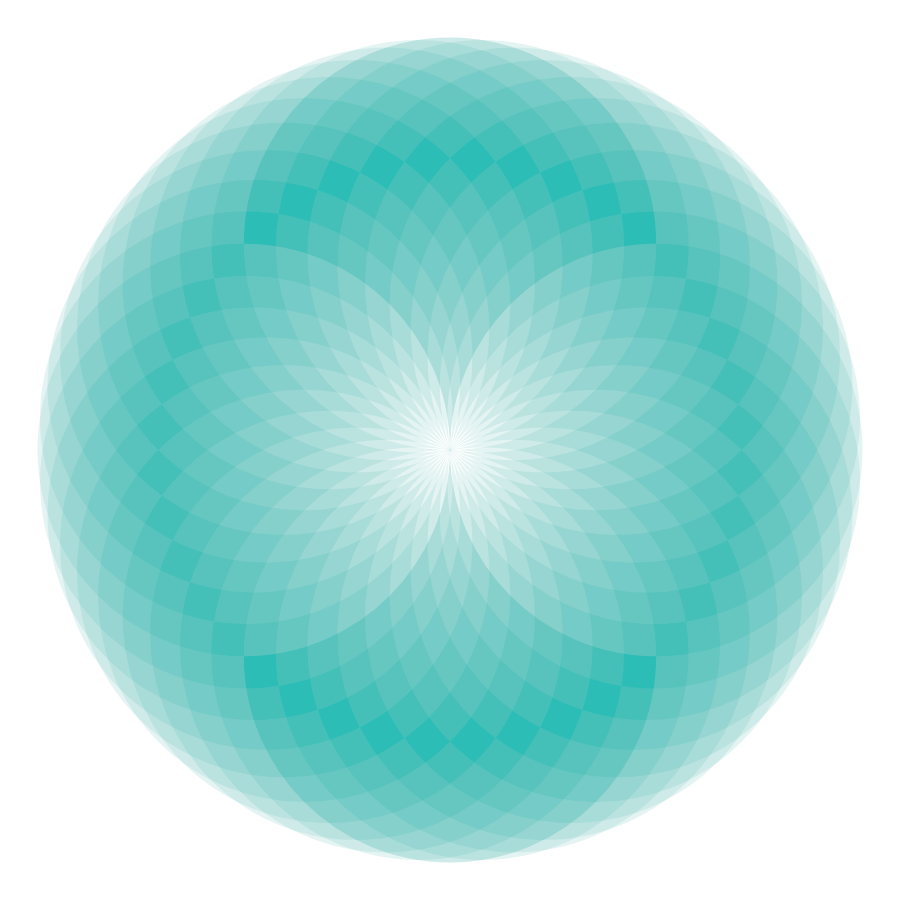
I'm always amazed with the things you can do with blend modes. This is just 4 circles, multiplied and repeated on a 9° rotation. So simple. So beautiful.
-
 I have a question..... When performing some steps that I have mimicked from Photoshop using blend modes (using the same image) the resulting image never matches the result in Photoshop. Now is this because the math behind the layer modes differ or because the color profile that I'm using in Designer/Photo (default) differ from Photoshop (default)? What could I be overlooking?