Search the Community
Showing results for tags 'appearance panel'.
Found 12 results
-
The 'Erase' blend mode in the appearance pane does not work on fill and stroke. When setting Erase in the Layers pane everything works as expected (the whole object including the stroke erases the objects behind). This is not true for Appearance. If setting the blend mode for stroke or fill to Erase it just makes the stroke or fill invisible. However, the other modes in Appearance seem to work. For me this would be very helpful if it worked correctly. For example when combining to cliparts, which technically overlap, but visually should not and one is cut out around the other with a distance. Now I have to set a stroke, expand it, subtract the expanded stroke from the object, etc...
-
 In the appearance panel, I only see a single stroke and fill property when I select multiple objects or layers: This is the case, despite both objects sharing the exact same appearance: This also means that if I go to the appearance panel and duplicate the stroke, the duplicated stroke is applied to all objects and I am not able to see this in the panel itself! That shouldn't be the case. Hopefully, this will be addressed together with a feature request of mine, which is to apply an appearance a layer:
-
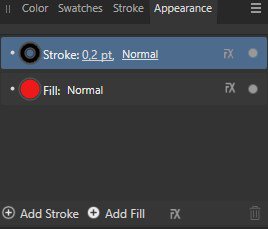
 Great googly-woogly! Yes, ’tis moi and, as Popeye would phrase it, ‘I yam back ay-gain!’ with another exciting round of ‘Wha … !?’ Today’s Episode deals with the vagaries of Multiple Strokes (thankfully this is the artistic, not the medical, kind of stroke we’re dealing with.) In past, it has been possible to use the Appearance panel and the ‘Add Stroke’ operation to create multiple instances of strokes. Since installing 1.9.3, that has not been possible. No, I'm not dissing the latest version, merely pointing out a tiny glitch that (hopefully) is able to be resolved. I have attempted creation of multi-strokes on plain text (text-as-text, not converted to curves), text which is converted to curves, on converted and non-converted with Expand Stroke applied, and a few other attempts to Make It Work! … Nuh-unh, Herbie. Stroke don't play dat … Application of a SINGLE stroke (regardless of inner, outer, or centered alignment) is uneventful. Clicking the ‘+’ sign for ‘Add Stroke’ provokes dry, mirthless laughter from the inner sanctum of the application. ‘Try that again, Fool … you’re not playing with an Amateur, you know!’ - can't you hear it? I'm attaching a screencap of the ‘Add Stroke’ settings window. Please advise if you spot something I'm doing (or, not) which prevents multi-stroke application from taking place. As usual, thanks to all for your input. Stay tuned for our Next Exciting Episode, featuring ‘The Jabberwock’ (as performed for us by the now-late Mr Frank [‘More Trouble Every Day’ & ‘Don't Eat The Yellow Snow’] Zappa …
-
 Hi! It is easy to select multiple objects on a canvas and change their stroke colour/thickness using the stroke panel. However, it seems impossible to add a couple of more strokes via the appearance panel if more than one object is selected. That is a pitty in particular when you deal with text (converted to curves). Currently you have to add the desired strokes to each character individually which is a tedious and time consuming task. Perhaps this could be improved in a future update. Best, Volker
- 2 replies
-
- 2
-

-
- strokes
- appearance panel
- (and 1 more)
-
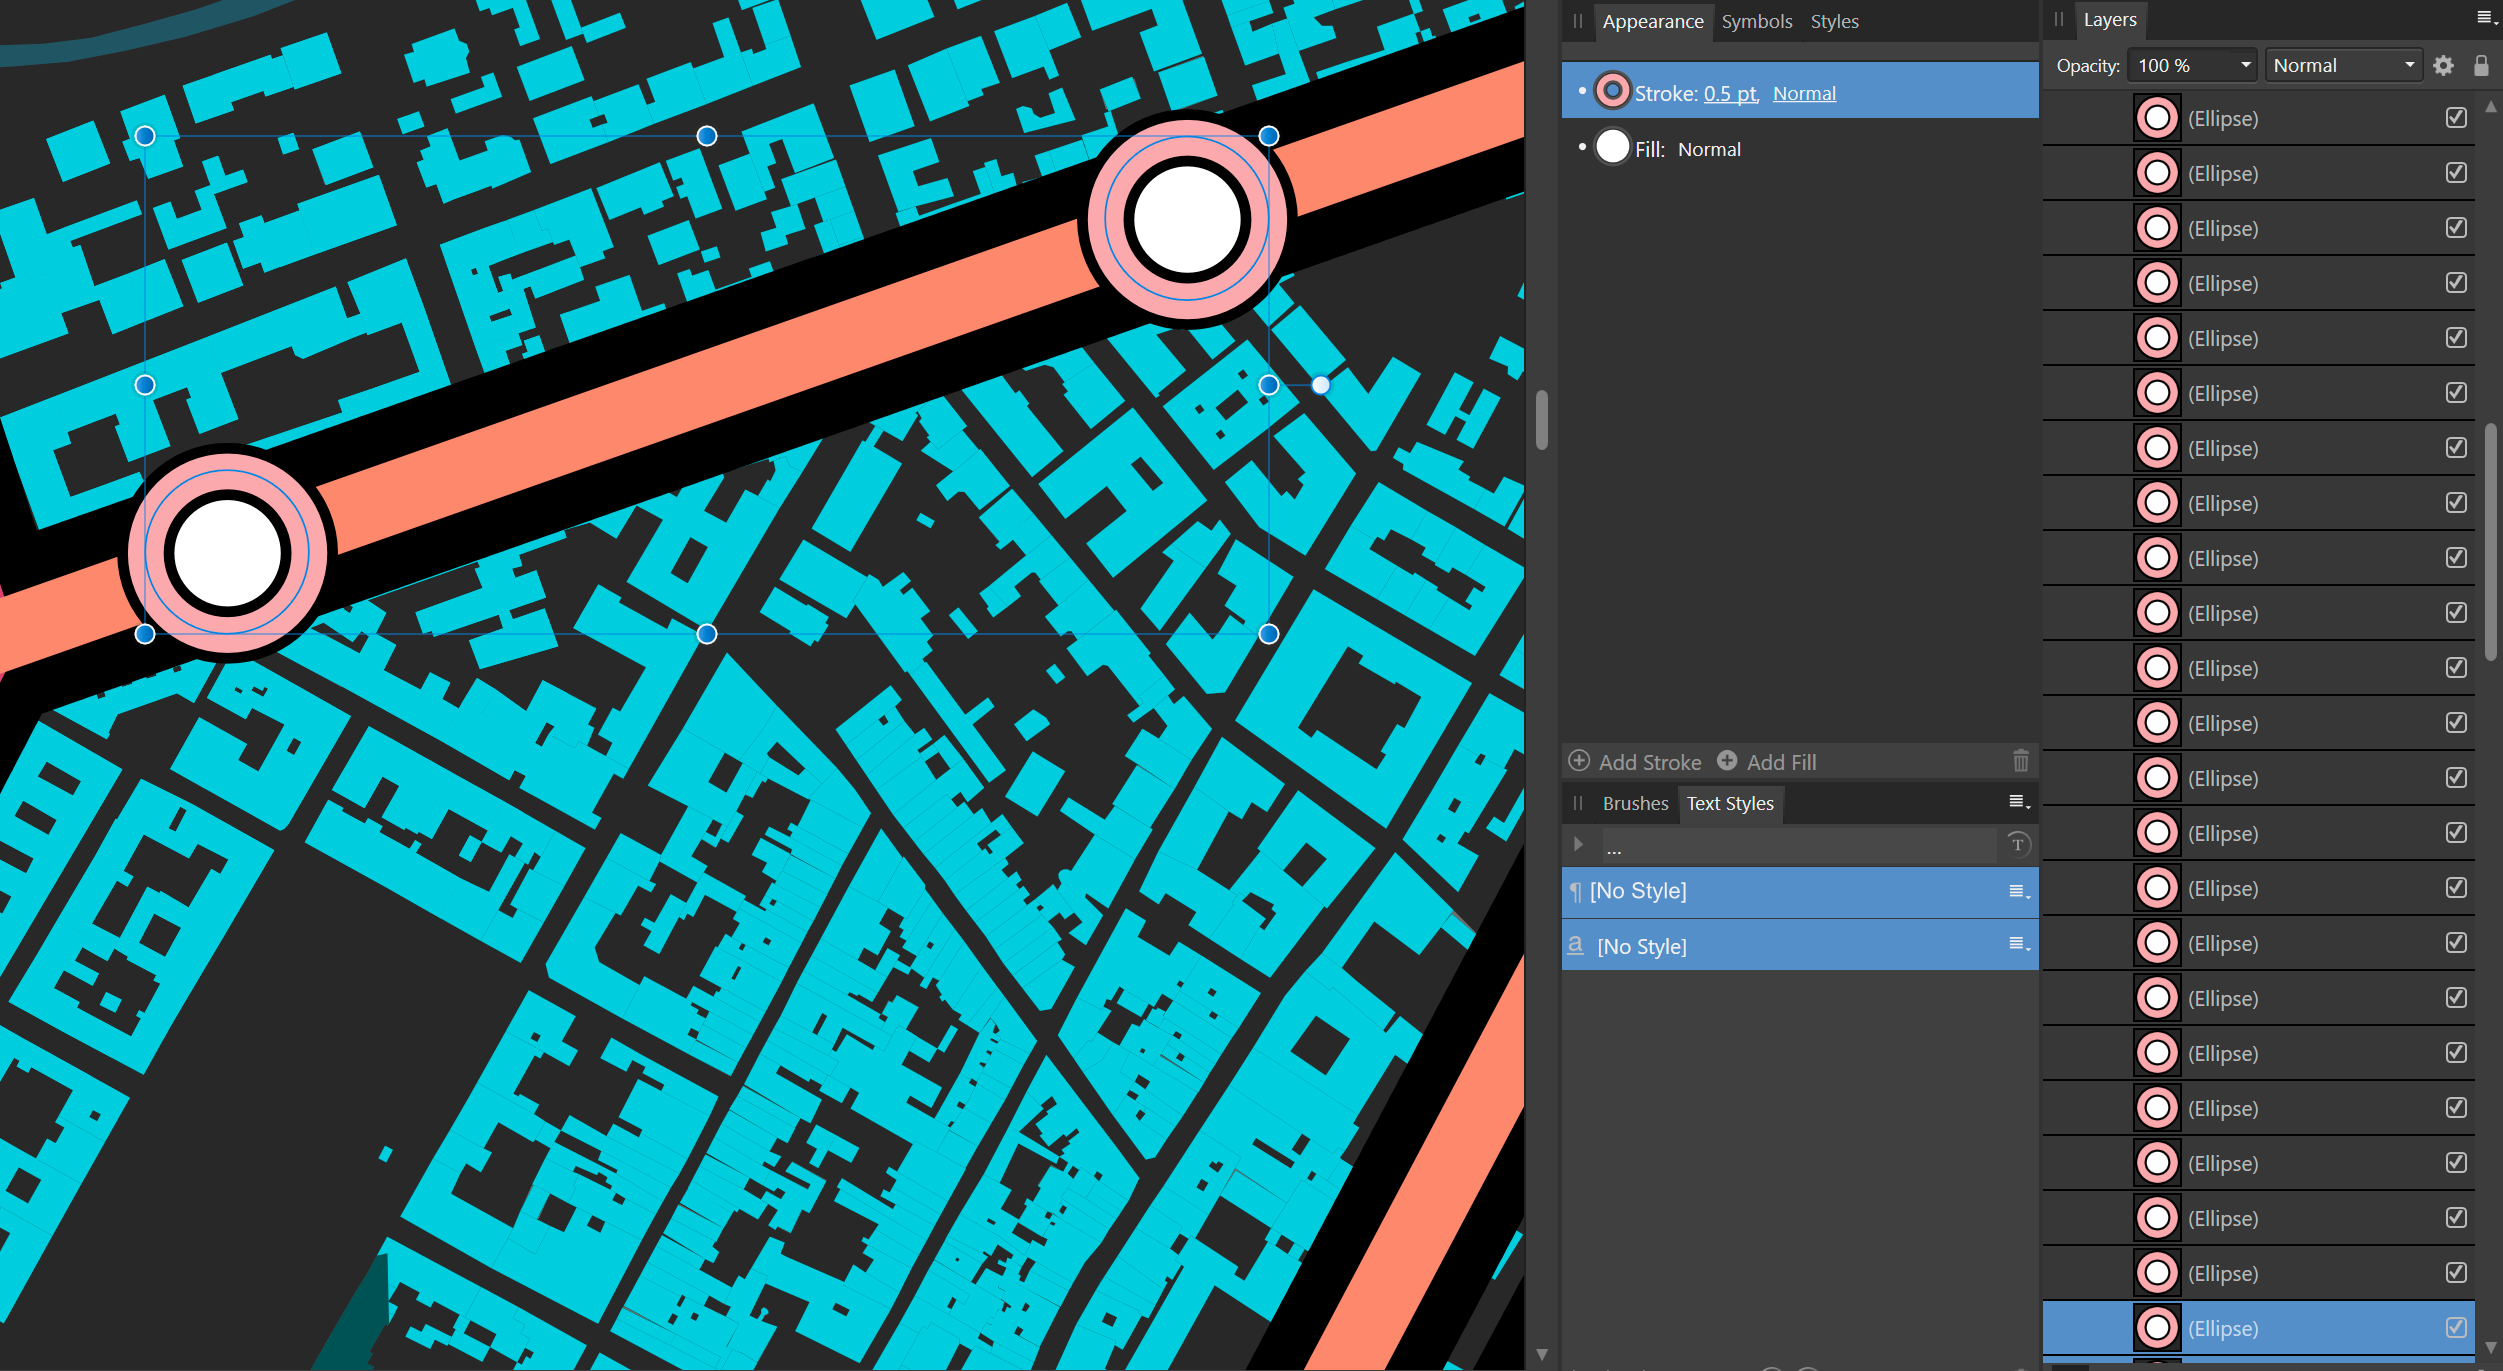
 This post comes from my frustration about having to rework a significant part of a project because of problems with the Appearance panel. I have posted about this previously but thought a new thread would be better. The Appearance panel, in my recent experience, is an incomplete design and implementation. I'm guessing that it was introduced to satisfy some requirement but it wasn't completely thought through from both a UI/UX and a functional perspective. In the normal use, we can create a curve and then over in the Appearance panel we can add an extra stroke. Fine. Note that without the curve selected the Appearance panel reverts to the regular Stroke panel properties. We can then duplicate that curve. Selecting either curve shows the stack of strokes as expected. Selecting both curves (with identical attributes/properties) will only show the "base" stroke/fill properties and the new stroke properties are not visible. There might be a good reason in the code for this but from a UI point of view this is very unintuitive and unexpected. Because the new stroke properties are not visible, any changes to the properties of any additional strokes or fills can only be made if a single curve is selected. In my case there are hundreds of strokes that need to be changed so this isn't a reasonable possibility. The problem which started all this was to draw a leaf and then scale it to fit into another illustration. For context, there are many leaves and each leaf has many veins. The veins are drawn using two strokes in Appearance, one thin light green and and outer one (underneath) that is dark green. Scaling it produced this result whereas I wanted the veins to scale proportionally with the leaf. In this case the upper stroke completely covers the lower one. I also have some issues with the Paste Style operation. It seems to work some of the time. As an alternative to the above method I was expecting to be able to select a single curve, set its attributes, copy it, select the other objects and then Paste Style to have all the strokes in the Appearance panel be copied to them. This nearly works but I'm seeing different stroke widths appearing on the strokes above the base stroke. The base stroke in my testing appears to remain set at the copied source value. Any strokes above it seem to get set to random values. Again, because you cannot select multiple curves, and access the additional strokes, fixing this is not possible without editing individual curves. So then, as an experiment, I thought I'd copy my leaf object with a group of curves and paste it as a New From Clipboard document in case that would reset something and allow me to continue. The stroke widths changed. Subsequent scaling/resizing of the object only scales the stroke width of the base stroke - as expected. I'm guessing that this is a completely unrelated issue so won't discuss this further as it is a distraction from my getting my problem resolved. In my particular instance all of this would have been avoided if the Scale With Object checkbox had been checked in the new stroke before I used it to draw the veins of the leaves. It was set in the parent group and the base stroke but not the top stroke that I added. I've been unable to figure out a way to select all my curves and then apply that setting to them all without it causing problems. All I want to do is scale the leaf down to a smaller size without the strokes looking fat and out of scale. I can't see any reason why this isn't checked by default. The situations where you would not want this checked seem (to me at least) very niche. Alternatively, Preferences could have a default setting for this if my expectations are wrong or biased. Back to the UI and user expectations, checking Scale with object in the stroke should really be setting it in all the Appearance strokes too (IMHO). If I had two strokes in Appearance with one checked and the other not checked then what is the point of having it checked in the Stroke panel? In addition to this inheritance seems to be a bit hit and miss. If I collect the curves together in a group or layer and then check Scale with object shouldn't that be applied to all objects within the group? I'm sure I'm missing things and there may be a way to do what I want but after several hours of research and experimentation I could not discover how that could be done.
-
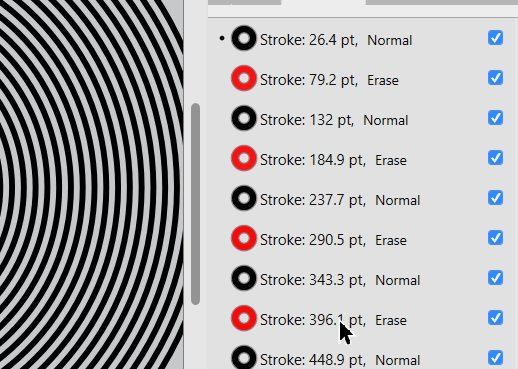
 The appearance panel is great! I love the trick of alternating strokes to get a multi-stroke effect. See attached for example. I have been stress testing this use case and I have some serious frustration points : I have to edit each stroke one at a time. I kinda want to select multiple, duplicate settings across many, such as 'scale with object' or round/square etc. Once I have all the strokes set up how I like, copying the style to other elements is very unpredictable. The last selected stroke in the list *Only* will have a scaling applied (I assume based on its 'scale with object' toggle). Attached is a screenshot. See how after the copy/paste, one of the strokes (the selected one, indicated by the dot in the appearance panel) has received the 'scale with object' transform while the others have not. Now, lets go to the Style panel to save the effect, the same problem will occur when reapplying the style- only one of the strokes last selected will be unpredictably scaled. In theory my solution is that All strokes scale uniformly when applying to new objects, and I can easily disable this by selecting all the strokes in the appearance panel and unchecking 'scale with object'.
-
- 1
-
-
- appearance panel
- strokes
- (and 1 more)
-
Hello, For some reason I cannot add the blue stroke on top of my square ? When I change the fill color of the square, it doesn't take effect either ? I have attached my affinity designer file for review. Thank you, Multiple-Stroke.mp4 Multiple-Stroke.afdesign
-
 Let's say you add two fills to an object with the Appearance Panel, and to each fill you attribute a different global colour. If you later modify both global colours you'd expect both fills on the object to change appearance. Instead only the active fill changes. The attached video shows the steps to reproduce. Thanks! 1_Trim.mp4
 -
Blending modes in Appearance panel do not work for text. 1.7.2.471 blending_modes_test.afdesign
-
 In the Appearance Panel a right click will pop up a menu with Duplicate and Delete options. The Delete option does not do anything for me. The Remove Layer icon does work to delete the Appearance Panel layer/entry/sublayer (whatever it would be called).
 -
Hello! It's my first post here! Affinity Designer looks very promising, you have done great work! There's only couple key features thats' missing: - rotate canvas tool. This is must have feature if you are going to make affinity perfect for illustrators like me who uses Wacom cintiq and intuos. This feature works perfectly in Corel Painter (and pretty well in Sketchbook pro and PS) but there is no vector drawing software with this feature. I mean there's no way to draw naturally if you can't rotate canvas. - appearance panel (like in Ai). I use this feature all the time.