Search the Community
Showing results for tags 'affinity photo'.
-
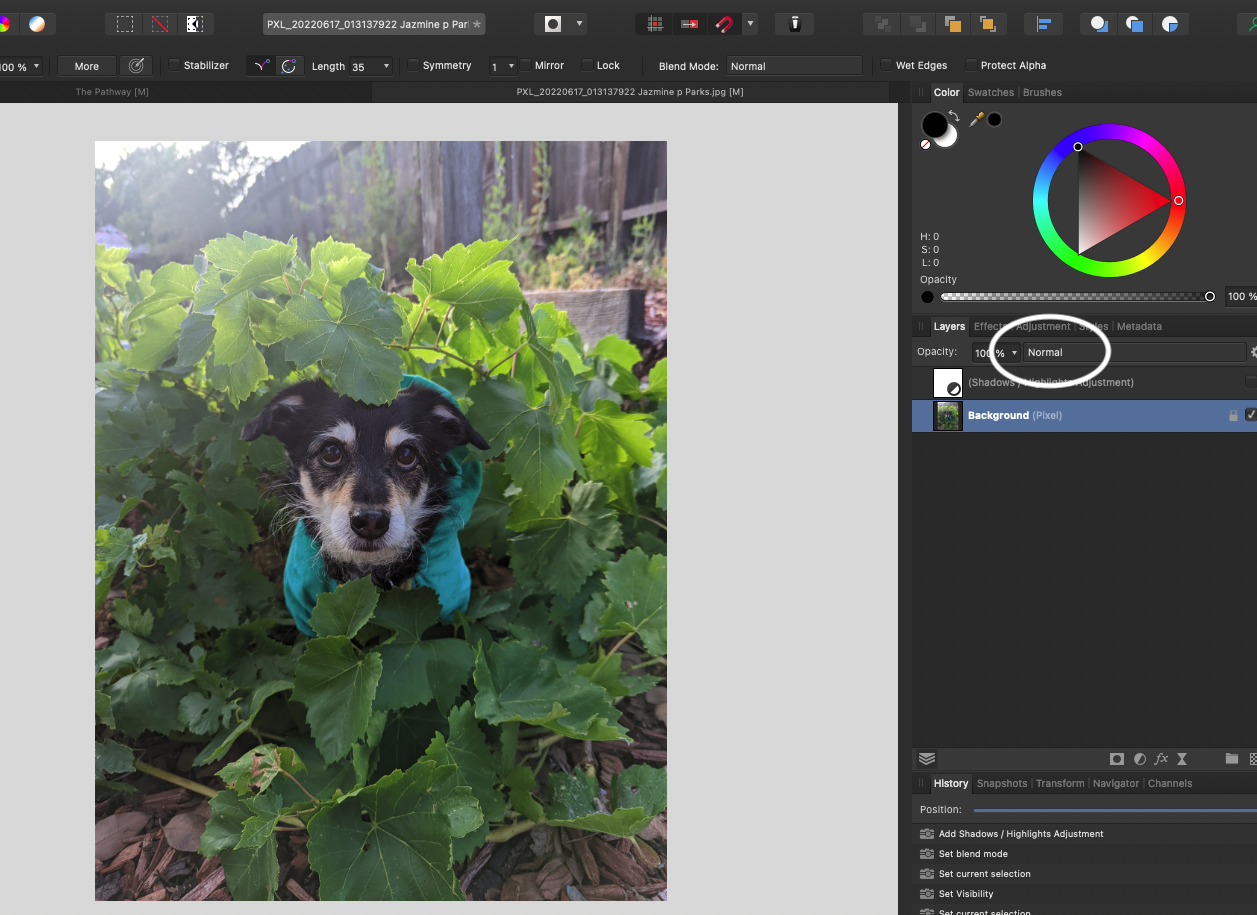
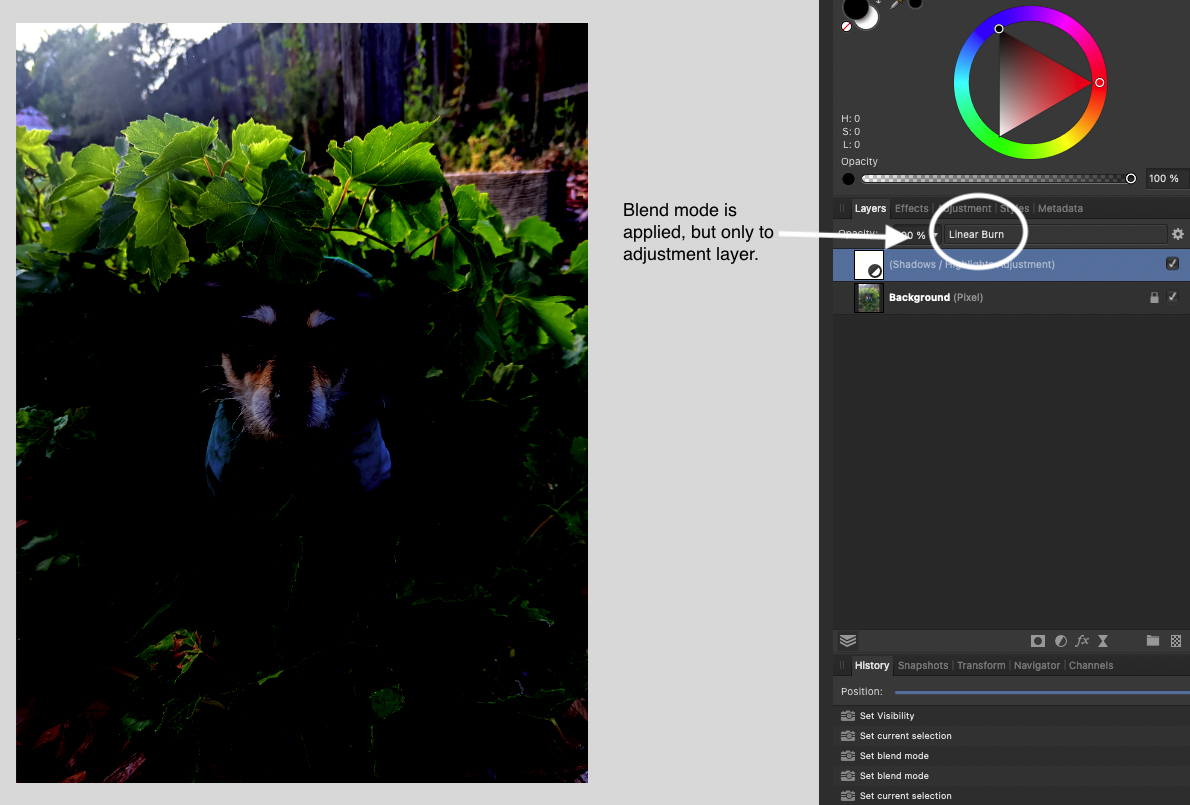
 I know I used to be able to change the blend mode of single image before, but for some reason I can't get it to work anymore. I can change the blend mode of an adjustment layer, but not the image itself. Is there a setting I need to change I'm not aware of or is this a new feature in AP? I've attached some screenshots to better explain. Can someone please help me with this?!
-
 Hi Guys, I am facing a problem, So I have one image where one side of the subject is slightly dark then the other side (Photo not taken in ideal light condition) So I want to brighten the dark side and I want to isolate the subject from the background. So what I did isolated the background from the subject and then I applied a Gradient Mask on the subject and then applied curves adjustment layer to brighten only one side of the image. But what this has created is, a problem when I apply a fill layer with a plain colour background (any color) the backgroud shows one side slightly dark and one side slightly bright this is because of the Gradient Mask that I applied. How do I handle this problem ? after applying the fill layer I want both the sides to look even. Also just like applied Gradient Mask on the Curves adjustment layer I have also used Exposure and highlights shadows adjustment layer to the project and I want to apply a gradient mask even to this layers. How do I do that ? Thanks in Advance !
 -
 Hi guys, here's a new video about 5 of my favorite filters that I often use to edit my photo in Affinity Photo. I hope you enjoy and learn something new from this video, thank you!
-
- 3
-

-

-
- affinity photo
- tutorials
- (and 4 more)
-

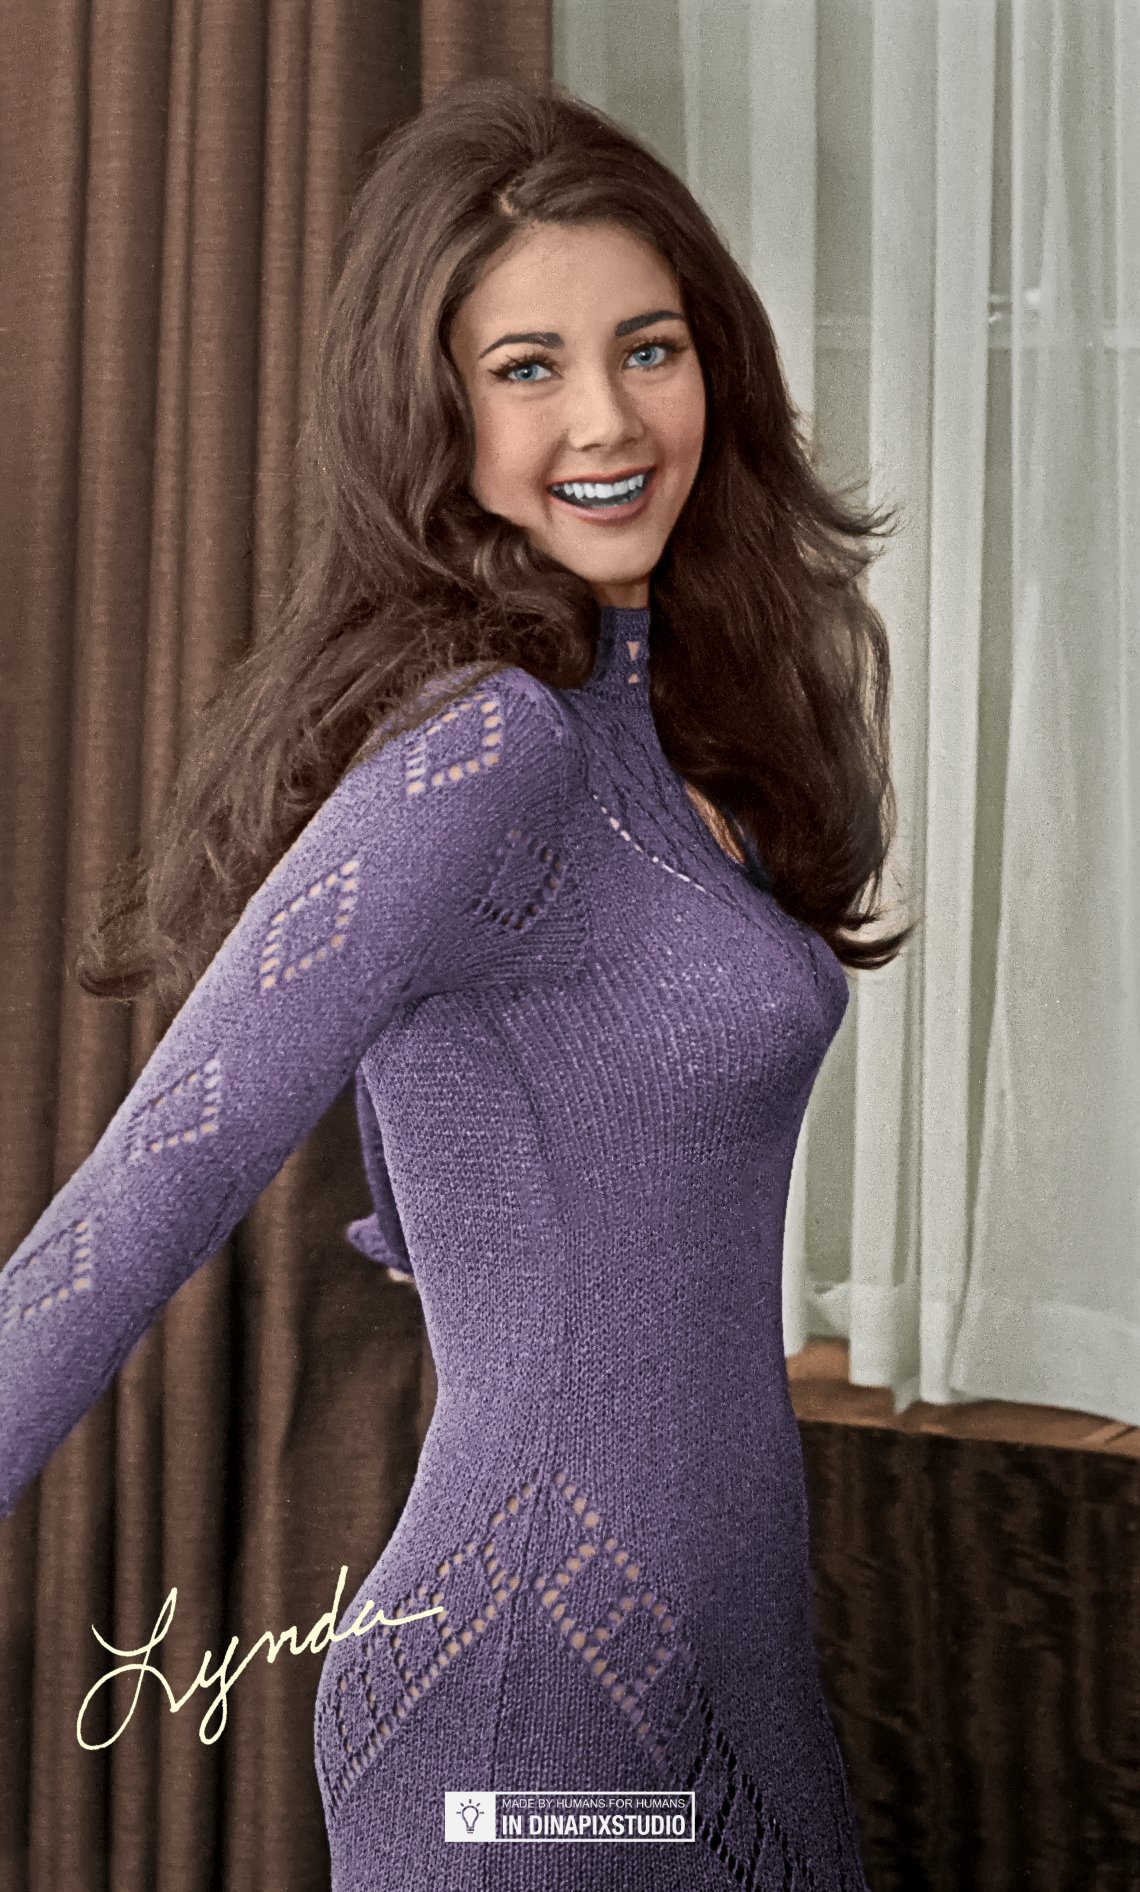
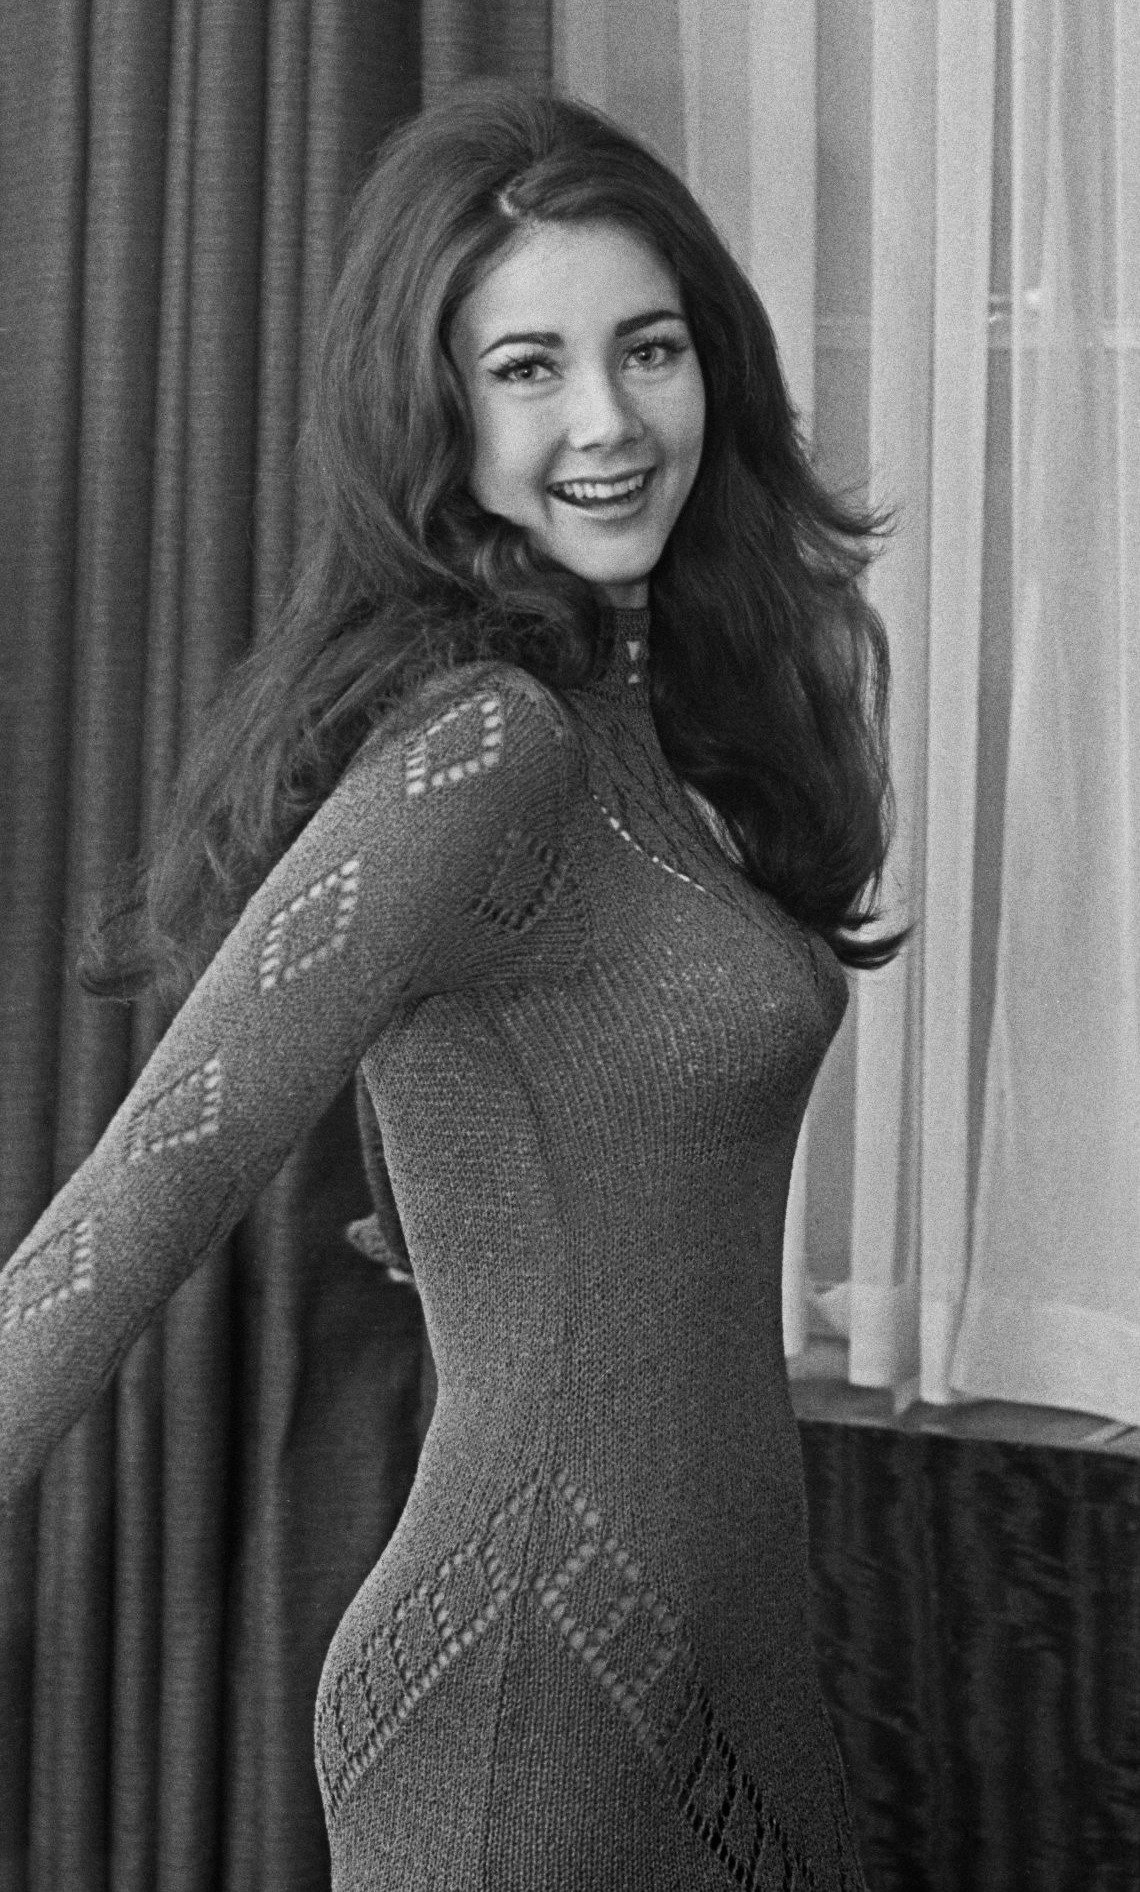
affinity photo Lynda Carter (1972) [Colorizing Work]
DinapixStudio posted a topic in Share your work
https://www.instagram.com/p/CfzCDhersiN/ .
-
Before and after a small photo manipulation.
-

affinity photo Affinity Photo Manipulation - Stairs to Heaven
minuir posted a topic in Share your work
The Bible says that only people like children can enter heaven. That means children are pure and innocent. However, the damage to children in Ukraine war is very sad and tragedy. I don't understand why so many children should be hurt by one person's atrocious decision. This photo manipulation expresses the sadness and small comfort the damaged children. Stand With Ukraine !!! "Stairs to Heaven" speed art : https://youtu.be/VlBMoJfCsdU
-
- 1
-
-
- minuir
- digital art
- (and 2 more)
-
 Hello, here I enhanced a shot of the medieval old town of San Gimignano in Tuscany/Italy. I took this photo with a tripod and a 13 second exposure. With Affinity Photo, I worked on the light conditions to achieve a dramatic and romantic atmosphere, like it was. I wish you fun with the video. Ciao Jack
-
- 2
-
-
-
- affinity photo
- tutorial
- (and 3 more)
-
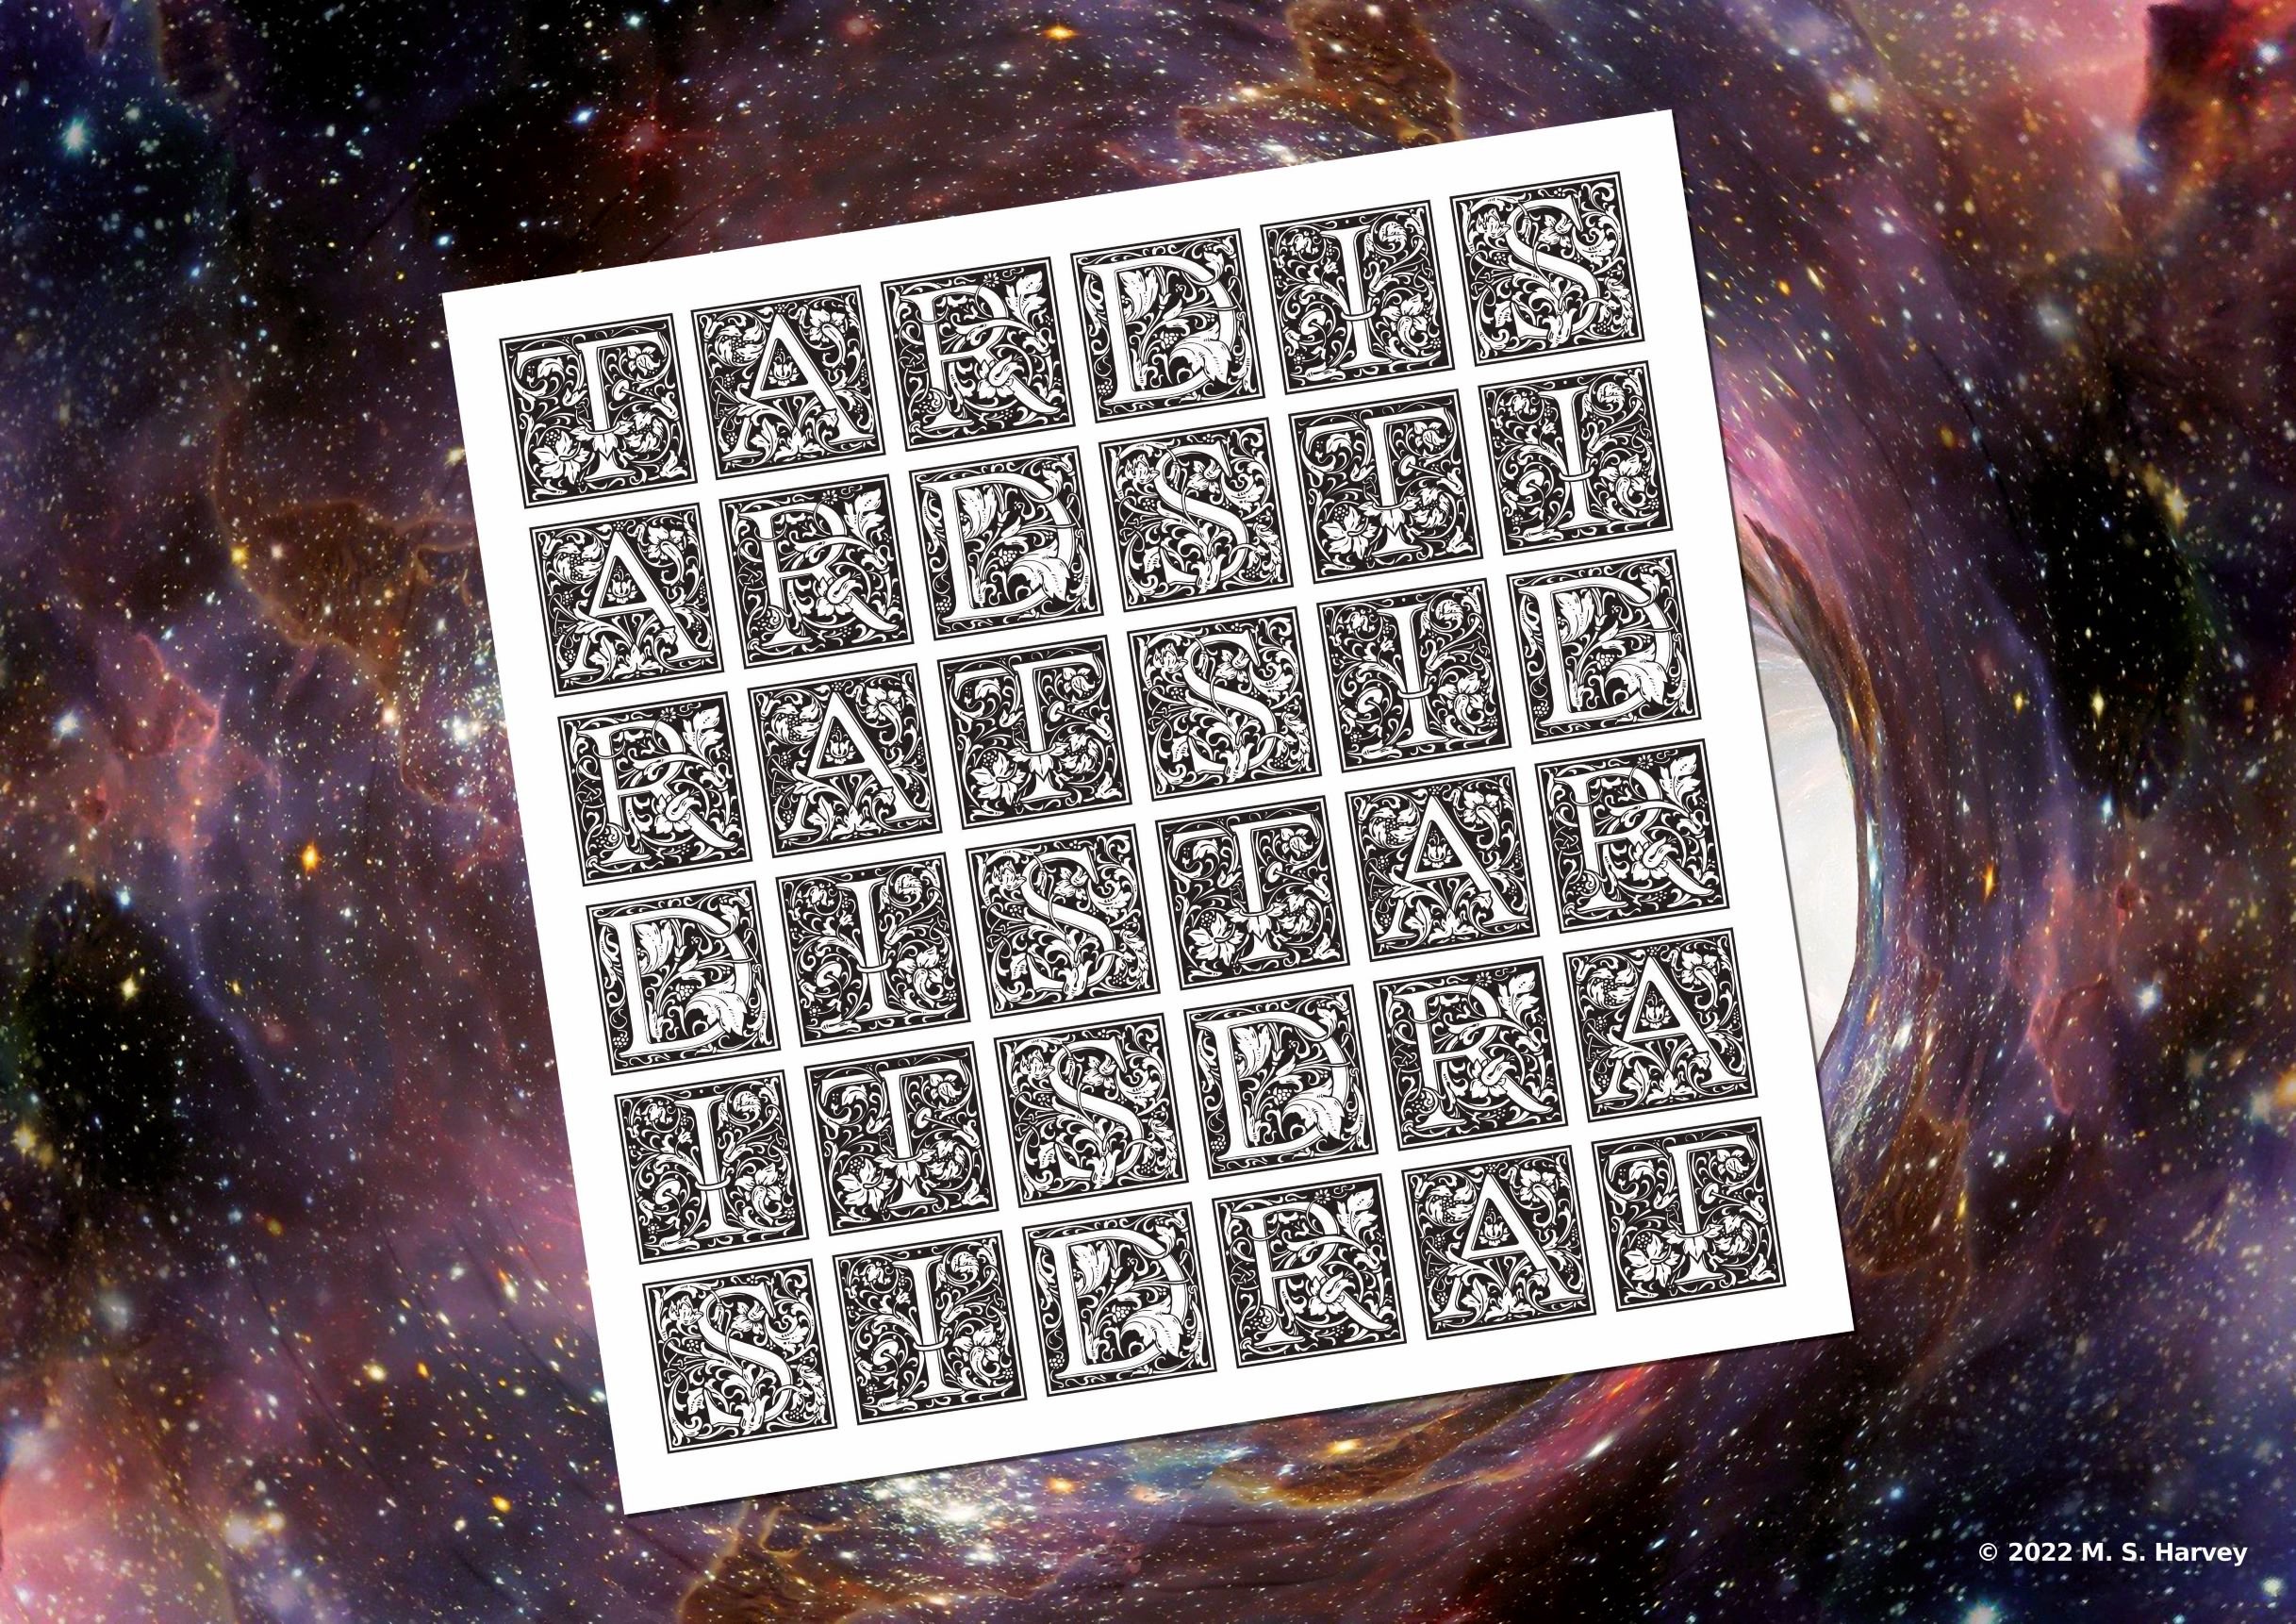
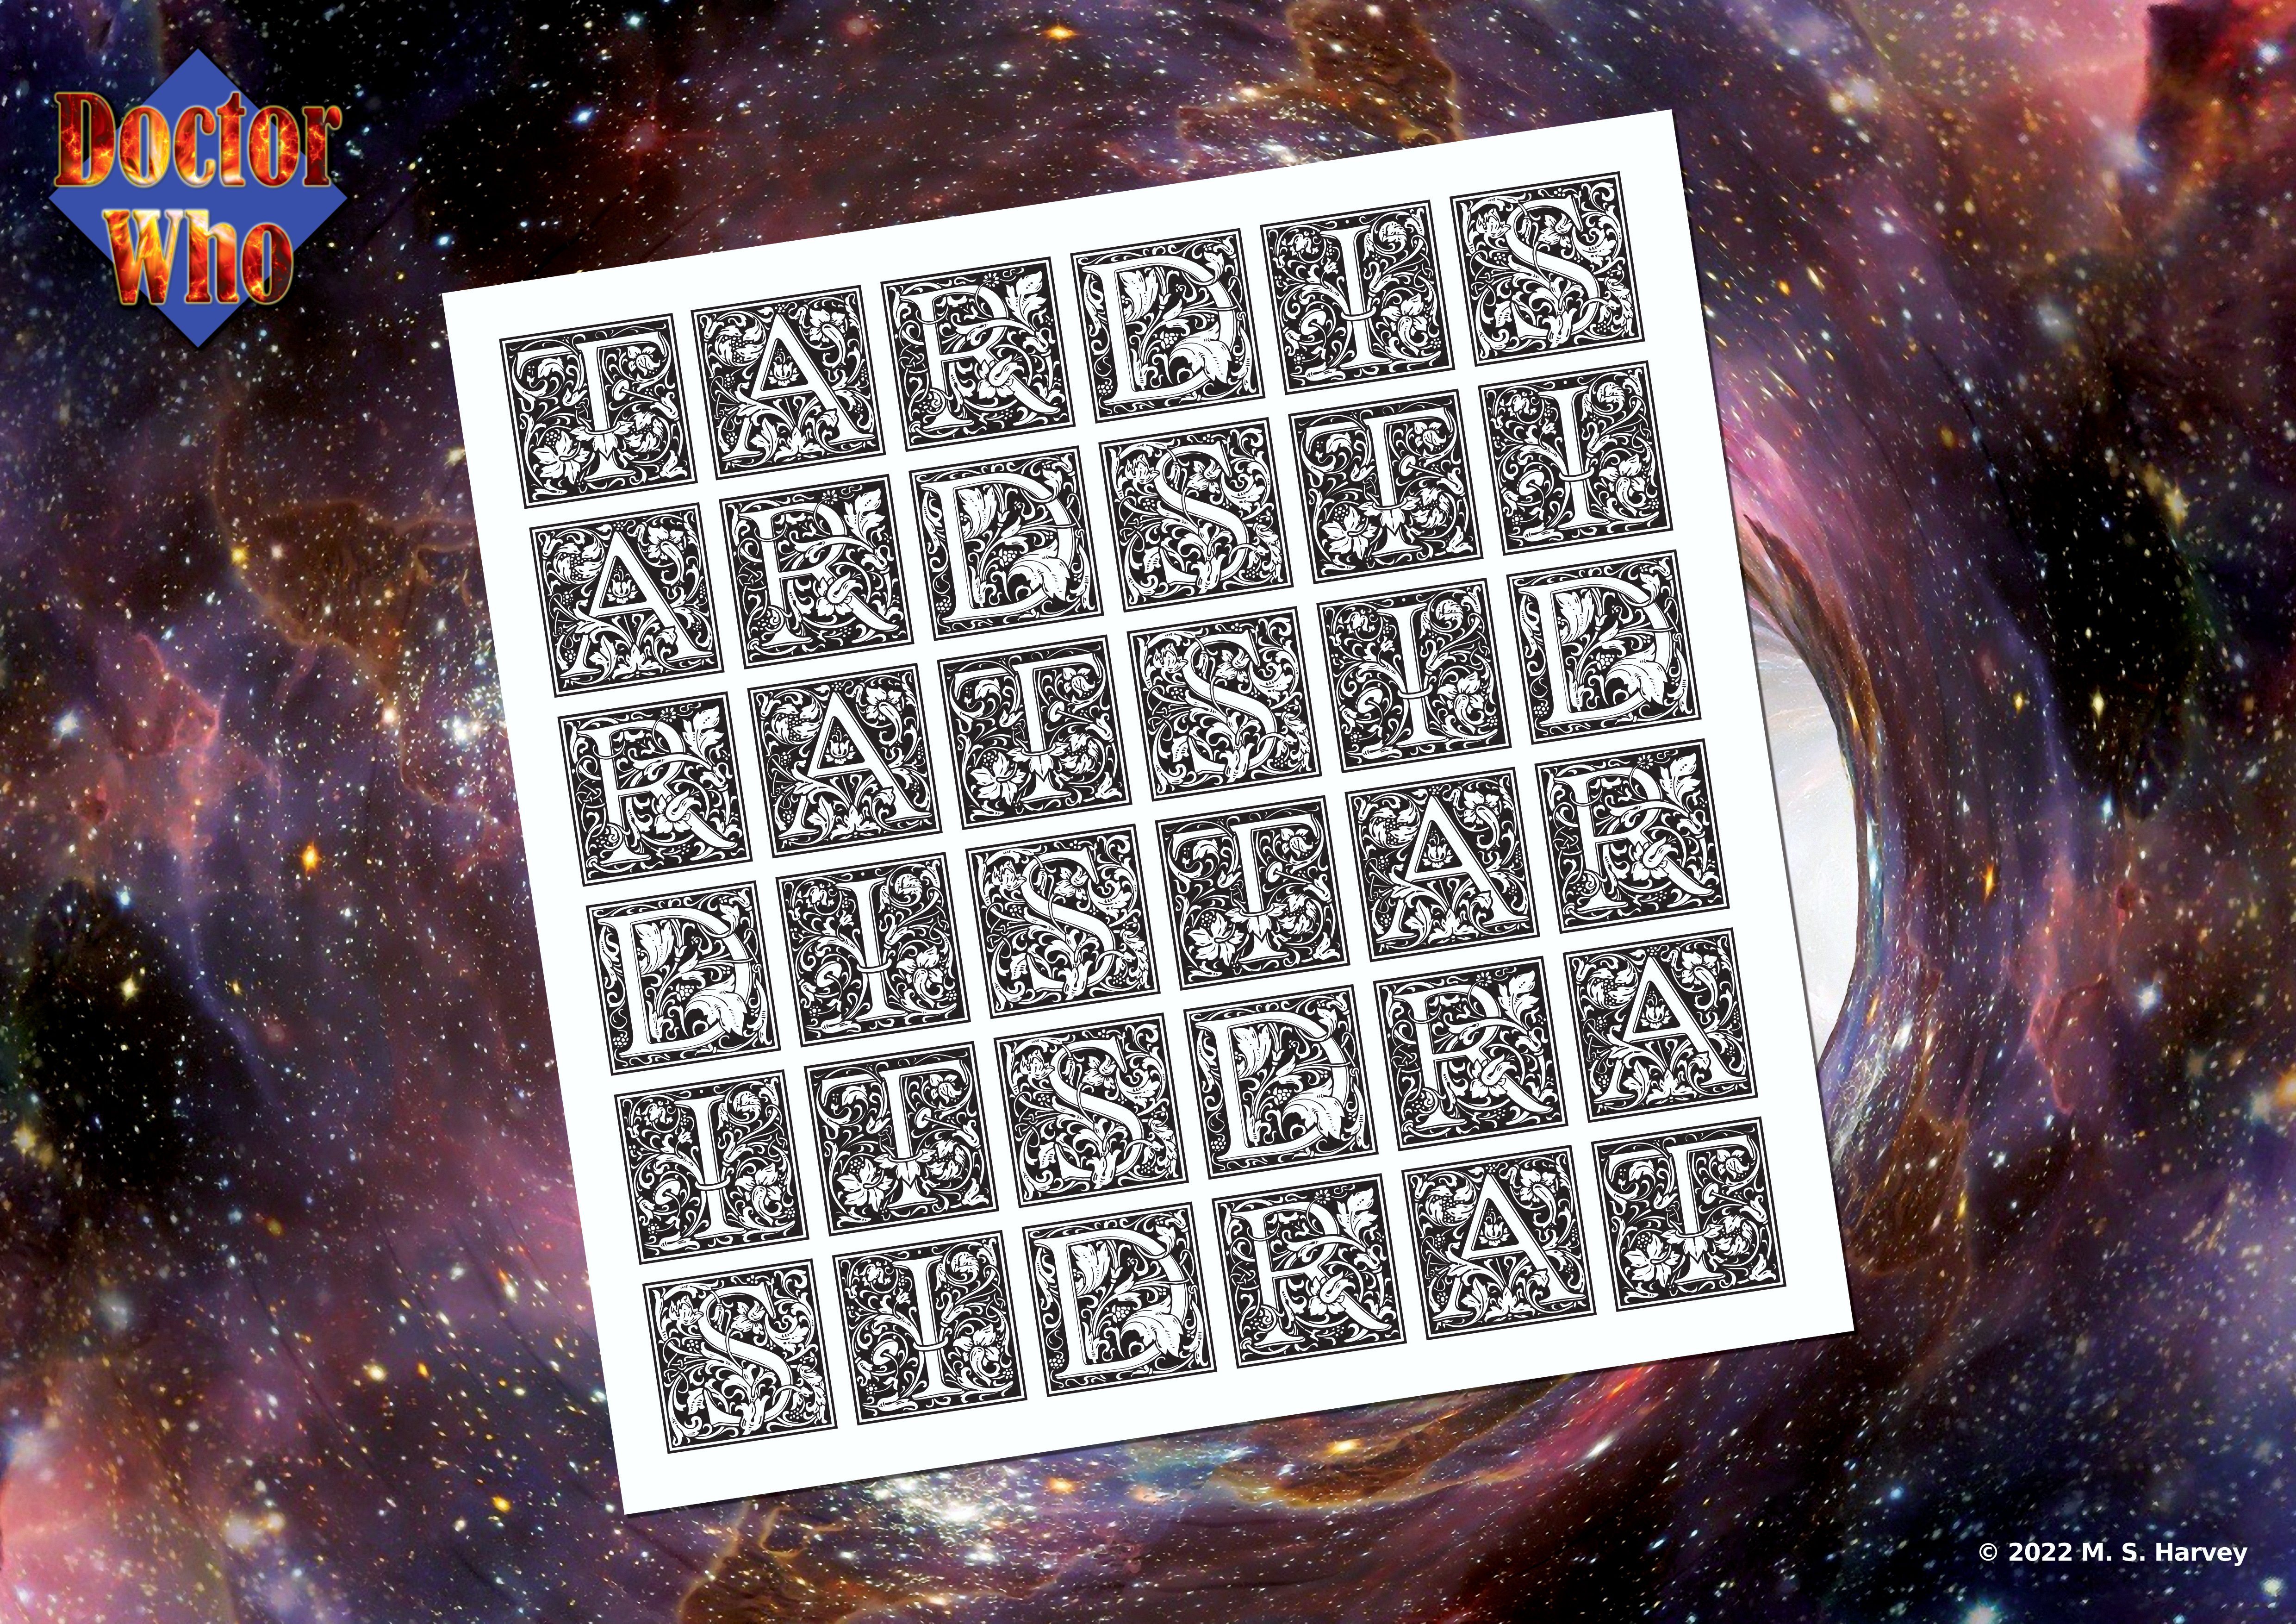
 After playing with the TARDIS acronym, I developed a magic square style layout with the word TARDIS written bidirectionally on the outside of the square. Then using Affinity Publisher I created a table with eh letters written into each cell. I chose an illustrated caps font and saved the finished product as an SVG. This I later imported into Publisher and using an upscaled image of a wormhole from Pixabay as a background, I placed the word square with a white square behind it onto the page. I added a shadow to the white square and ran the auto levels on the background in studio link Photo persona. This was done on an A0 size document. Rotating the square slightly in an anticlockwise fashion seemed to give it a subtle artistic flair. Then using the rescale option in Publisher I created subsequently smaller versions A1, A2 and A3. The resultant landscape poster is shown in JPG form. This is A3 size. This reduced viewed version created in Photo. I would definitely have this on my wall. I have ordered the A2 poster version from Vistaprint. Looking forward to seeing the final product. This has a new logo to avoid breaching any BBC logo creation rules.
- 22 replies
-
- 6
-
-
- affinity publisher
- poster
- (and 7 more)
-
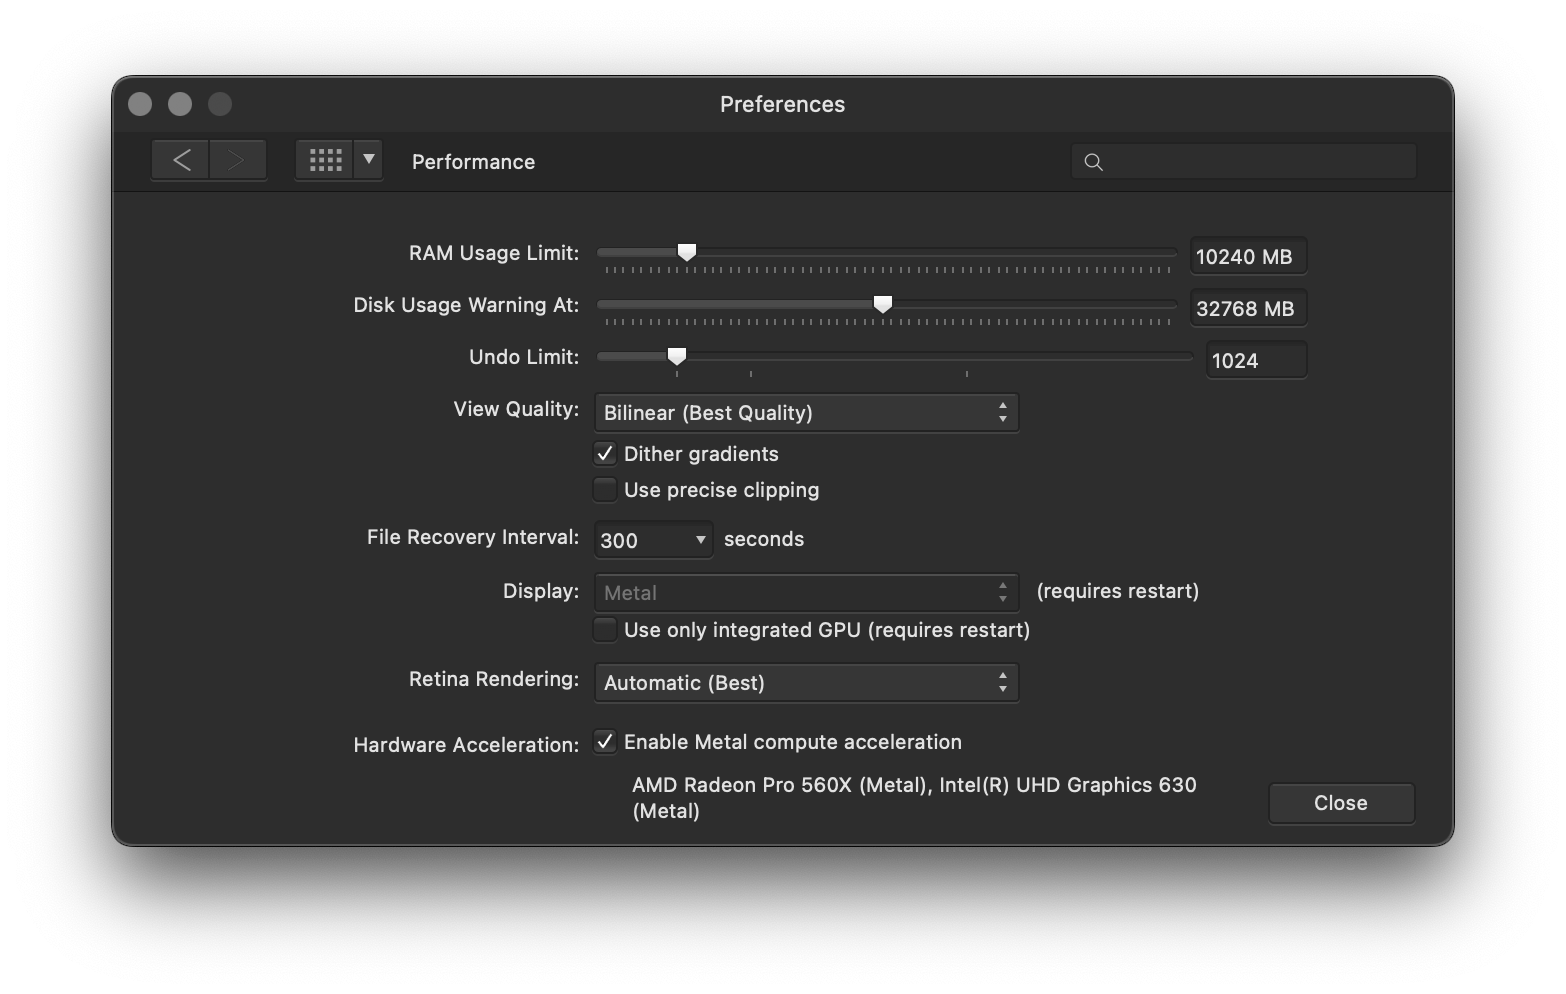
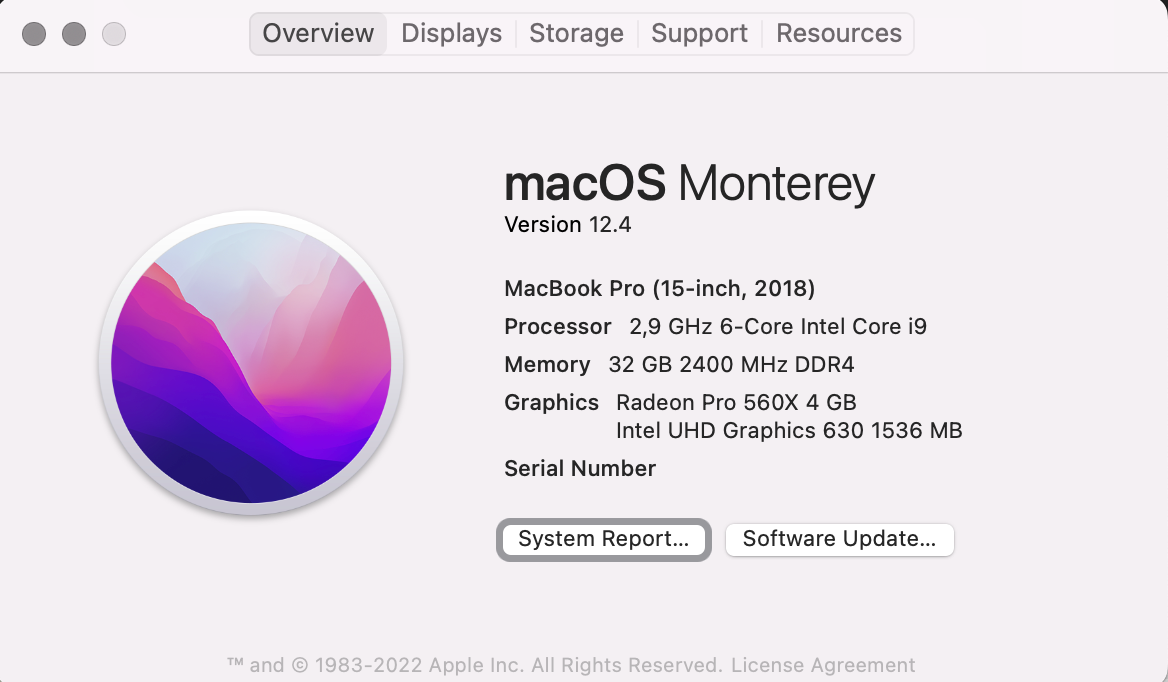
 After the last release, any basic operation on Affinity Photo for mac causes the whole computer to freeze for 2 or 3 seconds. It happens when opening a file or when open or close the whole program. I'm using 1.10.5 on MacOs 12.4 (Monterey), with Intel Core i9, 32 Gb RAM. Same problem doesn't happen on Publisher and Designer. I also tried to give more RAM to Affinity, but didn't solve the problem. It's currently limited to 10Gb.
-
 I'm mostly using Designer, but now I need to cutout parts from a photo so I'm using Affinity Photo for this. I'd like to do this with a curve (already have created these), but it's too sharp to use for masking parts of the photo, so I'd like to feather the cutout mask. This is how I mask now: I tried to do this with layer effects by using gaussian blur, but then it blurs the fill as well and I want to only blur/feather the mask. Is there a way to blur only the mask, or another way to feather the mask without bluring the image and without rasterizing the vector first?
-
 I recently decided to give Affinity some more support and bought Designer and Photo from their web store. I already owned Publisher from the web store but had Designer and Photo from the Mac App Store. When I installed Designer everything installed and ran fine. I was able to complete the registration and verification. Unfortunate the same did not happen with Photo. I copied the downloaded file to the Applications directory. When I launched it, I got the open downloaded Apple prompt and immediately upon clicking to confirm... crash and log is posted. I have attached three such log files that came from my different attempts to install it. Steps I took were to drag the downloaded copy over the fresh installed copy. Move the broken app to the trash and re-install. Then I tried re-downloading to a different folder on Macintosh HD, and installing from there. I suspect something went wrong with the conversion from Apple Store to Affinity Store versions, but I don't know how to read these logs. I did go and verify my fonts as suggested elsewhere in this forum, but they all check out OKAY. Any help would be greatly appreciated. Affinity Photo-2022-05-25-113529.ips Affinity Photo-2022-05-25-114450.ips Affinity Photo-2022-05-25-115346.ips
 -
 Hi there, its now 6 month I use your tool from beta to 1.4.1 release. So far I started with Photo but got also Designer. So there are things that hold me back using Photoshop, which is a bit sad and thats why I wrote this little report. PROs: Lets start by telling you, that you done an awesome job on improving many things bugging me since 20 years with Photoshop. Best of all are the wonderful integration of vector tools in both apps. Thats so great! The Text tool alone rocks over Photoshop. But honestly the idea to connect both Designer and Photo App is fantastic. CONs: This is longer, but believe me it would be very long for other Apps. 1. The thing bugging me most is the lack of a good transform tool. Indeed its extremely poor at the moment. For example I would like to select first, then move and change perspective without dropping the tool. Also the warp tool should work on selection not on total screen, that really is not a working solution for me at the moment. 2. I totally understand that you feature your own file format. Anyhow, if I open a jpg, make a transform mirror and close it I don't want to have the App forcing me to save in Affinity file format. At least I want to see an option like: save in original file format or looseness affinity file format. So please let us do this, its such a cumbersome workflow to always go via the export file format first, if you have opened a file in a different format. 3. Filters don't remember there previous setting. Thats a workflow nightmae to me. Sorry, but in PS I'm used to set my default setting for filters and then have them all the time. For example if I once used the sharpening mask, I don't want to start next time with zero values again. Think of the Pro users who use a filter 50 times a day... got it? 50 times per day setting the values is really dull. 4. Where is the polygon selection tool? I have used lasso a few times, but I prefer a polygon selection tools for getting quicker straight lines. Its missing terrible. 5. Alphas and Masks. I come from the post production side and an alpha is basically a black and white image. In Affinity its an image with transparence. Ok that makes it hard sometimes. You can't simple take an image for the mask of a layer. The bigger down point is that you can't invert the alpha with a command, like you could a black and white mask. Never thought I prefer PS here, but I see a big down point here. You really should consider in having an option here in the context menu. And not going via raster layer and alpha layer in the channels list. 6. Vector Masks. Vector mask using transparent channel too, without an invert option.. For example if you draw a rectangle and use it as alpha for an image, its a nice use of vectors, however you totally forget an invert option. So I can switch between inner and outer selection. For example: You want a black plate with cut out letters. So you do the black background and the text, use the text as mask.. and you run into a dead end street. 7. Direct filers. Its cool that Photo is so little destructive when it comes to color filters. But sometimes it would be very useful to quickly change the colors of a selection that filters would not be added as layer but directly used. Think of an optional way for professional artist that work quick and dirty, because they know how. 8. Stamp tool. Thats something you should look into. I compared the quality of the stamp tool to PS, and PS wins. The problem seems that AP stamp tool is more blurry and less sharp. I have not idea why its even different, but PS does it way better. Please check that out. 9. Where is the crop command? I mean if I do a selection and want to use it to crop the document? I use that in all photo Apps and I think its a terrible missing. The current option to crops the transparent area.. not so good for working with images. 10. Can I use the OS Color Picker? I have all my color tables there, can't find an option to do so. 11. Just a personal wish for texture painting, please add the affine transformation as live filter for all layers under nice. Would be cool to have. Ok, I can be wrong with this, or missed some features.. if so please tell me.
 -
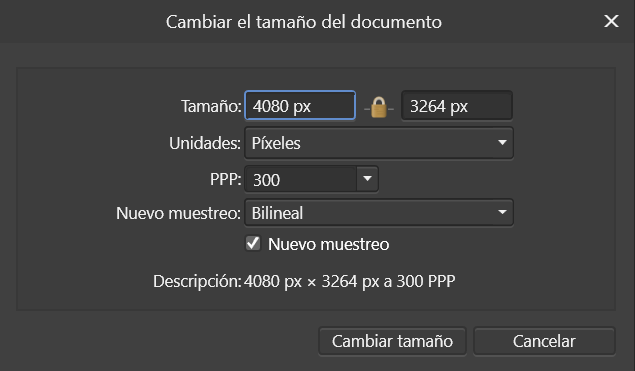
 Pregunta simple, pero que no le he podido dar una solución: ¿Cómo puedo ver la información del tamaño del archivo? Es decir, saber si mi documento pesa 200MB o 1GB sin tener que ir a la sección de "Exportar". Sino más bien algo como el apartado de "Tamaño de Imagen" de Photoshop, que en este caso es "Te amaño Documento" en Affinity Photo. La diferencia es que en Tamaño de Imagen de PS sí te dice cuánto pesa el archivo, y en Tamaño de Documento de AP no te dice esa información. Me gustaría saber si hay alguna herramienta o panel para poder consultarlo. Gracias por leer.
-
Although I work in vectors most of the time sometimes I indulge in creating pixel art. This portrait of Danny Trejo started out as an analog airbrush (with real paint on real paper) that I reworked digitally two years later, using some of the standard brushes that come with the program (among other techniques).
-
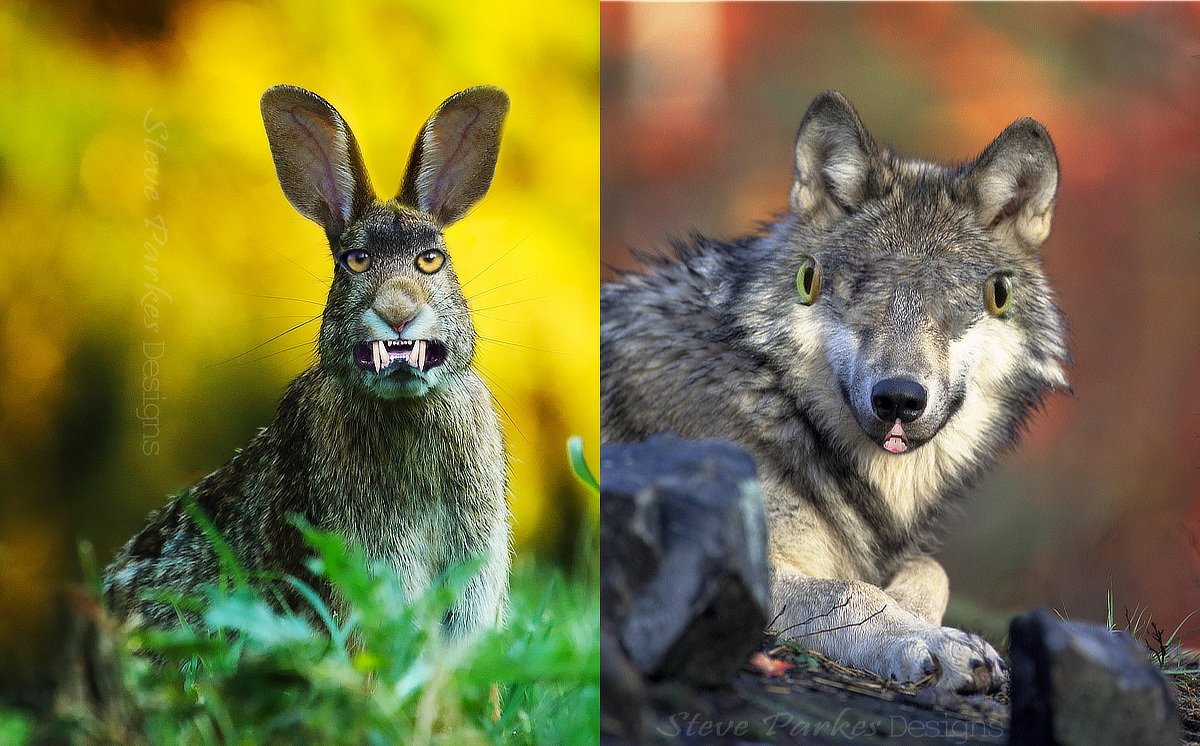
More whimsical nonsense. I saw a meme recently asking what if prey animals were predators and vice-versa. Naturally, I thought 'I can do better than that', and perhaps I have. (I haven't got the original to show you, so you'll have to take my word for it.) In case you can't recognise them, this is a rabbit and a wolf, but I've switched the eyes and the teeth. I think the results are a little disturbing . . . Both source images are from Pixabay. The rabbit is by David Mark, the wolf by WikiImages.
- 2 replies
-
- 8
-
-
- photo
- stock photos
- (and 3 more)
-
I realise I haven't posted anything here for some time, so here's something I made to amuse my musical friends on Facebook (with some success). The concept is taken from a Will Heath Robinson drawing I saw in an exhibition not long ago. I could have bought the original (if I had lots of money) but I decided to steal emulate the Master's idea instead. The original image, on the left, I found on the internet; it's not very big, and so my piece isn't either.
-
Hey, I wonder if a built-in normal map generator is planned for future releases of Affinity Photo such as the plugin asset described in the followng tutorial: The generator should - like Photoshops "Generate normal map" or GIMPs "Normal map" feature - then create a normal map from a diffuse picture that can be used for bump mapped materials in other tools like Blender or Unity. Would be great if that could be available in the future as an adjustment layer or the like. Best Regards JZ
-
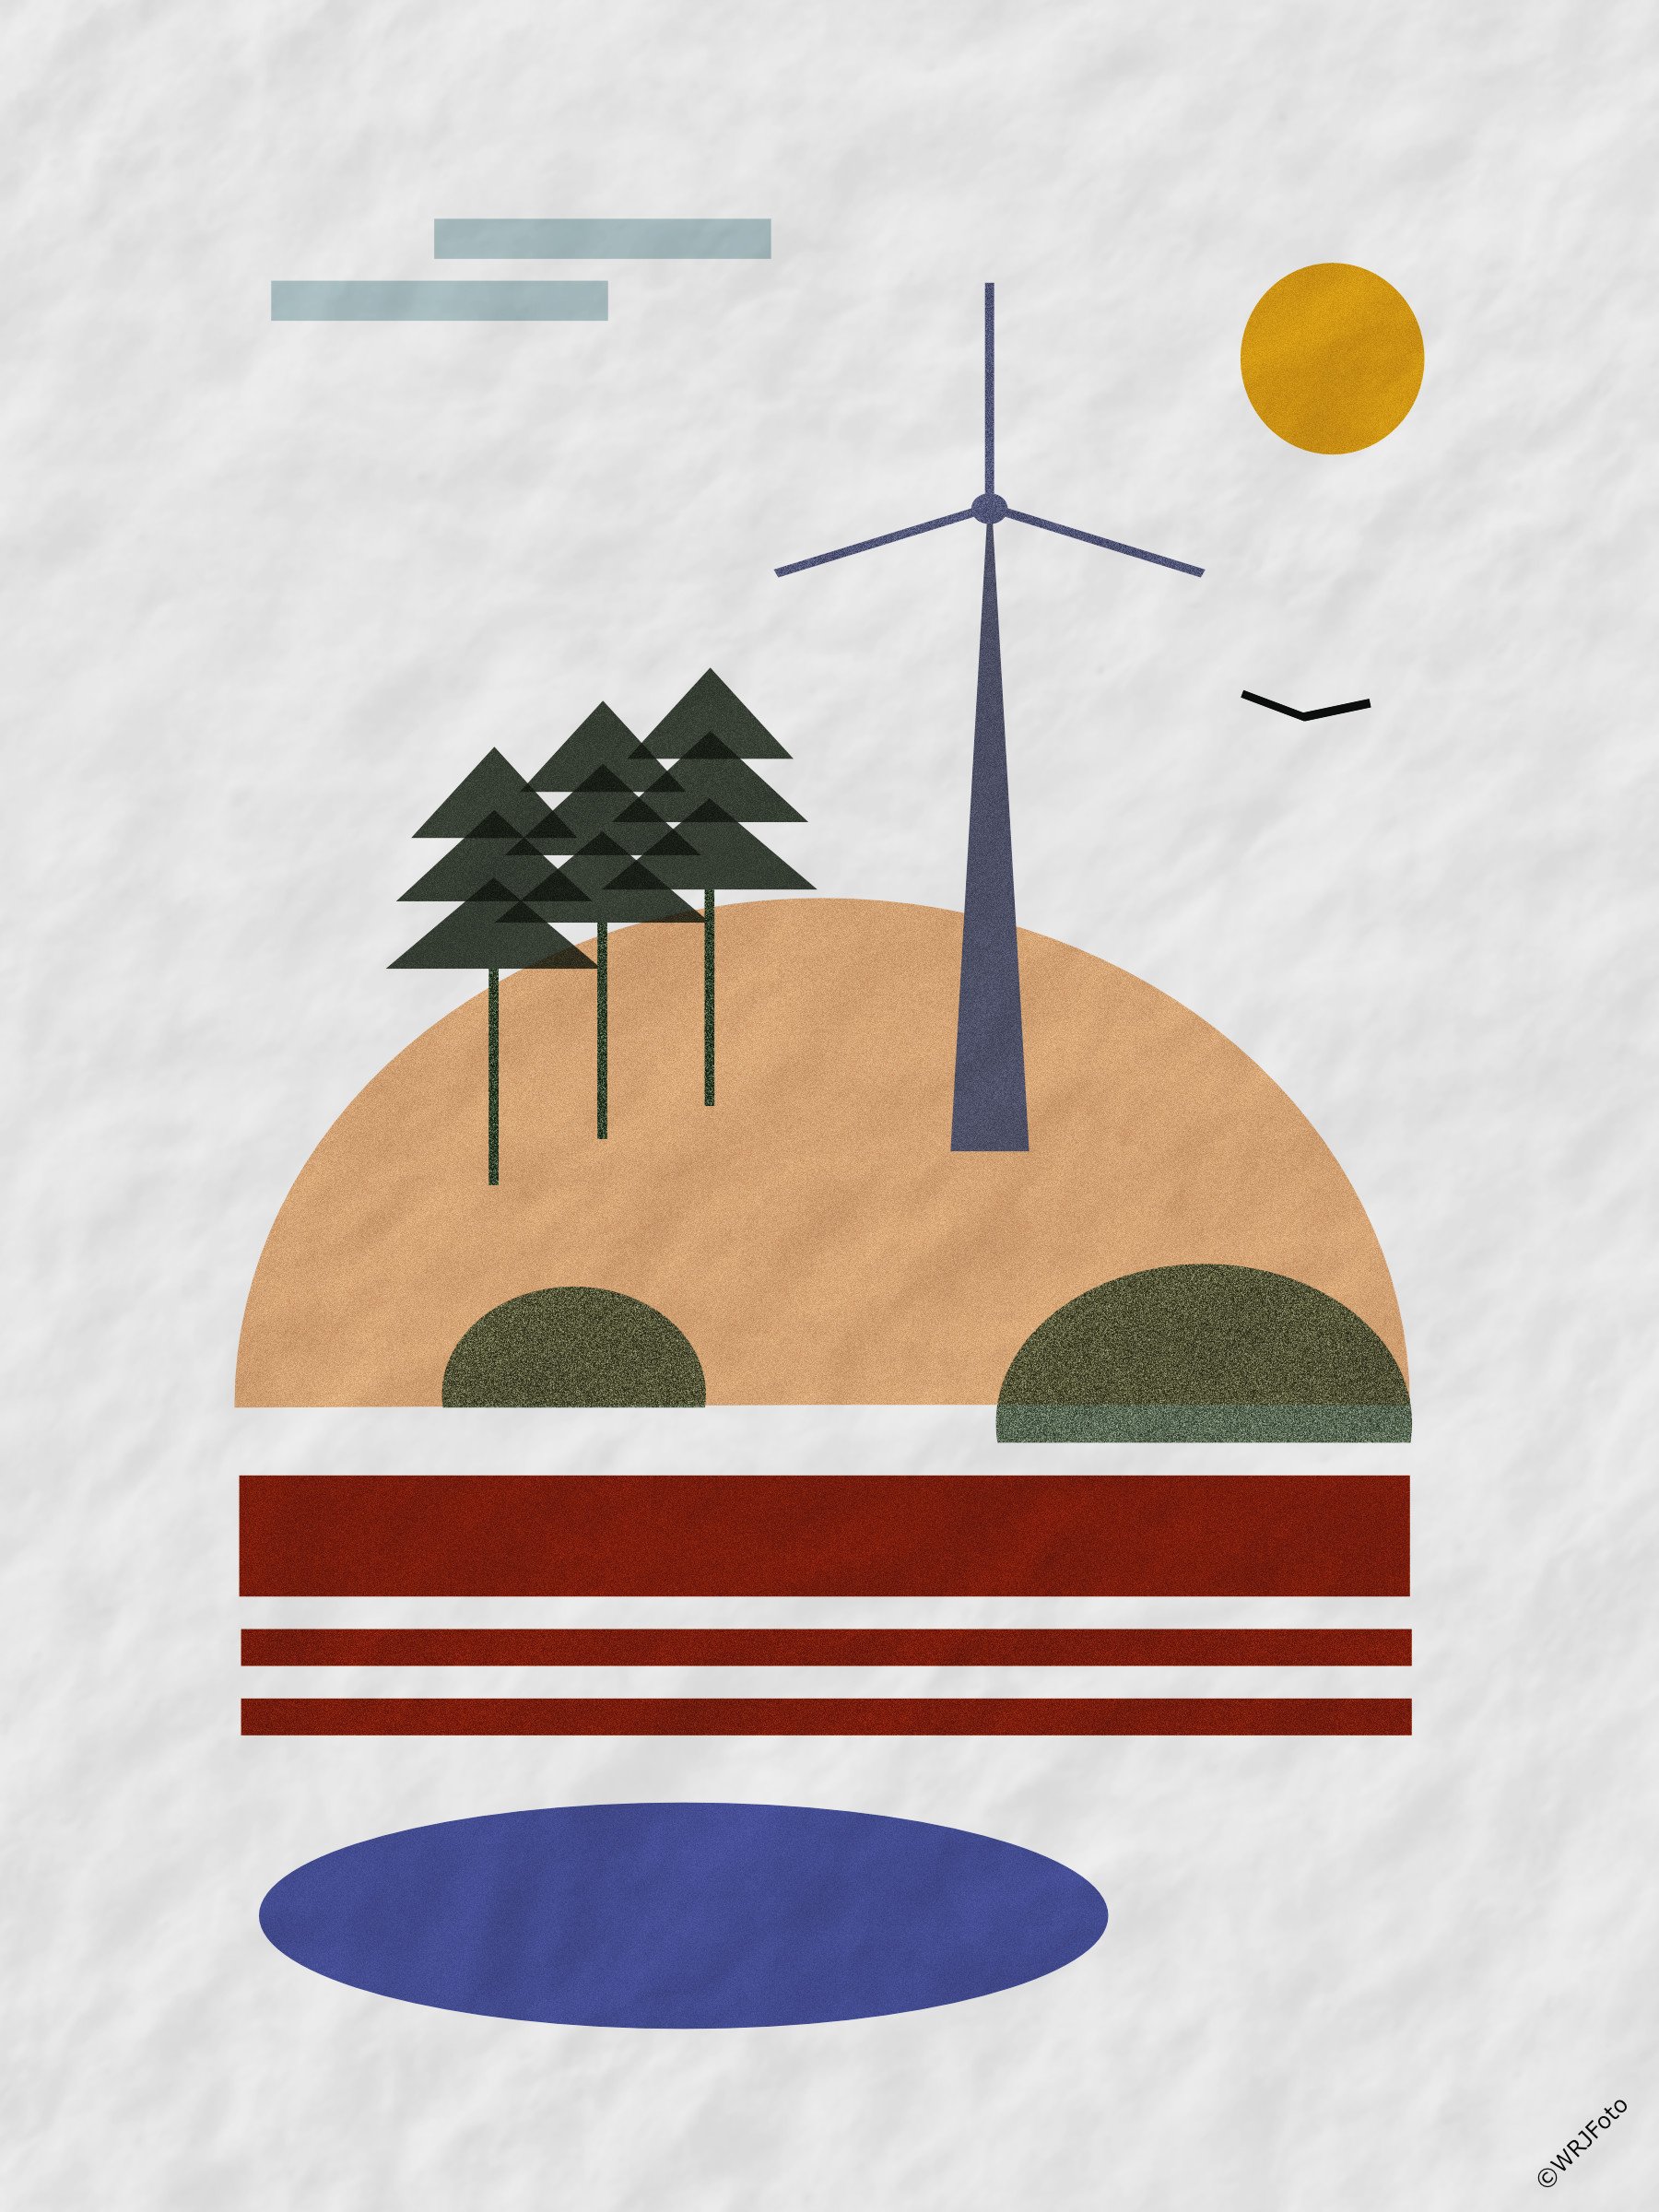
I deleted my previous image because I was unsure if it violated the rights of Gingerly Press. And I thought up my own motif and tried to "paint" it in the style of Gingerly Press with Affinity Photo. I called it "Abstract Landscape".
-
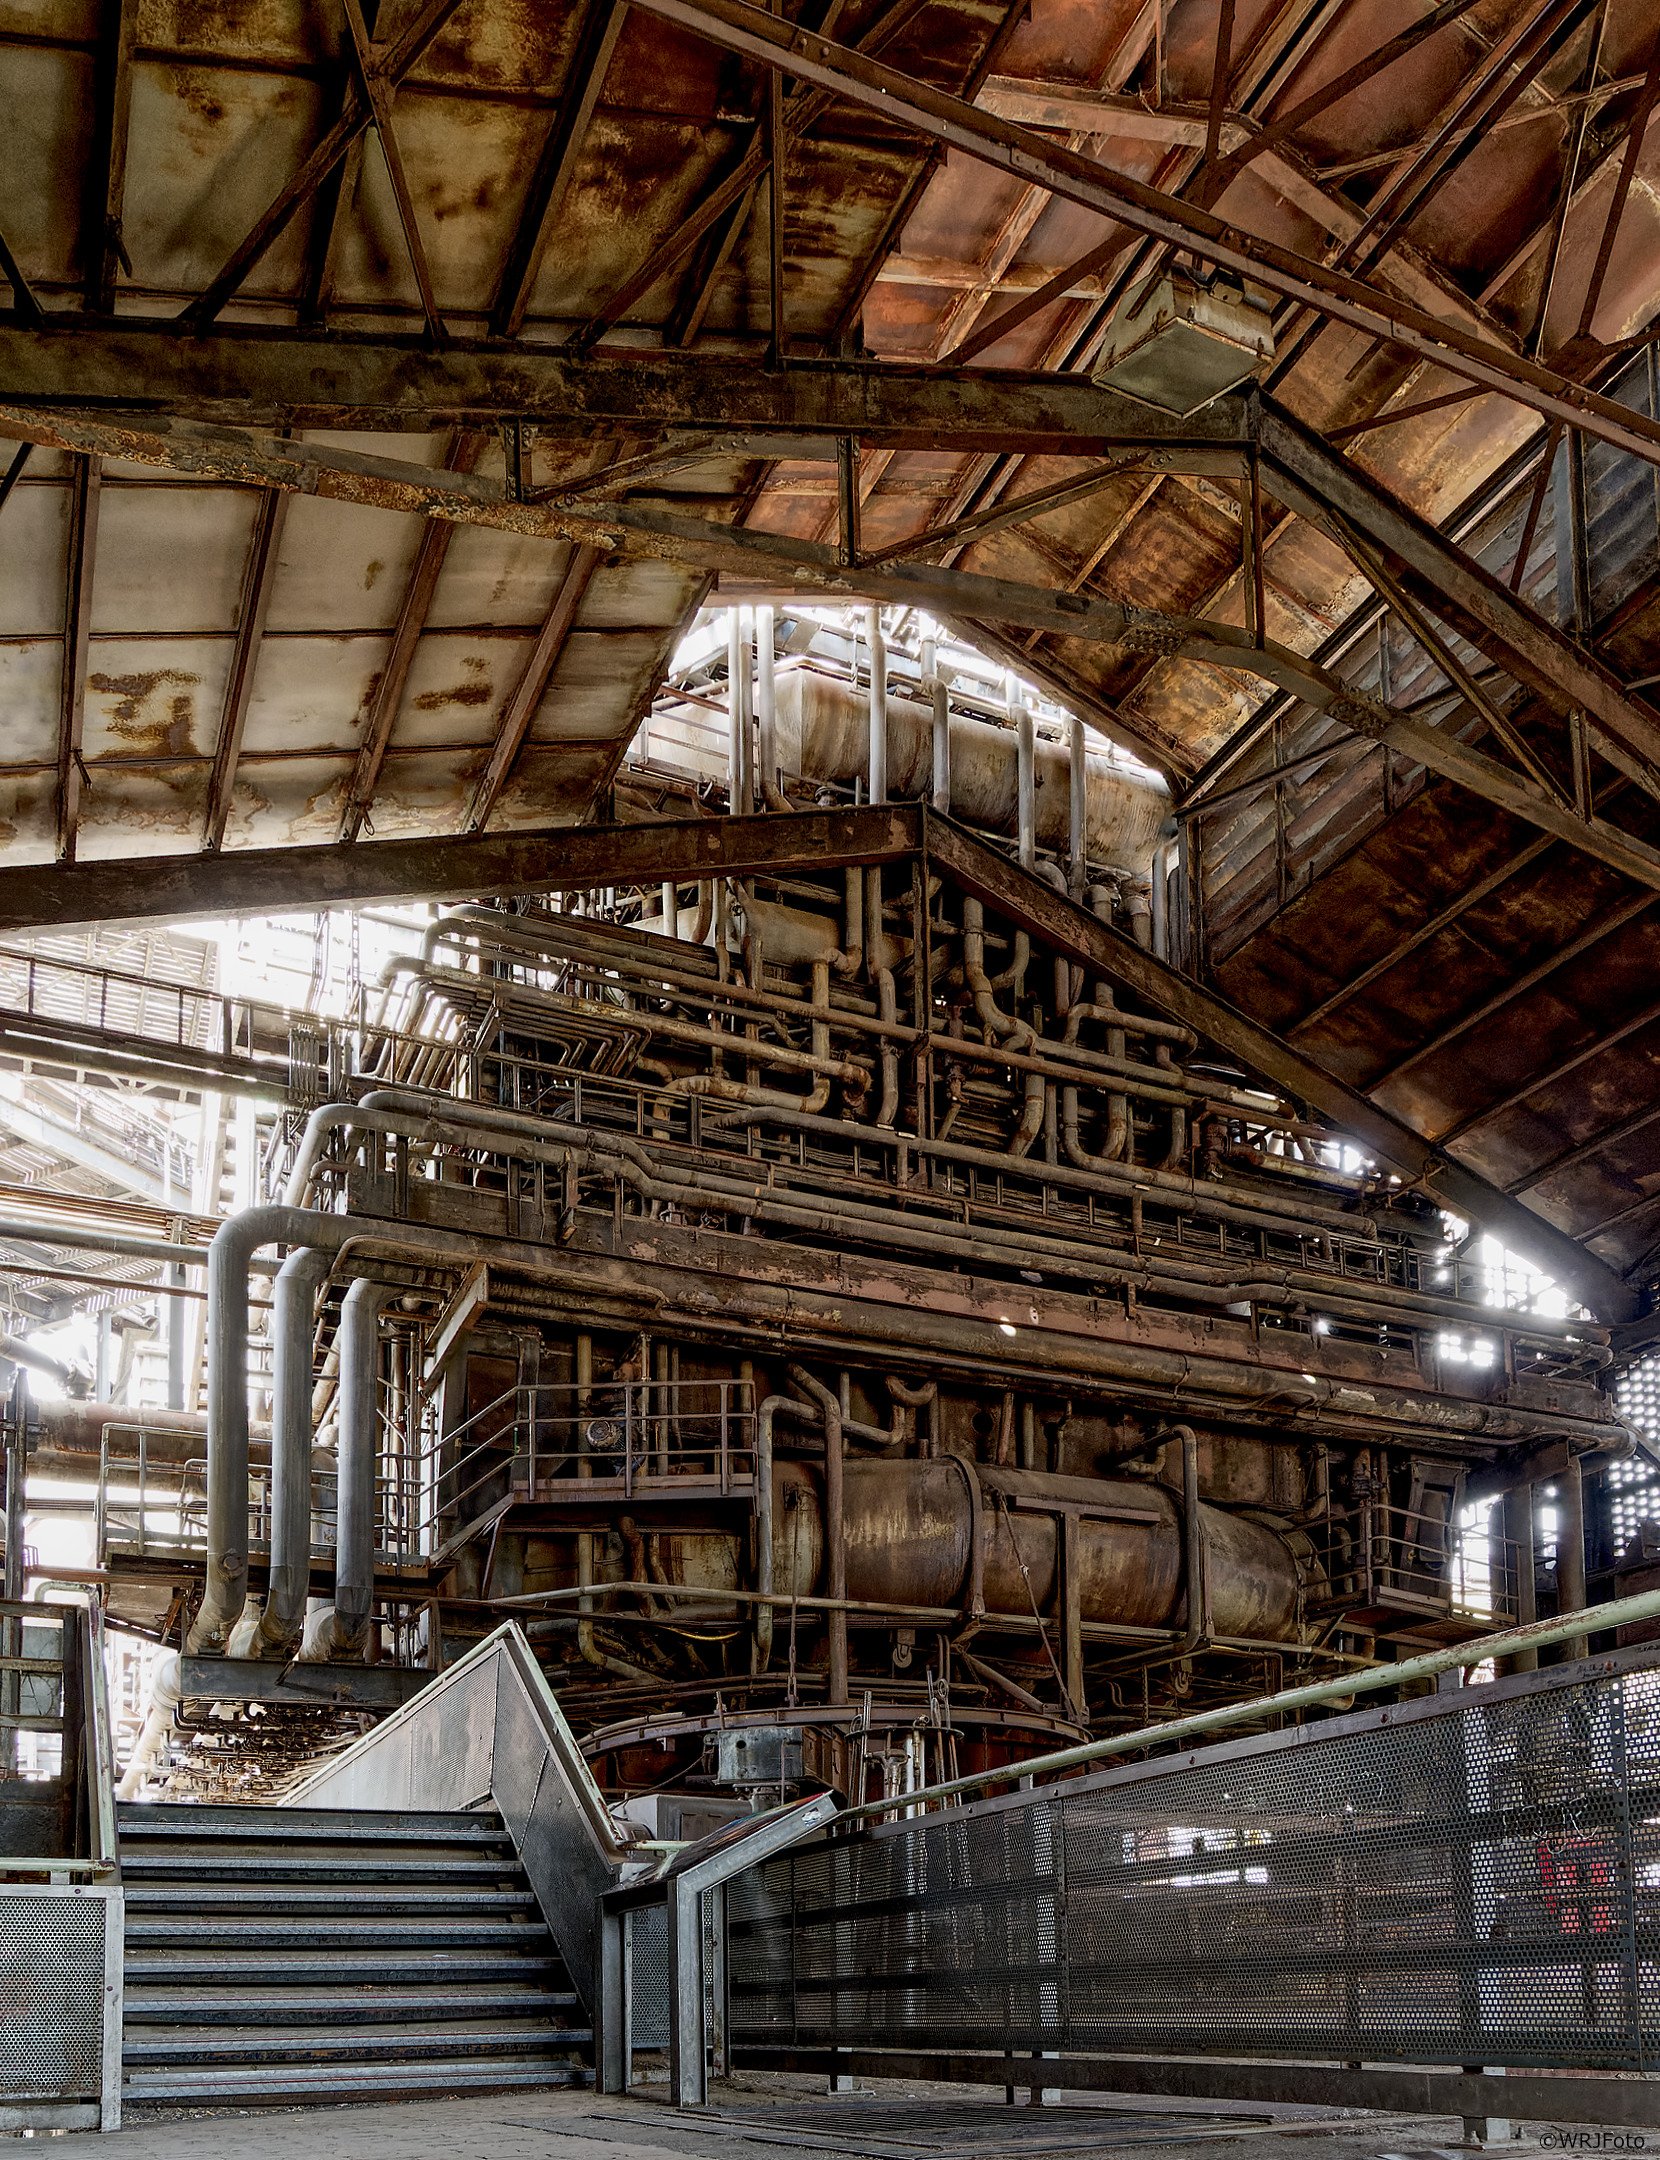
Cathedral of Modernity Blast Furnace 5 in the Duisburg Landscape Park HDR from one shot, developed from RAW with DxO Photolab and processed with Affinity Photo.
-
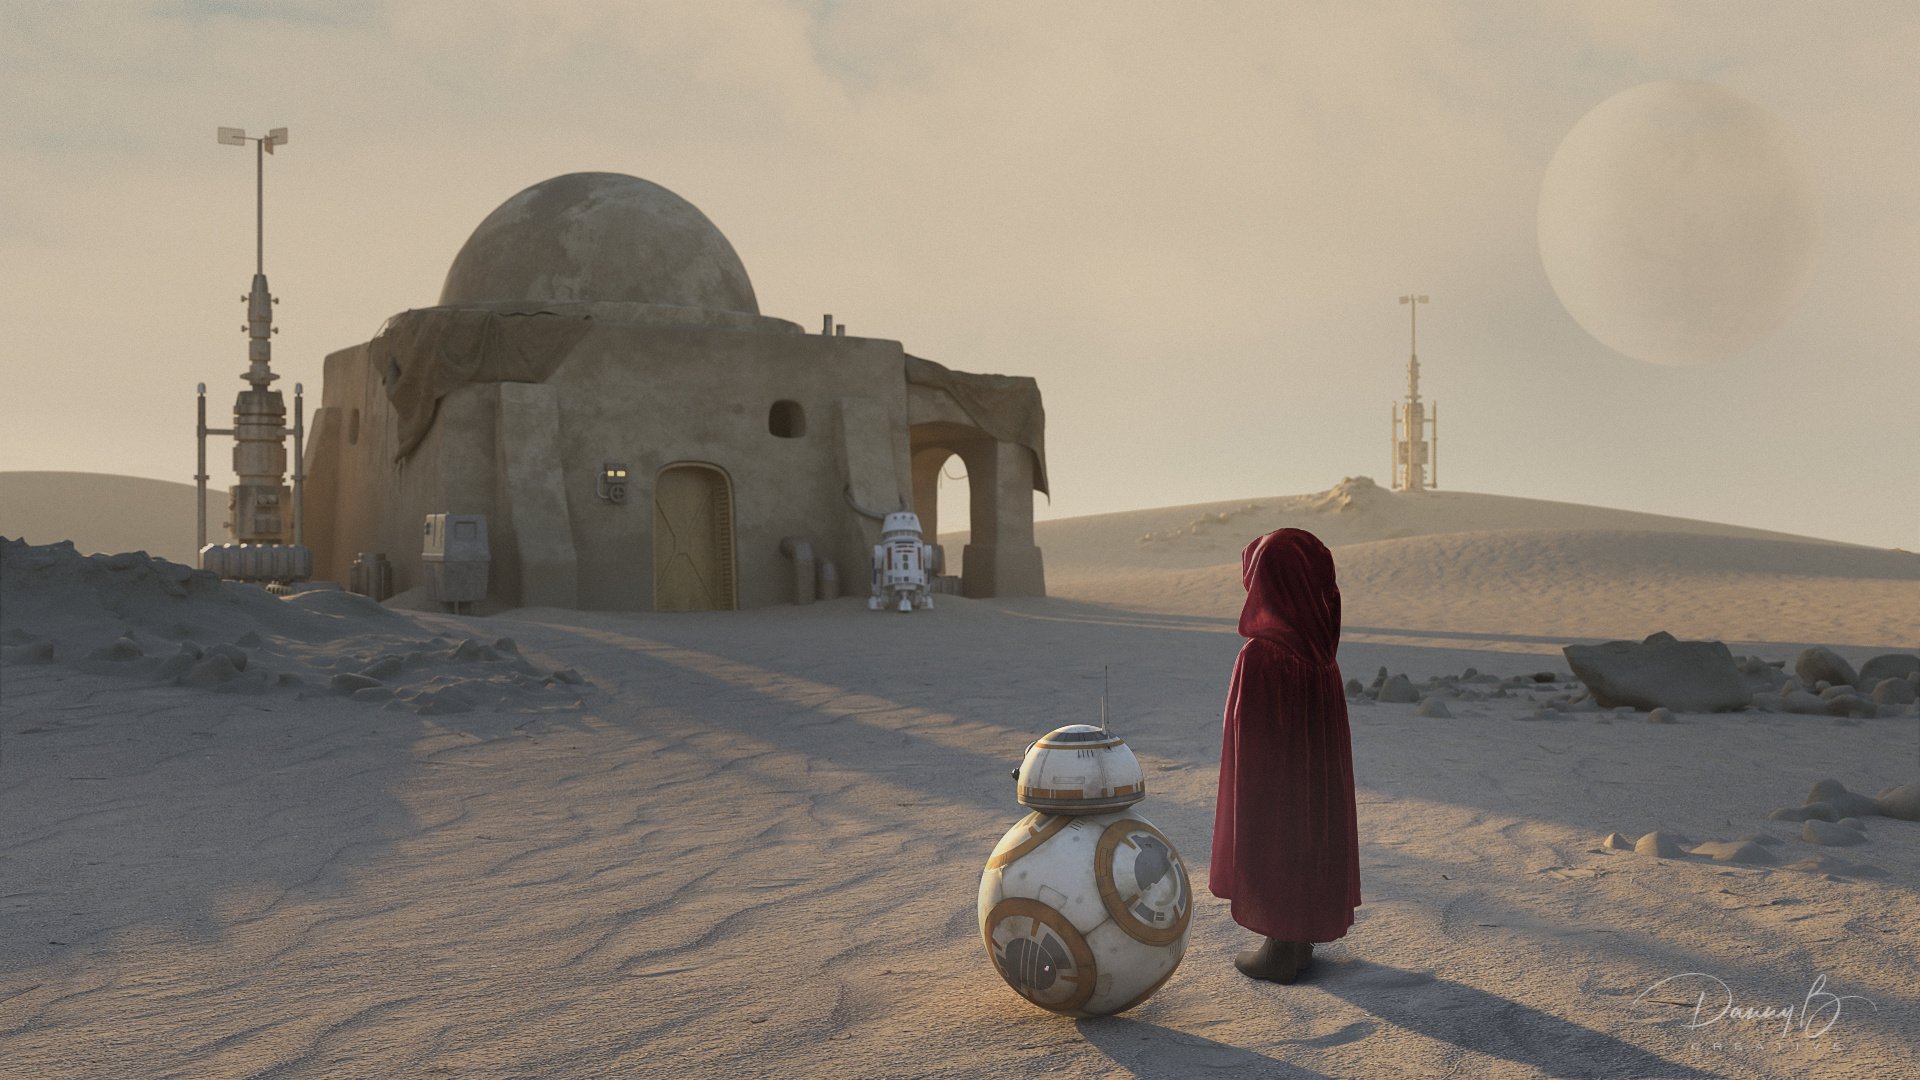
Fun little Star Wars themed project. 3D work done in Blender. Photography was done in studio, processed in AP. Composited in AP.
- 11 replies
-
- 22
-
-
- photo manipulation
- 3d
- (and 4 more)
-
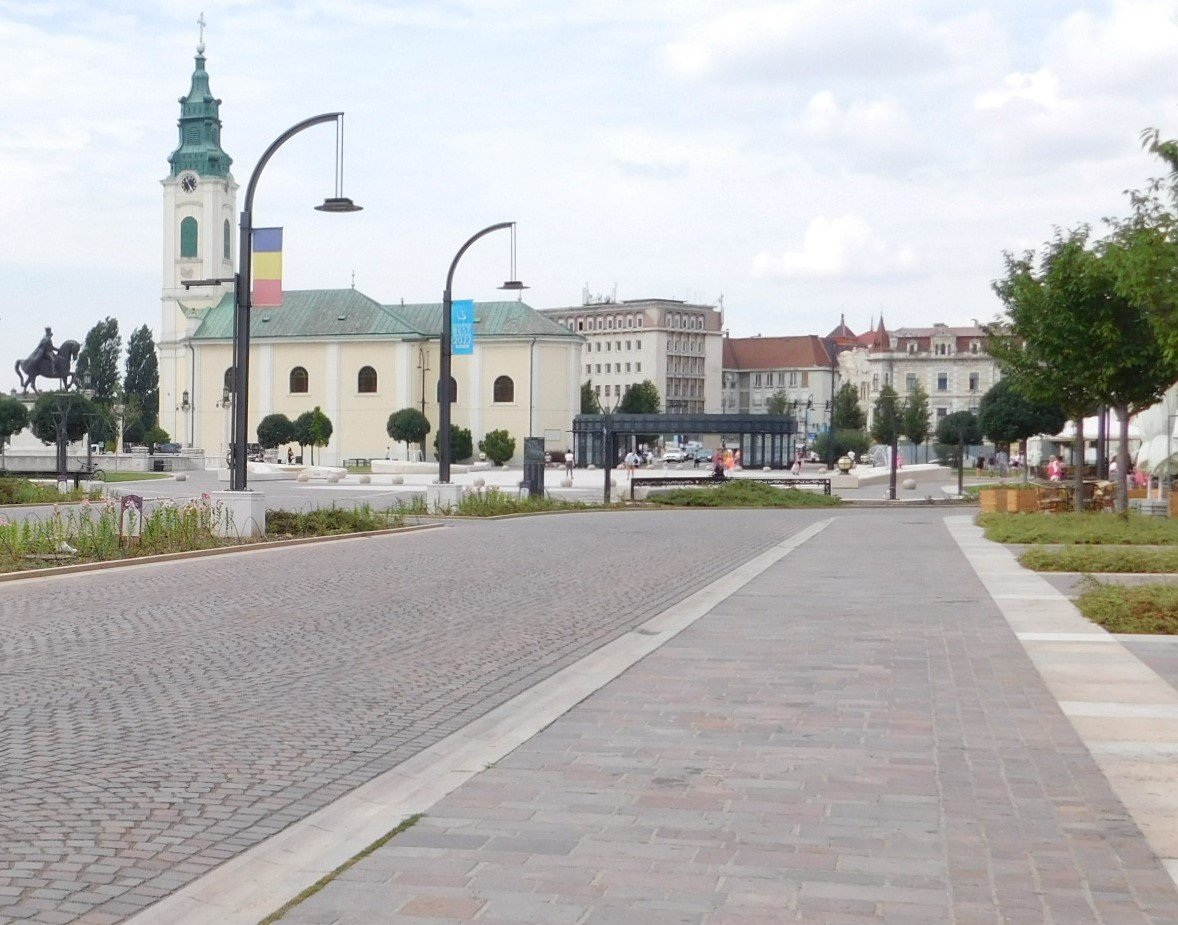
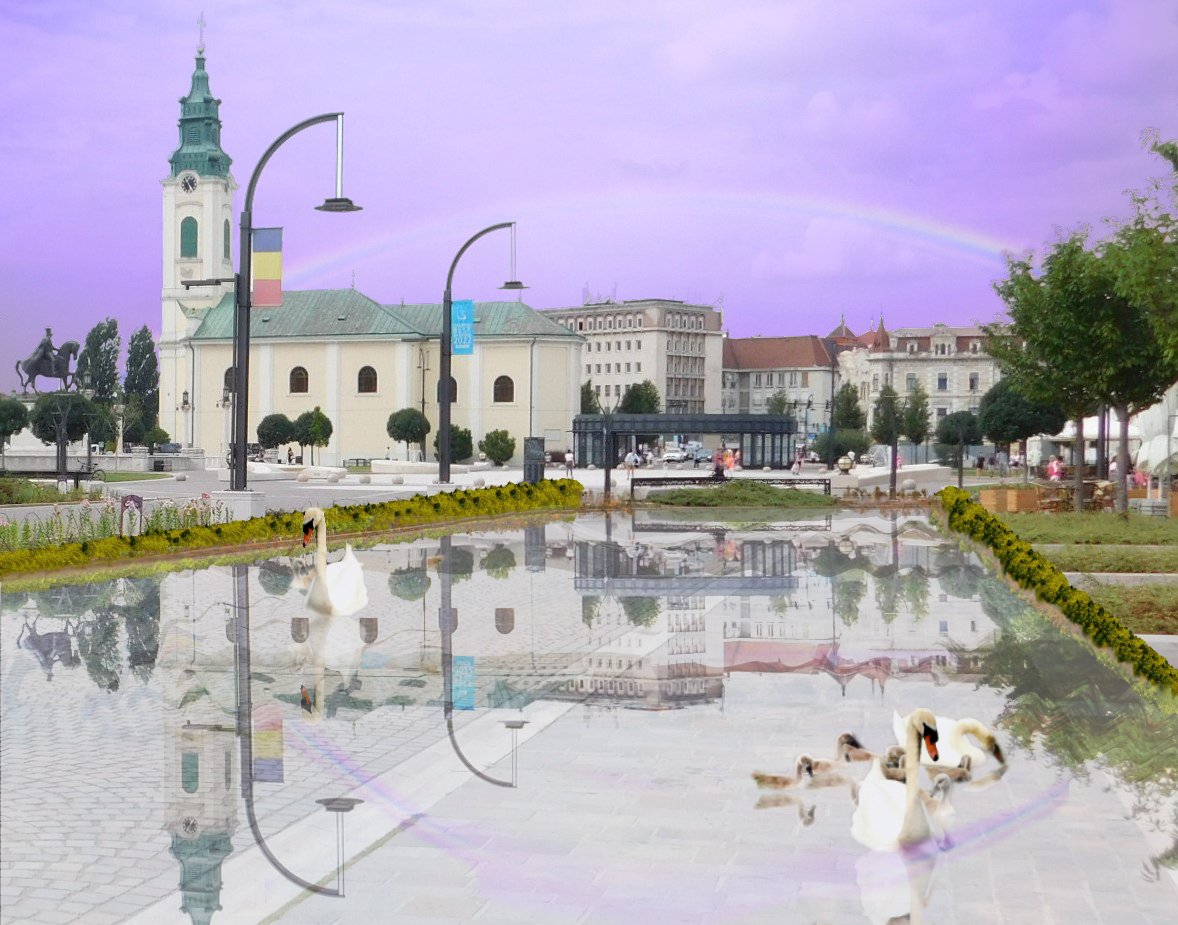
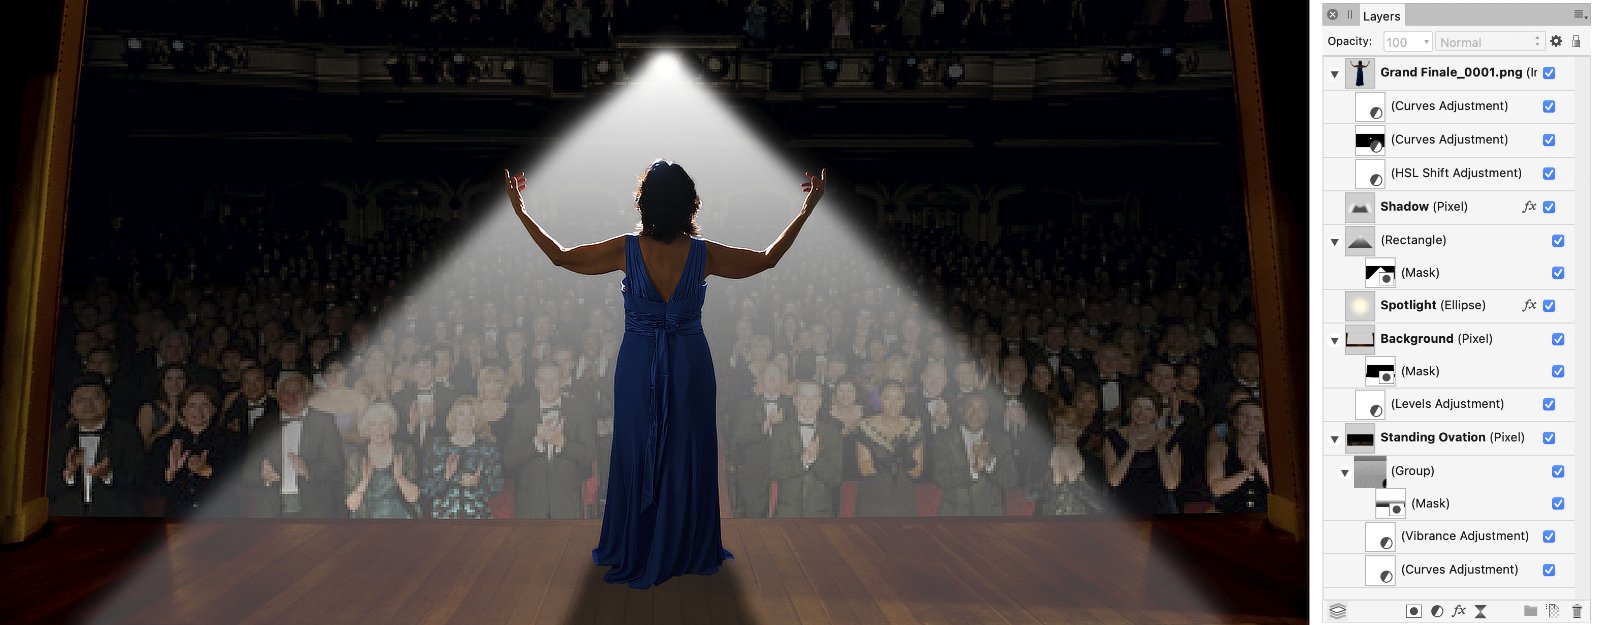
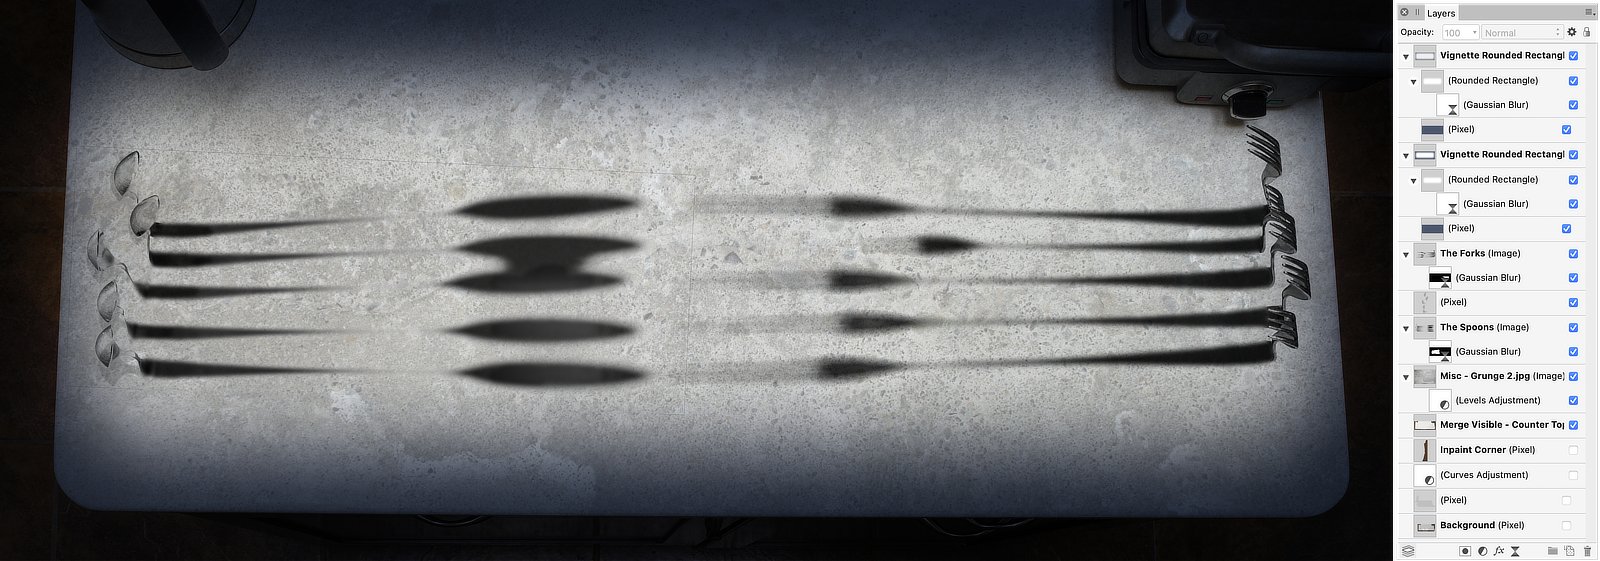
I’ve never posted my own photos on the forum, but I thought I’d go out on a limb and do that today. The three photos below are all composites that I created for our local photo club. Every month, there is a “theme” and members submit photos which are compiled into a slide show. I’ve taken those opportunities to have fun, creating things that are sometimes comical and usually just imagined. I’ve scaled them down considerably (for posting online) and I’ve also put a screenshot of the Layers panel next to each, so that the structure of the composite can be examined. Please enjoy them, and let me know what you think! (Be kind…) The first one is called “Grand Finale” and was created for the theme Illuminate. The performer is my wife (facing away from the camera, since she hates being photographed!). The rest of the photo is a series of images pulled from online sites like Unsplash. The second photo is called “Tower of Babble” – a not so subtle commentary on the state of TV News – and was made for the club theme Building. The background is a photo of an active volcano (Kilauea) on the island of Hawaii, but the TV’s and the screens were all sourced from the web. Last, but hopefully not least, is an homage to Steven Spielberg’s remake of West Side Story. There is a wonderful shot of the Jets and the Sharks facing off at the rumble about halfway through the movie. This composite was done for the club’s theme In the Kitchen and imagines a rumble between the forks and the spoons. All the images in the composite were shot in my kitchen, and no online images were used. It is titled “When You’re a Fork, You’re a Fork All the Way.”
-
 I have just purchased AP and the first task that I tried to do was register this product. Unfortunately, it would not allow me to connect for registration to occur and instead kept telling me they were sorry and to try again or leave until later. I have tried several times and i don't have a weak wi-fi signal; can anyone tell me why this software won't allow me to do this? Any help would be appreciated. Thanks!