Search the Community
Showing results for tags 'affinity Photo'.
-
 Go to my Youtube Channel, where you can find 35 Tutorials, with a new Tutorial coming out every 3 Days. Today we are going to have a look at 4 different applications of Perspective Tools in Affinity Photo. You can use them in a wide variety of ways, not just for perspective correction, but also to create new compositions or put new things into your photos. Make photos more dramatic or bring back the zen of a easy situation. So many possibilities. Support me on PATREON and get my Affinity Photo File with all layers as a Thank You: https://www.patreon.com/sarikas Find me on Steemit: https://steemit.com/@multi4g Photos used: https://unsplash.com/photos/Zkb2HcxTZXM https://unsplash.com/photos/V9keLsAtxyA #perspective #room #architecture #correction #adjustment #retusche #photo #design #art #colorful #fun #dtube #artistic #creative #steemit #easy #tutorial #education #handson #learning #free #affinity #editing #episode #series #making #DIY #minute #quick #pictures #howto #designer #cover #elearning #video #online
 -

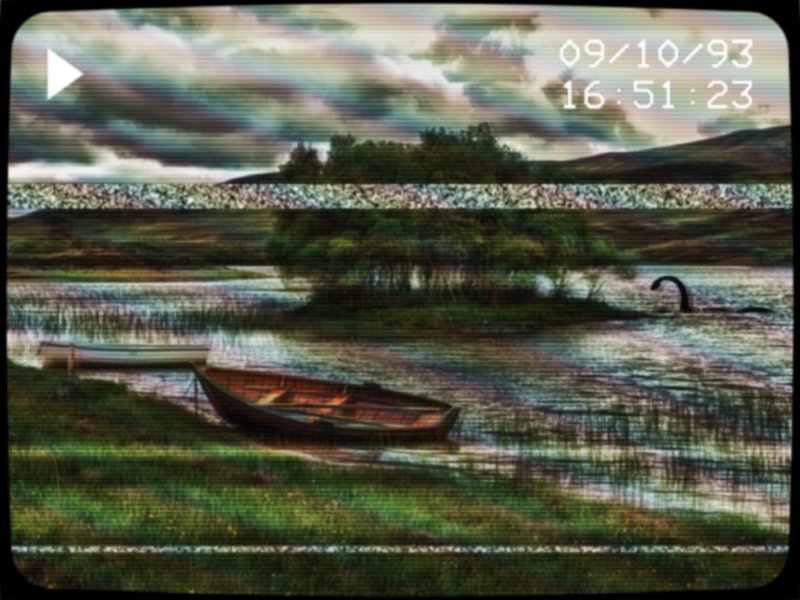
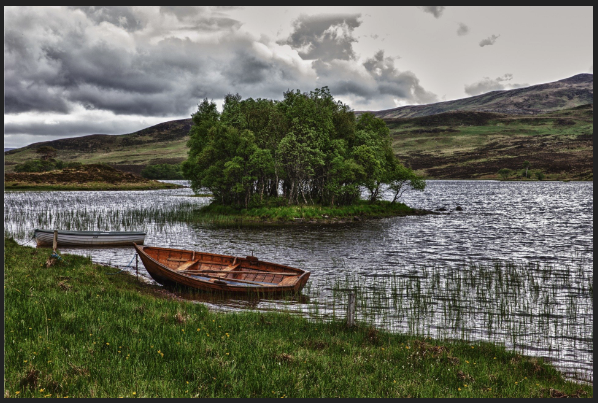
affinity photo Strange goings-on near the shores of Loch Madoor
GarryP posted a topic in Share your work
Quite a few Procedural Textures, Effects and Adjustments used in this for things like banding, static, ‘rainbowing’ and ghosting. I’ve attached a small copy of the original image for comparison.
-
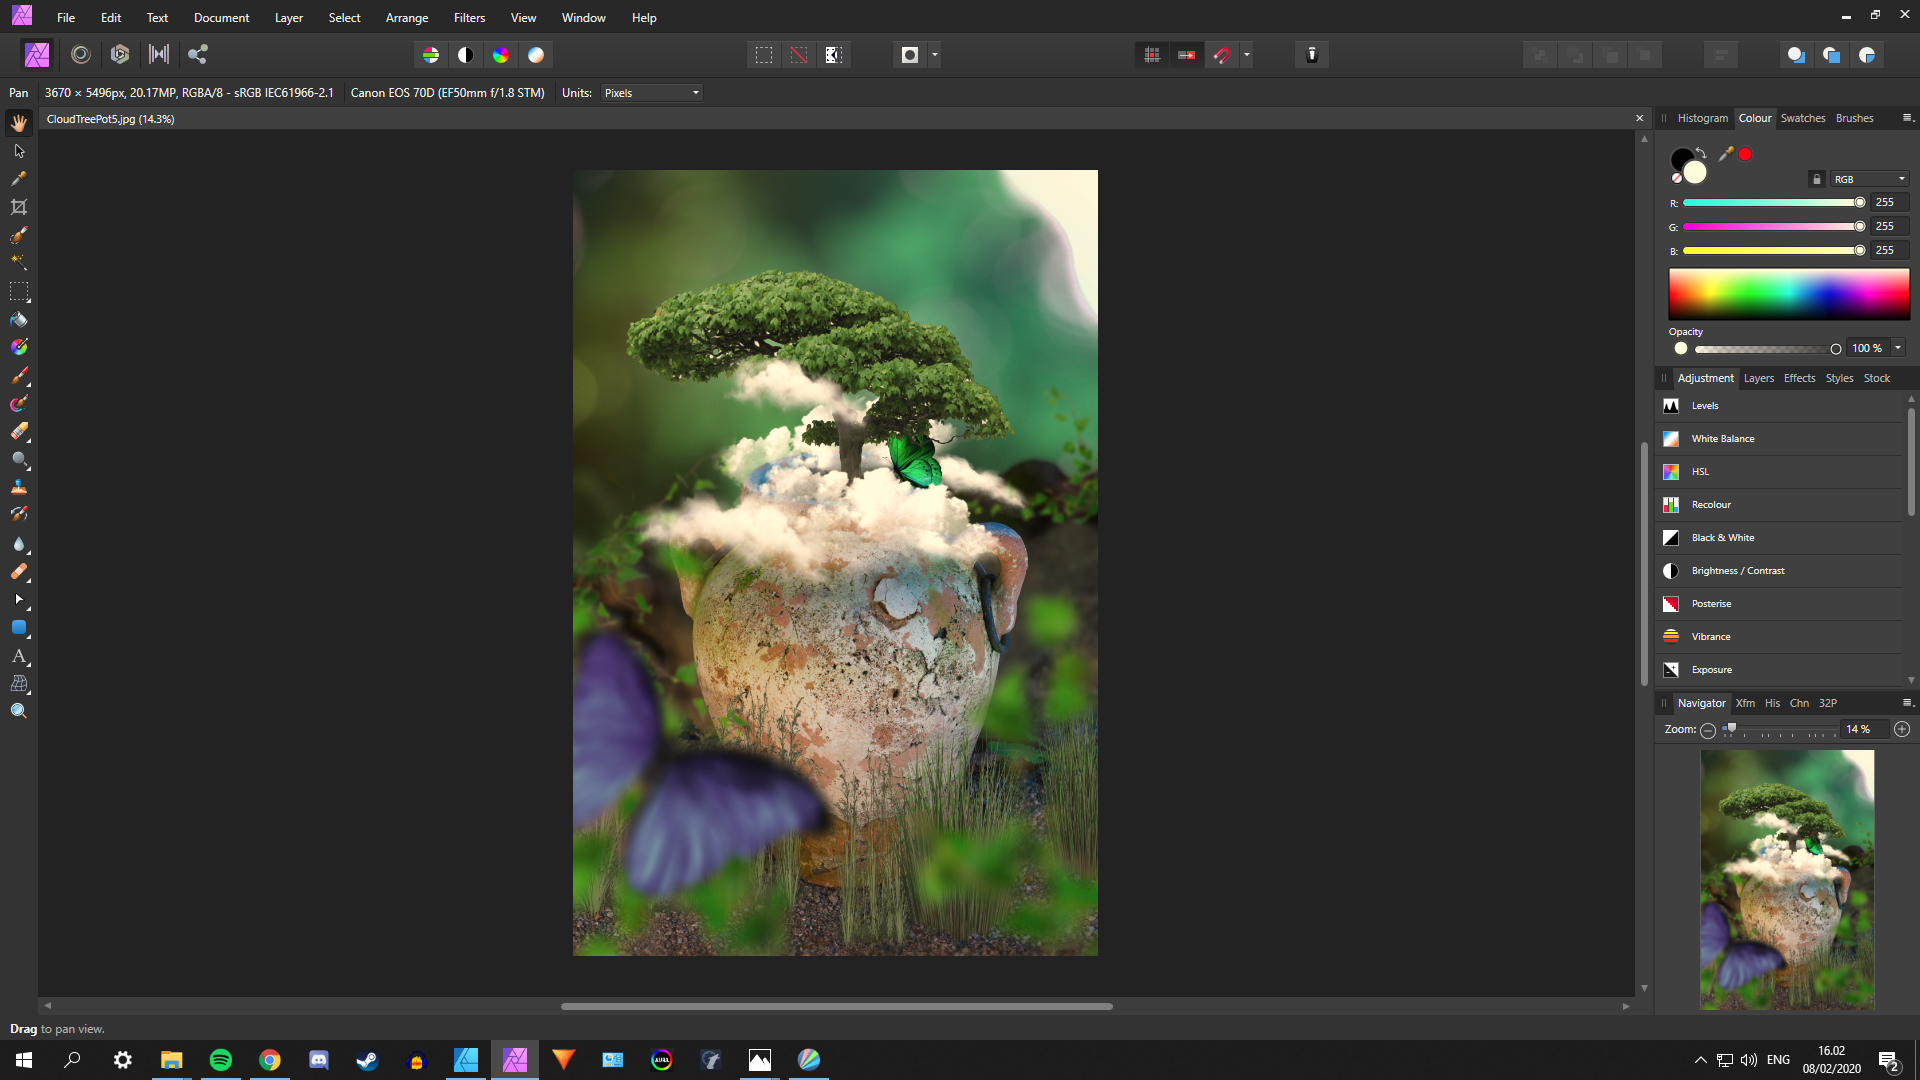
 Download Model Image https://tinyurl.com/uq6osry Color correction is something you will have to do today or in the future when you edit your or your clients picture. In today's tutorial, I'm gonna show you how to do that in the affinity photo and these will be advanced tutorial but don't worry if you're beginner, you can still watch and learn it. So without wasting any time let's DO editing. Don't Forgot to Subscribe to Support https://tinyurl.com/v3mu8pn
 -
 Selecting a portion of background [pixel] layer that was locked. Then I unlock the layer, then I hold down ctrl and attempt to drag selection to new location. This should have created a clone of the object either on the same layer or a new layer. Another bug with workflow? PS: copy and paste will create the cloned image of the selection.
 -
 Hi folks, I apologize for this probably simple question, but I'm getting lost... Is it a fact that tools such as DODGE&BURN can not work on a pixel layer ? Editing a really old analogic photo I 'realized' dodge (or one of the other two) does not work on a pixel layer whilst it is obviously performing its proper job on the background layer. I'm perhaps wrong, but I used those tools on 'new' pixel layers as well, in the past. Can anyone swiftly help me ? Where I'm getting wrong ? Thanks in advance
 -
In this episode: - Frames around pixel layers - Frames around image layers - Colorful Frames from Image Masks - PNG Frames over your image - Layer Effect Frames with the Outline Effect - Contour Gradient Frames with the Layer Effect
-
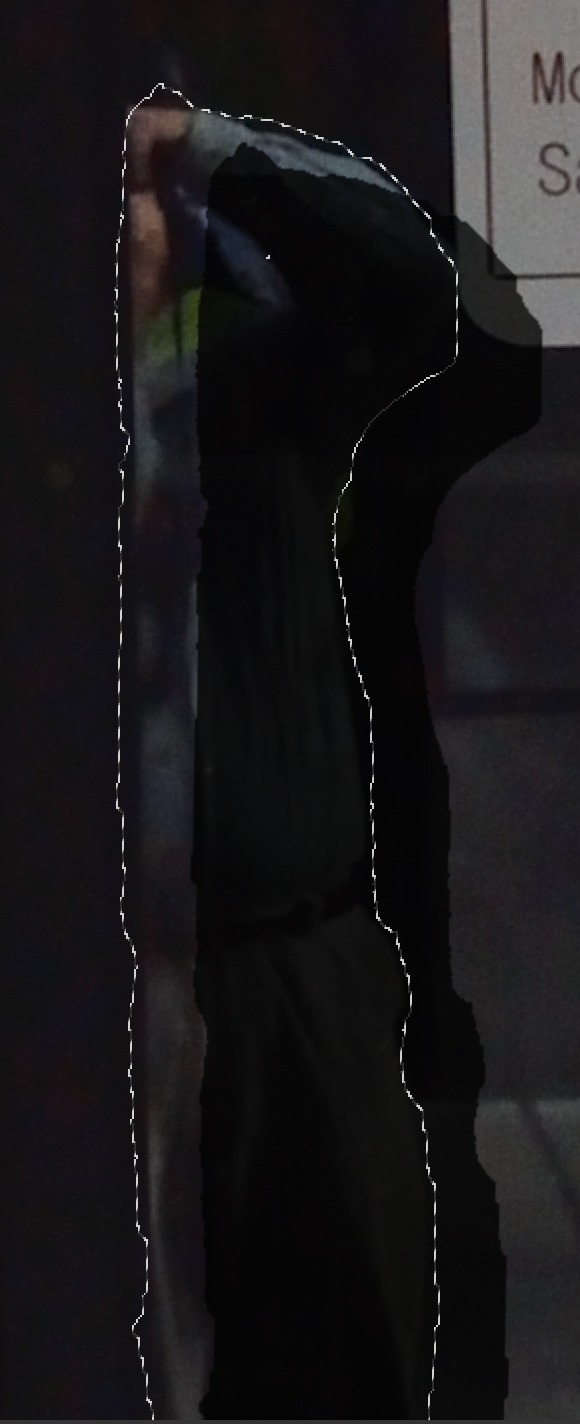
 Problem (Affinity Photo): the Adjustment Layer changes are offset from the selected area. I'm trying to darken my reflection in a window so selected the area with the 'Selection Brush Tool' and then created a 'Brightness/Contrast' adjustment layer to darken my reflection. As (I hope) you can see in the attached screen-shot, the shape of the adjustment is identical to the selected area but is offset to the right and down. This is totally repeatable. Same behavior with other adjustment layers (e.g. HSL). I suppose it's something I'm doing wrong but hard to imagine what/how. Any suggestions would be most appreciated. Thanks, Doug
-

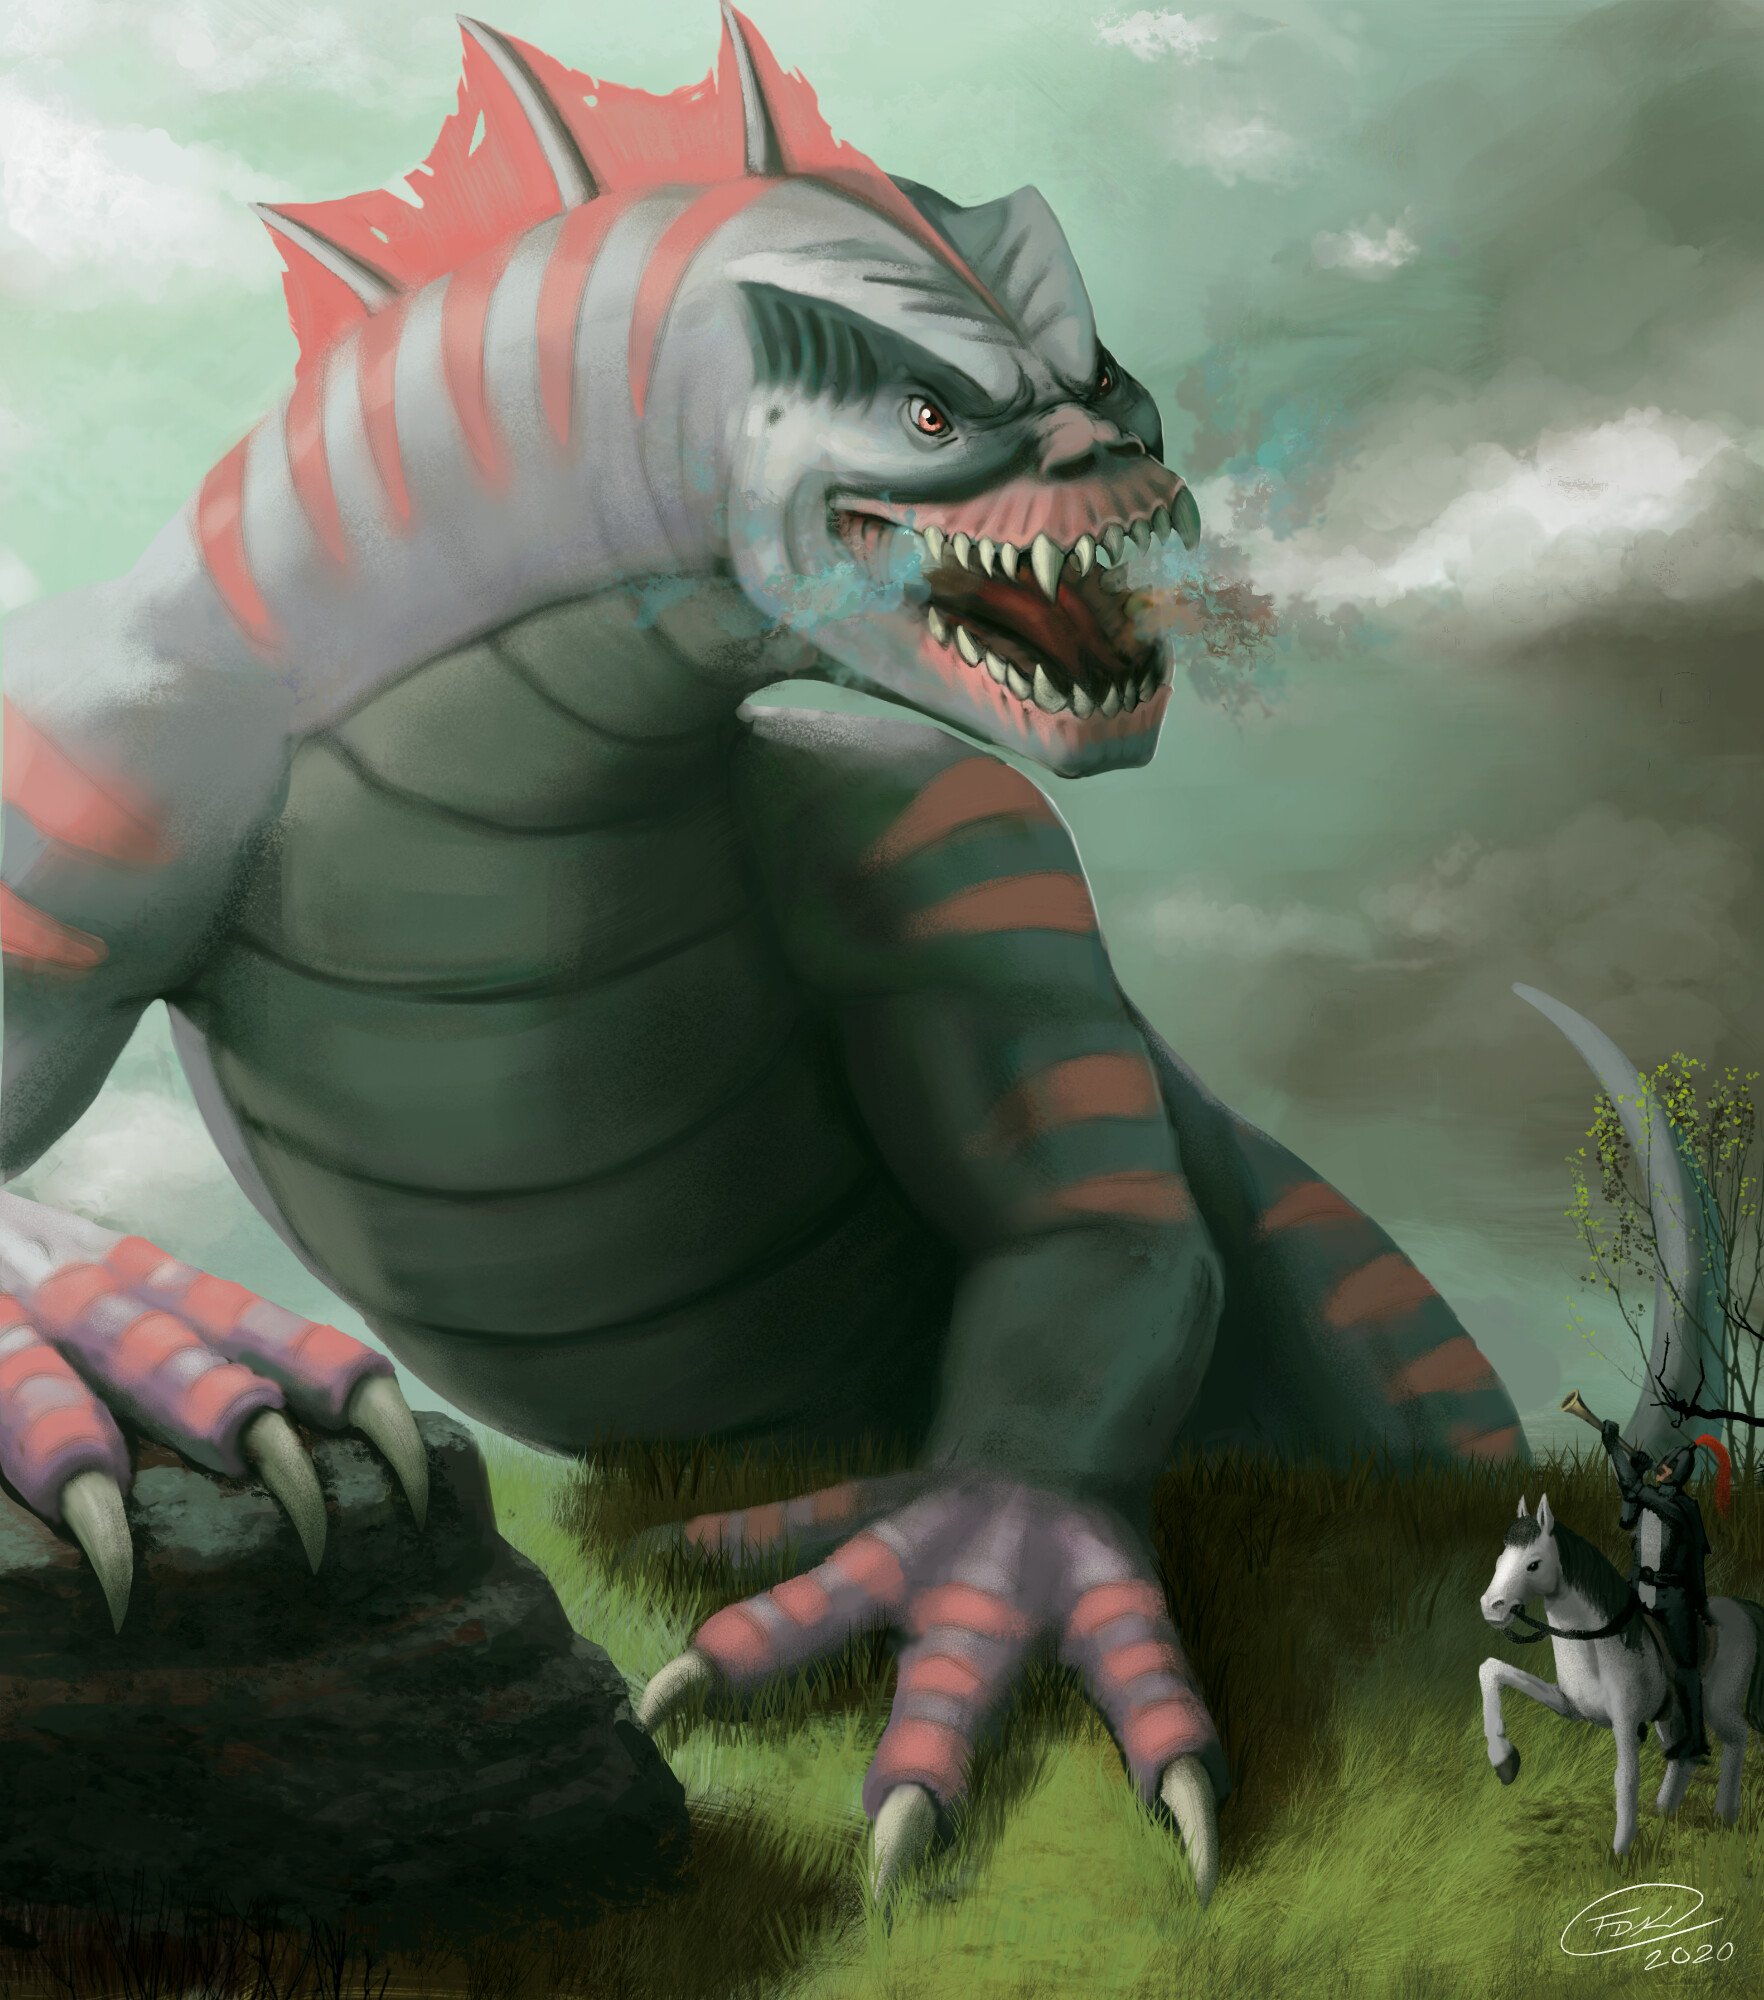
affinity photo (Painting) The Master and the Dragon
Frozen Death Knight posted a topic in Share your work
Tried to upload the image directly to the website, but I got an error message -200. So here's a link to my Artstation upload instead. All done in 1.8. https://www.artstation.com/artwork/QzQl1B (JPG added by moderator)
-
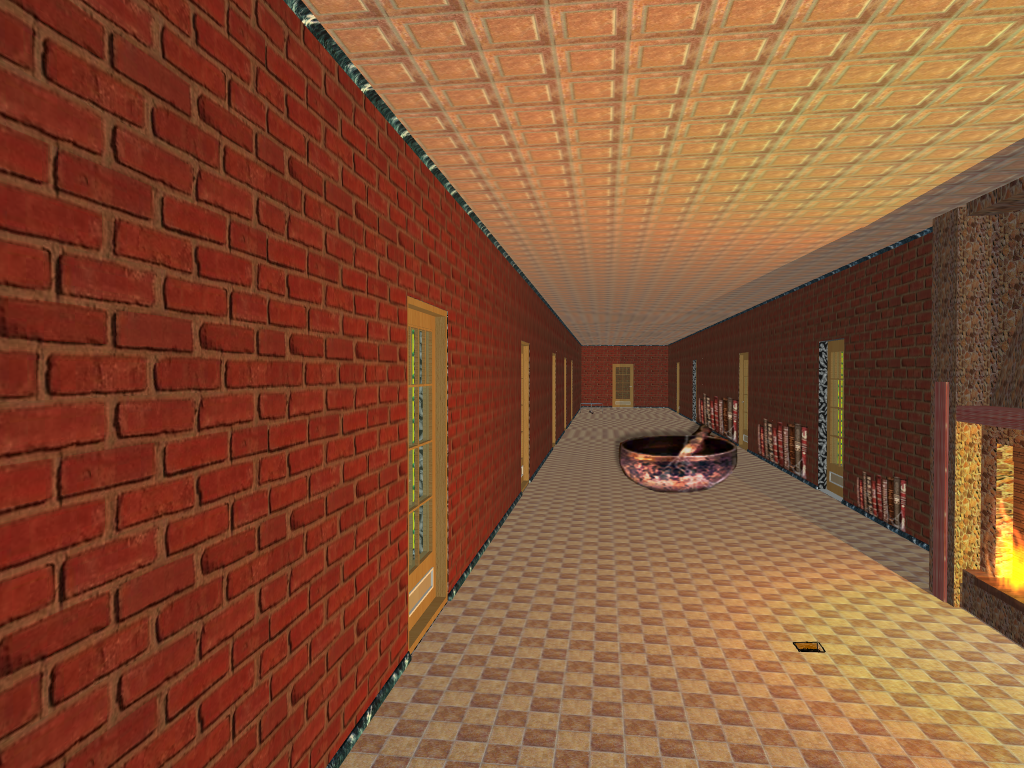
Cool, did a photo manipulation in Affinity Photo. It's a huge bowl in the middle of a hallway. I used the following; Perspective mesh on the bookshelves on the wall. Pasted the bowl image on a different layer. Used color curves to match the hallway atmosphere. added the shadow on the bowl to match the lighting. I drew the square hole in the ground by hand.
-
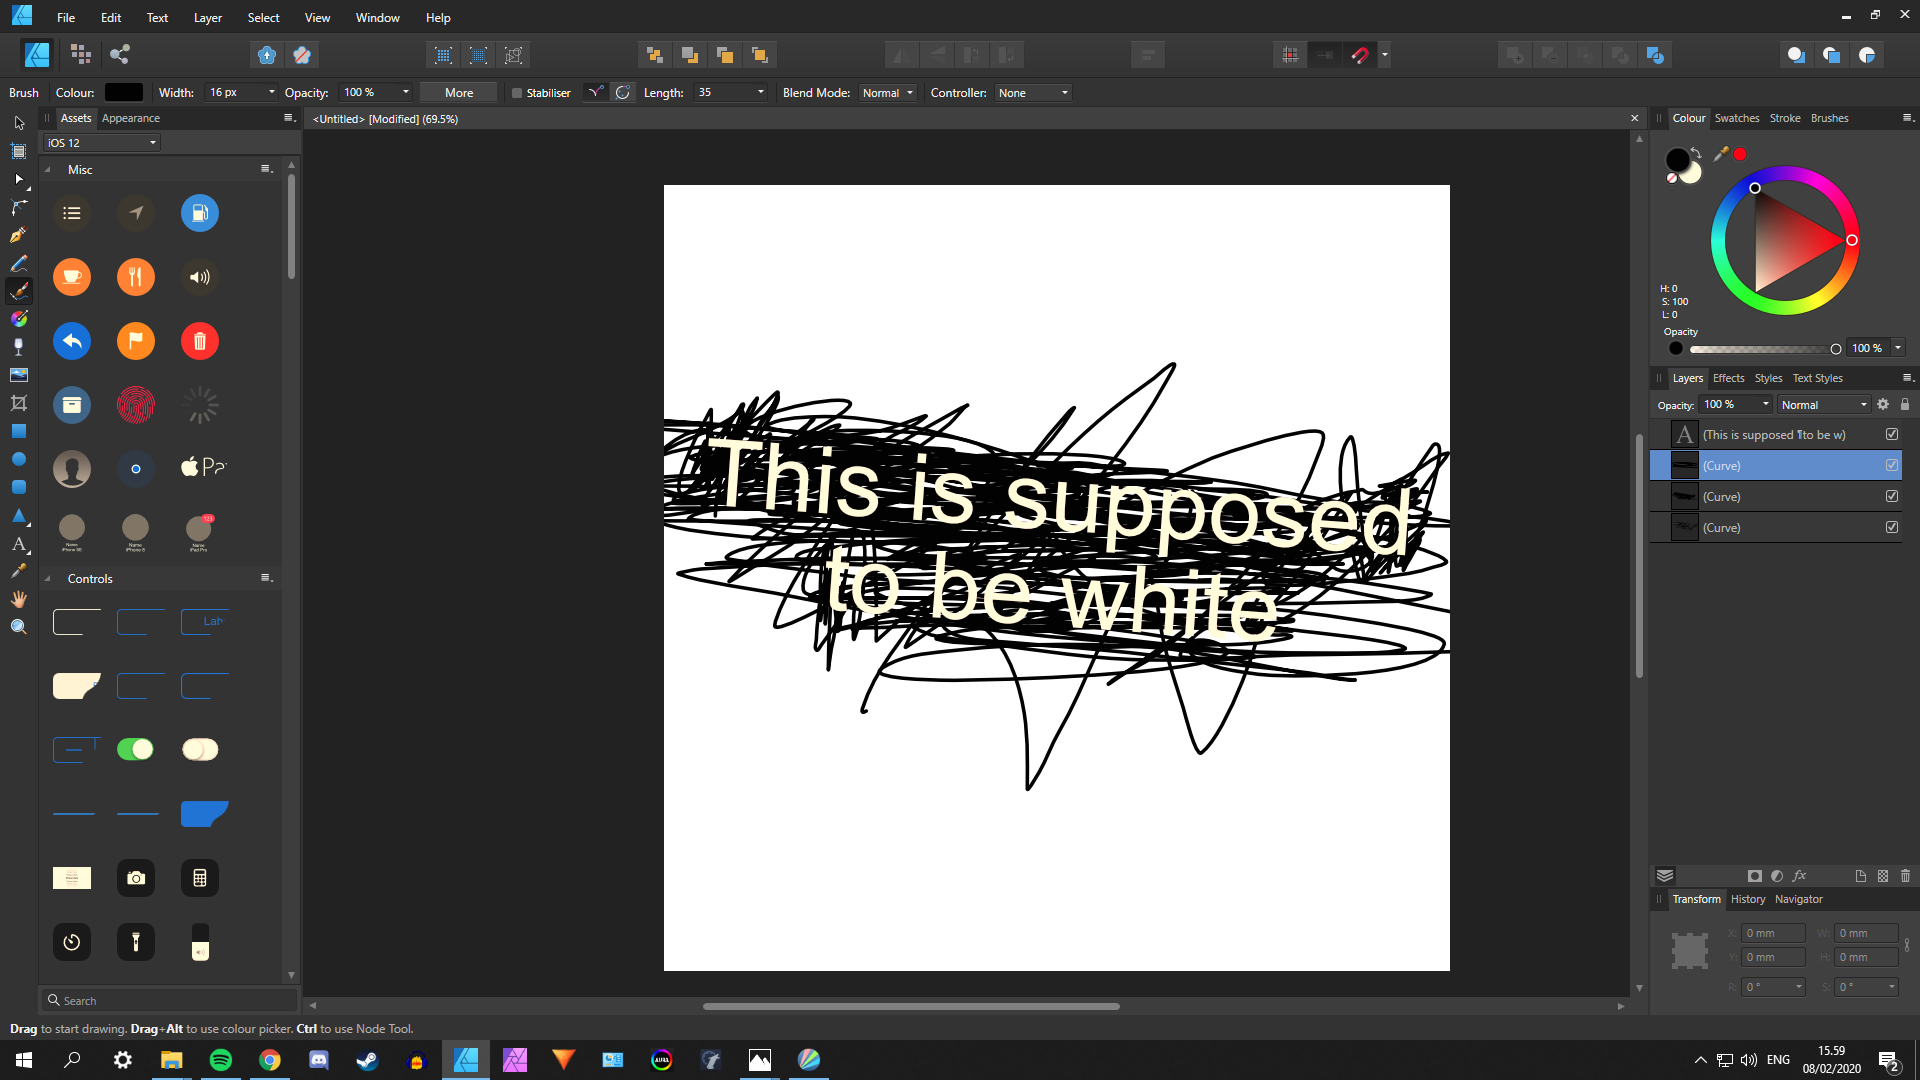
 Hey! So for some reason both my Designer and Photo show whites as yellows. I cannot fix this and I definitely know it isn't a problem with my monitor since I can clearly see the photos I edit as normal before importing them into Photo. Also, in Designer, the empty background is white, but the white brush is not. Please help. Thanks! Examples:
-
Made using Affinity Photo.
-
 I've been tinkering with conditional expressions in Apply Image. Ideally you'd do something like (conditional-expression?A:B) so if conditional-expression (eg x>0.5) evaluates as true then the result is A otherwise B. But they are not natural, so my current thinking is: roundup(clamp(expression,0,1)) If expression evaluates as negative, then the result is 0 otherwise 1 (including if it is >1), so you then multiply the whole thing by what you want to actually end up with. The 'else' alternative would be found by adding a similar term with the expression reversed. eg. DR=roundup(clamp(SR-0.5,0,1))*SG+roundup(clamp(0.5-SR,0,1))*SB This should set red pixels to equal to green pixel if the red pixel < 0.5, otherwise it should be blue. This, for example, lets you play with DIY blend modes which flip formula either side of 0.5. Untidy, I know. Does it make sense? Any improvements?
- 5 replies
-
- 1
-

-
- conditional
- apply image
- (and 1 more)
-
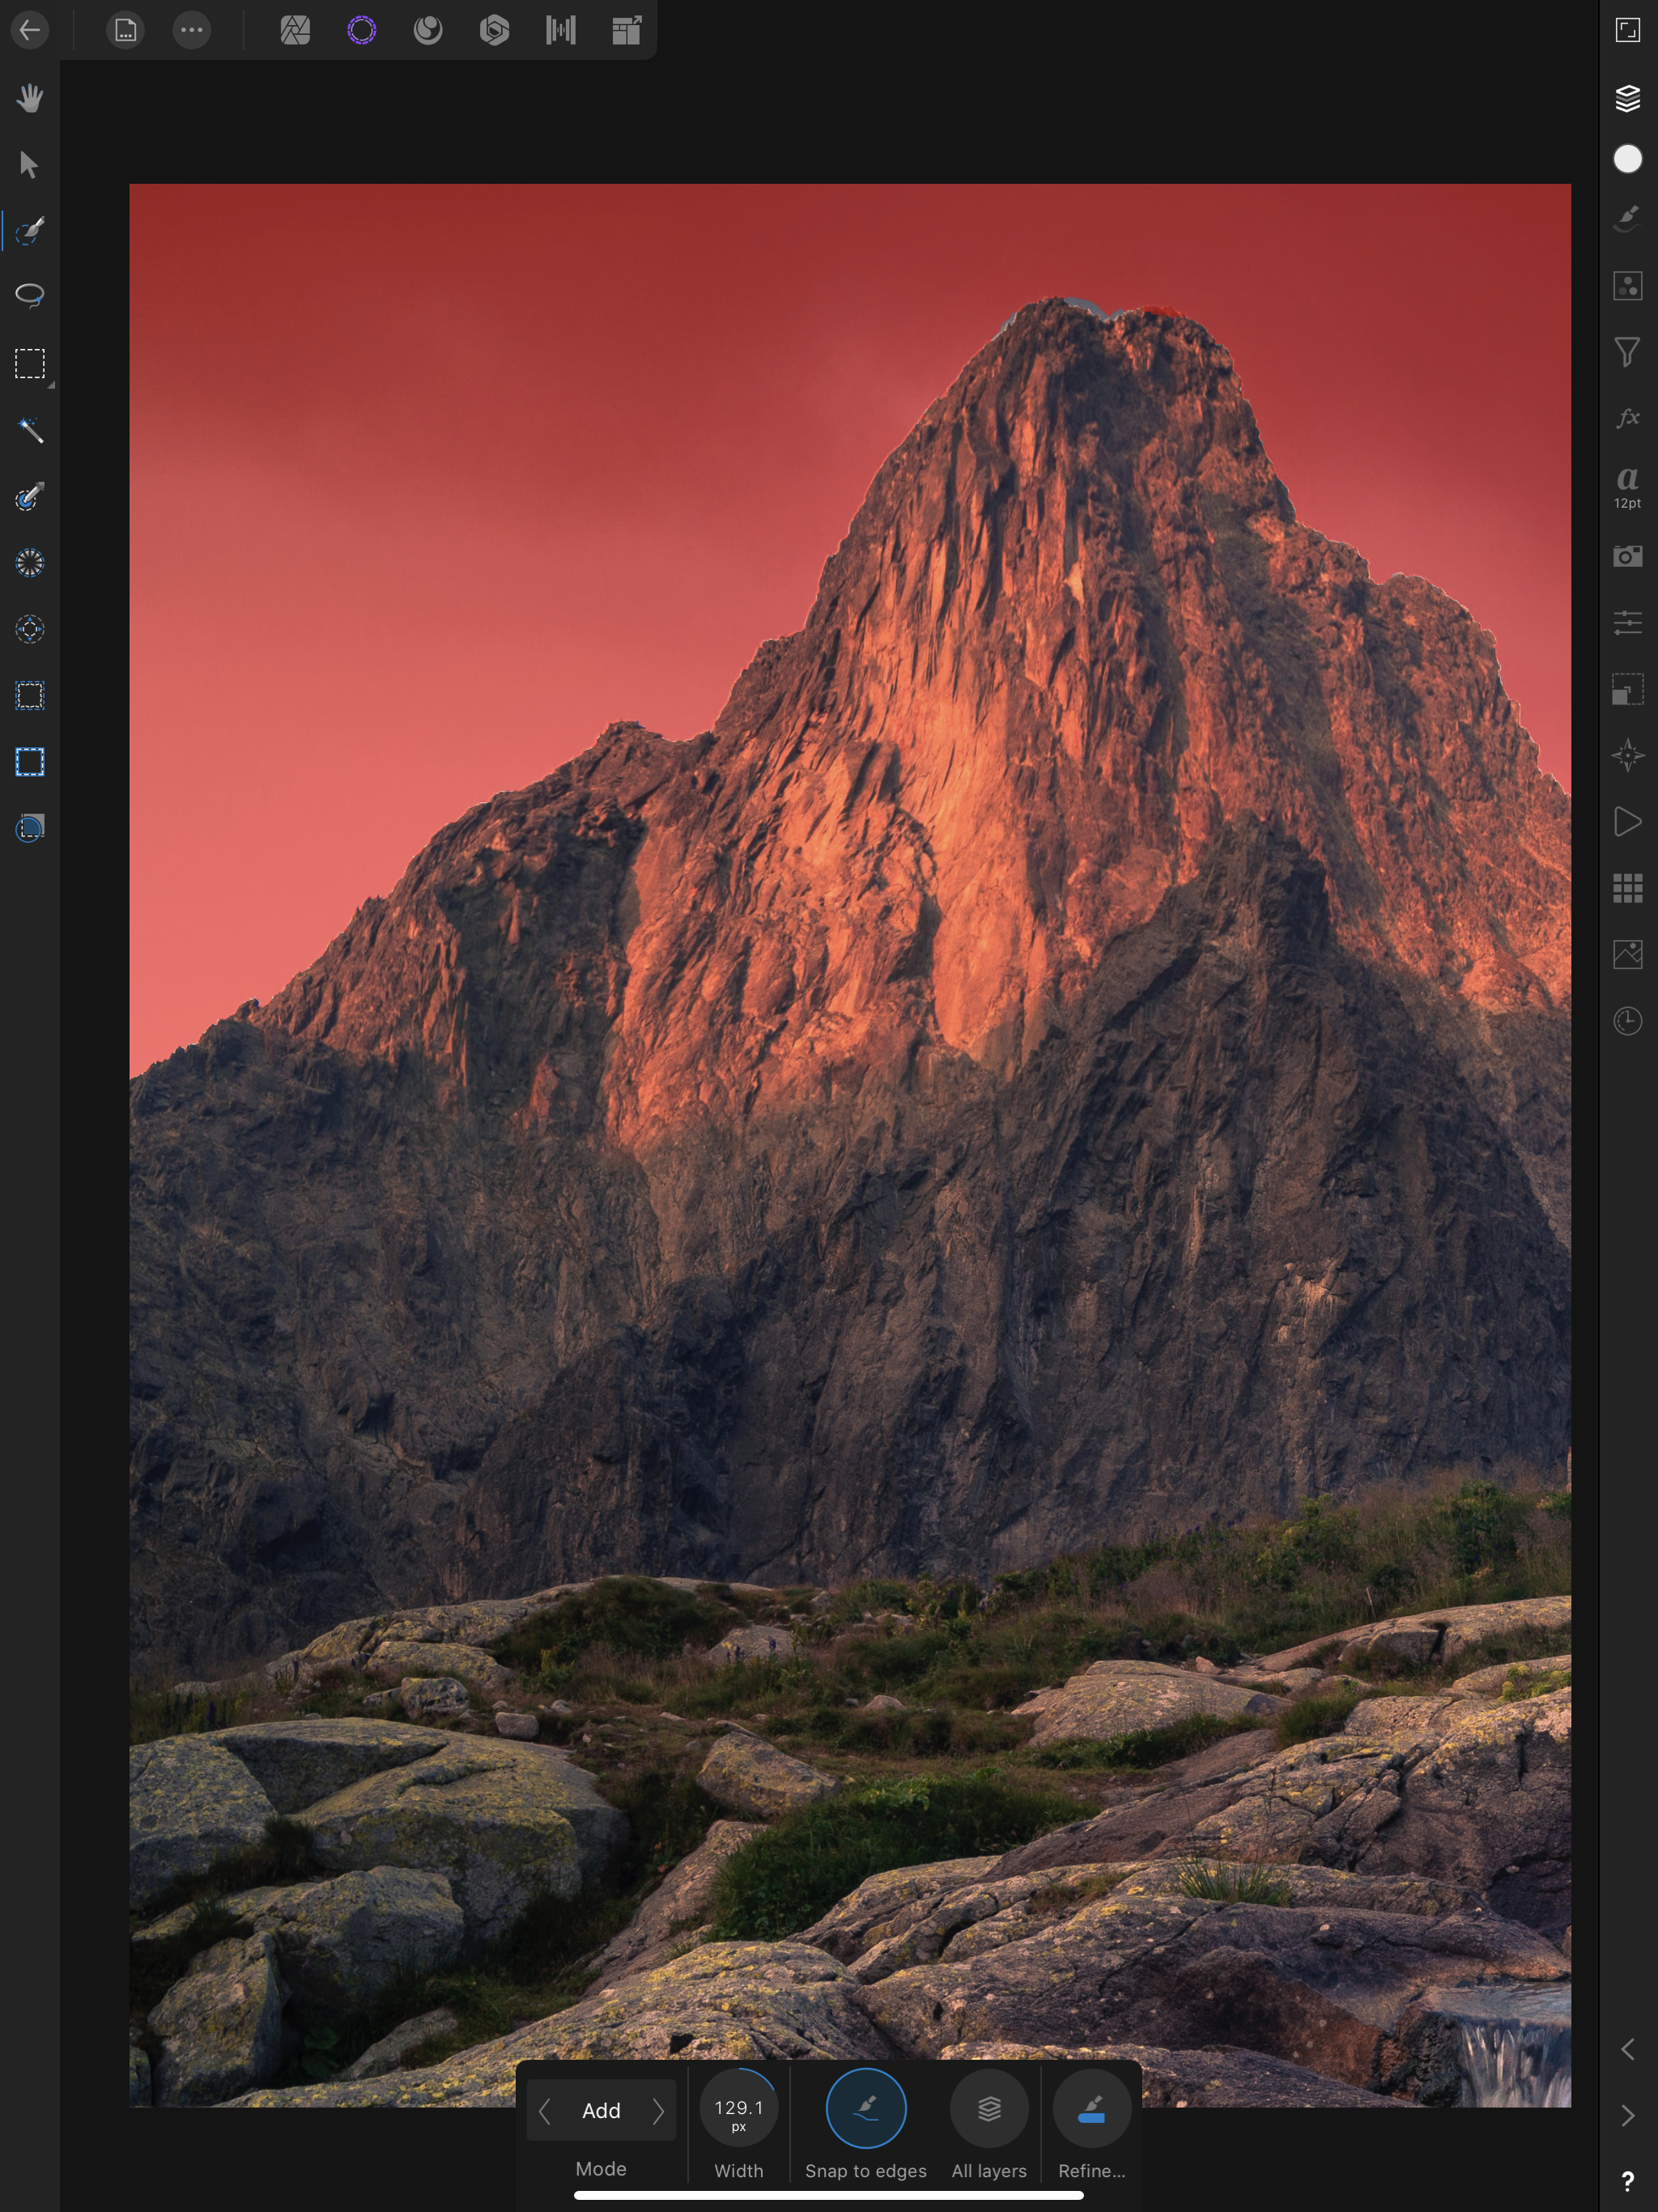
Affinity Photo Beginner Tutorial. See Video HERE If you want to start a editing in affinity photo, then there are some beginner things you should know about affinity photo. In this video, I'm gonna show you the 10 tips that every beginner should know before starting editing in the affinity photo. #1 How to open file and Place #2 Different Persona mode Check My Video about Basic editing in Affinity's Develop persona mode here👇 #3 Different Type of Layer #4 How to add different Tabs #5 Customize tools #6 How to Add Custom Size Presets #7 How to Remove Background in Affinity Photo #8 Things which are not in Photoshop #9 How to Save and Export Files #10 Affinity Photo Manual Download HERE https://tinyurl.com/ttqwalr This 10 affinity photo tips will help you to edit basic photos.
-
 My team and I work on 360 video content and often are required to do complex masking and removals on certain 360 equirectangular shots. Previously, we have utilised Photoshop's '360 Spherical Panorma' tool to do these removals. However, upon inspection, have realised that even when using 8K source images, Photoshop seems to drastically downsample the image quality in areas we have patched and corrected to the point that details become indistinguishable. This drastically reduces the image quality in shots and is very noticeable. Does the same issue occur in Affinity, or is image quality retained when applying patches/cleanup in the 360 Live Editing Tool? Any answers would be greatly appreciated
 -
I created 15 awesome Mockups for you that you can download today. Also in this video I will show you how i created them and found a very smart workaround to use Files without including them. Get 2 FREE Mockups here: https://gumroad.com/l/BMEYg/freemockups OR get 4 Mockups: https://gum.co/kTsnt OR get 7 Mockups: https://gum.co/aplmg OR get 15 Mockups: https://gum.co/AgSfd Mockup Tutorial: https://www.youtube.com/watch?v=f2xoh242sIM Support me on Patreon: https://www.patreon.com/sarikas Follow me on: https://www.facebook.com/sarikastutorials https://www.instagram.com/sarikasat/ Join us on Reddit: https://www.reddit.com/r/AffinityPhotoTuts/ Dayspring by Firefl!es https://soundcloud.com/mangesh-dongare-427116573 Creative Commons — Attribution 3.0 Unported — CC BY 3.0 Free Download / Stream: https://bit.ly/_dayspring Music promoted by Audio Library https://youtu.be/Zg_P1JQV5pY
-
Thought I would share this story, not sure if there is much of a call for this type of content nowadays. This intro story is inspired by my partial play through of RED Dead Redemption 2 on PC. I have used the setting for the story from the game where I then did a photo shoot taking pictures from inside the game world and then enhancing them using Affinity Photo and Designer. I was very pleased with the level of detail shown by the creators of this game world and this prompted me to write a series of RED Dead Stories. Digital Media Only Red Dead Vamporia.pdf
-
 I have a number of Macros that I recorded in Affinity Photo to place files as watermarks that are still working. (export file attached). The problem I have now is that I want to record new macros as I have updated my watermark file, but when I do File>Place it is recorded as Set Text Stylesheet. When I try to execute the new recorded macro I have had two results Affinity Photo shuts down or the placed watermark is corrupted. I have also attached a video of my actions in Affinity Photo (the Group was a slip of the finger). Has anyone out there experienced this problem and more importantly solved it? The system I am using is a Lenovo Hybrid with 128gb SSD, 4GB RAM running Windows 10 Affinity_Photo_2020-01-30_00-18-53.mp4
-
For some time already I had the idea with the finger, which is not the own finger. In time for Halloween, I finally had time to implement that, of course with my favorite App Affinity Photo. Like Dr. Frankenstein, I have some (free) images assembled to one, partly I have drawn on the layers with vector brushes. For the hand below, I photographed the hand of a friend. I then arranged the whole thing with some layer effects. https://www.bodobe.de/psst-keep-quiet/
-
 Is it possible to setup the menu layout on Affinity so that every time it is opened, certain menus are already showing (i.e. layers, colour, etc.)? Ideally if there is a way of setting this through Group Policy, a registry change that can be sent out, as we have this on over 150 machines.
 -
 When I use the smart selection brush tool the option for selection output to new layer etc is missing. Please see screenshot. Thanks for any help showing me how to find this option.
-
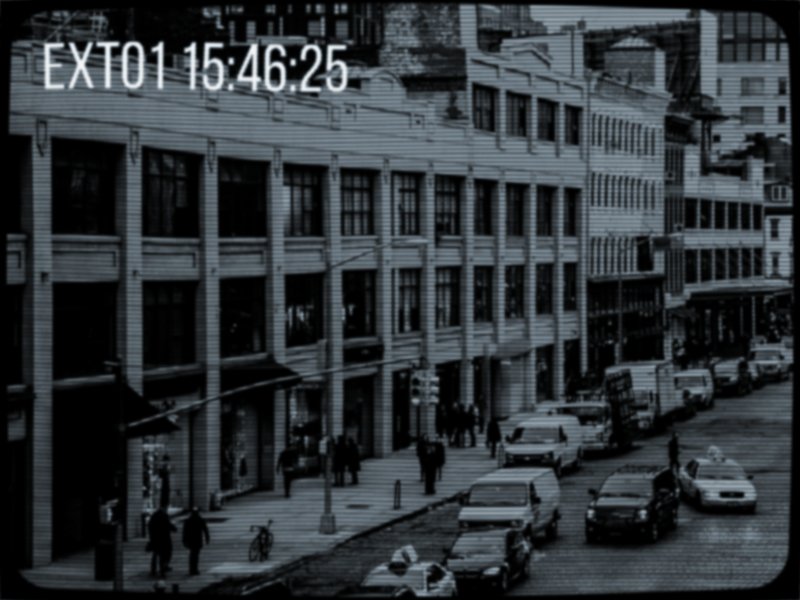
Just for fun I thought I’d have a go at recreating an image from an old CCTV camera using Photo. It’s not perfect but I’m reasonably pleased with it so far, all done with Live Filters and Adjustments. If I do any more tweaks then I might post another version. For comparison, you can find the original image here: https://pixabay.com/photos/city-street-traffic-cars-731239/
- 5 replies
-
- 2
-
-
- photo
- experiment
- (and 1 more)
-
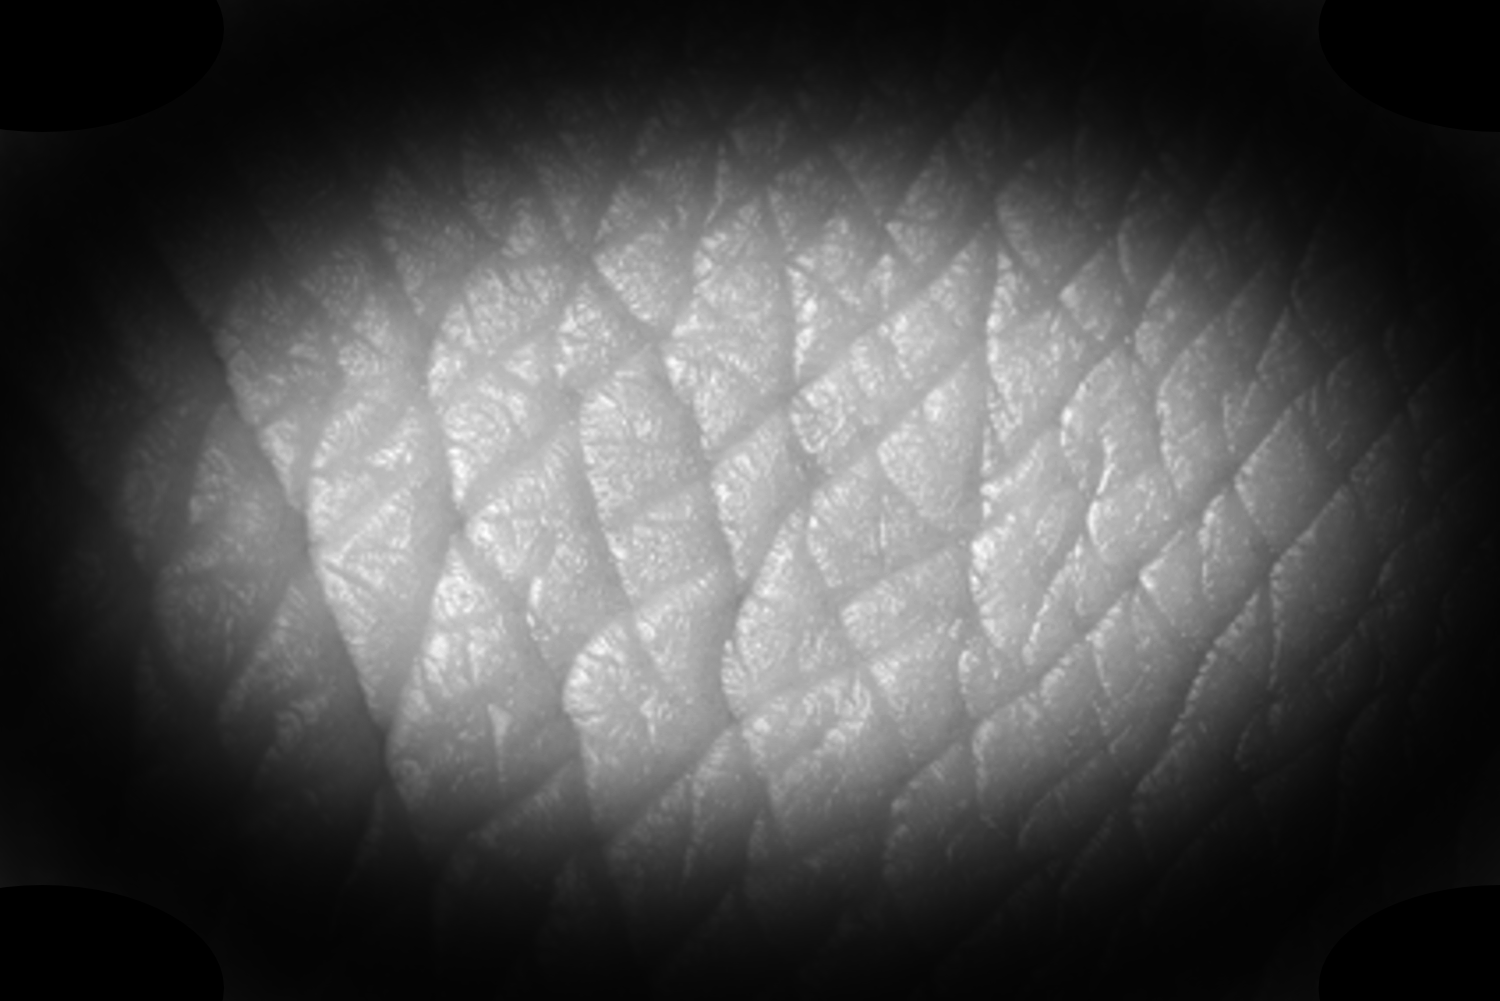
This is an attempt to create realistic vector skin texture. It is not perfect yet, but it is getting there and I am still fiddling with it. I attached all files created in both Affinity Photo and Designer that I created in the process. I am doing this because I like to be able to create realistic vector portraits like this one for example: https://communicats.blogspot.com/2018/03/vladimir-putin-vector-portrait.html. I started with a skin texture photo, then created a vignette around it to give it a black background and from Affinity Photo exported in png. Next I imported in Affinity Designer as a New Textured Intensity Brush. I saved the Photo and Designer files with history, so what I've done to reach this point is visible (they include some intermediate tinkering as well). This is the exported png from Photo. Different types of skin texture can easily be created by replacing the reference image. This is what it looks like in Designer after drawing a few lines with the vector brush. The lines are given a Passthrough filter in the Layers Panel. I grouped the lines and applied a 3D fx to them. And these are the lines drawn with the vector brush in the outline view. It would probably be easier to allow the lines to blend better if Designer would include a feather function, but I think I recall seeing that is in the future roadmap (which is one of the functions I eagerly await). If I succeed in getting better results I will post them here. TEST soft edged - Realistic pores 06.afphoto Realisti skin texture TEST.afdesign
- 3 replies
-
- 1
-
-
- affinity designer
- affinity photo
- (and 1 more)
-
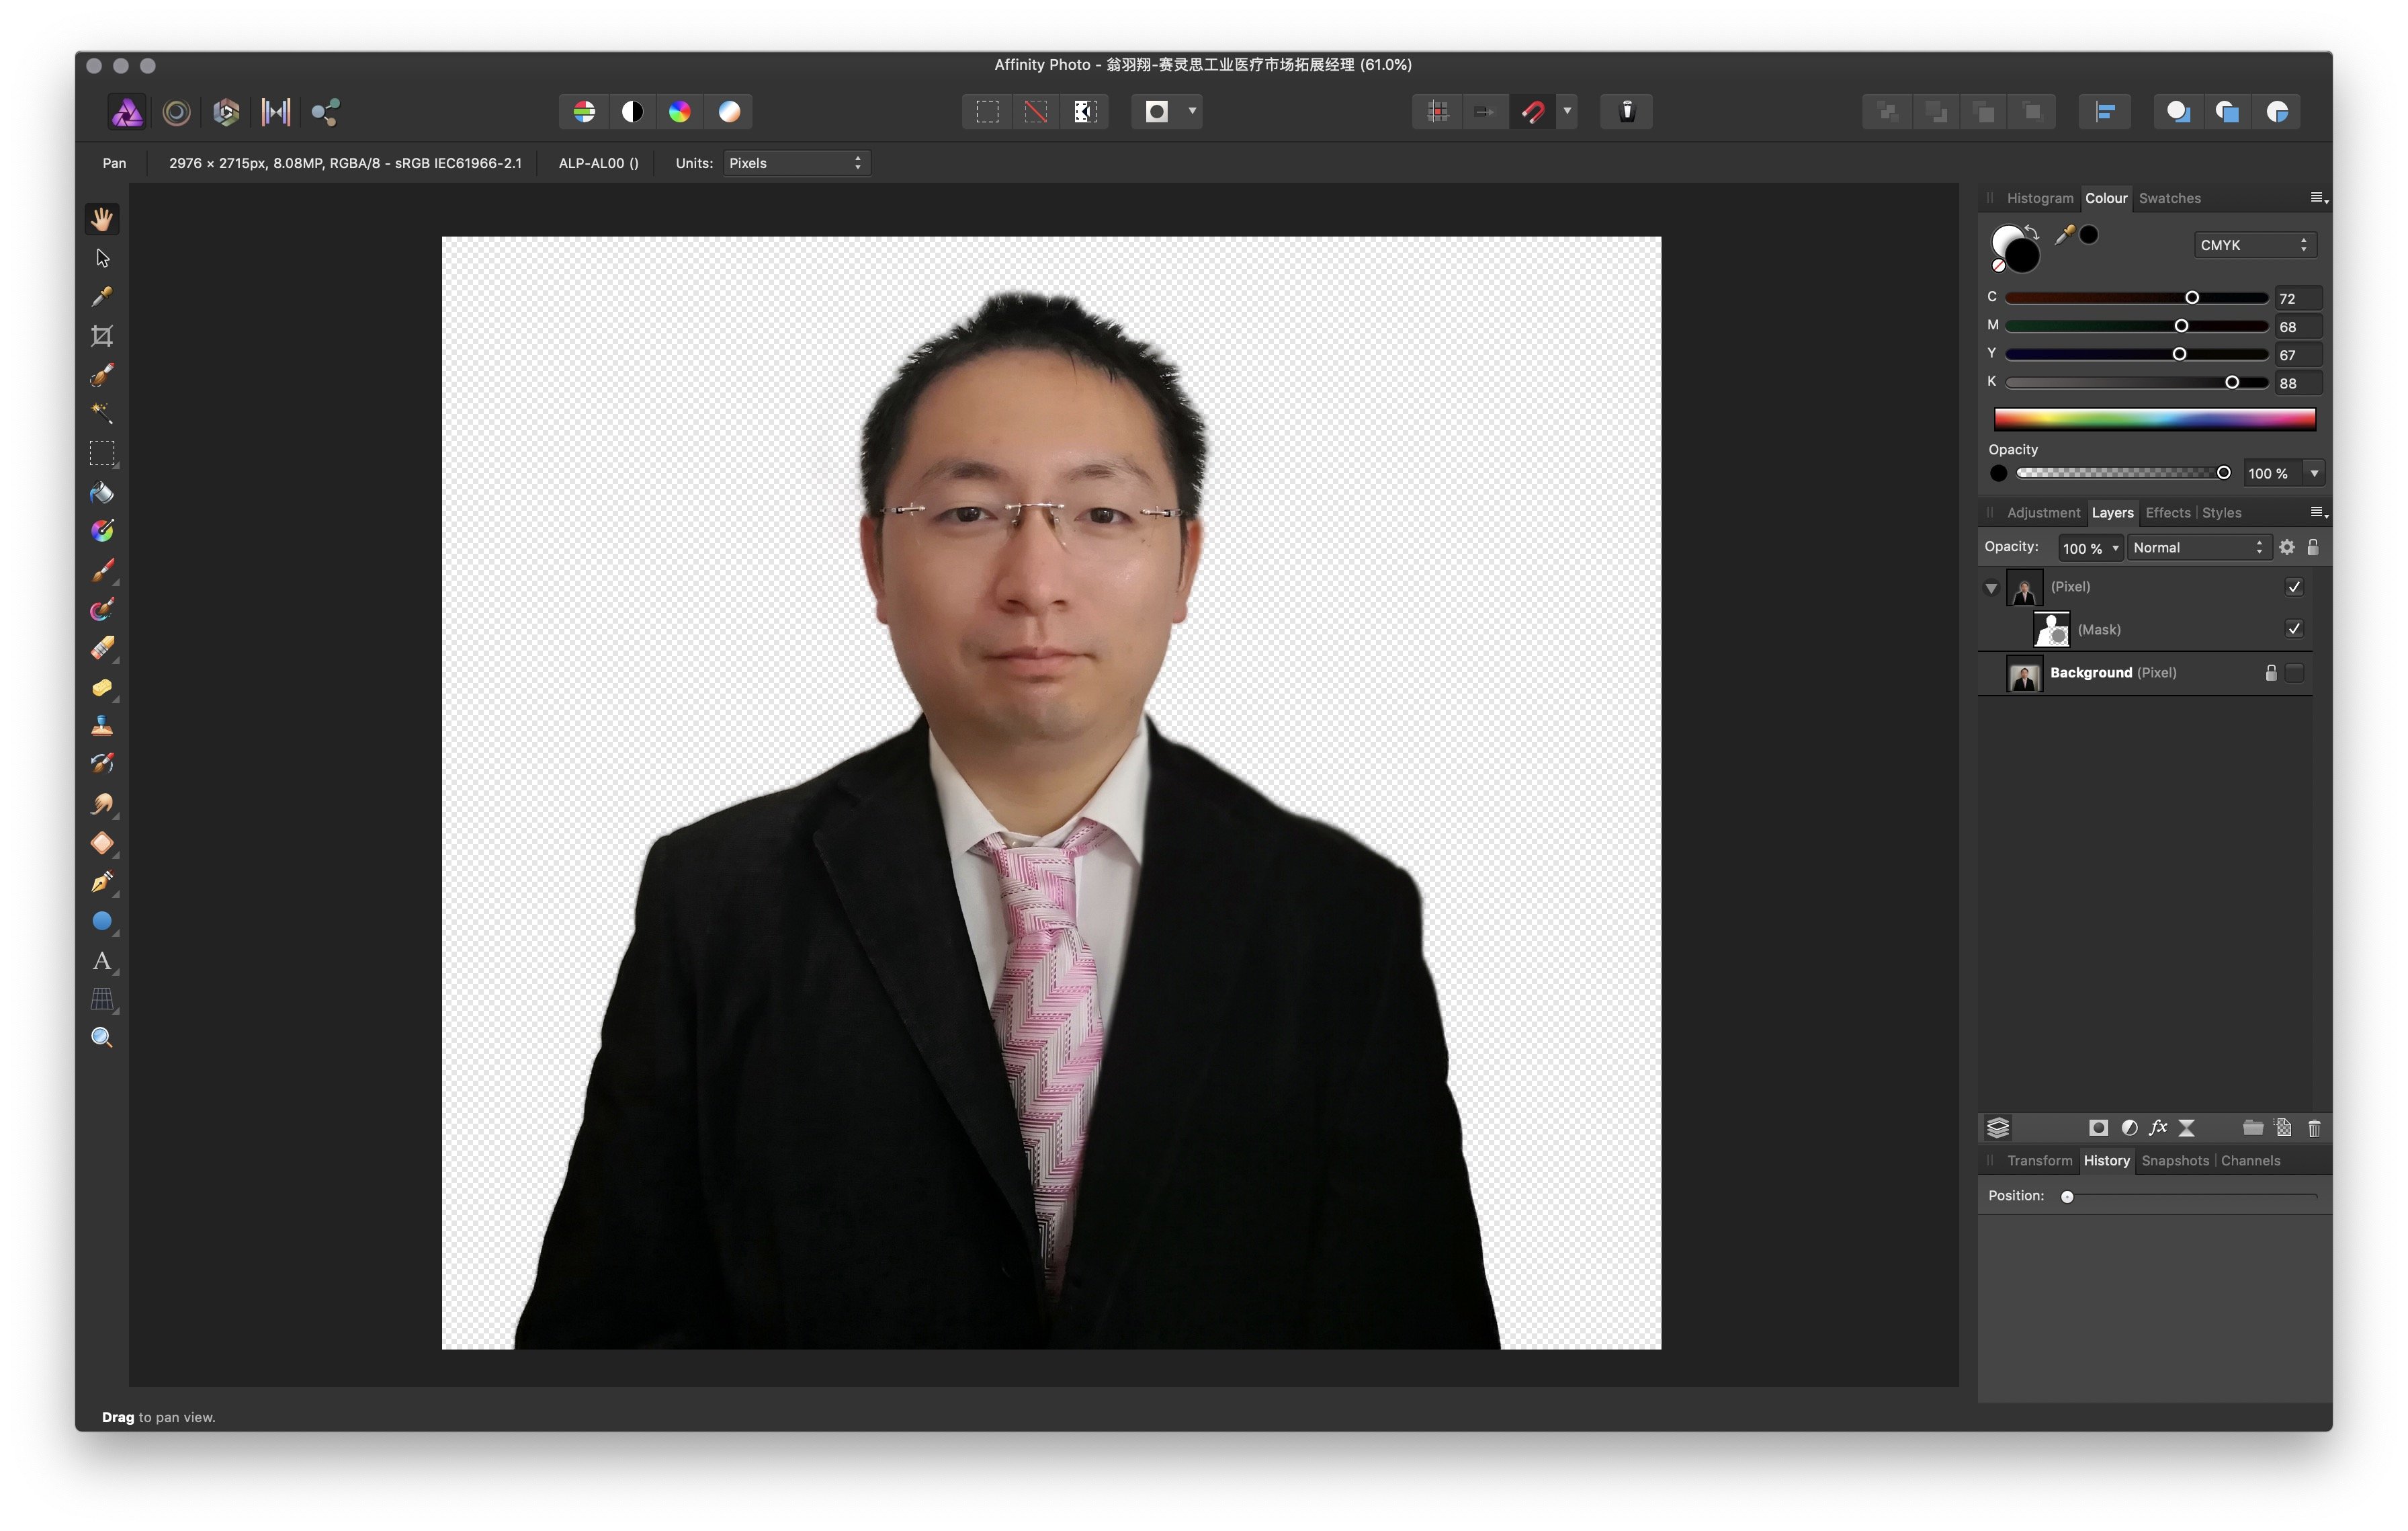
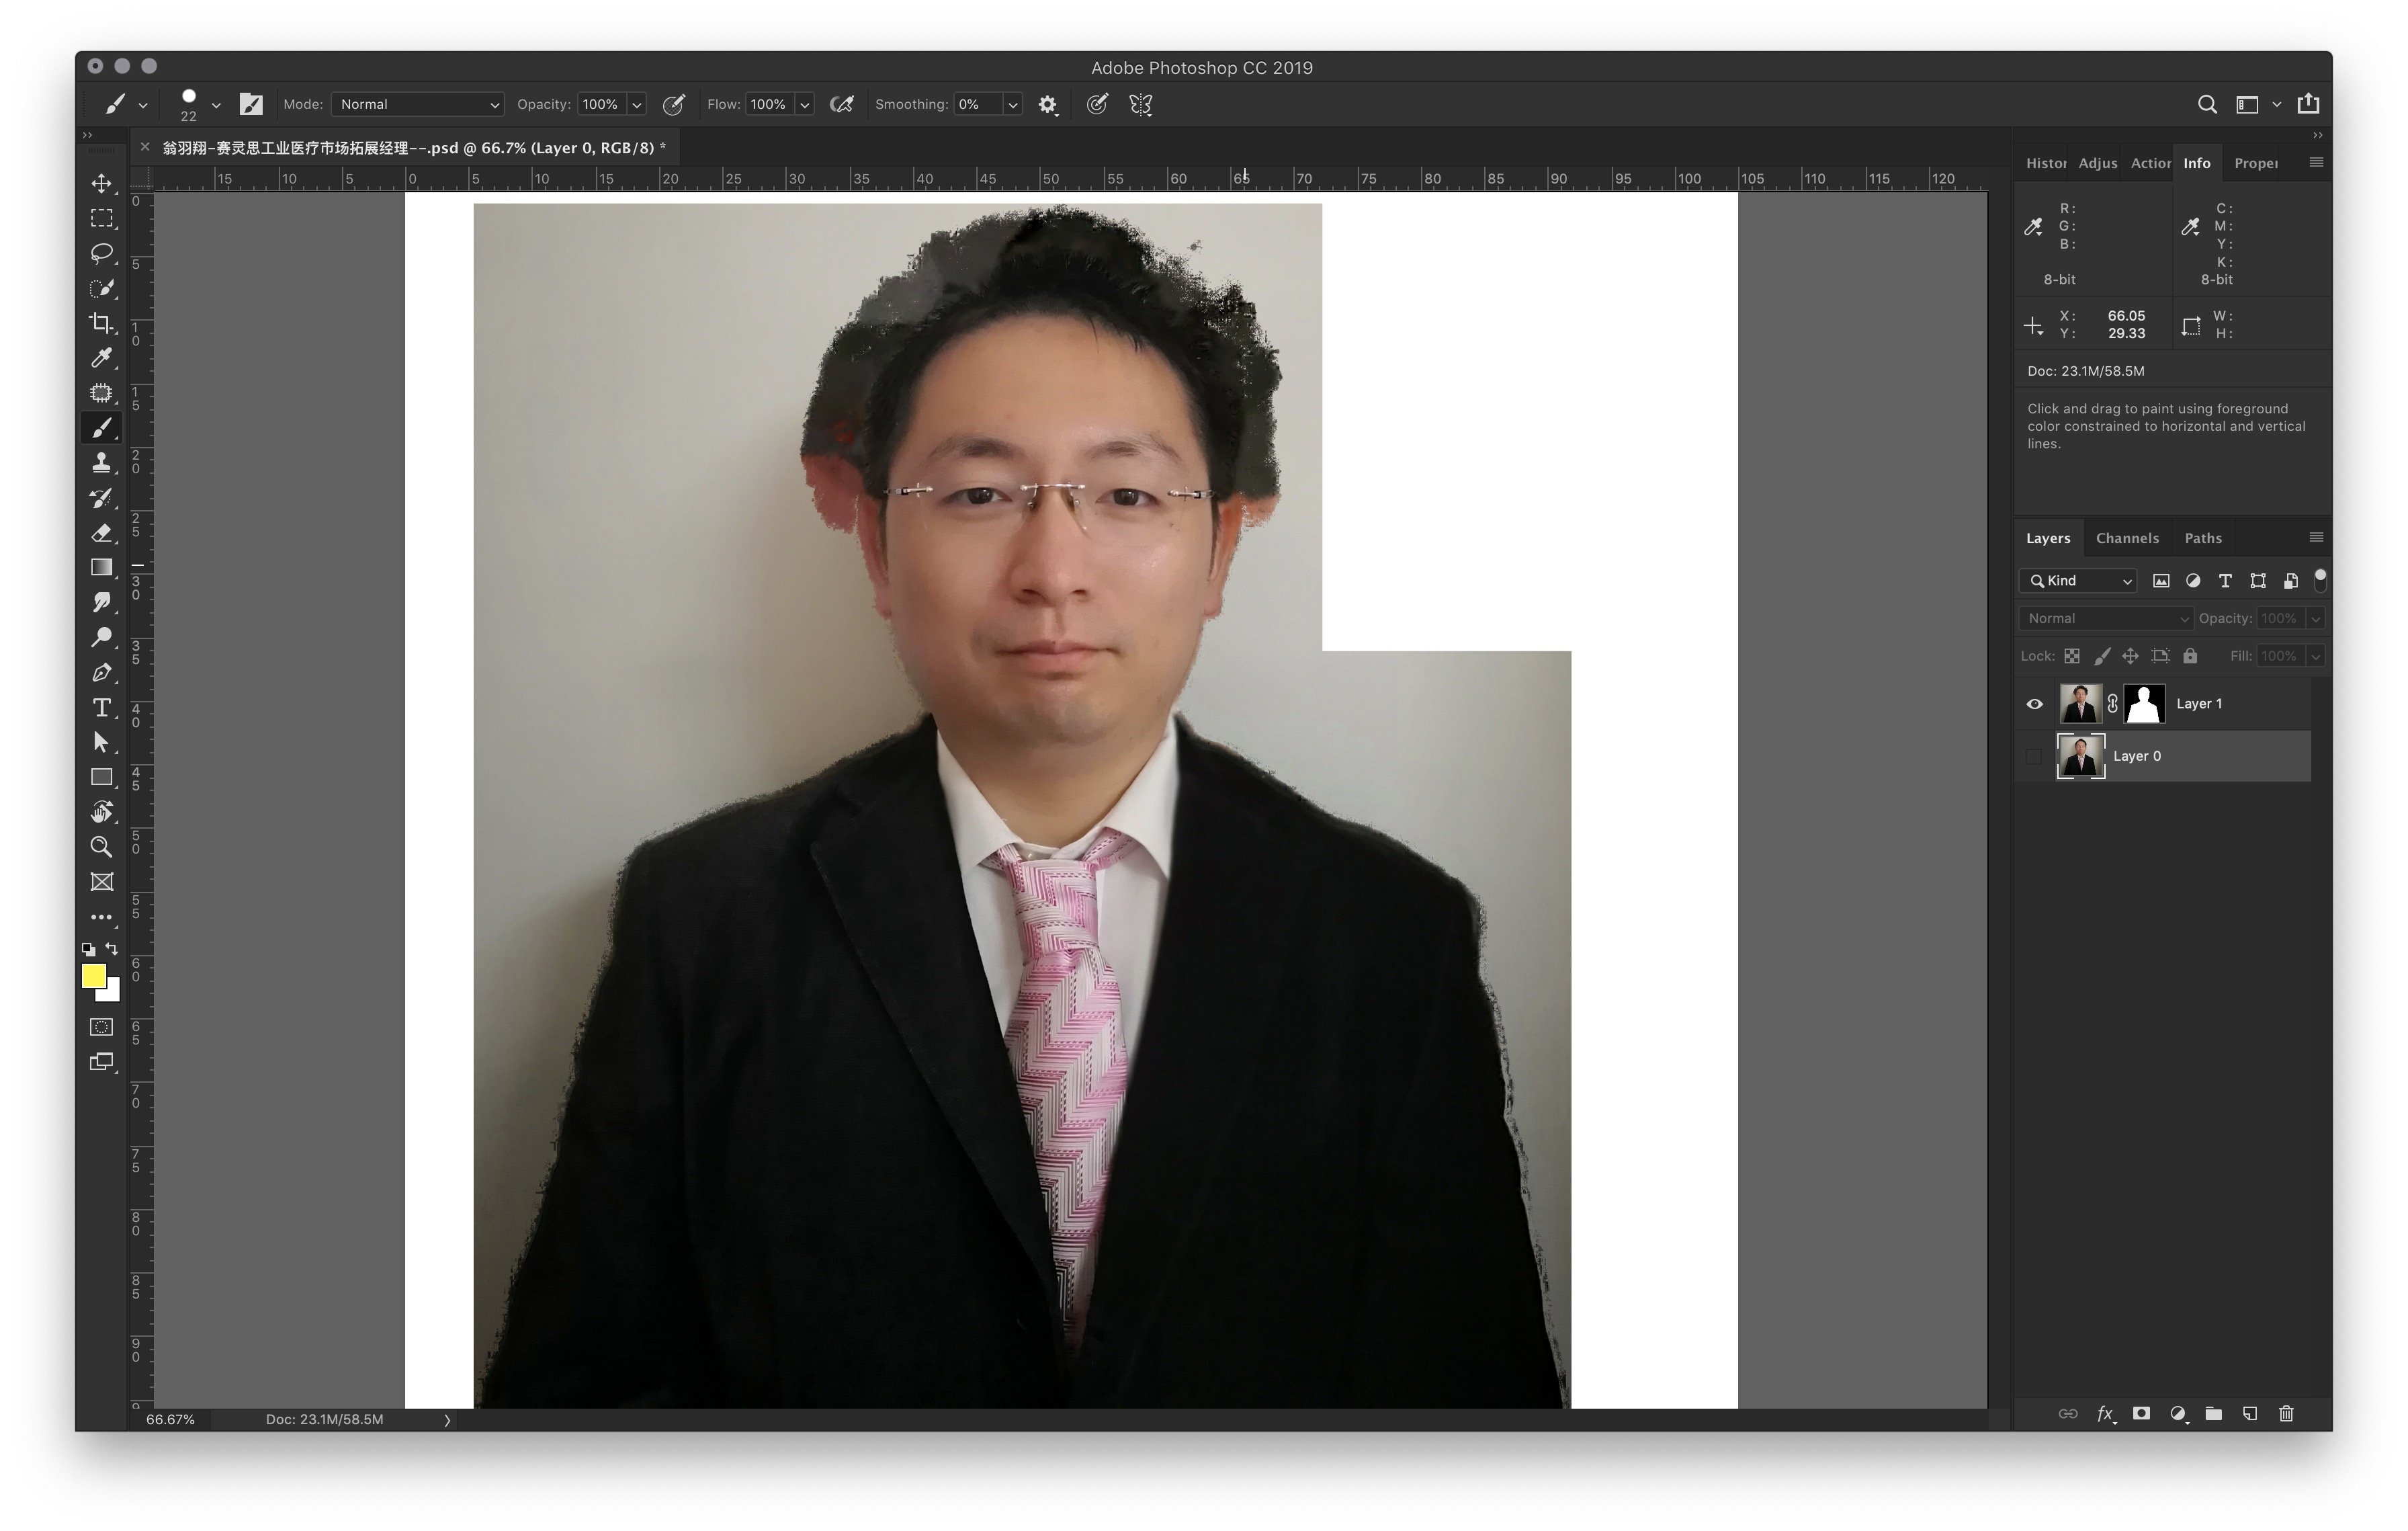
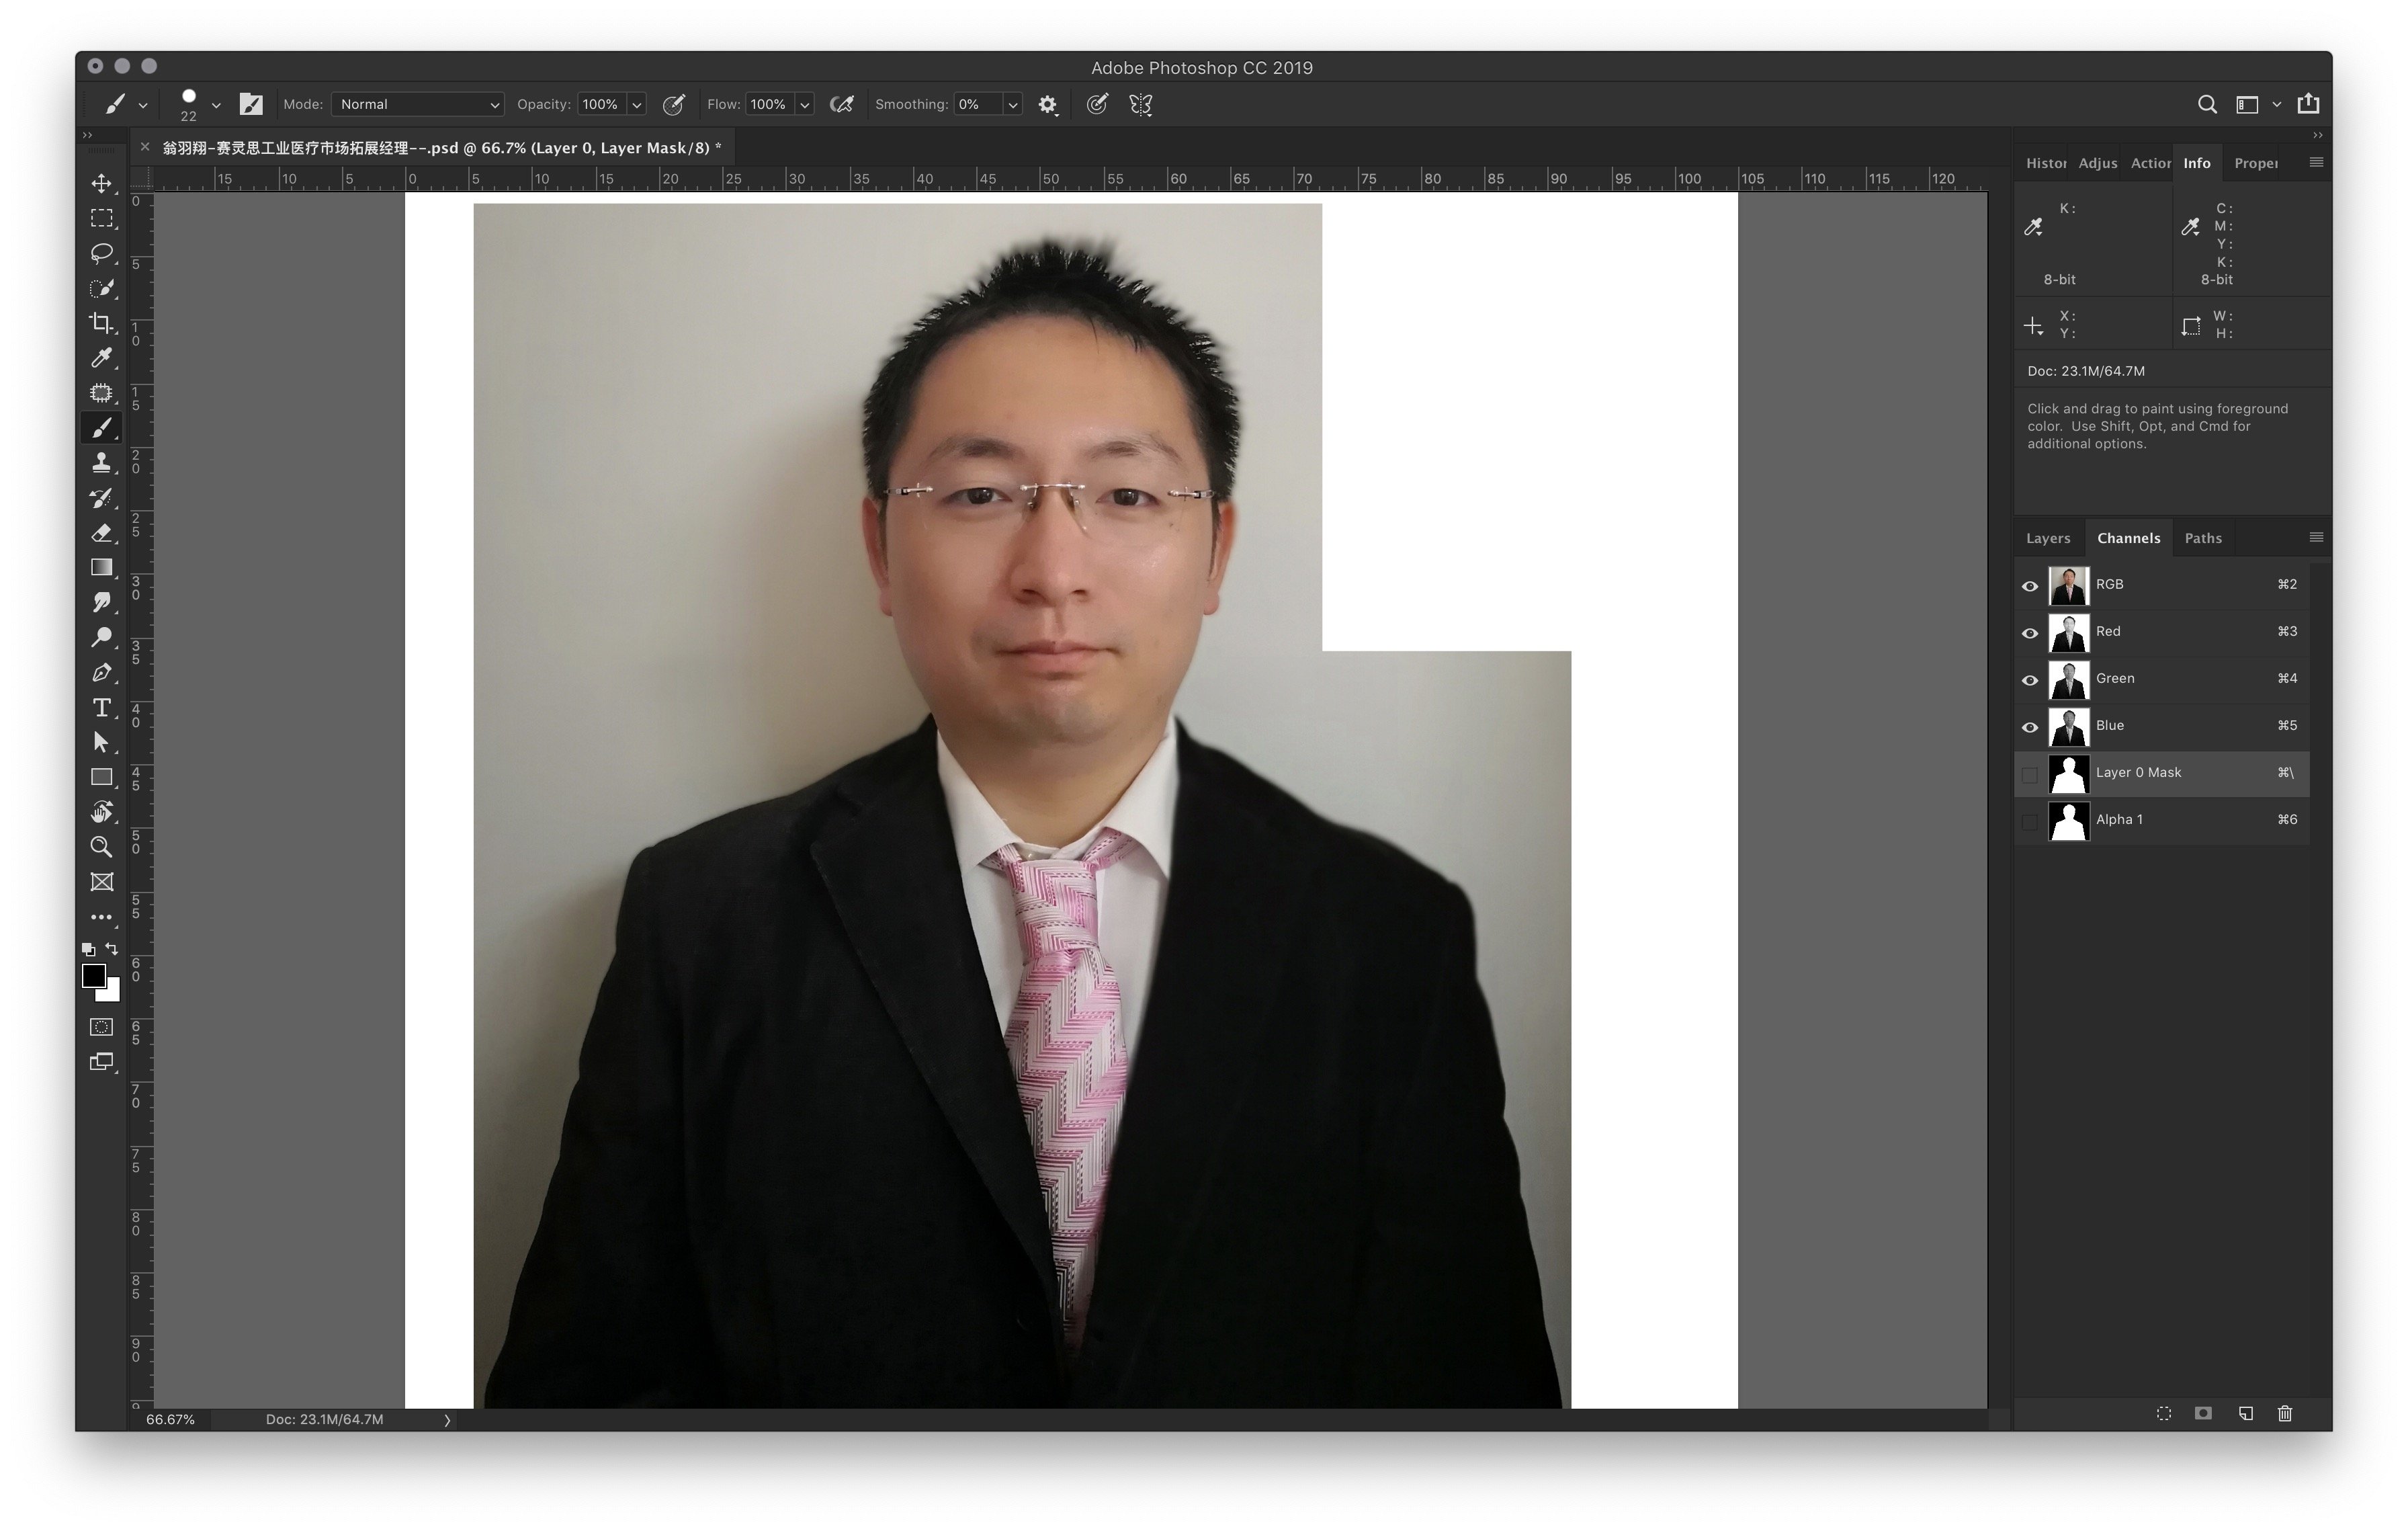
 hi If any solution for my problem... cutout an image in AP but find that the layer mask appears differently in PS. The mask looks correct in PS Channel but no idea why some background still intact.
-
 Hallo zusammen, hoffe die Frage wird beantwortet obwohl sie auf Deutsch ist.... ich habe in Riesenproblem! Habe alles zurückgesetzt und trotzdem klappt Affinity photo nicht so, wie ich es kenne. Normalerweise werden neu erstellte Masken rechts neben der Pixelebene angehangen das passiert aber nicht mehr! Die maske erscheit darüber außerdem funktioniert auch das duplizieren über "Pixelebene hinzufügen" nicht wenn ich z.B. eine vorhandene Pixeleben mit Gedrückter Maustaste auf dieses Symbol fallen lasse... bitte helft mir ): habe mich extra dafür angemeldet. janemba1