Search the Community
Showing results for tags 'Tutorial'.
-
 Learn how to use the Curves tool to adjust your photos, create interesting effects and blend objects into other photos. In this Tutorial i will show you with 3 examples who things like the Histogram, Channels, the Tonal Range and Curves are used effectively. We will have a look at the changes that come from affecting the Color Channel R G B, changing from Cyan to Red, from Magenta to Green and from Yellow to Blue. We will also experiment with the Blend mode and how that changes the impact of the Curves tool. Find amazing Perks on Patreon: https://www.patreon.com/sarikas Follow me on Facebook: https://www.facebook.com/sarikastutorials Photos used: https://unsplash.com/photos/wZjNp-xo1GI https://unsplash.com/photos/iOykDIkZLQw https://unsplash.com/photos/GpVcXxbGTyk
 -
Learn to create a consistent style and color palette for your photos. Grow your followers, get fans and build you brand. In this tutorial I will show you how to create a Master File that you can use to consistently create the same look and feel for your photos. This will bring them closer together. Establish your style and show people that you have an artistic concept behind your works. Video about Curves: https://youtu.be/UAYKacUL86U Support me on Patreon: https://www.patreon.com/sarikas Follow me on Facebook: https://www.facebook.com/sarikastutorials Photos used: https://unsplash.com/photos/g0b_tx3i0_8 https://unsplash.com/photos/xgWZ-h4Bh-4 https://unsplash.com/photos/4QTfjewH4RU https://unsplash.com/photos/q7GJsXhDzng
-
 I have made a number of posts in this Tutorials forum on how to do various things, mainly involving Distort > Equations. Many have also provided a macro that executes the operation. I have realized more recently that posts such as these, which are mainly presenting a macro would better fit in the Resources forum. I would welcome some guidance from moderators as to choosing the appropriate forum. My feeling is that a post that is mainly explaining a procedure, a 'how to' is best as a Tutorial, whereas a post presenting a finished product (a macro) is best as a Resource. There could be appropriate cross-referencing between the two if needs be. Just to blur the issue, I note that the Tutorials forum often has posts which are asking for 'how to' explanations, which should perhaps belong in the Questions forum. Perhaps the mods would include a sticky Guidelines for Tutrials at the top of the forum? John
 -
Easy Light Leak Effect Tutorial for a realistic look. This beautiful look can bring a nice touch of vintage and adventure to your photos. It is really easy to create and a lot of fun to play with. A Light Leak is when Analog Film was hit by unintended Light. Mostly a result of a faulty camera, broken analog film container or wrong handling during development. Find amazing Perks on Patreon: https://www.patreon.com/sarikas Follow me on Facebook: https://www.facebook.com/sarikastutorials Photo used: https://unsplash.com/photos/eK_aInAXydw
-
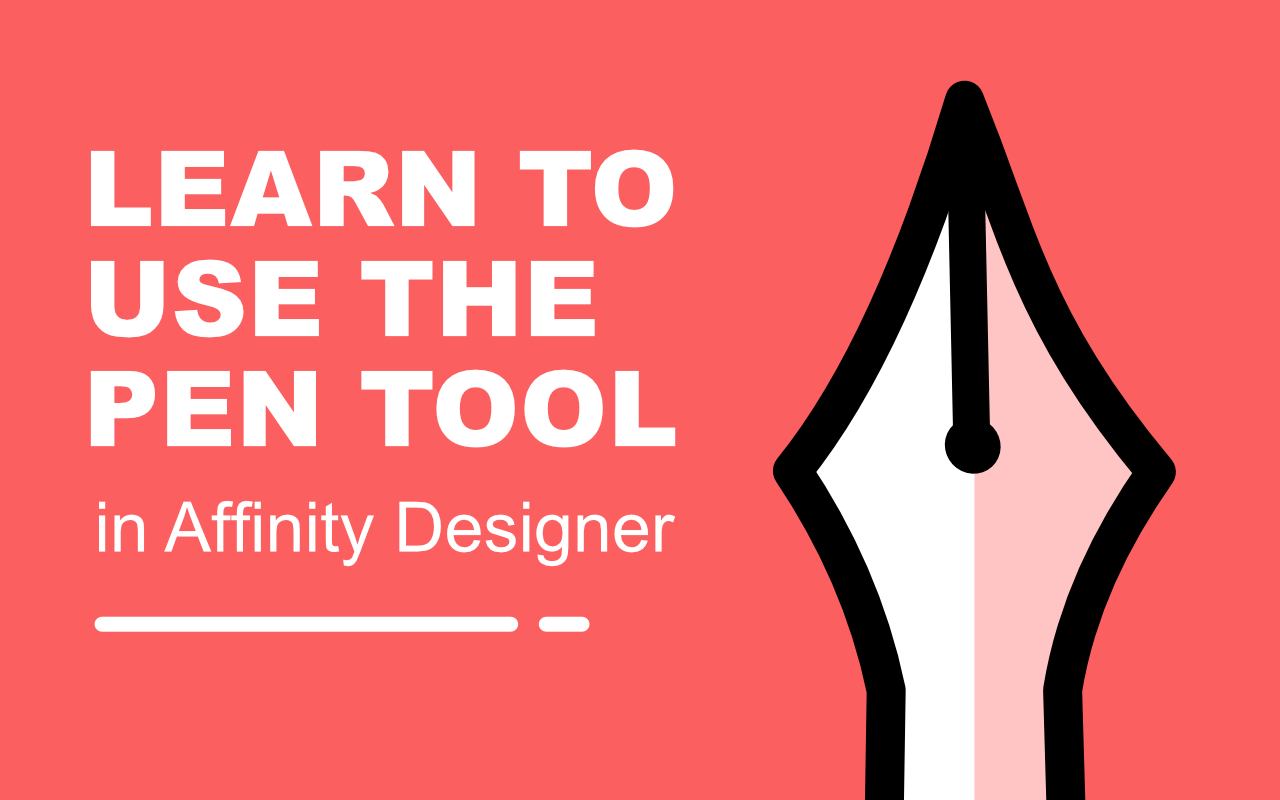
 Hi peeps! My first class for Skillshare is live and at the moment, totally FREE! The class is called “LEARN TO USE THE PEN TOOL on Affinity Designer”, and you will be able to learn how to use this tool FOR GOOD, learning the 3 different methods I use to get my drawings done. I’d be very grateful if additionally, you'd use the referral link to sign up for a 2 month free trial that you can cancel at ay time to help me financially. (Skillshare pays me, you don't!). This way not only you'd be able to watch my class, but all the classes in the platform for 2 complete months. I will be also happy to assist you with any doubts you might find along the course. You can find the referral link for this free class in the description for this video : https://www.youtube.com/watch?v=aTLFnWXoP1k
-
- 4
-

-

-
- pen tool
- affinity designer
- (and 5 more)
-
Learn to understand how Light and Color can be used to create a more satisfying photo and tell a story. In most cases we fell more satisfied with a photo if we understand what the photographer wants to show us. Meaning that the eye is guided towards certain areas of the image. In addition to that, our eyes are build in a way that has more focus, contrast and attention to the area we are looking at. So a photo replicating that experience can feel more natural and satisfying. Find amazing Perks on Patreon: https://www.patreon.com/sarikas Follow me on Facebook: https://www.facebook.com/sarikastutorials Photos used: https://unsplash.com/photos/NEuFnhGeDDc https://unsplash.com/photos/r9RW20TrQ0Y
-
Turn any photo in a Old 19th Century Photo with ease. This Step-by-Step Video shows you how to create this beautiful effect. It also tells you how to make a Master or Mockup File, that you can use with any other photo. Giving you the tools to make Old Photo looks very fast the next time you need it. This Tutorial shows how to take into consideration the special properties of old photo plates / films and old cameras, like dust and scratches, fewer levels of light sensitivity, uneven lighting of the photo plates / Films, different gradients and more. Find amazing Perks on Patreon: https://www.patreon.com/sarikas Follow me on Facebook: https://www.facebook.com/sarikastutorials Sources used: https://www.deviantart.com/rorron/art/some-old-papers-4-44172050 https://unsplash.com/photos/nRDopRnkEfI https://unsplash.com/photos/pAs4IM6OGWI https://inspirationhut.net/design-resources/38-old-paper-texture-downloads/ https://www.graphicsfuel.com/2015/11/10-free-dust-dirt-overlay-textures/ https://www.behance.net/gallery/59398743/Film-Grain-Textures-FREE
-
 In this tutorial, I'll show you how to draw psychedelic, checkered patterns in Affinity Designer 1.6.1 using the Geometric operations. Keep on drawin' Norbert
-
- 2
-
-
- geometric operations
- tutorial
- (and 1 more)
-
 Affinity Designer for iPad. I cant find tutorial about „selection of objects and nodes“. There was one... i want to look it again. Can somebody post the link, please? thankyou for Support. MMMax
 -
Hello! Is my first post here. :) I'm trying to replicate this tutorial I found to create a foil texture. I found a way to replace the clouds filter using the Perlin Noise on Affinity Photo. But I have no idea to replicate the last step on this tutorial. Anyone has any idea to do this? Thanks!
-
 Hi Everyone! Today I published first episode of 1-minute graphic tips series called "Minutnik graficzny" (graphic stopwatch) #1 How to set the contrast of a photo: I decided to make it in polish, because there is a lot of english content already, however if someone non-polish-speaking would like to check it, there are english subtitles. I believe there are some polish people on this forum, so I hope to get some feedback. I'm going to publish here updates, especially for episodes connected with Affinity sofware. Lets affinitize Poland!
 -
 Hi everyone, I recently wrote a post on my blog covering my workflow regarding the steps I follow when I'm editing a portrait. I also made available a PDF file with the same checklist I use so you can download it. The post is available both is Portuguese and English. [PT] http://blog.pedrosoares.photo/lista-de-tarefas-edicao-de-retrato/ [EN] http://blog.pedrosoares.photo/portrait-retouching-checklist/?lang=en There are also other articles talking about Affinity and other free resources. Let me know if it was useful. Cheers
 -
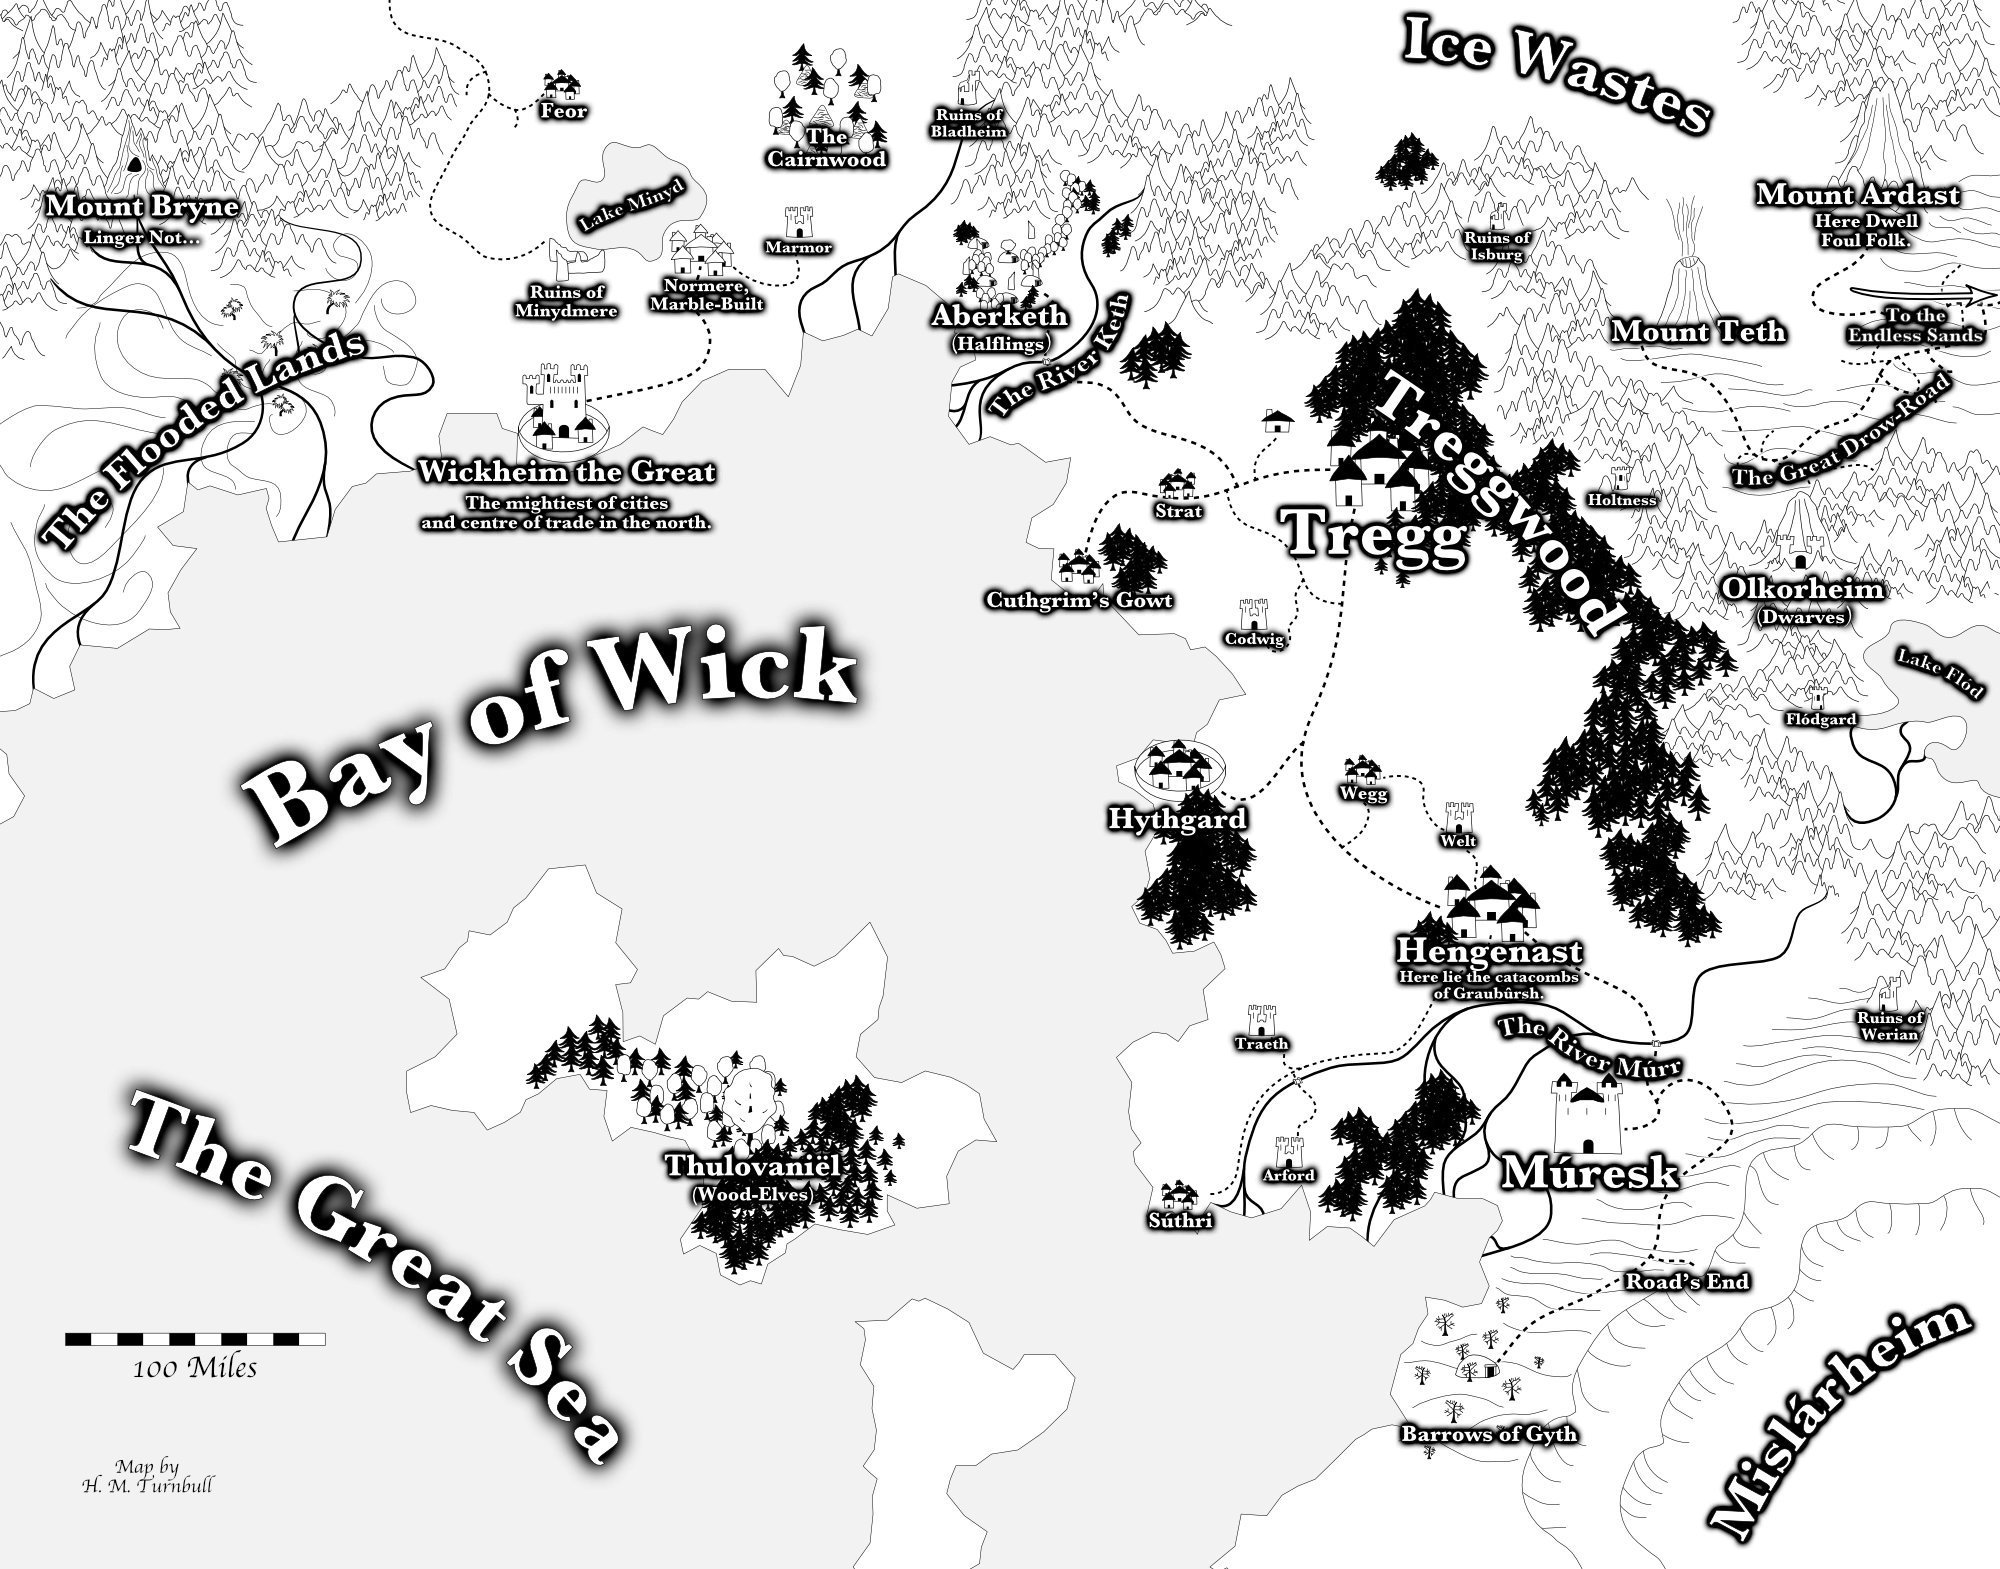
 Link to Tutorial: http://hmturnbull.com/writing/fantasy/map-making/introduction/ Description: On my website I'm writing a series of tutorials on how to create a fantasy map using Affinity Designer. I've seen a lot of tutorials for fantasy cartography, but they all seem to focus on either hand-drawn maps or maps made in raster software. Using my method, one can create a fantasy map that will scale infinitely and is easier to edit throughout the process. In this tutorial, I will teach you how to make a versatile map that you can use for stories or role-playing games.
-
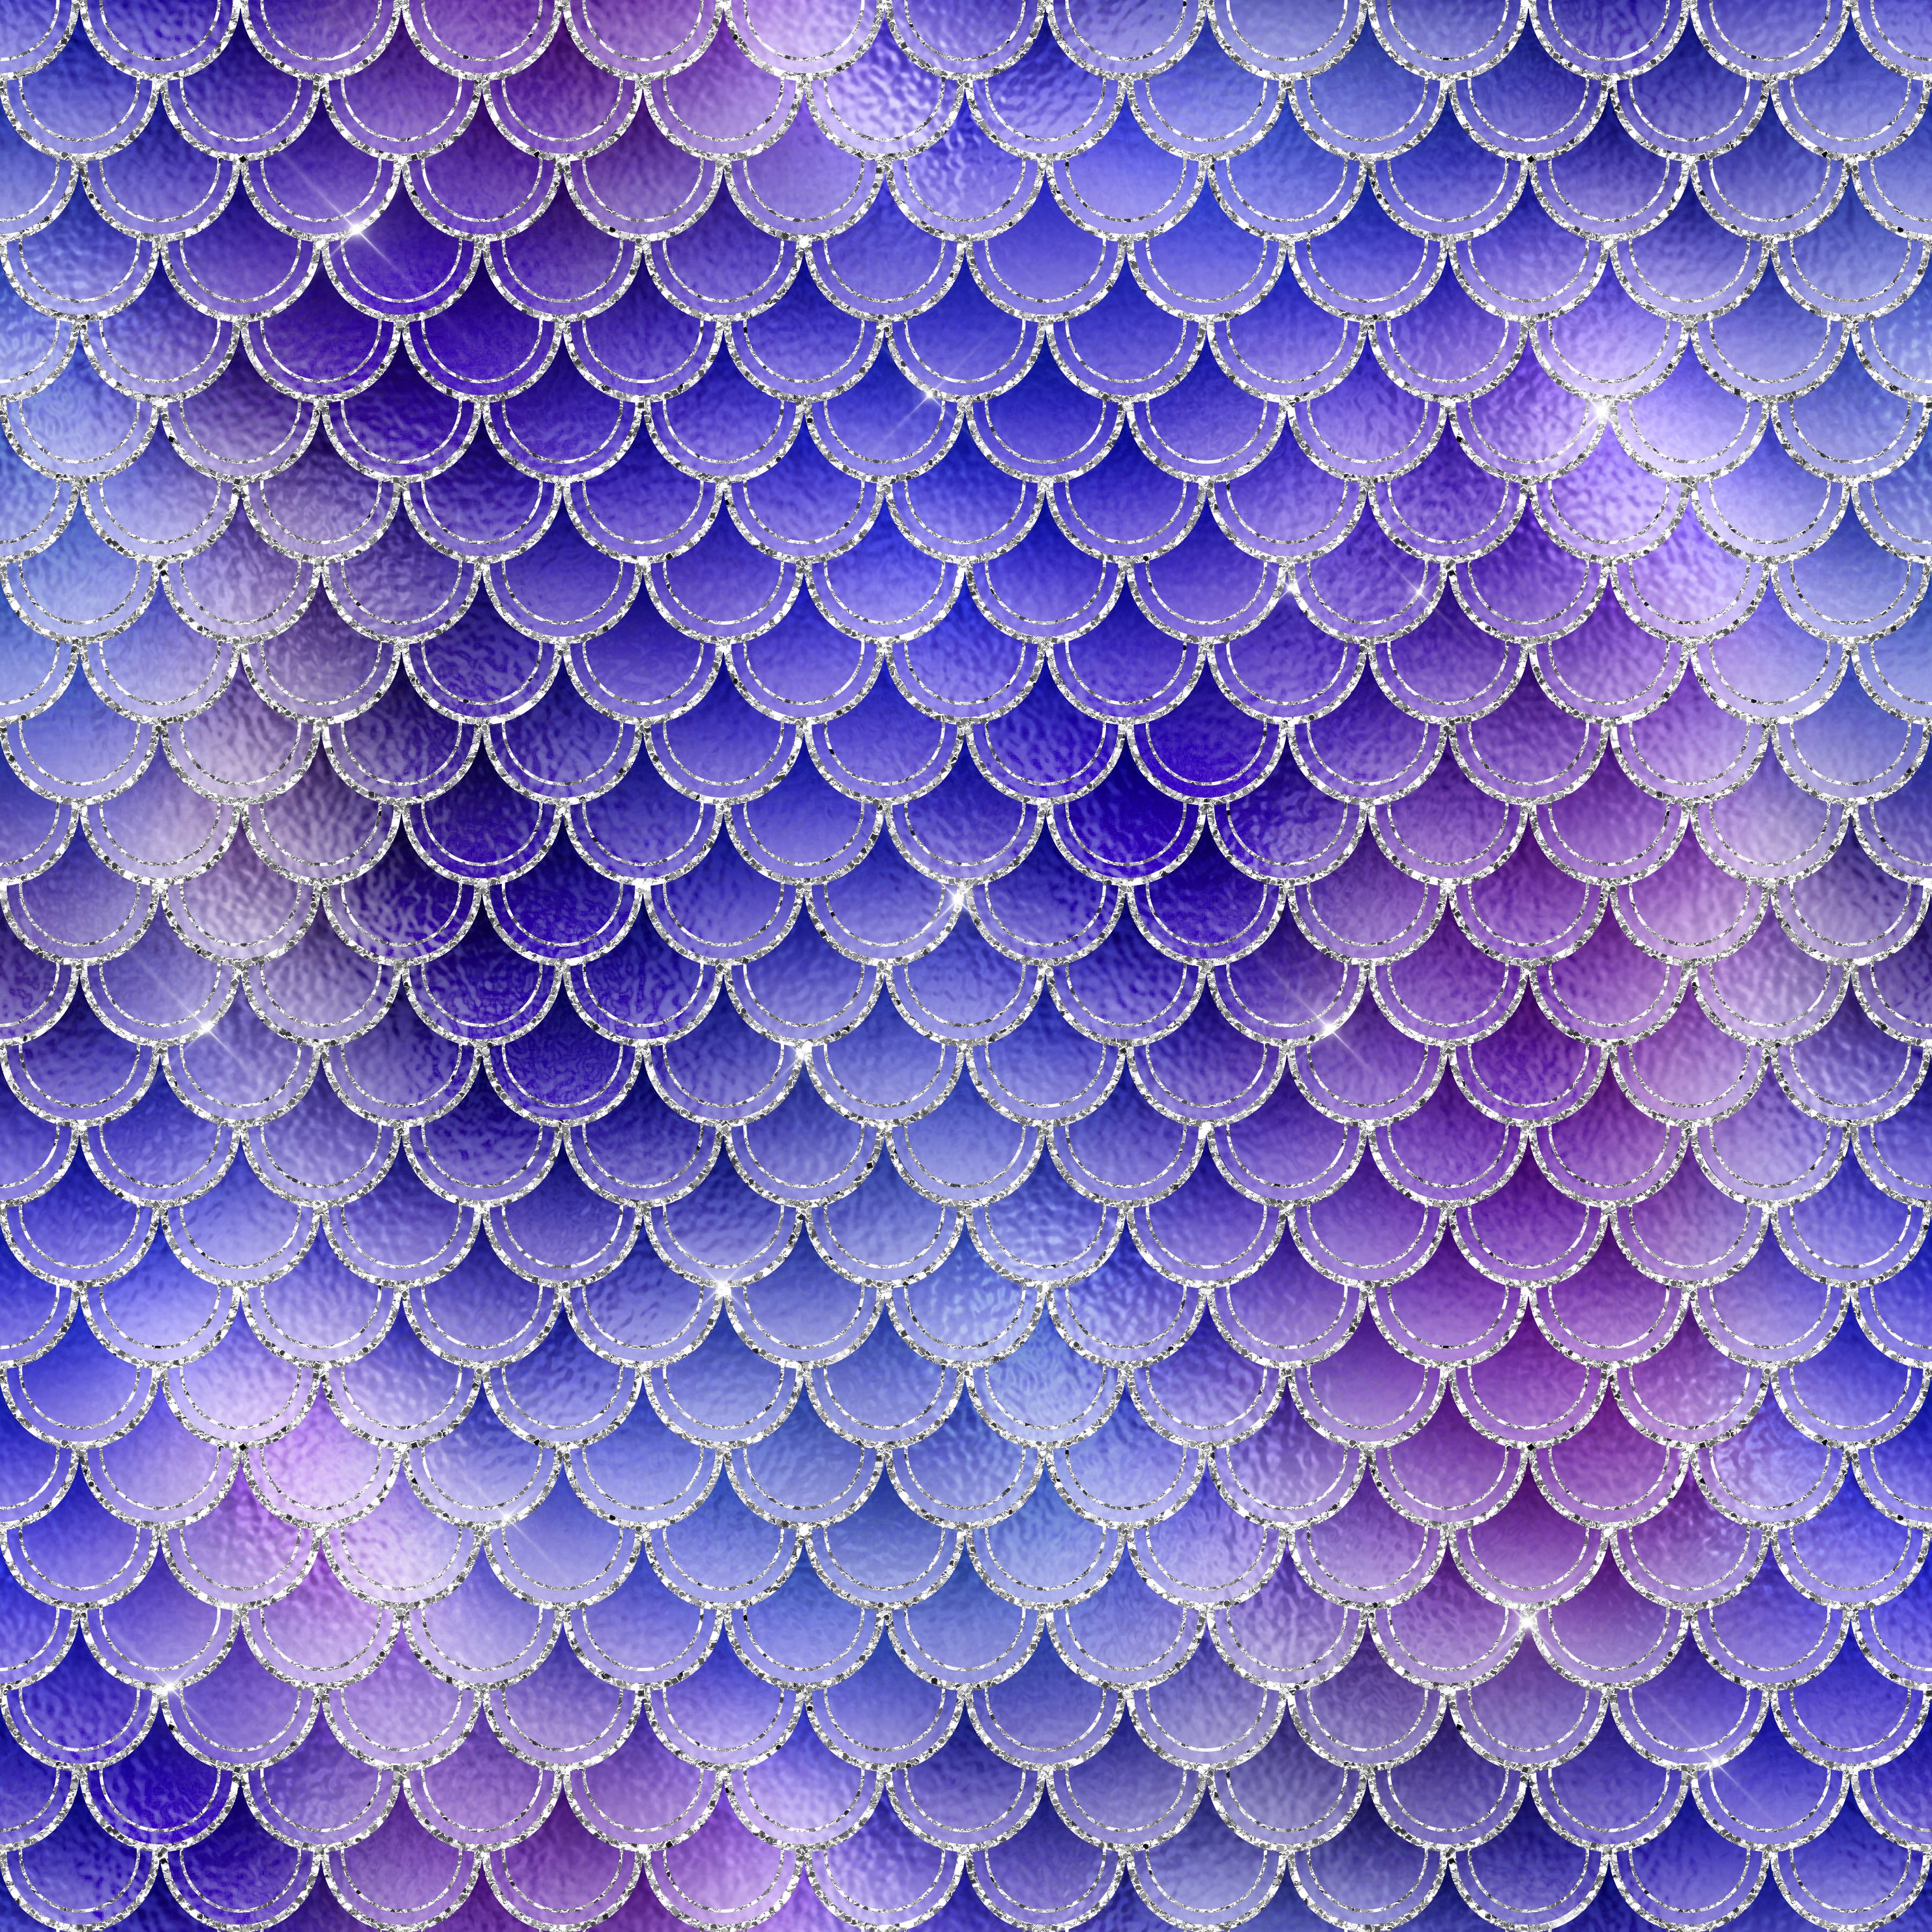
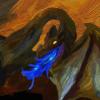
 Hi all,I really like Affinity Designer but the more features arrive, the more complicated is becomes.. There is a new challenge for me and Affinity Designer for which I would need your help and ideas: Creating a mermaid digital paper as a seamless repeating pattern. I got an at least basic version of the attached one (no glitter, no lightning etc.) but due to the shadows it wasn't seamless on the vertical. If seamless isn't possible due to the different lightning effects of my sample picture attached, how could I achieve anyway the digital paper mermaid look of my sample? Important: It definitely has to be scalable vector, no copied images etc.. Thanks a lot in advance. I'm looking so forward to your help and your ideas! Foxi
-
 Somos muchos los de habla hispana y en nosotros está generar contenido en nuestro idioma. Llevo poco más de un año usando Affinity Designer, puedo decir que ya no uso illustrator y muy de vez en cuando uso Photoshop. Me ha gustado esta herramienta y quiero compartir lo que he aprendido en este tiempo. Aquí el primer tutorial: En el video veremos el uso de la herramienta elipse para replicar el logo de radioHead; "Modified Bear", usaremos la pluma con polygon mode, repasaremos como pegar un objeto dentro de otro y explicaremos como funcionan los operadores. Link to YouTube Espero les guste. Saludo.
 -
 This screenshot seems like I have seen this tutorial or process video or speed-art whatever it was, somewhere. But I can't find it anymore. Google image searchbacks are only giving links of shady sites. Can someone recognize this and find me the original tutorial link? That will be very helpful. Thanks in advance.
 -
Hello Everyone, I'm happy to share this with all of You today. Well i'm really sorry for sending this so late but i wasn't sure i could share it here but i hope you will take 4min to watch as our 1st video demo there was done with Affinity Designer MacOs. Your comments will be of great help to me making the Chan better, there is still more to come and be published but let's first see how to make this one even better. https://goo.gl/wrJFn3 Blessings.
-
Okay all, here's what I've been up to: it's 35 pages, almost 100 images, tutorial on beginning to use Affinity Designer. It one of my "In Action" tutorials, where we start right off creating new documents and learn all kinds of stuff along the way. It's not just a "How to do this" tutorial, it's a "How to do this because..." tutorial. Sometimes it's good to get the whys of things as much as the how. Hopefully, this tutorial begins to do it. Here's the link to the box folder where all the files live: https://app.box.com/s/gltgu7u2wscuxxra1e1y It contains the PDF and PNG file and the ZIP file, which contains the pdf and png, incase somebody doesn't like to download ZIP files from an unknown source. this tutorial was written for newbies, but old-hands at Vector apps may find it good. I"ll be working on finishing it as the week progresses, but I gotta get working on my comics. Daddy's gotta make money. Any comments or such, post 'em here or send me an message via this board. thanks!
-
Affinity Publisher Tutorial on text wrapping suggests command W to hide grid lines. Command W just closes the file. Love the tutorials. They give just enough information at a time so I can go through one lesson at a time, then back up and easily find exactly what I need to review. Affinity.rtf
-
 Hi, I am really interested with Affinity Designer. If I want to write, publish, and sell a tutorial e-book for Affinity Designer, could you please elaborate about any issue regarding legal, copyright, and/or royalties regarding this? Regards, Catur
 -
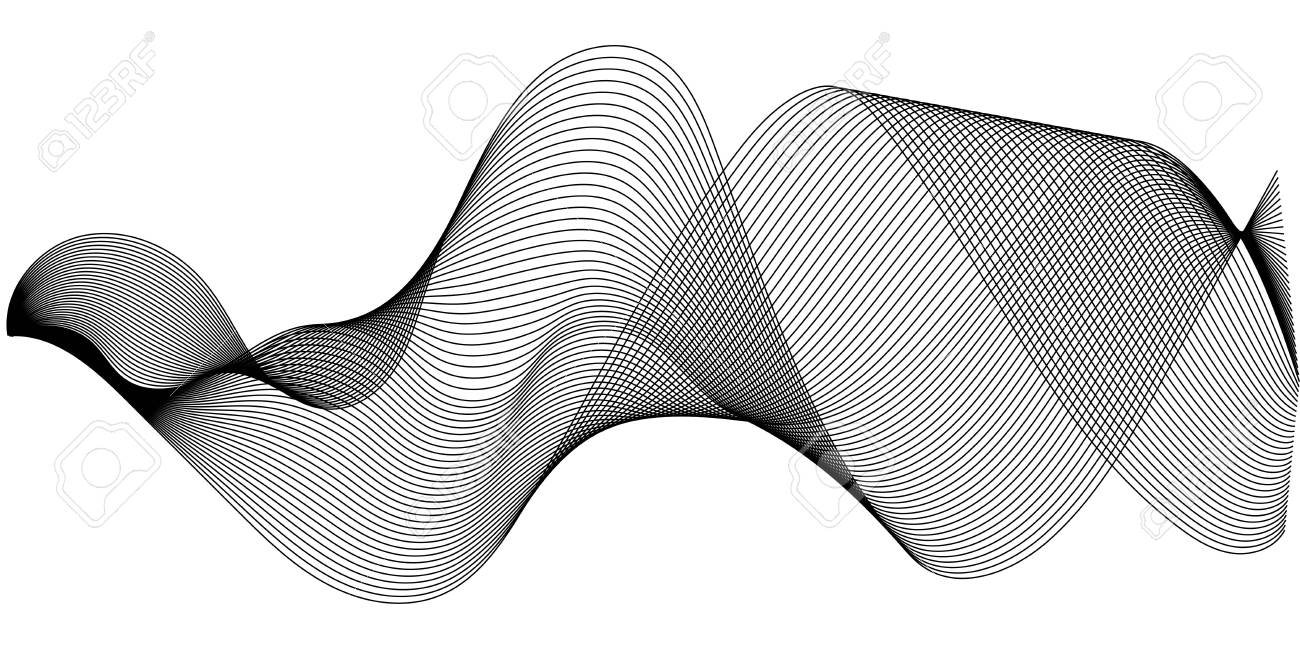
 Hello Does anyone know how to easily recreate frequency/sound waves in Affinity Designer like in the image I've attached? I really need to learn how to do this but I can't figure out an easy with in Designer. Thanks in advance, Matt
-
 Hello community! I was always using pixelmator and just bought afphoto as pixelmator is quietly dying. Pixelmator was super easy to use where you can drag an drop effects into the photo. On afphoto, I saw how to do a certain things but not all the effects offered by pixelmator. I was wondering if there were a video tutorial made just for this transition: Pixelmator to affinity photo. How can I achieve the pointilize effect for instance? or the honeycomb effect? Anybody knows? Any help will be greatly appreciated!! Cheers :)
-
 I recently purchased AffinityPhoto and now making my way through the AffinityPhoto Workbook ( http://a.co/d/bmZJaJH ). While the Workbook examples are easy to follow, the Workbook doesn't explain the "when" and "why" behind the steps taken, and I haven't (yet) found a basic explanation of the impact of the various adjustments, filters and such within AffinityPhoto. Consequently, I don't have a framework to guide me through what feature(s) to use based on typical issues encountered in the RAW file. Does a basic tutorial or guide exist that explains what AffinityPhoto is "doing" through its features to the RAW format? Would a generic book on digital photography answer these kinds of questions (e.g. http://a.co/d/gRrCBe3 ), or does one learn how to image edit based primarily on trial-and error? Thanks!
 -
 I found video tutorials for creating the Panorama images. However, when I tried the technique in Affinity Photo, I could not find the "crop to opaque" option. Where do I find this - is it not available in Affinity Photo for windows
 -
 3D Extrude Feature is not available in the Affinity Designer. This feature may come in the future, So will see in this tutorial how to apply 3D effect on text in the Affinity Designer. In this tutorial we also learn, how to use outer shadow and Gaussian blur effect. I hope you like it. Click here for tutorial
- 3 replies
-
- 6
-
-
- 3d text
- text effect
- (and 3 more)