Search the Community
Showing results for tags 'Transparency'.
-
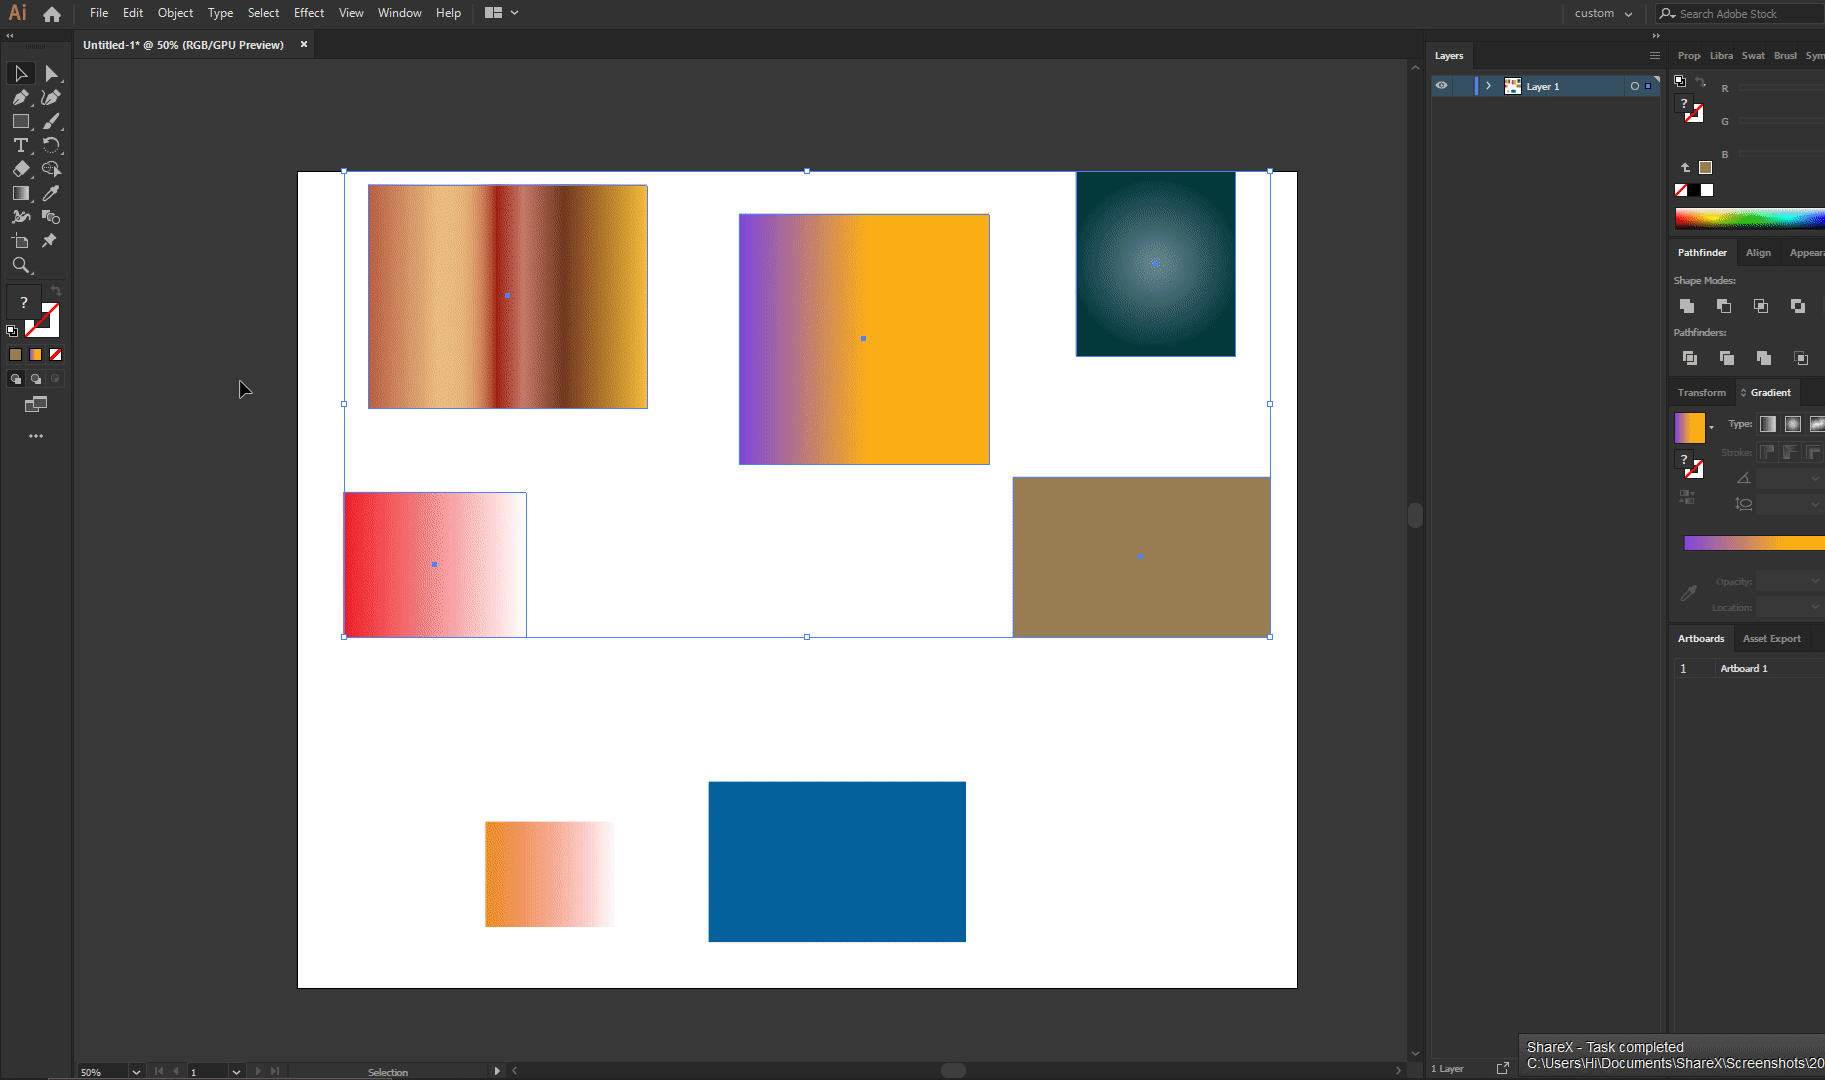
 Similar to this: The idea is to add a setting panel for colors that allow to edit the color of gradients, and objects in general, simultaneously or singular Adding other options for the settings, as saturation or brightness Most important for SVG format files
- 4 replies
-
- 4
-

-
- recolor
- transparency
- (and 6 more)
-
 In designer 1.9, when you group a text frame and a form with transparency gradient, the final text size is larger than the original if the text frame has been resized previously. Steps to reproduce result: Create a text frame and write some text Enlarge the text frame dragging the resize handler (The one that enlarges both frame and text) Create a form and apply a transparency gradient to it Group the text frame and the form. Text gets enlarged in the same proportion that it was enlarged before. Note that this only happens when grouping (with menu, contextual menu or command+G), but it does not happen if you manually place the text frame into the group moving its layer, so the error is in the group action itself and the resize being reapplied to the text..
- 2 replies
-
- 1
-
-
- transparency
- text
- (and 1 more)
-
When I create a afpub-file with transparencies and I want to export as pdf x4 the following occurs: in the x4-settings I choose rasterizing nothing. I place a pdf-vector-logo (the blue star on the upper right side) and transparence it. Exporting result: the transparency vanishes. I place the same vector logo as a afdesign-file. Result the transparency vanishes I open the pdf-file in afpub and copy it in my file then a make the transparency: same result I copy the afdesign-file and paste it in my afpub-file, then I transparence it. Result: everything is just as I want it. The preset of the x4-Pdf-setting is rasterizing the not supported parts. When I do not force to rasterizing nothing, the vector-transparencies are always rasterized. My printing-house says this not ok for x4-pdfs. I tested exactly the same in Indesign with placed pdf: In Indesign x4 pdfs are not rasterized, just as the printing-house wants it. in Afpub after weeks I found the resolution with the copied and pasted Afdesign-file, but this is a crazy workaround. I cannot convert all my vector-PDFs to Afdesign-files. Could you please change this behaviour. All vector-pdfs with transparency should normally not be rasterized while exporting to x4-pdfs.. RB-titel090121-2mitafdes.pdf RB-titel090121mitpdf.pdf RB-titel090121sternafdesreinkopiert.afpub
-
 I have a logo file in 2 formats--JPEG and PNG. Both files have black backgrounds that I want to change to transparent. I've tried exporting to PNG with the transparency option selected and also exporting as a GIF and TIFF. Everything still results in a black background. I've attached the .png version of the file. Any ideas? Is this a layer problem?
 -
 Let's say I do this: 1. Place an EPS graphics in Affinity Designer. 2. Use Transparency Tool on the graphic to make part of it transparent (a gradient). How do I UNDO that action later on? Sure, I can eliminate it by pressing CMD-Z numerous times (loosing all my other work in the process). But I don't see how to eliminate that added transparency when I look at the Layers palette. I see the transparency on my layer, but I don't see how to zap that transparency into oblivion. If it was added as a separate layer, it would be easy to delete the transparency, but it isn't. It merely displays in the layers palette. How do I delete a transparency I added to an object via the Transparency Tool? Thank you.
 -
 Hello, what would be the best way to remove alpha channel pixels from a layer or make them fully opaque? In case I'm not making sense, here's an example: I add some red background and make a stroke with the brush over it with a green color, there's going to be red pixels of the background, green pixels of the brush and pixels that are green with alpha channel - how could I remove those with alpha channel or make them fully opaque? Both GIMP and Photoshop have ways of doing this for whole document, layer or selection, I'm curious how one would do this in Affinity Photo, or even Affinity Designer. I could provide an example if needed. Thanks!
 -
 Hello All, I have a very large image with lots of large layers, (over 100), they were all rendered in my CGI application to a standard scale, as 32 bit PNG, regardless of the size actually occupied by the subject. I'm now combining them into one image, and lining them up. In many cases the layers are 90% or more 100% transparent. But to select with a click and drag, I have to go around all the blank bits I cannot see, which is messy and prone to errors. Can anyone please tell me of a quick way to crop down to the part in a layer that actually has useful non-blank pixels in it? I suspect that this would also release a LOT of memory, and make working with this image more pleasant in general! Thank You, Nick
 -
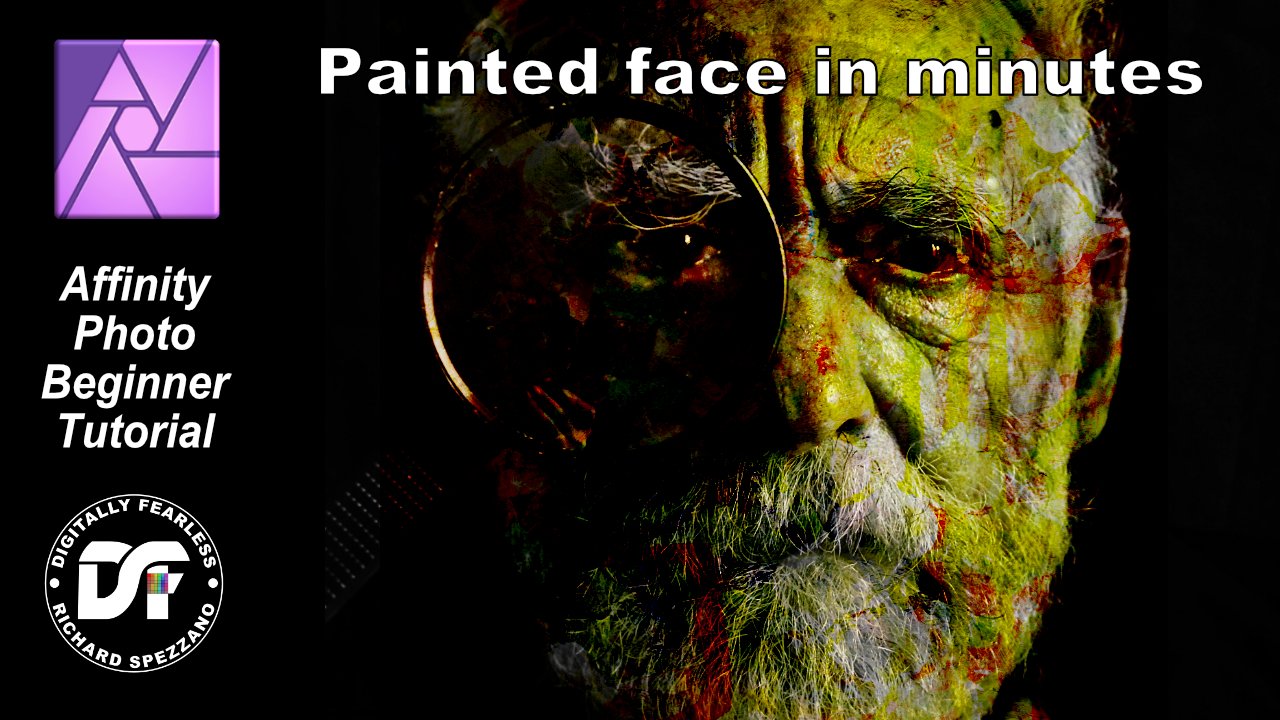
 Painted Face in Minutes! Affinity Photo beginner tutorial on how to give a face a painted look in just minutes. The tutorial uses black and white photos and a black background to manipulate the photo. https://youtu.be/lhoqEDRjELQ
-
- 1
-
-
- photo manipulation
- affinity photo
- (and 8 more)
-
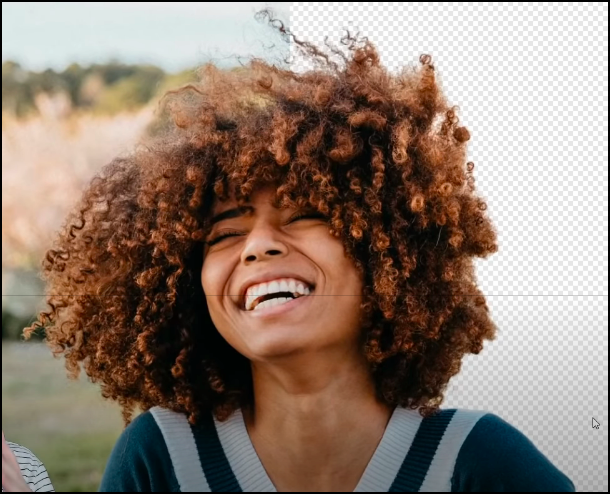
 A recent video about removing backgrounds points out a web-based technology that would be outstanding if it could be licensed by and incorporated into Affinity Photo or available as a plug-in. The video link is below (screen shot is from the video). It would be very, very useful for images with complex foregrounds. https://youtu.be/_N5EIn90bWw
- 3 replies
-
- 2
-
-
- transparency
- remove backgrounds
- (and 4 more)
-
 Hi, I'm using 1.8.3. When I export my slices and select PNG, no matter if in Document Setup I unchecked the transparent background, I still get Transparent backgrounds both in the Sections preview panel, both as a result. I want my slices to have a white background.
-
 Hi Affinity Community, after trying several different methods to reach my goal, I sadly have to resort to bother you guys. What I want to do I want to create a cheatsheet for a game I'm playing and for that I want to extract different symbols used in the game from screenshots (particularly the one attached). While the symbols are white in color, the background has different shades of blue, making the masking more difficult (for me). What I tried Created new Affinity Designer File. Designer Persona Created new artboard for the screenshot itself and for every symbol I want to extract. (see attachment) Used the "Placing content" tool to insert the Screenshot into the designated artboard (and matched their sizes). Rasterized the Layer. Pixel Persona Added a "Brightness/Contrast adjustment" (with contrast set to 100%) to the screenshot in the hope to easier select the wanted pixels. Added a "Mask Layer" to the screenshot. Used "Select -> Select Sampled Color" (model: "intensity") and picked the blue/black surroundings. With the selection I clicked the masking layer and pressed "del" to hide everything but the symbols and lettering. (or rather paint the mask black by doing so) Designer Persona Used the "Placing content" tool again on each artboard for the symbols and choose the file itself and from that the artboard with the screenshot. (Sadly I only get the tool to embed the file itself, but don't get it to just link to itself. This results in it not updating automatically. Is there a way to do that? I found a support page for Affinity Publisher, but I'm not really familiar with that part of the program suit...) I then positioned the embedded artboards so that only the desired symbol is seen in each smaller artboard. Export Persona Each artboard is a slice and is exported as PNG for further use in Visio or again Affinity Designer. After importing my exports into Visio I realised the background is not completely transparent. (see attachment) In short Is there a way in Affinity Designer (or Publisher) to link to a file of itself to make use of automatically updating several artboards? (This only works in Publisher?) How do I make sure, that selected pixels are completely set to transparent and don't have some color left? Would you recommend another workflow to approach the problem? Thank You! This is my first post in the forum and I'm quite new to the Affinity Suit, thank you for taking your time answering. 🙂 (Hopefully I didn't ask questions that are actually quite easy to solve, if I had googled the right terms...) TenTo
-
 I watched this video - how is she getting the transparency on top level objects? She seems to add an object as a solid colour on top of another solid colour but then does something that makes the top object show the grid underneath it. How are is she doing that? She never seems to touch the opacity slider for example, she seems to do something quickly that makes a top object show the grid underneath.
 -
 Hi, Today I tried to export a graphic in 32bit RGB + transparency tiff, both in Affinity Designer and Photo. In both cases the files opened blank in Photoshop... it would be great to have this fixed! For now I am content with 16bit exports. Thanks, Shivadas
 -
 Dear Affinity community, I have a mystery that maybe one of you might help me to resolve ! I need to print a black and white vector drawing on a booklet. I made it with multiple black and white shapes or lines with Affinity Designer. When I print it directly from Affinity Designer (with file > print) it looks great : the vector lines look very sharp and the white color from my design is replaced by the color of my printing paper : this is exactly what I want ! I don't even have to export it first ! The problem comes with Affinity Publisher. When I insert this drawing in my composition (with file > insert) in order to illustrate my booklet ; I can't print it in the same way. Either my outlines look pixelized (like a low resolution .jpg file) Or my white color appear slightly different from the color of my printing paper (a very light grey) and I dont want that. I just want it to be transparent and replaced by the white color of my printing paper. Trust me, I tried every solution I could find on the internet to fix these problems (different export format, bend options, "erase white paper" option...) and nothing works. If anybody has a solution I would be very grateful for your help ! Thanks, in advance ! All the best, Lanval
 -
Howdy, I have encountered some unexpected behavior when exporting a project into PDF. Went for 1.6, rasterize unsupported features. Not a great issue, as I can currently expand strokes and merge objects, but in case these were smaller objects that I could not spot being badly exported, I could be a problem. Two objects have strokes that also have some elements with raster effects in background. They are either curves or a shape. 1) In case of calendar icon, the transparency of group is lost when exported to PDF and the elements overlapping display higher opacity. When exported to JPG, it looks fine. 2) In case of location icon, the group is changed, one object gets fill. Designer view to the left and exported PDF to the right. Files are in uploads - afdesign and pdf for comparison. As you will observe, exporting the same elements on blank background produces proper results. faulty-export-pdf.afdesign faulty-export-pdf.pdf
-
I placed an image into a Publisher document page and added text within the image area. After grouping all of the elements, with the group selected I exported to JPEG ("Selection with background"). The resulting JPEG file contained a thin white border that was not in the original file. Then I tried exporting using the "without background" setting. Same result. Then I tried it as a PNG ("selection with background"). Same result. Next I tried it as a PNG without background and finally the thing was exported without the thin white rule. This has happened several times when I've exported a selection to JPEG. (The quality setting is always 85 or higher.) So it doesn't appear to be some peculiarity of a particular image. I don't want to have to export first to PNG, then open the PNG file in some other program and re-save as JPEG. Is there some way to save from Publisher to JPEG without the unwanted rule around the image?
-
 Hello, I often use "blend if" in photoshop. I use it to convert a draw to coloring page or blend two images based on color. Does Affinity Photo have this feature ? Thanks !
-
 Hi. I have an image I want to fade into on both sides. So I use the transparency tool on one side, then when I click on the other side, the left one doesn't remain in place? Any ideas how to do this please. Thanks
 -
 Windows 10 Home, Publisher 1.7.3.481. I’ve been playing around with the Transparency setting in the Paragraph Studio Decorations Section and can’t figure out what it does or how to use it. I set a Decoration to Fill, then gave the decoration a solid fill of colour (looks as I would expect), then tried modifying the Transparency setting but I can’t see much happening except for the Opacity. The same goes when I use a Gradient Fill. I can change the Opacity of the whole fill – that works okay – but the colour part of the dialog doesn’t seem to affect anything, no matter which colour picker I choose. The Help doesn’t really tell me much about what it’s supposed to do: “Transparency—click the swatch to display a pop-up panel. See the Gradient editing topic for more information on the settings available.” Can anyone explain this please? For instance, why would a Transparency setting let me choose a colour, and what should I expect it to do?
-
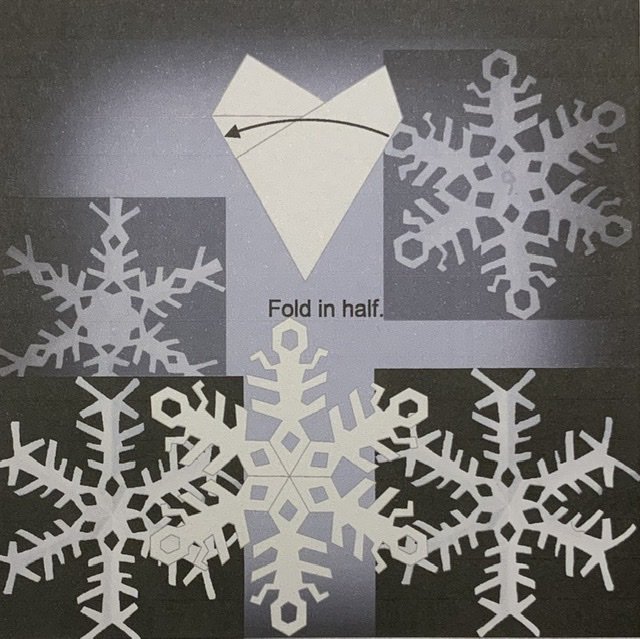
 It is a well-known flaw of PDF that it does not print what you see if transparency is involved. As I am using transparency in my drawings with AD, my question is if there are workarounds? I would like this workflow: 1) Make a drawing in AD with multiple art boards. 2) Export that as PDF (for print, web, ...). 3) Print it, or send it to a printing company. Notes: Please, do not say "Publisher", my computer is an iPad. My book printer only accepts PDF (in RGB only - but that is not the issue here). What happens is illustrated in the two images below. The original TransparencyTest.afdesign as well as the generated PDF (for print) are also enclosed. The dark image is the printed one. The other is a screen shot of the same PDF file and looks as intended. Clearly, PDF is not wysiwyg. We look at this, back to front: The right side has an opaque, white rectangle in the very background. To make sure the problem is not a black default background. We see that is not the case, the right and left sides of the image look the same. The blue background is a gaussian blurred rectangle. Clearly PDF print handles the print wrongly. The 4 smaller snowflakes are embedded PNG which are transparent outside the actual snowflakes. The layer of the two light grey ones are partially opaque. The dark grey ones are fully opaque. In front, white vector drawings and a bit of text. They look as they should. Apparently, transparency through partial opaqueness works fine. The faulty darkness towards the boarder of the semi-opaque ones seems to be the wrong blur-darkness shining through. Transparency from Gaussian blur fails. Is there a viable workaround? Transparency of PNG fails. Is there a viable workaround? Before you suggest that the printer or the driver are at fault, please try to print it on your own printer. Ι have tried to print from different computers and to different printers, all fails. Best regards, Hans TransparencyTest.pdf TransparencyTest.afdesign
-
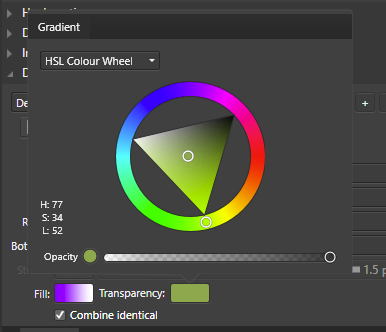
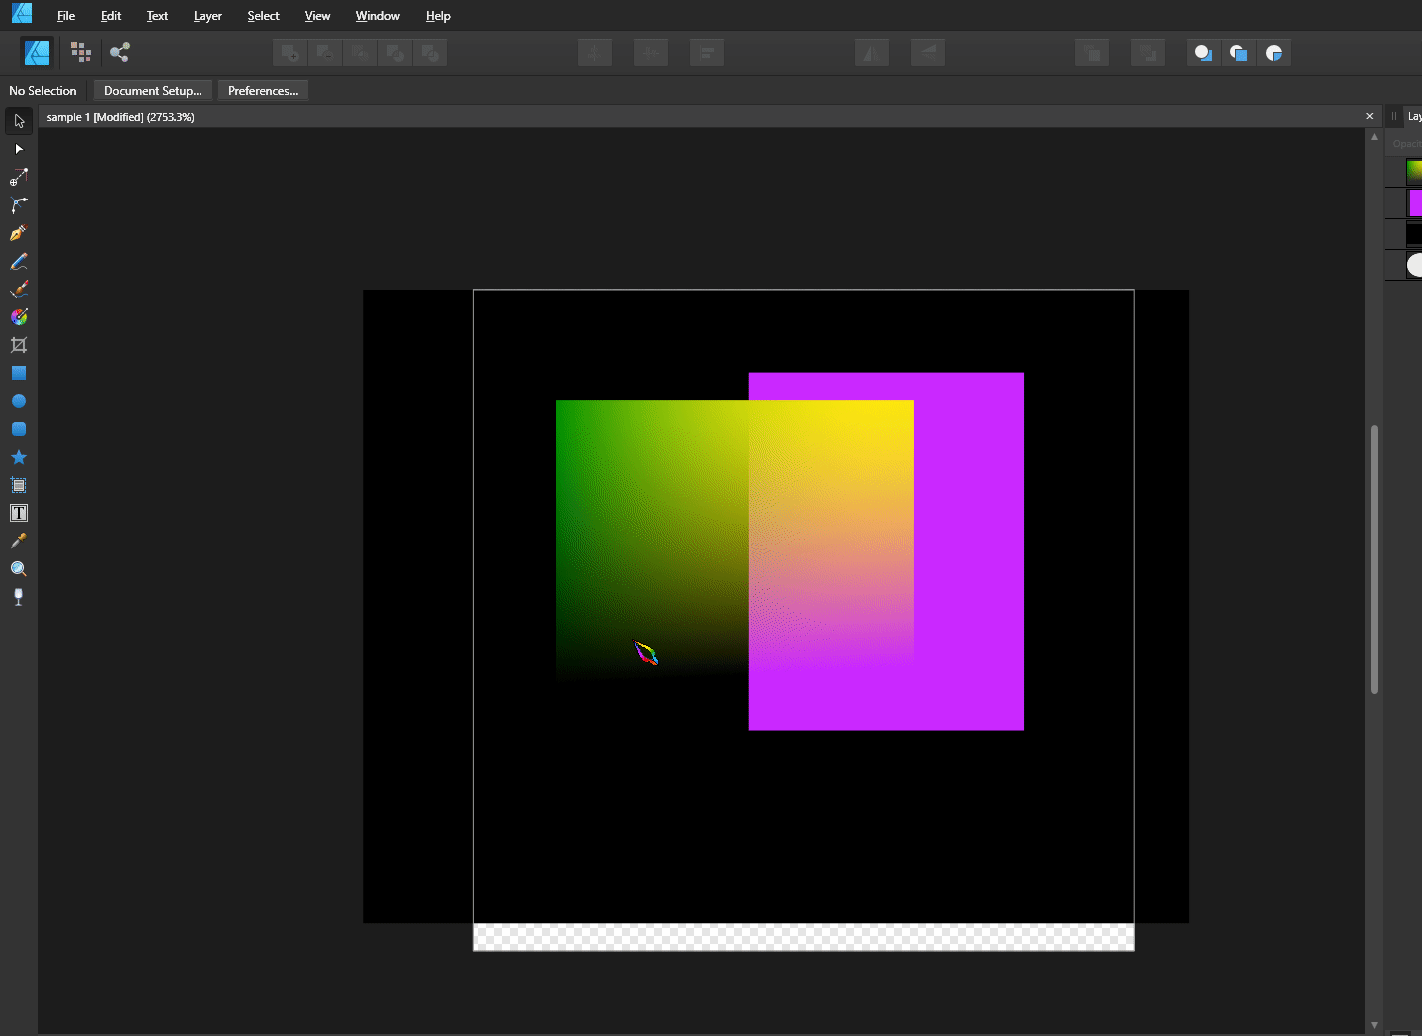
If you apply to an object a gradient and then add a modification using the transparent tool the result will be one gradient predominating the other after exporting using SVG format Only works if there is neither a gradient or a transparency applied, not both together sample 1.afdesign
-
 I've been trying to use transparent PNGs to add lightweight texture to my artwork. I've tried several different tutorials, and multiple different PNGs. When I overlay them on to my artwork and change the transparency to 'erase' it just turns the PNG texture white. I've tried using the color swatches and pickers to change the color to match the back ground paper, etc. and am still not able to get the desired affect. This is one of the tutorials I tried and best represents what I want to achieve. https://www.youtube.com/watch?v=CUi9KytBRLs I got the PNG files from Retro Supply Co, I've emailed them to see if I missed some portion of the instruction on how to use the textures. I haven't received a response.
 -
 I have just moved over from PhotoShop to Affinity Designer. With PhotoShop I used to be able to use a "MAGIC ERASER" tool to remove the background on an image with only one click. Is there such a feature on Afinity Designer?
 -
 After update to 1.7.2, Fill paint with transparent color doesn't work. (It works propery on 1.7.1, and this bug occurs on MacOS also.) I very often use this function, so I'm very discouraged. I degradee software version to 1.7.1 . I strongly want serif company to fix this bug.
-
In AP desktop I’m told you can have defaults of transparency before starting a project and the same with AD. First is this correct ? OS iPad AD and AP does not have this simple features ? As I see vivid white each time. rob