Search the Community
Showing results for tags 'Selection'.
-
 Hey everyone! When adding to selection, Designer for iPad does not take group levels into account. For example, when trying to select "Shape 1" and "Shape 3" from the following tree: Group 1 Shape 1 Shape 2 Group 2 Shape 3 Shape 4 , Designer for macOS would select exactly those. Designer for iPad, however, selects "Shape 1" and "Group 2". Also, there seems to be no "Add to selection" for Photo for iPad at all. Would be great if you could add that at some point. Best wishes, Shu
 -
 Hi, have a little problem cannot find a way how to jump to layer which contains selected object. I see only highlighted layer (if not expanded, then only highlighted group) in layer view, and i have to manually open the group, subgroup, etc.... use case - gui dev, have 40+ artboards, and 1000+ layers divided into many groups and subgroups ...
 -
I would love the ability to preview in black and white (as masks) the range that is selected using the blend options, then I can load it to a selection and use it to manually blend images. This will be also useful if you make minor adjustments and would like to see in more detail the areas affected by that adjustment. I would also like to see this extended to the select menu, so we can make range selections using curves. If this feature will be implemented luminosity masks macros will be a thing of the past.
-
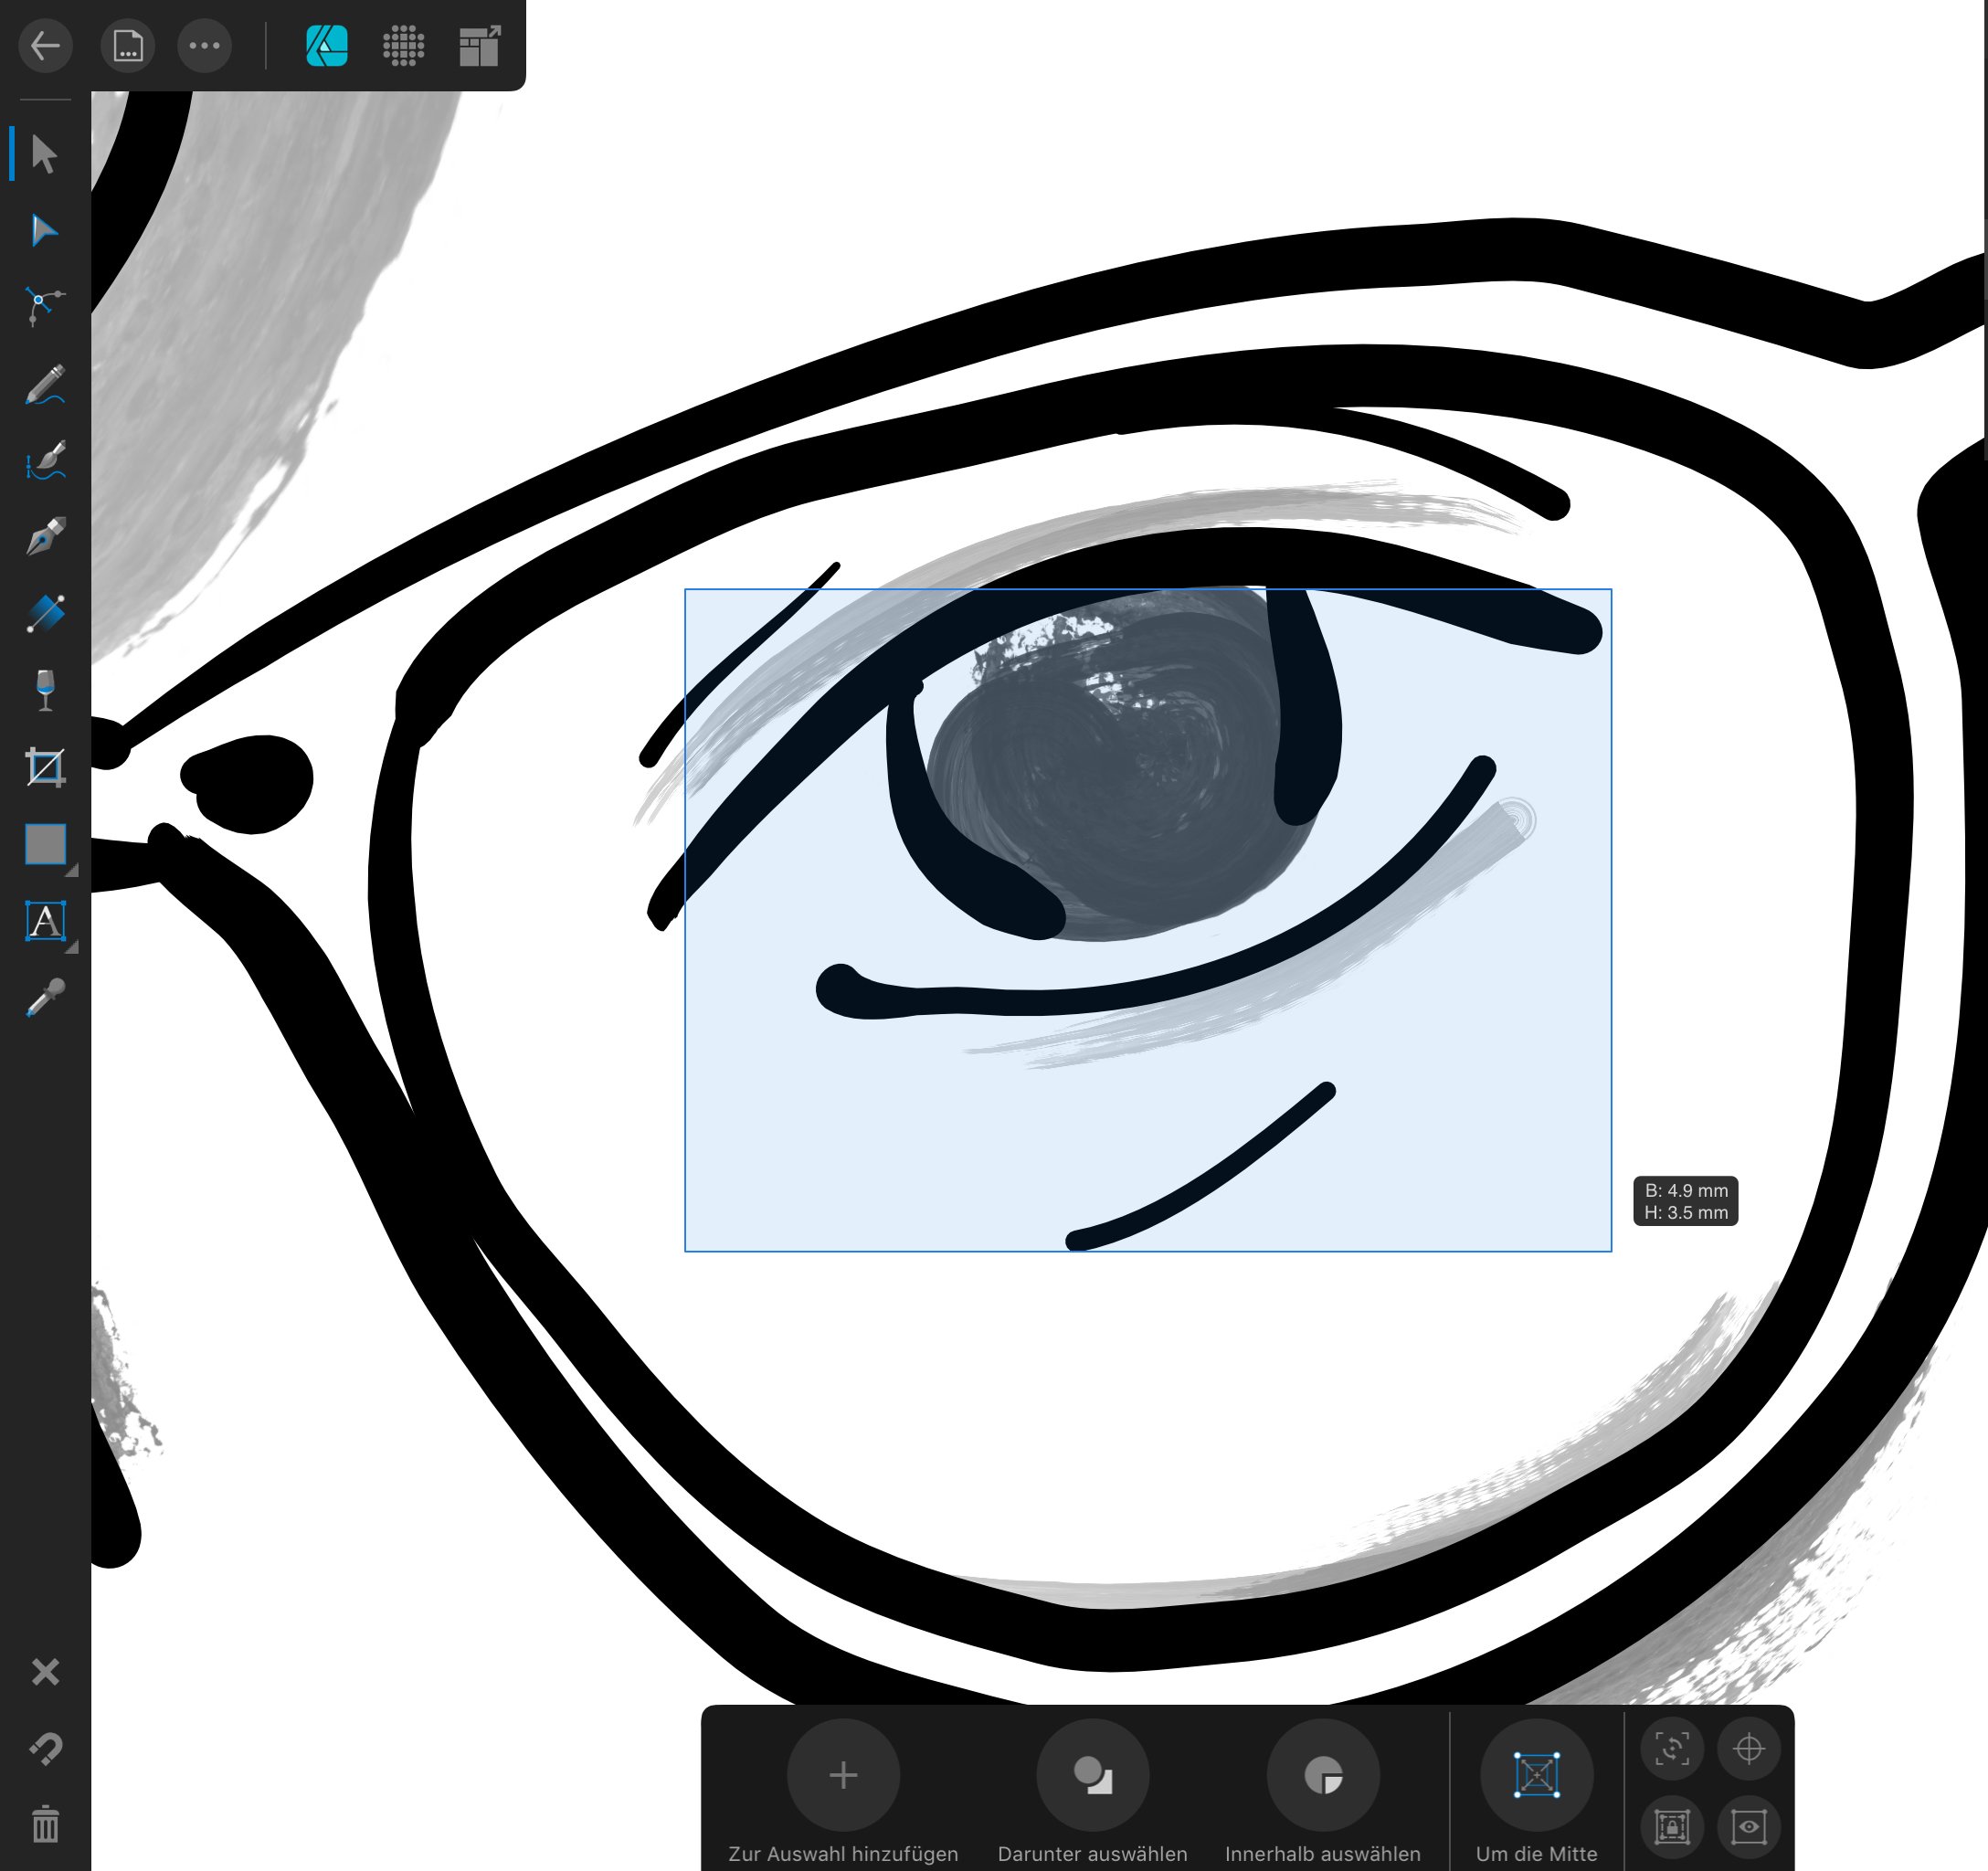
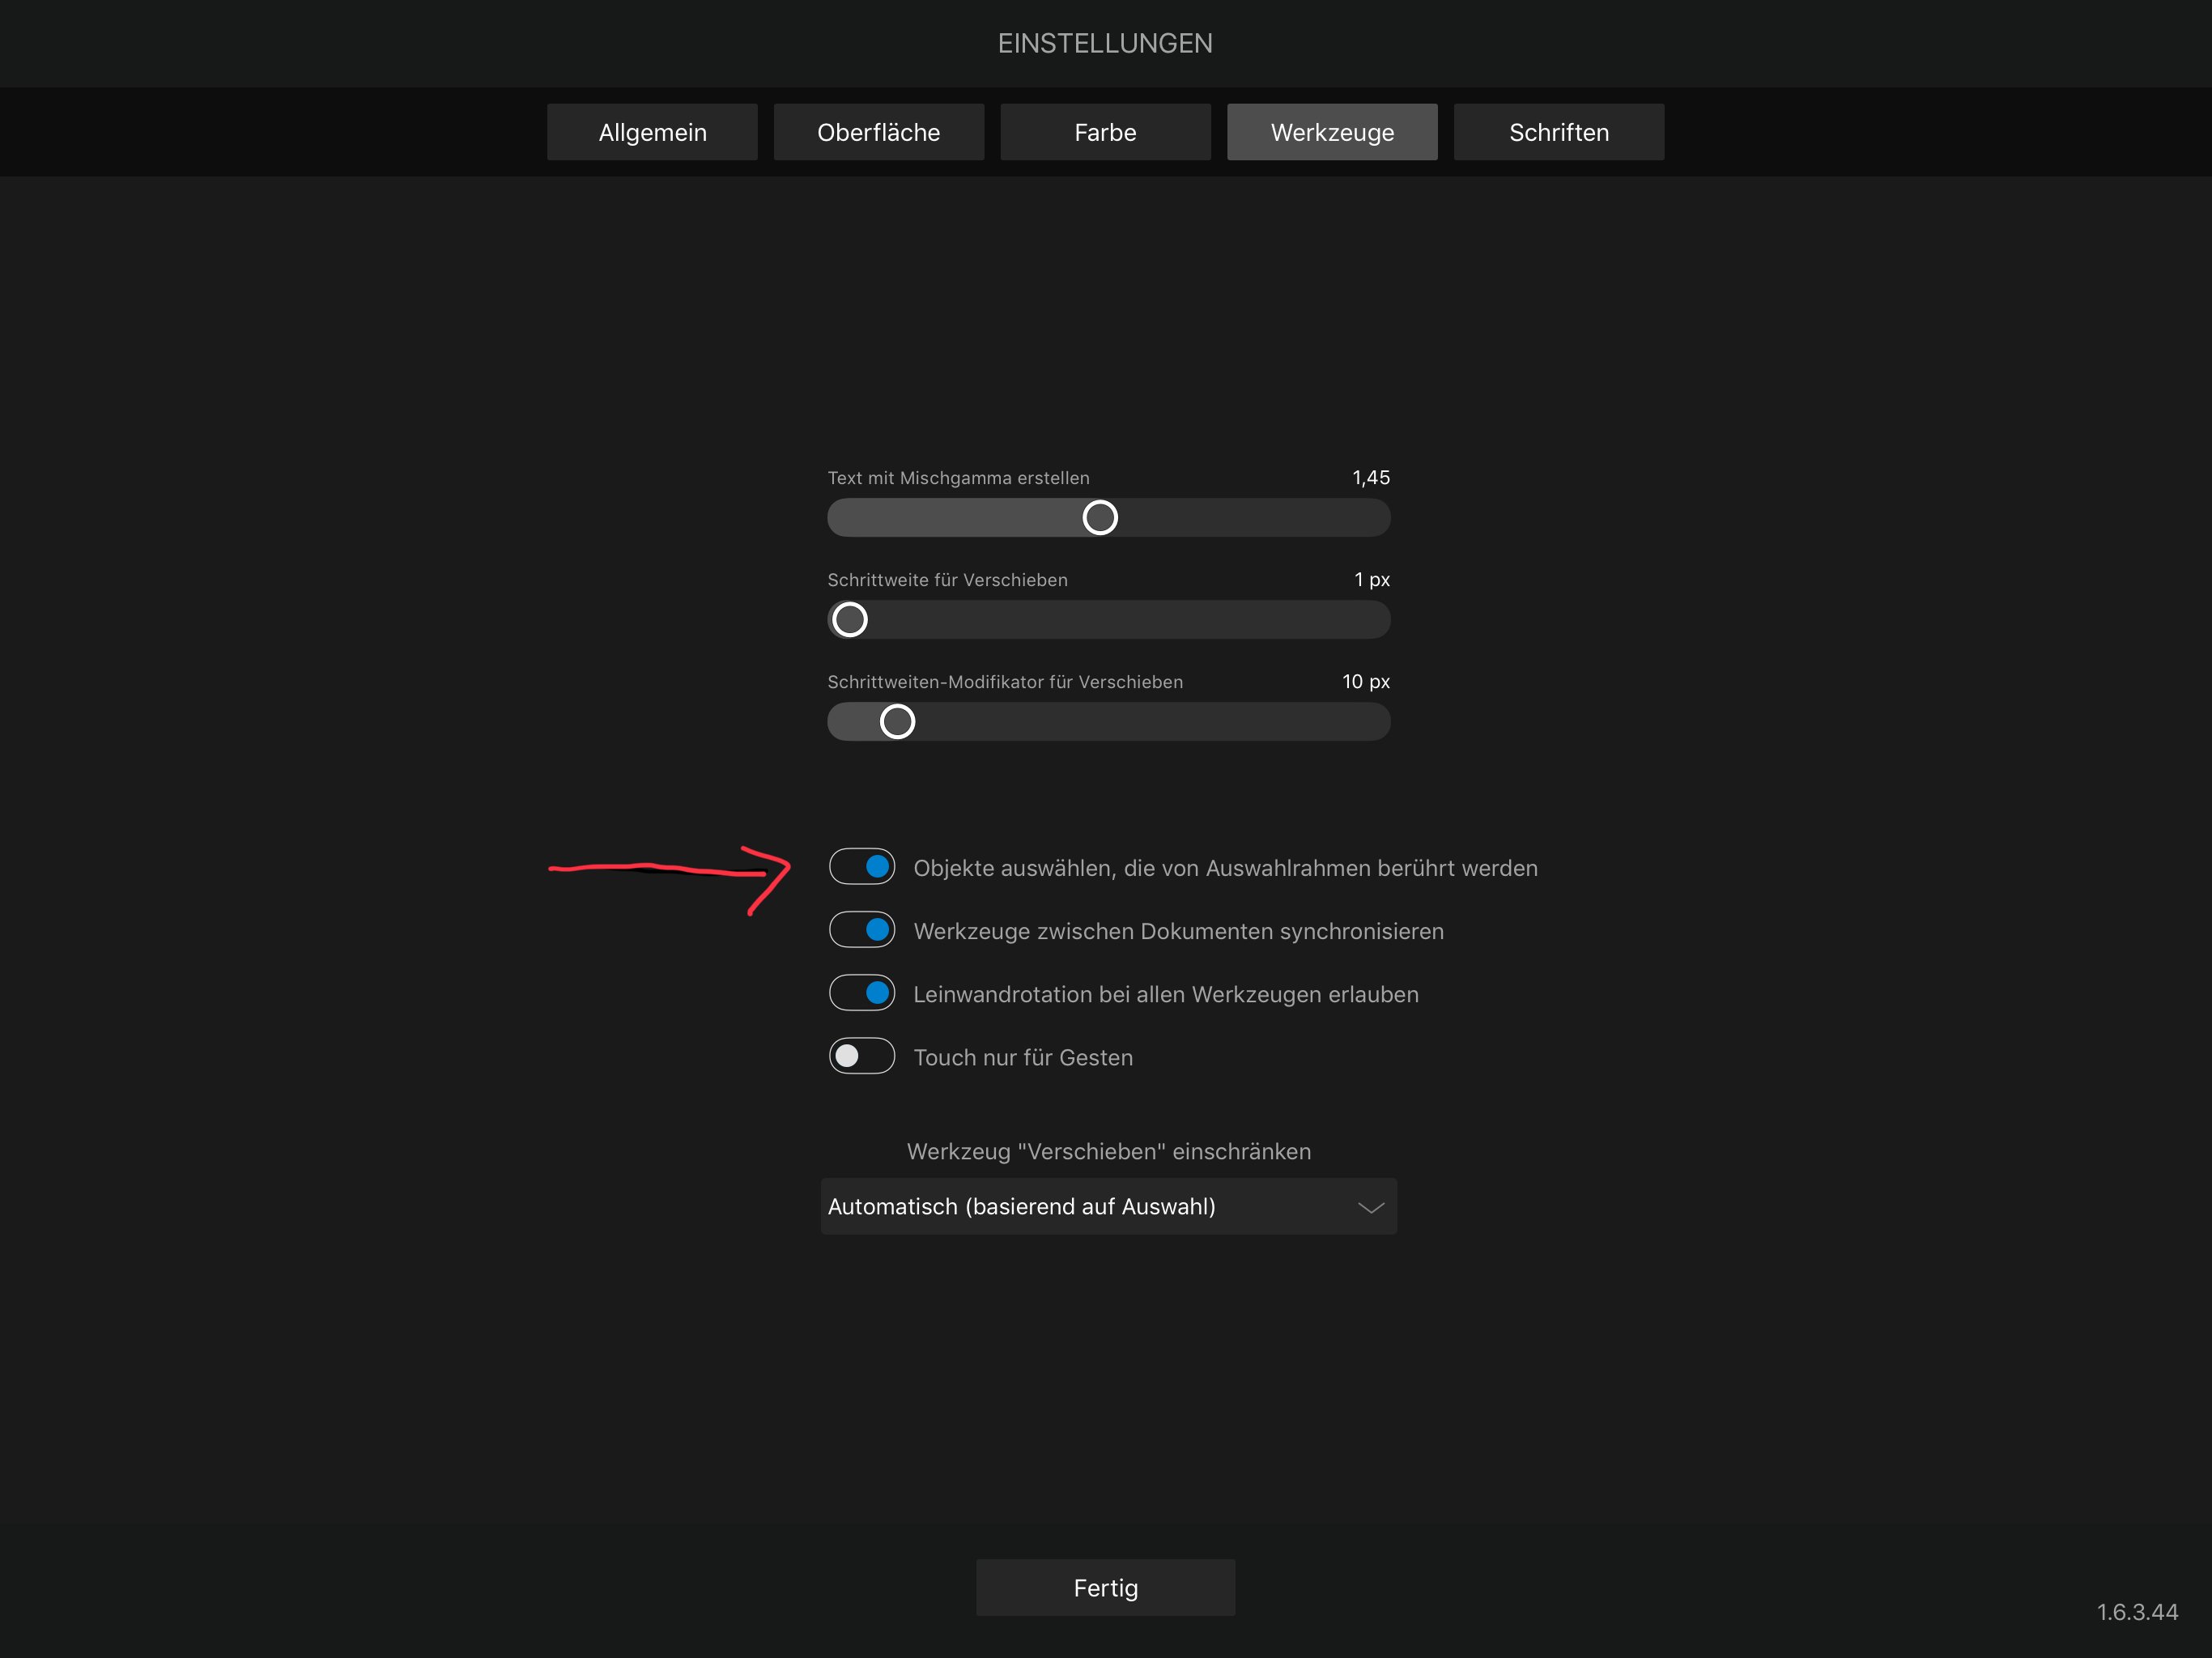
 Hi, When editing my vector drawing I would like to use the selection tool to select, transform and move the complete eye including outlines and shadows. The tool only allows to draw a rectangle at 1 of 5 attempts (at the faulty attempts always a whole grouping is moved). As soon as I manage to draw a rectangle, not a single layer is marked, although the settings are set in the global settings (see screenshot). The selector "edit all layers" in Layers Studio is also on. I also tried, after selecting the main group, to reach the other objects and groups by double-tapping, but even in this attempt it was not possible for me to combine all the blacks and gray lines of the eye in one selection. I attach my complex AD file to you. How can I quickly select the eye including shades? This problem costs me a lot of time as I have to search for layers in hundreds of layers as a workaround. Instead of making a change in a minute, it takes a lot of effort. The app is really very good, but the Move tool is currently a showstopper when using it. Best regards Sandra Unbenannt_4.afdesign
-
 This is a question that I've googled a lot, but the lastest builds of Designer (late 2018) are different and there isn't any "Selection" or "Mask" button into the Pen tool contextual menu.
 -
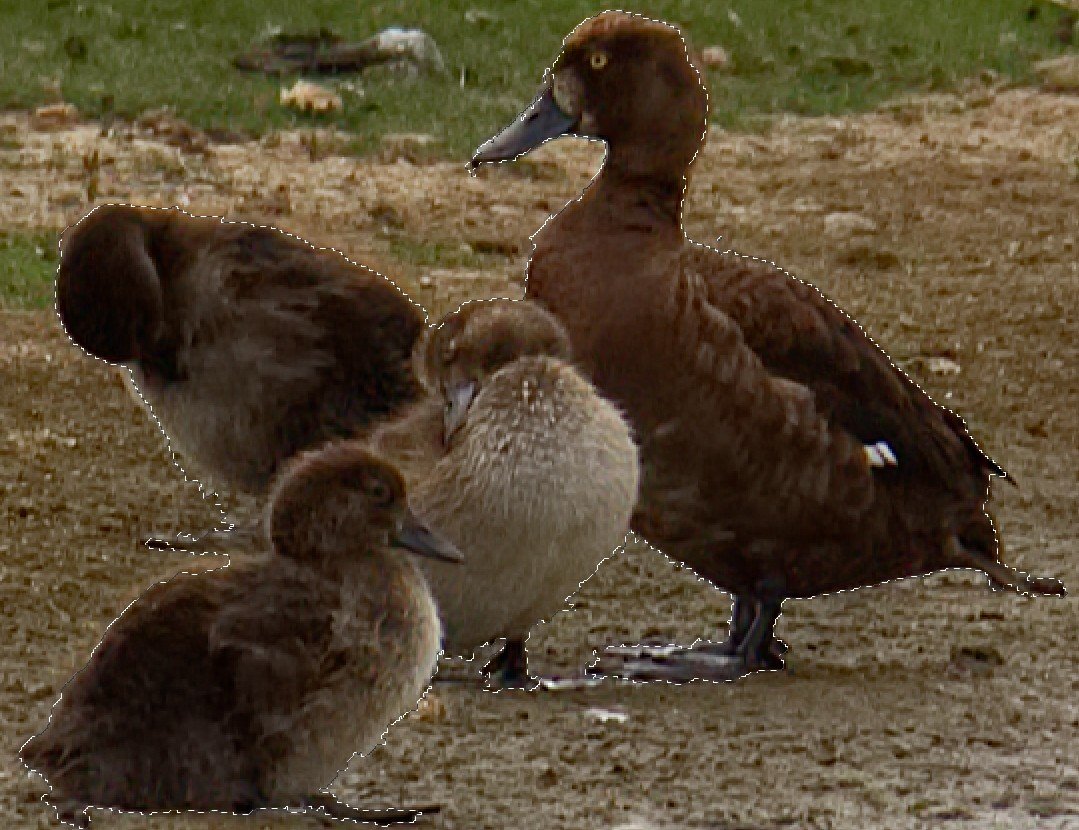
I have only been using Photo on Windows 7 Ultimate for about a week. Thus far I have been quite impressed, though there are clearly some problems in these early stages. The problem I have just encountered involves the use of the Selection Brush Tool. Thus far I had found this tool to be much better to use than in Photoshop where I have much more experience - that is until just now! I was trying to select the ducks in the picture so that I could use the Levels tool on just them to increase the contrast with the rest of the image. The selection went relatively well as you can see from this image: The problem occurred when I used the Refine tool to ensure a smooth transition between the selection and the rest of the image. When I did this I was left with the following as the selection: It is easy to see that the selection is now very different and not at all what was required. The program had clearly altered my selection and had made it impossible to achieve the affect I was aiming for. I tried doing the same process 3 times with exactly the same result. The Snap to edges was turned off each time and there appears to be no way that is immediately recognisable of avoiding this problem. Any ideas and comments would be most welcome For information the screen shots were taken at 200%, so the original is much sharper and the ducks form a much smaller part of the image. PS Again for information; I was able to perform the operation I required using my very old version of Photoshop in less than 5 minutes. Not at all what I had expected.
-
 Hello, after converting from Illustrator to Designer, I am taking the next step now: Photoshop >> Photo! I found already most of the feature equivalents, but as I edit a lot of screen shots, I need an easy way to crop images based on a selection. In Adobe Photoshop I would select the part I need to crop with the selection Rectangular Marquee Tool and the I select Image: Crop. Searched the help system, I searched the forum, but did not find anything. And no, the crop tool does not help. Looking forward to getting help.
 -
 This is just a small tip/warning but it took me a while to figure out what was going on. Since Designer has the Pixel persona one has to be aware that there is the second type of selection - the pixel selection. The first type is obviously the object selection (selection box). If you are working with both types of selections (switching to Pixel persona and back) at one point you may forget to clear the pixel selection (deselect) or you may create the pixel selection accidentaly. And that might cause problems/confusion later on. This happened to me: While in Draw persona I selected a pixel object and noticed that the selection (bounding) box is completely off the object and has a different size: I thought that it had to be some kind of a bug. It took me a while to figure out that it is in fact a forgotten (or accidental) pixel selection. So ultimately Ctrl + d solved this issue. So if something is off with your object selection box or you get any sort of weird behavior alway try Ctrl + d. Maybe this is too obvious but you never know... Anyway I just wanted to share this.
-
 Hello, during the last couple of days I spent a lot of time with Designer. I watched most of the official tutorials and read the relevant parts of the documentation. So far, I love AD, but the following behavior drives me nuts and renders AD almost unusable for me. I am trying to draw a brushed illustration using a Wacom. I have hundreds of strokes and want to clean them up: sort them into groups assign different stroke widths etc. However the selection process seems to be almost impossible hard. Please consider the following quick screen-capture: <iframe width="560" height="315" src="https://www.youtube.com/embed/_DsJZdXqWzY" frameborder="0" allow="autoplay; encrypted-media" allowfullscreen></iframe> ( https://youtu.be/_DsJZdXqWzY ) It shows the following problems: Frequently, I'm am accidentally creating copies by dragging with ALT or CMD Pressing CMD-Z once will only undo the offset but not the duplication which leads to two identical copies of the strokes precisely on top of each other (it took me hours to actually notice this behavior and now I'm always using slightly transparent stroke colors) Trying to select a stroke by clicking with CMD+SHIFT is totally random. Sometimes I'm lucky but it feels like most of the time a random neighbor stroke is being selected. (SketchApp always shows the inner bezier-line as hover before clicking which makes it possible to quickly select the right element without trail and error) Trying to select several elements with marquise-selection frequently does more damage than help, because I just create more accidental drag-copies. Drag zooming with SPACE+CMD+Drag is super fast. But if I accidentally press CMD+SPACE+Drag (pressing in the wrong order) -> Yay, I just created another invisible copy and have to Press undo twice. I can't figure out the "Edit all Layers"-toggle. It should lock me into focusing on a single layout (without accidentally switching when CMD+selecting or dragging). But it doesn't seem to make any difference. The Isolate Layer-Mode (ALT+Clicking on a thumbnail) would be super useful, but sadly it is abandoned as soon as you want to select several elements. I have a hard time figuring out the precise working of the layer-player (Group vs. Layer vs. Component). Sometimes it seems to have an impact on the selection (esp if the toggles of "layer-items" are highlighted with a circle). The CTRL+CMD+Click context-selection frequently only lists a single "Curve >" icon, that can't be selected. I guess I must be using it wrong so I'm looking for advice from advanced users. How are you doing this kind of basic selection work? As mentioned above, I frequently work with Sketch, and selecting stuff seems to be million times more efficient and logical there. Thanks for your help. Any tips or pointers are very welcome. Tom EDIT: I finally figured out, that the "Edit All Layers" toggle is to be taken literally: After promoting many of by Groups into proper Layers, this already helps quite a bit. affinity-designer-problems-01-selection.mov
 -
 I started with Affinity Photo around 3 days ago. I am currently trying to take a picture and put one third on one layer, the next on another, and the final on a third. Is there any easy way to do this?
 -
 Hi all. I created an object that's hollow in the middle, through which you can see other objects. But I can't select those by clicking on them; Designer is treating the empty space as part of the surrounding object. Do I really have to hunt through the layer list to select any of the underlying objects from now on? In the attached illustration, the interior of the large curved rectangle was created by subtracting the inner shape from the outer one. The small one has no fill. But I can't select the blue line. I looked in the preferences for "treat all objects as filled" (found in other apps), but I don't see it. Thanks for any insight.
-
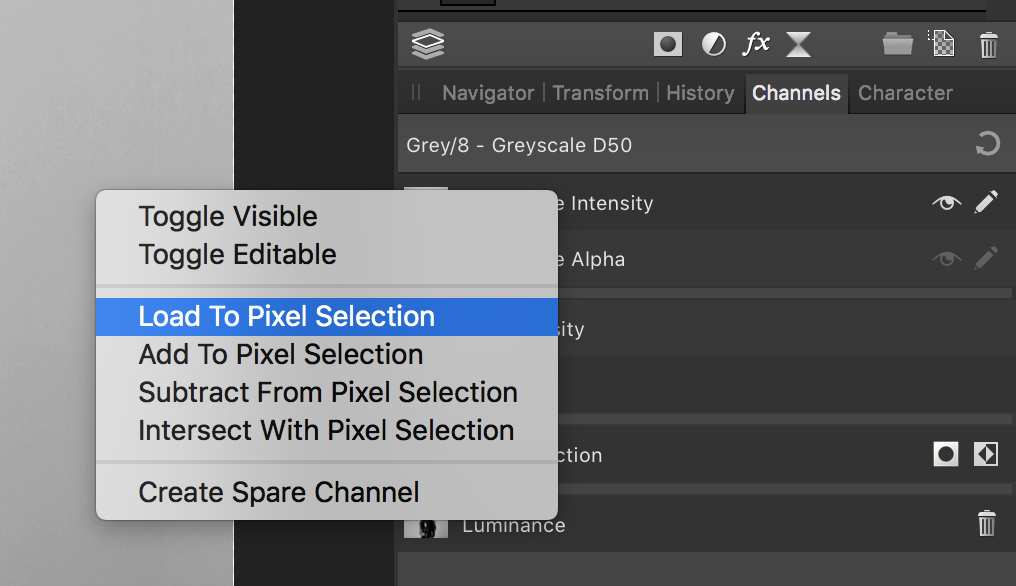
 I have a pixel selection that I have created from a channel using "Load to Pixel Selection" Goal: I want to have that selection as a clearcut image on a transparent background. I cannot for the life of me figure out how to create a transparent layer, and fill it with a color. How would I get from having the pixel-selection marching ants to a layer with just the selected pixels filled on a transparent background. Thanks!
-
 Hello, just want to do that: 1- Drawing a path 2 - Clicking (or right click, what i have expected) the path 3 - Create pixel selection from this path Any idea? Thanks
 -
 Hi guys, thank you for reading this. I would ask you to consider a very smart and intuitive way to navigate the canvas. Illustrator (and also Photoshop with some minor difference) uses the modifier keys Ctrl, Alt, Shift and Space in combination to activate or deactivate certain tools. This solution is very useful and super fast because you do not need to move your fingers over the keyboards and you do not need to hit a key twice to activate/deactivate a tool, but with just 4 keys you can access to all the navigation tools, like pan, zoom, select, and so on. You probably already know what I'm referring about, but I'll add a list of the most common combos (please note that being a combo means also to hold them together while using the tool): Ctrl = Object Selection (or, if Object Selection is active, it triggers Element Selection) Ctrl + Space = Zoom In Ctrl + Space + Alt = Zoom Out Alt = Drag Copy (also after clicking for drag, atm it works just before) If you have to deal with conflicts among other shortcuts, like combos already used for other functions, please contact me and I'll be happy to deal with it. Finding the same interface as the most popular software would have many advantages: - reduce frustration and improve experience using the software - reduce adoption time - triggers interoperability between software (so you can use the same habits while switching from one sw to another...yes, someone still does) - uses a model already spread and tested, based on years of experience I totally understand that this is another software and it's normal to not expect to find the same stuff of the competitors, but this is not the kind of thing that makes AD positively different from its competitors (imho of course); making the transition from one software to another as smooth as possible for as many users as possible I think is more valuable. I and a bunch of other folks would really love to find these combos in the next updates. Thank you for your attention. p.s. dear reader of this topic, please, add here other combos that you would like to have in the future.
 -
 I am trying to create two layers from a selection. One layer has the selected data and the other layer has the non selected data. I would expect that when I look at the two layers I should have a complete picture. The issue is that I have a faint outline of the selection area and the size of that outline gets larger with feather. But, even with a 0 feather the outline still shows up. To recreate: Create a black pixel layer. This layer is so you can see the outine. Create a white pixel layer on top of the black. Make a selection and copy (ctrl-c), then paste into a new layer (ctrl-v) Select previous white layer from which you copied and hit delete key to cut out selection. Hide the marching ants (ctrl-d) and you should see the faint outline. I've tried different scenarios including inverting selection and pasting onto a third layer and I still get artifacts.
-
 Hi, I would like to reconstruct a process of Photoshop and can not find the right way. My intention is to select a section from a picture in the aspect ratio of 1.35:1, to cut this out and to export the section as a jpg for web application. I already have the problem that I can save the said aspect ratio, but can't select it afterwards. Could someone please briefly describe the procedure? And sorry for not being an english native speaker Thanks Sven
 -
I think it's gonna be a great improvement if you can add the same brush stabilizer, but for the Freehand selection tool. It would make it easier and more accurate especially on the iPad. Thank you
-

Selecting content with modifier keys
cedrichobbs posted a topic in Older Feedback & Suggestion Posts
Loving the Affinity suite of tools! After years of using that other set of products, I've completely switched over to Affinity Photo/Designer for building icons for my web application work. There is, however, one area that's just a bit less usable to me. In that other photo editing tool, I was able to manipulate and build selections simply by using modifier keys on my keyboard. For example, I could Command-click a layer to select its contents and then Shift-Command-click another layer to add to the existing selection. Or, I could Option-Command-click a second layer to subtract from the existing selection. Or I could Option-Shift-Command-click the second layer to form an intersection. Now, in Affinity Photo, if the Marquee tool is selected, I do see modes (New, Add, Subtract, Intersect) in the upper left. But these only appear to take effect if I select by dragging; they don't appear to apply to selections made by Command-click'ing a layer. Also, having to click a button to change modes is a bit more cumbersome than using modifier keys to build selections this way. Am I missing something? Is there a way to build up selections with keyboard modifier keys? If not, consider this a feature request! :) -
 I just love power of Blend options tool, but think that it can be boosted even further. Adding an option to select not only luminosity as the argument and not only R, G or B will be a major boost. Ideally it should be defined on HSL space (or, even better, on a wide range of color spaces like LAB, CMYK, WRGB etc) - a combination of all three parameters. It would let the user to apply adjustments very selectively... like adding vibrance to not saturated yellow objects in given brightness range, for instance. I am sure everyone would love to be able to add a point to the curve with some sort of picker tool Saving blending curves as presets is a must as well. It is often need to apply identical adjustments to a large set of images and now it turns into sort of guessing game - some variations are just inevitable with current approach.
 -
Hello everyone! I've got some suggestions for improving the selection tools: 1: Could you add a shortcut to the tools that lets the user add to selection when holding shift? 2: Could you add a shortcut to the tools that lets the user subtract from the selection when holding alt? 3: Currently, when I select Mode -> Add, I can only add to selection if I am starting the loop outside of the current selection. It seems there is no way to start a loop inside the selection, because if I try to do so, I actually move the selection. This behaviour could be accessed with M (Rectangular Marquee Tool), though. Being able to start a loop inside the current selection is just easier sometimes. 4: Could you include the selection menu (from the menu bar) in the selection tools so that it is being displayed at cursor location when right clicking? 5: I guess this is a bug, but I am adding this here as it's about the same tool: Clicking L to select the Free Hand Selection Tool will not show a different cursor initially. The cursor will only be displayed after using the tool. Best wishes, Shu
-
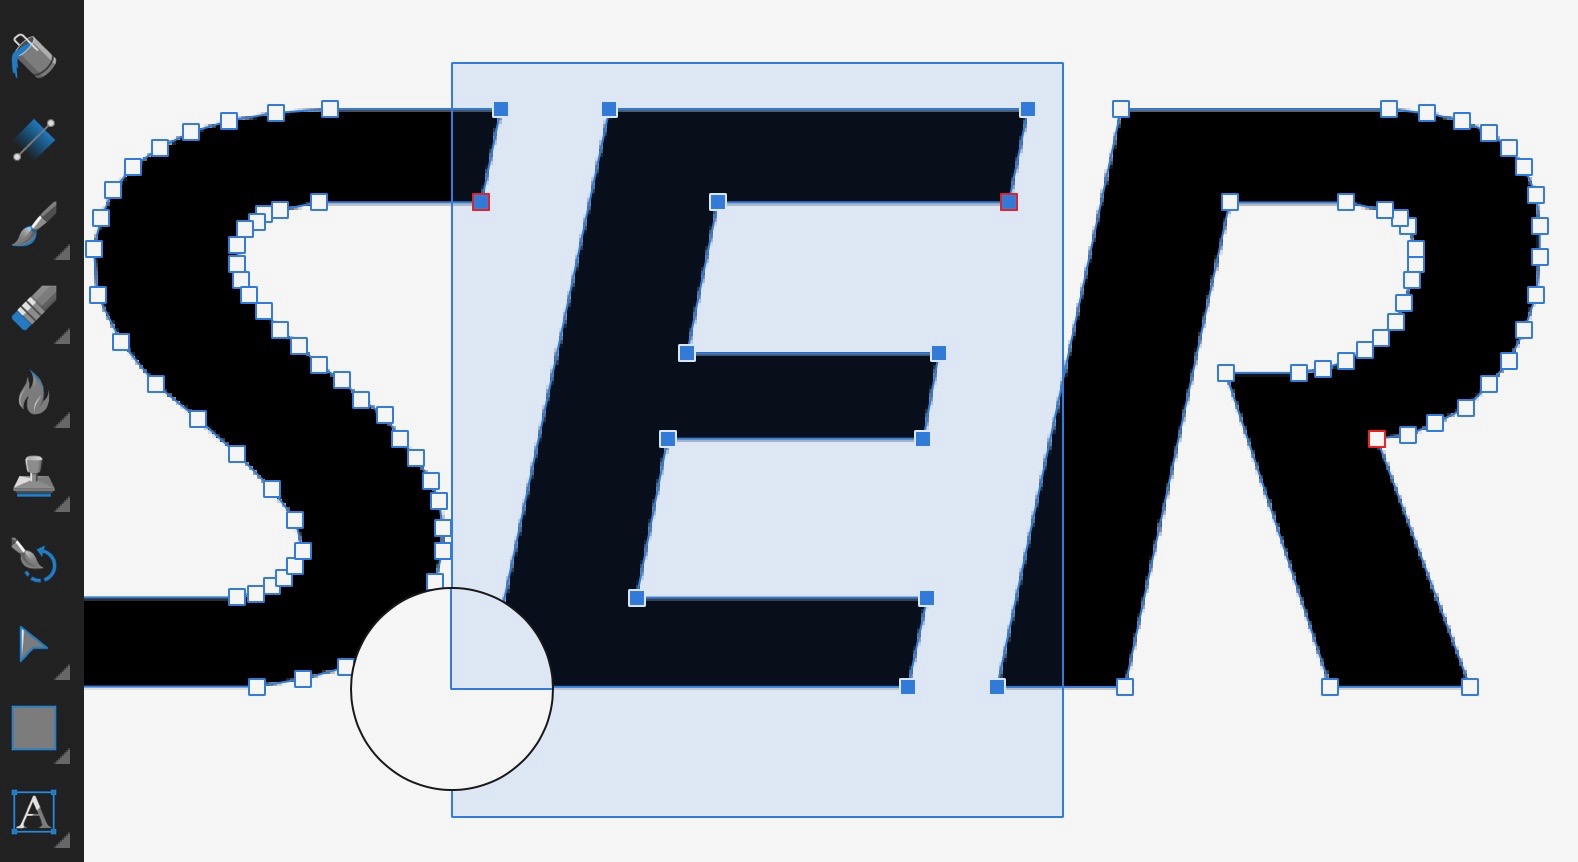
 I'm sorry if this is an obvious question but I simply can't figure out how to select nodes on a path in any way other than the rectangular selection. If I want to more precisely select nodes (eg, with a more freehand selection or through multiple selections), how can one do that? For example, how could one select only the 'E' in the attached example?
-
 The object was created in one layer. I created another layer, drew some other objects. The first object though with stroke and fill just disappear, even in the outline view. The only way I can select it is to go to the layer to select but still it is not visible. I have to drag that particular layer on top so the object become visible. I have attached the clip if the explanation is uncleared. What is the problem? selection.mov
 -
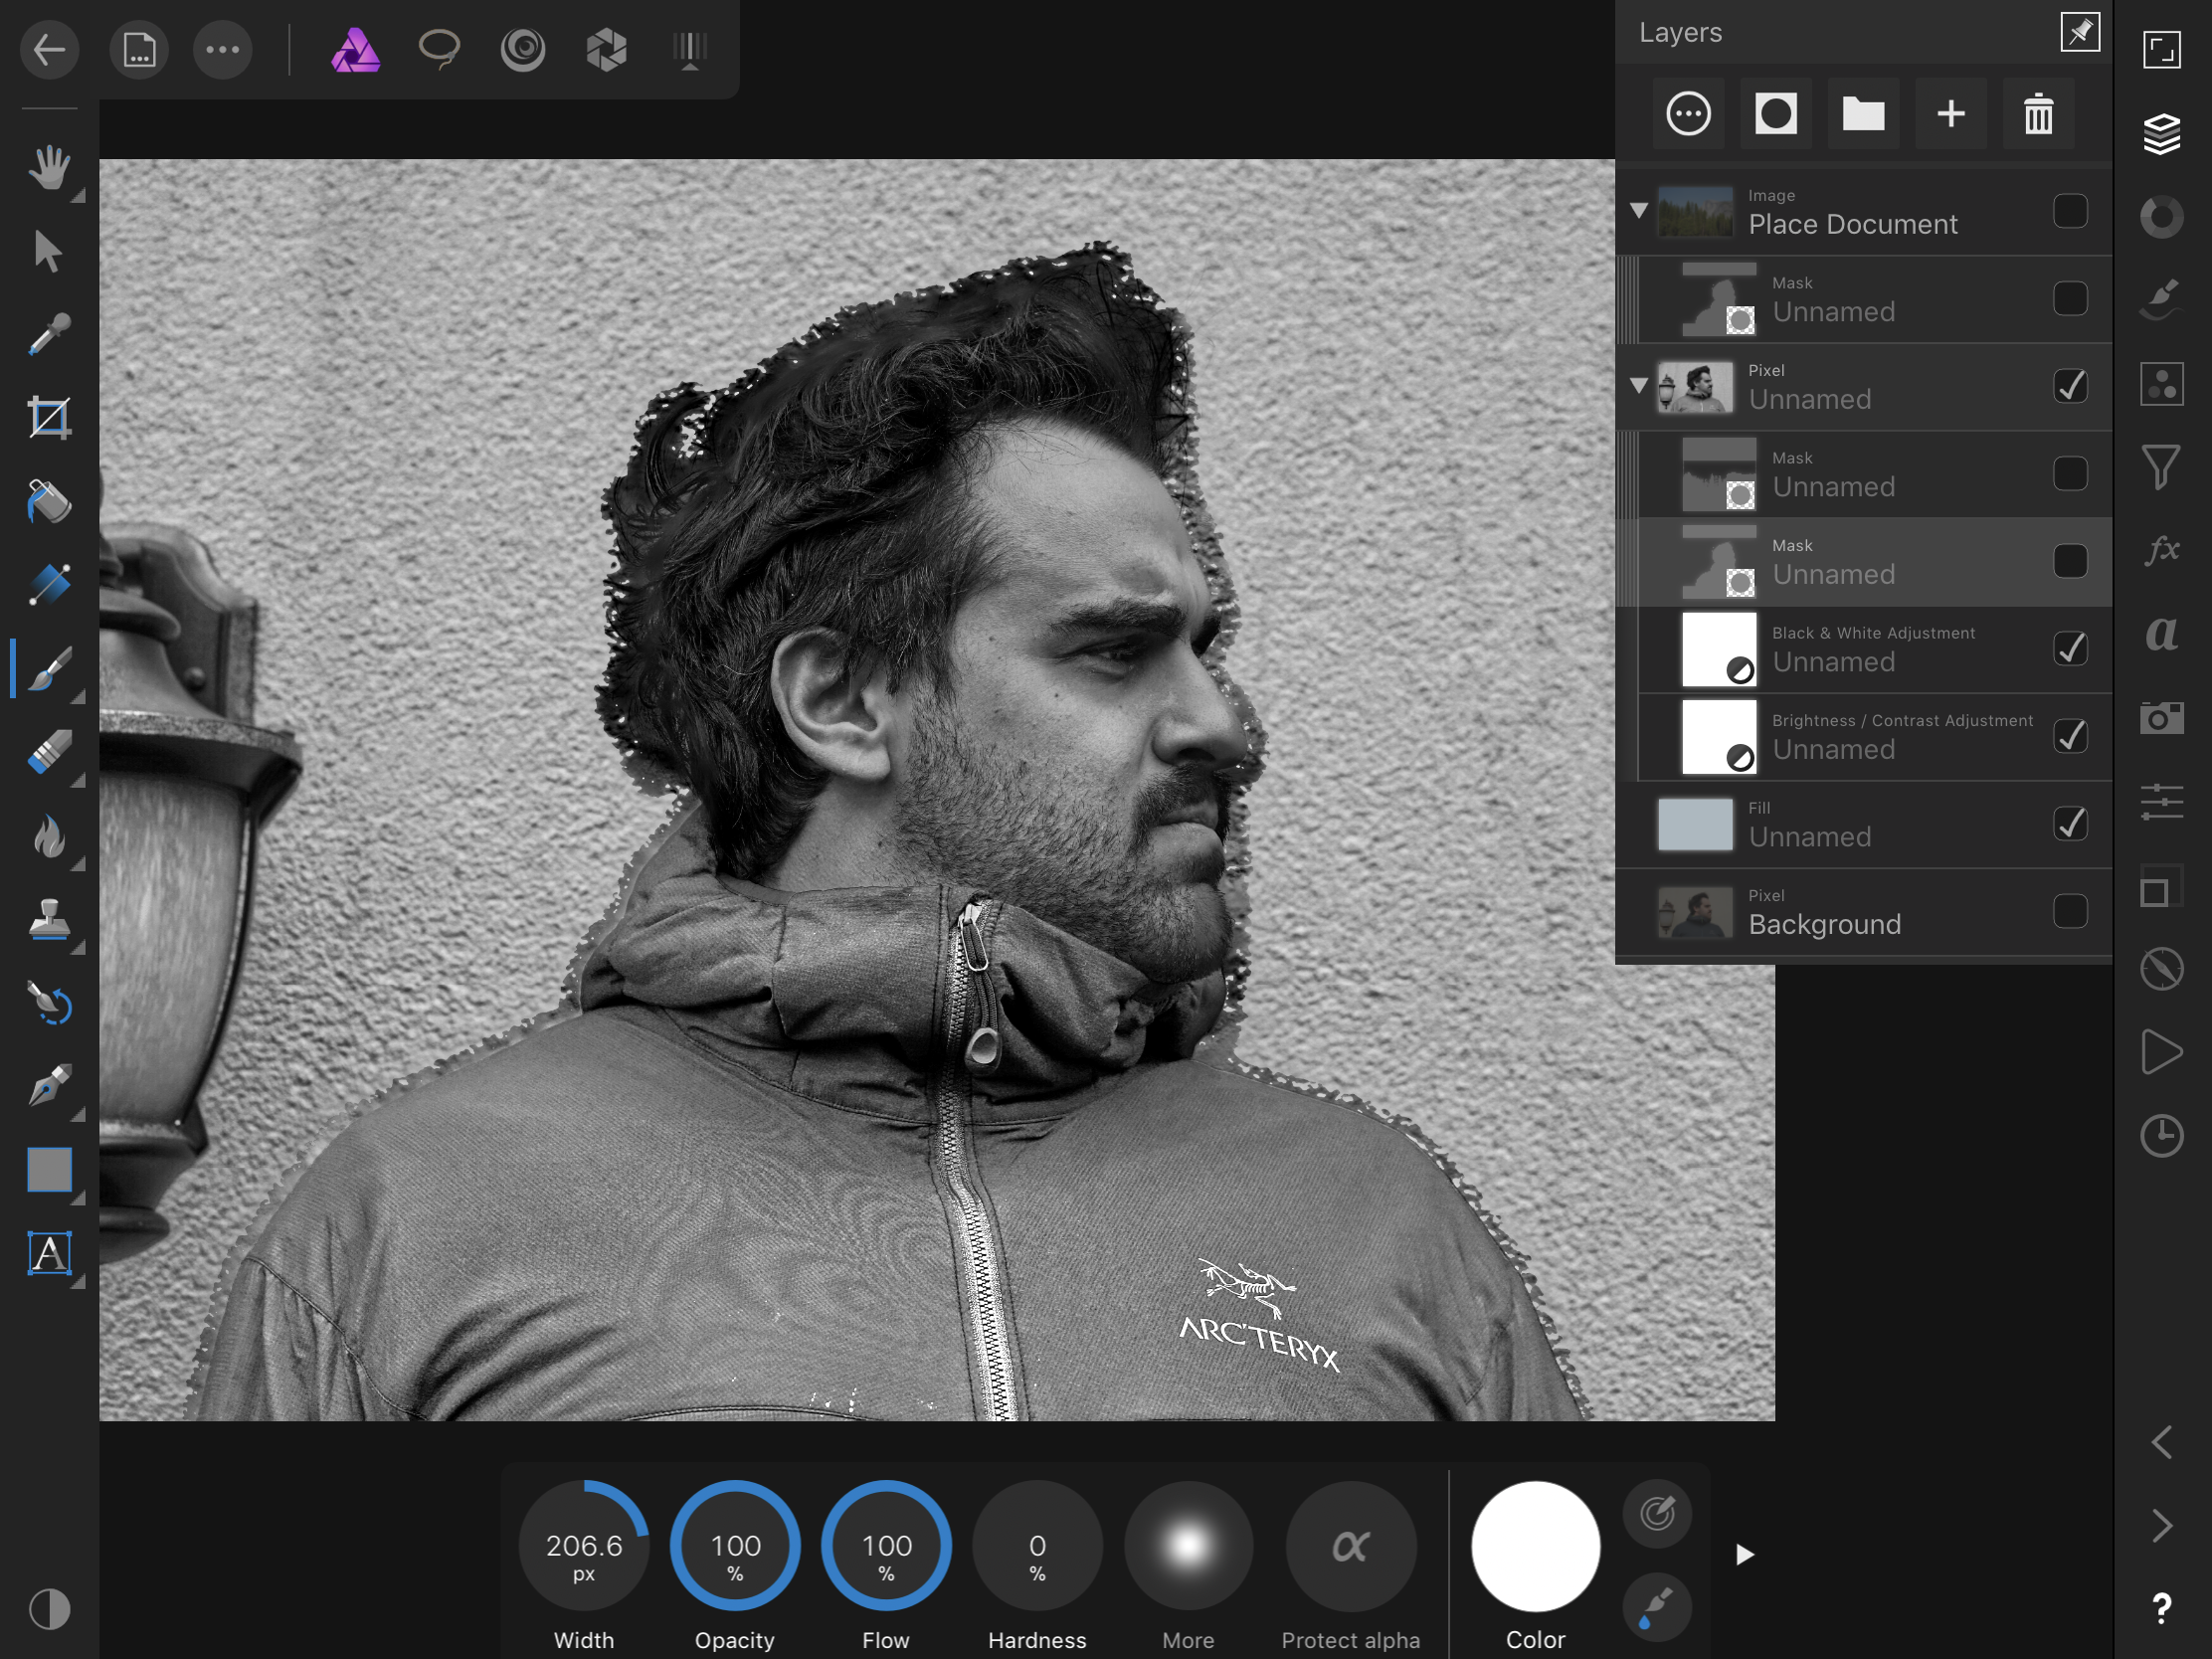
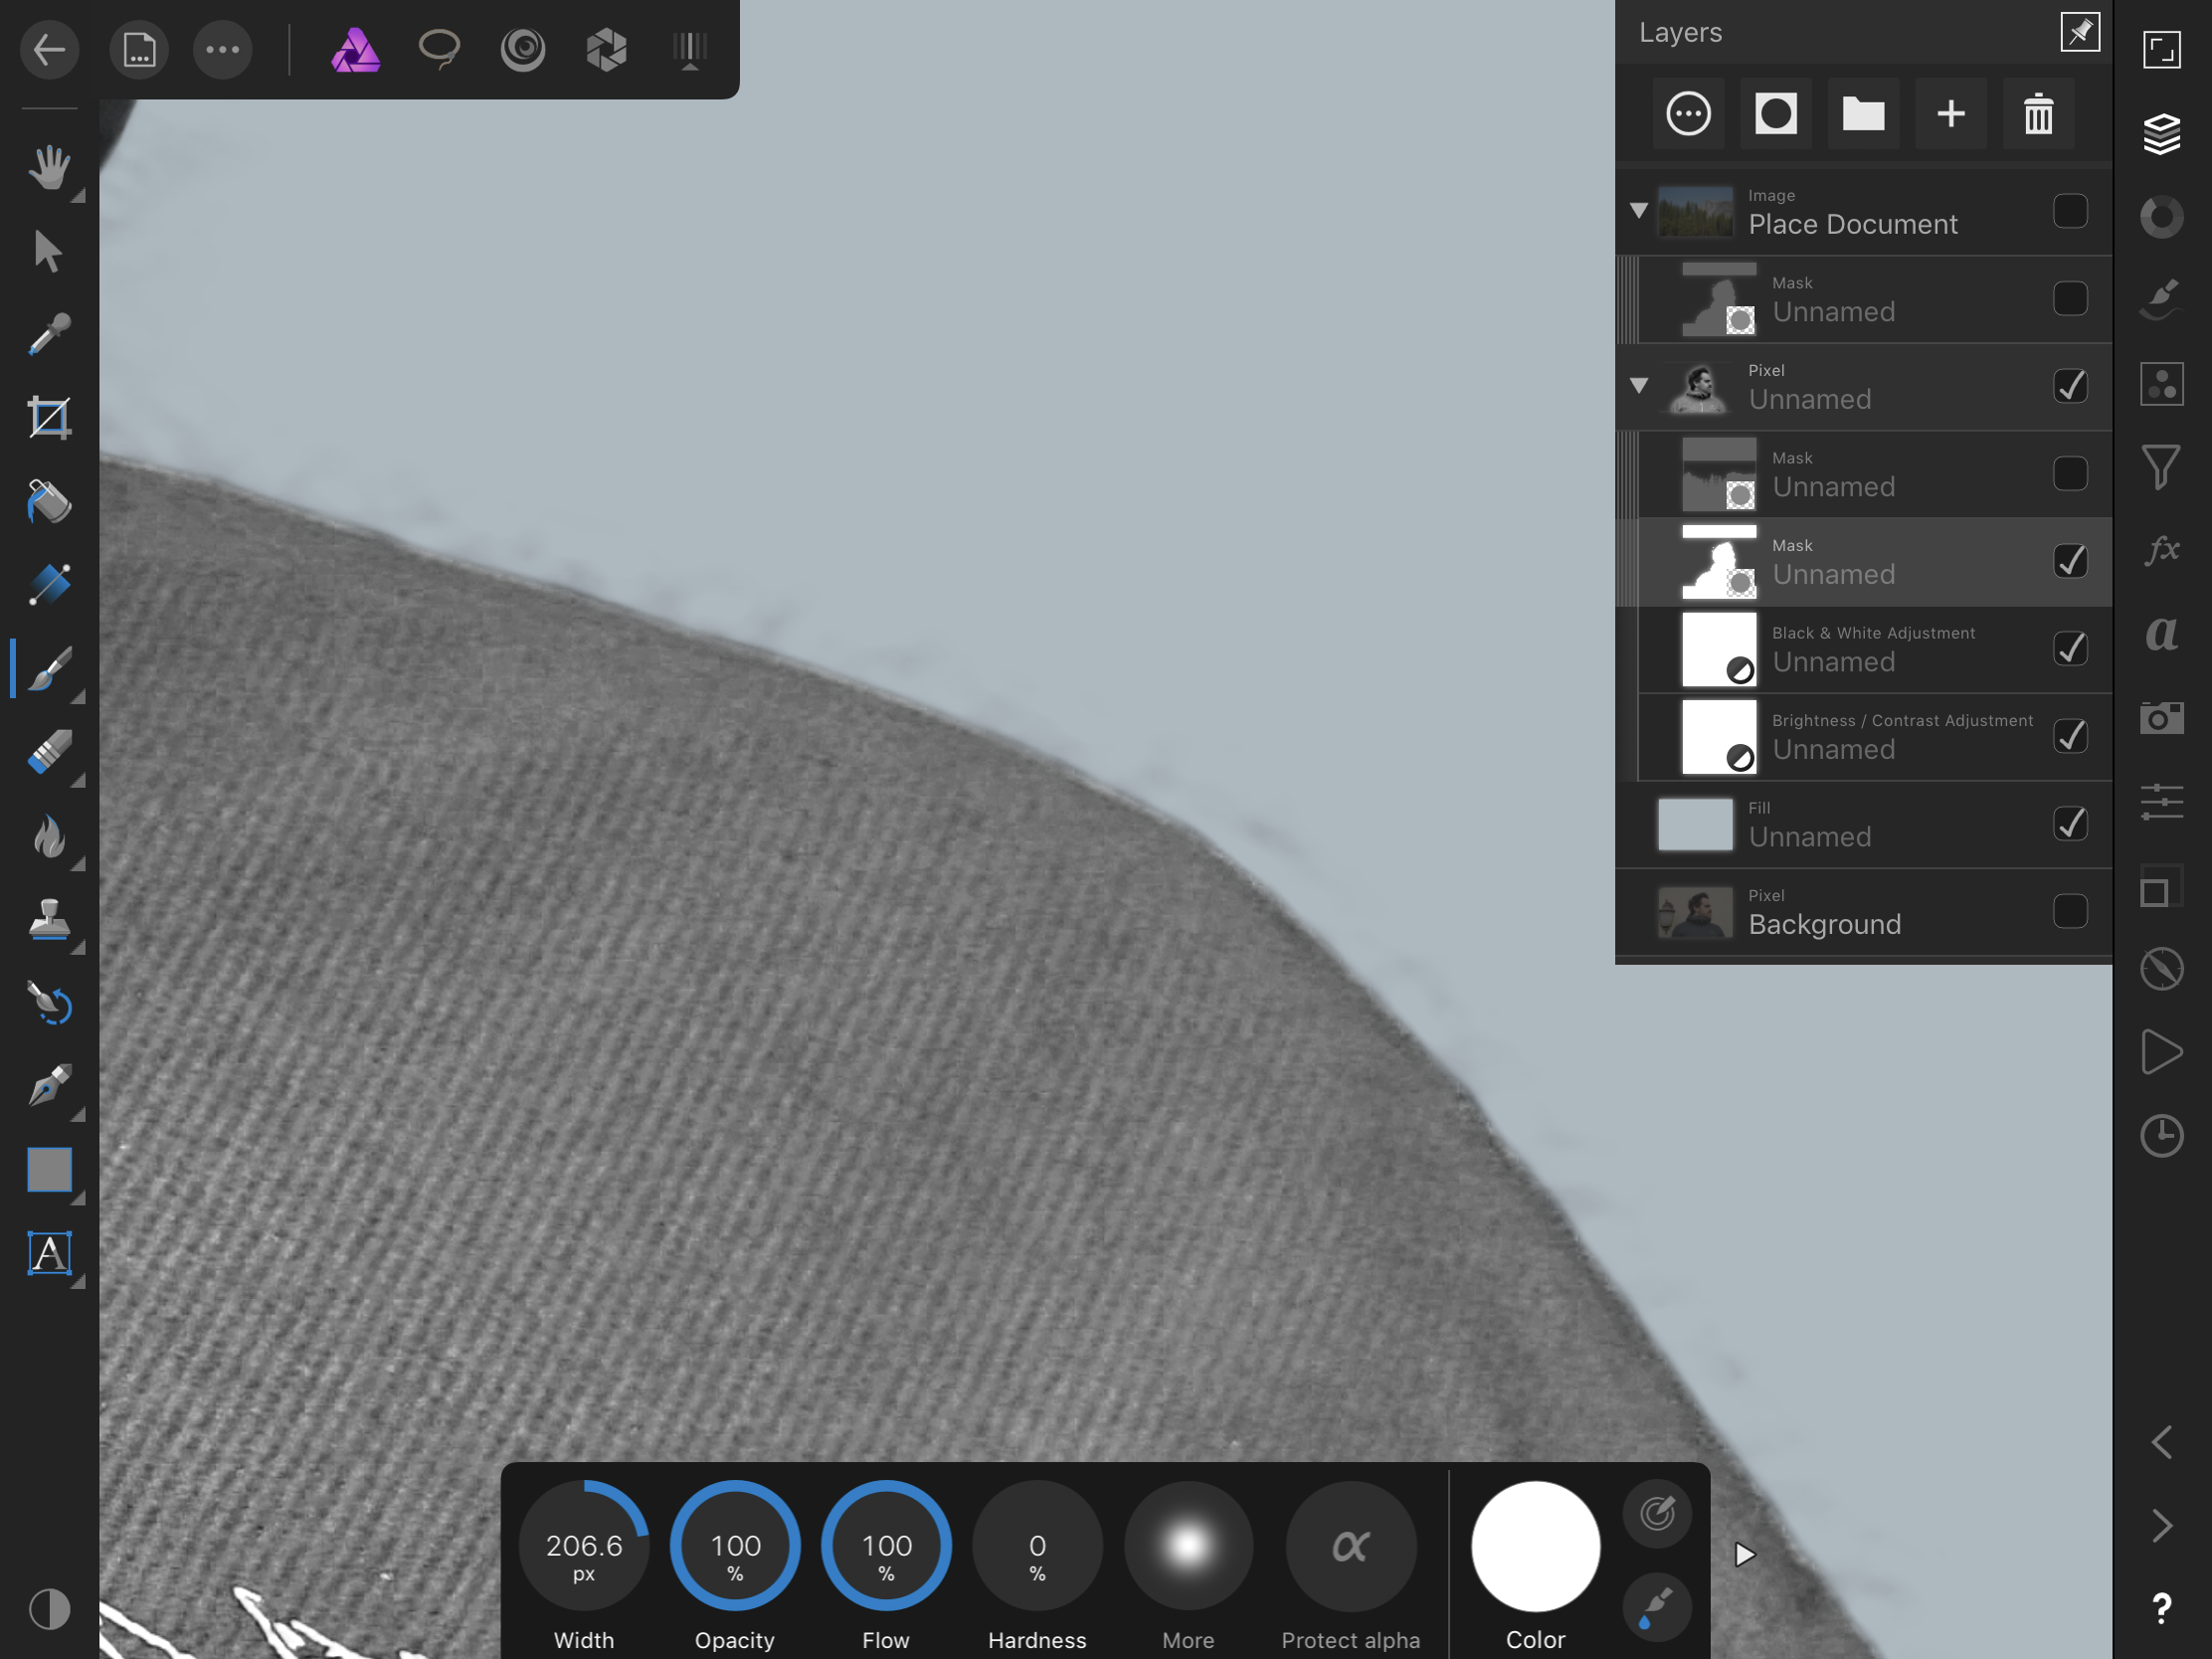
Hello! First post! Excited to be a part of the community. Absolutely loving Affinity, just got a couple of questions that have been confusing me about making selections. The refine tool seemed awesome at first and I was cutting out complex subjects from messy backgrounds easily, but now I’m finding upon closer examination that it’s really not that neat of a selection. I’ve seen other people ask similar questions so my question is this...when I refine a selection to a new layer with mask, why when turning off the mask do I see an image like the second one I posted? With the nasty selection outlining the subject? Also, how do I get a cleaner selection without all that mess along the borders? I’m extracting the subject from a very plain background, I dont think it should be coming out like this (third photo)....thank you guys!
-
I have group 2 text layers. When I want to select it, I can't. The selection goes to the nearest text in the clicking area. Am I doing something wrong?
-
 Hi guys! So, I have been triying to cut this guy from this image, but I can´t make a good selection. I have some problems with thoose small parts in his body, and I also have some weird edges when i refine it. I have tried it on Photoshop and I have been able to cut it almost perfecctly in just 2 minutes, what do I am doing wrong??!! Please help me!! I attach (In order) the original photo, the final result made in Afinity Photo, the final result made in Photoshop, the most difficult part for me of this image and also the weird edges I have when refining the selection. Thanks everyone!