Search the Community
Showing results for tags 'Refine selection'.
Found 23 results
-
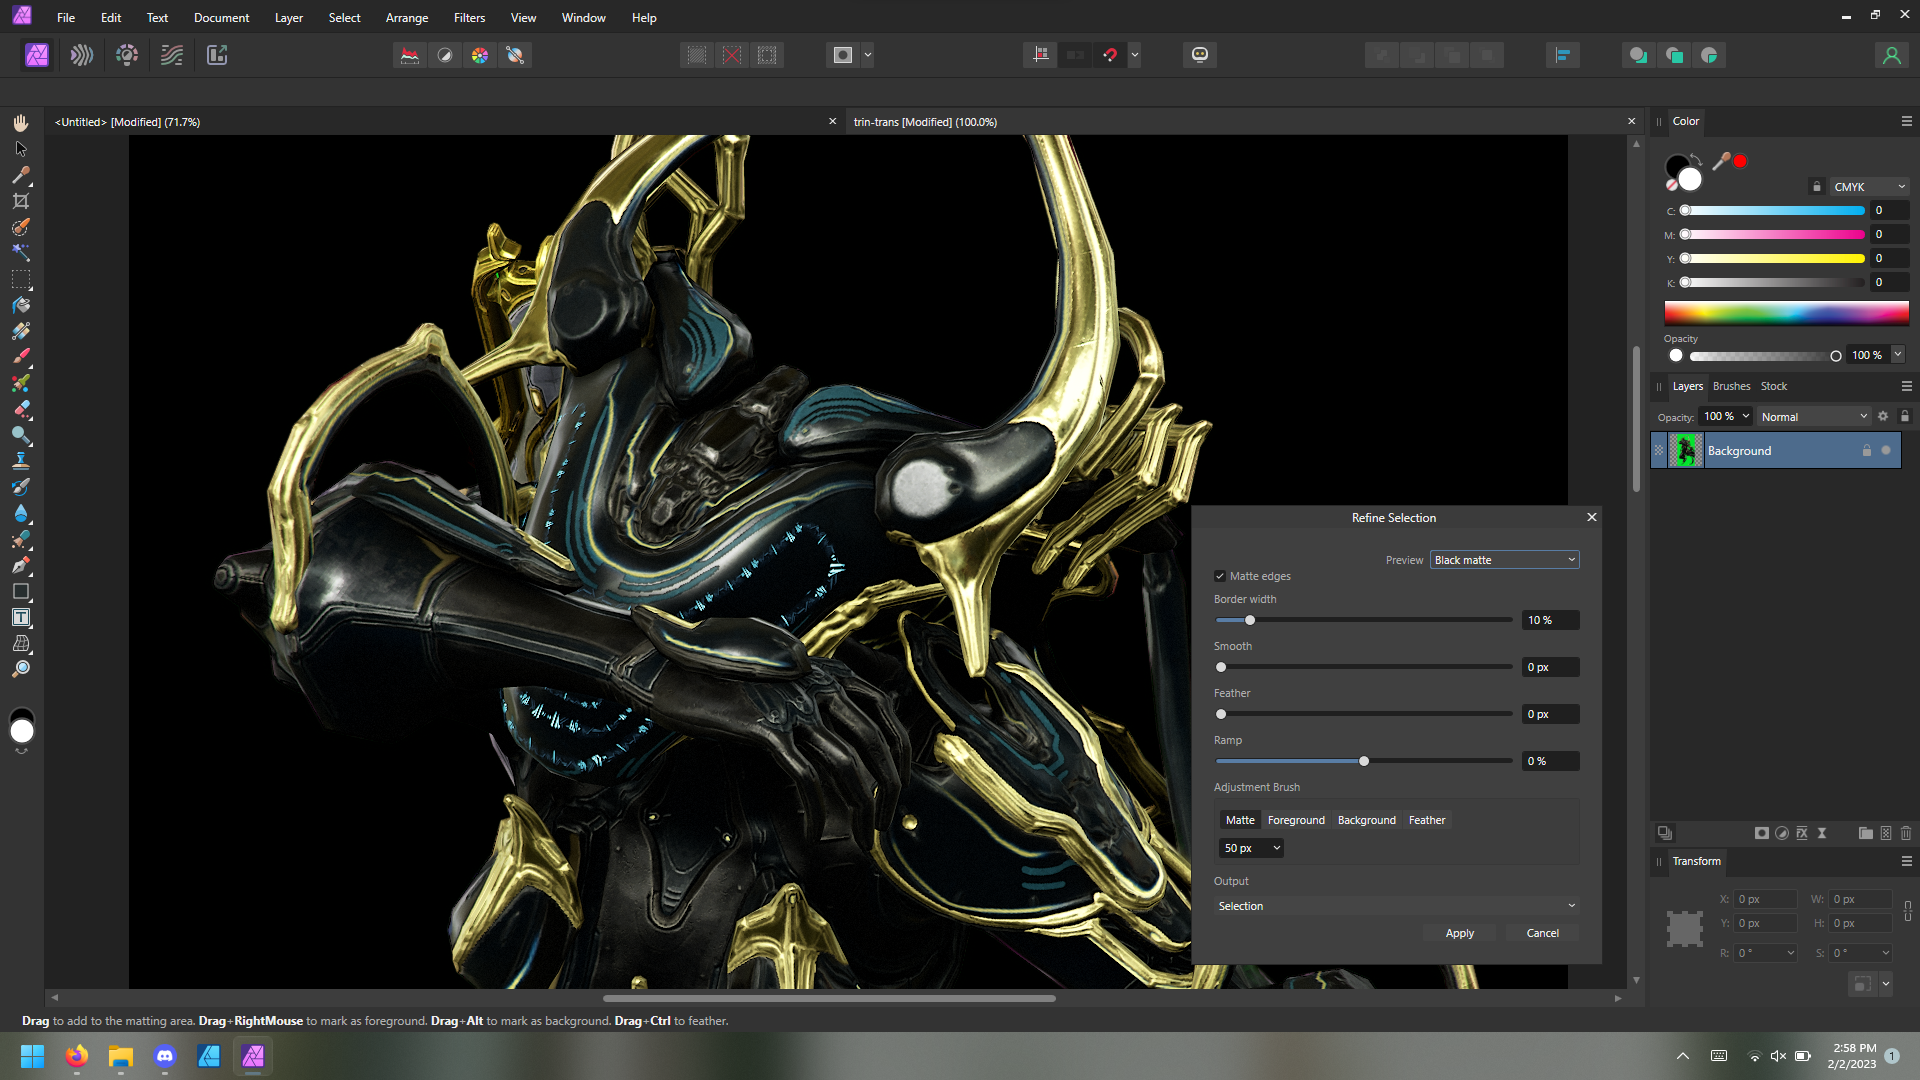
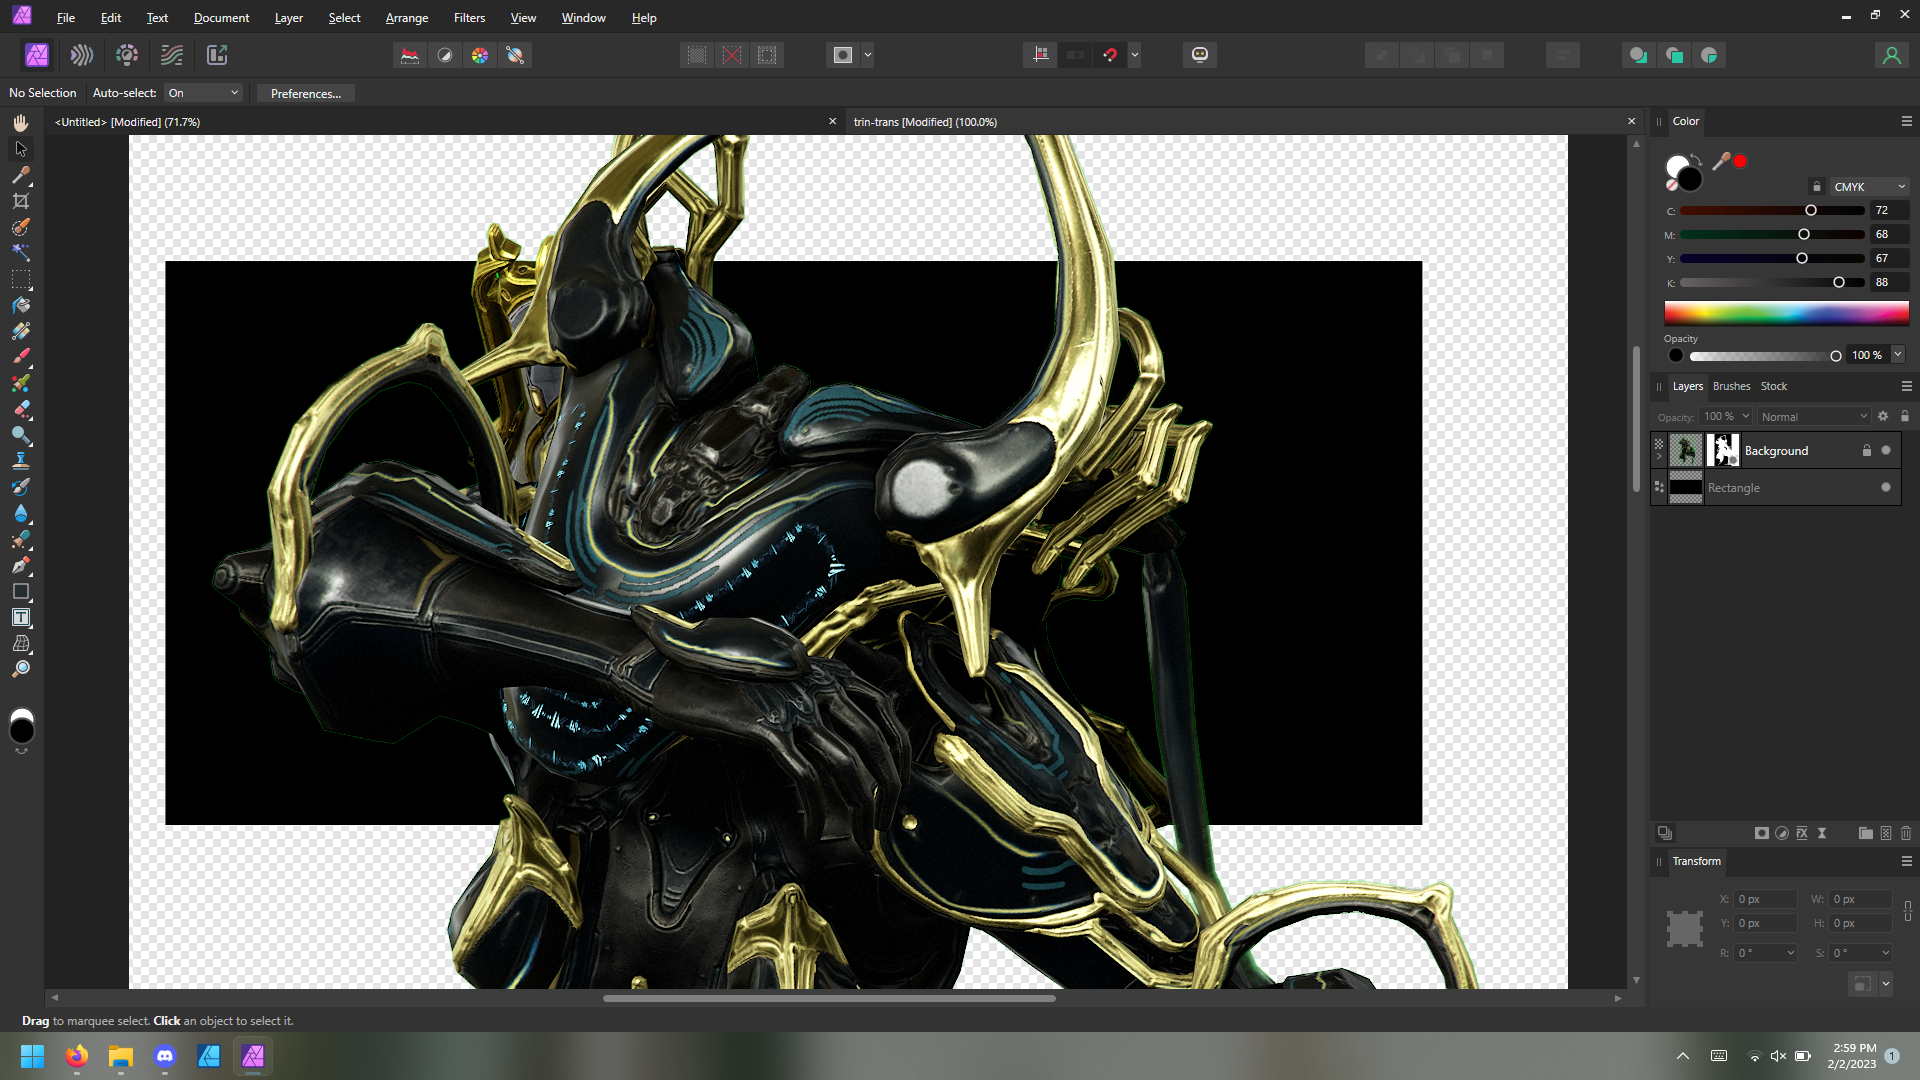
 apologies if this has been posted elsewhere! i haven't been able to find anything in the v2 forums via searching. i'm having issues getting an exact selection refinement output to a mask. the refinement window shows exactly what i want, with clean edges and no artifacts anywhere. however, when i have it create a mask out of the refinement, i can still see little green artifacts along the edge of the model. am i missing a step here? my thought would be that whatever the refinement window shows me is what i'd get, unless there's some other factors i have to adjust. there's nothing super complex here that i'd need the brush for either, it's just a bunch of polygons. does the method of initial selection matter? i've been selecting the green screen background, then inverting it so i have the model selected, so i can get it isolated on a transparent background. i have no issue adjusting the mask itself to get it perfect, i'm more just wondering if this is user error or an issue with the software.🤔 i'm using photo 2.0.3.
-
Hi, Thanks for the great app. I am having some trouble while refining selection in the latest version of Affinity Photo. When the refine selection window is open, and I go over the edges of the selection with the Adjustment brush the preview disappears. Unchecking matte edges, changing the adjustment brush or the preview type doesn't help. Below is a gif of what is going on. My operating system and hardware: OSX 10.14.6, Early 2015 Macbook Pro The problem started after updating to v 1.7.3
-
 How to remove or change the background in Affinity Photo with refine the selection.
- 16 replies
-
- 31
-

-

-
- remove background
- change complex background
- (and 2 more)
-
 The refine selection is not functioning correctly in Photo V 1.9. When I use selection brush and select refine and then try to refine selection with any of the selections, background, foreground Matte etc the pink colouring is light pink not dark and when applied does not actually do the fine selection ...I am scratching my head as I have tried multiple options...is there a new setting somewhere in V 1.9 that is throwing me off or is this a new bug? Please advise.
 -
In this video, I m going to show you, How to change or remove background from hairy, massive, and complex images in Affinity Designer. In this Affinity tutorial, I have using refine selection with the selection brush tool. I hope It will help you. Thanks for watching it.
- 4 replies
-
- 1
-
-
- refine selection
- affinity designer
- (and 4 more)
-
 My suggestions for improving the "Refine Selection" tool: 1. When entering the refine dialog, at first the selection does not change at all. No feathering, no matte edges. 2. The user decides where they want to to feather the selection or reanalyse the transition from foreground to background with the feather or the matte brush. 3. The sliders have a global effect on all the edges, whether the brushes were used or not. 4. Foreground and background brushes work just like white and black, without any reanalysis of the edge and spill-over. 5. Colour decontamination is switchable. 6. The preview shows what is, depending on decontamination state.
 -
 I'm wondering if this is the expected result from Refine selection. I've included a video, but I'm wondering if this isn't a bug? Process: Selection Tool --> Refine --> Paint with Matte brush (Matte edges selected) --> Output --> New Layer with Mask --> Hide the mask. The new layer seems to have been destroyed (old layer is not touched, as expected) I would think that after going through the process, I would be able to touch up the mask, but the new layer is so ruined, that I can't use any of the area that I would unmask. I am able to move the mask to the old layer and touch it up there, be the new layer isn't good. Video: https://drive.google.com/file/d/14dkQlwMszAn0vPi7hnB7MbQF_WzP3IpR/view Thanks!
-
 I had been processing an image an image by making a selection and then selecting Refine selection. This created a red matte that covered my entire image, not just the non-selected part. I was able to paint around the edges and refine and use the selection. I then tried to print the image. and the red matte also appeared on the preview image. I exported the final image as a flattened tiff (closing the original). I then re-loaded it and went to print. Again the red matte was there. The image printed OK. You can see my final image under Share Your Work. John
 -
Same problem in 1.7.3.481 Any comments from the Serif staff? Refine selection is completely useless... No improvements here whatsoever in about two years.
-
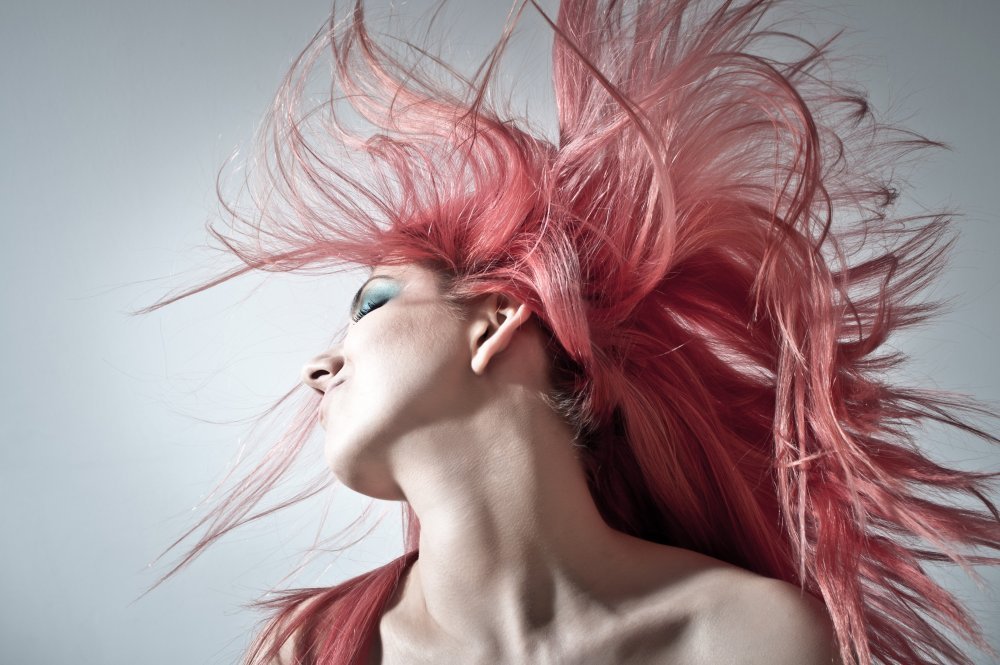
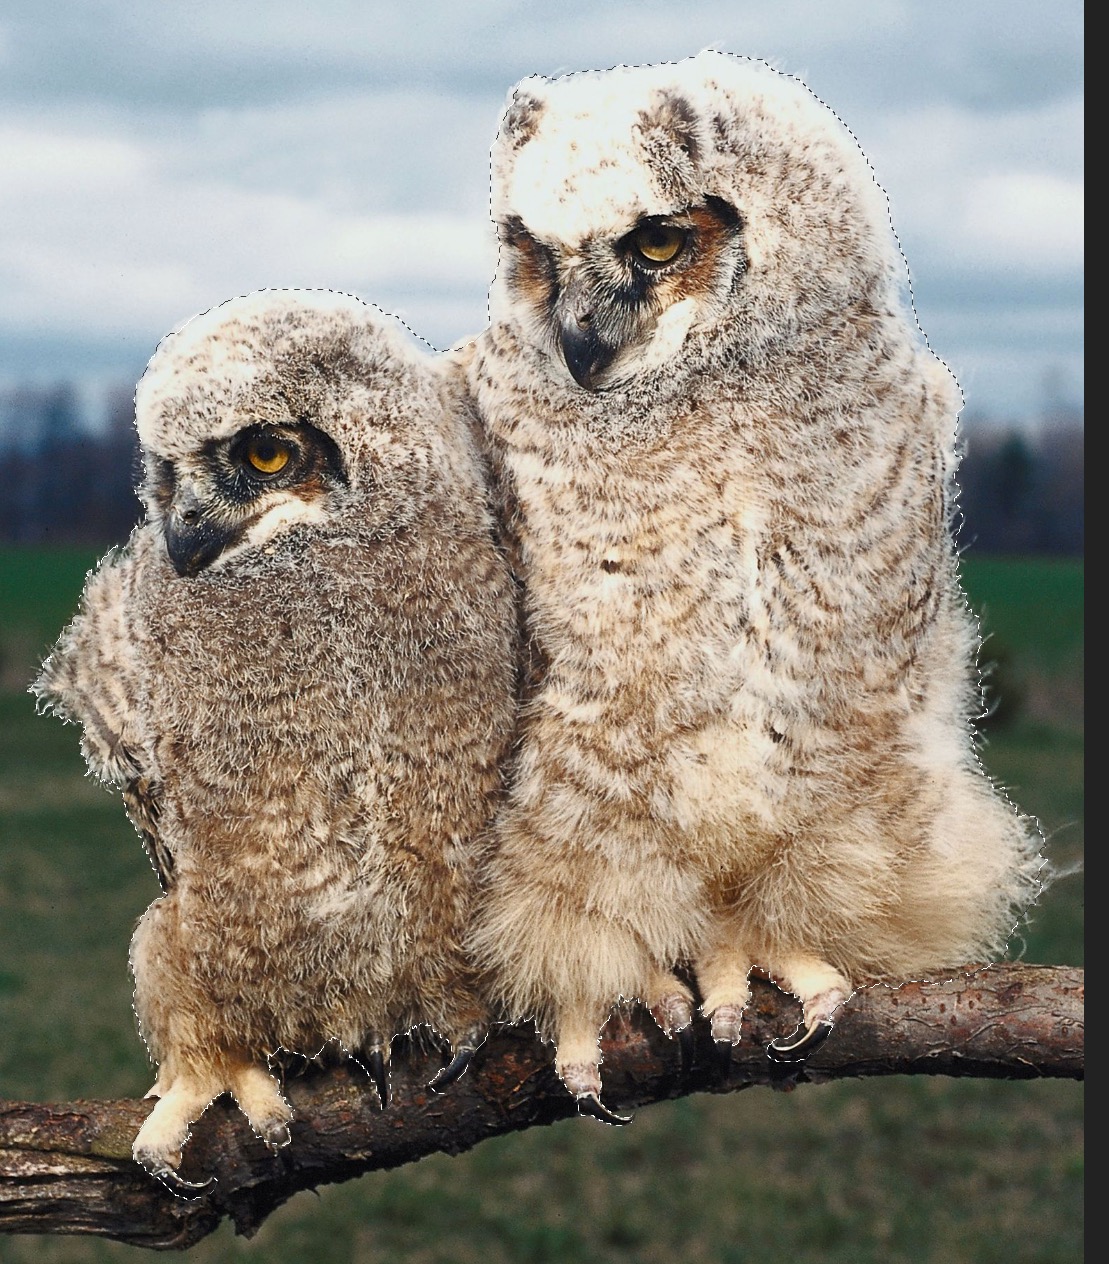
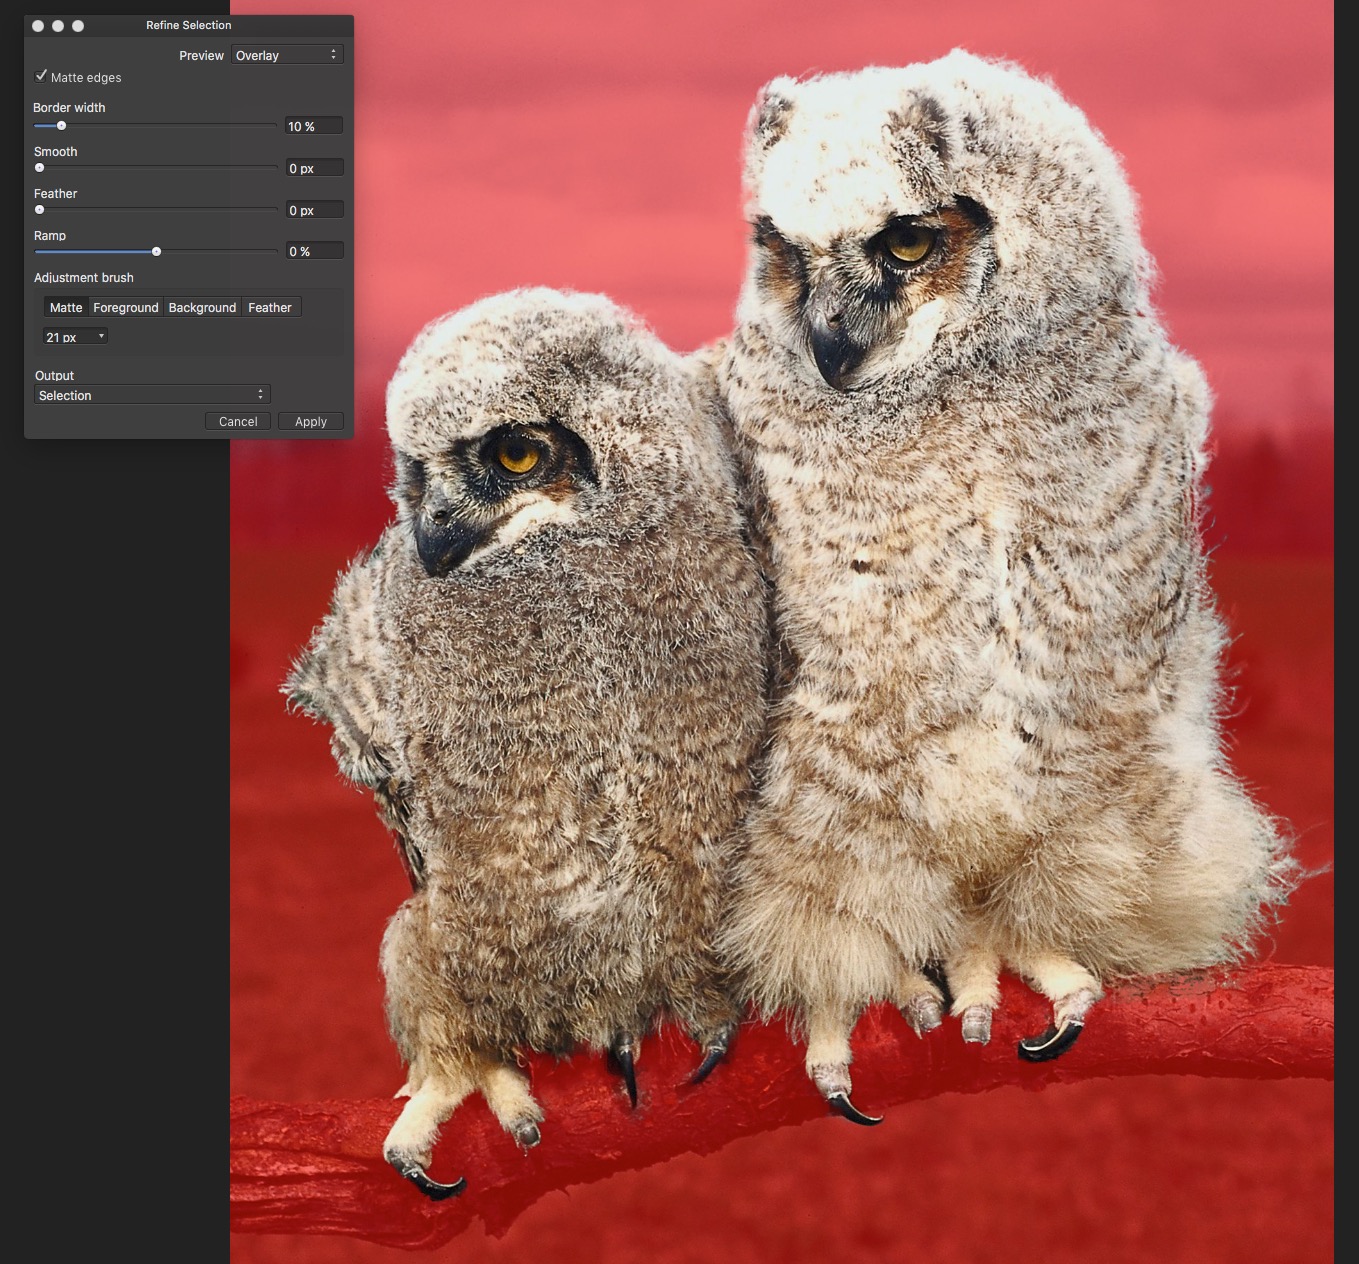
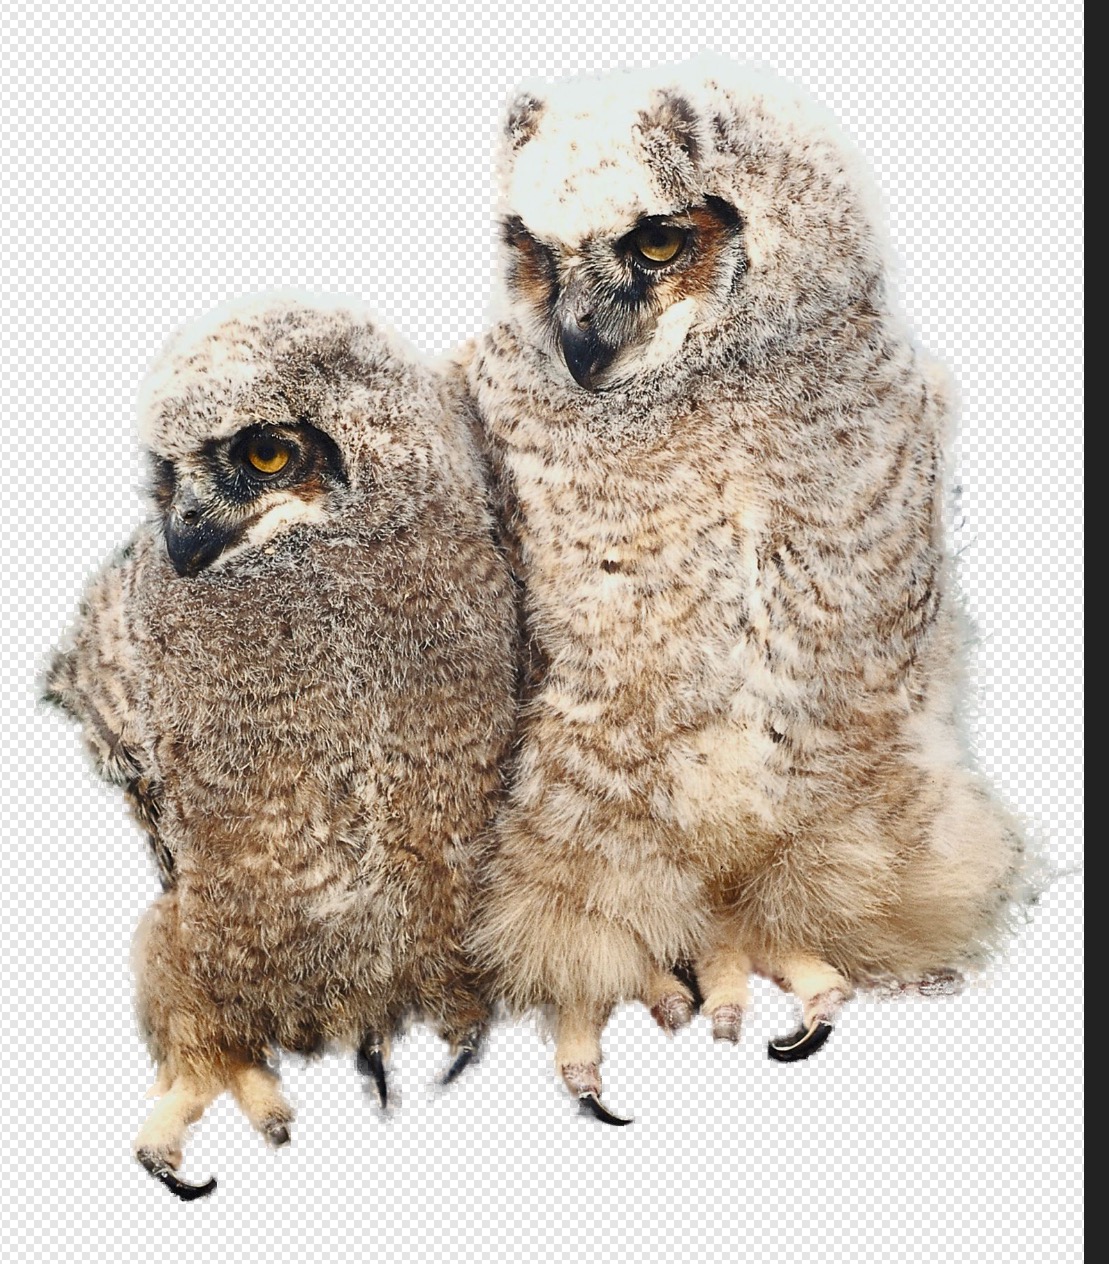
 Dear staff, i've done a quick test on a photo to select subject including Hair selection but noticed there is no real improvement with that related tools. Maybe it works with kind of things to select but when it comes with Hair it simply not that good. OKay maybe i'm doing it wrong but i believe here you need to improve it at the level of introducing a fresh new way of subject/person selection with a much detailed menu that will help us to tweak things to get the best we can. i often deal with photos like many here (while i'm not good at photo) so not having such kind of operation working optimal or even painless generate high frustration. Please bring to light what you have hidden so we can test it and help you make it better before APhoto goes on sales. I've attached the picture i tried with, just try on your side and if you are successful with it please share the method. Blessings !
- 1 reply
-
- 1
-
-
- hair selection
- mask
- (and 3 more)
-
 Please see the attached screenshots. I want to cut-out this ornament leaving a transparent background. I used the selection brush along with refine selection. I thought I'd done a decent job until I copied the selection and pasted onto a white background. The edges are jagged and some of the original background, which was outside of the selection, has also been copied over. Also, if I cut the selection there are remnants of the image left behind. What am I doing wrong?
-
 So this request is a follow-up to the one I made on this thread: Apparently, according to fellow forum user @toltec, this feature was already implemented, which is absolutely great. What is not so great, however, is its discoverability (or, in this case, its blatant [edit: partial] lack thereof). [edit: user @R C-R made me realise that the Status Bar already has a “cheat-sheet”/tooltip with said shortcuts, but I still feel that is not enough and that my suggestions are very sound, so please bear with me…] Please, for the sake of other users who may not frequent the forum or wish to spend hours perusing user manuals and tutorials (because this feature is, after all, something that pro users expect and may try for themselves [edit: even without, as was my case, paying any attention to the tips provided ], as it is a staple in brush tools not just in AP but also in other competing packages), make it [extra] visible and [even] more obvious. Basically, when pressing each modifier, please do make the appropriate tab (Matte | Foreground | Background | Feather) become temporarily highlighted/selected. This feature would, then, become easily discoverable to more seasoned users like myself, because as it stands, the UX feels “broken”. I mean, it will still feel that way to me even if I already know the feature is there, because visual feedback is just nice to have, as it shows that the app is working as it's supposed to. As it currently stands, you always display the same tab selection and, when pressing modifiers, you get a different, incongruous and non-explicit – even if completely desired – behaviour, which is indeed confusing, muscle-memory notwithstanding. It really is important for us to always have a “sense of place” when it comes to our tools. If I may offer another completely on-topic suggestion, I wonder if you could add some further visual feedback to the brush cursors themselves (and that would obviously be extensible to the Selection Brush tool), such as plus/minus signs floating outside of their outline (quite unlike their current behaviour in Ps – which centres them inside of said outline –, so as not to conflict with the cursor crosshair for those users who may have it configured to be visible)? I know that small as this suggestion may seem, it would add some visual clutter (I guess it could always be off by default and be selectable on the preferences dialog, just like the crosshair), but it I believe it would further enhance ease-of-use and differentiate AP from the competition. Thank you for your attention and keep up the good work!
 -
 I am in the selection persona using Refine Selection. The only options showing are Adjustment/Width. In a video I saw, there were preview/adjustment/width/output options available. How can I display all four options?
 -
The title of the thread says it all: in AP, it would be nice if pressing Option toggled between one of the two additive selection brush modes (Matte or Foreground) and the subtractive mode (Background) in the Refine Selection dialog box. It's just that having to move the cursor or the pen back and forth just to change the selection mode gets rather tedious quickly and breaks the flow. Also, while on this subject, it would be nice if one could do further refinements without screwing up with other parts of the selection, but maybe it's just my workflow that isn't properly set up. Please bear with me, as I started transitioning to Affinity Photo in a production environment only very recently, and for now only when the tools I need are superior enough (the Refine Selection brush being one of them). IMHO, the greatest thing ever would be being able to just use the refine selection brush and the refine selection parameters independently of one another (or being able to undo them in separate steps in History), in order to achieve the most perfect selection possible. If only there was a way to use the brush without applying any effects, or certain effect slider values in said dialog box that produced zero changes and allowed me to refine the selection in many independent passes and apply said effects only when I was completely satisfied with it, I'd be a happy[ier] camper. That being said, the tool as it stands made one heck of a difference in a self-initiated emergency change, on a crazy-ass deadline (I could never have finished that in time using Ps, that's for sure), I made for a big project I just finished last month; I basically treated a landscape shot, which was used as the main theme on all media for an arts festival, in order to change the orange-y colour of the background clouds to a more neutral blue-gray independently of some trees in the foreground, because our country's forests had just started burning earlier that day – and have been burning almost continuously for a while now –, as leaving it untreated could mess with some people's sensitivities because it looked waaay too much like the photos and videos of said deadly fires circulating on the media. The only reason I didn't send this photo to you for your recent call for professional work done with AP was the fact that I do not own the rights to the original, and even though the author retroactively authorised the modifications I did to it after I explained him my reasoning behind them (I mean, given how serious the situation was, how could he not?), he didn't seem all too happy about the whole thing at first (especially considering that I did that on a rush, the night before sending that job to the print house, without consulting him first – I obviously negotiated it with our mutual client, which can ultimately propose and decide that kind of stuff at its sole discretion, but still), so I didn't even consider asking him for permission to share it with you. But anyway, I digress; Affinity Photo and my loyal Bamboo tablet saved the day and made doing this on a single all-nighter possible. Just to think that I could have saved some 10+ hours of work in a similar trees-vs-background selection task I did back in 2013, for the very same client, if only this app was available back then makes me value it even more because I now know how much more time I'll be able to save in the future… But I also know for a fact and from experience that I could save even more time if you implement that toggle shortcut.
-
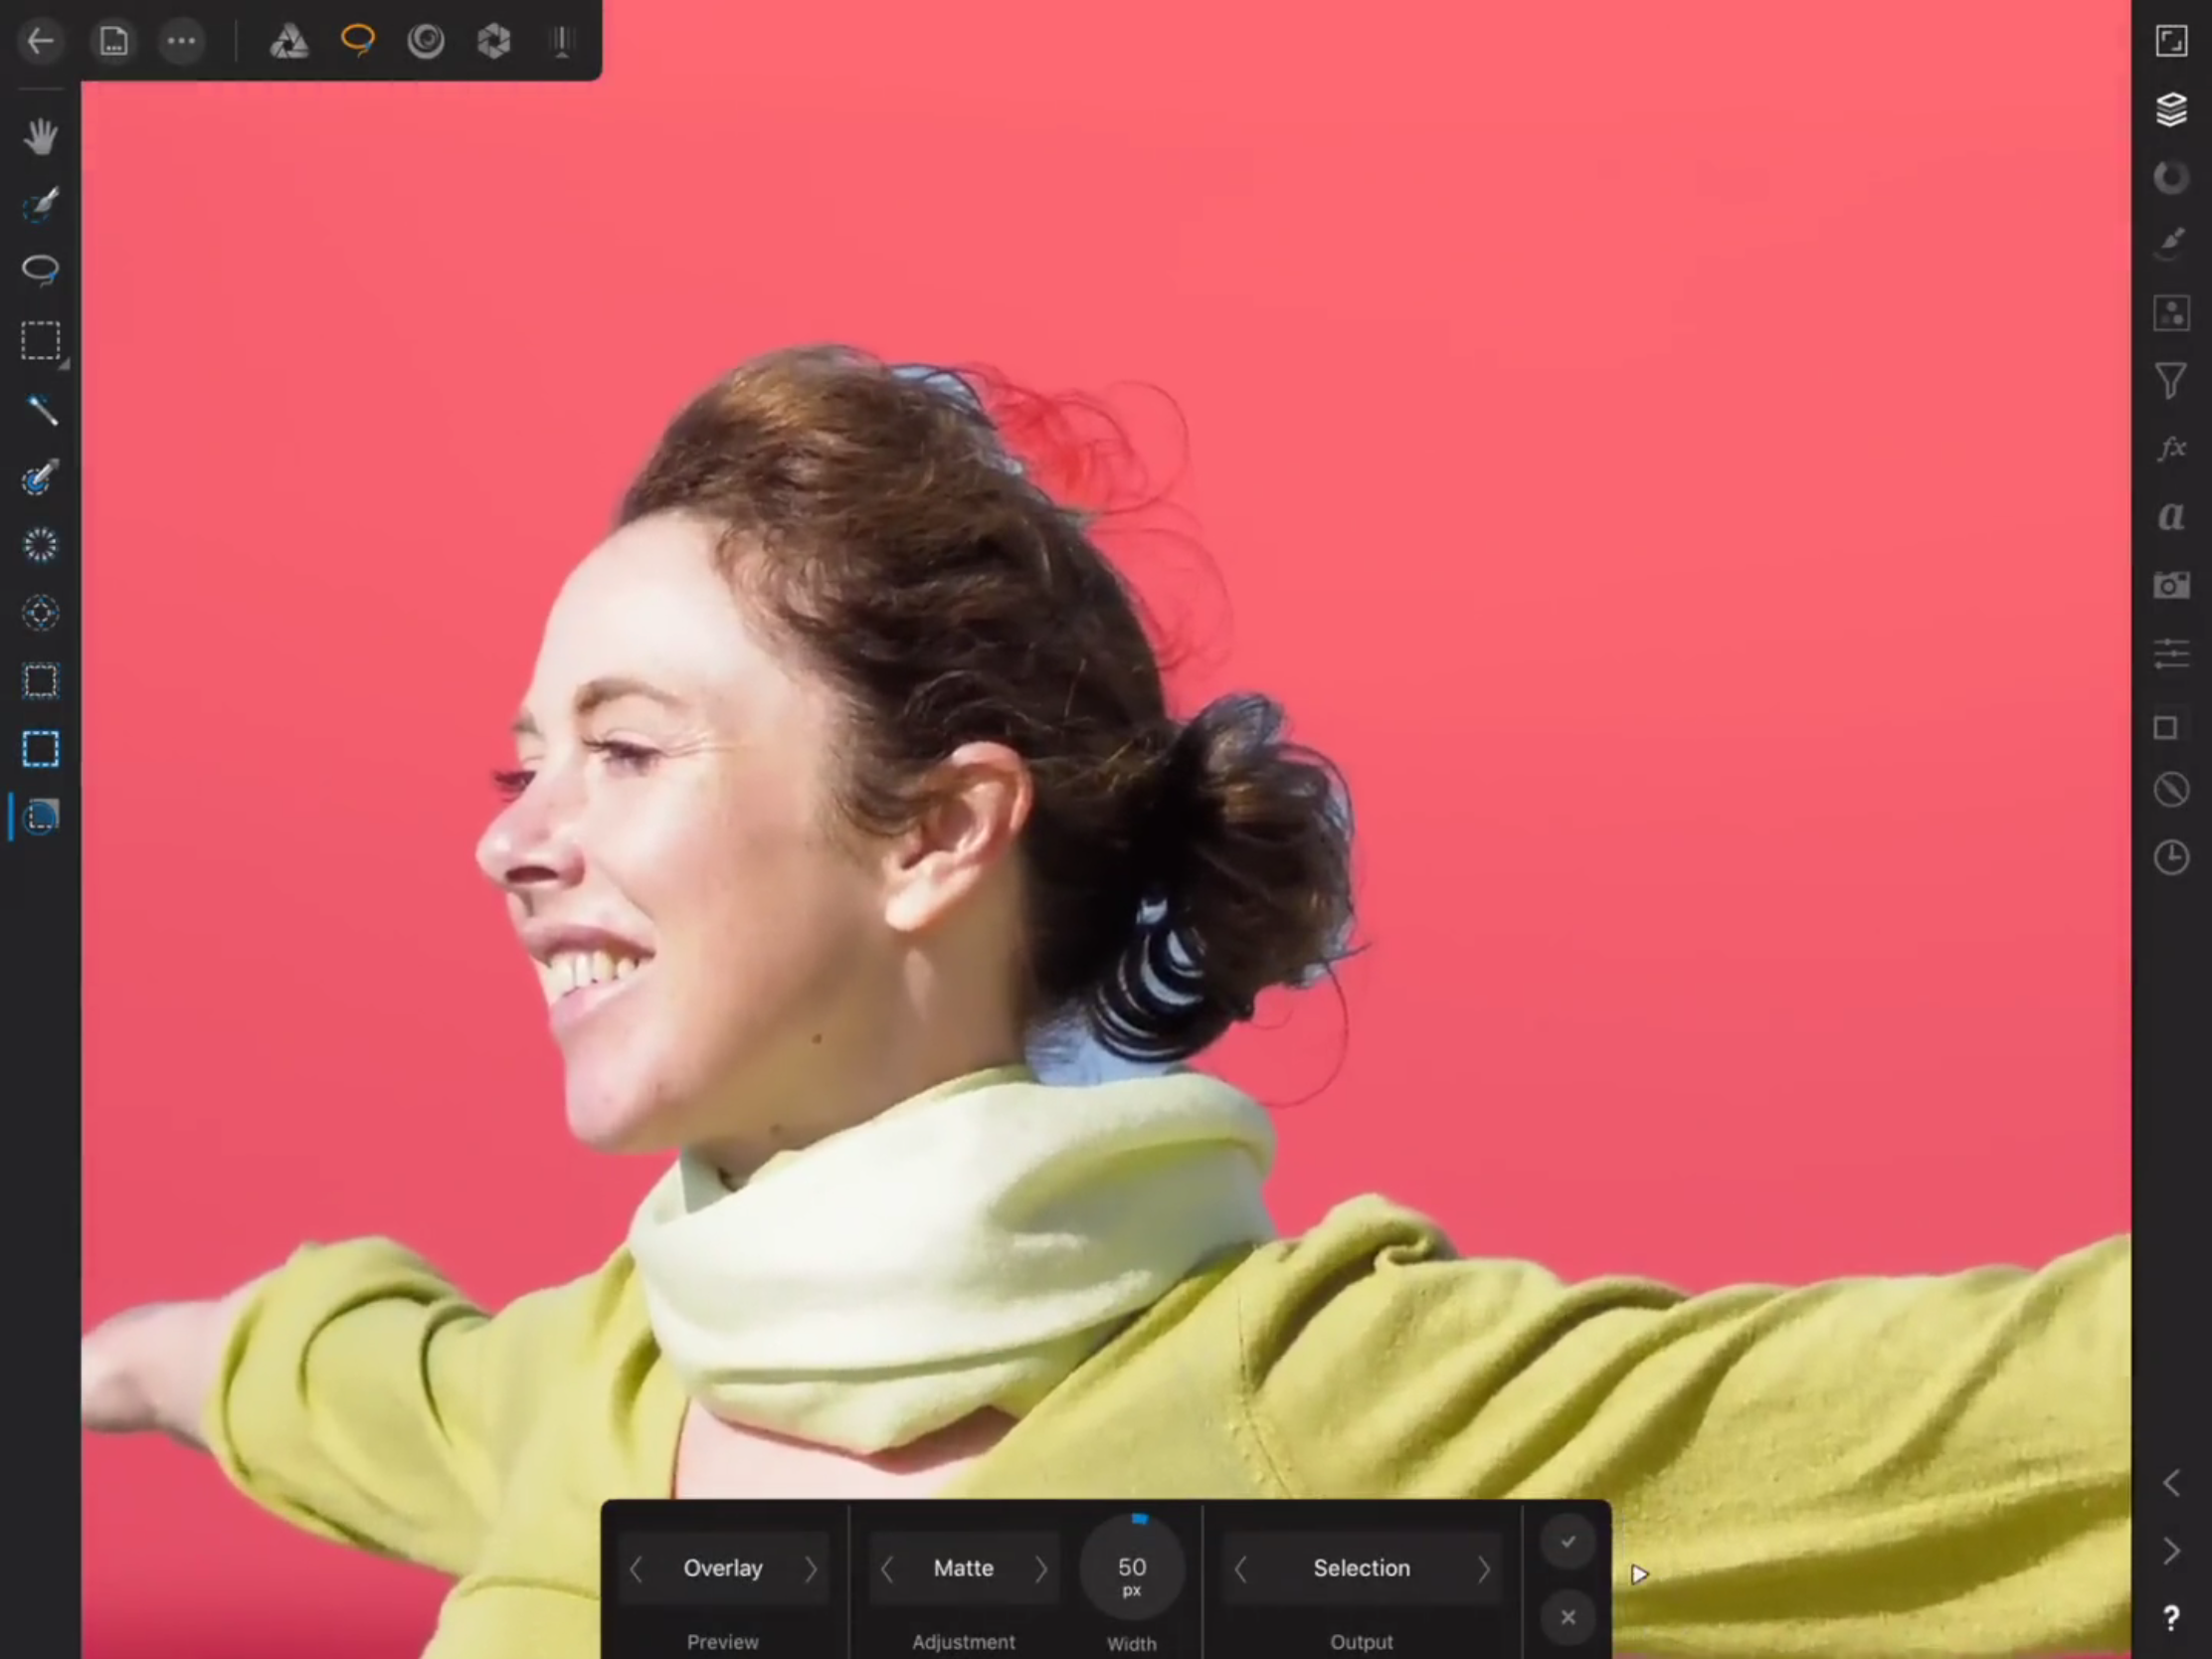
 I'm using affinity photo on the new iPad Pro 10.5 inch. When I go to refine a selection, I am unable to export to a new layer. In the tutorial it clearly shows a toolbar that I do not have access to when in the refining selection persona. I'm including pictures of the toolbar as shown in the tutorial and the toolbar as shown in my experience. Notice the toolbar is different and does not include the same features as the one shown in the tutorial. Please advise.
-
 Hi, when using the Refine Selection dialog box it always opens up on some default settings ( Border width = 10%, all other settings at 0%), which does not suit what I am doing with the selection. Is there a way to save the Refine Selection dialog box settings?
 -

refine selection to mask crash
Poziomka posted a topic in [ARCHIVE] Designer beta on Windows threads
Hello, I've encounter a problem during refine selection. It's happens when I try apply output to mask. Every time I got different crash code.
-
 I am getting some very strange behaviour from Refine Mask dialogue. The images below will show what is happening. First_Selection.jpg shows the selection made with the Selection Brush. Initial_Refine_Selection.jpg shows the refined selection. (I have only done this roughly for the purposes of this demonstration.) New_masked_Layer.jpg shows the resultant new layer with its mask. Somehow I’d expect it to look a bit better from state of the refine dialogue - but that’s not the issue here. Clearly it needs some cleaning up so I go to the Layers menu and open Refine Mask. Reopened_Refine_Dialogue.jpg shows what I get when I do this. Something is clearly wrong! So the issue is am I using the tool badly or is there an AP problem some kind?
-
 Why does my image disappear when I use the feather slider when I try to refine a selection? Is this a bug? I tried to move the all the refinement sliders to try to not make this happen but it my image only "came back" when I had the Feather slider at zero.
 -
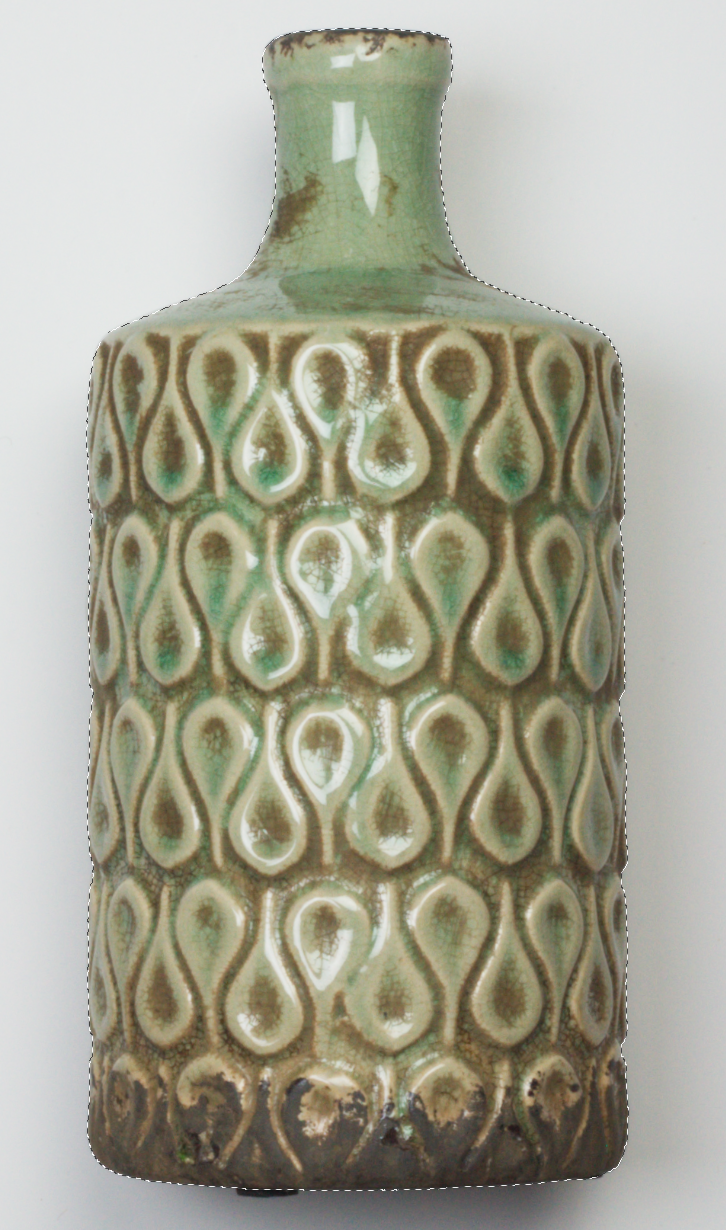
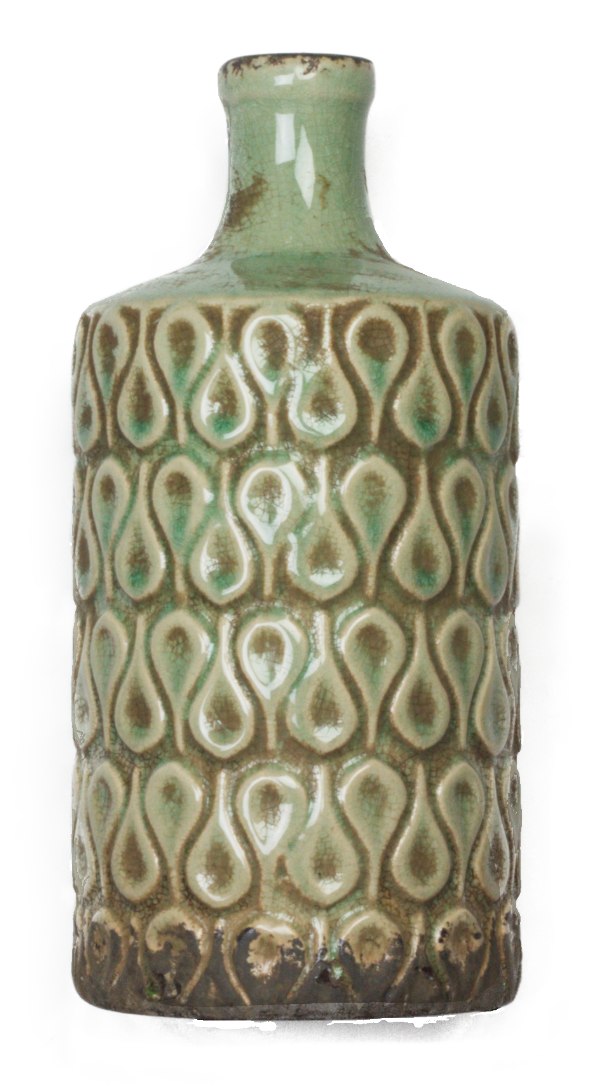
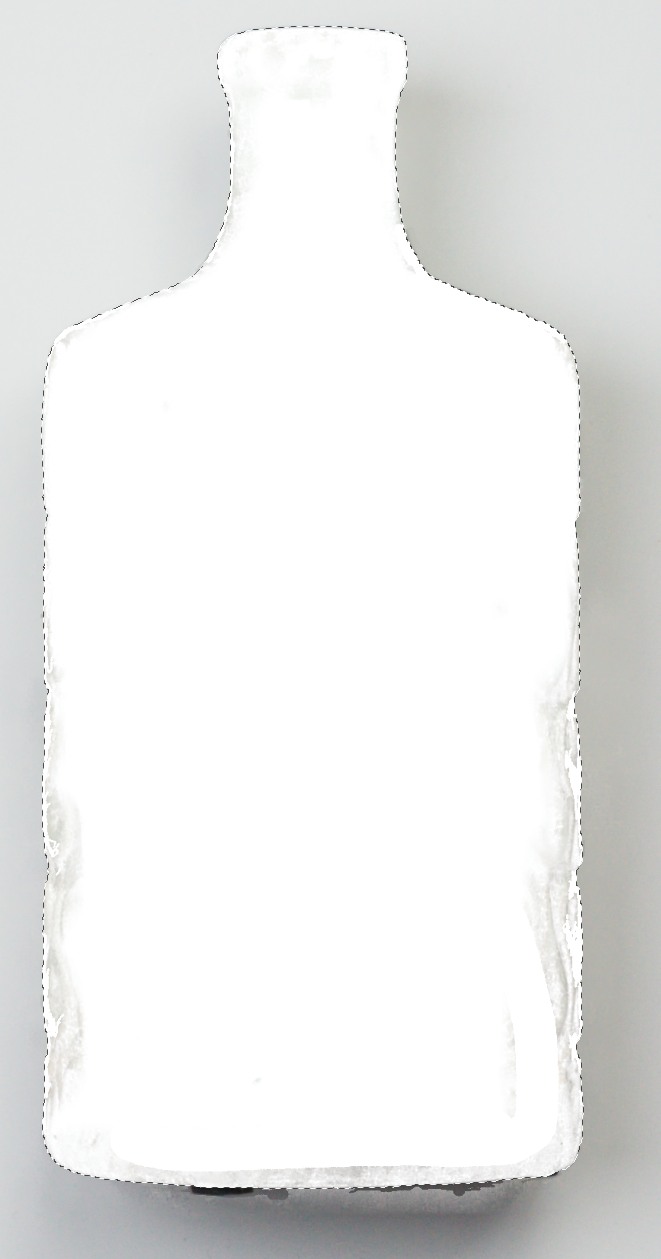
 Very new to the Affinity Photo game so trying to get to grips with the most efficient workflows. I'm trying to remove a green screen background for some product images to make useable PNGs of the product images. I have had reasonable results simply using the selection brush tool and gradually selecting the edges then refining as best I can however the results are not always as clean as I'd like them to be, I'm sure there are some much more efficient/cleverer methods of reaching the same goal. I have linked 2 images (the uploader wouldn’t let me add any for some reason) both of which contain finer detail around the bottom tassels, with the cream coloured product a green glow is left over around the edge from the green screen once I've removed it. So, what I'm asking you guys for is... * What is the most efficient method of removing a background like this from an image? • What is the best method for refining the selection around the finer details? * What is the best means of removing the green glow around the edge of the product after background removal? Cheers guys, any help is very much appreciated! Image 1 Image 2
 -
 I bought Affinity Photo yesterday. It's been pretty good so far, but I'm having a lot of problems with cutting objects out of photos. Here is a video displaying the issue. Notice how the refined parts become frayed and messy. (Also notice how slow it is) I have seen both of the in-house tutorials on cutting objects and refining selections. I have also looked at the information in the "Help" menu in Affinity Photo. Here are my machine specs: Macbook Pro Retina - Early 2015 Processor: 2.7 GHz Intel Core i5 RAM: 8 GB 1867 MHz DDR3 Graphics: Intel Iris Graphics 6100 1536 MB Operating System: El Capitan 10.11.2 Am I doing something wrong?
 -
Again, I am a veteran Photoshop user who is desperately trying to get weaned of PS and start using AP exclusively. But the speed of AP's "Refine Selection" is just terrible. Any adjustment is followed by about 3 seconds of waiting on my 3.06GHz iMac. And yet on the same iMac, PS's "Refine Edge" features work instantly, with no delay at all. Change Feather, Smoothness, etc. It doesn't matter. PS is instantaneous while AP gives a progress bar. This seems to be related to the same slowness we see with the Export Calculations. These things need to be instantaneous, and on our modern machines, there is no reason they should not be, especially when they are instantaneous in Photoshop. Thanks.
-
 When I make a selection and choose the 'Refine' button I can use the refine brush feature to ask AP to look again at certain area's of the selection by painting over said area's. But what if I don't like what AP gives me as a selection? Is there an adjustment brush feature I can manually use to refine the selection? Or is there a way to adjust the mask after its made to pick up missed detail? Cheers.