Search the Community
Showing results for tags 'Real estate'.
Found 4 results
-
 Hello everyone! I'm slowly transitioning from Adobe and relearning a few things along the way. One area that I am having a hard time with is lens profiles. I photograph real estate with a Nikon D600 and Tokina 17-35mm f4 full frame lens. In Lightroom, there is a lens correction area and it automatically detects and corrects for the lens distortion. I have downloaded the latest lensfun profiles( GitHub - lensfun/lensfun: The Lensfun project Git repository for anyone else who finds this) but it is not listed. Is there any other way to obtain the lens profile? Can we request it? Is there a way to create one? Thanks, Adam
 -

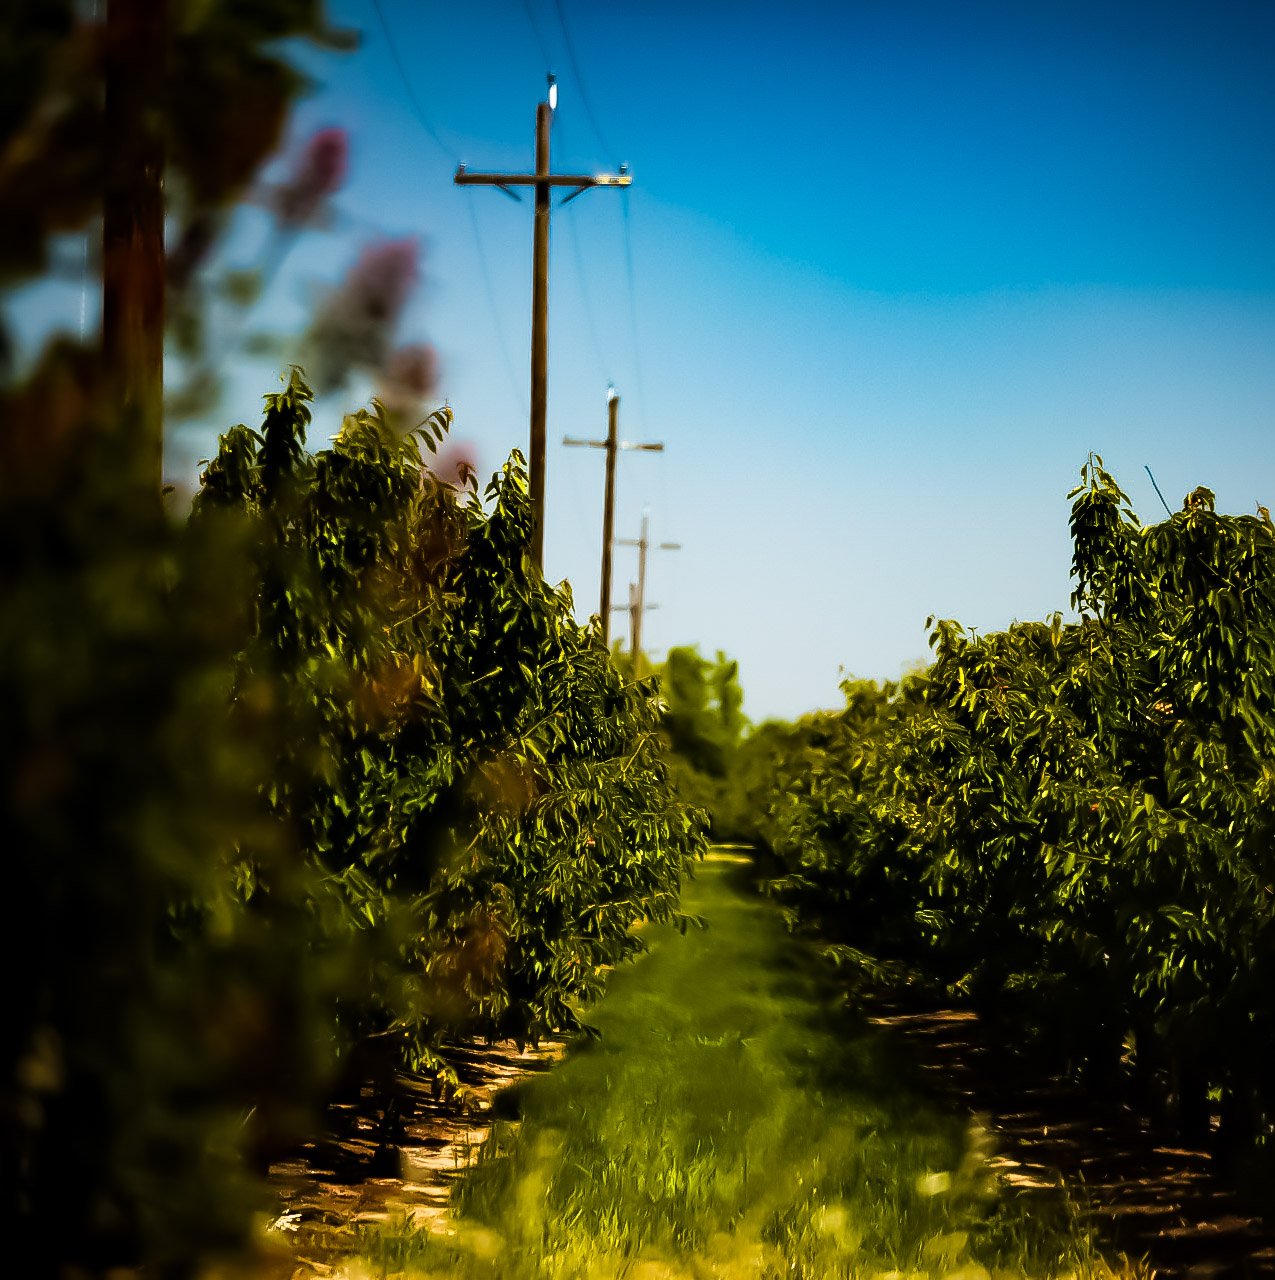
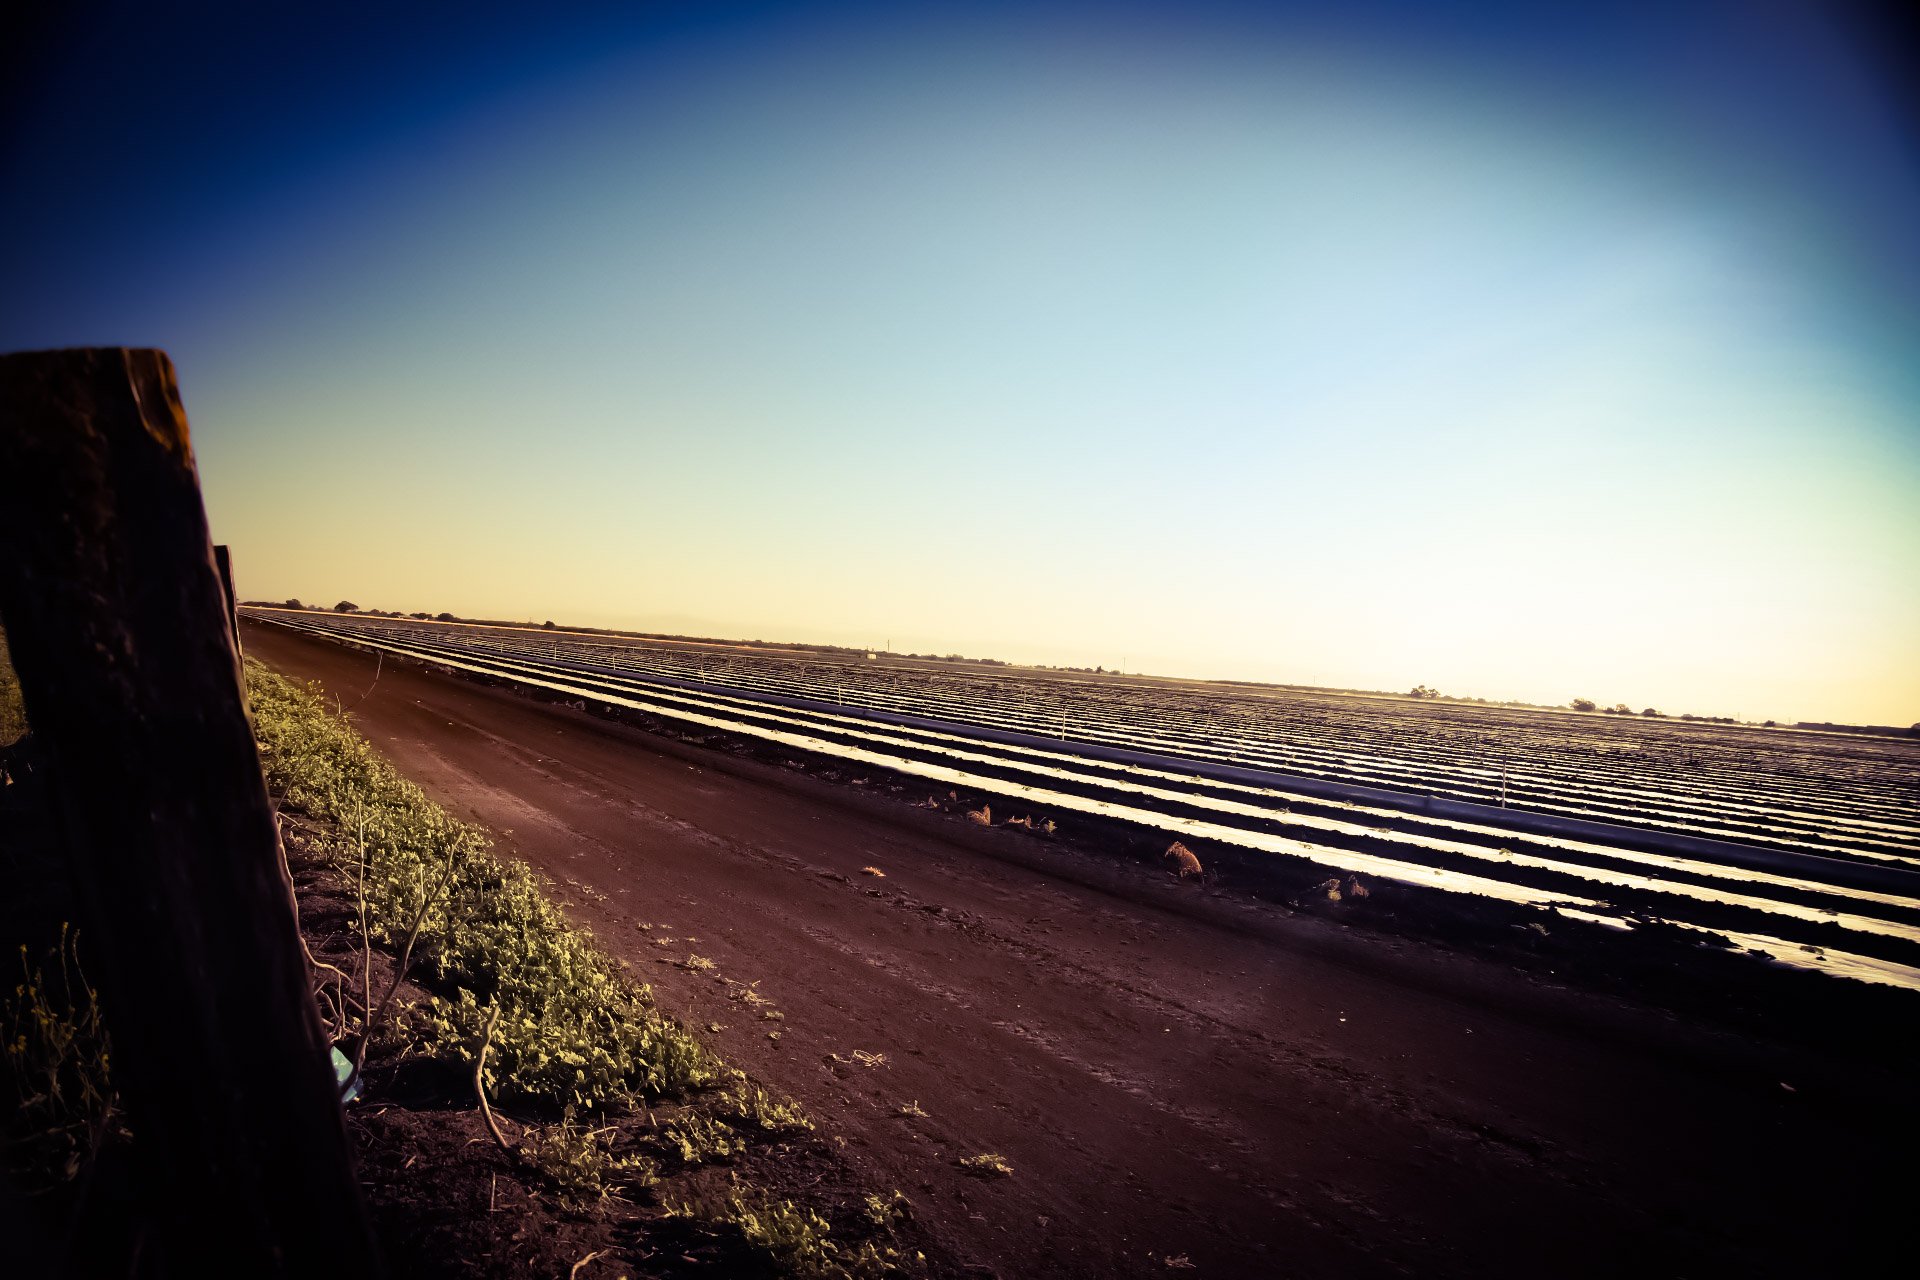
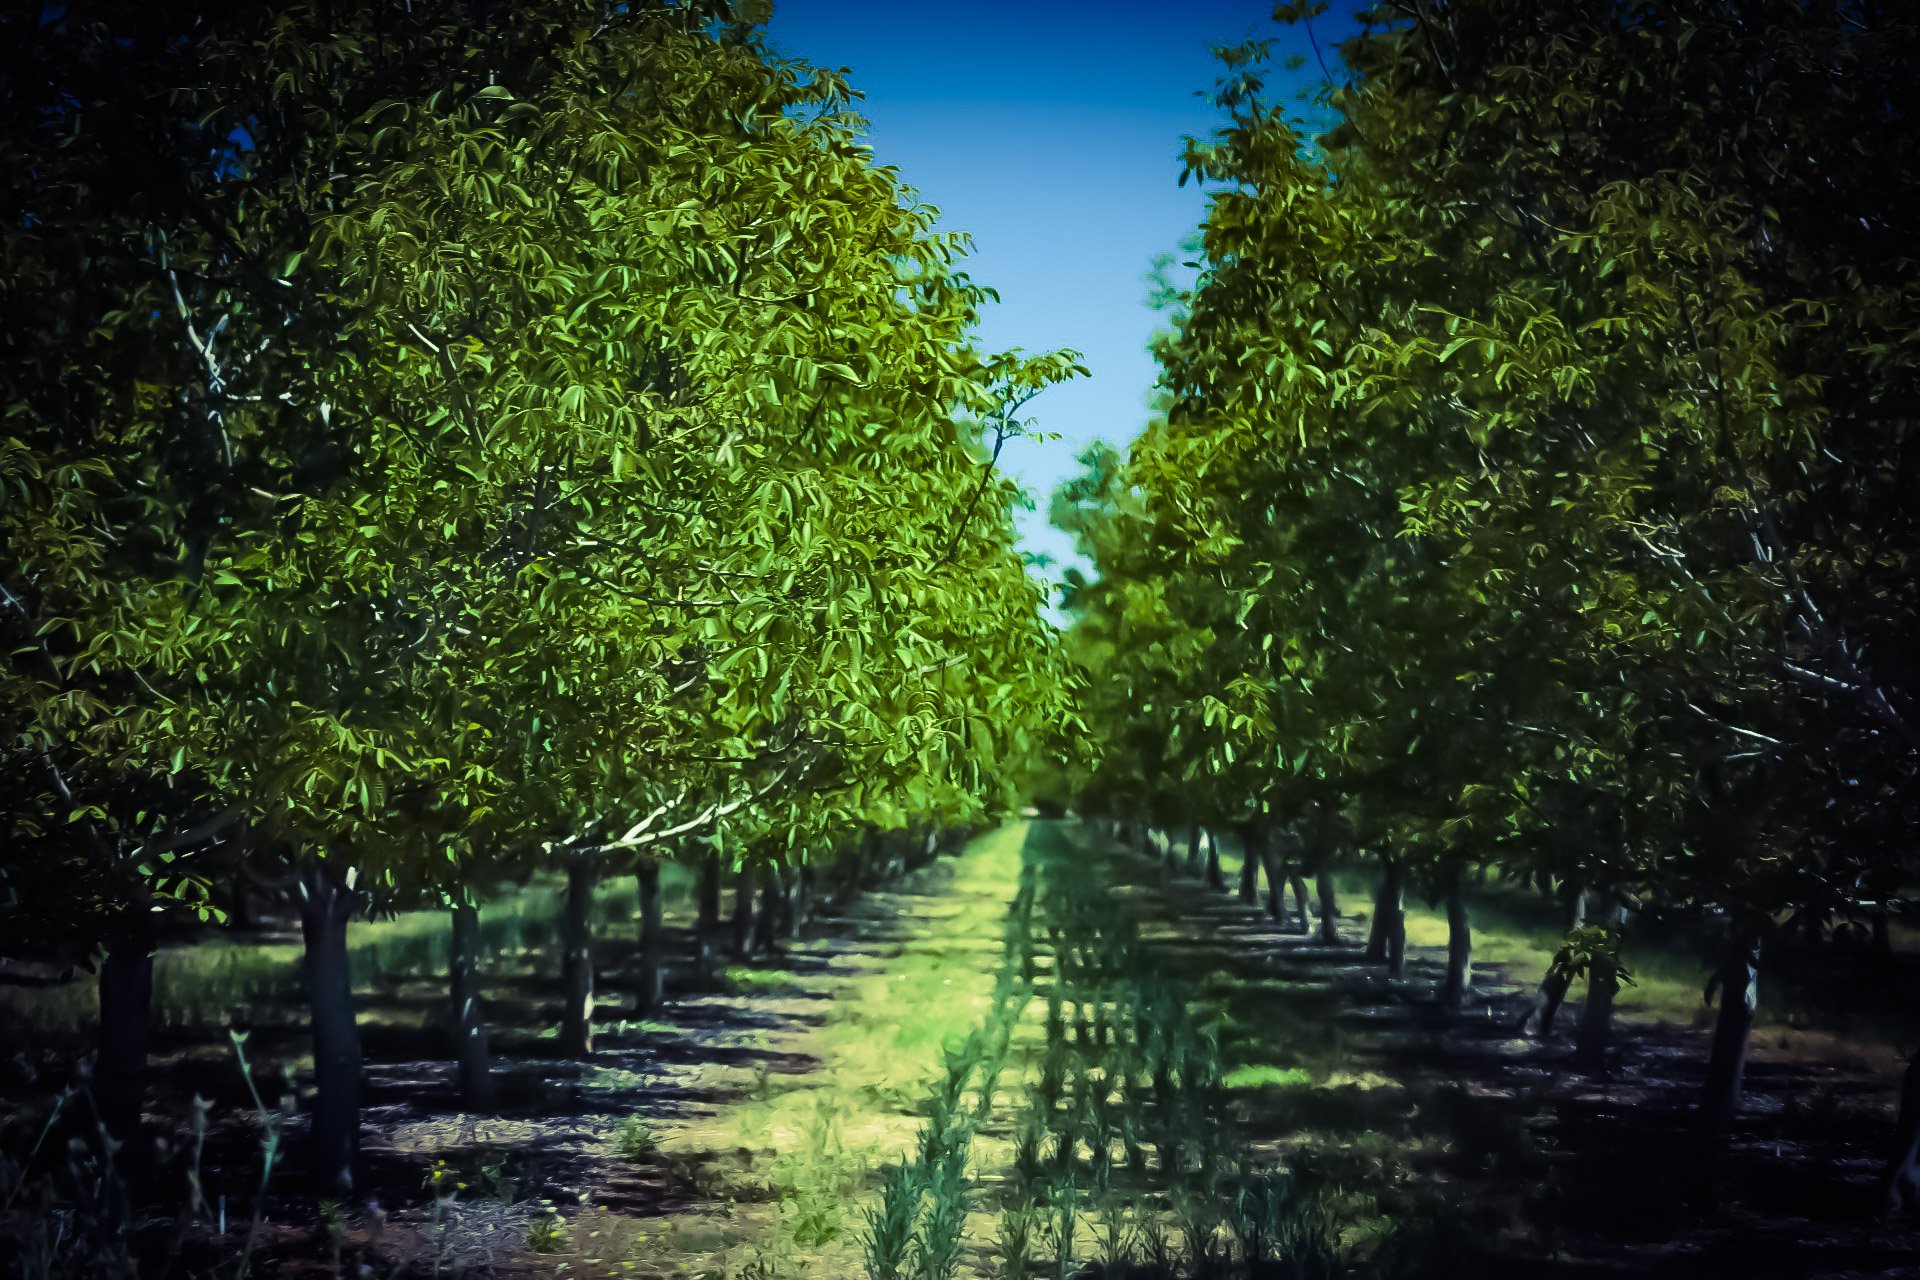
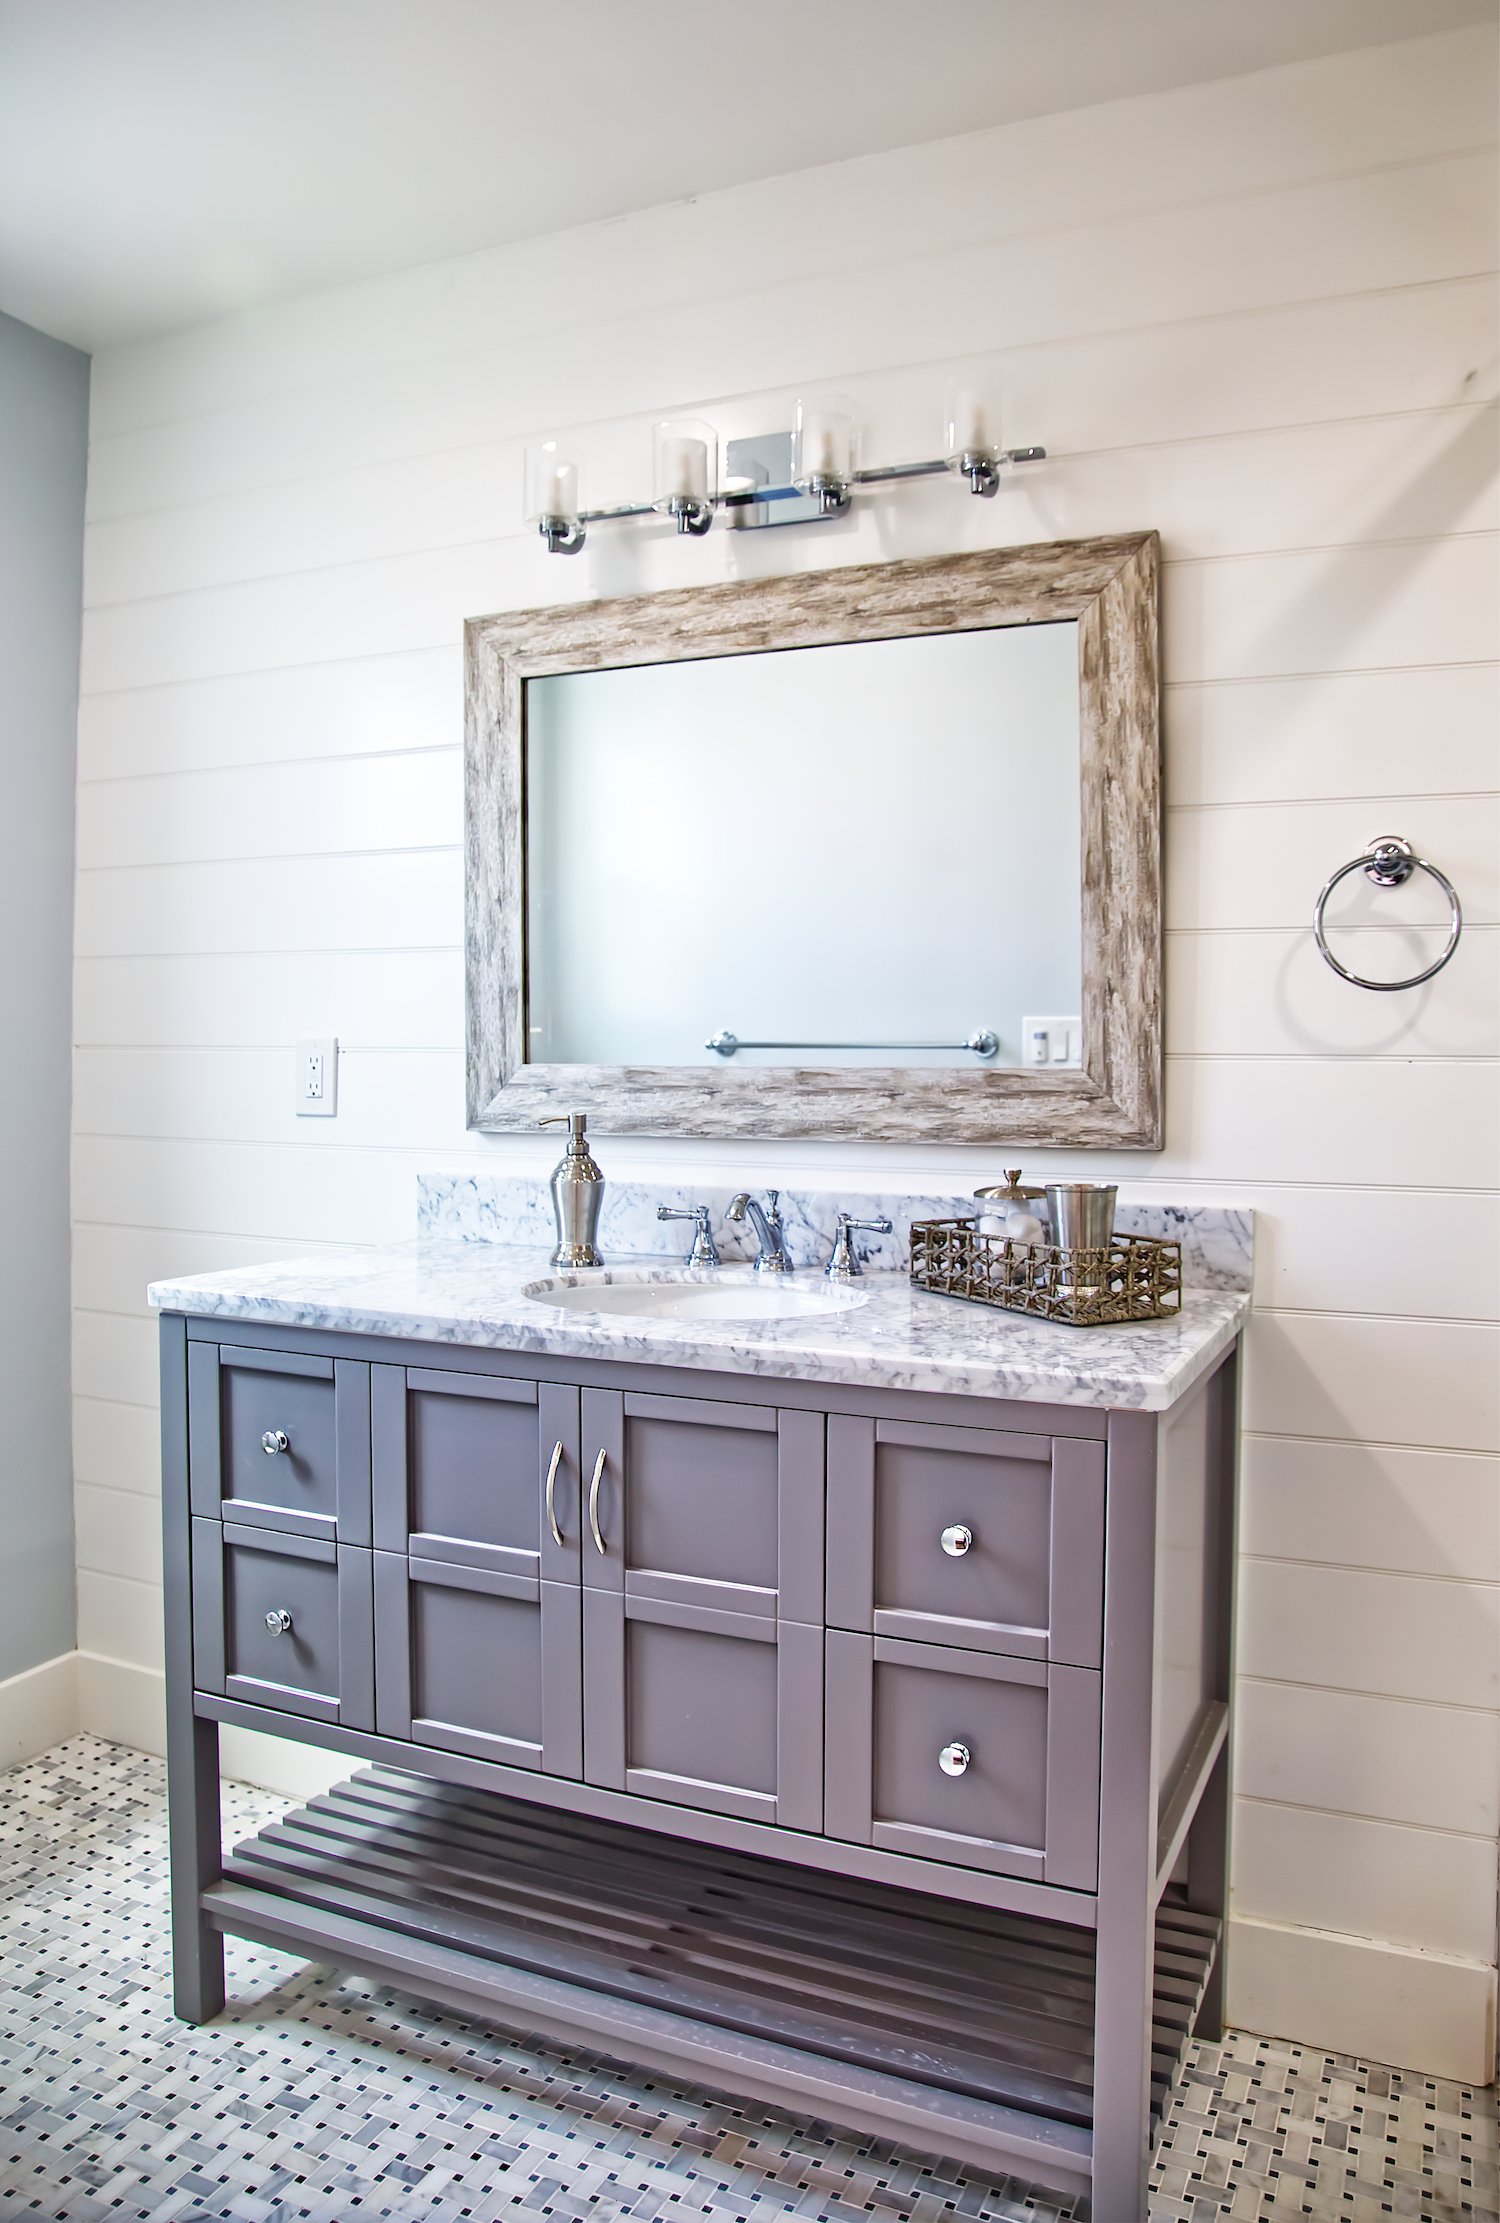
affinity photo New photography edited with Affinity Photo
AndyPhotoSJ posted a topic in Share your work
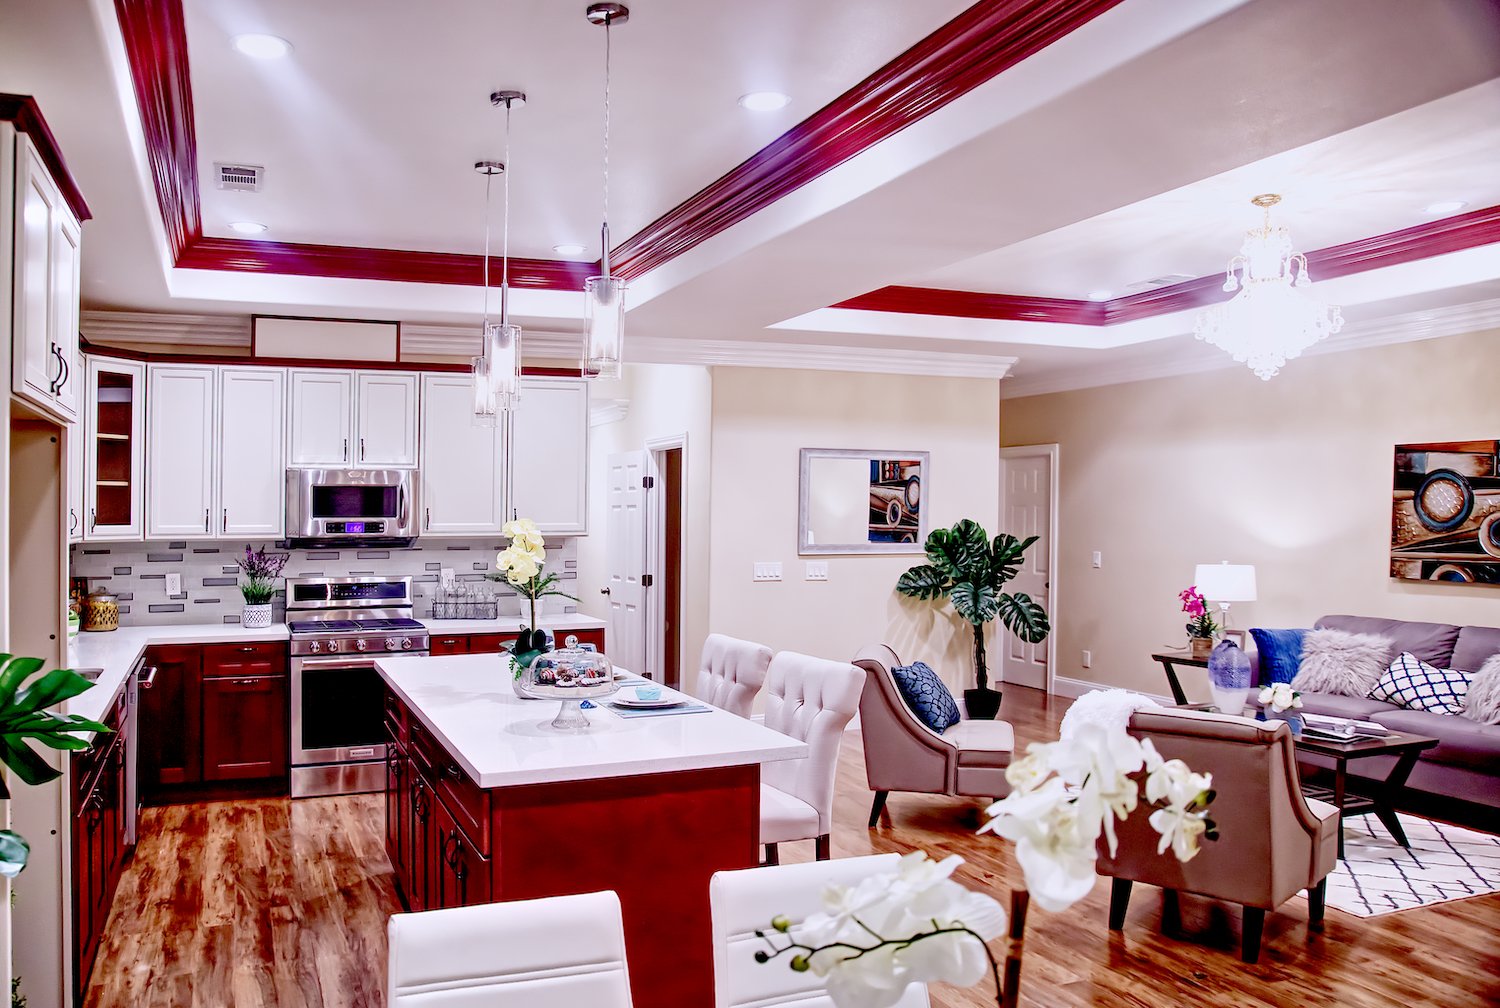
Made sure I didnt already post these. All images were taken with a Canon 5DM4. This First Set was taken over mothers day. in Northern California by Discovery Bay. Sigma 70-200 sigma 24-105mm sigma 70-200 sigma 24-105 So 99.99% of the time I will never use an HDR filter too touch up my photography especially in commercial shoots like Realestate. buuuuuuut I gotta admit the tone mapping persona did a pretty good job here. so nicely. done Affinity team. My Client was very happy with the results, this home sold for $4.45million soo ya thats a feel good moment. all of these were done with Sigma 24-105 This was taken with the Sigma 70-200mm I used just the basic RAW editing profile for these images. All were taken by Sigma 24-105 this one belongs with the first real estate set.
- 1 reply
-
- 2
-

-
- nature
- real estate
- (and 5 more)
-
 Hello For real estate work, I need to open several images as layers and blend them together for the final image. My workflow is mostly in Lightroom but I'd like to use Affinity Photo for the blending of different layers. The "classic" way is to select the images in Lightroom and use the function "Open as layers in Photoshop...". Is there a efficient workflow to do that with Affinity Photo as well? As a workaround, I currently select multiple images in Lightroom and open them as single images in Affinity Photo. Then I manually copy and paste all layers into one image. It works but is quite time consuming. Thank you very much for your support!
 -
 Hi Still new to Affinity but I want to see if I can get Real Estate Photo Retoucher by SparkleStock to work in Affinity Photo to install in AP. Any ideas? Here are the instructions Real Estate Photo Retoucher by SparkleStock Installing the Photoshop Actions:Double-click on the ATN file then open the Actions panel in Photoshop (Window > Actions). If you don't see any actions, click on the panel menu located on the top-right of your Actions panel. Select Load Actions then browse for the ATN file and click OK. Click on any action then press the play button located on the bottom of the Actions panel. OR Double-click on the ZXP file and follow the installation instructions. You will need the latest version of Adobe Extension Manager CS6 or newer to use the ZXP file. Open Photoshop then go into your Actions panel (Window > Actions). Important: Do not skip this step. In your Actions panel, click on the panel menu located on the top-right. Select Real Estate Photo Retoucher by SparkleStock. The actions are now loaded into your Actions panel. Click on any action then press the play button located on the bottom of the Actions panel. Action List:Volume Deformation Many interior real estate photos can only be captured with wide angle lens. Unfortunately, this can cause distortions that can make TVs, fireplaces, tables, etc. look too long. With Volume Deformation, you can correct these issues without resorting to expensive 3rd party software. After playing the action, simply select the layer that you want to use and delete/hide the rest. Improve White Walls Lighting can cause color casts on white walls. This action restores the neutral color on white walls and ceilings. After playing the action, paint over any white walls. Make sure that your brush opacity is set to 100% on the option bar located near the top of your interface. Neutralize Colors Improve the look of stainless steel appliances, countertops, and any neutral-color objects by removing color cast. After playing the action, paint over any white/gray/black areas including white or stainless steel appliances, faucets, etc. Make sure that your brush opacity is set to 100% on the option bar located near the top of your interface. Blue Skies Make any photo look like it was shot on a sunny day! This action turns overexposed or cloudy skies into beautiful blue skies. On photos that already have blue skies, it can deepen the color similar to what a polarizing filter does. After playing the action, paint over any sky. Adjust the intensity of the saturation, sky gradient, and restore sky layers simply by changing the opacity. Enhance Foliage This action makes grass, trees, and other foliage more vivid without affecting other colors. After playing the action, paint over any green/red foliage. You can adjust the intensity by changing the layer opacity. Twilight Turn night photos into twilight photos or use this action to enhance the intensity of your already-twilight photos. After playing the action, paint over any sky. Adjust the opacity of the Twilight Color and Brightness/Contrast layer. Increase Edge Contrast Edge contrast can dramatically improve any real estate photo - especially if you any in-camera HDR feature. After playing the action, doubleclick on the "Unsharp Mask" smart object layer inside your Layers panel and adjust the radius. Dynamic Range - Auto DRI Play this action to automatically recover the maximum amount of details in your photo. This action is usually subtle and if your image has no recoverable data, nothing will happen. The most significant changes are usually in the very deep white and black areas. Dynamic Range - Boost DR This action works similar to the DRI effects used in many digital cameras. It automatically reveals detail lost in the dark and light areas of your photo to make it look like it was taken with a better quality camera. Dynamic Range - Boost Shadows Brighten dark areas only. Dynamic Range - Restore Highlights Darken bright areas only. 19