Search the Community
Showing results for tags 'RIP'.
Found 4 results
-
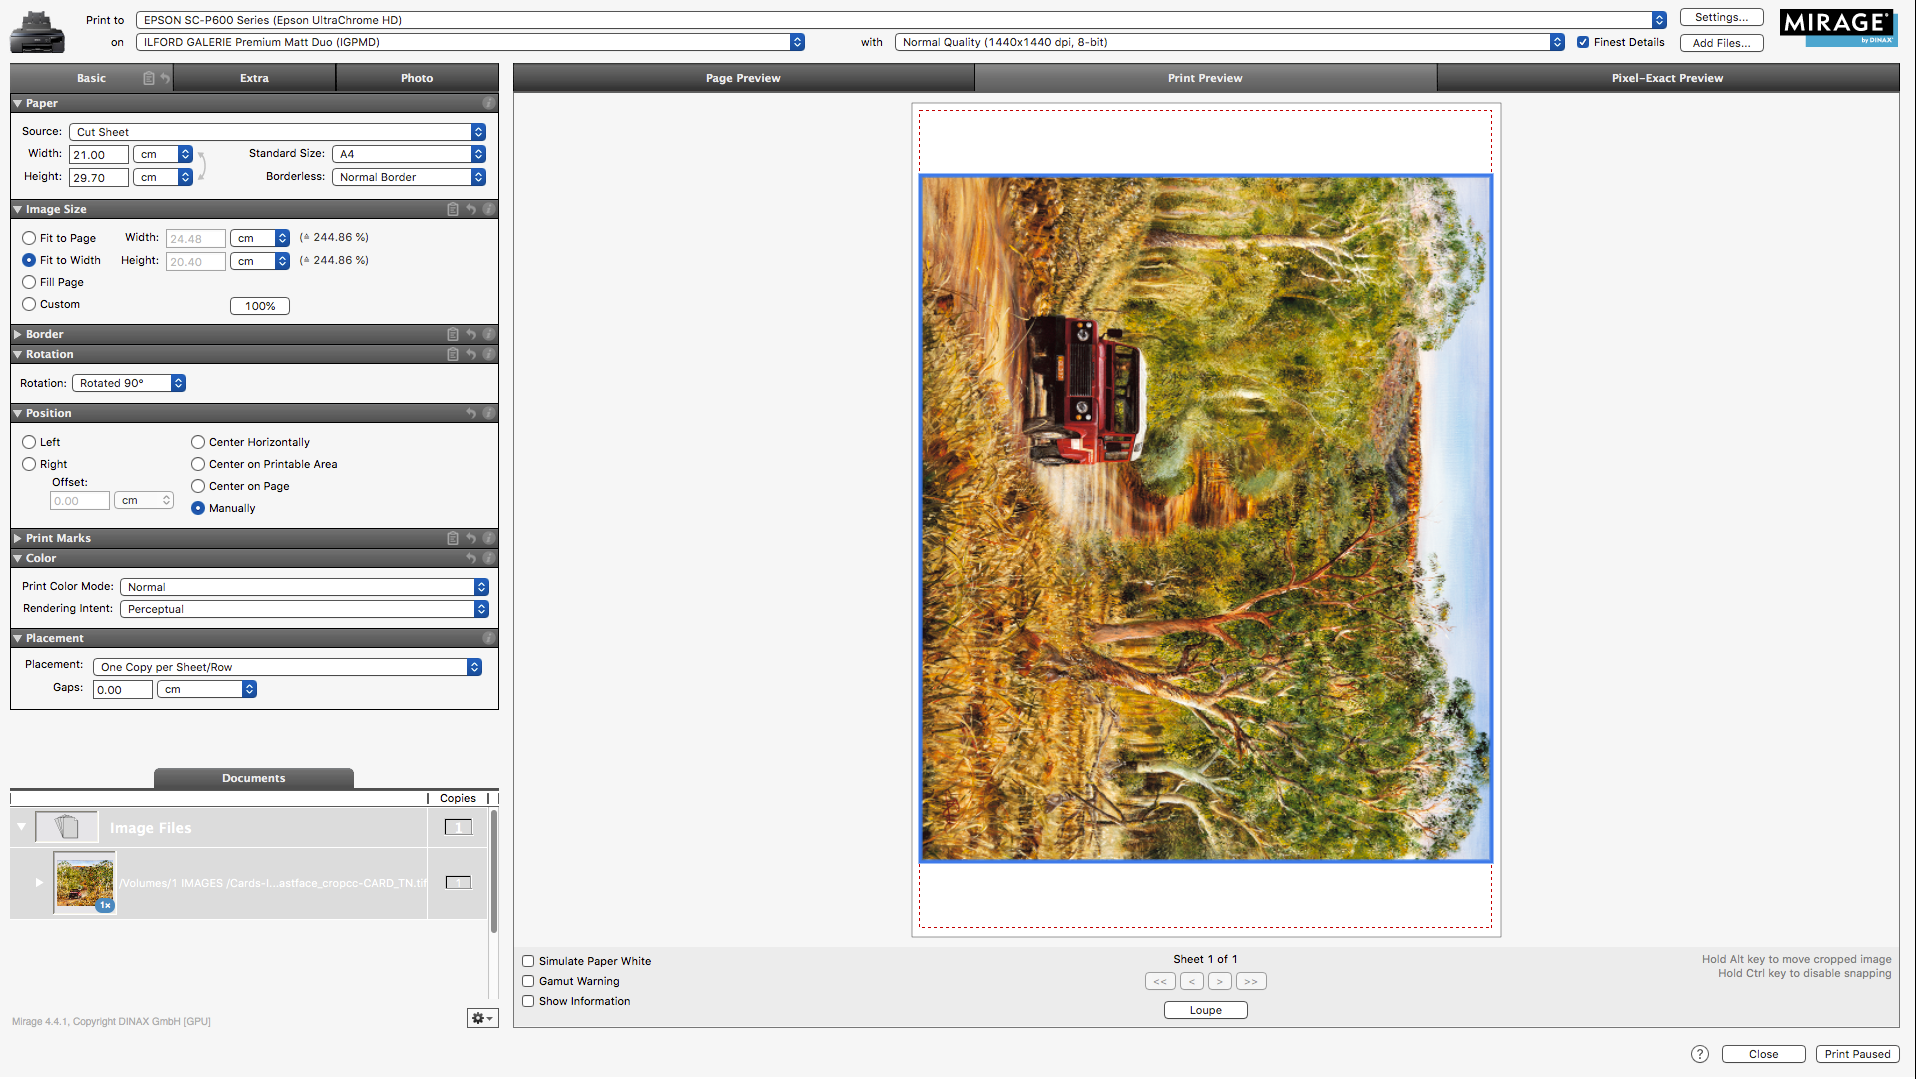
 Hi Affiniados, I use all 3 Affinity Products: Affinity Photo - since quite a few years , PERFECT - LOVE IT ! Affinity Design - since a bout 2 years , Love it as well but not perfect. Affinity Publisher - sine very recent - seems very good. MISSING: Affinity Print !! Instead I use the very expensive Mirage Print app by Dinax in Germany. The Print results of Mirage are as good as it can be, but the user interface is quite possibly as bad as they come. Zero logic , button operation take you all across the screen for a single print and easy enough one prints print copies again that are printed already. It also has a useless bloated color correction section - totally pointless for professional print creators, all color correction is done in the image editor , then the file is sent to the printer / via Mirage. THAT CAN BE BETTER : Via Affinity Print , in it one can set the paper / color profile / printer selection but most important the layout on the Sheet or Roll of Paper. Say we want to print a complete wedding album series - in Mirage it is very complicated to collect all images , set the size per image , then the Mirage software creates a PERFECT layout sequence on a roll of paper. Including borders etc. It just works perfect. But as said the user interface is rubbish. The Mirage user interface is rubbish but the output is perfect. As far I can see Mirage is a shell for the Epson Driver, it is NOT a RIP and not another driver. And that is just a perfect idea since the Epson Driver is already very good . With more than 45 years professional photography up my sleeves and 20+ years of digital printing I am 100% confident that AFFINITY PRINT will take the world by storm , so many newbie photographers and old farts like me are / were struggling when it comes to perfect printing. I finally mastered a flawless work flow only a few years ago - I can print without making a test - knowing that what I see on screen will always be what I see in a print even on plain paper. Much of the credit goes to Mirage because in its core it is very good , again - the whole Mirage user interface and ridiculous high price with attache USB encoding dongle / HASP makes it very unattractive. But their customer support simply rocks. YOU CAN DESIGN AN AFFORDABLE AND PERFECT AFFINITY PRINT APP Go for it and make another couple of Millions - Just make me happy with a nice bonus 🙂 Attached a Mirage interface Screenshot with a Land Rover painting by my partner (Since you are in the UK I thought you will love my long gone Landy in the Australian bush - painting is 120 x 90 cm in size) Best of Luck - Regards: Jacob in Australia !
-
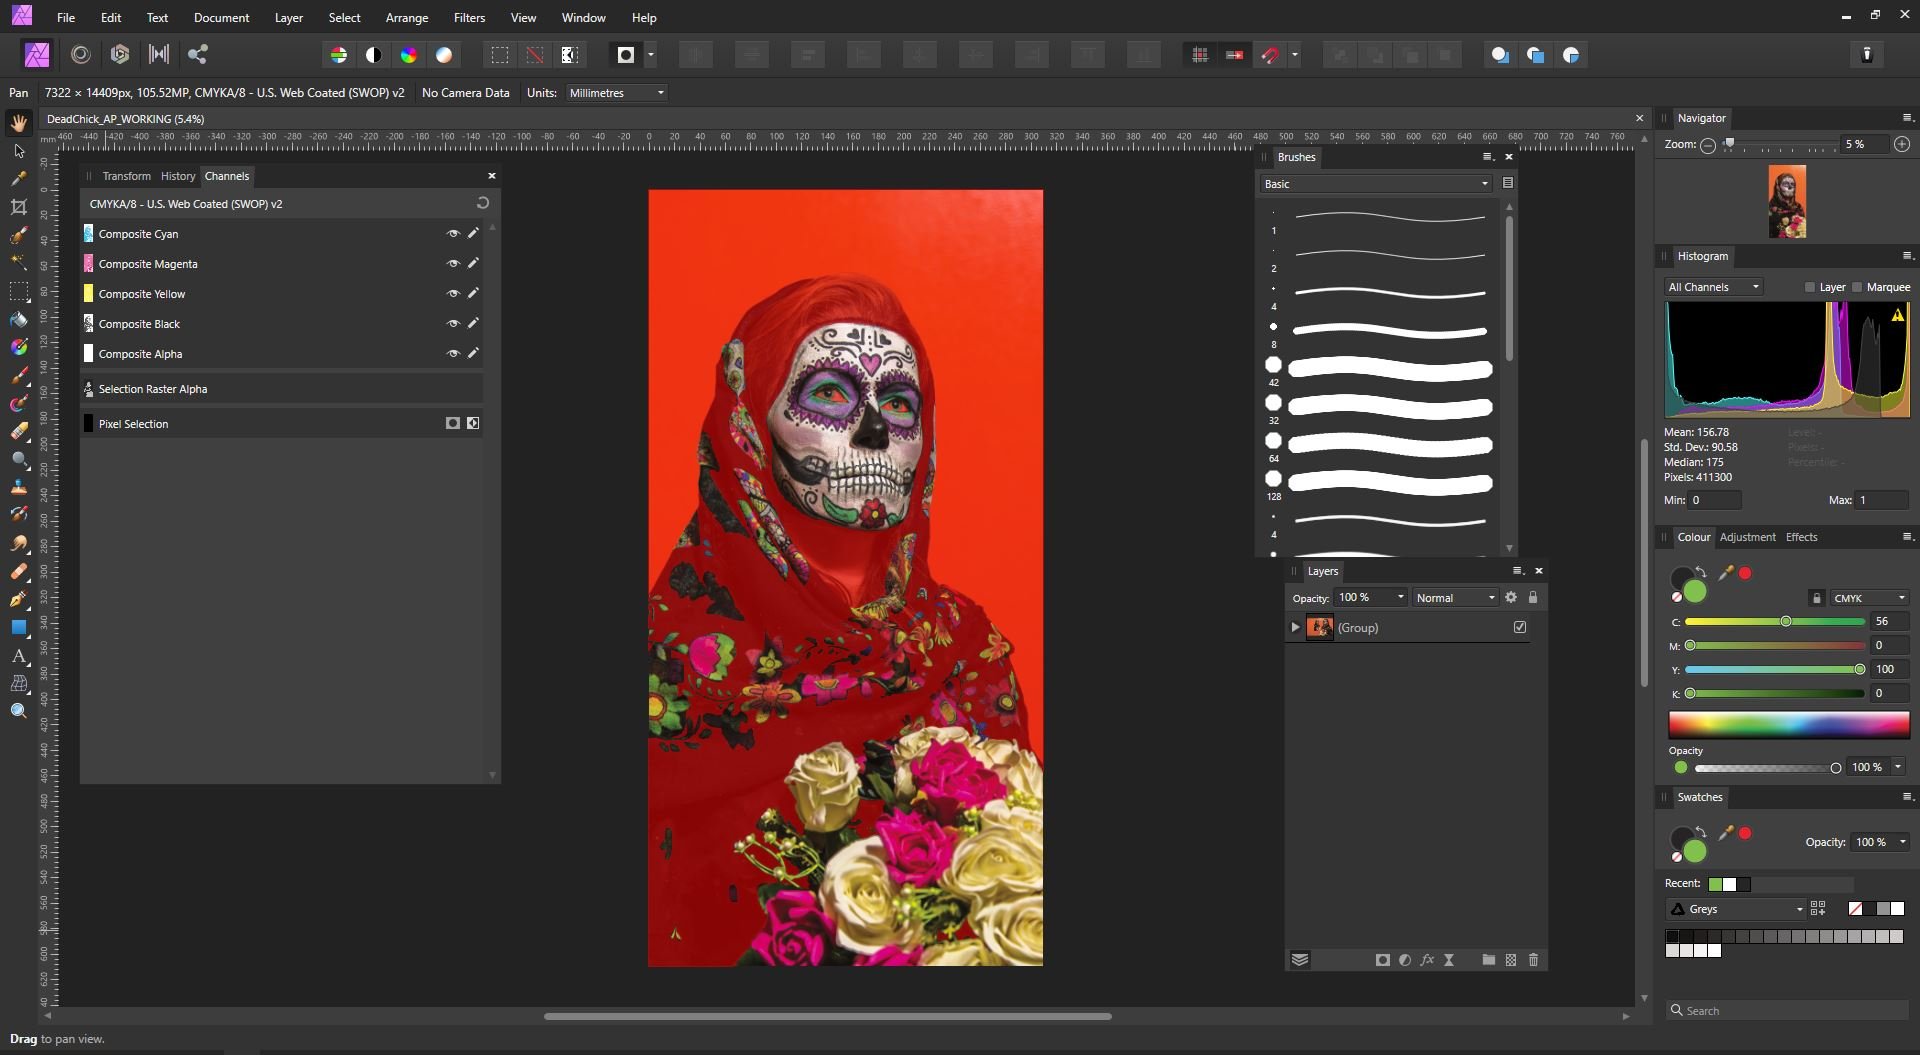
 Hey all, I'm struggling to create and export an Alpha Channel from Affinity Photo (v1.7.1.404) to a CMYK .TIFF image. The image has been masked out and I'm trying to make a named Alpha Channel to be used as a Spot Colour for digital print in an Onyx RIP (To be names 'Spot 1' which refers to a Spot White Ink). Please see the attached screenshot for the masked out area which I'm talking about. I've followed several other posts and YouTube/Vimeo video's and it's just not clicking for me. The image will export as a .TIFF but it won't export an Alpha Channel no matter what I try. Methods I have tried: 1. Mask out areas, on the 'Selection raster Alpha' channel, right click, and 'Create Spare Channel' and name it 'Spot 1' 2. In the layers under Adjustments, create and Channel Mixer and pull up the Alpha slider. What am I doing wrong? Thanks for your help!
-
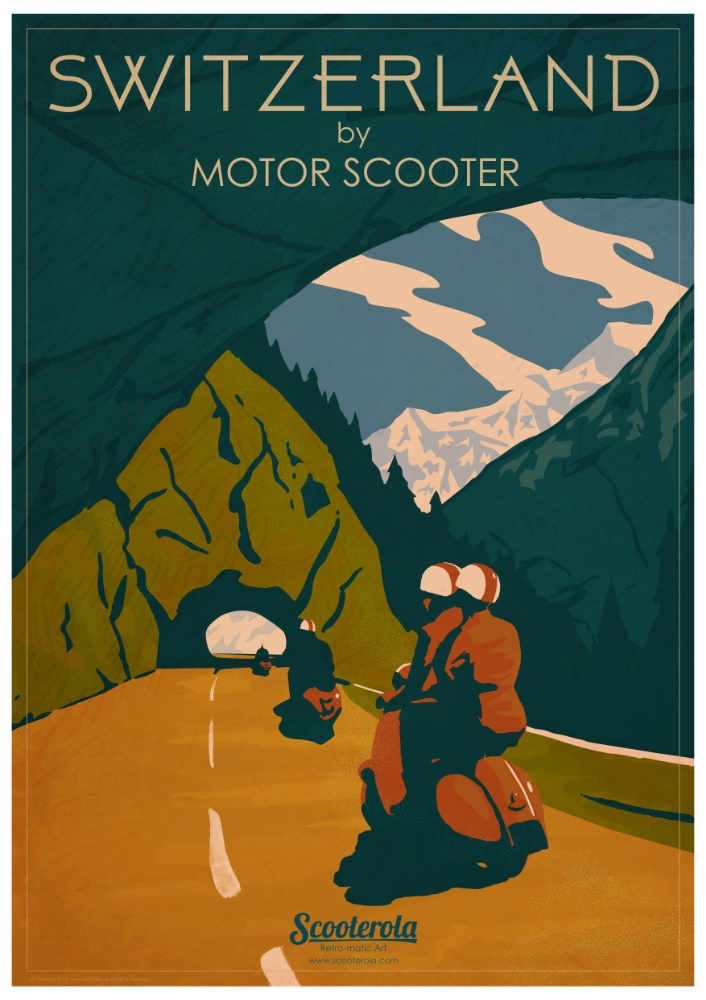
 Hi all. I wasn't sure where to post this question, since I can only see an option to post questions for the iPad. Mine is about Designer in OS X. Please move the topic if it's in the wrong place. I create posters -usually around A1 physical size, they're a mixture of sometimes very complex vector layers (as I convert mono drawings as in the example attached) and raster layers for ageing and texture. They can be around 150 -200MB. I also create them in CMYK since I was told that the colour space has a wider gamut. I have converted to RGB for one large format printer and they've had no problem at all outputting posters. Now -the problem: I sent these files as CMYK PDFs (reduced in physical size to A3) to a different printer, since that's what they wanted and my files caused all sorts of problems. Crashed the RIP (whatever that is) and generally took aeons to process. I had to cancel the task before I alienated this chap. Anyway, he said that the files weren't flattened -and that there were thousands of vector curves and the RIP couldn't handle them. So my question is -doesn't exporting to a PDF do the flattening anyway? Even after I exported to TIFF and then again to PDF, there were still problems. Can anyone tell me what best practice is for sending to a trade printer who wants CMYK files? Looking forward to hearing from anyone with expertise! Best regards, Kevin
-
 Hello! As a Fine Art Printmaker who uses Computer Design tools to create prints for Screen Printing, Lithography, and Intaglio, CNC woodcut, it would be amazing if I could separate colors and control half tones size shape (line, dot, etc) and color. I imagine being able to work in CMYK layers and being able to apply color halftones to shapes based on percentages, or change the size and shape of the individual color channel half toning. It could be applied in any document setup really RGB document with a simulated color / spot process: Red, Yellow, Blue, Purple, Green, Turquoise, Grey and control the halftone percentage, size and shape. grey scale: black, 25% grey, 15% transparent white LAB would be fun, you could control the lightness darkness of the halftones maybe have an option to constrain the gamut inside of lab to a specific set of colors like CMYK but still have lightness control. In my imagination the possibilities are endless for options like this. "MOONSHOT" : to have RIP like printing control inside this program, where I wouldn't have to worry about the printer I am on to get circular halftones (this might be next to impossible but I am ignorant when it comes to the programming side of hardware interactions) this would be just insane and might require a new type of universal file format I have no idea but it's something I dream about, being able to go to Kinko's or some other local digital print shop and be able to print out my files without having to worry about the print shop getting the settings right in their computers and on their printers, the employees being inept, or any other stupid thing that happens because you don't have enough money to buy the hardware that you need. and finally "MOONSHOT": A new type of color selection palette based off of a Warm/Cool, light/dark, transparent/opaque warm adds red cool adds blue lightness adds white darkness adds black transparent/opaque self explanatory but the twist is you pick initial colors as a base and those colors become the colors you base rest of the interactions between the colors on like paint For example: Here is a shorthand RGB two way conversion to Paint/Ink color palette equivalent Red (Pantone Uncoated 032) Yellow (Pantone Uncoated 123) Blue (Pantone Uncoated 300) Purple (Pantone Purple) Green (Pantone Uncoated 354) Turquoise (Pantone Uncoated 312) Grey (Pantone Cool Grey 8) 100% opacity White 15% opacity White mixed or printers black (R 54, G 54, B 57) Black now imagine you have picked these colors as your initial palette and have set them inside of a grid each color has the same basic controls warm/cool: add red/add blue light/dark: add white/add printers black transparent/opaque: increase decrease transparency/opacity Now for example you activate the red, white, and yellow channels you now adjust warm/cool light/dark transparent/opaque sliders around to just work within the constraints of those colors selected from you base palette this gives you a sub palette of yellows oranges and reds based of your real world/RGB equivalents this would work for CMYK as well This would be a great tool to have I think Thank you for reading and for your consideration Nathan Henry