Search the Community
Showing results for tags 'Printing'.
-
 I manipulate the image, then copy and paste it into a new document so that I can resize and position the image on the page for printing. When I print, it shows a faint edge or border. There is no border or edge in the document (even zoomed in, none appears). I tried cropping the image, just in case there was a microscope border I had not cut off, but same result. If I print the image directly (not the pasted-into-document version) then no edge prints. But then I have no option to position the image where I need it on the paper. How can I get rid of this edge? I am using Mac Desktop version and Canon Pro 100 printer.
 -
 I've been having some print issues while trialing the Publisher beta. Single sided printing is fine, but if I try to modify any settings in the print driver (Fuji-Xerox DocuCentre) to do double sided printing they revert back to default after confirming. Workaround is to export a PDF and print from Adobe Acrobat.
 -
 1.7.0.249 version windows 10 HP Envy 4502 Series I am trying to print double sided in book format. When the printer pulls the page back in it doesn't seem to pull it in far enough to print. Therefore it cuts off the edge of my print. My margins and page sizes work properly because I can print it out and manually put the page back in to print on the other side and it's fine. I can also open the pdf and print double sided and it works. It is a little bit smaller when I do that though. I have gone through a ton of ink and paper and I can't sort it out. I only have one printer that prints double sided automatically so I can't test it with a different one.
 -
 At least not in Indesign CS5, and I was delighted that Publisher has a feature for tableau printing! The absolute coronation would be even now, if horizontally and vertically different bleeds would be possible - including a rotation of the page (with suitable backgrounds) to keep the number of cuts low (works at corel draw) -> see screenshot
-
 Hello, I have the following issue for which I can't find a solution anywhere I've looked. So, I got this artwork and I need to prepare it for printing. I wish to export each CMYK channel separately so I can create the half tones. Howver, when I disable the channel on the Channels studio, and then export the image I don't get the grayscale of the enabled channel, instead I a full color export. Is there a way to export just a single channel or better to straight create a layer from the channel to do the half tones directly on the file? (this is what I want to achieve) Thanks for your time! I'm using Affinity Photo for this but I've got both in case I needed to use Designer. -Nehemek
-
 not Let me join the list of complaints about the inability to center an image when printing in Affinity. I have used both the direct print mode as well as the soft proofing method but to no avail. The images are always skewed to one side. I agree that this is an important issue if Affinity intends to replace Photoshop as a significant image post processor. This is not a "printer" issue. I have the Canon Pixma Pro 10 and when I print the same image using Photoshop controls, it is well centered. I am very interested in shifting entirely to Affinity but, so far, I remain hesitant because of this serious problem. Affinity should consider making Canon Print Studio Pro available as a good solution. I have tried but learned that Affinity is not compatible with Print Studio Pro. I sincerely hope that this issue can be resolved soon. From what I read it has lingered on for quite some time and has not been resolved with the newest upgrade which I am using.
 -
 When trying to print with Affinity Photo on Canon iPF750 plotter, i keep receiving the following message: "Cannot find module necessary for printing. Re-install the printer driver." I have updated the driver to the latest version but i still cannot print. This issue doesn't exist when printing on my Konica Minolta printer. Any suggestions?
 -
 Hello Everyone. I have down loaded from the Permajet print paper manufacturer web site a whole bunch of ICC profiles for printing. Problem: All of the downloaded profiles have the suffix .icm - but Affinity Photo searches for profiles with a .icc suffix. So. Are the icm profiles compatible with Affinity and how do I change the search to include icm profiles? All help and advice gratefully received. Thank you.
 -
 I printed an A4 montage as a Christmas present only to discover that it emerged from the printer as a disappointingly washed-out print. I know now this was mostly my fault as I had never set up Affinity for printing and it was using its default settings. I usually save my photos from Affinity and print from the Epson Easy Print programme. However as it was A4 I printed direct. I watched the videos about printing and soft proofing hoping I had found the solution. I didn't know what document profile to use so I chose Adobe RGB (1998) as that's what I used in Photoshop. I set the soft proofing to the printer paper I was going to use and ticked gamut check. I tweaked the curves (as shown in the video) until the grey splodges had disappeared. I increased the vibrance and HSL a little as too much brought some grey splodges back. I also found I needed to sharpen the photo more. The rendering intent was Absolute Colourimetric (None of them seemed to make any difference.) I did remember to turn off the soft proofing layer. In the print dialogue I chose the printer profile to match the printer paper but I didn't know what to put in the Profile option at the top so that was left as Custom. The photos I printed were certainly an improvement as far as colour intensity was concerned but were a bit darker and rather muddy. As you can tell I am well out of my comfort zone when dealing with setting up the printer and soft proofing (which is totally new to me) so if any experts out there could give me some pointers on printing from Affinity and soft proofing I would be very grateful (or point me to some info already available that I might have missed). TIA And a belated Happy New Year to all
 -
I am trying to print a picture of a person. The picture came out far too light (blown out?). I reduced the brightness and the result was better but is still very light and seems to have yellow/greenish cast to it. I know there are things you can alter like colour spaces but I have so little understanding of this it really would be complete trial and error. Is there a procedure or method one can follow to reduce time and wastage? TIA BoW
-
When printing a booklet: Legal size paper Landscape mode Flip on Short Side ...It prints great with everything except the model is changed to Flip on Long Side. It prints that way and its set to that when I enter back into the printing options. I have tried different approaches and still I cannot get it to print "Flip on Short Side". I know there is a current problem with printing, maybe this is part of that or something separate?? https://forum.affinity.serif.com/index.php?/topic/75668-printing-issue/ I am running the current beta build: 1.7.0.206
-
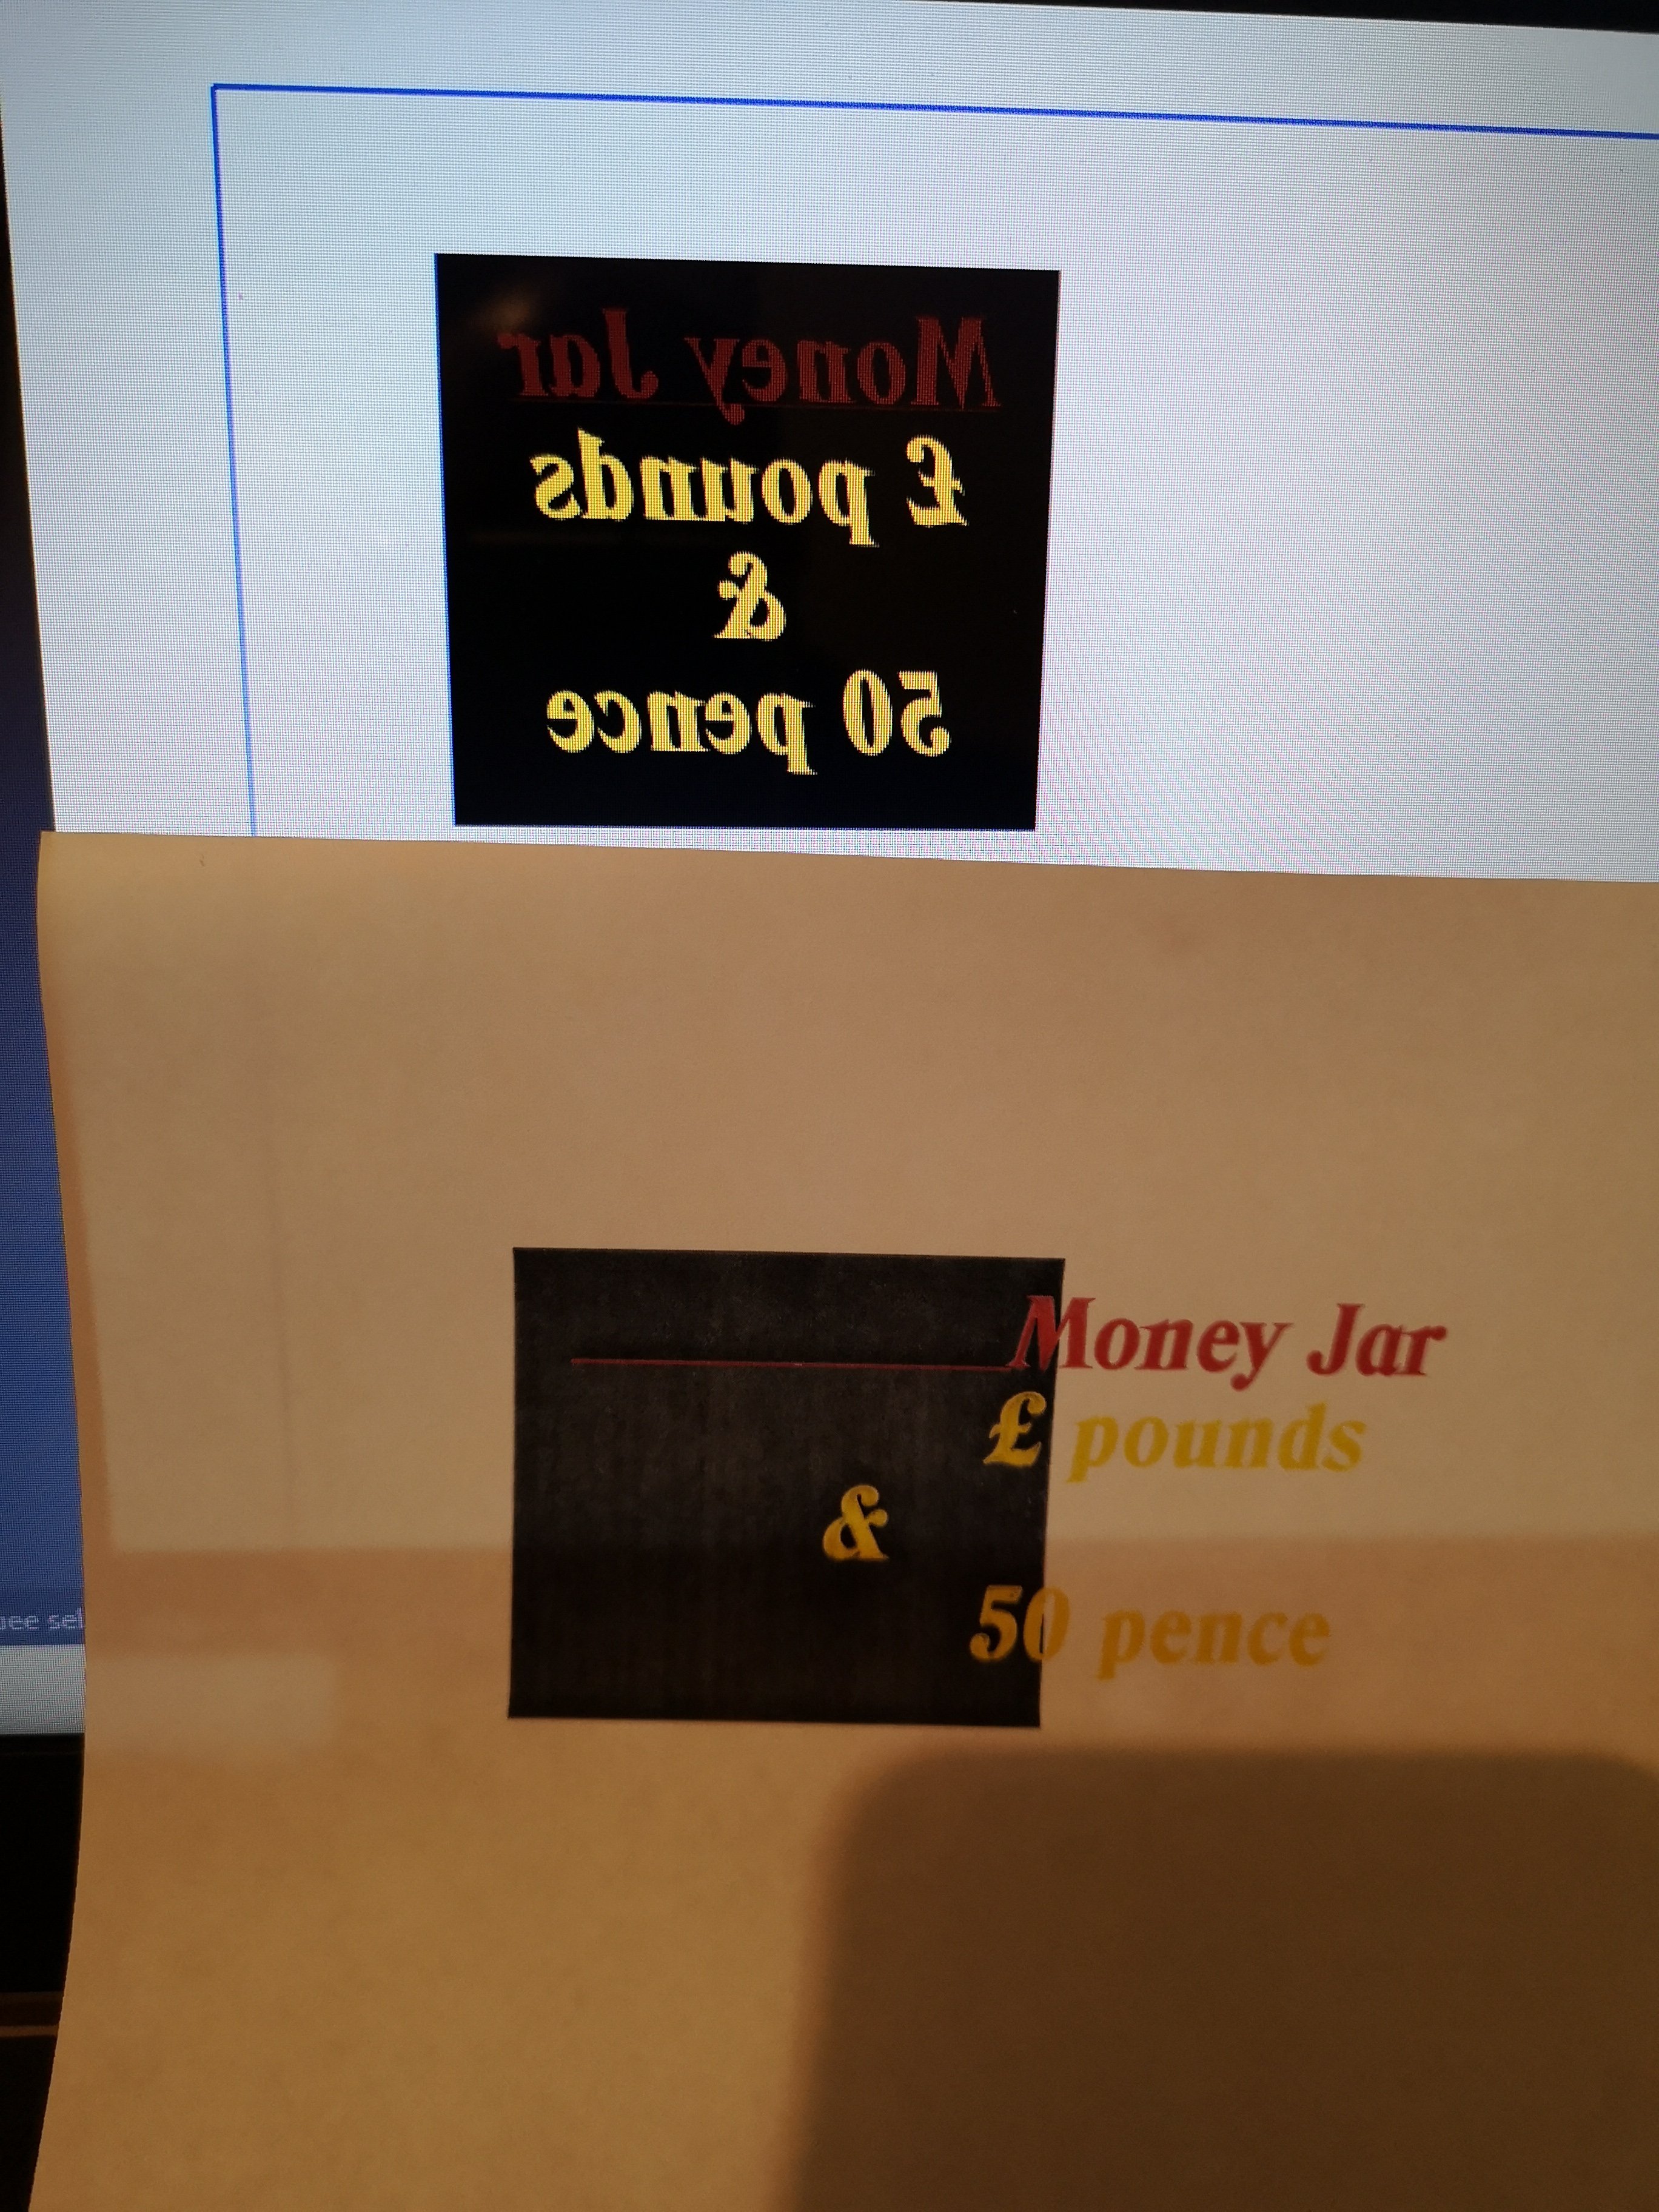
Hi all I made a simple page with some text overlaid on a box behind it. I then flipped the items on the page horizontally and all looked OK until I printed it. The text had 4 lines of text with the top line Underlined. The text came out to the right of the background box, and the underline on the top line stayed in the box. I have attached a picture of the screen and printer output to make it clearer. Thanks Vince
-
Shut down when printing multi pages
-
 I tried printing on 100 x 150 mm photo paper, but Publisher 4.7.0.192 refused to change the paper size from A4 despite setting it to 100 x 150 mm.
 -
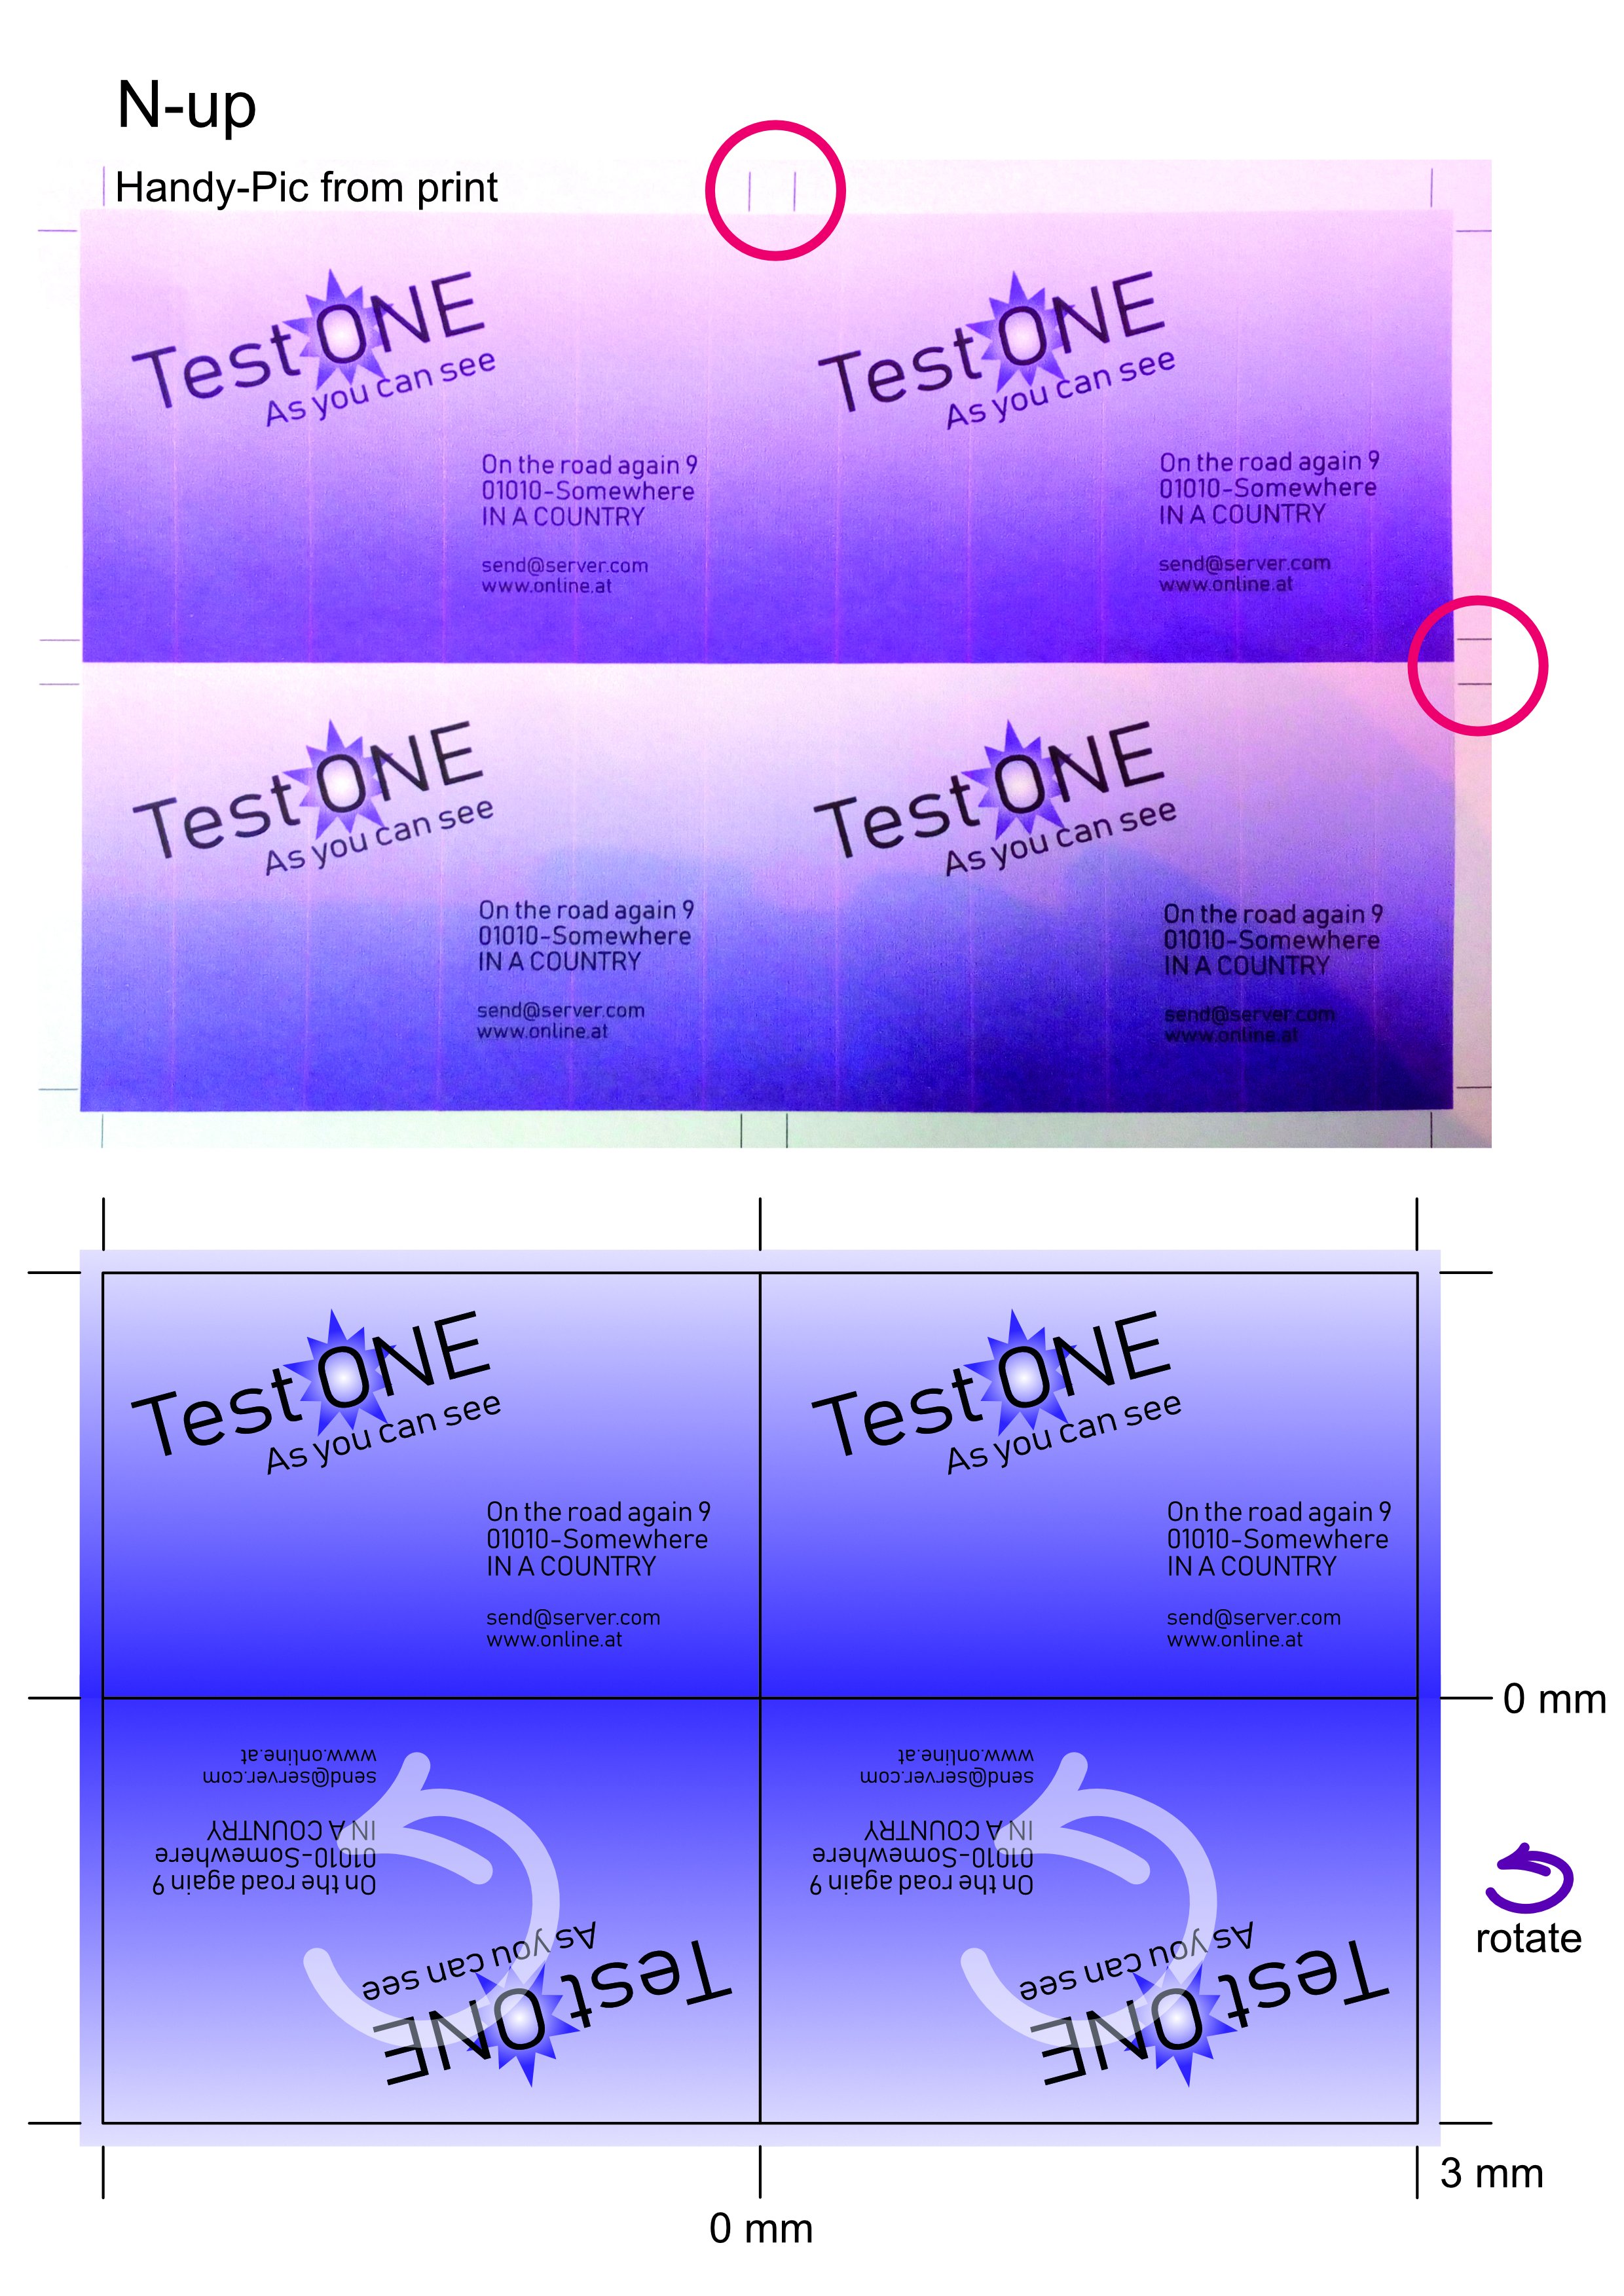
Hi. I have the following problem (I think it's a bug): When I print a card with the N-Up option, there are some crop marks that do not come out if I activate the bleed or the horizontal or vertical gaps. I attach two sample images (the first one with bleed, and the second with h-gap and v-gap). I need double crop marks where the arrows are pointing. Thank you!
-
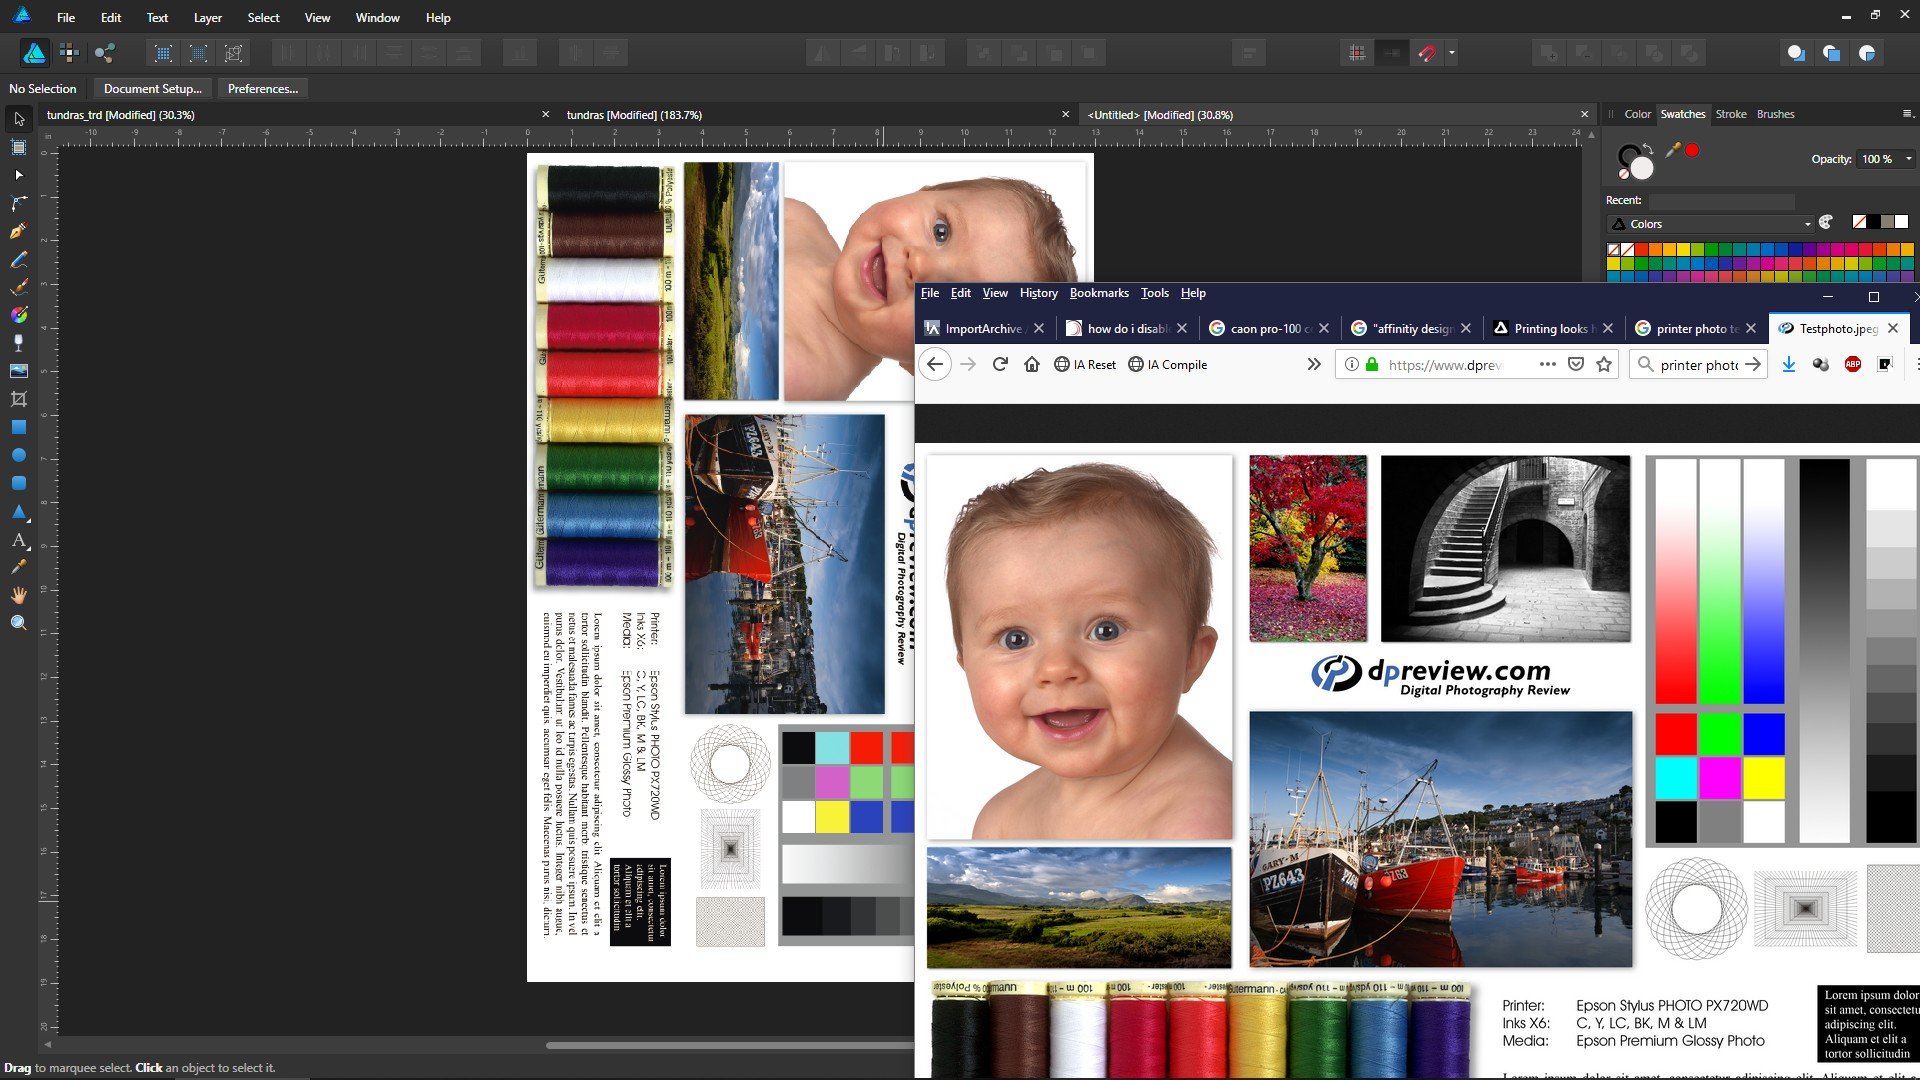
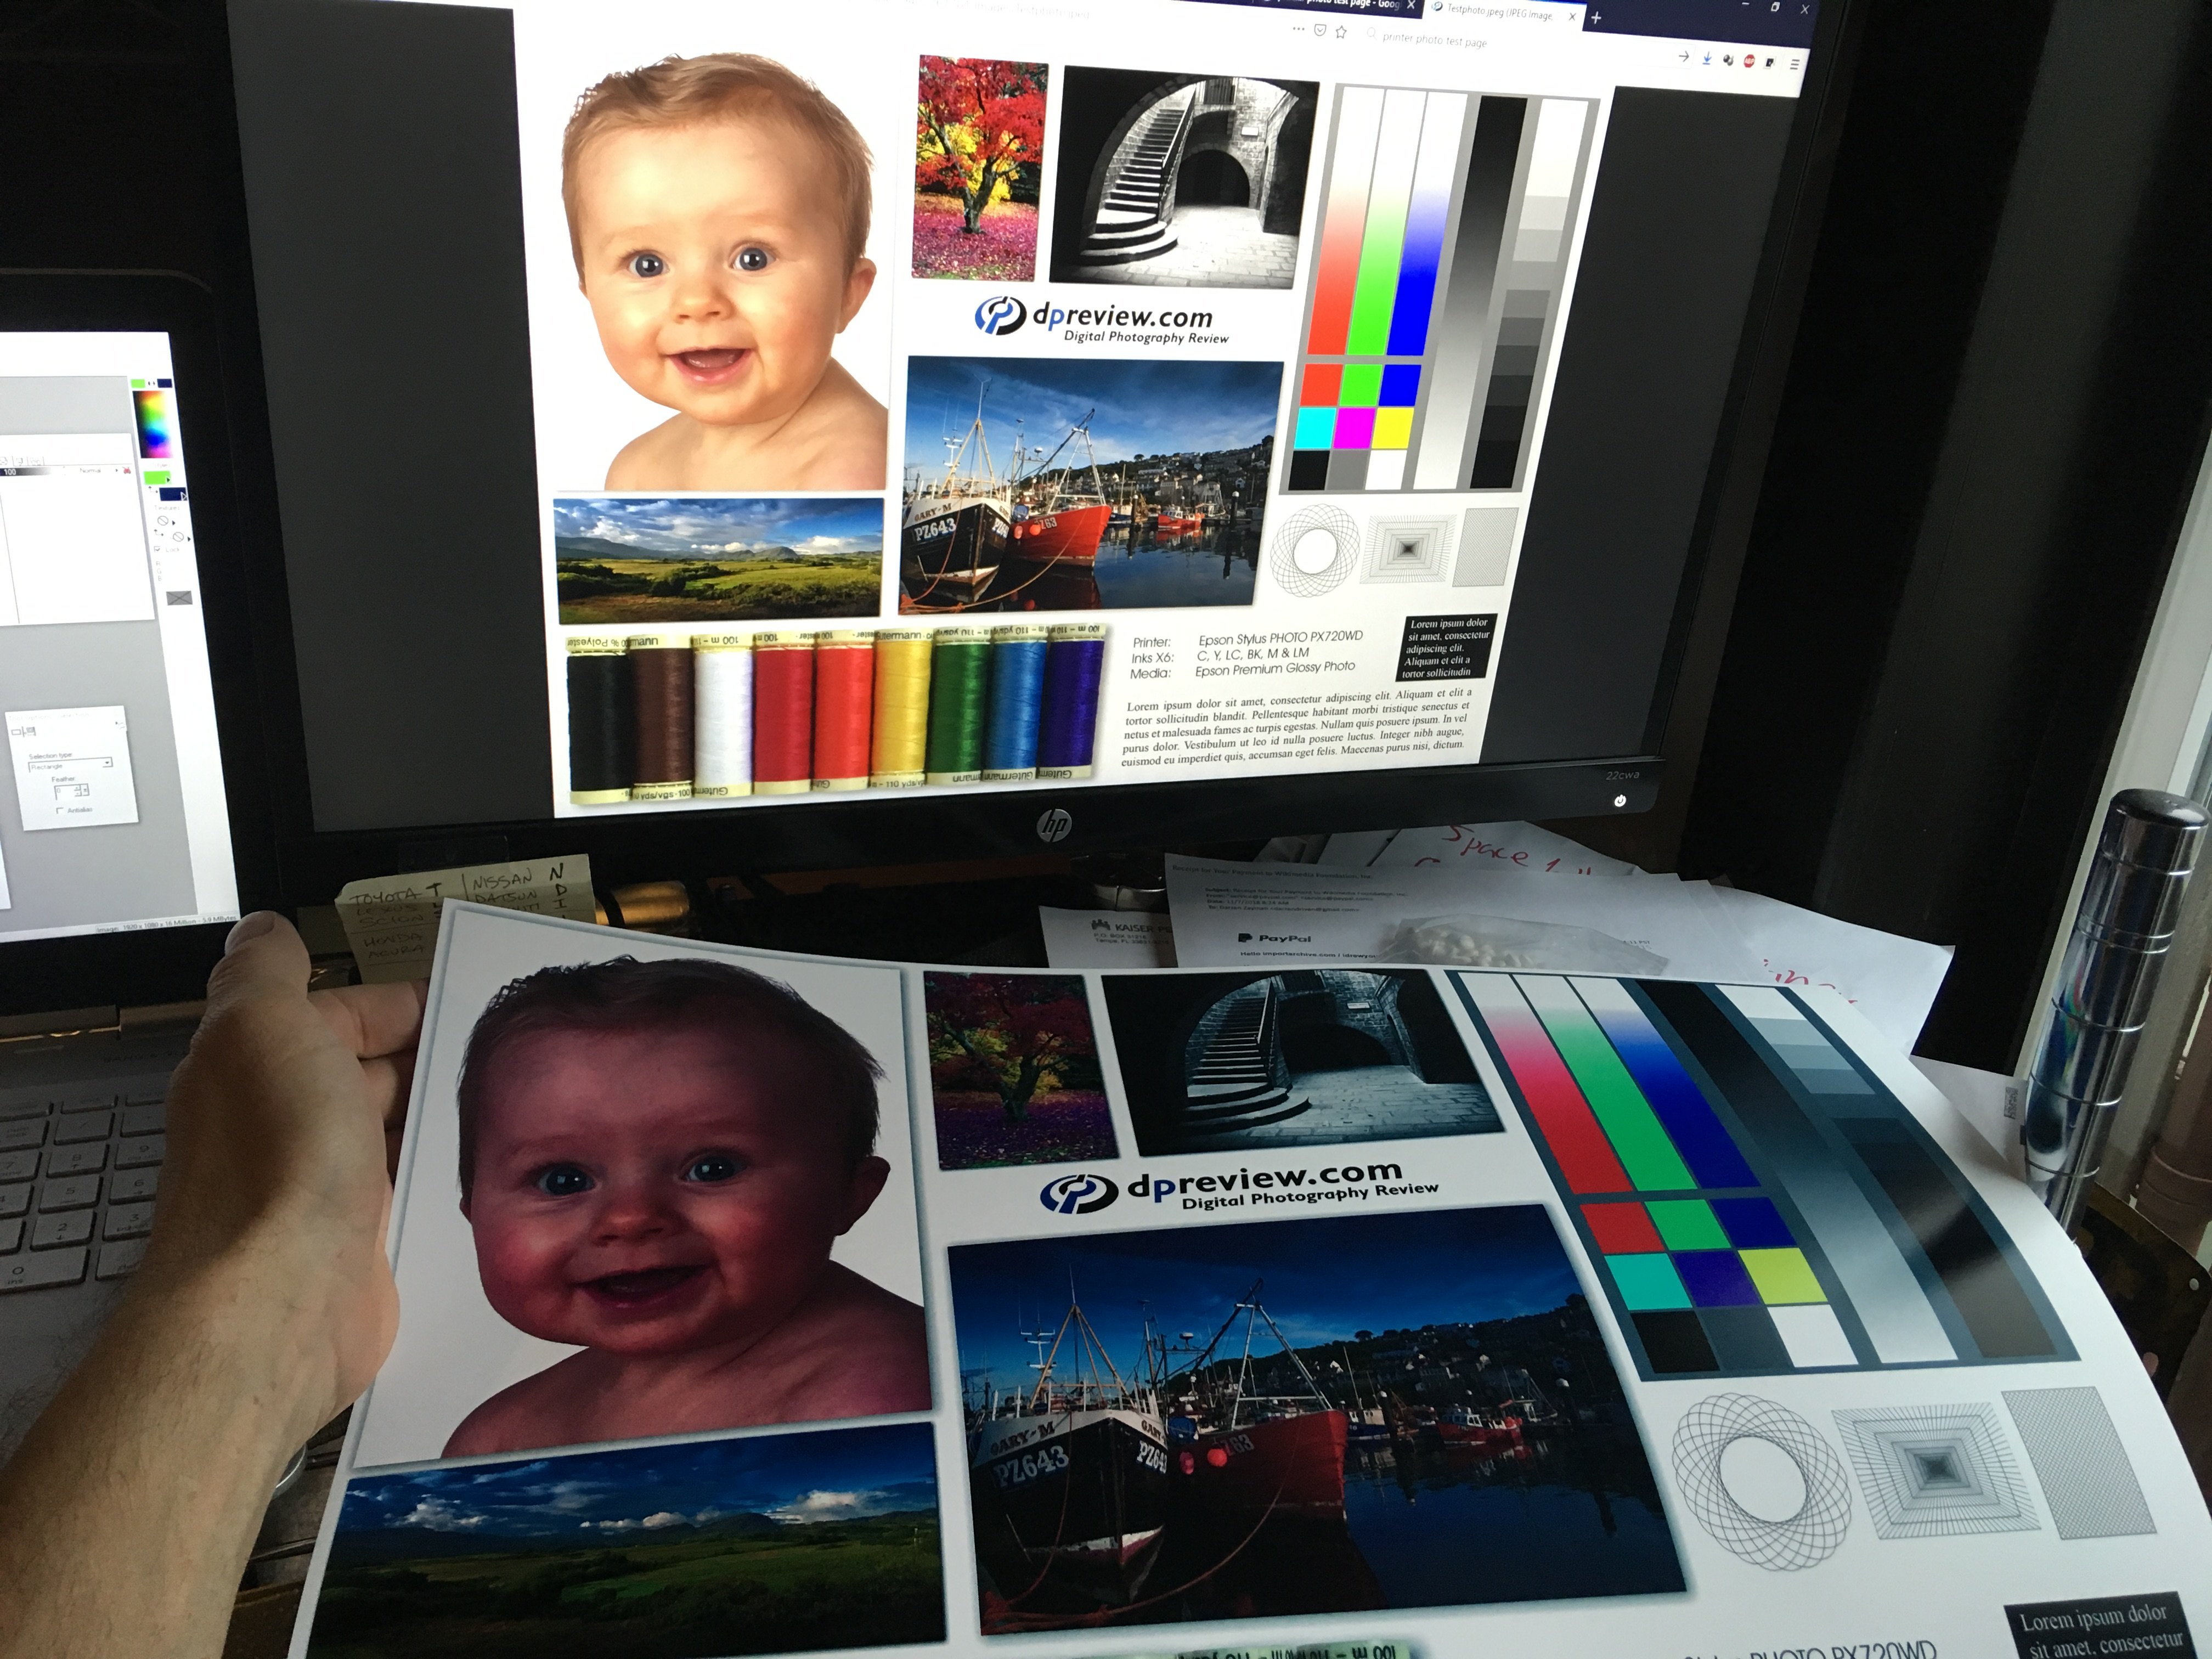
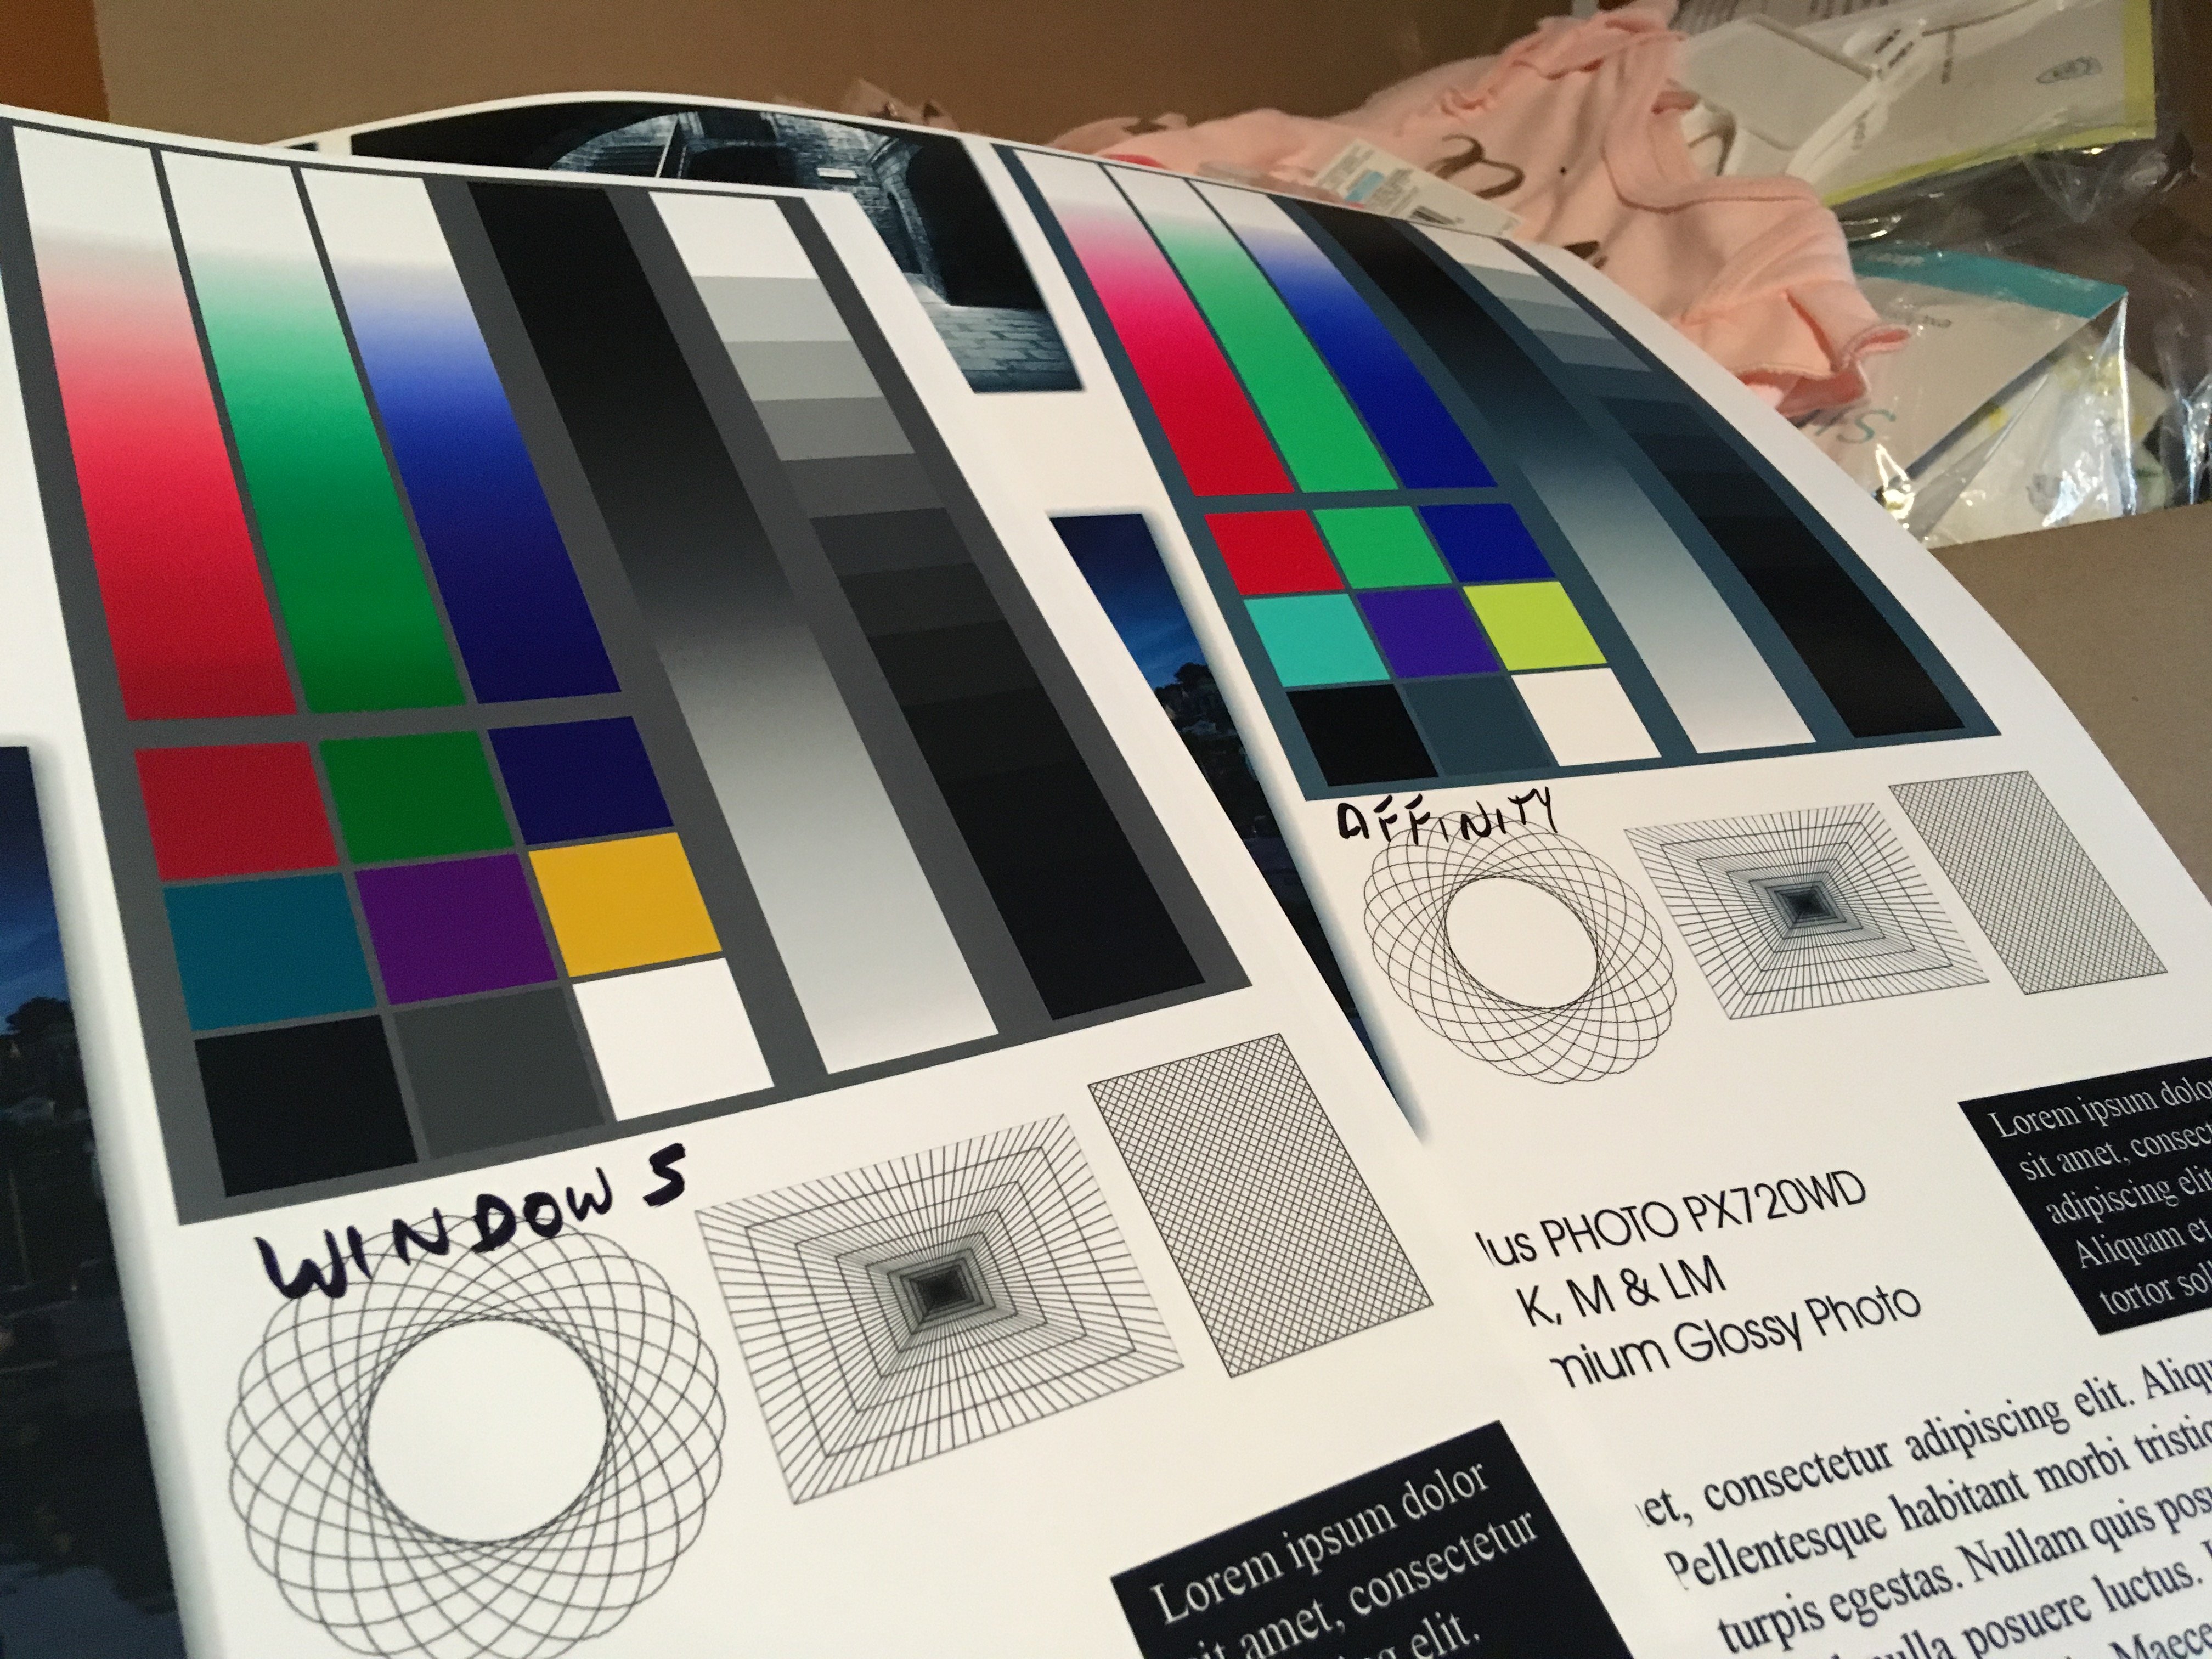
 Months ago I bought a Canon Pixma Pro-100 and started using Affinity Designer. My artwork came off the printer looking nearly identical to what I saw on the screen. I was very, very excited. Now I don't know what has happened, but everything that comes off the printer looks like crap. The colors are WAY off. Basics: - Affinity Designer on HP Envy x360 m6 laptop running Windows 10 Home (using laptop monitor and 2nd aux monitor) - Canon Pixma Pro-100 using Canon Semi-Gloss paper The default color profile that was being used was sRGB IEC1966-2.1. I don't know much about color profiles and that was the selection that showed up when I started digging. I have switched my document AND printer profiles to Canon PRO-100 <SG> 1/2 Photo Paper Plus Semi and Adobe RGB (1988) with zero changes in print output results. Everything I have read talks about calibrating monitors... I admit that I have not done this, however I am not printing photos but creating artwork in Adobe Animate using the standard color palette. I feel that no matter how my monitor calibration is set when I select red #FF0000 (255/0/0) that it should still print red, right? So here is the strangest part of this. I downloaded a test image to print. On my monitor the red looks red, green looks green, etc. When I imported the jpeg into Affinity Designer to print I immediately saw that the colors were different. The red appears more pale, the bright green looks like a pastel, etc. Here is a screen shot... pay special attention to the green in the 9-box just to the right of the ship photo. ...so I printed the sample graphic using Affinity Designer and the Canon Semi-Gloss color profile and ended up with this ugly POS: Granted, the light in my office isn't great, but the baby's face looks almost purple and not skin-tone like on the monitor. Hmmm.... WTF? Had a thought... hey, what if I print this using Windows instead of Affinity Designer? Right clicked the jpeg on my desktop and let Windows do it's thing and ended up with this... The color of the baby is VERY close to what I see on the monitor when I printed from Windows. The colors in the 9-box are DRASTICALLY different Windows vs Affinity Designer. So I thought that I could output my designs to a PNG and just let Windows print it... but I tried it with my own artwork and the results came out identical to every other attempt. (scratching head) Hoping someone can help. I'm overwhelmed by Google results on this topic.
-
 I can no longer print any of my Craft Artist files; it was working up to a few months ago. As I have spent a lot on the software etc., can I save the files as jpg. or pdf.? Otherwise, why are they not printing? Printer okay with every other type of file and programme.
 -
 I am having issues printing from Affinity Designer. It always seems to print bitmap images very pixelated, no matter what the resolution or what printer I am printing to. It also NEVER remembers my print settings. If I export my documents as PDFs and print from Acrobat or Preview they print the bitmap images fine. Anyone know what's going on?
 -
 Having spent 2 hours and 35 pages and searching for affinity tutorials on the print dialogue box and trying to get double sided printing I have to post. From windows 10 using an HP colour laser printer that has duplex functionality - I checked doc set up, tried various combinations on my printer and the affinity print dialogue but to no avail. Then I noticed that everytime i set the printer dialogue box from "properties" and returned to the affinity print dialogue box and then checked the printer dialogue its "Print double sided" setting was turned back off. What I can not seem to find in any affinity tutorial are the following: 1. Should I be setting something in the "Model" "drop down menu" 2.Should there be something specific I should set in the "double sided" drop down menu 3.Just as a by note to spoil your day, but I also norticed tat despite having A4 set in paper size the dimensions at the bottom of the print dialogue box did showsomething silly like 69cm x 98 cm or something like that, though when I accessed this drop down menu and just selected A4 again the correct measure ments did show, no big deal.
 -
 Is there a way to print thumbnails of page spreads, outlined, in pairs, so the spreads are each clearly defined? In the very old days, PageMaker did this very nicely. I can make a cheesy workaround for now, with outline rectangles at the extreme edges of the master pages, but when printed, all the spreads run together as an evenly-spaced array. I see that I can adjust the V-gap, in the N-up setting, but this will separate each page, not the page pairs. Thanks for any ideas...
 -
 I am just starting my own direct to garmwnt printing busines and I am having a problem with affinity designer and acrorip. As you can see from the pictures the colour that affinity and acrorip shows is not the same as the print on the t-shirt. I am working in cmyk 8 with u.s. web coated (swop) v2 colour profile. I have exported as a jpeg because acrorip doesn't like .tiff or off files. I also managed to get the same colour profile on acrorip. Please help.
-
 Simple, 2-page document, letter-sized. Double-sided printing options are working backwards-- flip short side actually flips on the long edge, and flip long side actually flips on the short edge. I have seen a print driver that under certain circumstances gets this backwards, but in this case, I'm using a printer and driver that I print to many times a day in exactly this fashion, and other applications work correctly with the same printer and driver. Otherwise enjoying so far.
 -
 Publisher is connected to printer, paper is coming out the printer, but my print is blank. Perhaps printing is not allowed in beta?
 -
I have happily entered and saved a test publication on Mac- but whatever I do, when I seek to print it, nothing appears on paper. I transferred the contents to my copy of Pageplus (on Windows)and told that to print it - and no problem. When I select print on Publisher, the usual screens appear but the preview on screen of the print has the right number of pages but is bland - and that is how the hard copy turns out. What can I be doing wrong.If I try to save my Publisher text as pdf, again, the right number of pages appears - but no text. What am I doing wrong? PMB
-
I don't see how to create a feature (object/layer) that is visible, but won't print.


.png.834666a5570ab57a97c911af0fd34a80.png)
.png.7753042c45513ef51c0c46abfacd41fb.png)