Search the Community
Showing results for tags 'Preview'.
-
 The operating system is Mac Sonoma 14.4 and the device is a Mac mini m2 pro. Turning hardware acceleration on or off gives the same results. Also, I've noticed that when I edit a sub brushes of a brush with a document open, the program crashes. 录屏2024-03-11 11.18.48.mp4
 -
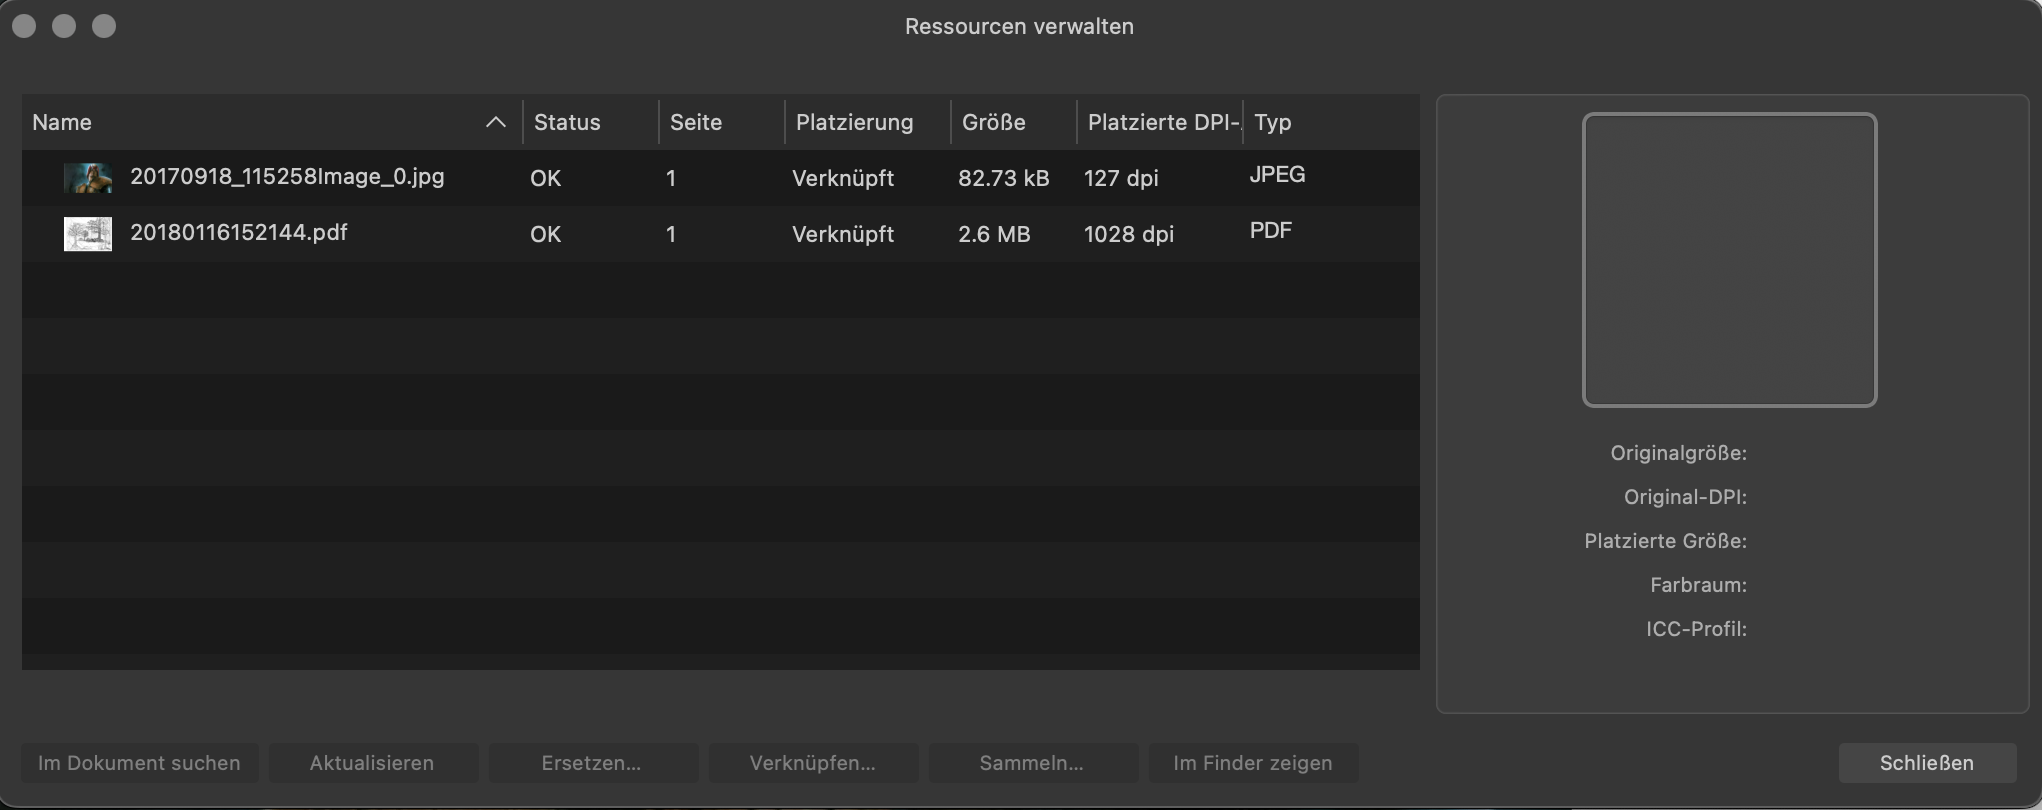
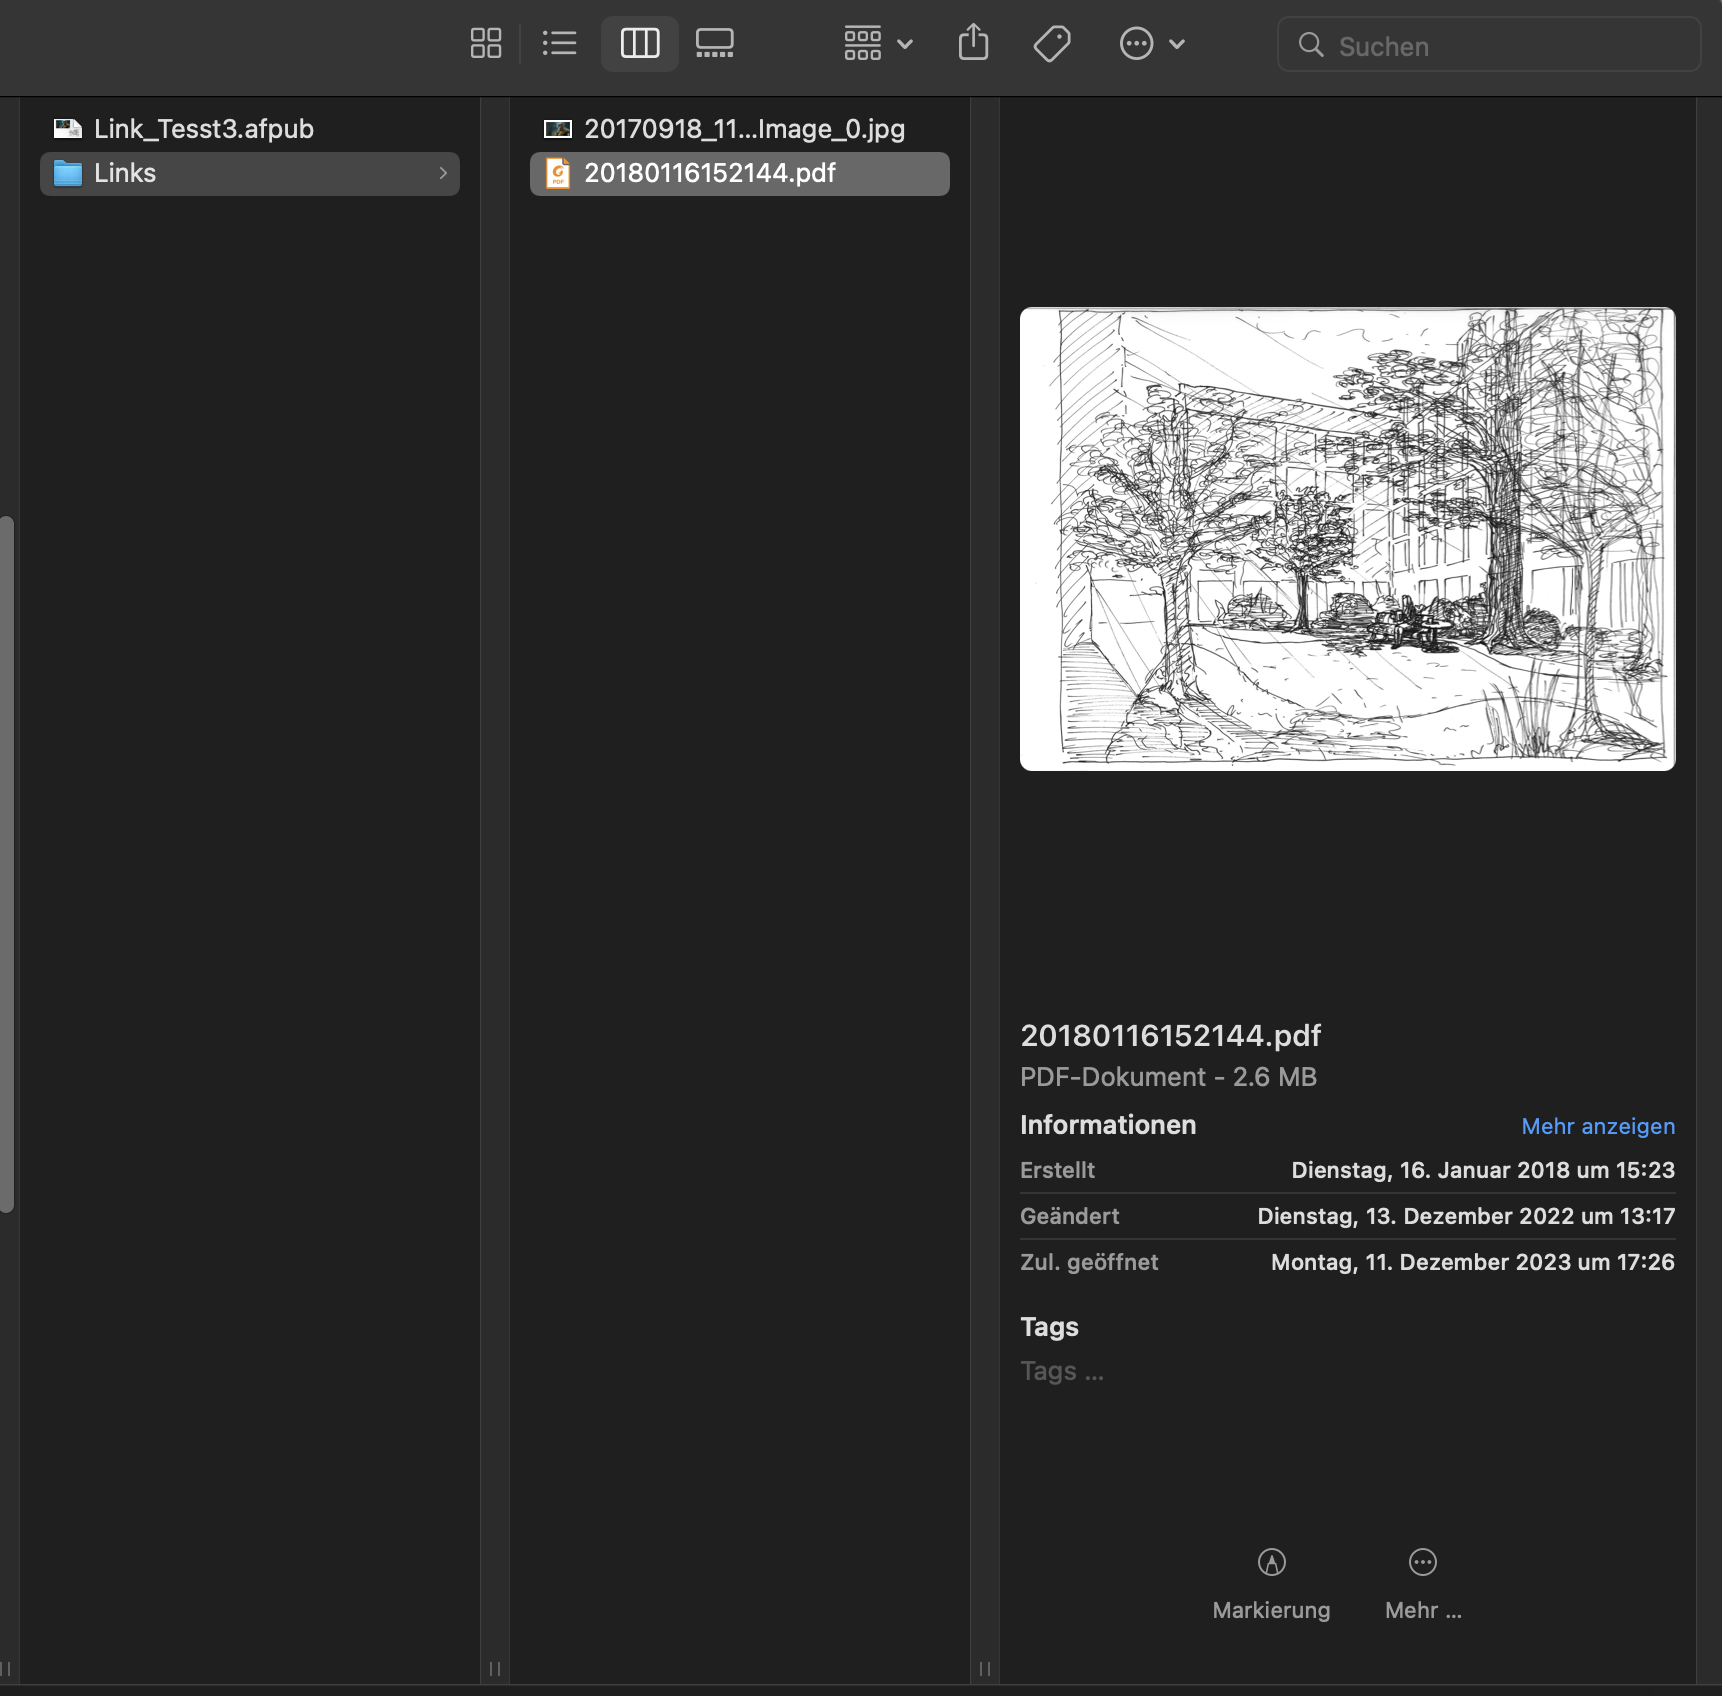
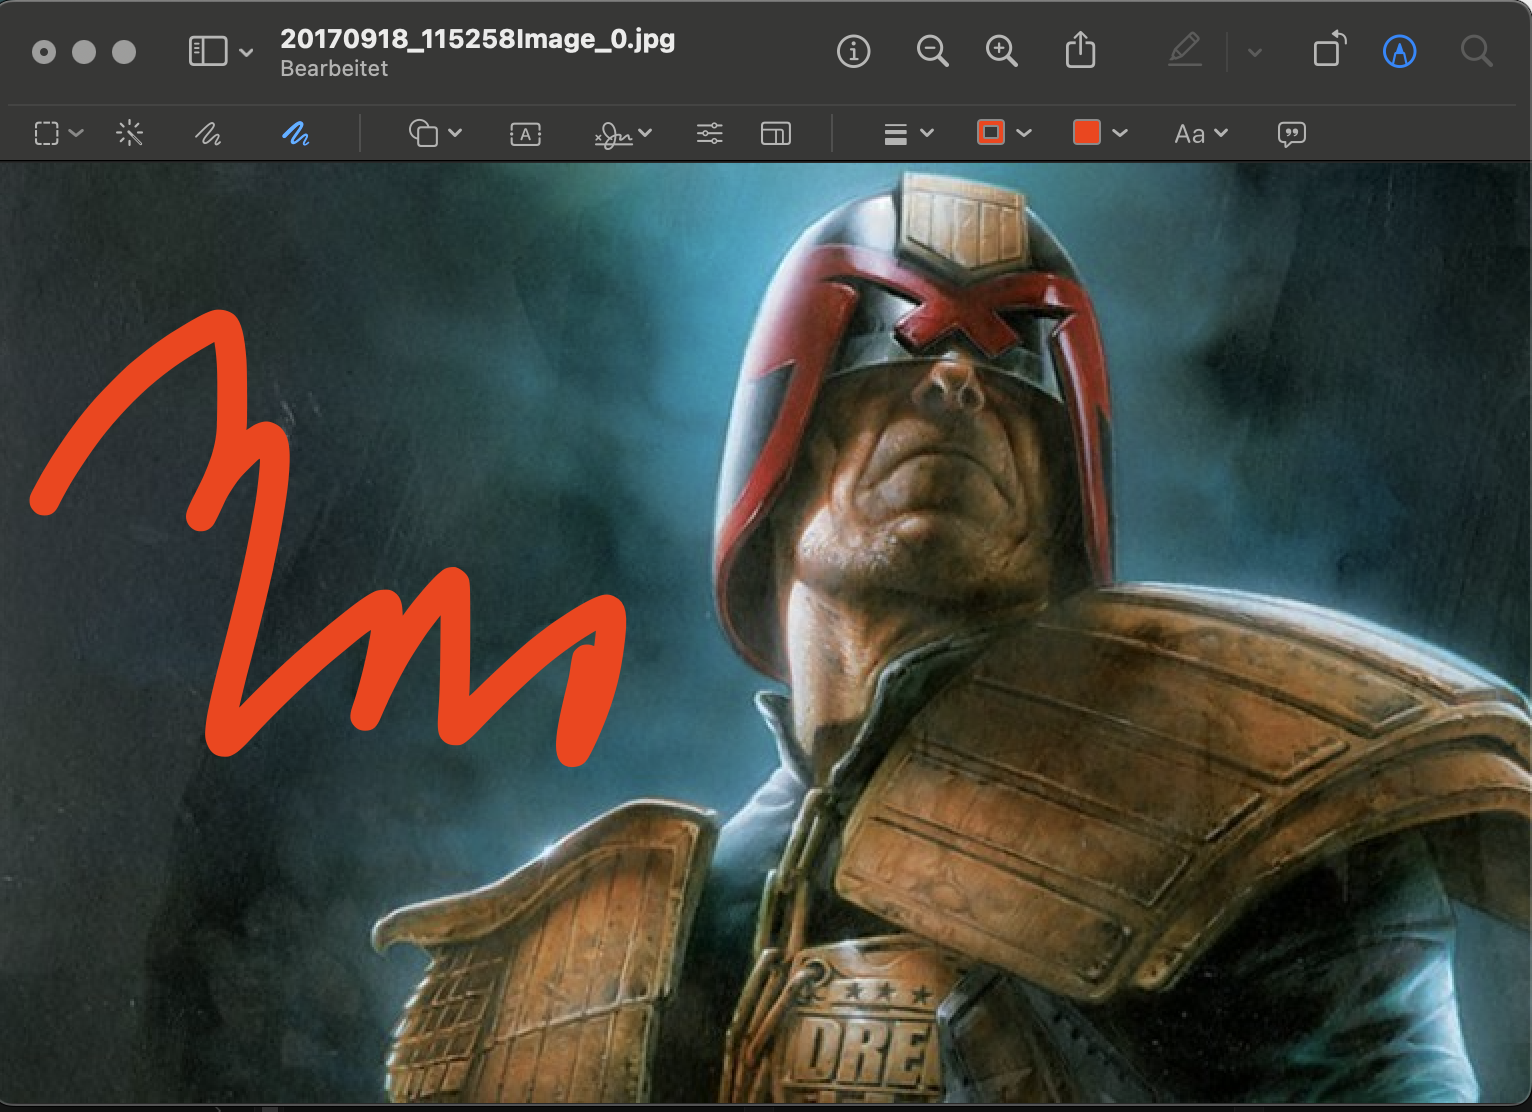
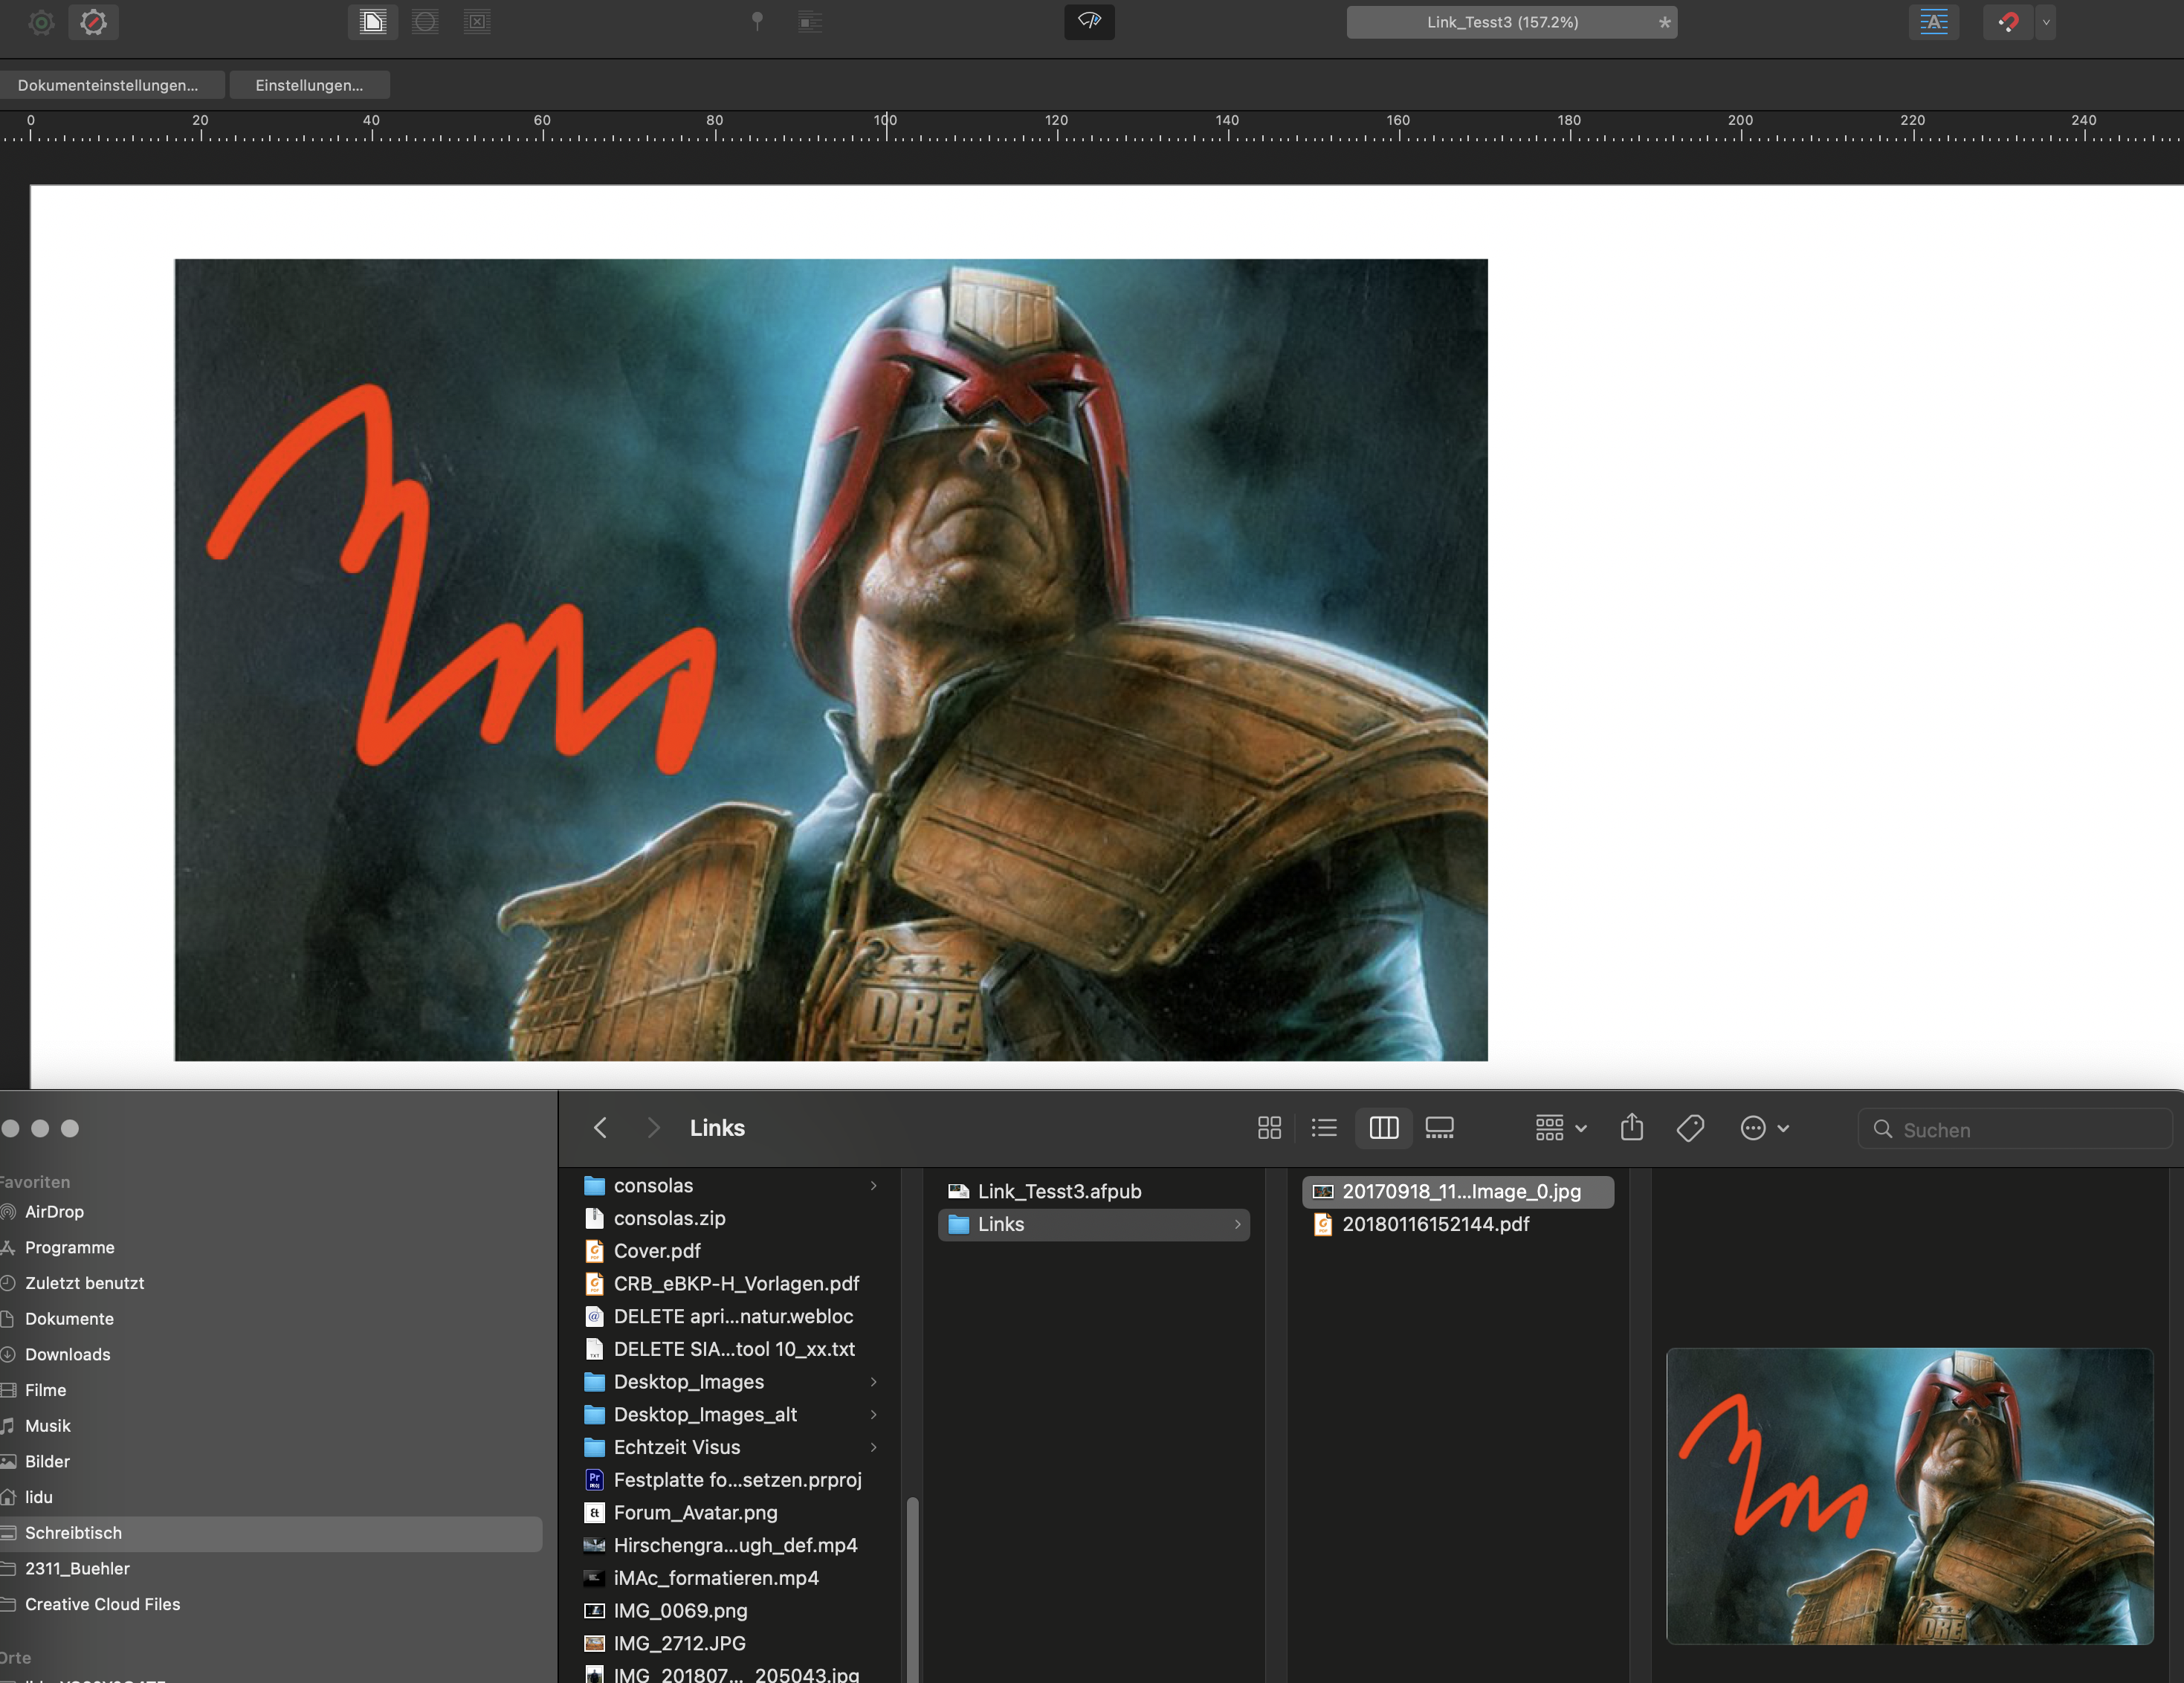
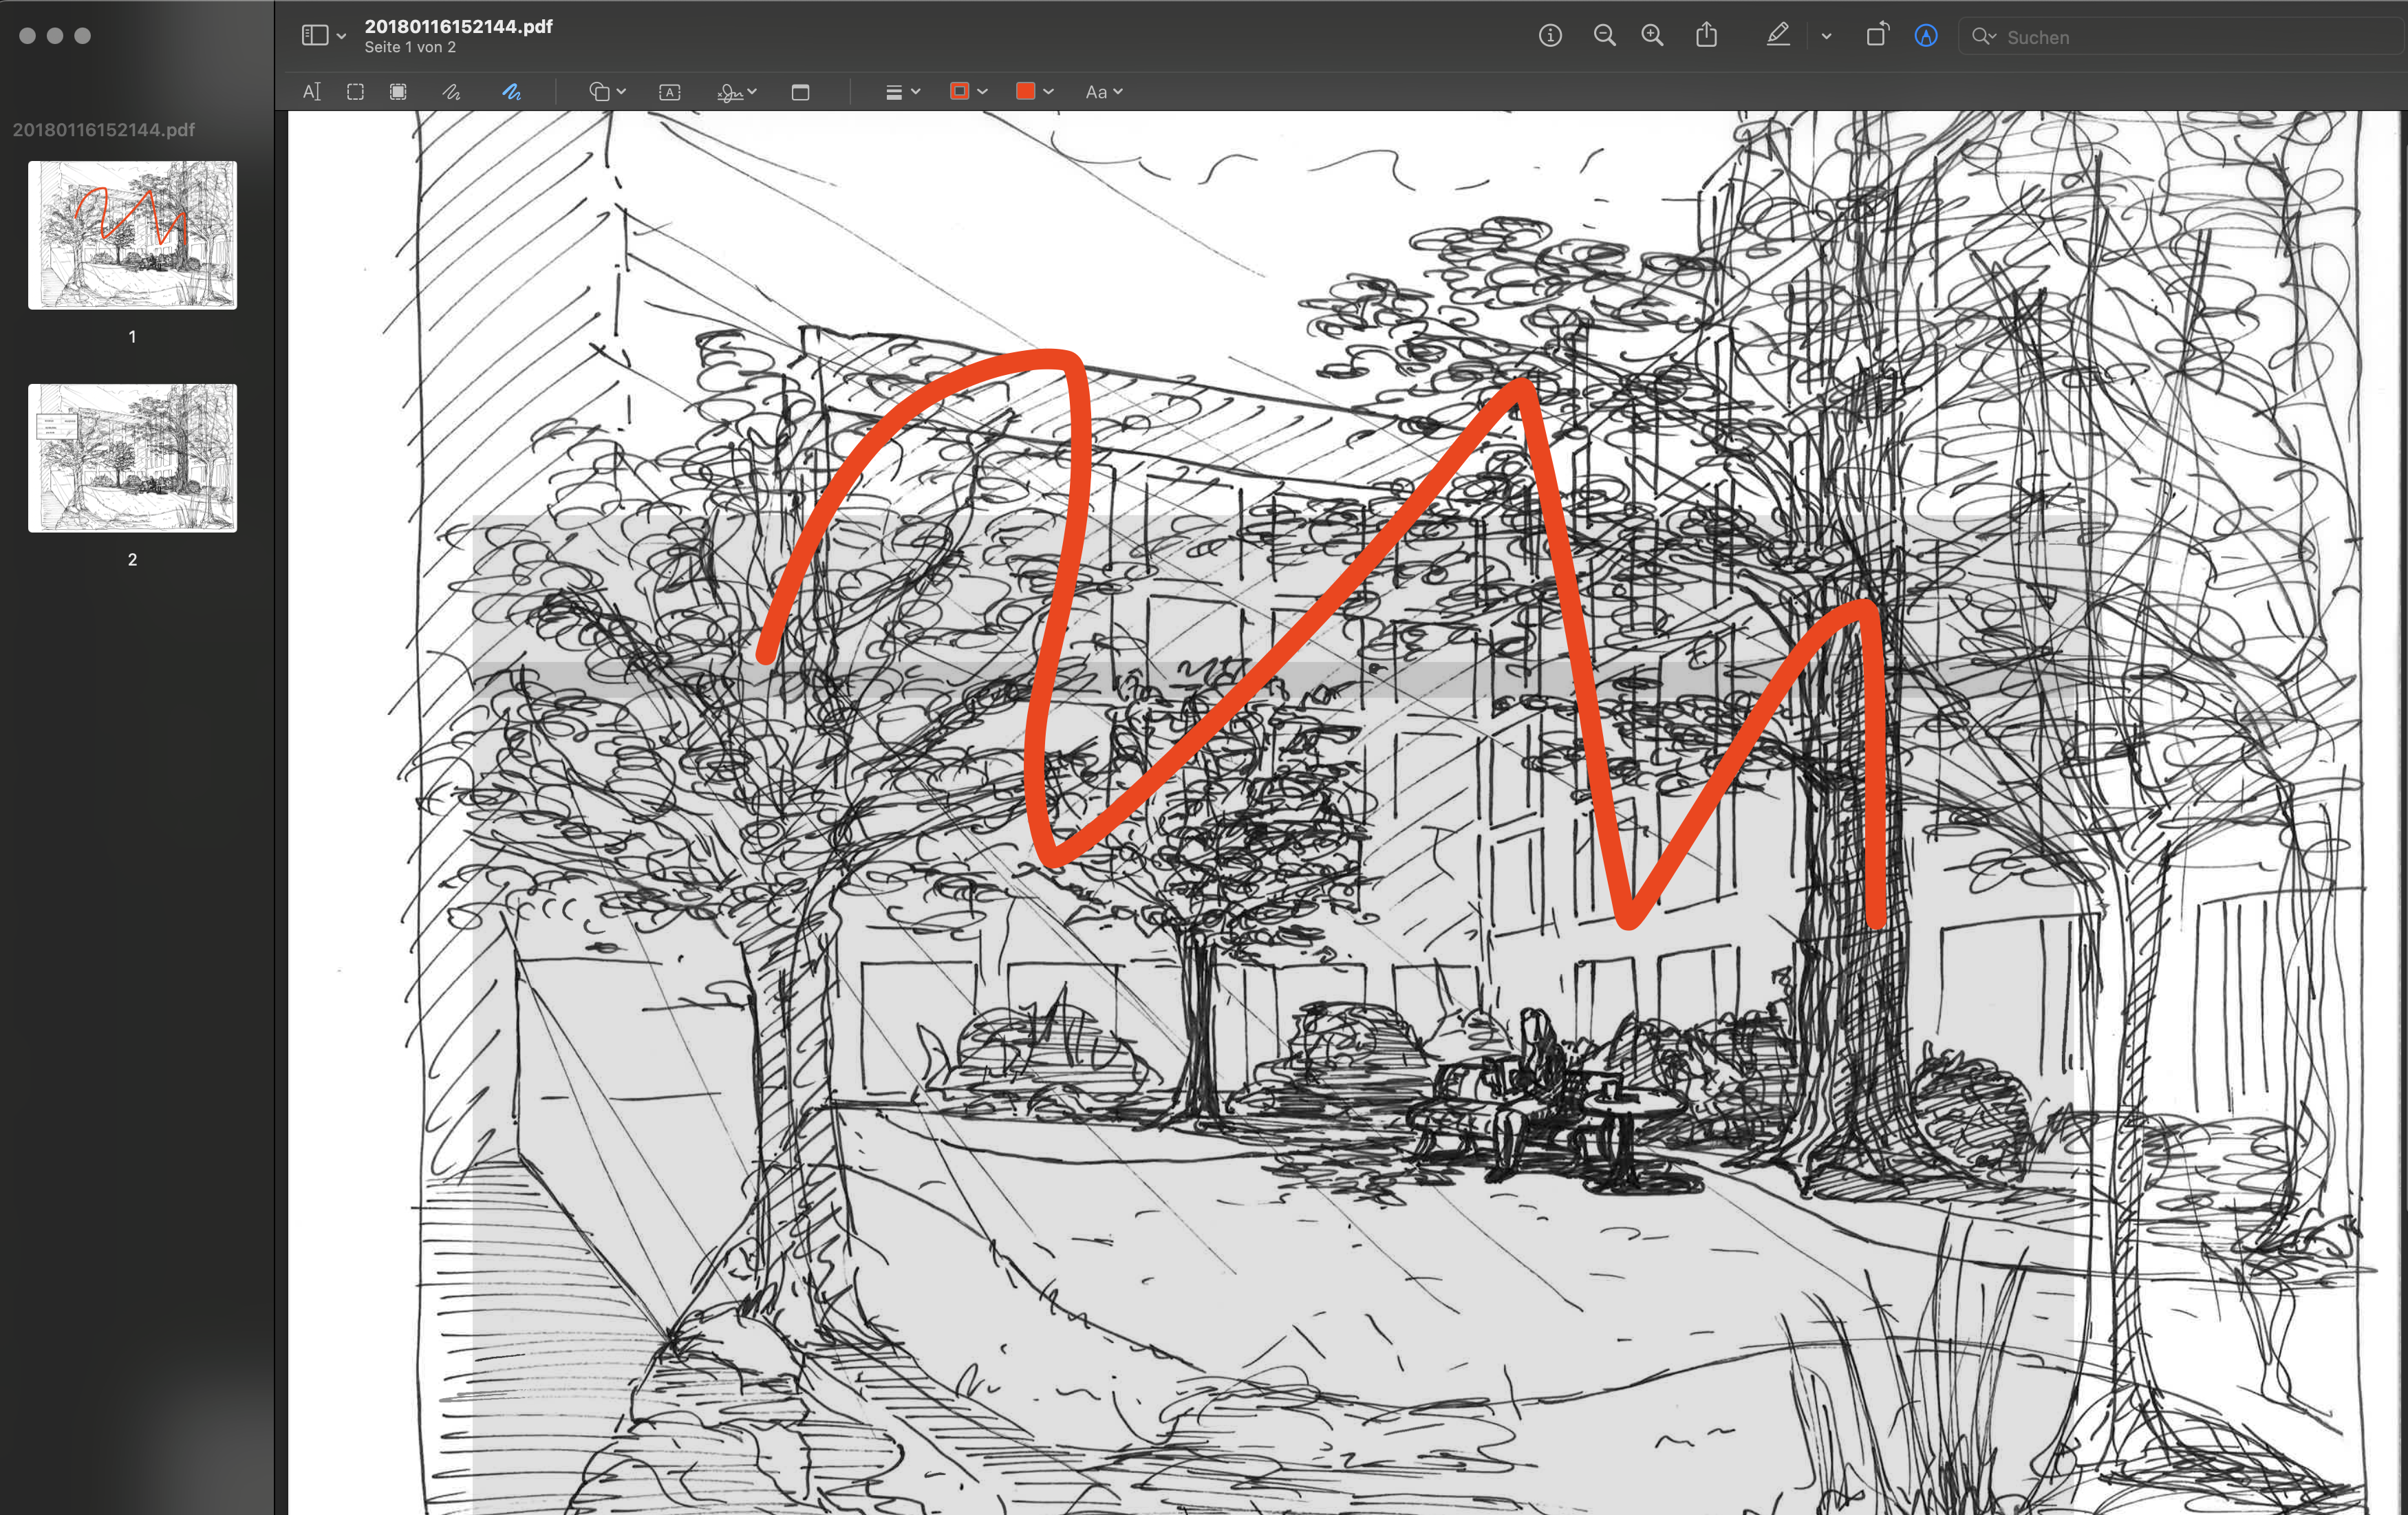
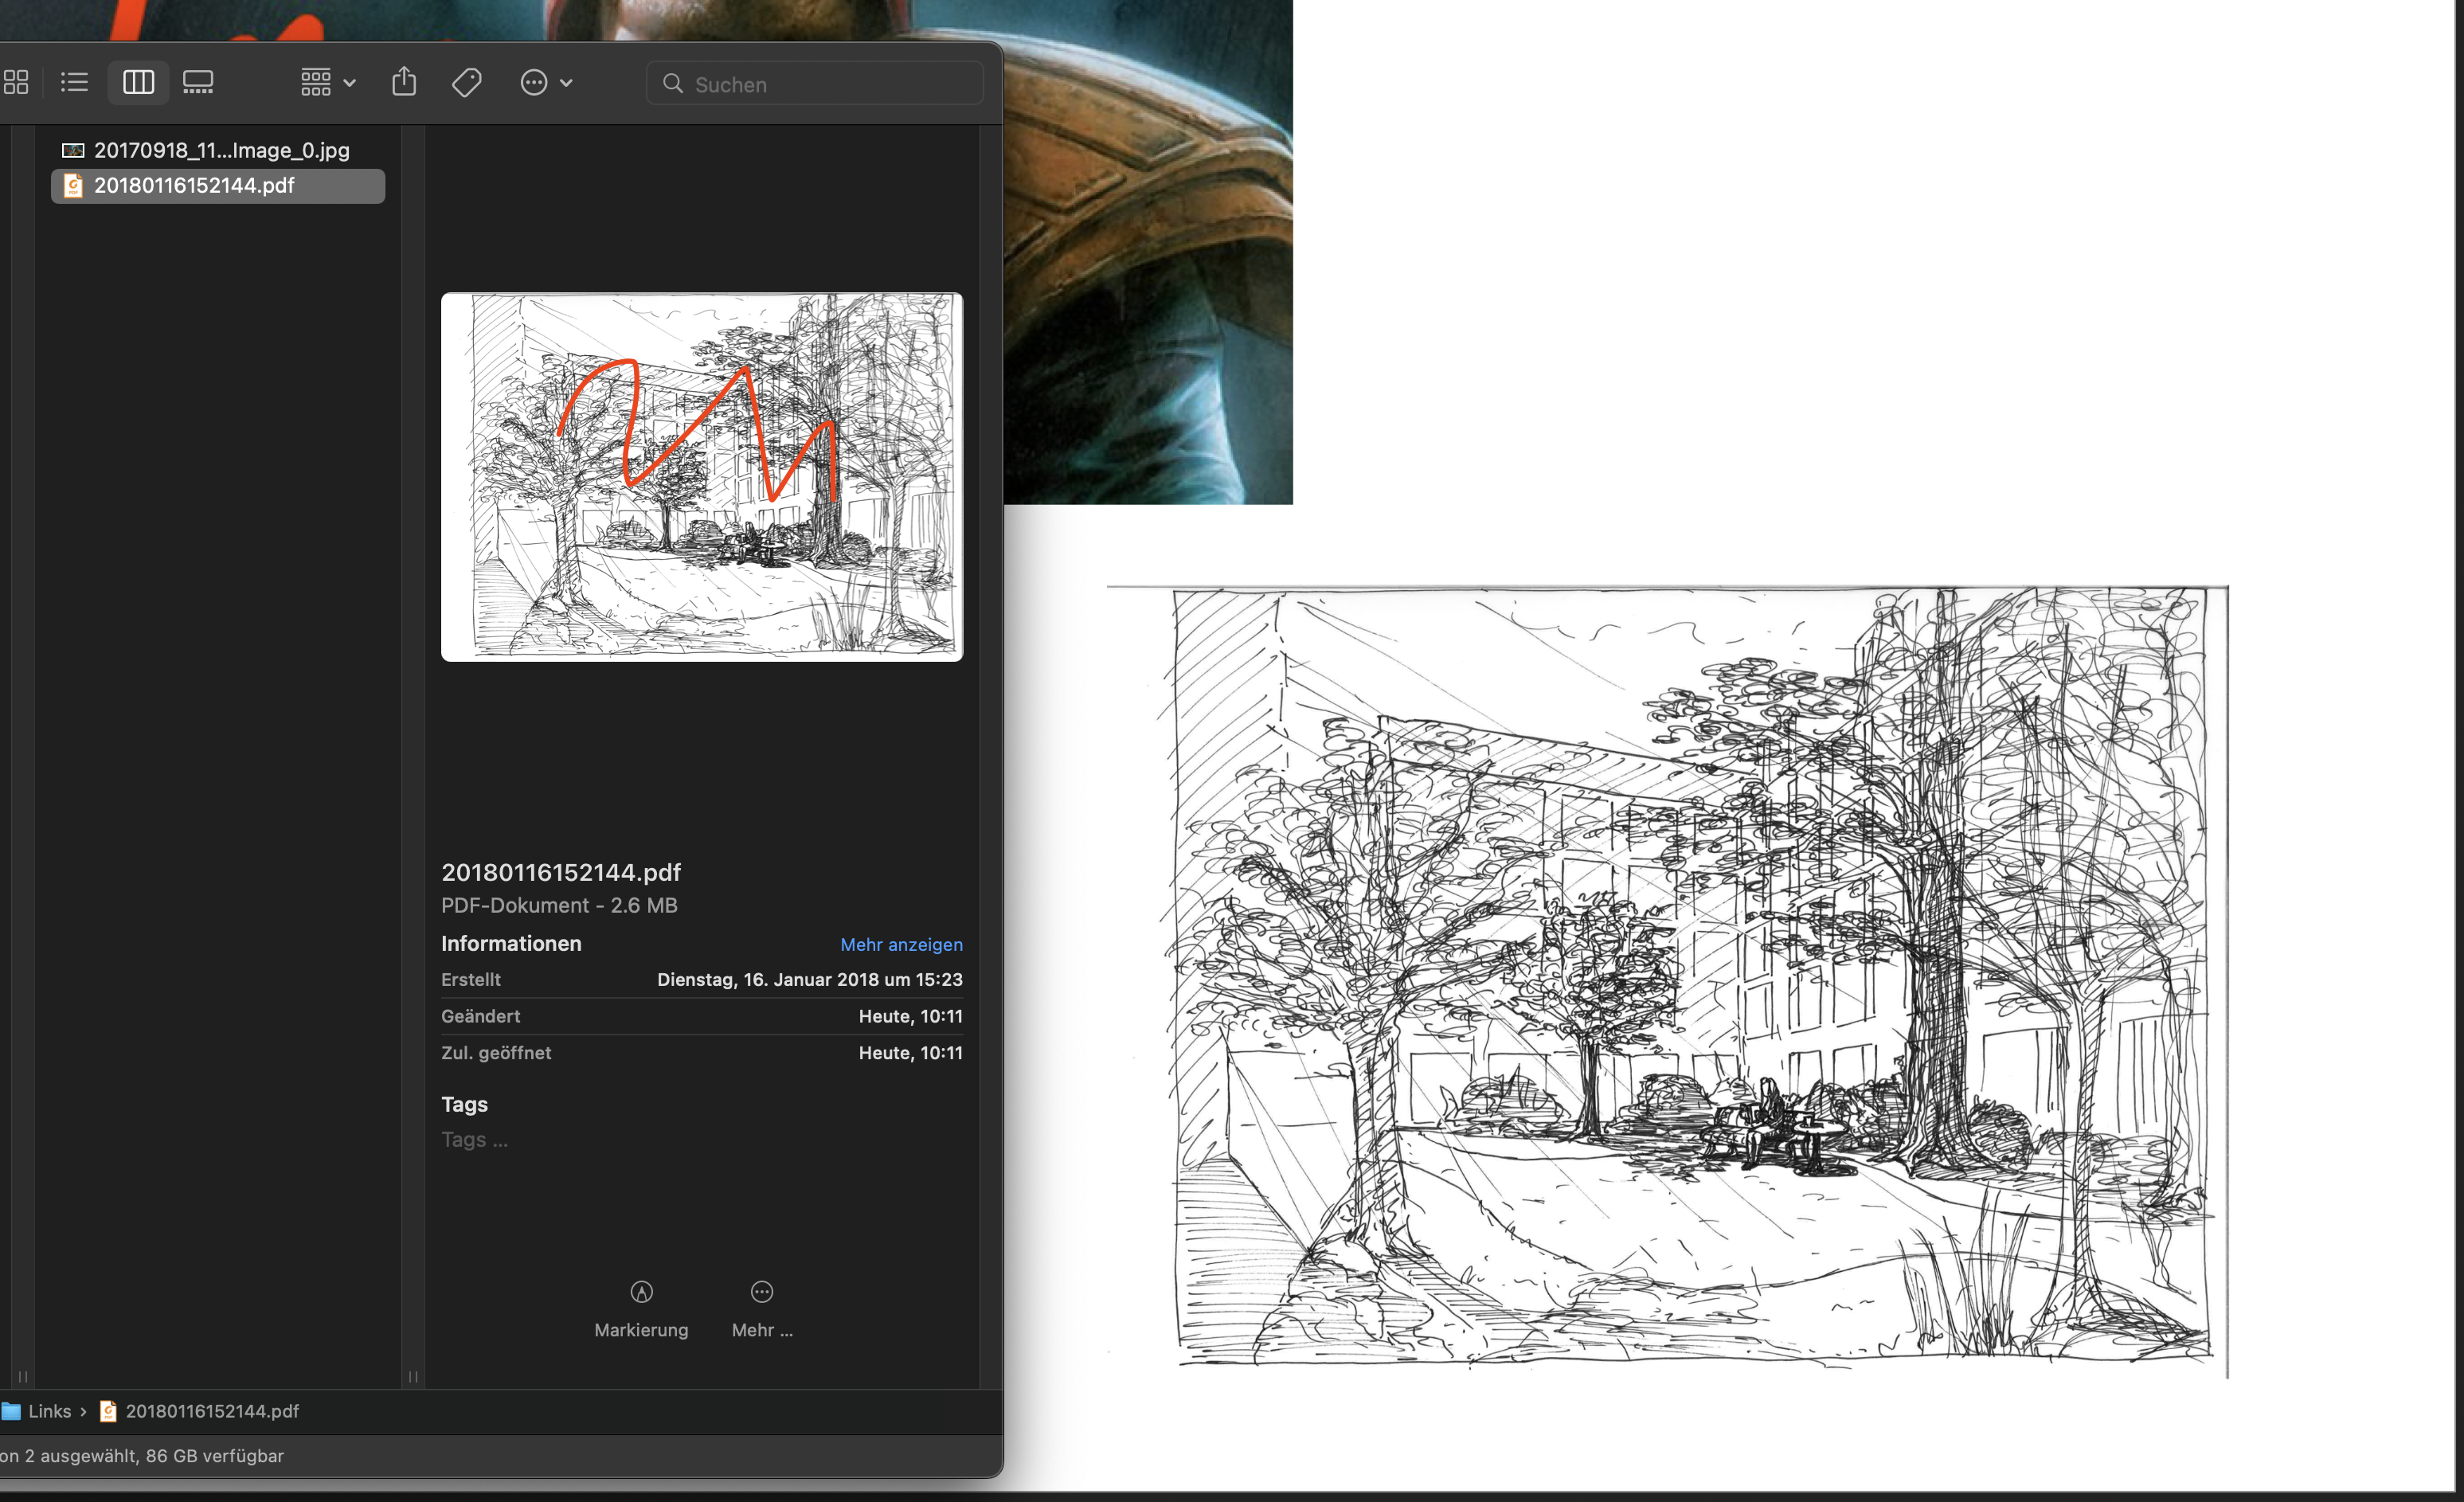
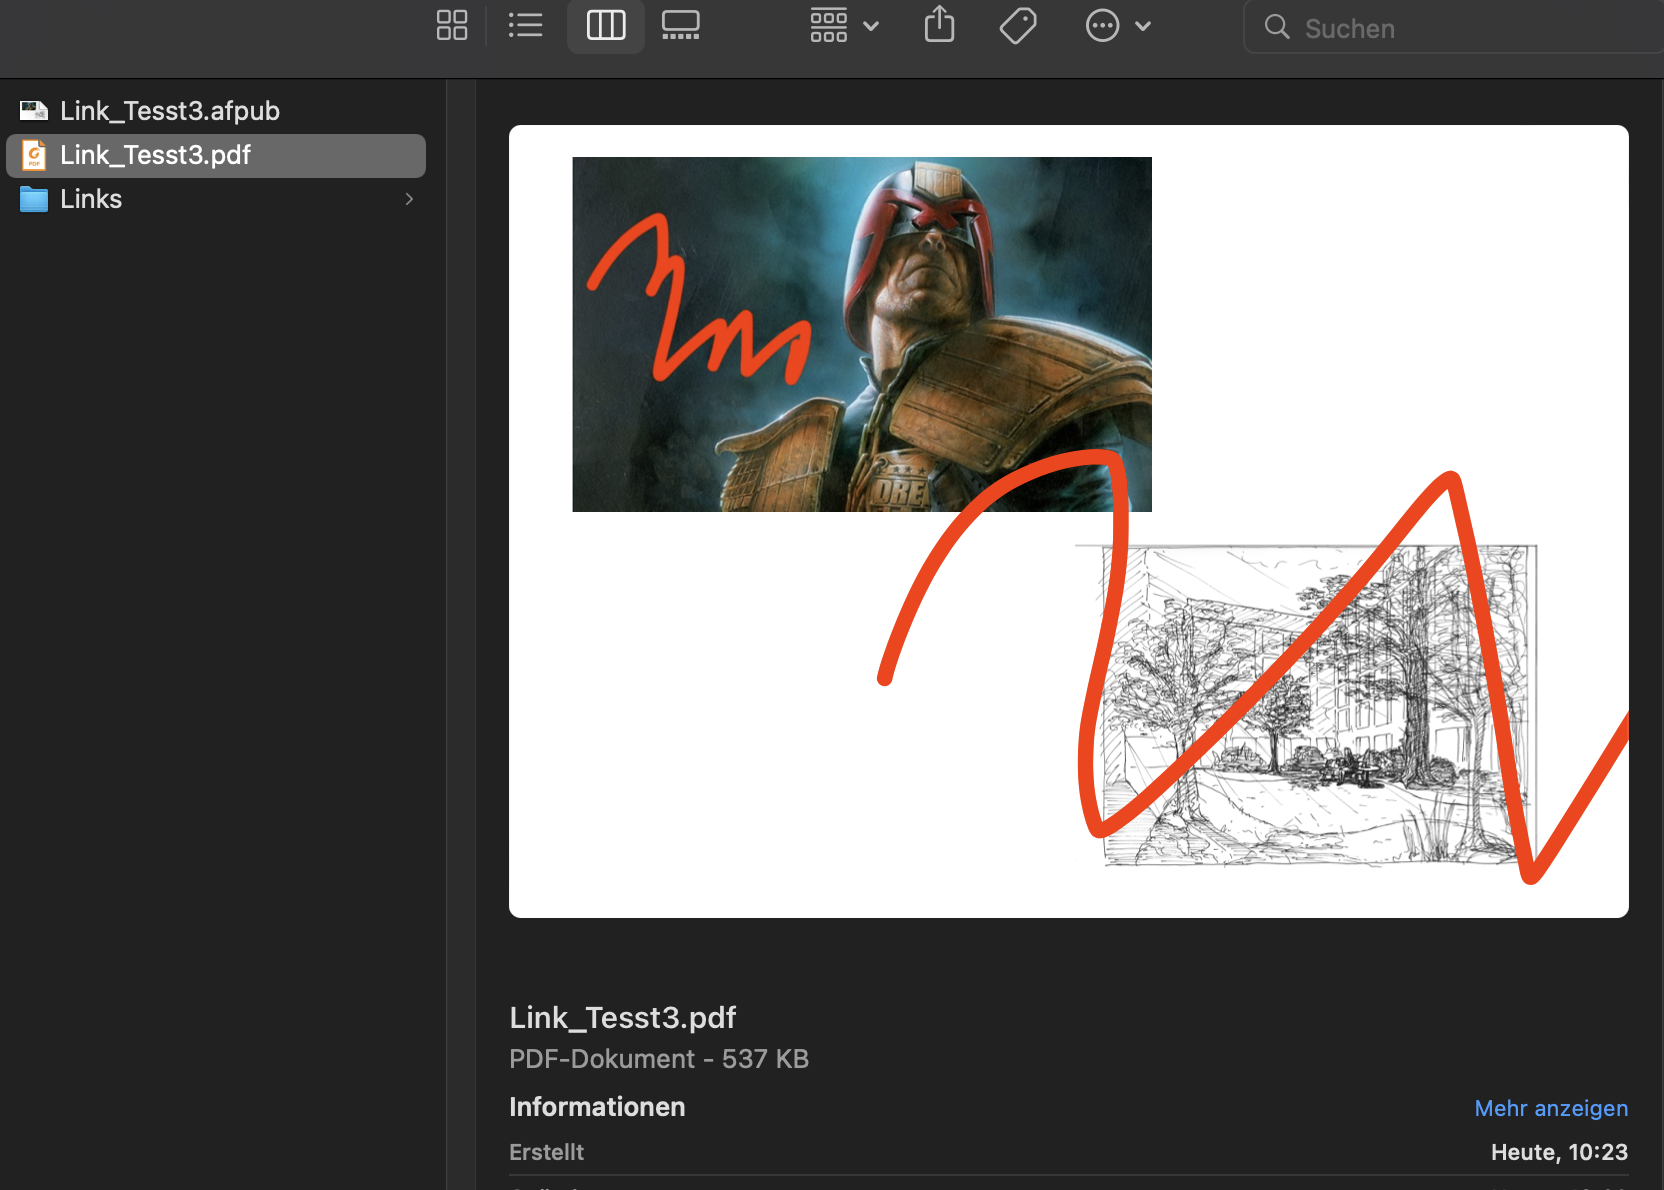
 Hello, this is what happens: - I create a local Publisher-File. - I drag/drop a .jpg and a .pdf file into it and put them on "linked" - I open the .jpg file in Preview and draw something on it and save it - Changes appear immediately in the publisher file - I do the same with the .pdf - No changes appear in the publisher file Further notes: If I export the publisher file as PDFs both changes appear in the exported pdf, however the Finder preview of said pdf looks a bit odd. If I open the changed PDF in Publisher it also does not show the changes I made in preview. It also does not work If I make changes in Adobe Reader. If I open the PDF in Publisher and change something and export it as pdf and overwrite the old one, changes are there, but the old ones are gone System: Mac OS Monterey 12.7.3, Macbook Pro M1 2021, Publisher Version 2.4 Thoughts: I think it seems to be a problem with the way these changes are made in Preview and Adobe Reader. Even worse, if I add some Text in Preview, the file becomes completely unreadable for Publisher, giving me an error. If I re-import it via drag and drop, it is there but without the Scribbles and Text.
-
 As mentioned in the earlier Beta topic for Cross-references, I would like to have a live preview checkmark so I can immediately see the changes that I am making in my document. Right now, all changes require me to reopen the window > edit the reference > apply > check > repeat. For example in the 2.3.0.2114 Beta (with shortcuts). 2023-11-08 14-28-57.mp4
 -
 I cannot preview the grouped layers in the layer panel in V2, but no such bug existed in V1 on the same computer running the same system.
-
 no matter what i do i get no pdf or eps preview thumbnail from designer or photo when exported from either software. This works fine for me form illustrator and photoshop. I have no issues with seeing a thumbnail in the browser if saved or exported from illustrator or photoshop to eps or pdf. Ideas or thoughts.
 -
When trying to export JPEG files from my Canon R5, the preview is all empty, or 95% empty. Should be easy to reproduce. Happens deterministically for me. Seems to be related to the resolution of the image. The R5 images are 8192 X 5464 px. Photo version: 2.0.0 - 2.0.3
-
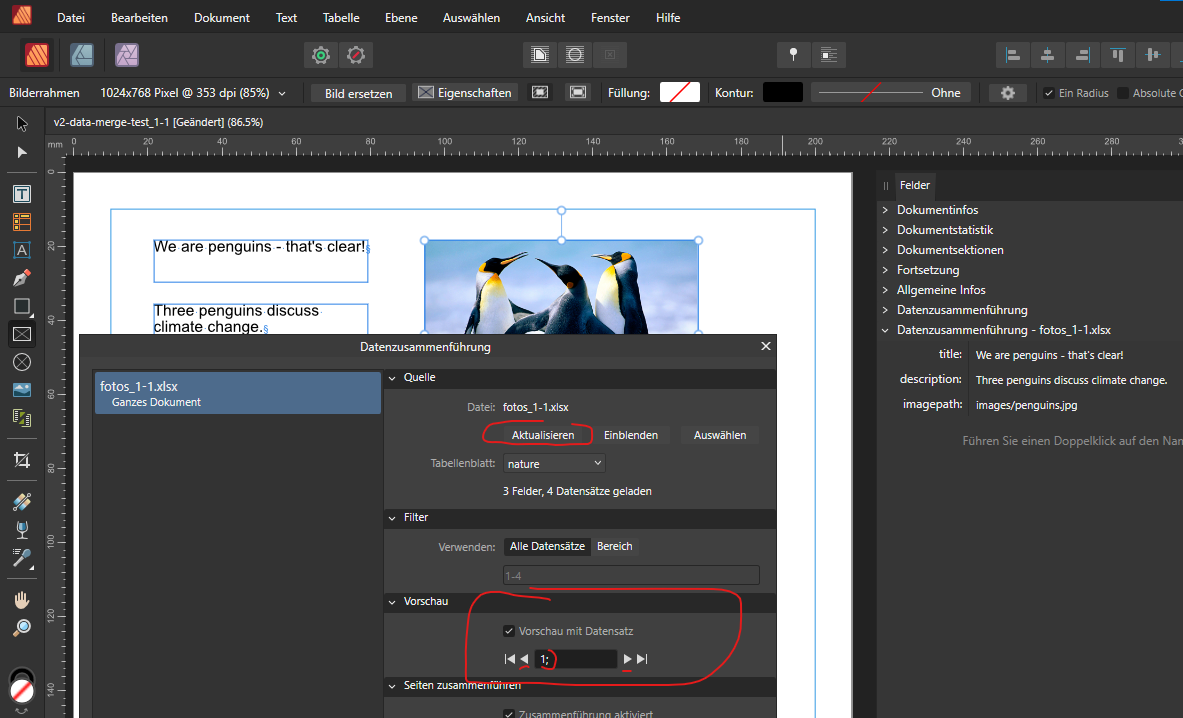
 Just posted a little "tutorial" on how to use image pathes. There is also a ZIP with all files included in that post: I found a bug in the preview section of the data merge assistant window: I saved, closed the Publisher file and reopened it. Opened the assistant window und clicked "Aktualisieren" to sync the data source. Now in the page flip widget i can not longer switch from page to page 1, 2, 3, ... with the inner arrow buttons but only jump to the first page or the last page (left and right buttons). I can still jump to a specific page by doubleclicking the page number input field and typing the raw page number in by hand -> blur -> preview jumps to this record. What I notice is that the page number is followed by a semicolon "1;" - which is a typical CSV seperator in german CSV schema. This was not when i first added the data source and did all the initial data merge setup. Then i saw only the pure numbers [1,2,3,4] and could switch from page to page with the inner arrow buttons. The Excel spreadsheet seems to be ok? Also tried to delete the data source in the assistant and import the fotos_1-1.xslx again. Now it's always showing up the semicolon after the page number in the page flip widget 🤔 Is there a CSV separator error when importing/storing/reopening the Excel sheet in the Publisher file? Some Windows localization CSV schema collision ?
-
Hi, for some reason the Preview isn't showing. I narrowed it down to the issue: 1. first, you open a file 2. Save it ( with changes made ) Now at this point, the Preview won't show until you close the app ;-;
-
 Hi there I'm trying to find out how to zoom to 100% on the Affinity Photo app. When i try to export i get this screen... but it wont let me zoom in on the preview window ?
-
 When in affinity photo, and I need to find a file, and I have many files, I goto the folder I think the file will be in, and as I select a pdf or jpg file, even a png or ai file, i can see a file preview in my window, but if I select a native .afdesign file, there is no preview....this doesn't sound right. Is this an oversight or a bug or is there a setting to turn this on? right now I have to open each file to check, this is time consuming...many files... windows 10 thanks! Rob
 -
 Hi, how can I activate preview of affinity files, when they are stored in onedrive AND synced locally. Same files "only" on my hardrive are shown with a preview in Win10. But when synced, the files are local too?? Thanks Erwin
-
 In Drawplus X8 EPS exports, users have the option to have a TIFF preview embedded in the exported file, and this allows viewers such as FastStone Image Viewer, and ACDSee to display a proper thumbnail and also a full size view of the image. I haven't been able to find that option, or its equivalent in Designer. Is there something I am missing?
 -
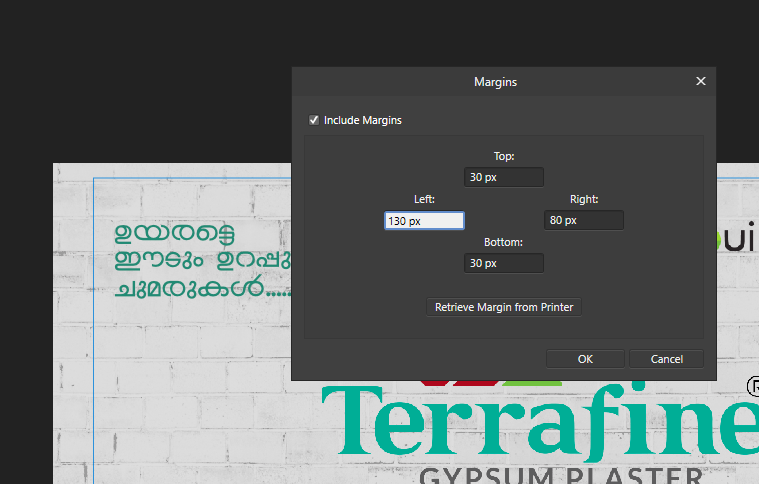
Include Automatic Preview in Margin setting. Can't see the preview on page when adjusting the "Margin" and it also not working on clicking OK. To see the changes made you must click the "Show Margin" again in the view menu. its so hard. hope you will adjust this. see below image
-
Hi there, is there a way to increase the thumbnail size in the .afphoto file so one can judge his documents with the macOS preview (hitting the space bar)? Natively it seems to be in a size of something around 342x512. PSD documents in comparison seem to include larger thumbnails you can "zoom" in. Sincerely, me
-
Have created a few LUTs (Look Up Tables) using affinity photo and also downloaded a lot of them from the internet, Can select a specific LUT from Adjustmens > LUT > Load LUT and use it as an adjustment layer, but if we have hundreds of them then we need to select one at a time to preview how it would look on the image it would be great if we could see a preview how all of them would look when applied to the image, and then be able to select the one that we like
-
 Hi there! I recently started using RAW rather then JPEG for my photos and I'm somewhat confused. In both, Windows and macOS, when previewing CR2 files in the preview tools that come with the OS, the images load and for a moment they look (sometimes drastically) different than when loaded in Affinity Photo. It takes maybe a second or so and the images seem to be processed, after which they look like they do in Affinity Photo. On macOS, with XnViewMP, it always displays that "unprocessed" version, it seems. Can someone explain what's happening here?
 -
Mac Big Sur and AD 1.8.6 update update yesterday. Nearly no issues; biggest thing I've noticed is that when I click the font dropdown, it no longer changes the font as I hover over a font. It used to change in a sort of preview-y manner which I loved. Now I have to click the font and commit the change to see the text in the new font.
-
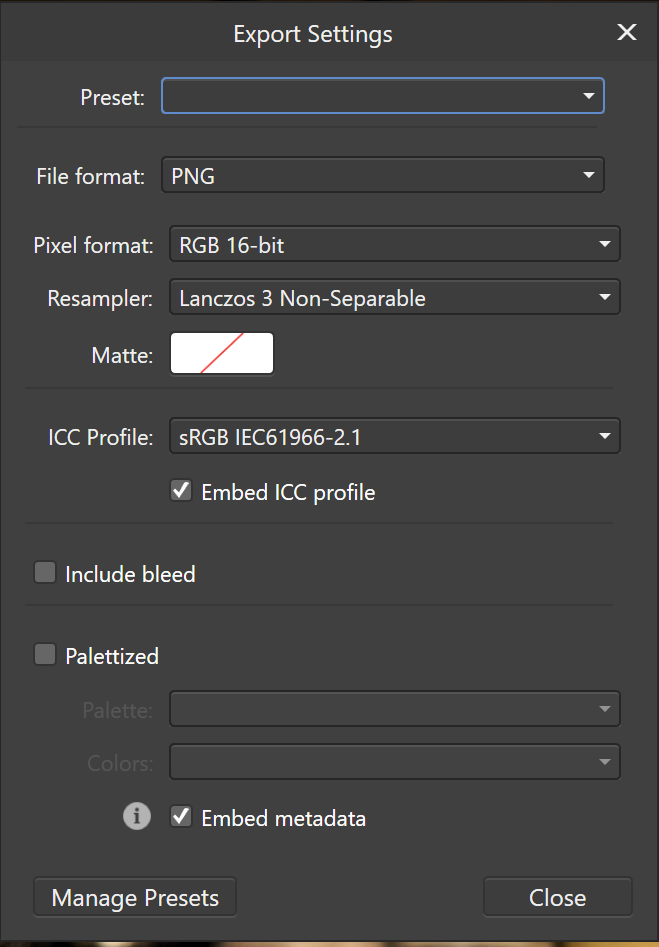
 Hi everyone, I am new to Affinity Photo and photo editing in general and I have a crucial problem. The preview of my edits that AP shows does not fit the exported files. Just for reference my screen is colour calibrated using a SpyderX and is able to achieve 100% sRGB. Looking in Windows -> Settings -> System -> Display -> Advanced Display Settings -> Bit depth I see the value 8 bit. Now when I look at the edited photo in AP (before exporting) I can clearly see shades of gray on the top left lamp, but when I look at it through DigiKam's ShowPhoto (which I read it is colour managed) I am losing all the gray detail in the top left lamp. I have exported to PNG 16bit (as I was working in sRGB 16 bit in AP) with the attached settings. The even weirder problem is that if I open the exported PNG in AP I see the exact same image as the preview. As far I know, the only profile that should be anything but sRGB/Adobe RGB/ProPhoto is the display one (which is found under Windows -> Settings -> System -> Display -> Advanced Display Settings -> Display Adapter Properties -> Colour Management -> Colour Management) that should be generated by a colour calibration tool such as SpyderX/i1Display/etc. Please let me know what do I get wrong as it drives me nuts that the export does not match the edit! Thank you for your time and stay safe! DSCF2205.afphoto
-
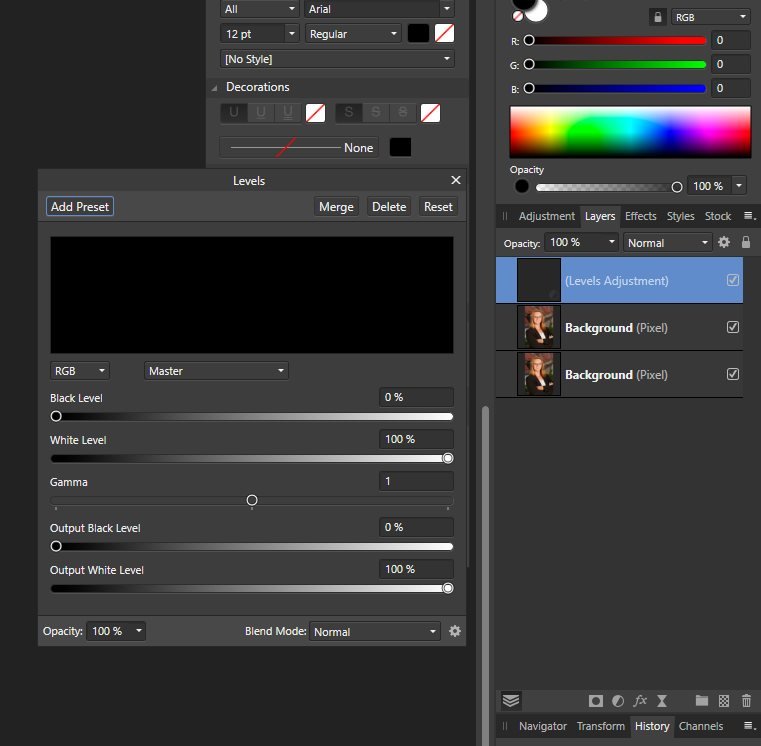
 Affinity Photo latest RC Sometimes the histogram in the "Levels" adjustments is not displayed. As you can see in the attached screenshot the thumbnail of the layer below is already available (sometimes takes bloody ages to build - and I realised alreay that the layer thumbnail needs to exist before the levels histogram can be displayed) but still the histogram is not displayed. The screenshot was taken 1 minute after the levels dialog was opened. Edit: BTW: 10 Minutes later the histogram appeared! Cheers, Timo
-
 SInce I switched to Publisher for all my CMYK work, I thought it might be time to do the same with a project using two spot colors. But I can't find a useful way to work with it. When using overprint properties Indesign makes it possible to do that per object (line or fill). I think it would be ok, to do it upside down, like the user guide of Publisher is promoting. That would mean to make a copy of a color swatch (one overprintig, one knocking out) and to use these on all objects as one wishes. And it does even work when outputing a PDF. But there is one thing missing - a preview of how my layout actually looks when overprinting, simple WYSIWYG (I'm not even speaking about a separation preview). So that is not very useful. With CMYK colors it's quite easy - you can just use layer modes (multiply) - see, what you are doing and even get it exported in a controlled way, when using the right PDF export settings. But with spot colors I didn't get any of these exported, they always change to CMYK. I've tried all possible ways (my document is CMYK, FOGRA39 and exporting as X4, X3 or other variants didn't help; of course honour spot colors is on). Any ideas? Has anybody a real workflow for that? Thanks for any help!!
 -
Know how like every filter in Affinity does this amazing live preview thing where you see what you're going to get before you commit to it. > LOVE THAT < Well, I was attempting to export an image ...in this case it was a GIF with a reduced color palette... What I was hoping to see, as I was trying to find the right size / quality-diminishing balance, was a preview of the export along with the estimated size. How cool would that be! Unfortunately, I had to export the file and then go see on the file system if what I got was usable. ...ick
-
 I've been processing photos with Affinity for a few years now, I've never noticed this much of a difference in the color of a photo from when I'm previewing and then opened in Affinity. I'm not the most knowledgable person out there, but I know enough to know that RAW files are going to be a bit bland before processing, however, I don't ever recall it being this much of a difference. Forgive me if this is normal, if it's not, any tips and info on what's going on here would be appreciated.
-
 PDF exports saved into an iCloud Drive Affinity folder do not reopen with the Preview app, but the Affinity app that initially created the PDF. Assumptions: - I have an iCloud account set with iCloud Drive and Affinity Publisher, Photo and Designer applications have set their own folders in there. - PDF files genuinely open with the Preview app by default on my Mac. However: From any Affinity app, if you export any kind of PDF file into an iCloud Drive Affinity folder, when you double-click on it, it will not open with the Preview app, but with the Affinity app that initially created the export file. Strangely enough, in the Finder, if I right click on the PDF, the default app to open PDF is set to Preview. And it opens with Preview if I click again Preview from this contextual menu. But, if I straight double-click on the PDF, it will open the Affinity app that initially created it. If the PDF is then moved away from the iCloud Drive Affinity folder to anywhere else, it will then open properly with the Preview app if I double click on it. I managed to replicate this issue with all 3 Affinity apps running v1.8.1, on an iMac and a MBP both running Mojave. Grateful if someone can replicate this issue too.
 -
 Is it possible to truly disable dithering for gradients? I only found the option in the performance settings, which is however limited to the preview rather than the final result. Meaning as soon as the gradient/s in question are rasterised the dithering is back on, which leads to undesirable results. (Preview) (Rasterized/Exported)
-

Inconsistency in Preview Mode and program state
poser1999 posted a topic in V1 Bugs found on Windows
Summary Many tools provide a preview mode, which shows the effect of using the tool prior to execution. This preview mode is very useful, since it allows the user to see the result of applying e.g. the erase tool, or a brush, etc. Unfortunately, it does not work consistently: it ceases to work if the user tries to draw a line that connects the previous application of the tool to its current position using the shift key. The situation is further exacerbated by the fact that the position of the previous application of the tool (the origin point of the line) is lost when a line is created and then undone (e.g. if the result is sub-optimal, which cannot be determined prior to execution due to previously mentioned inconsistency in the preview). Directions to demonstrate preview mode inconsistency On a blank canvas, move the pointer (set to any paint/brush/erase tool that allows the use of shift to create a straight line) over the canvas. A preview of the effect of the tool becomes visible. Left-click while on the canvas to apply the tool. Move the pointer some distance away from where it was previously applied. Now a preview in the new location is shown. Hold down the left shift key. Expected behavior For tools that can be applied in a line via the shift key, the preview should change to reflect the outcome of the line being applied; e.g. for the erase tool, it should show a line consisting of background color/transparency that connects the previous invocation of the tools to the new cursor position. Actual behavior The preview continues to show the result of applying the tool in a single location (located at the pointer position). But when applied with the L-shift key held down, the actual outcome differs from the preview. As I mentioned before, this wouldn't be so troublesome if the program reverted all internal parameters to the prior state upon execution of the Undo command. But Undo is inconsistent in that it only reverts visual changes, rather than all internally stored values as well (e.g. l coordinates of where a tool was applied in a prior step). Directions to demonstrate inconsistency in program state Load an image, then use the erase tool in line mode (L-shift) to remove part of it (e.g. for isolation of a foreground object contained therein): apply the erase tool to an origin point, then hold down L-shift to remove the part of the image that forms a line from the origin point to the current pointer position. Execute the Undo command (CTRL-Z). Holding down L-shift, apply the erase tool once more. Expected behavior Upon executing undo, the previously created line is removed. Furthermore, applying the tool with L-shift held down should once again create a new line stretching from the current pointer position to the position where it was applied in step 1. Actual behavior The line created does not connect to the point created in step 1, but rather to the point where the tool it was applied in step 3. This is not only inconsistent ("Undo" only reverts some parameters to the previous state, not all), but unfortunately reduces the utility of applying tools in a straight line, since the origin point has to be recreated in its previous location (sterp 1), which frequently cannot be done easily/consistently (e.g. if the tool applied uses an alpha gradient -- which includes essentially all tools that can be applied as a line).