Search the Community
Showing results for tags 'Perspective'.
-
 Hi Affinity, And Corel surprised the whole world, they did something that I am waiting for in Affinity Designer. They gave draftsmen the opportunity to work in perspective. The tool is great, I already love it. I am sending the link and asking what do you say? https://www.coreldraw.com/en/product/coreldraw/?hp=hero-corel#features Best regard, Maciej
- 10 replies
-
- 1
-

-
- draw
- perspective
- (and 2 more)
-
 Hello Everyone and the Dev. Team. 1st I'm not asking to Serif of any of team to copy and implement this as it is presented. 2nd I'm all good with what the Affinity line of products have to offer in its current state of release. But on the other hand taking this as example of indication of what Serif can enable on the Affinity product isn't a bad thing and many will surely get good profit of this. The Video talks by itself so describe my suggestion in a much better way than any words I can write here. CorelDraw 2021 - Draw in perspective
- 3 replies
-
- 1
-
-
- draw
- perspective
- (and 4 more)
-
Hi Affinity, And Corel surprised the whole world, they did something that I am waiting for in Affinity Designer. They gave draftsmen the opportunity to work in perspective. The tool is great, I already love it. I am sending the link and asking what do you say? https://www.coreldraw.com/en/product/coreldraw/?hp=hero-corel#features Best Regards, Maciej
- 4 replies
-
- 2
-
-
- drawing
- perspective
- (and 4 more)
-
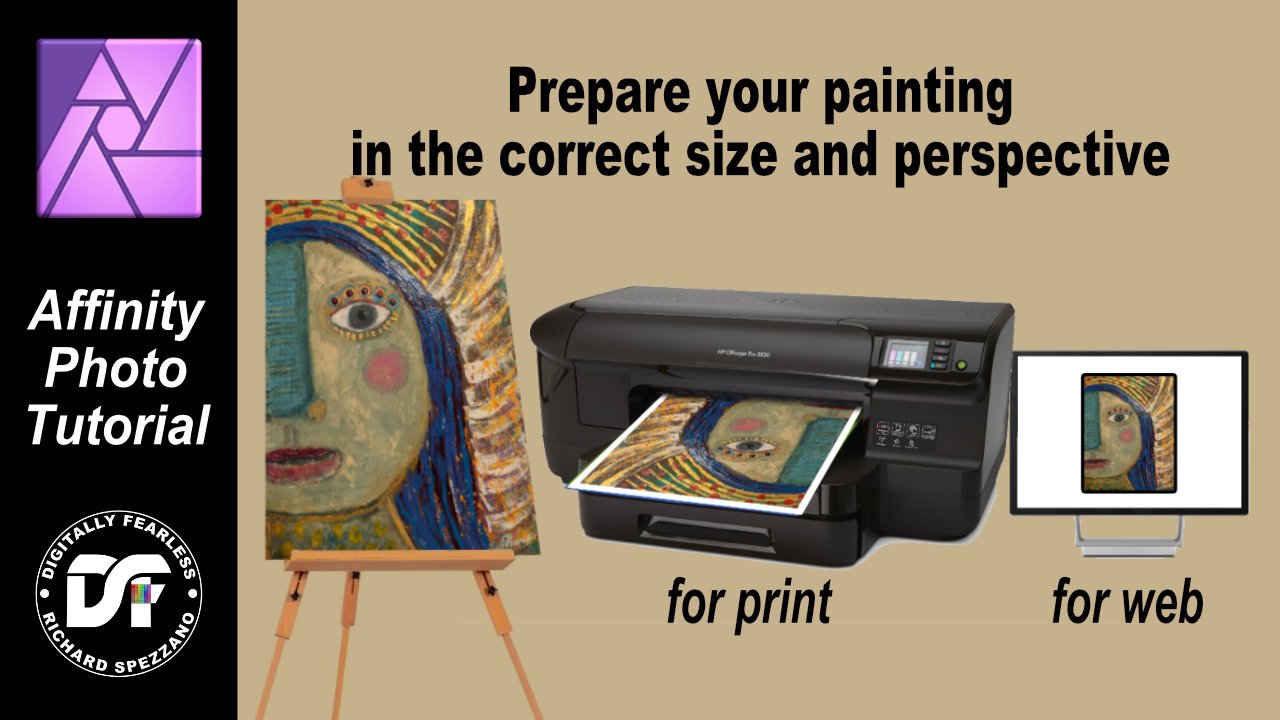
 How to print non-digital paintings. How to prepare your painting for print in the correct size, and for web. This Affinity Photo tutorial video shows how to put the photo back into correct perspective and size it for print. Imagine you just finished an oil painting and you want to digitize it so you can sell prints, place on the web, or submit your work to a gallery. Taking a photo of it on the wall or on an easel distorts the image. This video shows how to correct the distortion and size it correctly. https://youtu.be/BEMNW8PewIs
- 4 replies
-
- 4
-

-
-
- affinity photo
- tutorial
- (and 5 more)
-
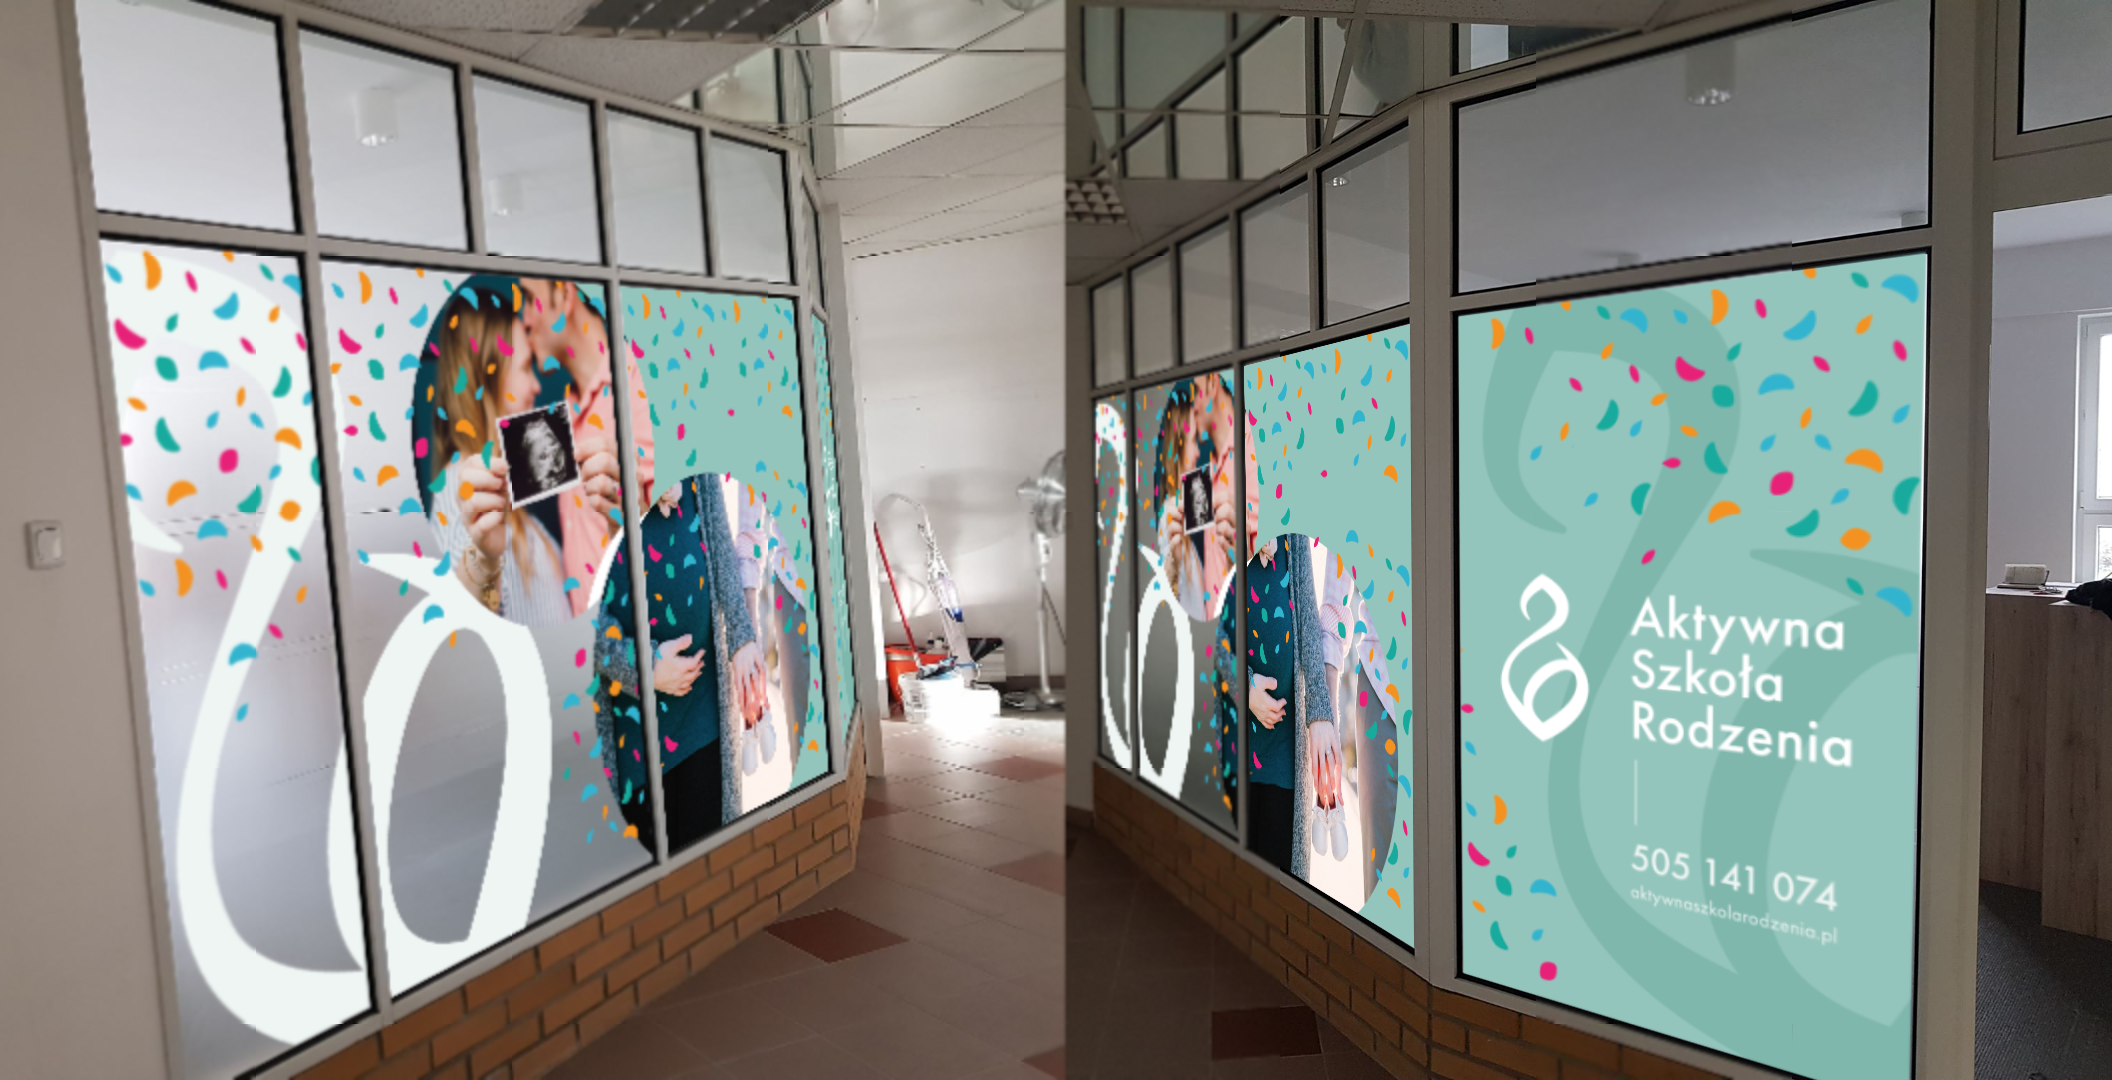
 Hi A little about my setup: I own Affinity photo, publisher and designer. The Programmes are running on a Mac Pro 3.5 GHz 6-Core Intel Xeon E5 with 32 GB 1866 MHz DDR3 and 1Tb solid state I am working through the Affinity publisher workbook and I am currently working through the Professional Projects ( Root Box Brochure ) and I am applying the root box logo to the cardboard box. Now I've gone off book here, but I wanted to make the logo look as if it was printed on the box and therefore I need to apply a little perspective to the image. So I've selected the photo persona and then gone to the mesh warp tool, which when selected, as soon as I place my cursor on the corner of the logo and click - the whole affinity package crashes. I might be asking for too much, or doing something wrong, but I would appreciate feedback!
-
Just trying to learn this from one of all the YouTube channels out there. This one from Rory Townsend https://www.youtube.com/watch?v=zAttVQ6BufA
-
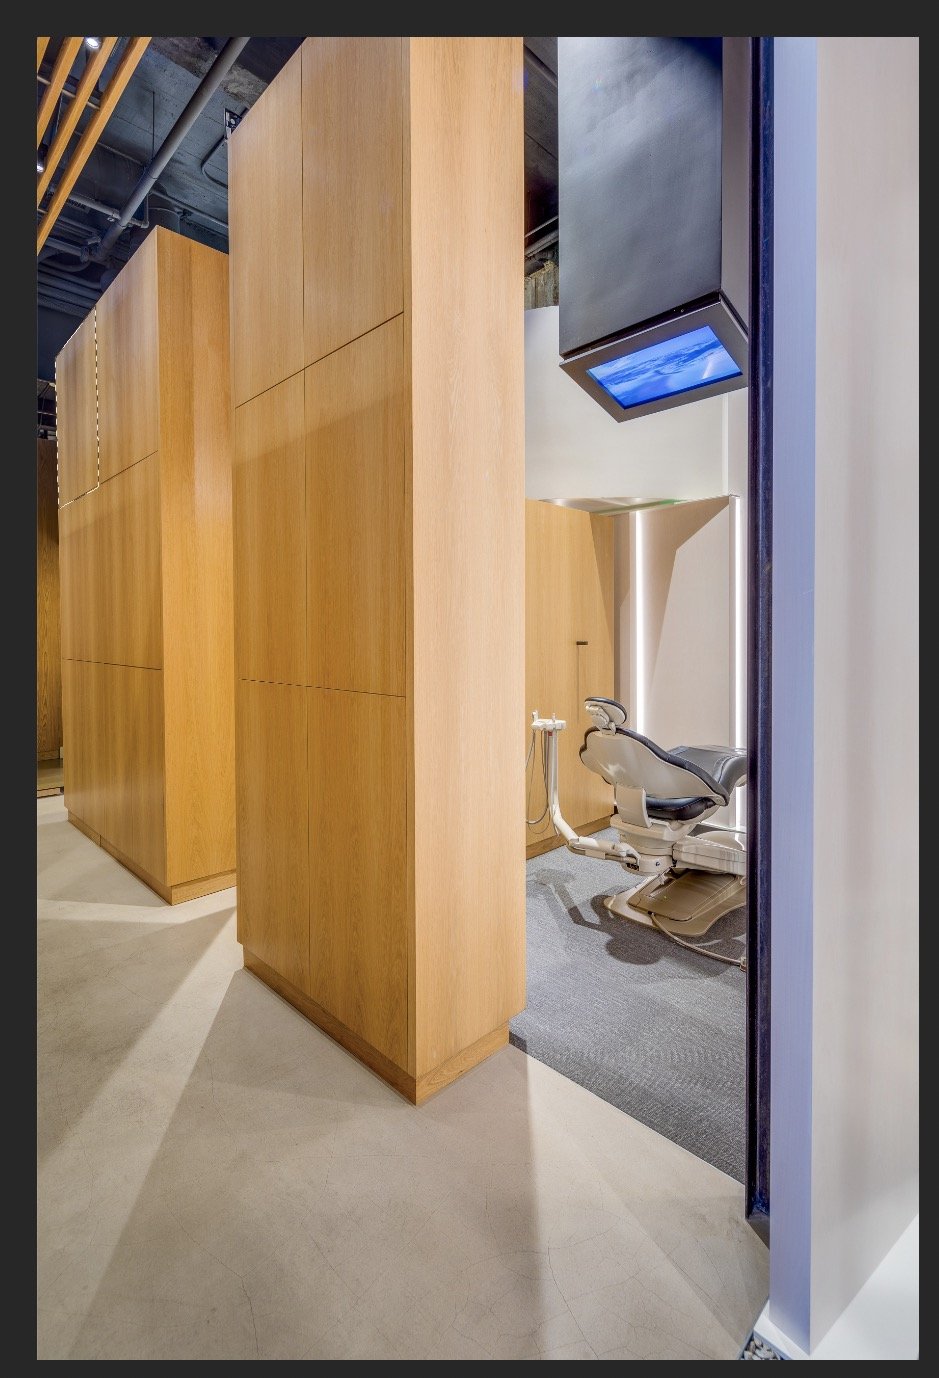
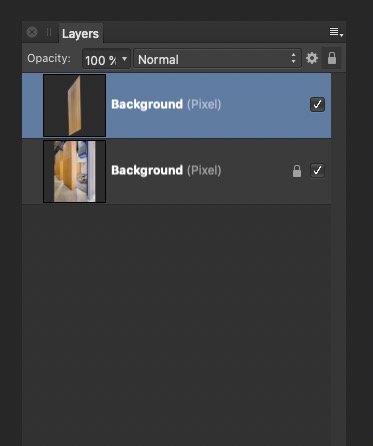
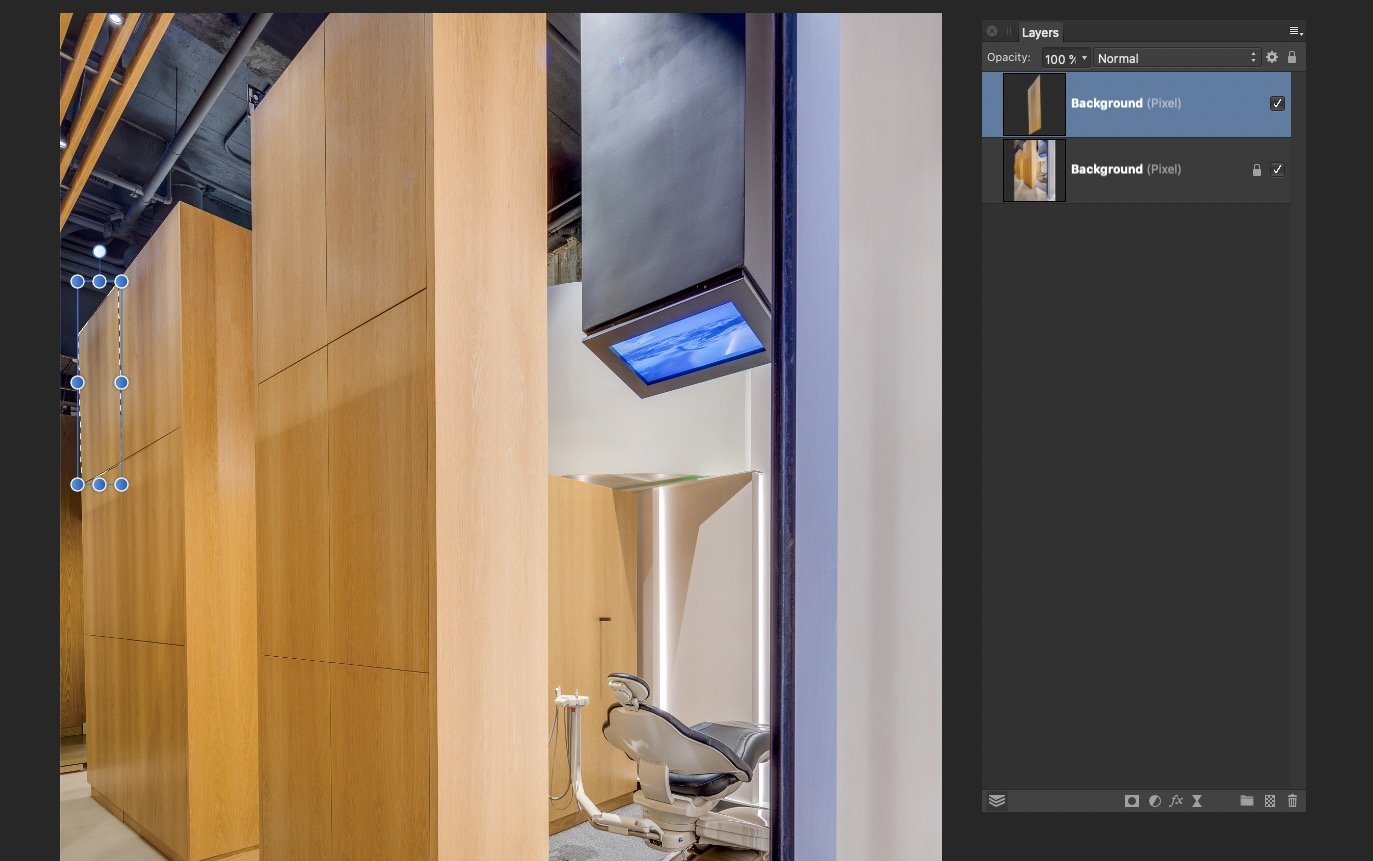
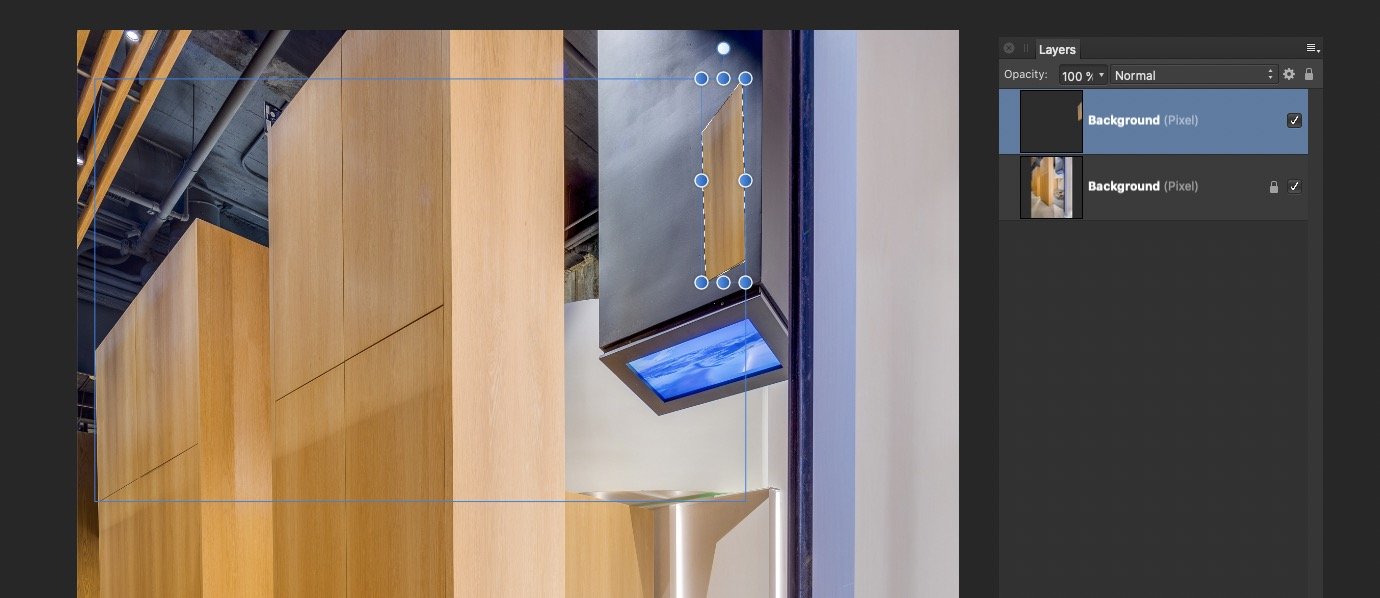
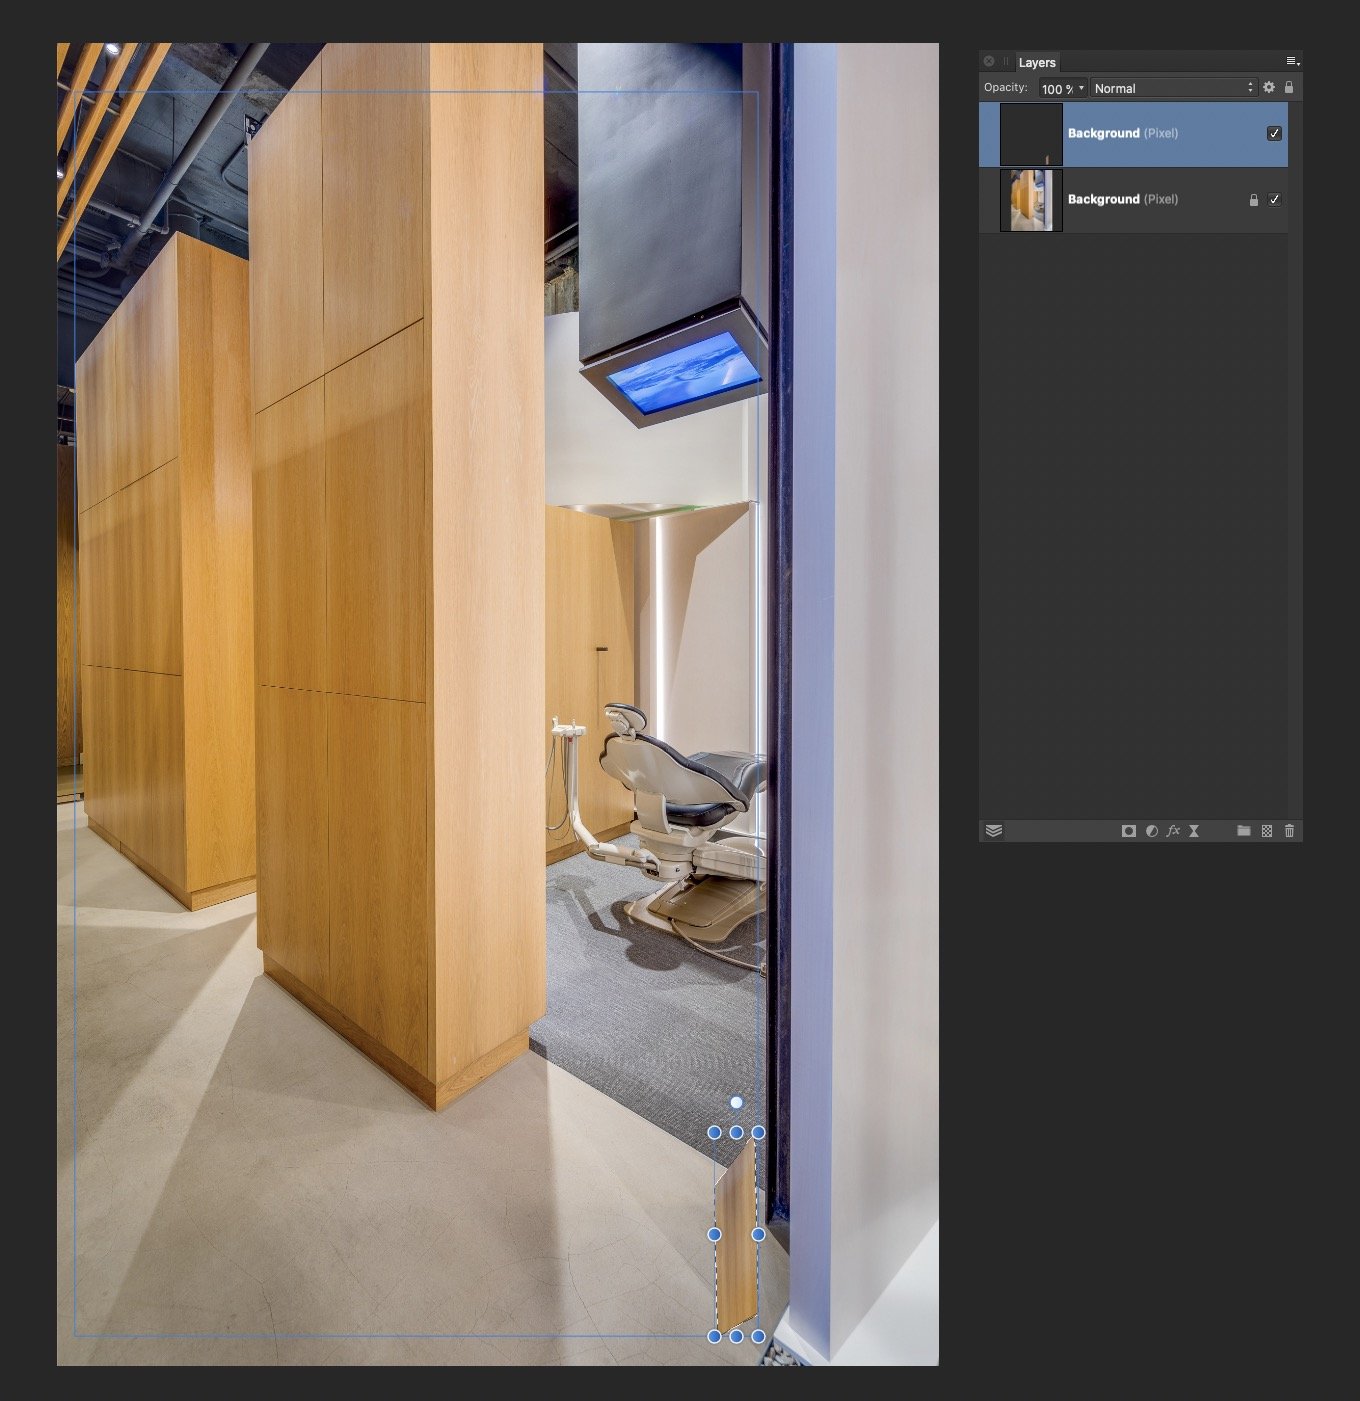
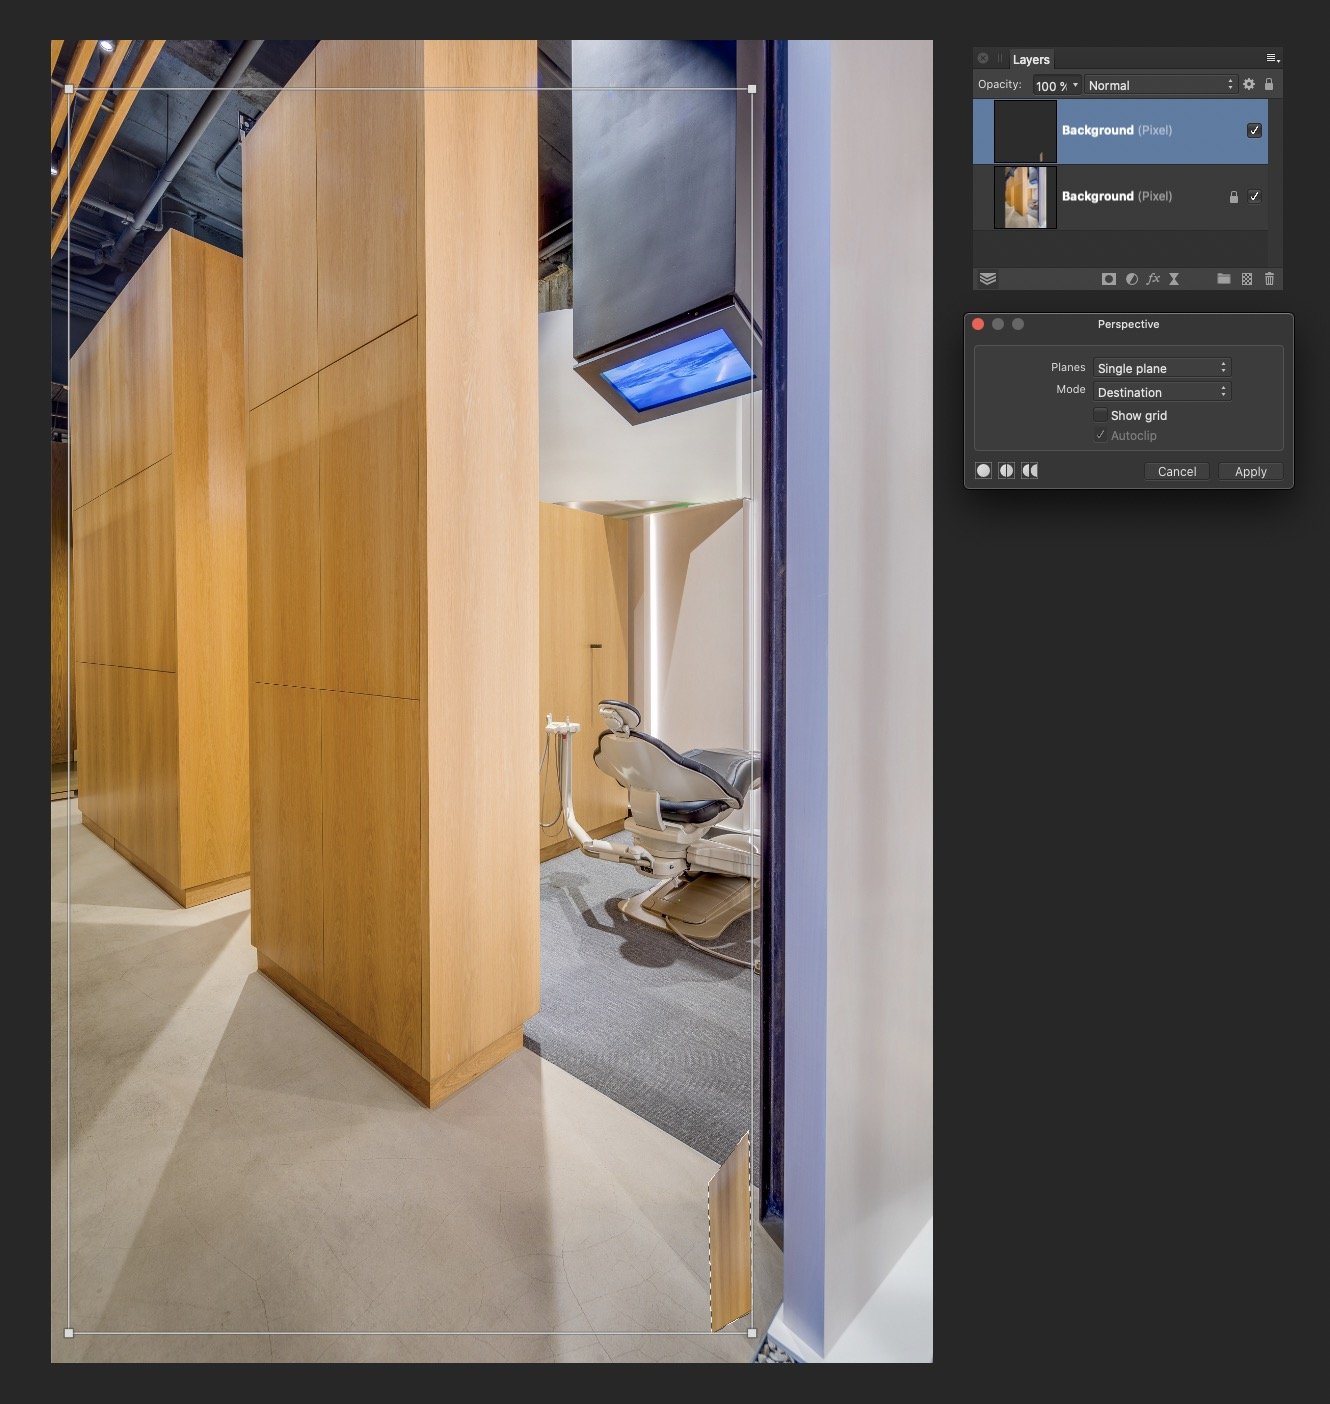
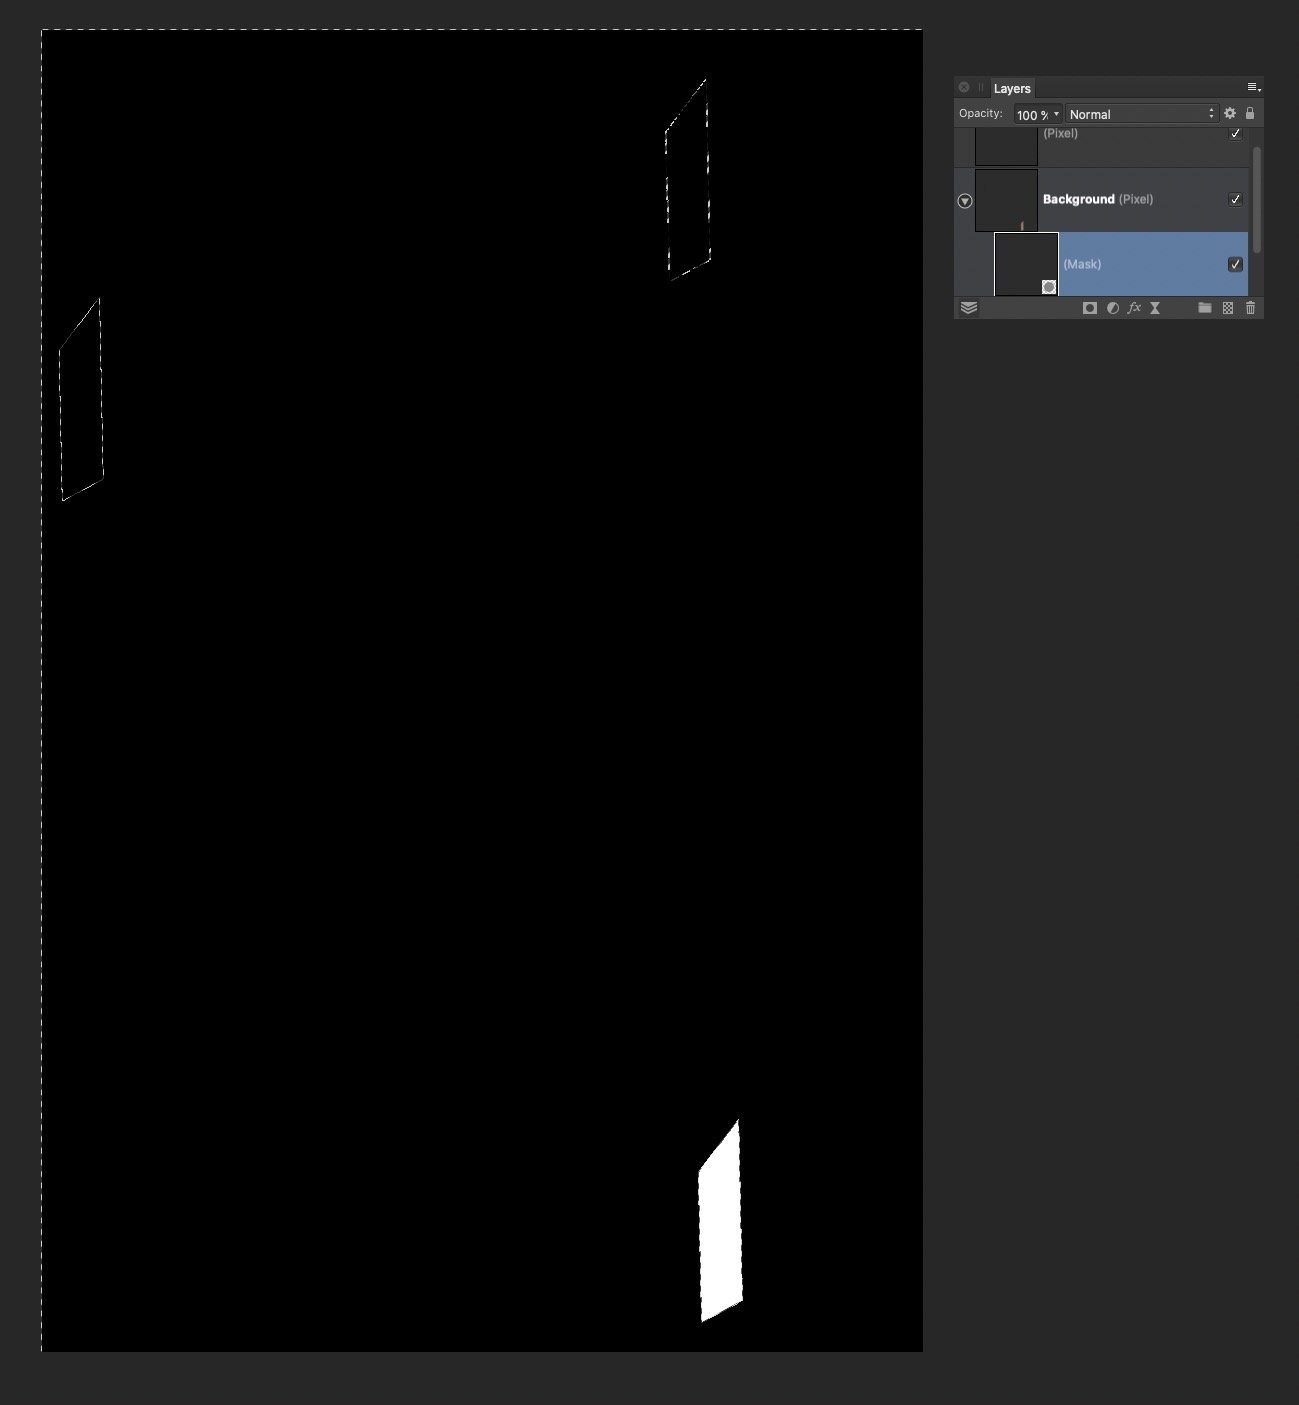
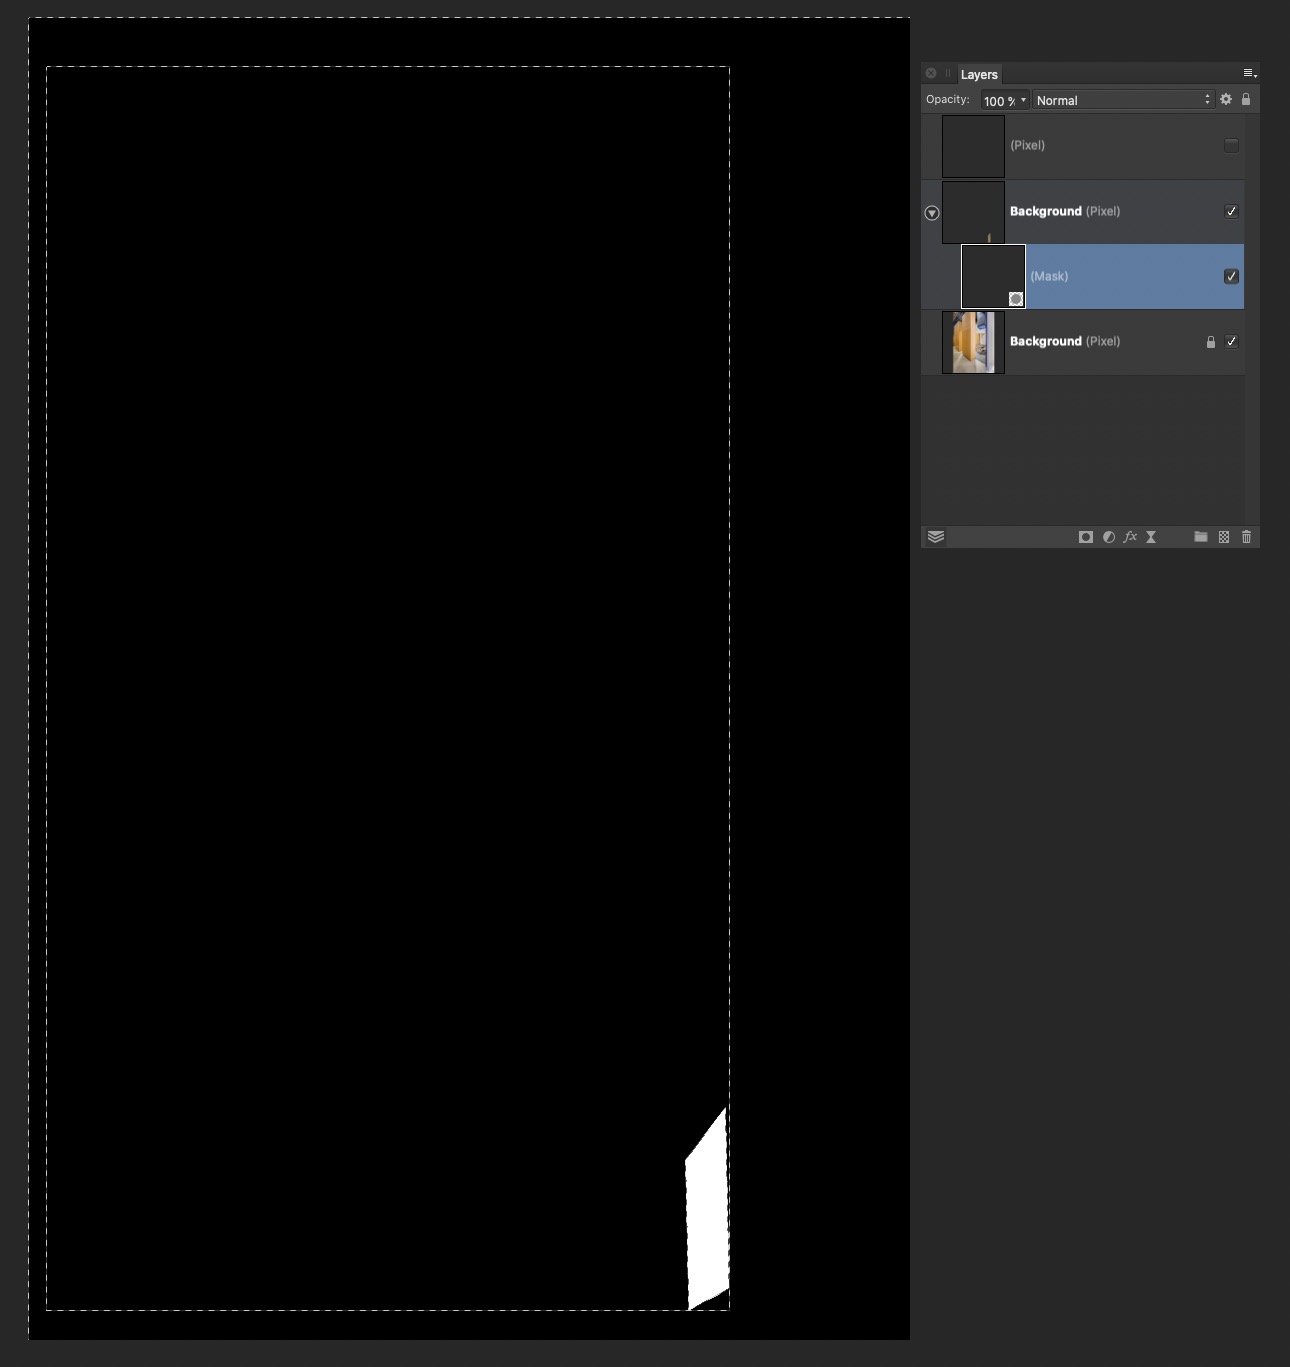
 I have a substantial issue I am hoping to resolve. I do a lot of architectural retouching, and I often copy-paste small elements all over an image, often from one side to another. I always have to distort/perspective/warp these objects to make them match up. Every time I move or distort an object on a layer, the layer increases in size by the amount of change. So if I copy/paste a region of pixels, then move it across the image to the other side, Affinity thinks the now transparent pixels somehow still have content, and increases the layer size accordingly. If I Command-Click the layer, the selection edges include the now empty pixels. Also if I try to use a distort filter, the handles encompass the entire expanded layer. This makes it nearly impossible to do accurate distortion. I have tried and tried to isolate just the actual pixel content, up to and including selecting the non-transparent pixels and creating a new document. Affinity refuses to accept that the transparent pixels are empty, and includes them in the entire operation. So if I move a 100x100 pixel selection across the image by 4000 pixels, I now have a 4000 pixel layer, that Affinity refuses to trim or crop. Even after I carefully select everything in the mask layer except the white, hit delete, and Command-click the layer again, it still shows the selection bounds including every other location where I moved the content.
-
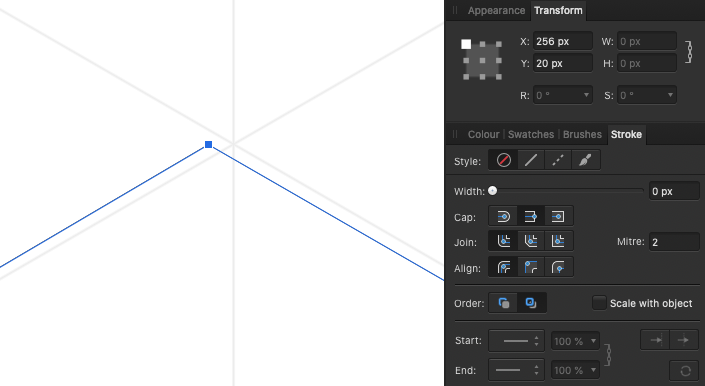
 Where is the perspective tool in Photo? I see no mesh warp. The Help was no help at all and the over-designed/under-informative 62 pound book is useless. It's a triumph of form over function. Yes, I am frustrated by the poor documentation. I waste more time trying to find out where to find the tools to do things I already know how to do, than actually doing them. Frankly, I'd rather use GIMP.
 -
 Is there a way to distort vector artwork along a defined shape? Is there a way to simulate tilting it backward into space, skew or warp the artwork?
 -
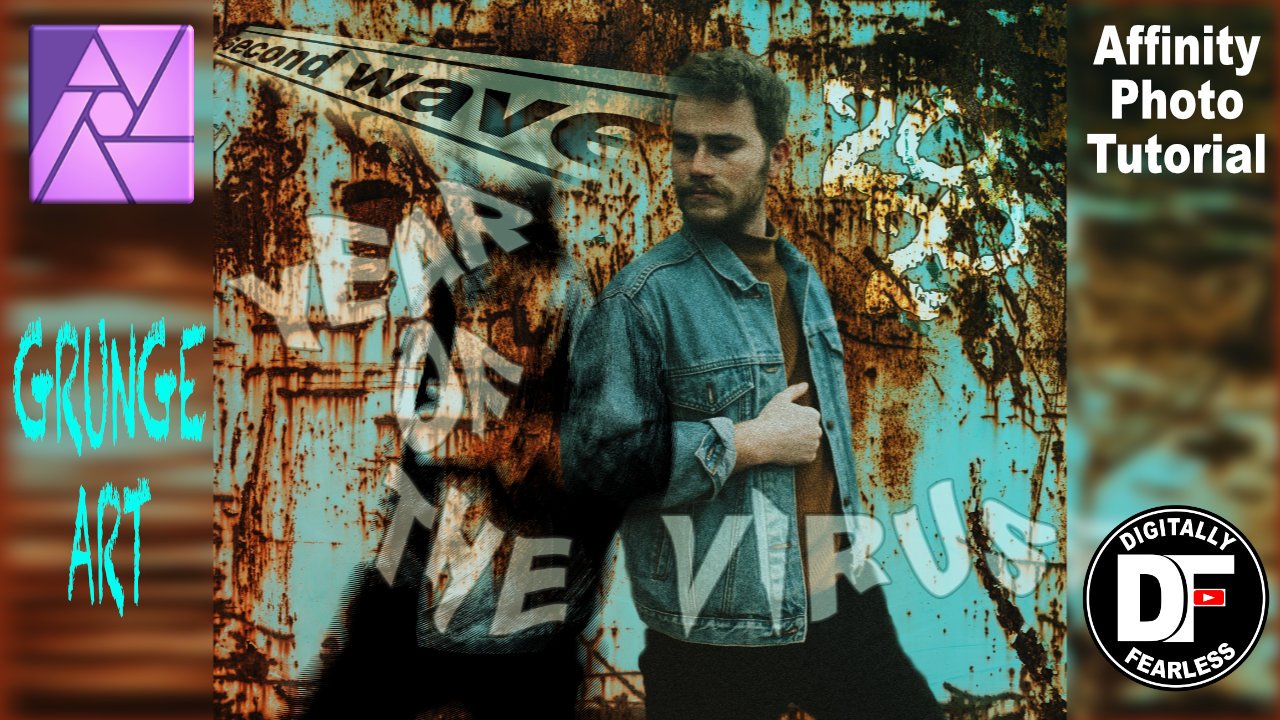
Grunge Art in Affinity Photo Affinity Photo video tutorial adding photos and text to create a grunge style photo manipulation with the use of threshold, perspective, artistic text, overlay, blend mode and more. https://youtu.be/YaPtXfZ9iYs
-
 Hi, I'm just switching from PS and I cant find couple of tools for work. 1) Perspective tool. Is there any perspetctive tool what work like perspettive in photoshop raw? Somethink what is in this video (old version of PS). I realy like how easy and well this tool work, and I can't find any tool what works that well. Clasic perspective tool is not that good for me becouse it fill the whole canvas, thats wrong... The tool on PS just aligns angles to 90° and its fine. Another tools for perspetion are realy slow and not so accurate (for example this) 2) Quick selection by one click. Is there any option to select an object (from example on white or one-color background) by one clic? Something like this . I realy miss this tool, when a have to select a lot of object (product's) and i have to do it manualy by pen or selection brush tool (even with refine) it is realy boring and time consuming. In PS i liked how easy it is - I just click and most of selection is done. Thank very much!
 -
Dear Affinity Designer Team, I am very excited follower of your work. Your app seems to have the potential for a AI alternative for what I am looking for since months. I am very close to purchase it. But there is one critical feature I am missing and that is a 3D tool box. Beside AI there is no other vector graphics software on the market which is able to "extrude" objects and to use their path to make perspectival logos a.s.o. To give a better understanding of my request I attach three AI tutorials resulting in very simple but neat logo designs: a) 3D maze: http://gomedia.us/zine/tutorials/illustrator/create-3d-vector-labyrinth-maze/ b) Flying Stars: http://www.bittbox.com/illustrator/illustrator-tutorial-how-to-make-3d-vector-vintage-stars c) Perspectival logos: http://www.vektorgarten.de/illu-tipps-3d.html In addition a shape library for simple 3D objects (cube, sphere, cylinder, tube...) would be amazing. I hope, I did not ignore a feature which is doing similar things. Thanks for your great work. Cheers, Laser.
- 12 replies
-
- 4
-
-
- 3dextrude
- perspective
- (and 2 more)
-
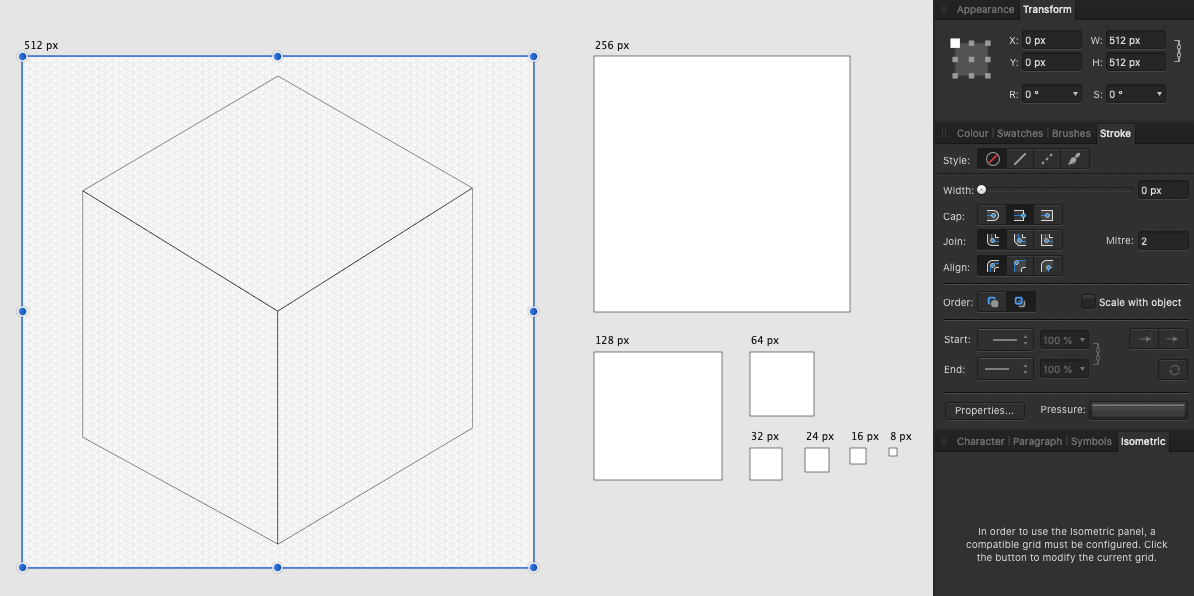
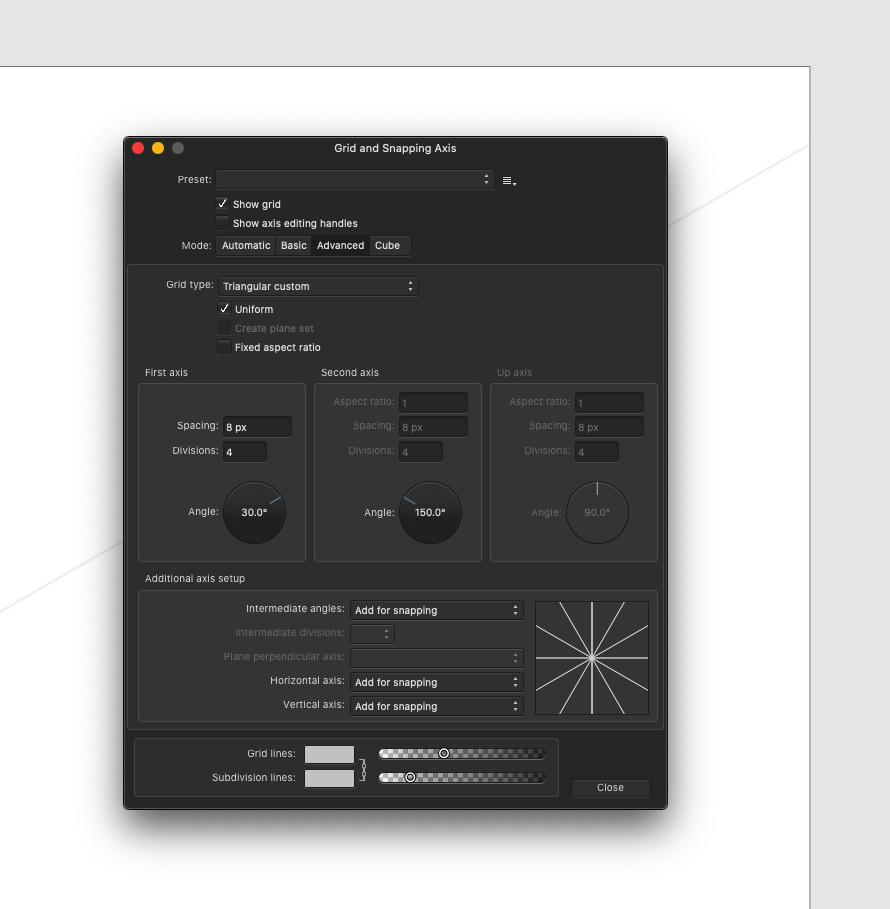
I'm designing an icon library that requires isometric grid. The Affinity Designer grid tool is awesome but… it apparently has a bug. If you look at the video you can see that the math used to calculate the grid position is not working properly, which makes me misplace every point which will end up in blurry icons. Is this something you guys can fix quickly? This is a huge blocker. Have a look at the video and screenshots. The Artboard is correctly set to 512px, so that's not the issue. Screen_Recording_2020-07-10_at_13_02_07.mov
-
 After used Perspective/Mesh Warp tool on a vector object, it will lose layer effects. if it's a pixel object, this doesn't happen.
- 2 replies
-
- 1
-
-
- perspective
- mesh wrap
- (and 2 more)
-
 Dear Develover Team, I hope u can add free distort scale and perspective distort scale,, if I Ctrl+left click object corner transform, i can distort scale on object. AND please , if I change brush, previous brush size not automatic reset.. Pliss add this feature On AFFINITY PHOTO AND AFFINITY DESIGNER on next update, because without thats tool and automatic reset previous brush, make me bit frustrated when Im making A Illustration and manipulation photo... ex distort transform object : I hope u can respond my request, Thanks #Dear Developer Team ❤
-
 I – surprisingly – couldn't find anything substantial on this topic here, so I'll start a new one... (and I hope I haven't overlooked some feature of the app that actually would have made this request unnecessary) As it is, I dearly miss something like Photoshops's "Free Transform" in Affinity Photo. In AP the whole transformation business is – to me – rather clumsy and really not ergonomic at all. It can be really tedious to sort of "model" a pixel selection to certain shape by using a combination of scaling, rotating, shearing and distorting (free or in perspective). In Photoshop – which I'd really want to give up in favour of AP – it's all under your fingertips: just press CMD-T and with that context-menu "Free Transform" provides, you can do almost ANYTHING to your pixel selection (either including the selected pixels or not). It's all there under the right mouse button (or just a keyboard shortcut away if you're using a graphics tablet with a pencil) and you can go between ALL the different types of transformations I mentioned above without once returning to the menu bar or some palette. And when you're ready, you hit ENTER and you're done. This is simple, intuitive and just ergonomic and it's been there for years and years. With AP complex transforming is just annoying and unpleasant work to me. I my opinion it's really a strange idea to "hide" transformation options like shear and distort in the "Filters" menu – as these very ARE basic transformations and should be accessible (at least) from the "Transform" panel, if not – as in Photoshop – actually from a context menu on screen right next to the selection you're working on. I personally think it is quite an unreasonable demand in AP that – e.g. – for shearing you have to pull at some abstract lines in an extra panel far from the actual selection on the screen. If this could be adressed some time soon, working in AP would be so much more pleasant for me.
-
 When I use the Perspective tool on a layer and 'apply' the effect I then try to copy the layer that has been adjusted and get the a copy of the previous picture prior to the change of perspective. I notice too that I also have a similar problem copying a layer of a cropped picture and getting the 'pre-cropped' version. After making these adjustments, when I do a 'Command' click on a layer to select the photo (make a selection) a part of the selection is missing because it is looking for some of the 'cropped' information. I need to know how I can end up with a fully cropped picture to work on after I have cropped it. Also in a similar manner, how do I end up with a perspective I have created without Affinity Photo wanting to revert to the previous version. I am 'applying' the effects I have made so I know this is not the issue and when I used to use Photoshop there was an option to 'Delete' discarded information (after cropping) option. I'm just not sure what I need to do and the video tutorials do not cover this problem - can you help? Thanks
 -
Hi, I'm having a problems with live filter perspective. After I made few live filters perspective there is a quality problem while I zoom/export/move etc. Even the same files are different in export. So it is not a problem of linked (placed) file. I hope you can see this video and it is helpful: https://drive.google.com/open?id=1AJB719uyg9oW_iKr2D9oPxRvHijTW9sg
-
 The video is dedicated to the topic "How to Transform a Photo into a Brick Wall Portrait" in Affinity Photo and those people, who want to learn this very easily with step by step.
-
- 4
-
-
- brickwall portrait
- affinity
- (and 5 more)
-
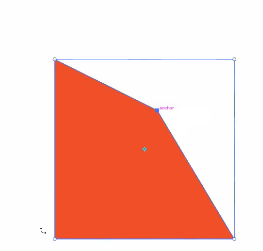
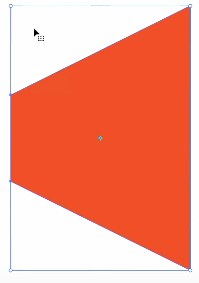
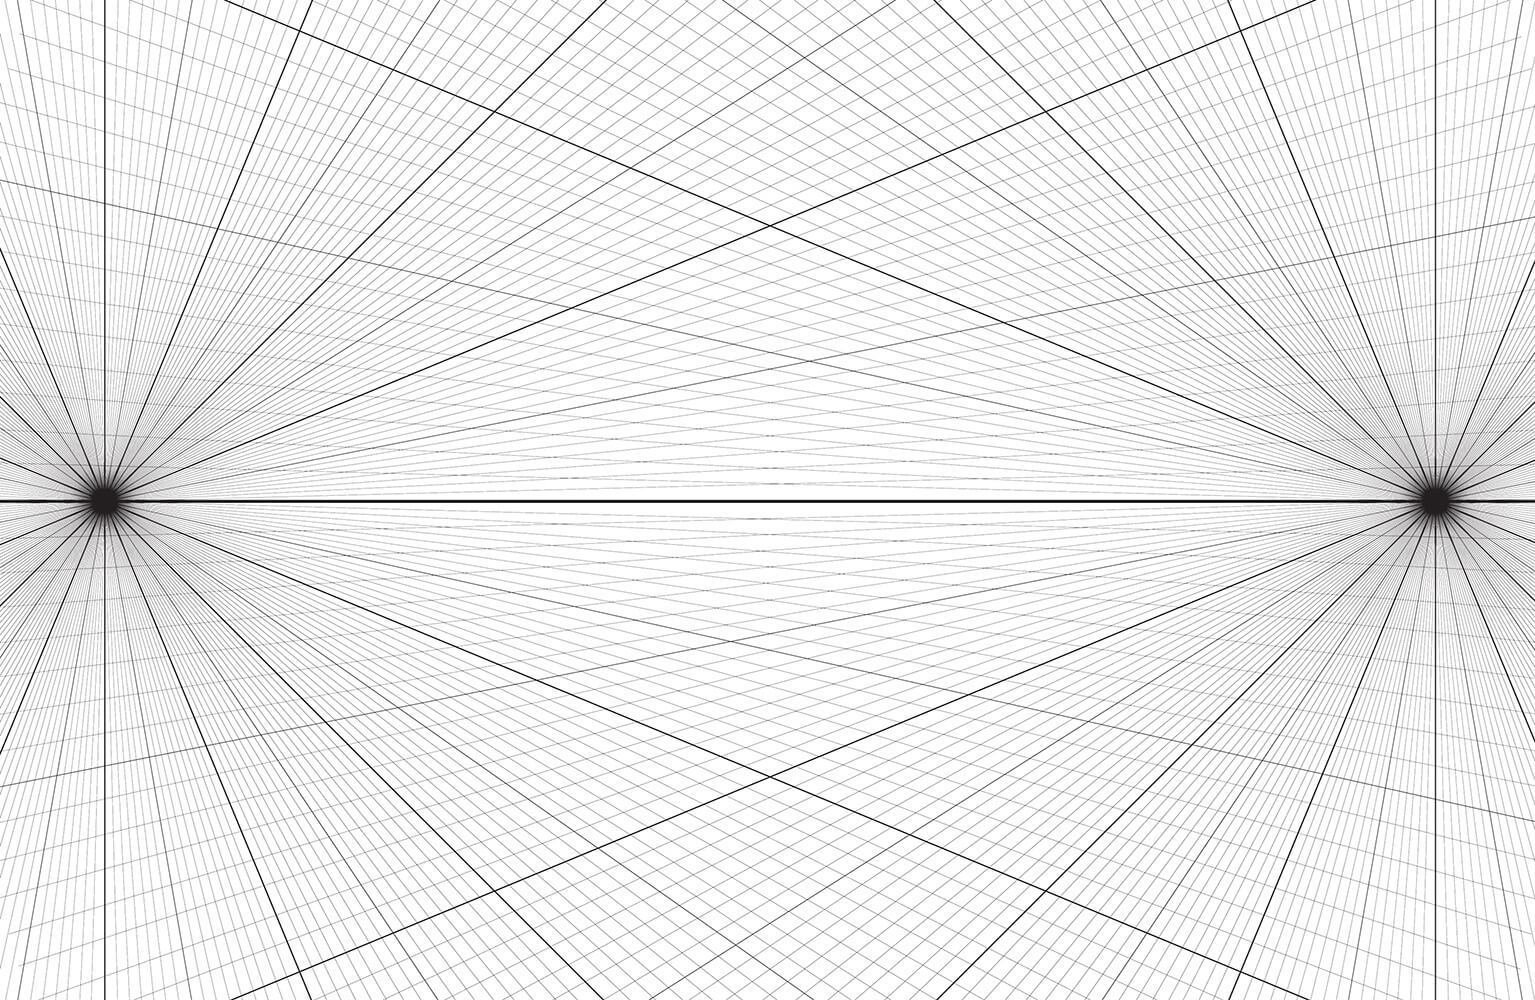
 I couldn't find a good or efficient way of creating a Central Perspective or a 2 Point Perspective Design, in Affinity Designer. I think the implementation of a new Grid Type would be the best solution (I included 2 pictures to give an example of what the grids would look like).
-
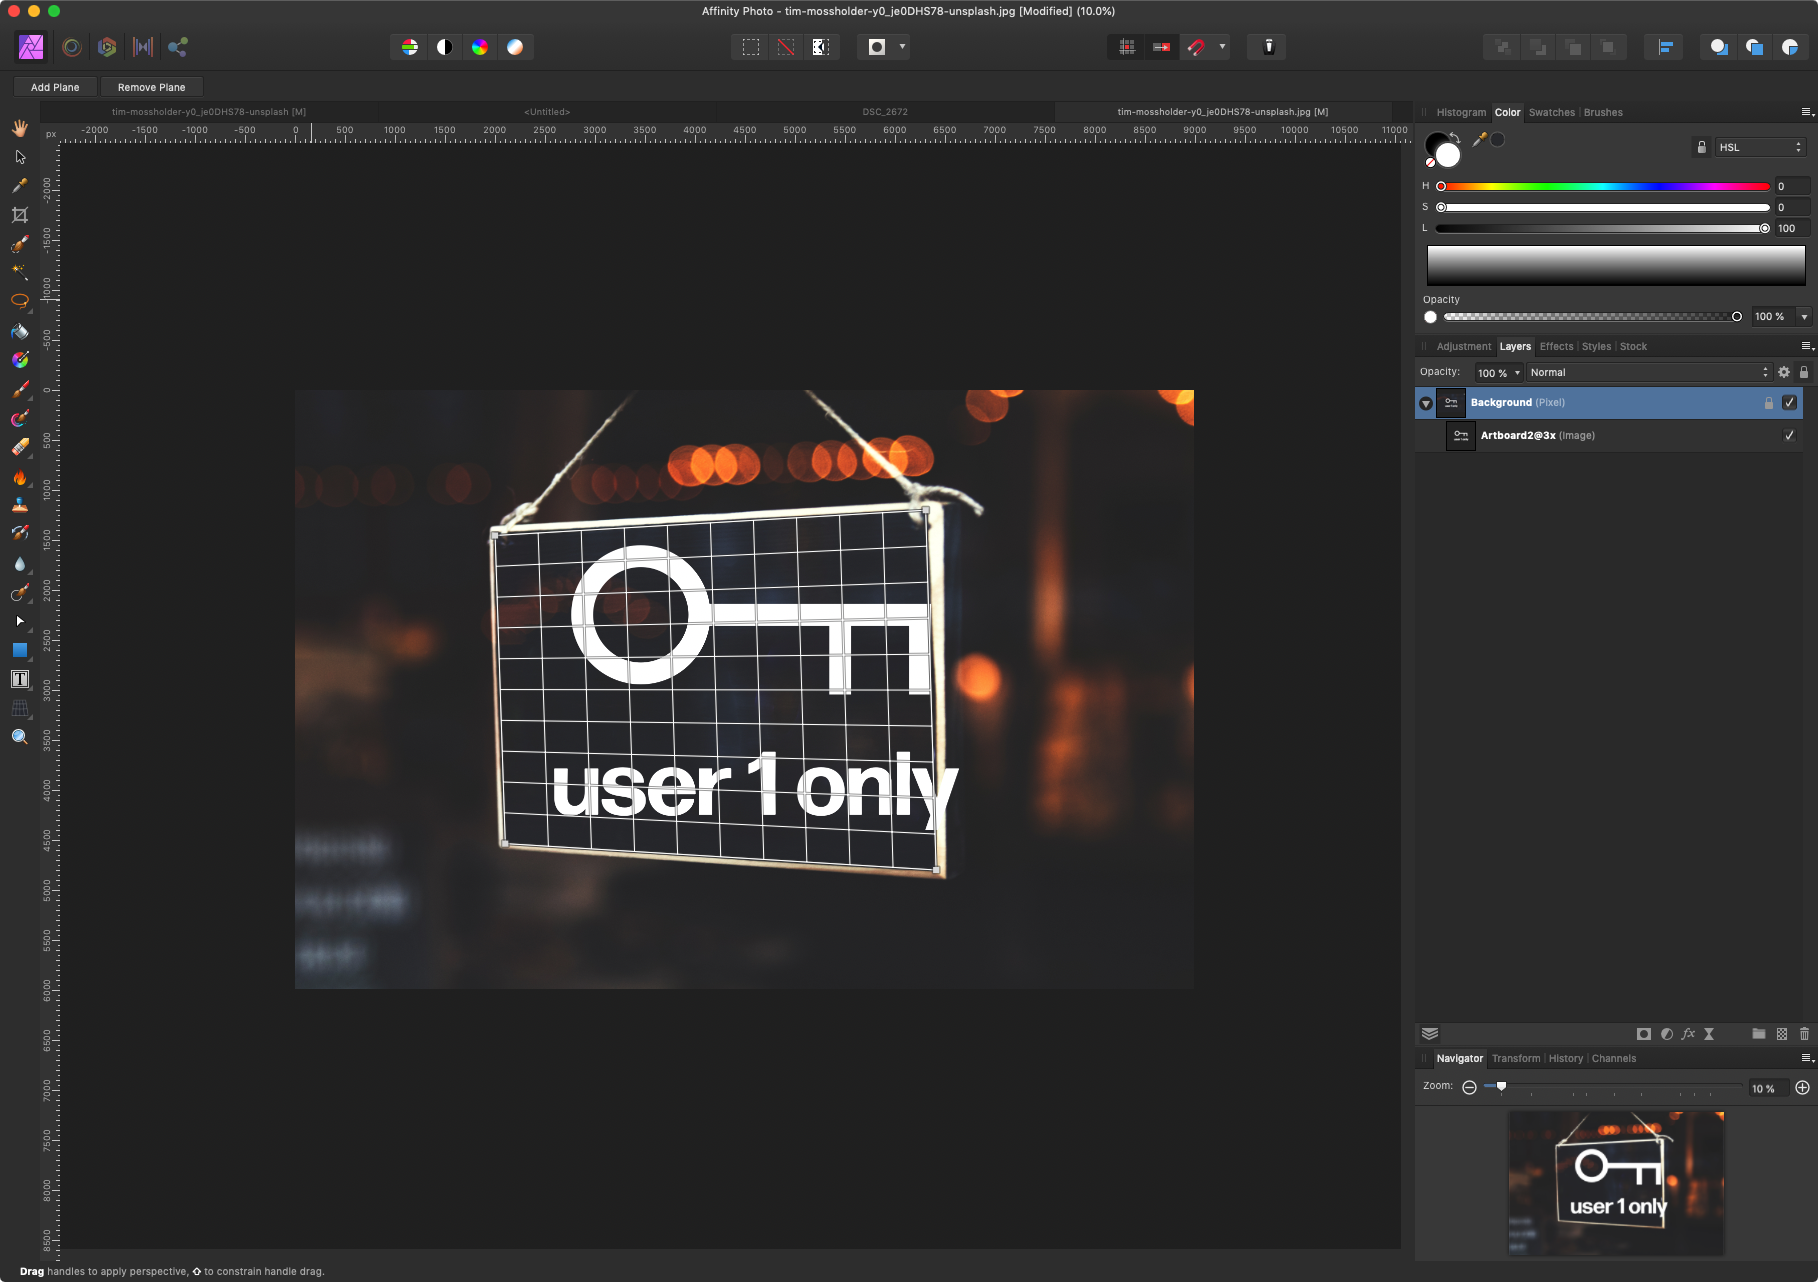
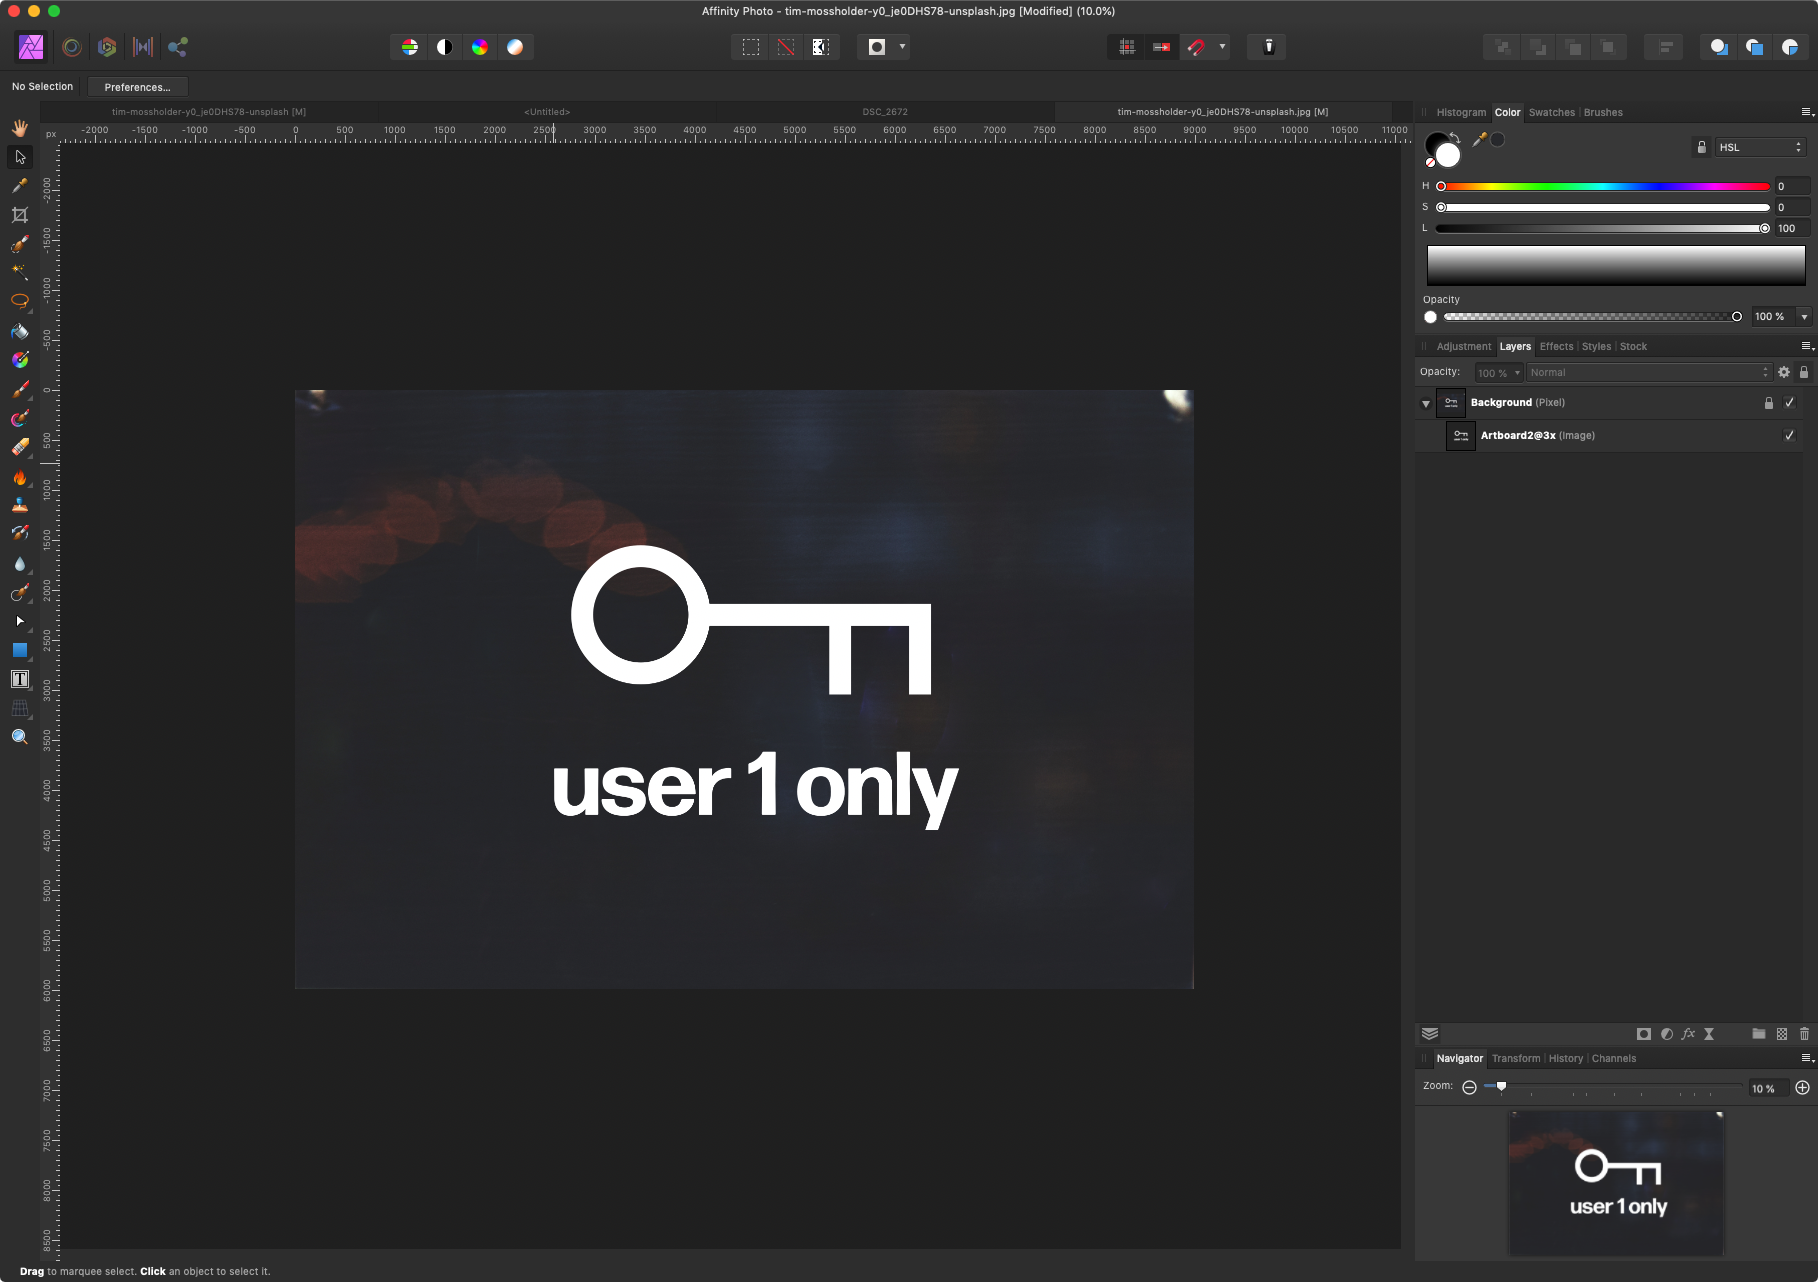
 I used live perspective projection in the past but suddenly I do not get it working for me. I chose layer > live projection > perspective projection I did the edits, the edits on the background work just fine. I added another picture (the key) but this one is not projected at all. Do I need to merge the layers every time?
-
 Hi! I'm struggling to to do this – https://www.dropbox.com/s/npwdnrt7meqdax3/AFT_ScreenRecording - 20190702_1935.mov?dl=0 – in any of Affinity software. Am I missing something? Lack of a solid transform tool feels to me like a deal breaker. Best regards P.
 -
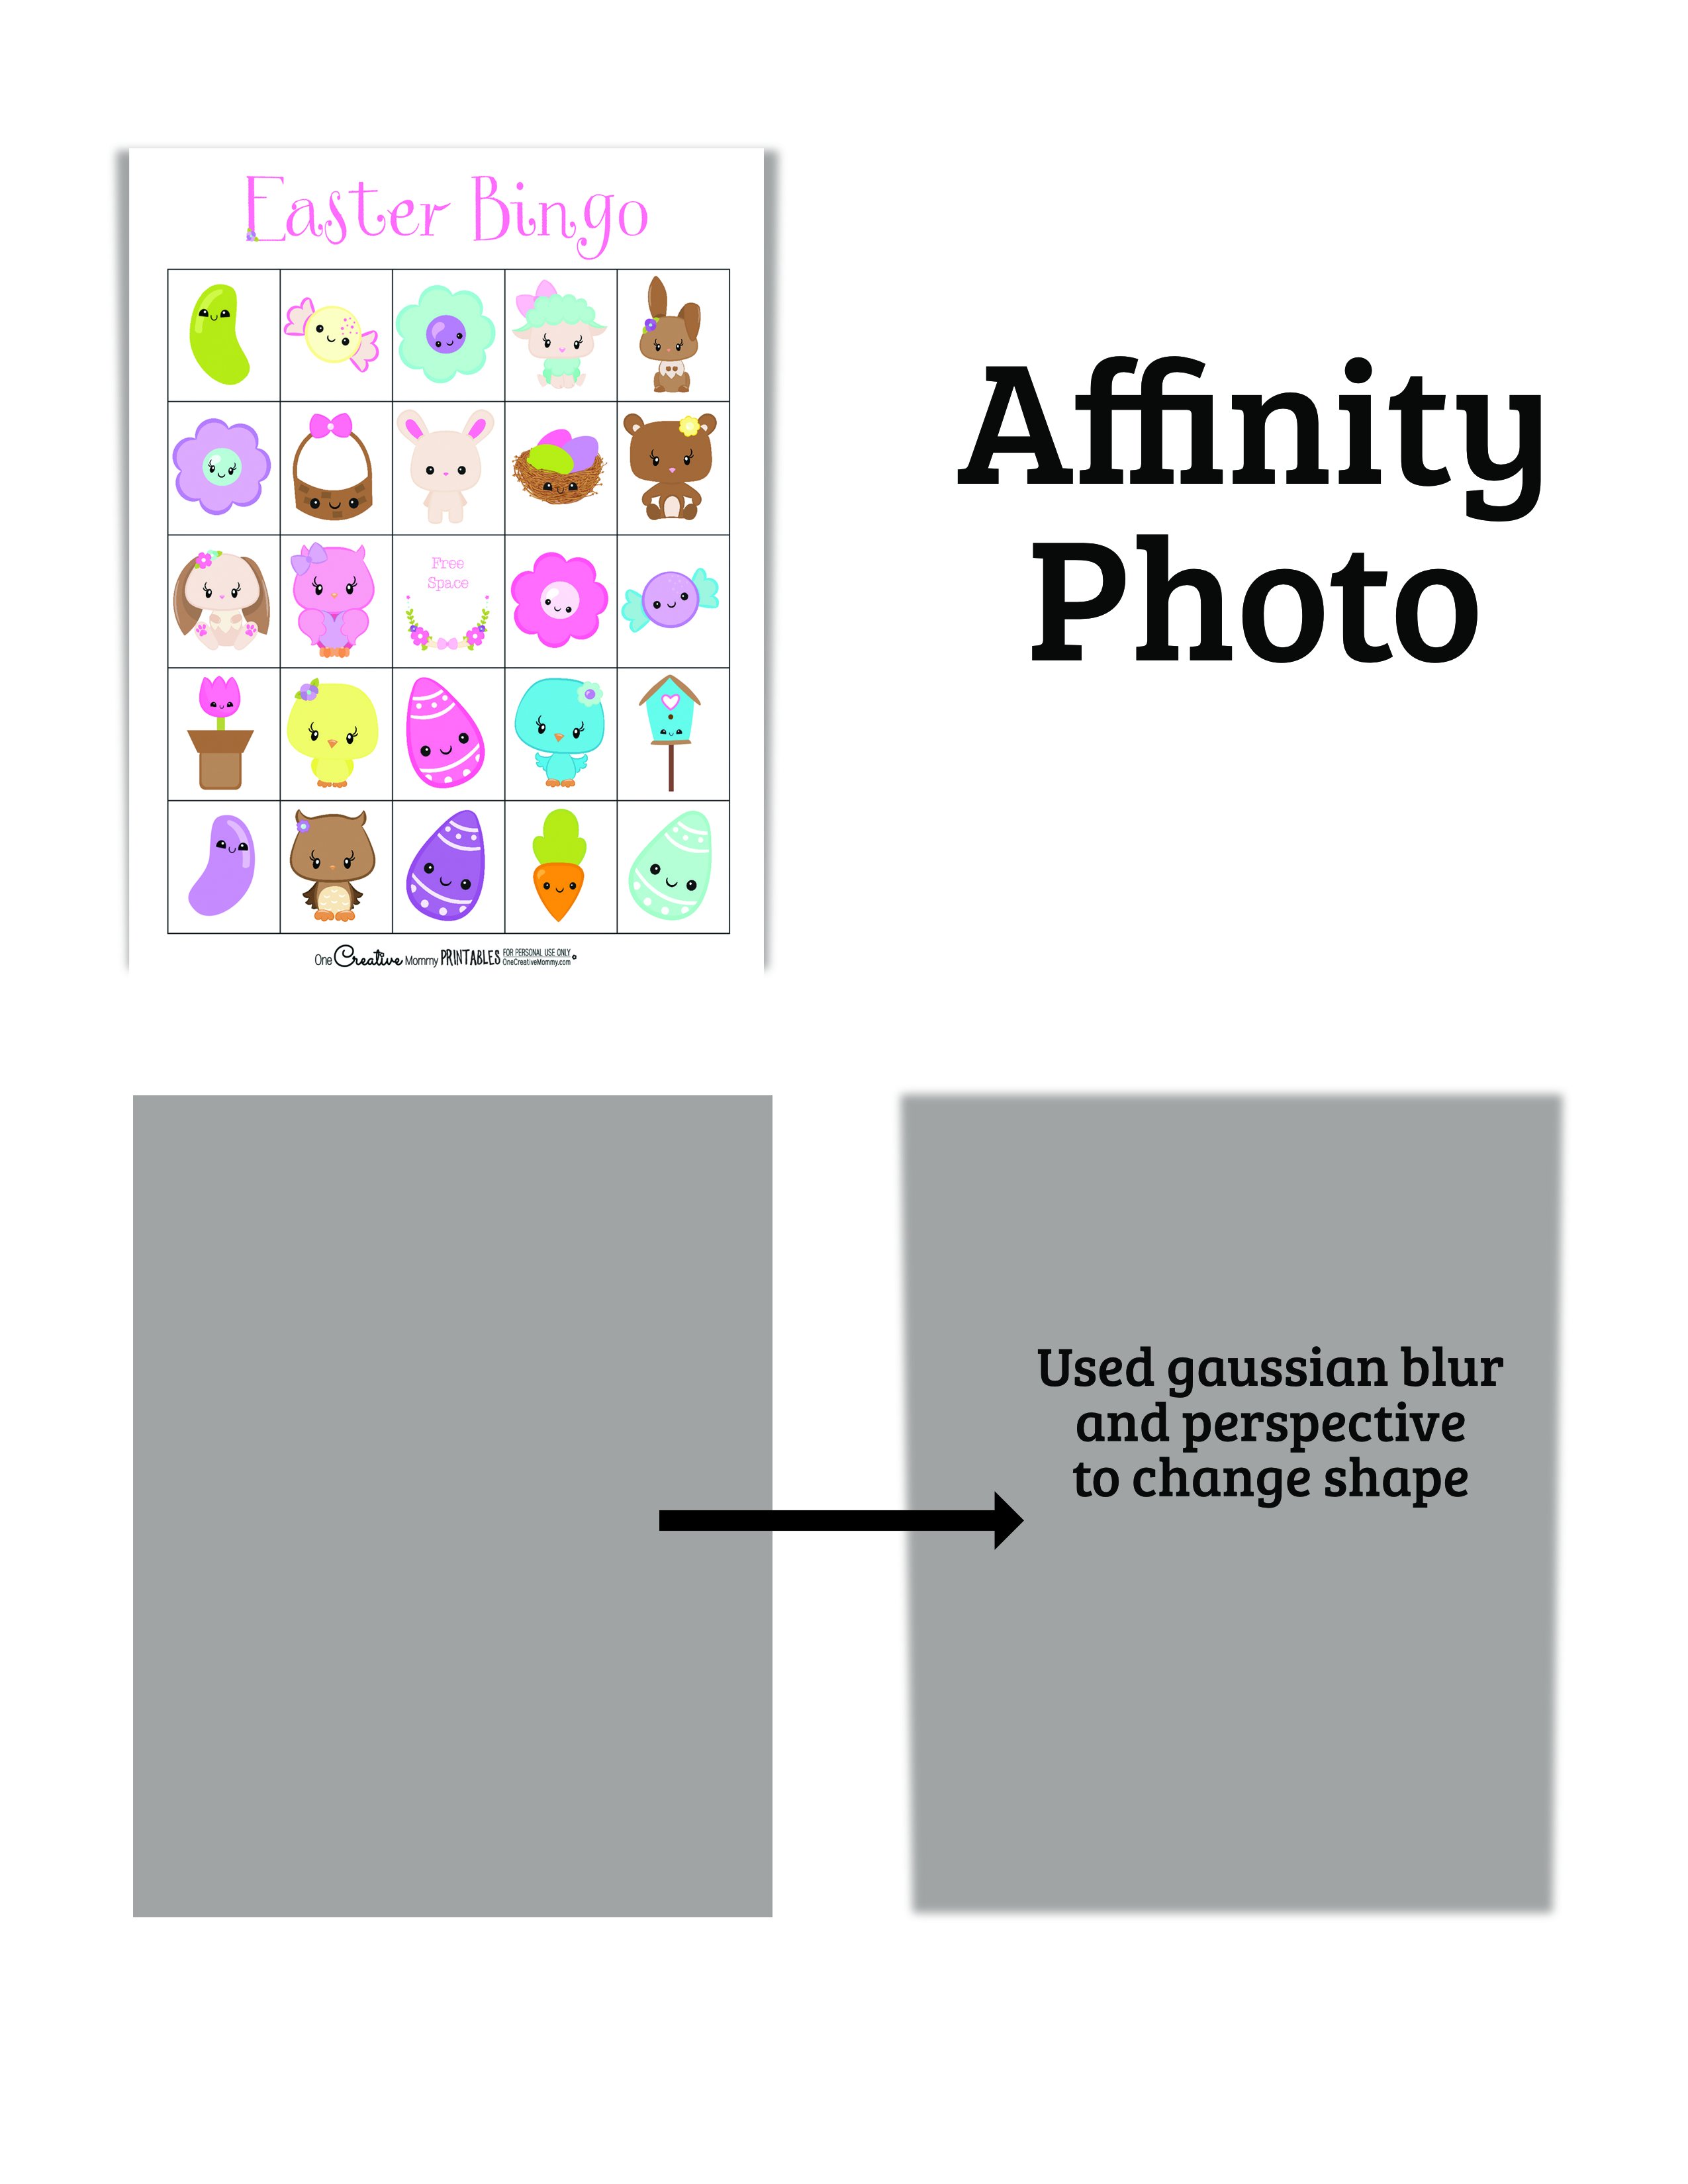
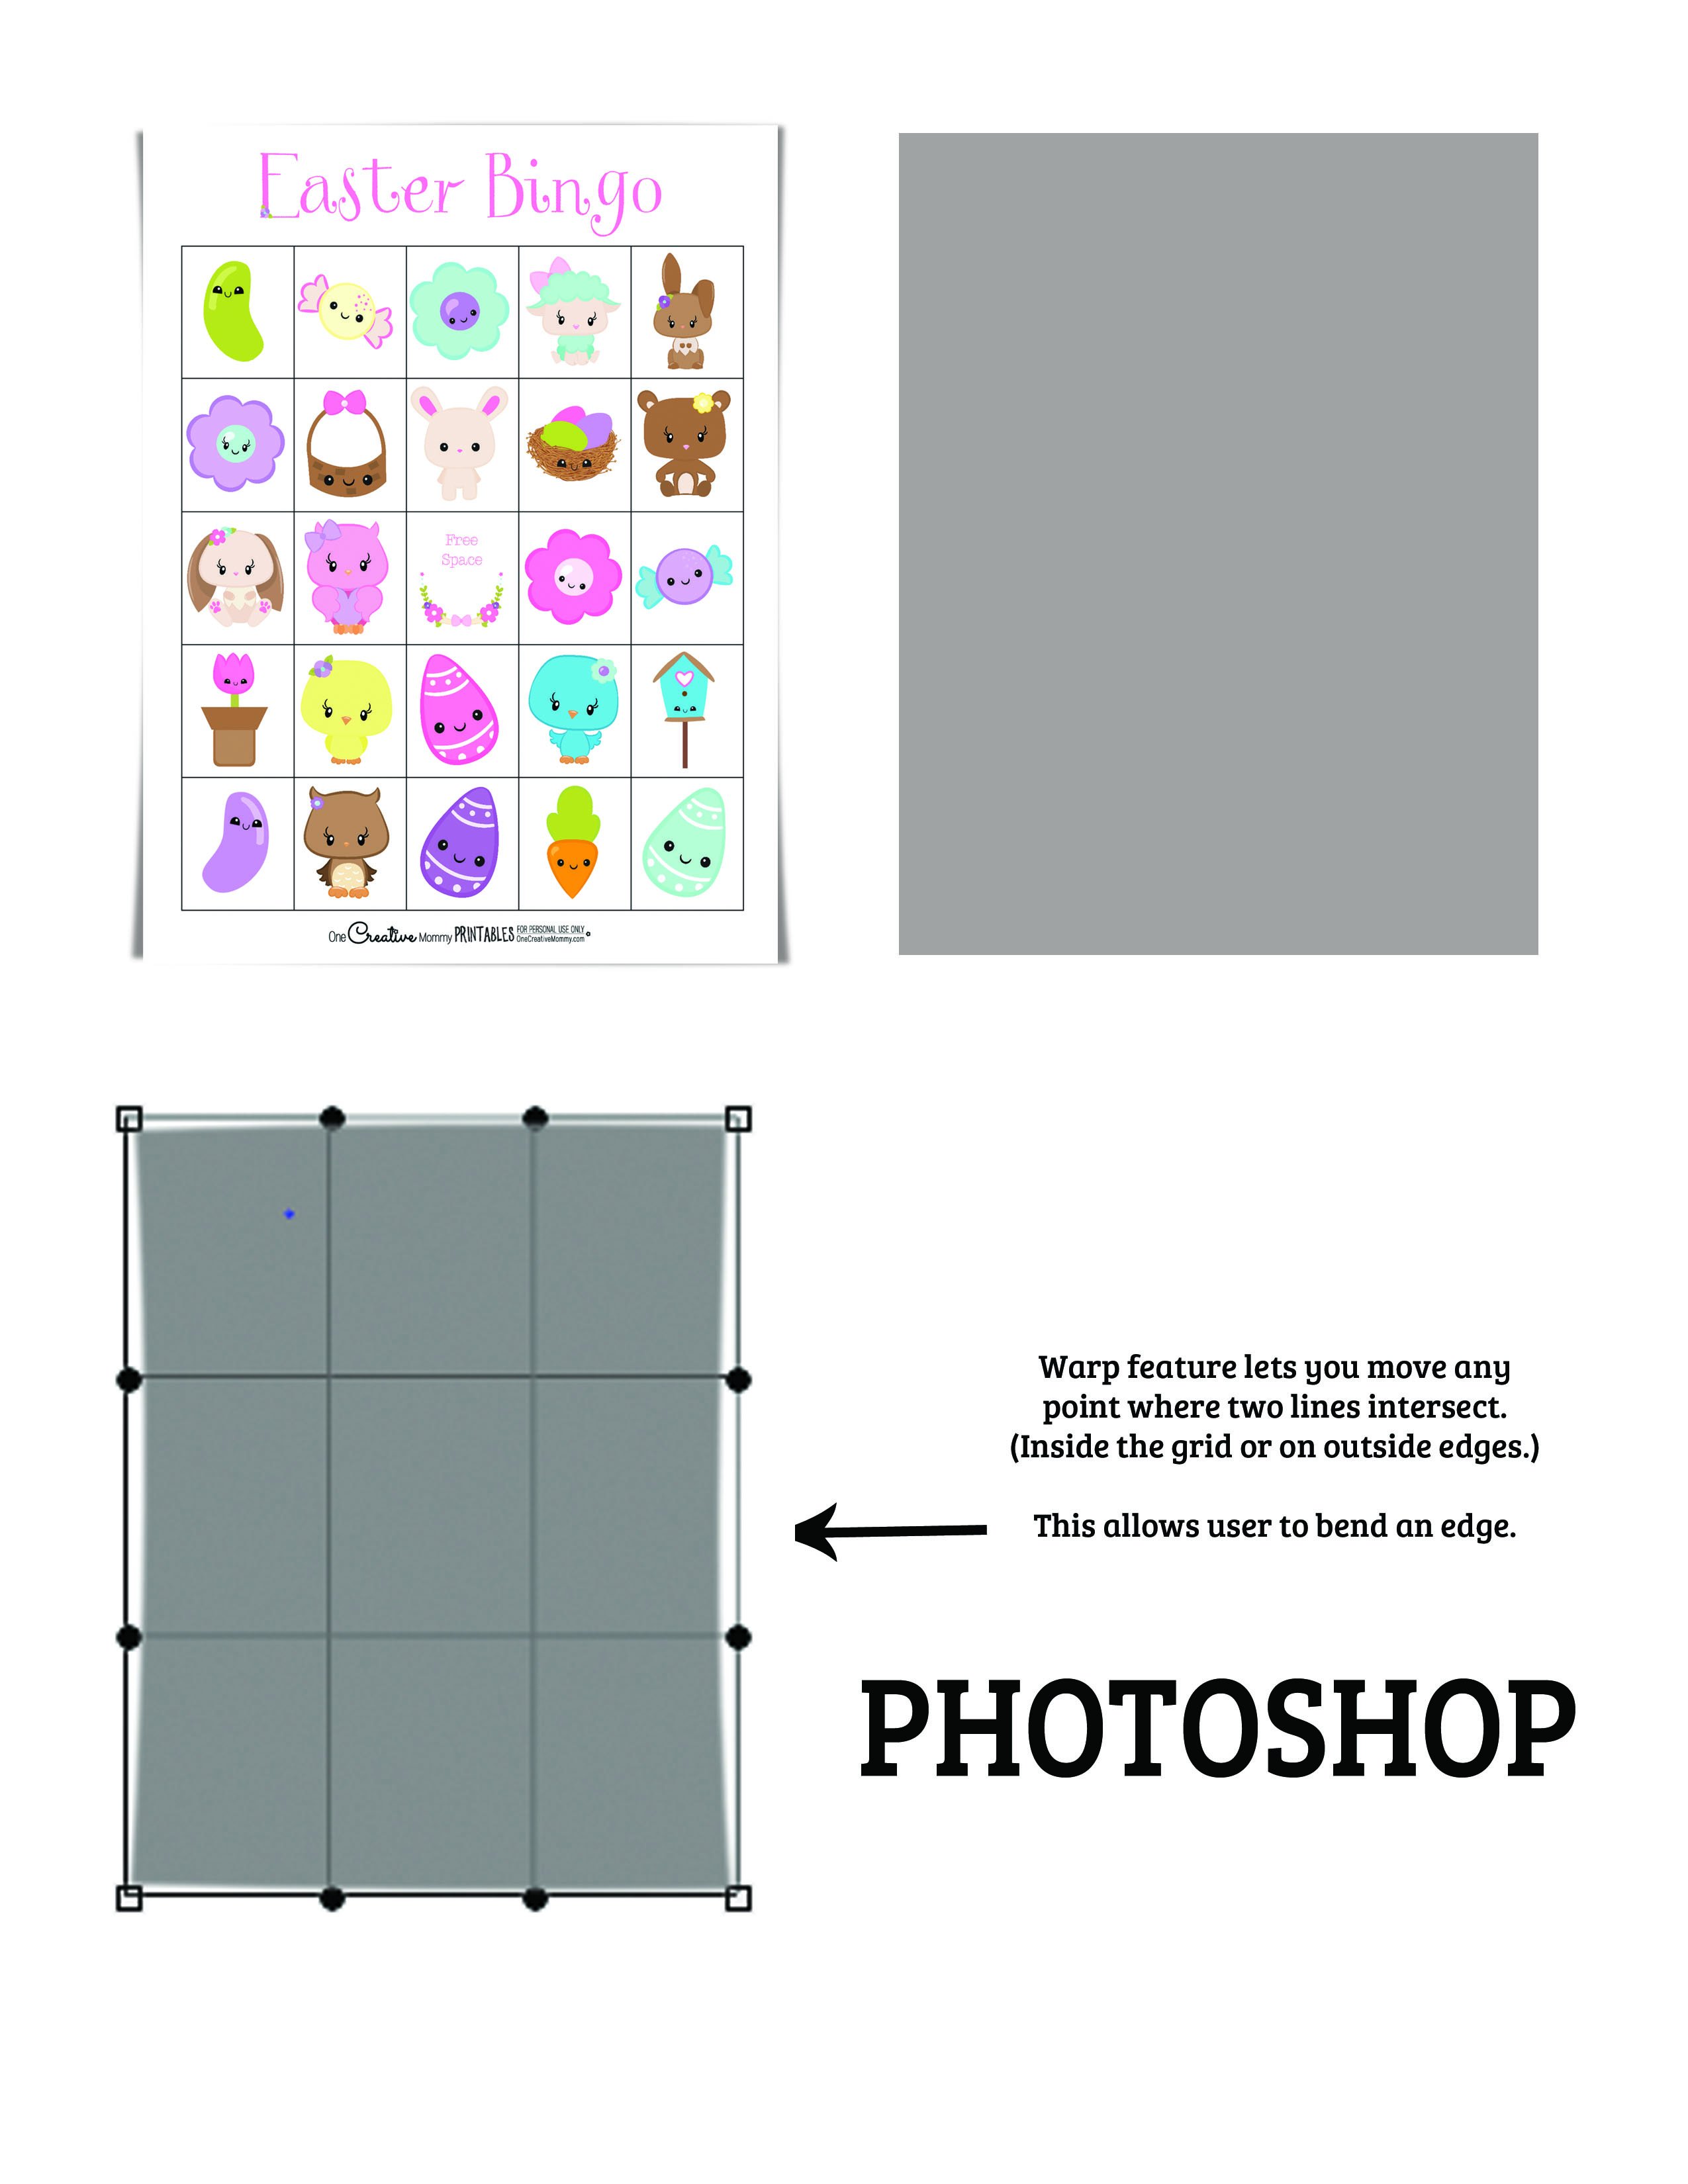
Adobe photoshop has a feature called warp that I would love to see in Affinity Photo. When you click on the warp feature, it looks similar to the perspective feature in Photo (with the grid over the image). The difference with warp is that instead of only the four spots (points that can be dragged) on the four corners, each intersection of the grid is a moveable point. This is particularly useful when trying to make shadows that make papers or cards look curled. The warp feature allows the user to bend a shadow in the center of a side instead of just pulling out the corners. I'll attach an image to show you what I mean.
-
I'd like to share a labor with you all. I welcome your thoughts and critiques (and tips for next time too), my friends are either non-photographers or are too nice to tell me what they think. My unit has 24-hour operations so it's near impossible to get everybody together at once. Instead of waiting for a down-day, we just took photos at different times on different days and would splice them together. We had the option of doing sun-sync and trying to catch the shadows at the same angle each time, or just "storm the beaches of danger" and take the photos at wildly different times (my idea, to my regret at times during this project). My intent was to get a sunset, early morning, and mid-day shot for maximum contrast, but instead I only got about a 5-hour spread represented. Taken with a budget D3400 using kit 15-55mm lens and a borrowed D810 using 35mm prime. Sky replacement was done by the plug-in "Uplift - Epic Skies". I had to warp the photos (the left side crazily so) to get them to line up. Masks and adjustment layers on each. The folks and the hangar behind them were also taken separately from different photographs (one with the hangar roof visible and one with just their bodies/faces for clarity (except the right panel, I couldn't zoom in since I was using the prime lens that day), so five photographs (not counting the skies). I also had to clone the sides and ground because I didn't have enough coverage for an 8x10. Biggest errors I see are (1) it's not centered--that's my bad, I was focusing on the doors when I took the photographs and didn't realize the doors aren't centered on the roof (agh!); (2) the formation isn't straight (I'm thinking I could have done a last perspective shift after the entire thing was composed to level out roof horizontally and the formation horizontally at the same time); (3) many of the door windows don't line up; (4) the roof is masking-clipped, especially on the left (all that warping did a number and I wasn't careful on the cleanup). All told, 11 hours of work (I'm very... very slow at doing this)... 2.5GB file size (still can't figure out why, I think all the adjustment layers and masks maybe?)
-
- The possibility to rotate and delete the guides directly from the art board by click and delete. (at the moment i can only deleat a guide if i drag it out from the art board, and this is annoying!). Also, if not asking too much, convert a draw object into a guide. (like old FreeHand used to do...) - The possibility to change type case (Lower / upper). - Perspective distortion tool!