Search the Community
Showing results for tags 'Paths'.
-
 I already found some information here on how to preserve a Photoshop path by converting it into a vector mask. This is nice and helpful, but what to do when you do not own Photoshop to convert the path of a .psd? Make everything new? I did not found a way to workaround this problem. It would be nice if paths were automatically converted into vector mask usable in AFPhoto.
 -
 We are going to through the process of figuring out how to transition from PS to AP. We are a catalog company that have a few thousand images that ave clipping paths saved inside the PSD or tiff files that we use in Indesign as silhouettes images. Basically the path is used as a mask that Indesign recognizes. These curves remain live so they are editable for edge refinement and repositioning. Am I clear in the understanding there is no way for curves to make the leap from PS to AP? The forum thread I found that talked about this issue was from 2016. I didn't know if the status of this has changed. I did try the shape layer approach, but this still does not leave me with curves. They PS shape layer comes in as a color fill. Maybe my approach was wrong. The color fill would work if I was able to turn my selection into curves, but I know that is not currently possible. As a side note: Affinity photo is able to turn curves into selections, but can not turn a selection into a curve. I always thought that was strange. I know auto trace...its on the roadmap.... Recreating all of those paths in all those files is not a real viable or cost effective solution for us. I am open to any workflow suggestions anyone can offer.
 -
 Hello, If there are multiple shapes selected, and all are divided all at once, a number of overlapped content is removed and a lot of garbage nodes are left as separate paths. I've experienced on AI too, but there we can easily select them and remove them, but in AD it becomes a headache. Can you please make selection in such a way that.. if selection started form top left / bottom left then select all shapes touching selection box, if selection started form top right / bottom right then select only shapes, fully under selection box, Something same like in Auto-cad (somebody experienced?) Please take a look on this video and see what I mean. vertics, devide tool, shape tool, pen tool, garbage nodes, paths, Affinity Designer 2_5_2019 10_40_41 PM.mp4 Affinity Designer 2_5_2019 10_44_12 PM.mp4
 -
 Offset path or even more complex contour tool would very useful for many works. I found on this forum some old disscusion about these tool but it was long ago and still not happend and even not present on roadmap. So I just would like to make little reminder about it with a lot of hope to find it in future update.
- 5 replies
-
- 1
-

-
- designer
- offset path
- (and 2 more)
-
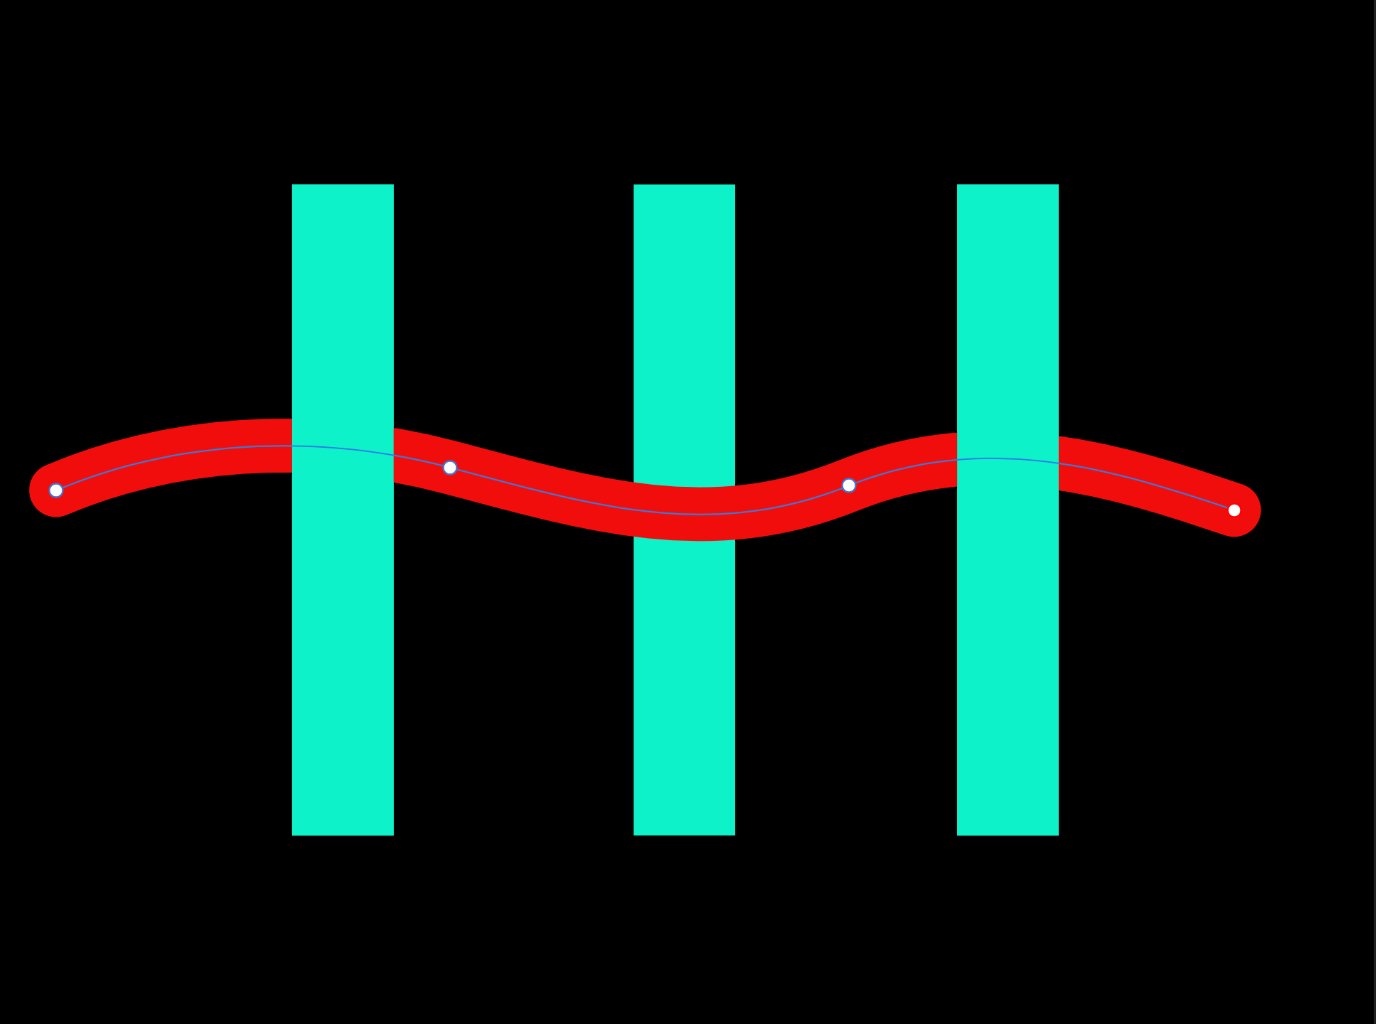
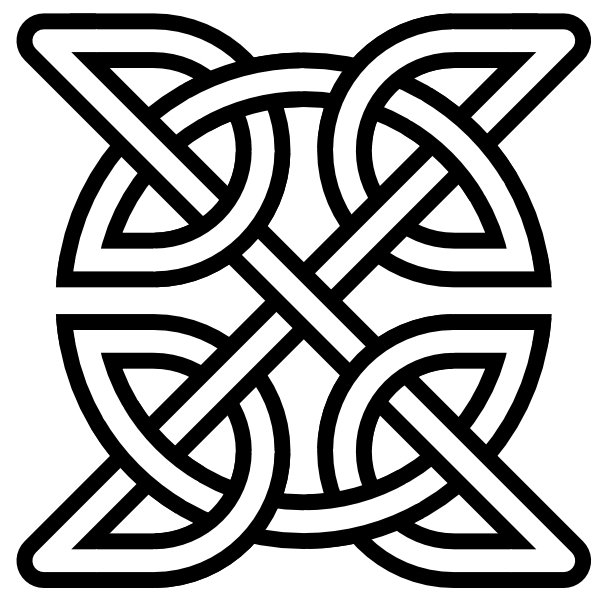
Hi people, I have an idea for a feature in Designer. Problem: You have a shape and you want a line swirling around it. Because a swirling line makes everything instantly 3D-ish. You make the line with a path design it adjust it copy and past it put one behind and the other in front of the shape use f.e. a mask to erase the parts of the 'front line' that should be behind the shape You working on something else and after a while you want to adjust the path. It's a lot of work to change the swirling. (This time you use the symbol feature, you should have used it from the beginning!) Next day you want to change it again, same hassle. etc. Deliberation: The swirling logic of a line around an object is in theory super simple. In most cases it goes something like: Line goes in front of object, line goes behind object, line goes in front of object, line goes behind object,... If something is as easy as this, it shouldn't be too hard to design a UI window, that let you arrange such a pattern. And if you have such an option, new complex designs would enter the realms of feasibility. Like cursive handwriting swirling around a cane. And if the UI window has the option, that the interlayer pattern of the path affect even the path itself, then even knots are possible. Or eeeven complex knot patterns ( https://en.wikipedia.org/wiki/Celtic_knot )

-
 Hi, I have an SVG file with paths on many layers. In some cases the layer paths overlap. I want to remove the overlapping areas. Here is a simple example: In layer A I have a large red circle. In layer B I have a small blue circle. Both circles are centred at the same point. In layer A I would like to remove the area which is covered by the blue circle in layer B, so that there is only one colour per layer. The result would be a red doughnut shape in layer A, and the unchanged small blue circle in layer B, which would fit exactly into the hole in layer A's doughnut. It's a bit like a screen print, one layer per colour, but with no overlap of the coloured areas. To achieve this I tried to copy the paths from layer B to layer A, so that I could remove the centre of layer A's circle (it's actually a very complex path, not a circle). This doesn't seem to be possible. Can anyone advise how to do this? Thanks.
 -
 ¿How I coud convert a selecction to path, to use as clipping path inside an EPS file ?
 -
 Hi, I'm on Photo 1.6.6, Mac OS 10.13.3. Just wondering - is there a trick to using the pen tool to draw multiple curves on the same layer? I draw the first curve, and I get image one (stroked to make it a bit clearer). What I'd like to to do is continue drawing on the same layer, to create a second curve. But as soon as I start to draw, Photo creates a second curve layer (image 2). I know that I can now select both layers, pull down the Layers menu and Choose Geometry... Add... (giving me image 3). This gives me what I want to achieve, but I wondered if it was possible to continue to draw additional curves without having to combine the layers afterwards. Thanks H
 -
 I need to trace objects to outline them (dishware). The client then wants me to send a jpeg with the lines converted to paths. How do I do this or something comparable to convert to paths?
-
 I was wondering if it is possible to draw more than one path with the pen tool on a curves layer. for example if your producing cutouts and the object is not completely solid? When i close the path and then go in to draw a second path, this is then rendered on a separate Layer. So with a complicated object this will result in multiple layers. is there any way i can get them all on the same layer so when i make the path into a selection it makes life easier? is there keyboard shortcut I'm missing? Any help would be great...
 -
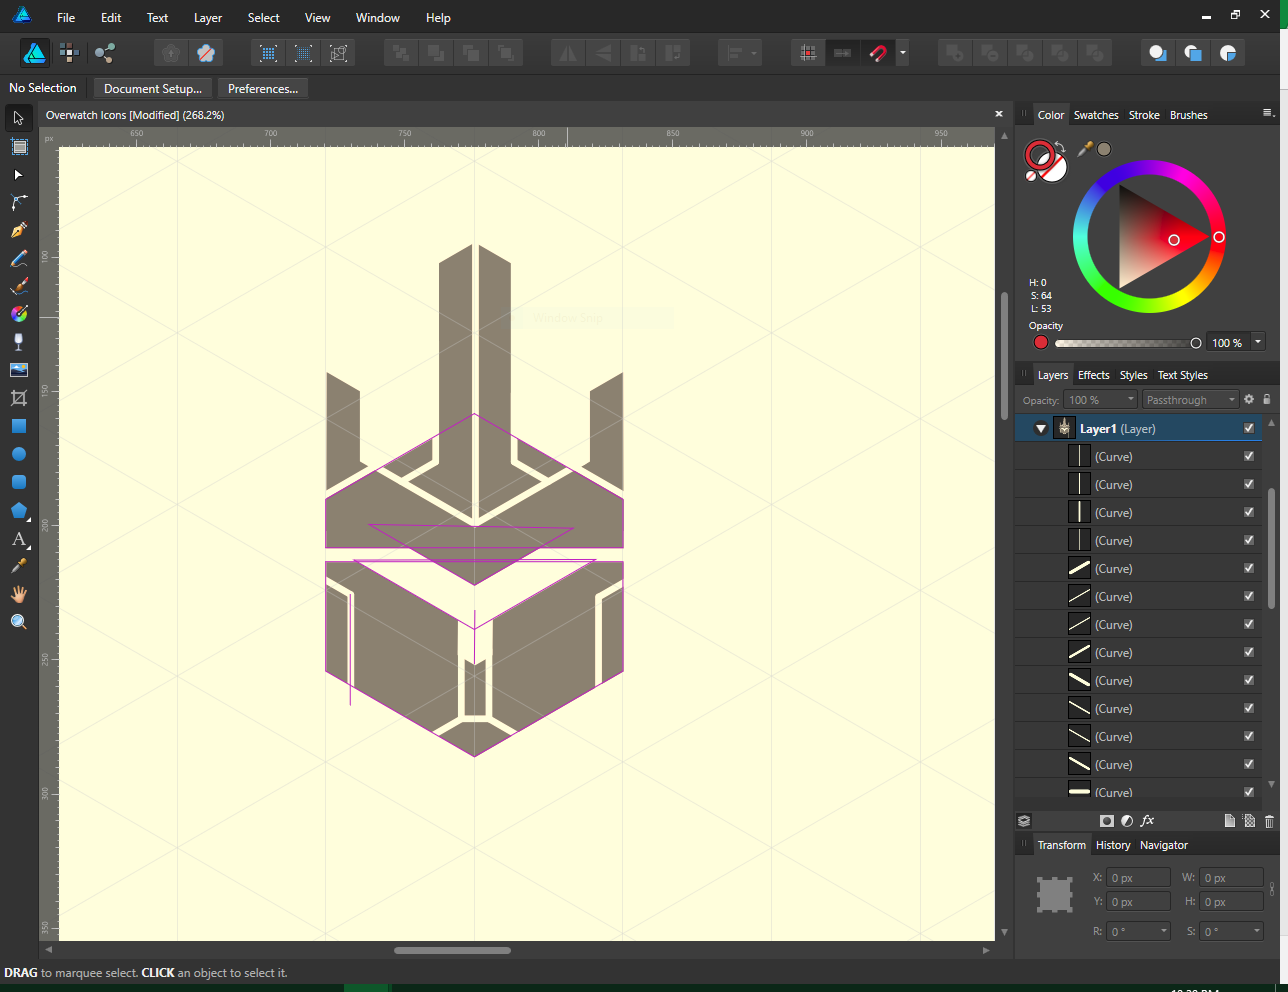
 I'm trying to create a hand drawn circled effect...like if you see something you like on paper and want to highlight it. this works great if you use a brush to outline an ellipse but the problem is I'd like the ends to touch...better yet if they could cross paths. How can I create this? Also, for when I want to leave a gap, how can I change the point when the brush starts and ends? e.g if I want the gap to be on the bottom or the left?
-
 I'm about to pull my hair out. I just dropped a sizable chunk of change on this program only to have trouble doing the thing I need most: import vectors I drew on my iPad (in Autodesk Graphic) into a program that has the Combine Shapes feature. I've been exporting in both SVG and PDF format from Autodesk Graphic, and when I open it in Affinity, it's just a shape. If it's not possible to save paths in one program and open them in another, I'm probably going to put a hole through the nearest wall. PLEASE tell me this is somehow possible.
 -
 This thread is not about object boundaries. How I can turn on snapping to paths to snap guide for this square-like thingy right there?
 -
I’m really excited about your upcoming brush stabilization tools. They look like they’d make illustrating a whole lot quicker and easier. I was just wondering what other tools you’re going to add in that vein. I can think of one other thing that would further streamline the design process. MattP mentioned a while ago that he intends to add a Roughen Tool so as to make lines that look hand-drawn (as well as numerous other uses for the feature). I was just wondering if roughening could be implemented similarly to the Bungee and Rope tools.
-
 Hello everyone, I am new here and I heard quite a lot about Affinity Designer. I am thinking of getting a Mac mainly for that program. I just want to become more familiar with how the layers work as there are only two things right now I'm a little confused about. 1. From the different video tutorials I've watched, the structure of the layers appear differently for each video. There are two different structures. Here, each layer can be expanded and show the paths within the layer (which I'm use to.) But then here, when the man creates a new document, each path is it's own layer. So how does this work? How can there be two different structures? 2. I know this bends the rules of vector designing, but I don't always draw in closed paths. As a cartoon character designer, I prefer to draw more freely. So my question is, seeing how there is a pixel persona and the option to clip layers, is there a way to use the bucket tool to fill in overlapping paths done with vectors (fingers crossed)?
 -
 I can't find a way to hide the pink paths that define my vector objects so I can preview what my drawing looks like. I'd say I was missing a setting, but it doesn't outline every shape on the screen, just some, and it seems to pick those randomly (see screenshot)
-
Greetings I need to do something like in the uploaded image and couldn't find any easy way to do it. Is there any way?
-
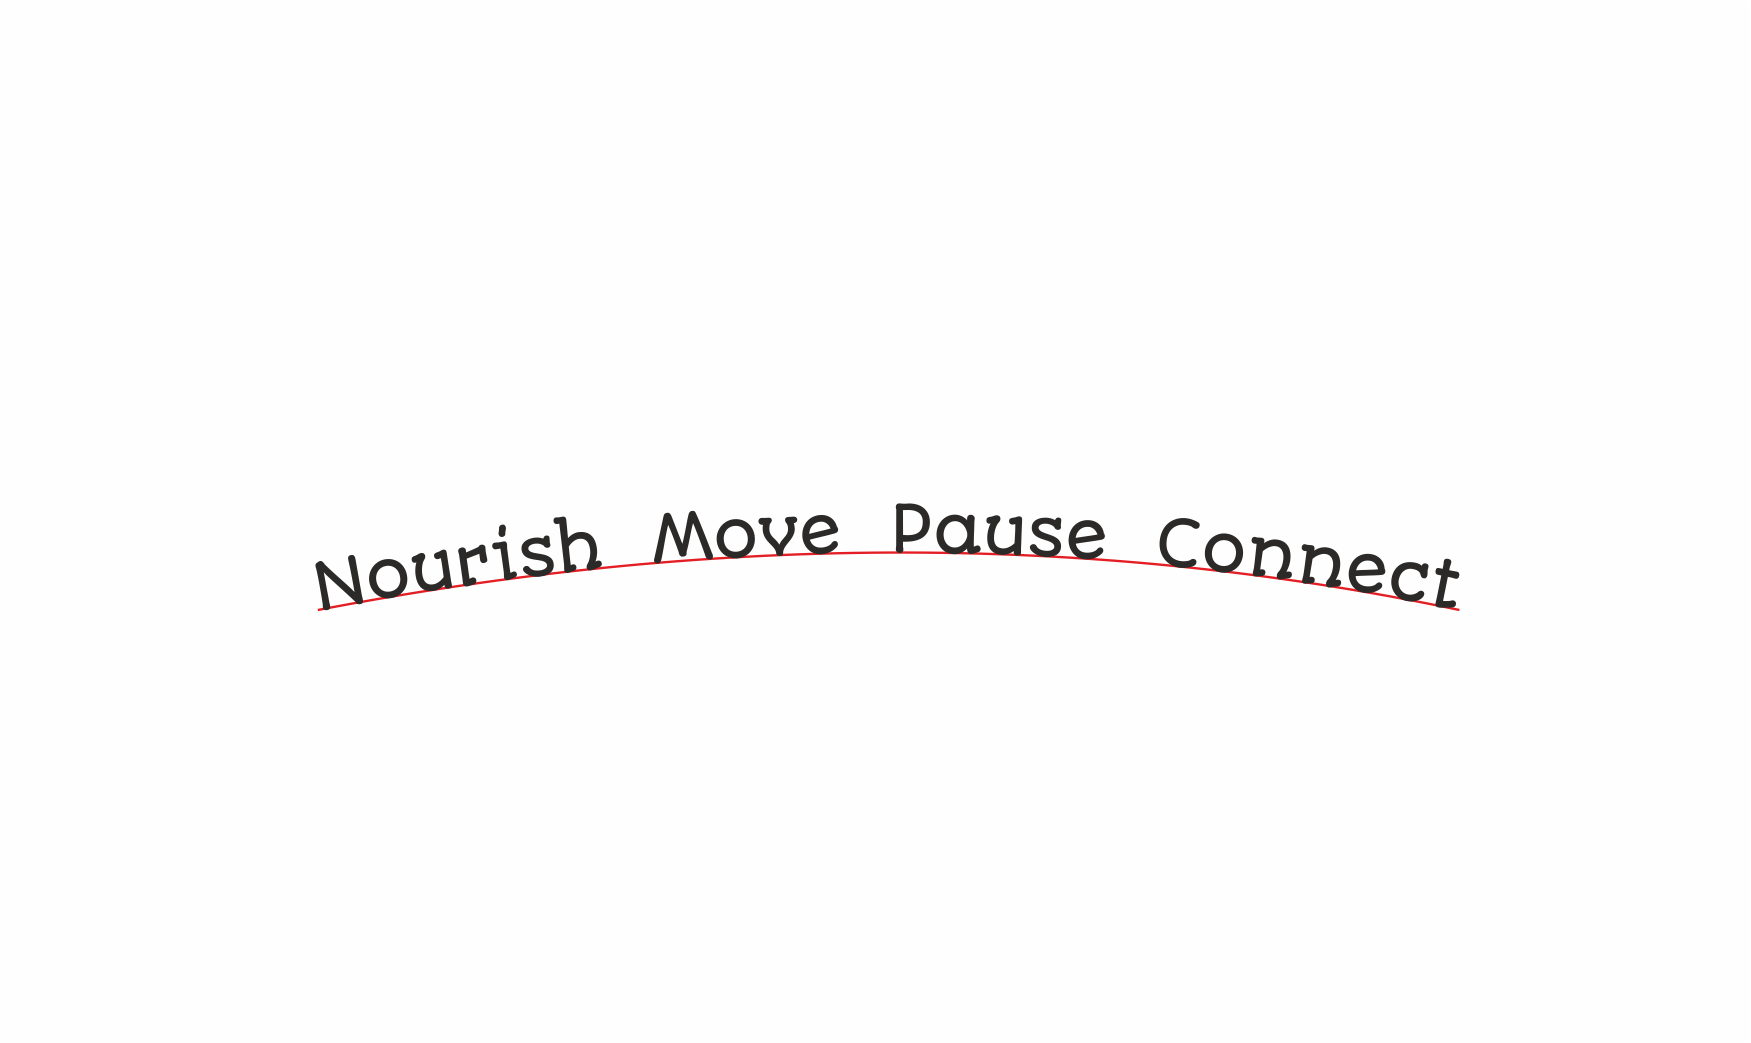
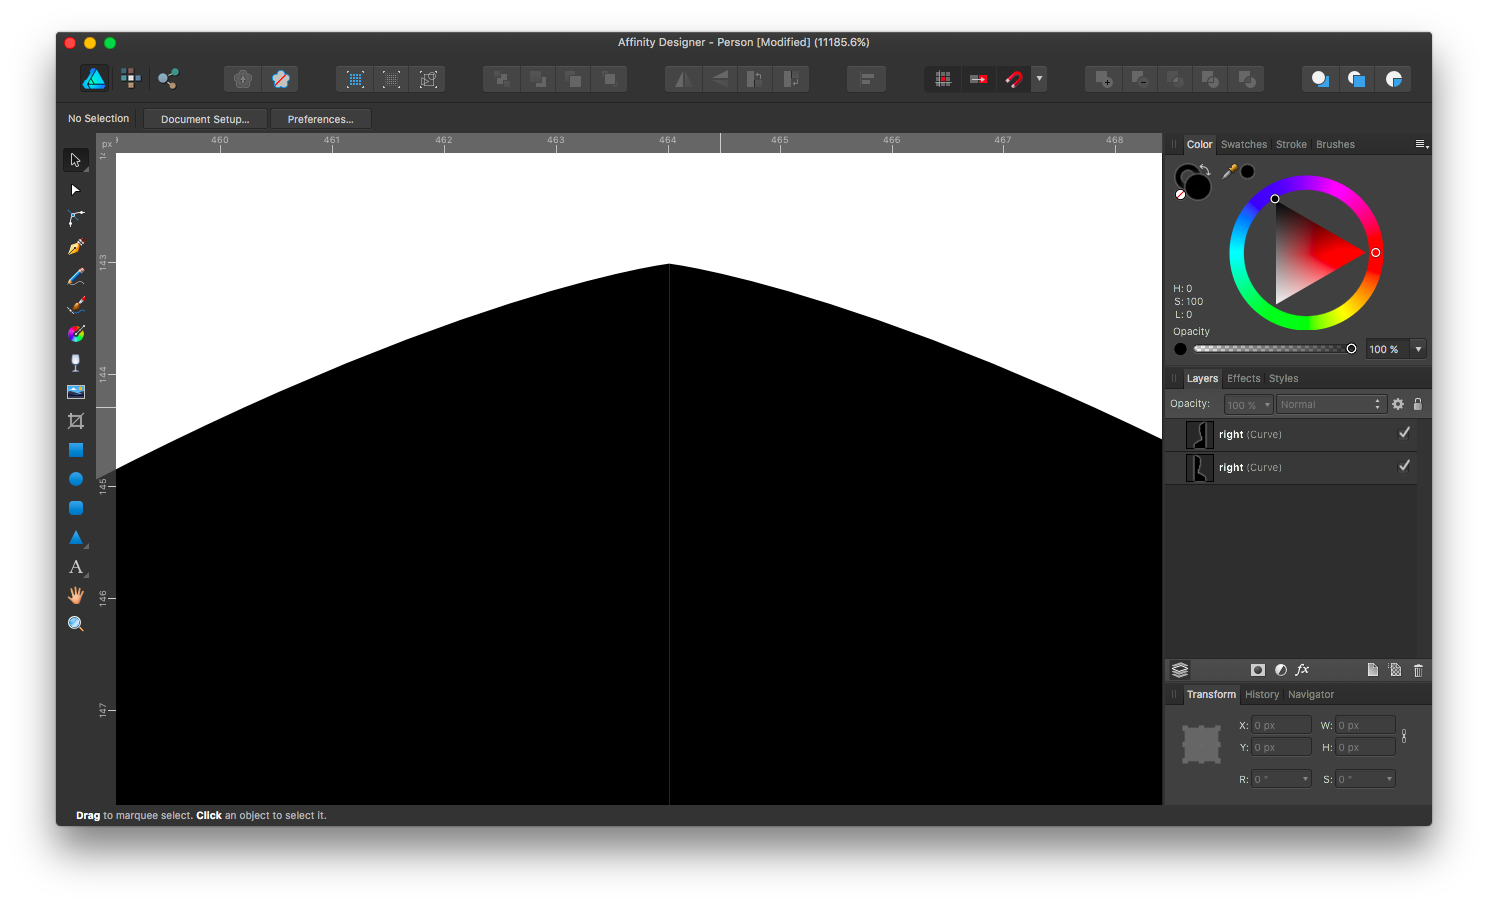
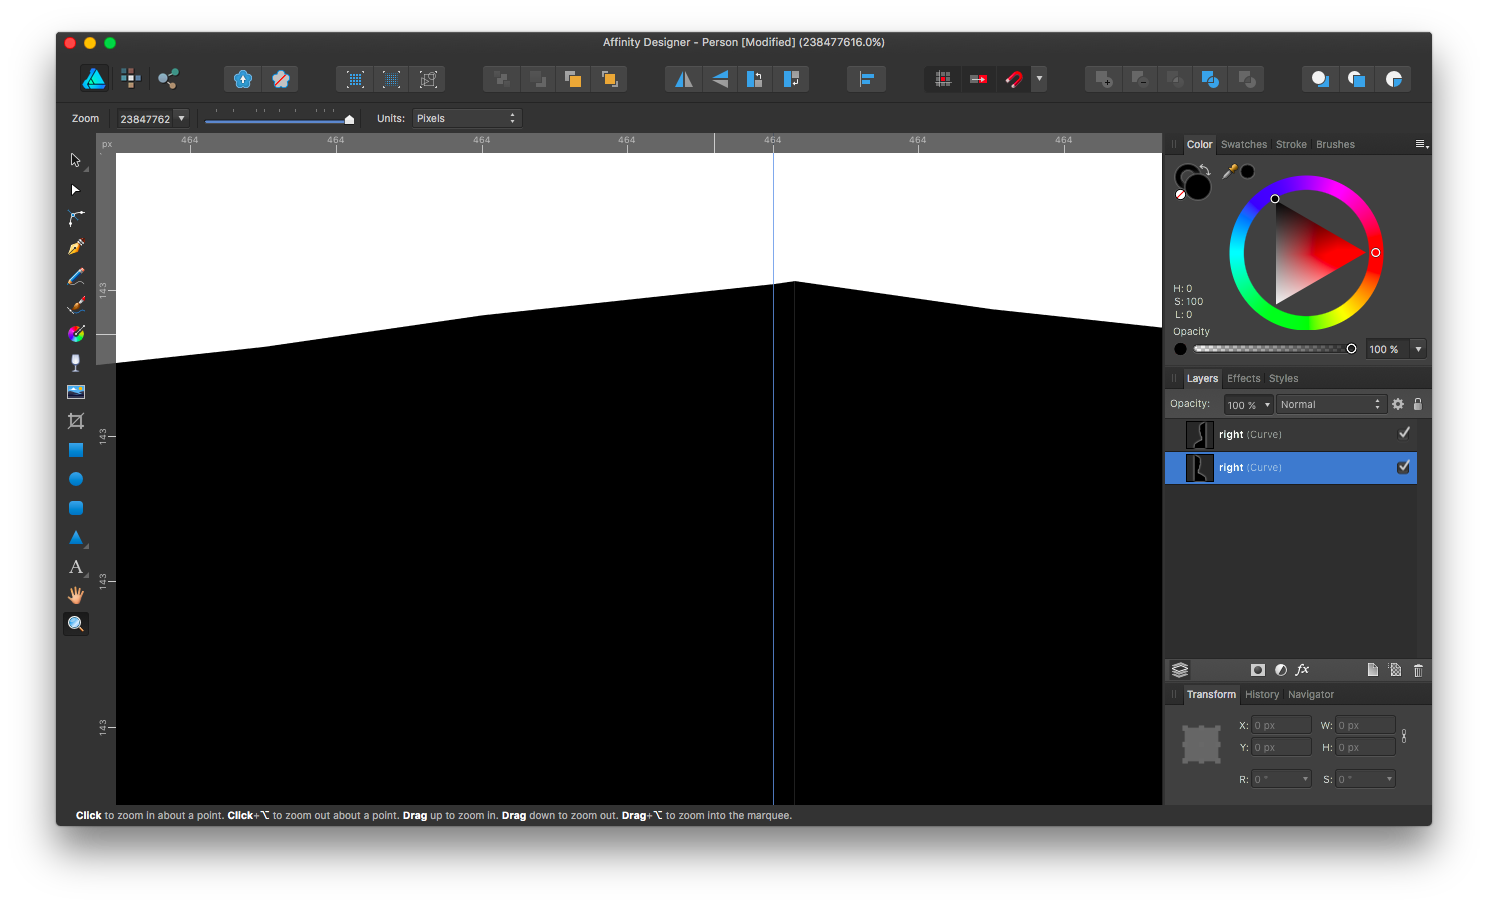
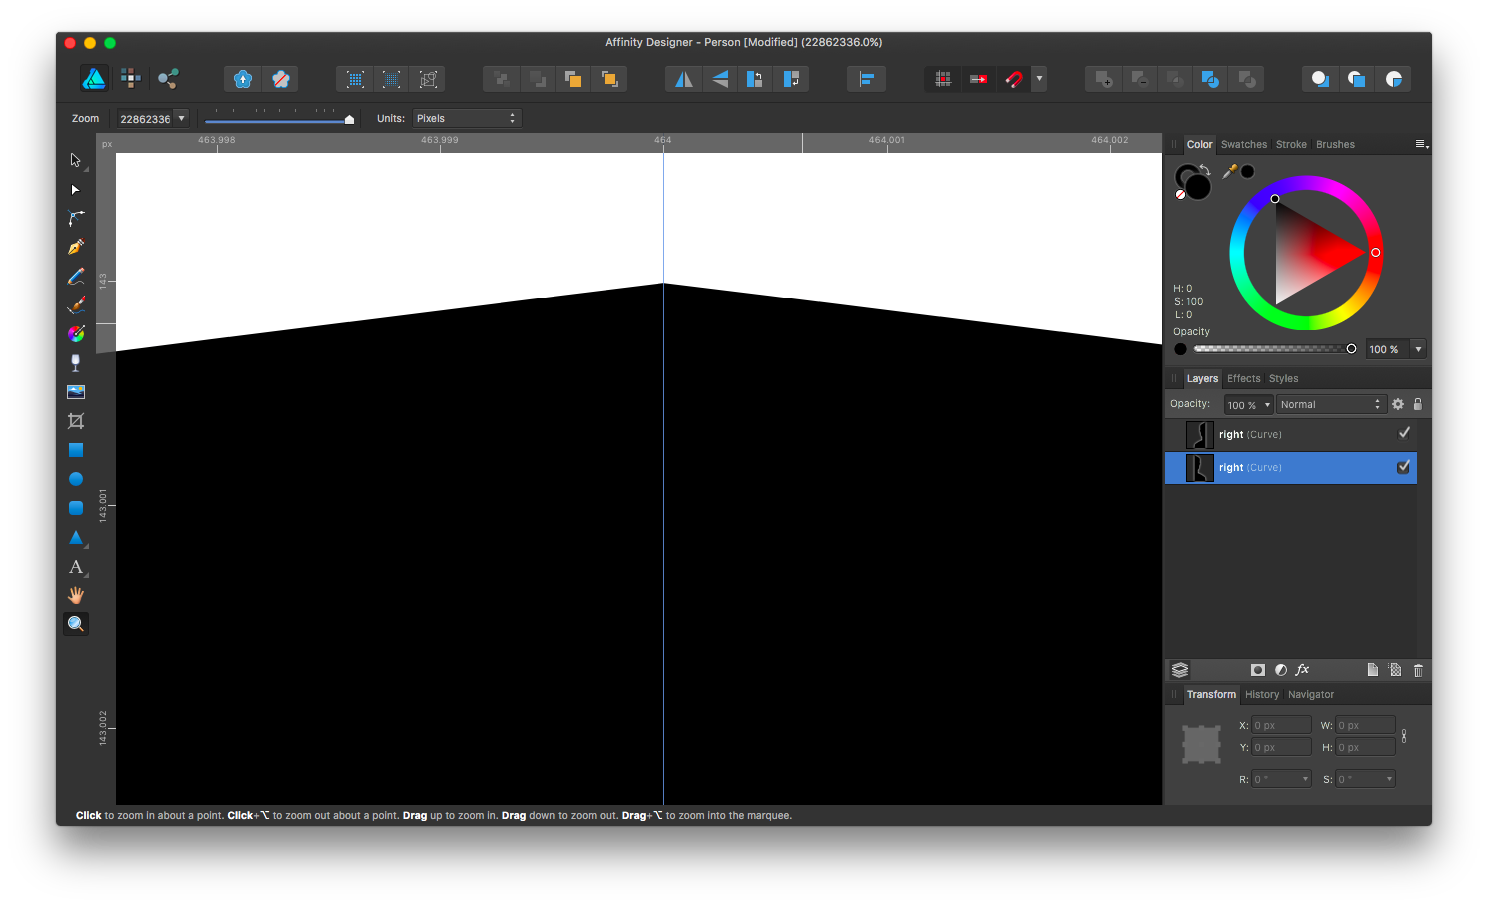
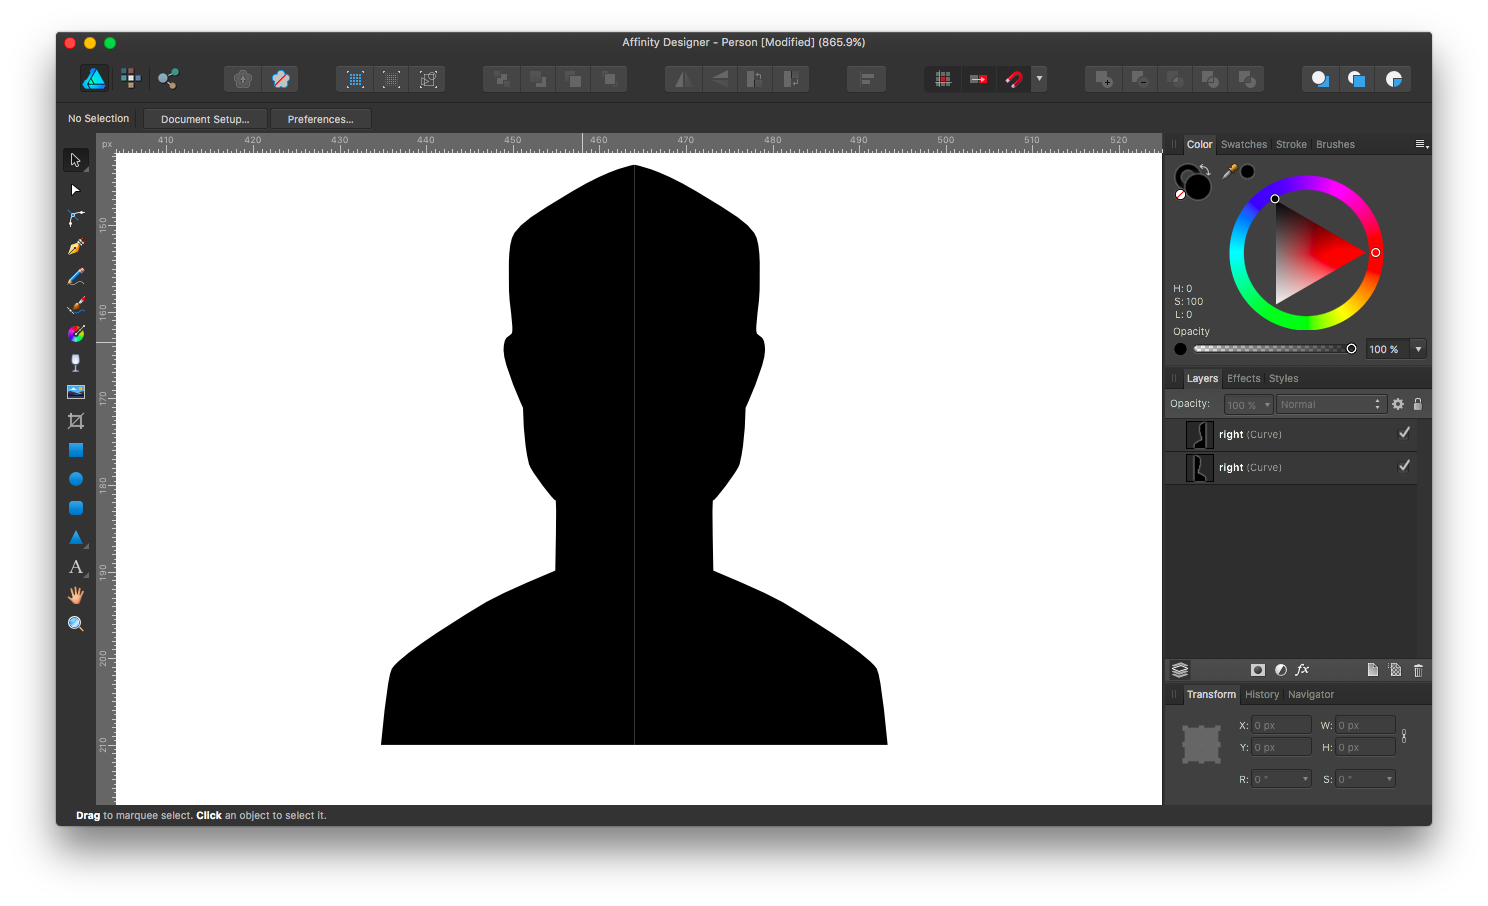
 I am trying to create the icon of a person in Affinity Designer. I made one half of the person with the Pen tool, and then I try to make the other half by duplicating the path, transform by flip horizontal and then move it into place. It looks ok, but when I zoom in, there is a gap that is smaller than a pixel. How can I fix this? Nothing I do gets rid of that gap.
-
 Feature request to enable nodes to be equally distributed along a path, using the align space tool.
 -
 This is probably a pretty silly question, but I'm having a pretty hard time with it... I have a custom vector path on top of a rasterized image. I want to use that custom vector path as a selection outline... How do I convert that veto into a selection marquee? I feel like I'm either overthinking this or it's not possible in Affinity... I tried using the selection brush and lasso tool, but I'm not able to produce the same results with my shape, effectively. Any thoughts?
 -
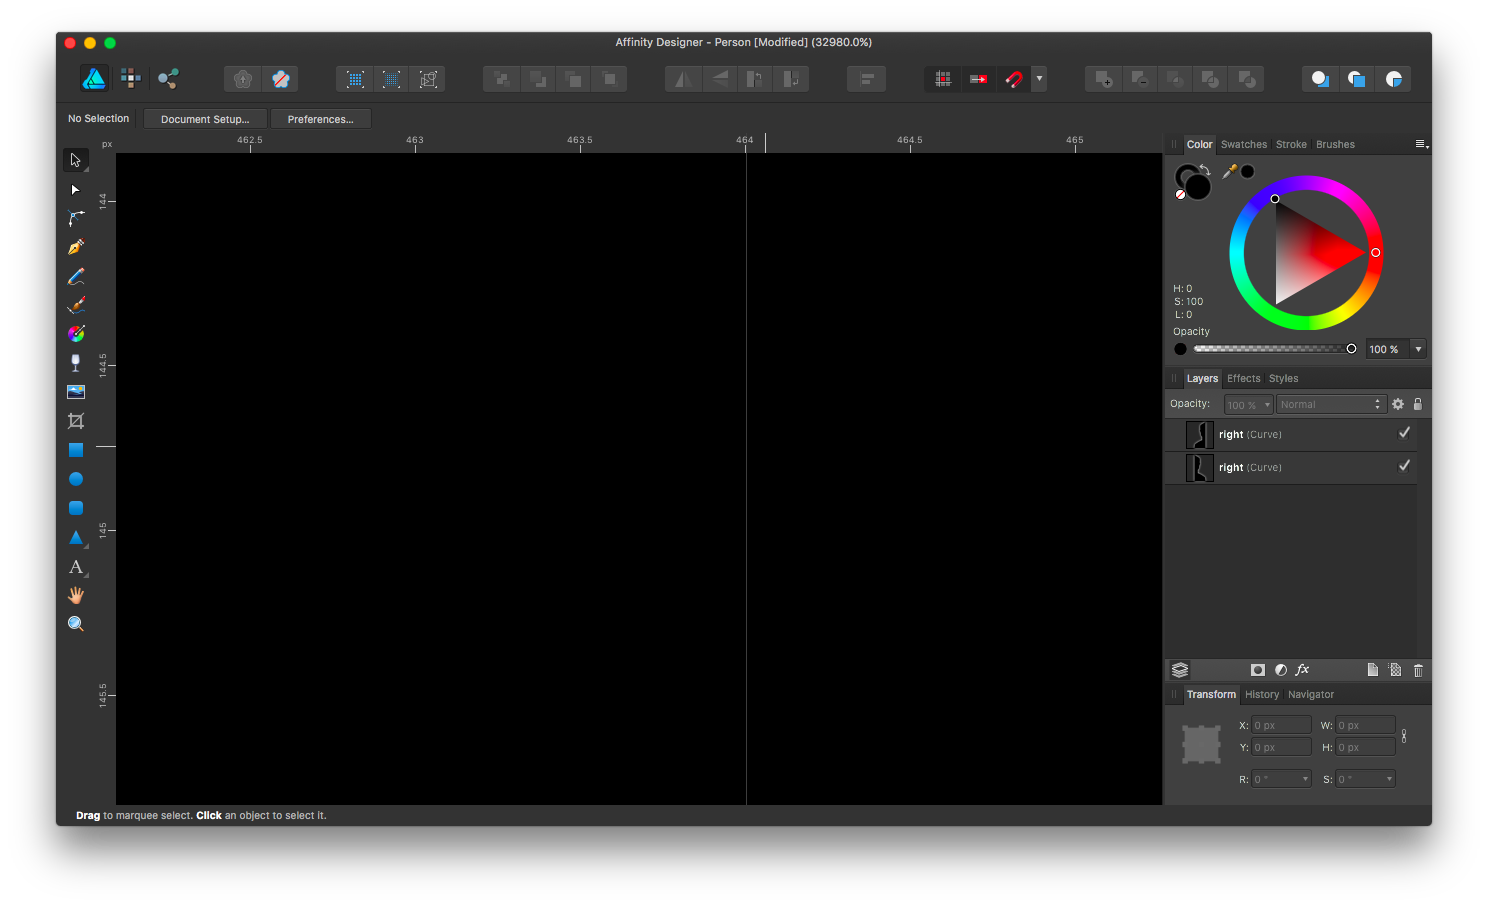
 Perhaps someone can help me here. There's no Affinity manual yet so I'm kind of lost. I'm a design things for motion graphics as needed kind of guy so I'm fairly vector illiterate. Does the red colored control point mean the path is open? Can I "close" it? I'm trying to troubleshoot something. I am converting Designer generated .SVG files into 3D objects. In the 3D program though I am ending up with random lines shooting out from the object in all directions. I'm assuming these are "open paths" if that makes sense? So first step for me, what does the red control point mean? Why is it red vs the blue of the rest? When I first created the shape they were all blue. I then go in and tweak with the bezier handles and one always turns red.
-
This is a feature I've grown to love in illustrator. If you have multiple shapes that have been 'combined' to make one object you can double click on it. From there you can click on a part of the combined shape and delete it without having to remove it by deleting one node at a time.
-
 I'm trying to break down the character 道 (dao, as in Dao De Jing) into its component pieces to illustrate how characters are formed. I can convert it to curves, no problem: result is 5 closed paths. But I can't find any way to ungroup those paths. I've tried clicking with the Move and the Node tools plus every combination of Shift / Ctrl / Option / Cmd I can think of, and either all five paths are selected, or none. The Ungroup item in the Layers menu is grey, unavailable. At the moment, it looks as if I'm going to have to delete paths one node at a time—and there are well over 100 of them. Aiyaaah! Am I going to have to rasterize and erase pixels? Anybody who knows an easy way to do what I want—select the 首 only, for example—please help! Thanks! 道.afdesign
 -
Hi there as the title says, it would be great if i could copy paths i draw in Affinity Photo and paste them into a document in Affinity Designer so I can continue working with the paths there and fill them and so on. I love the idea of an alternative to Photoshop/Illustrator and am ready to completely leave them behind as soon as the features i need are all implemented in Affinity Photo and Designer thanks!