Search the Community
Showing results for tags 'Nature'.
-
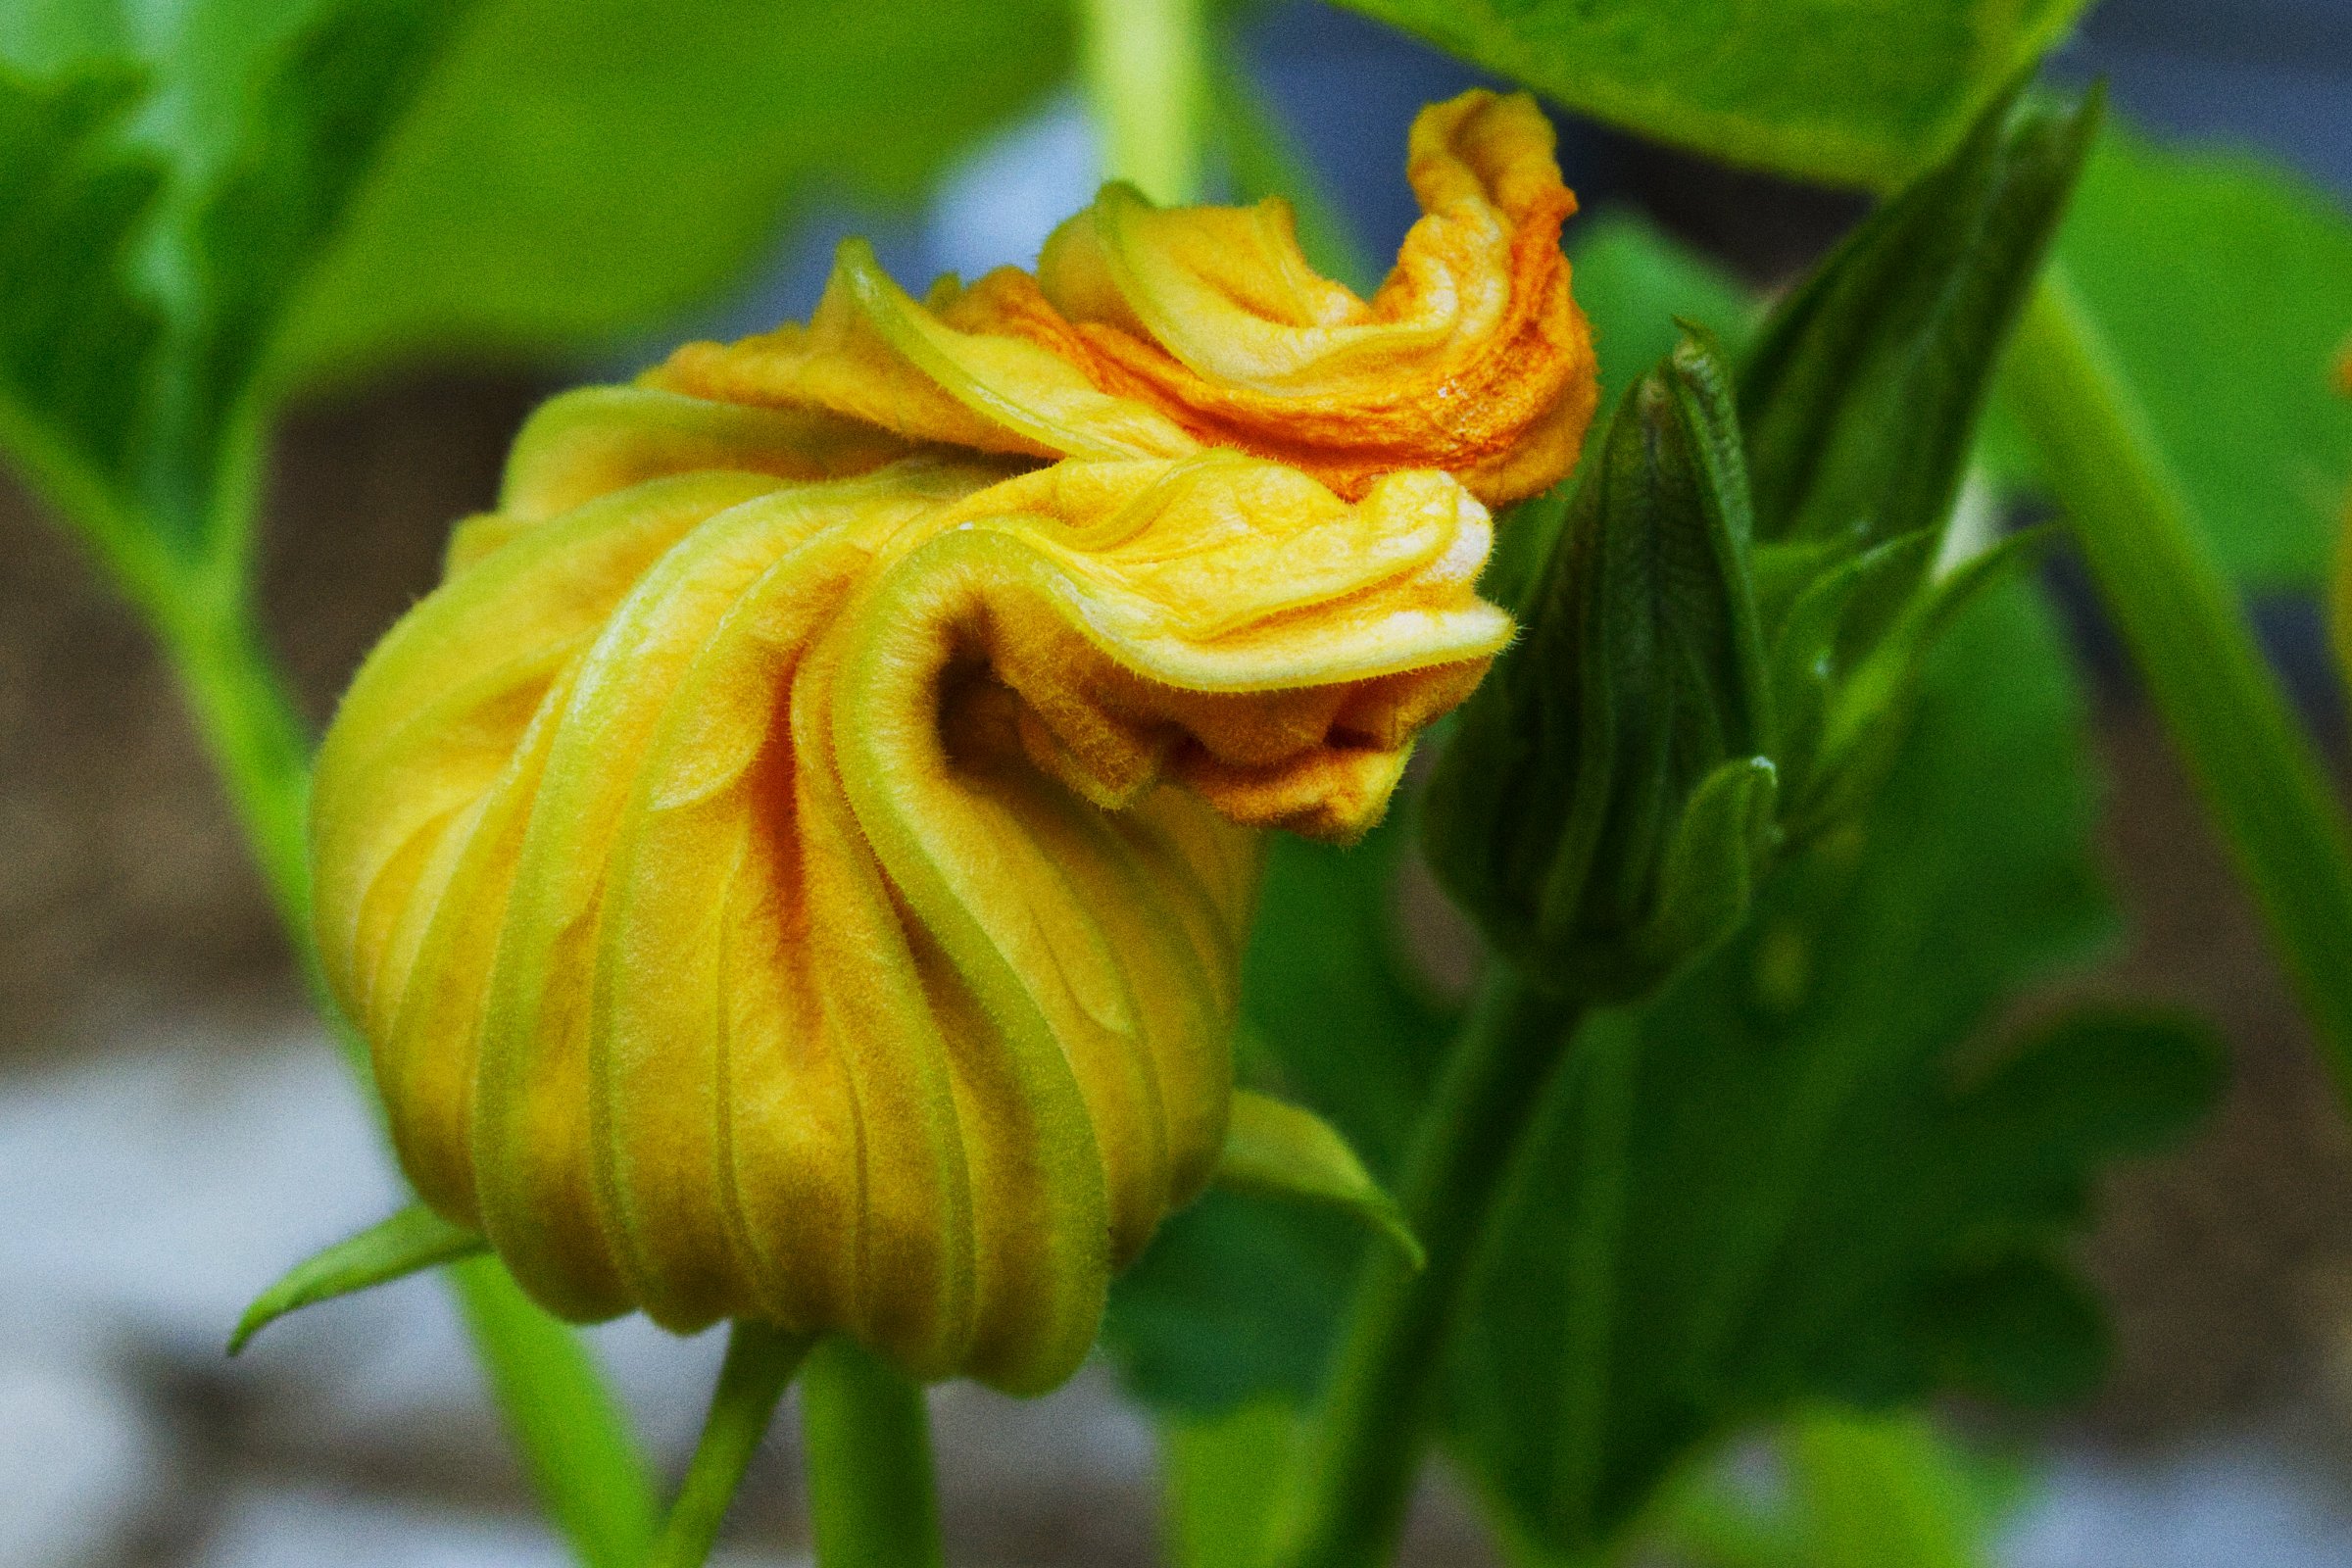
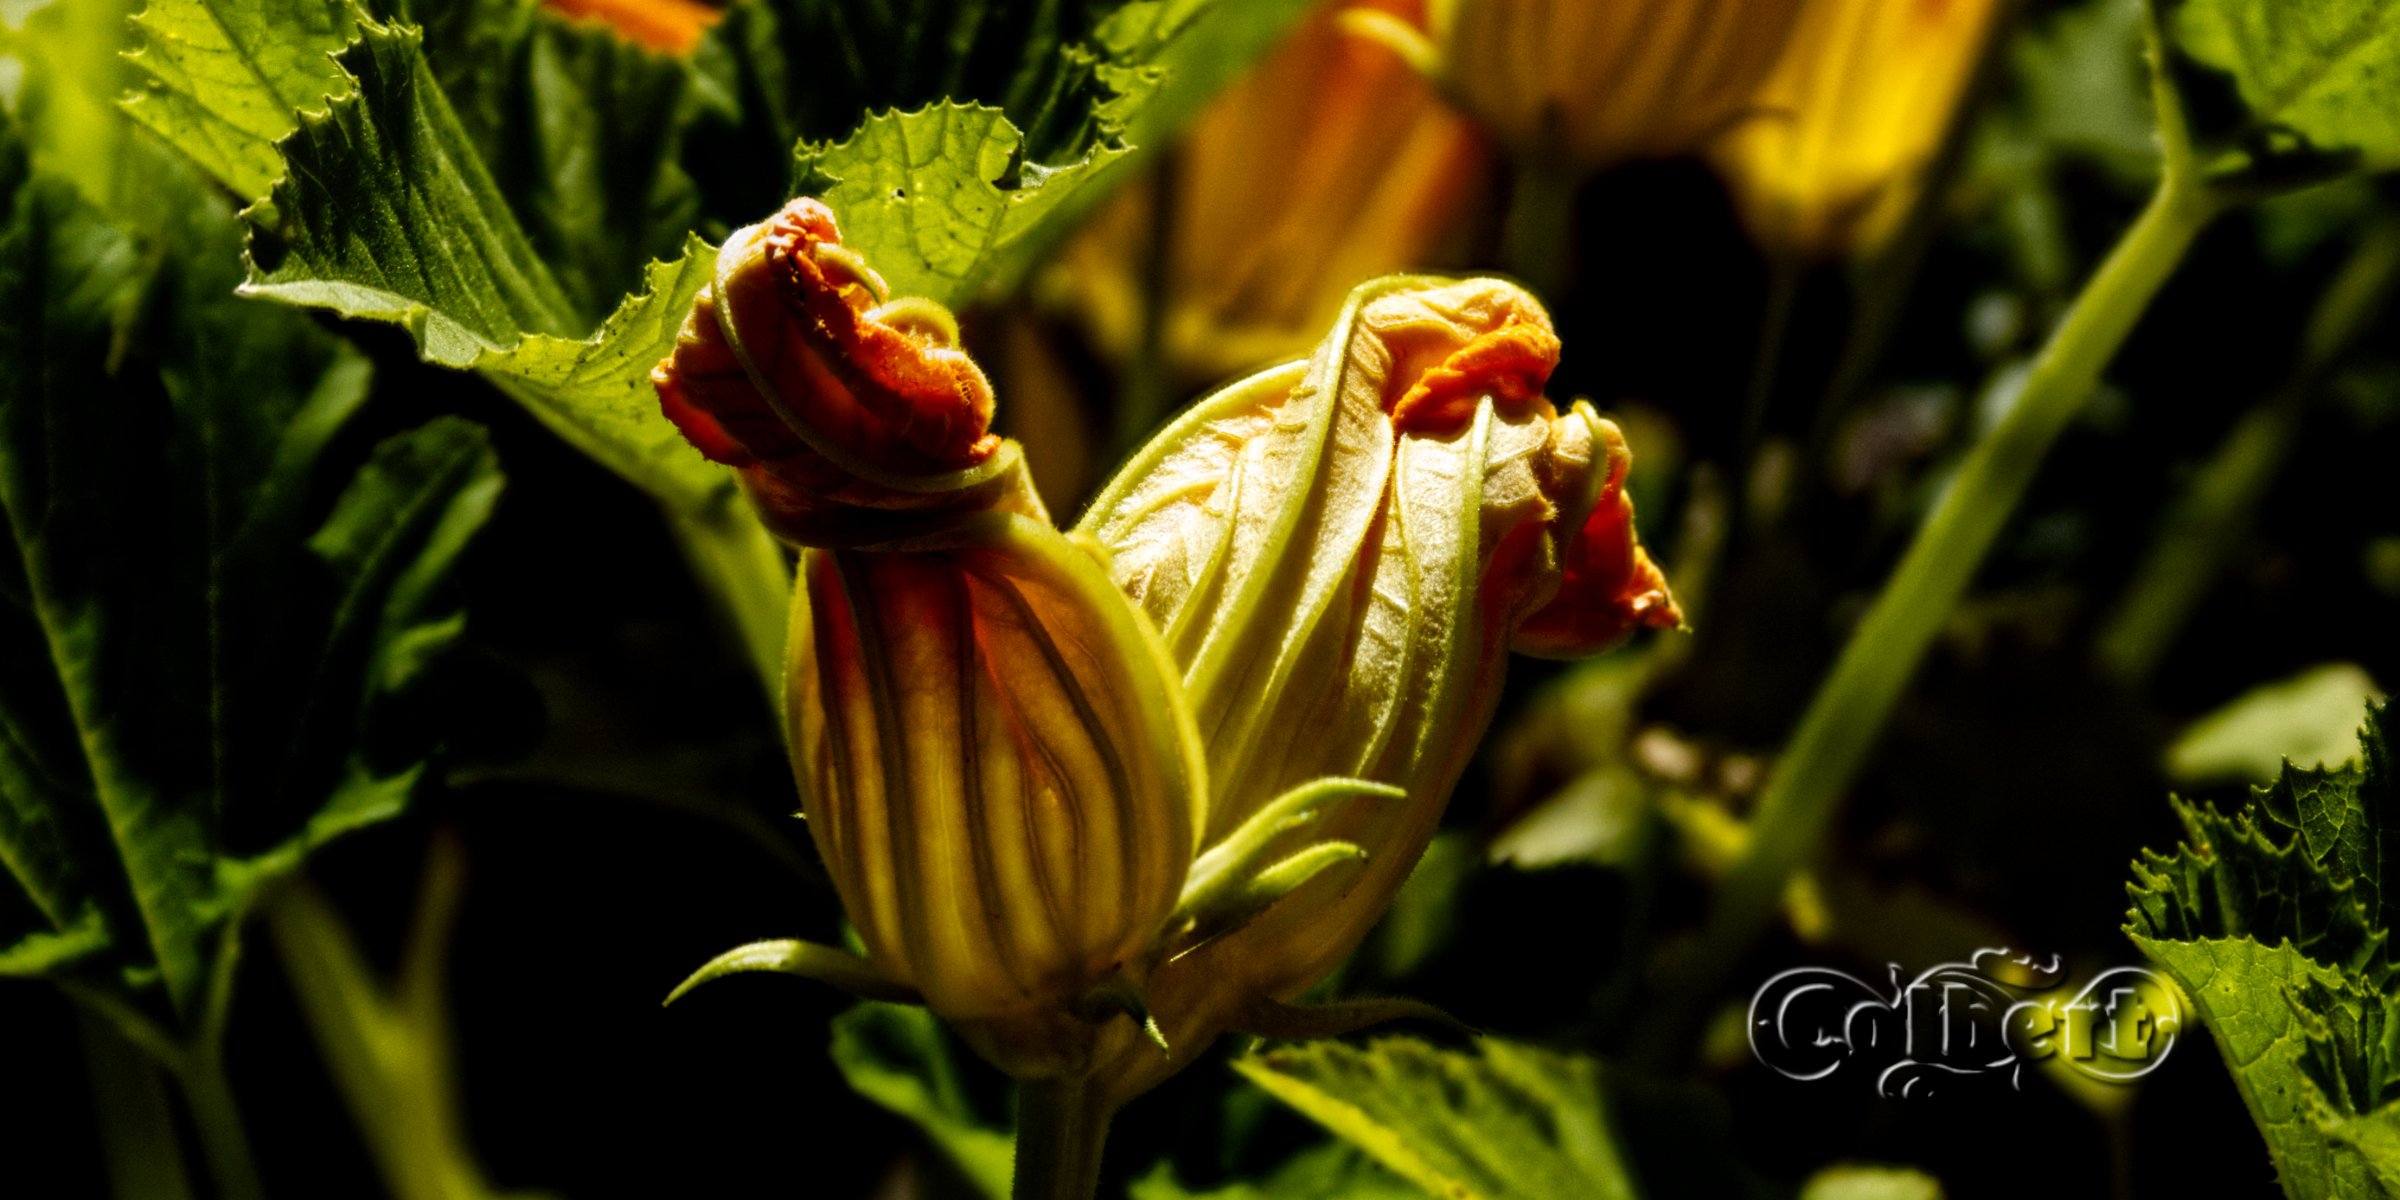
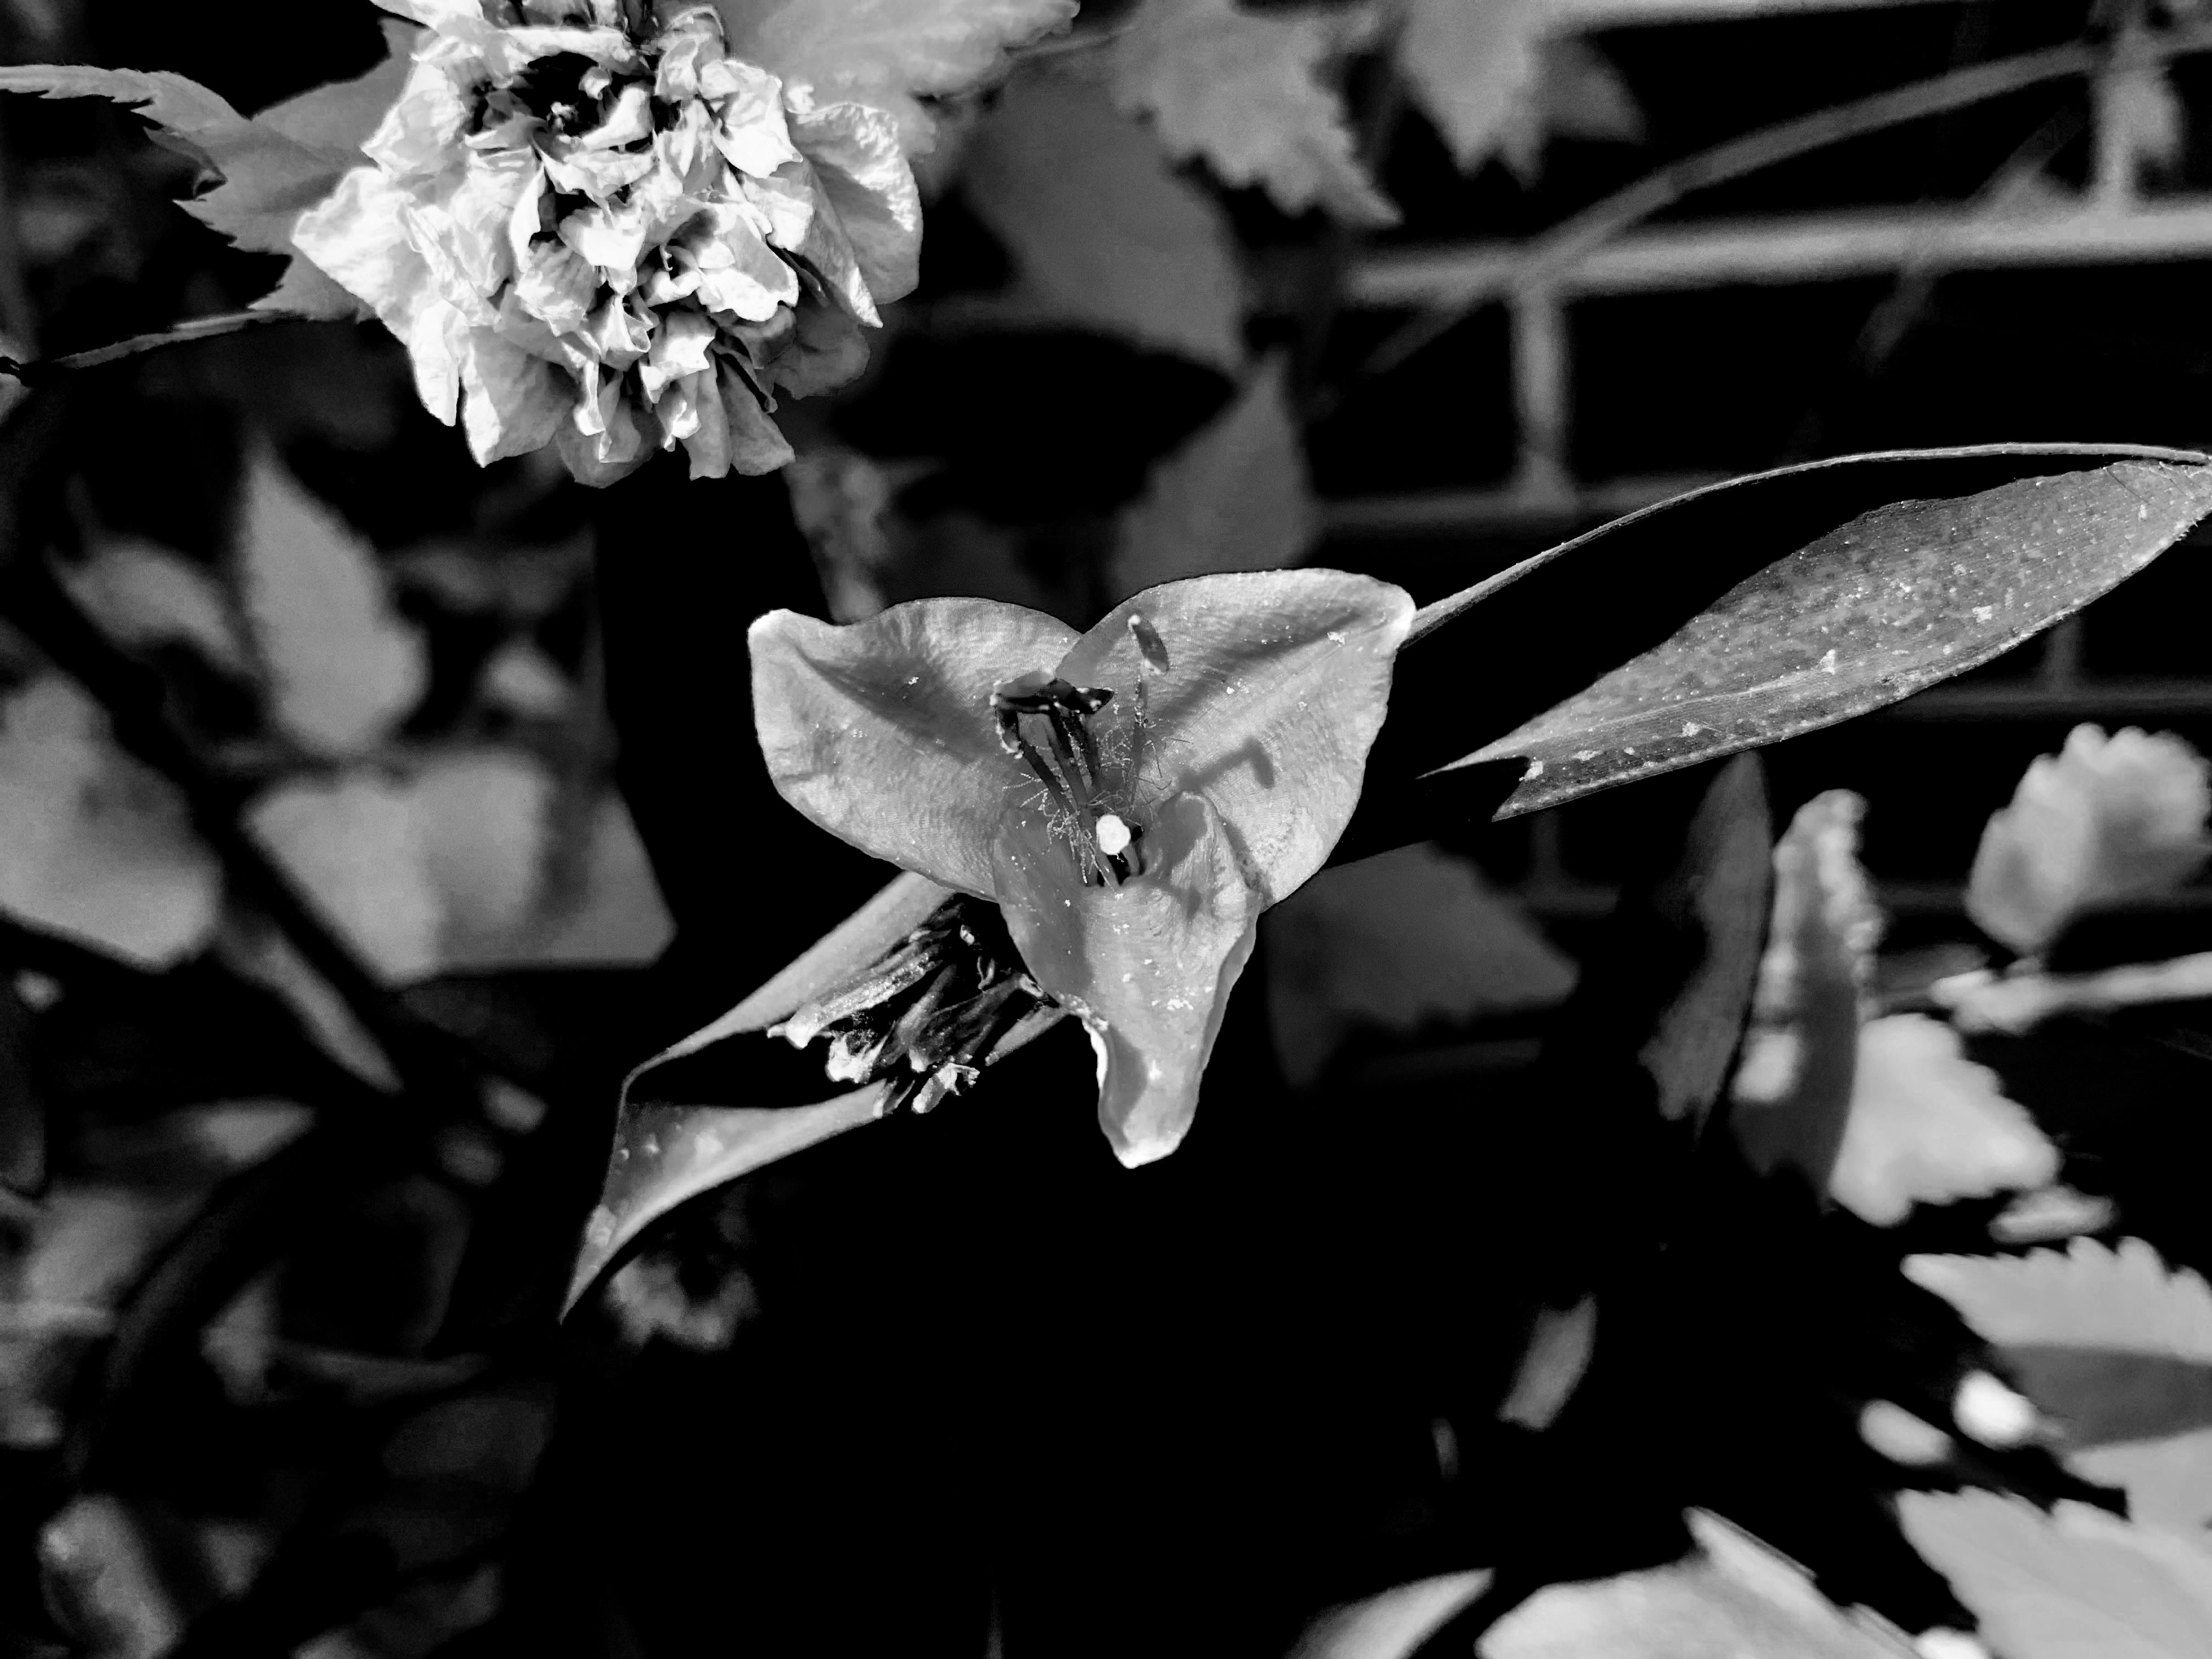
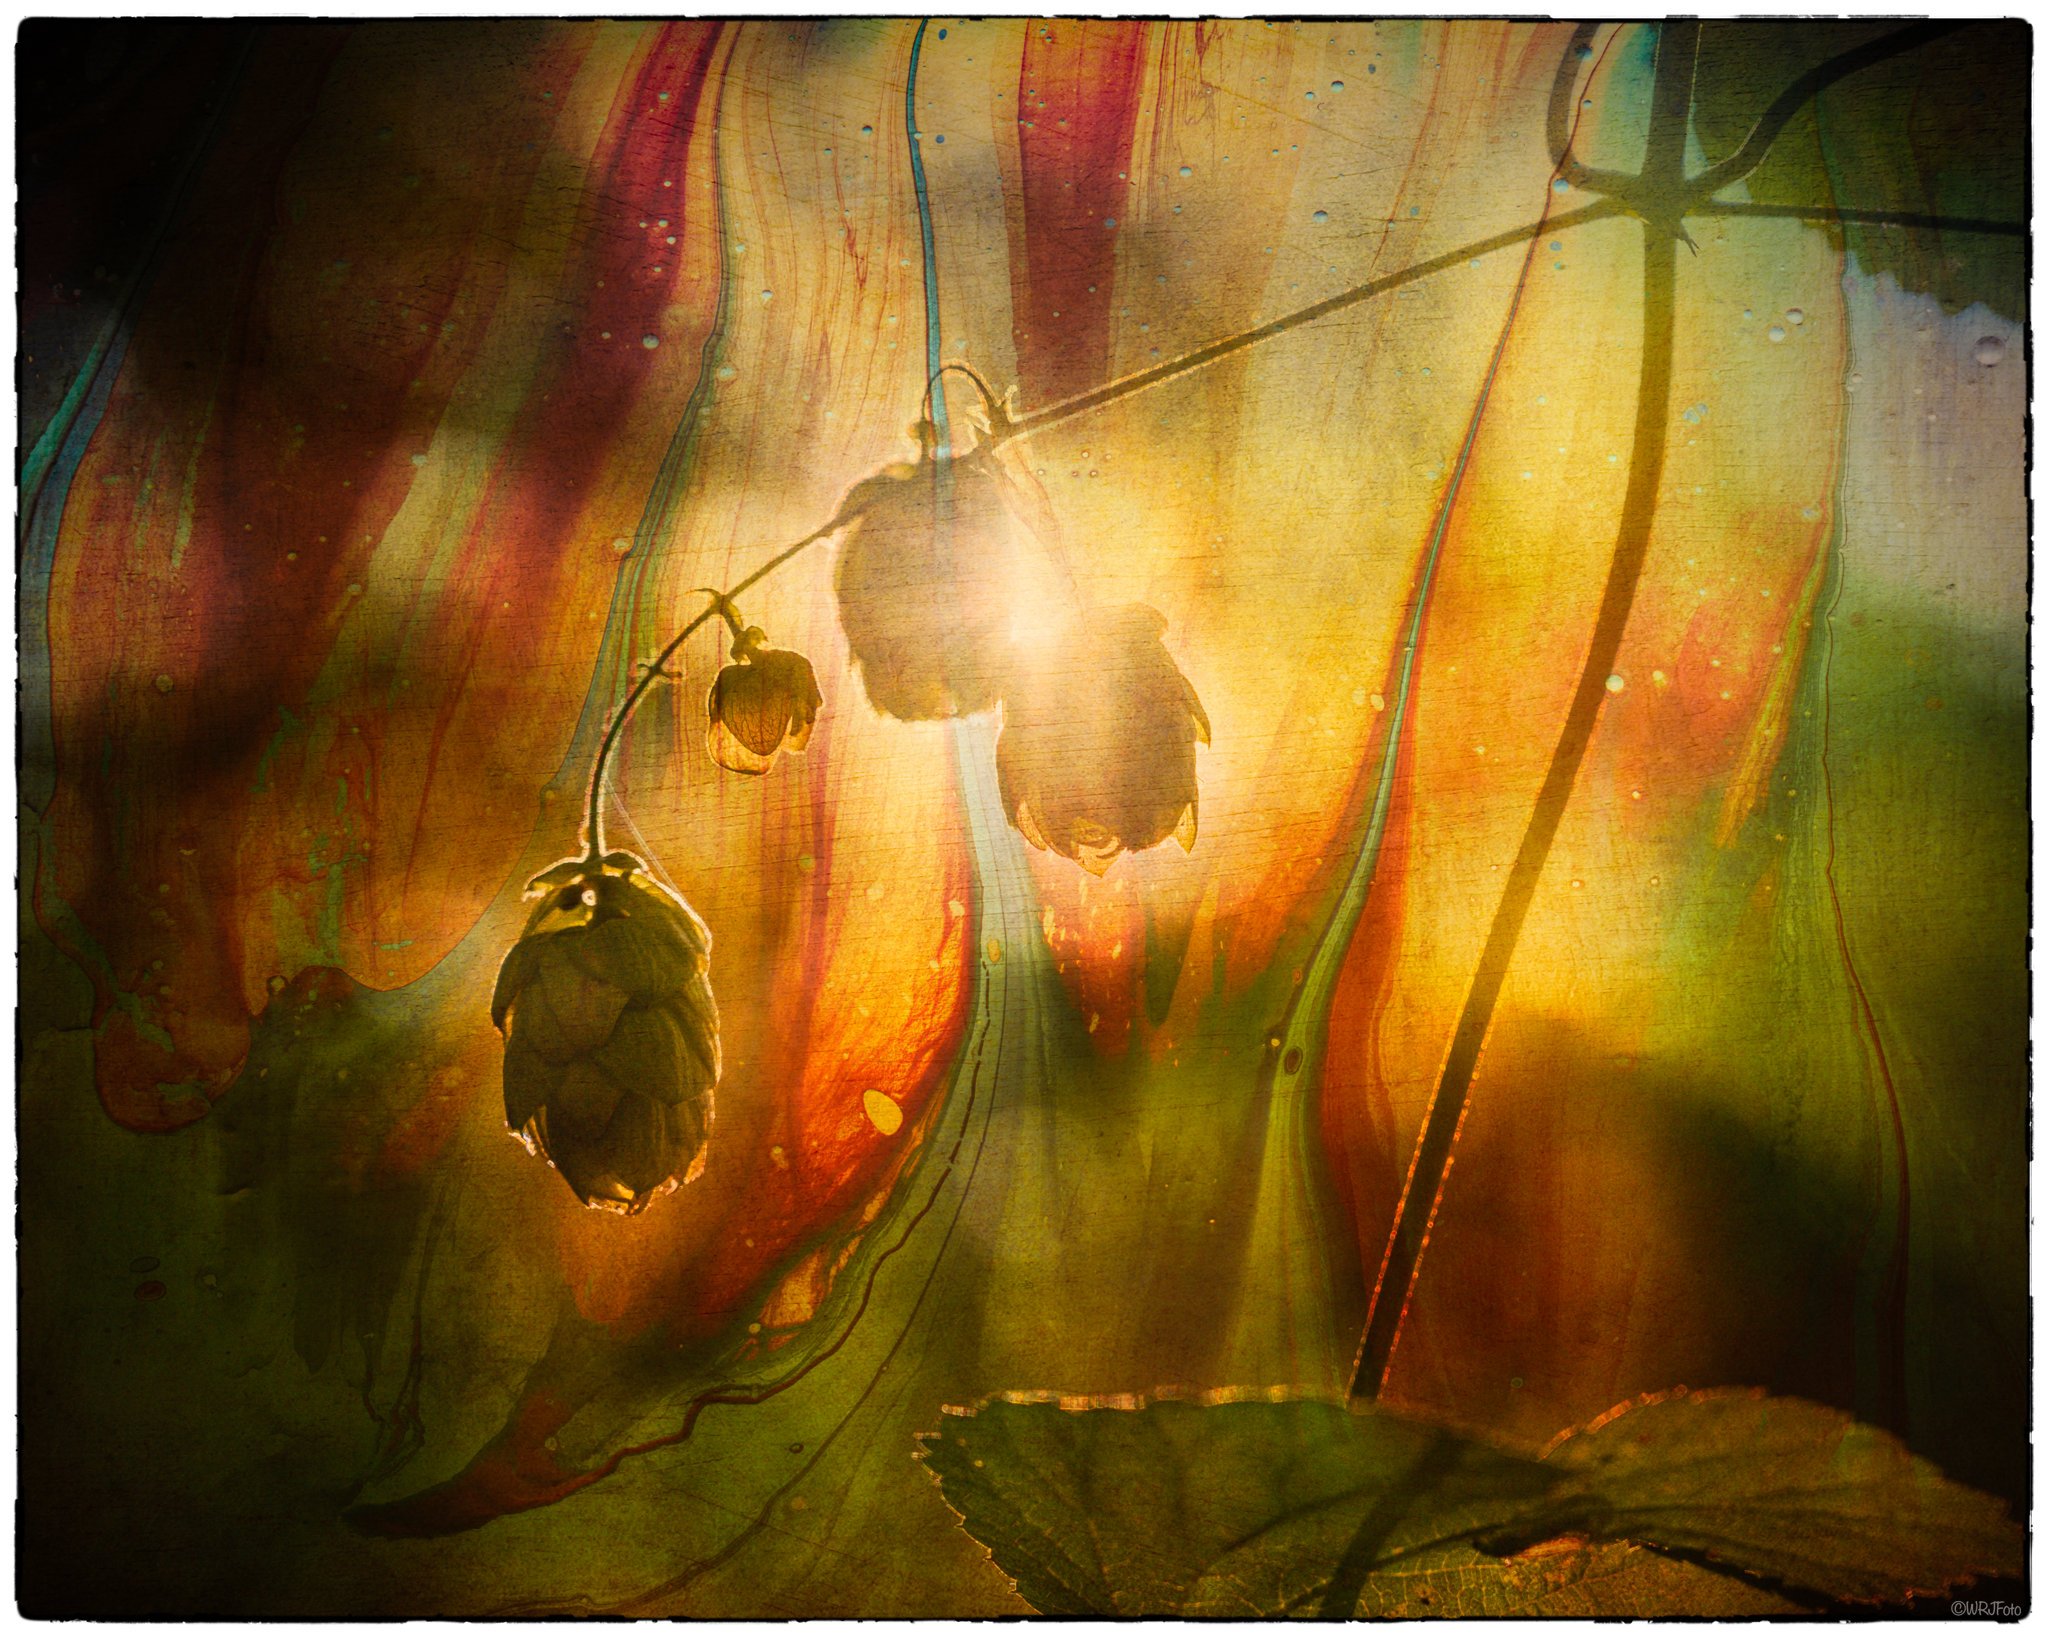
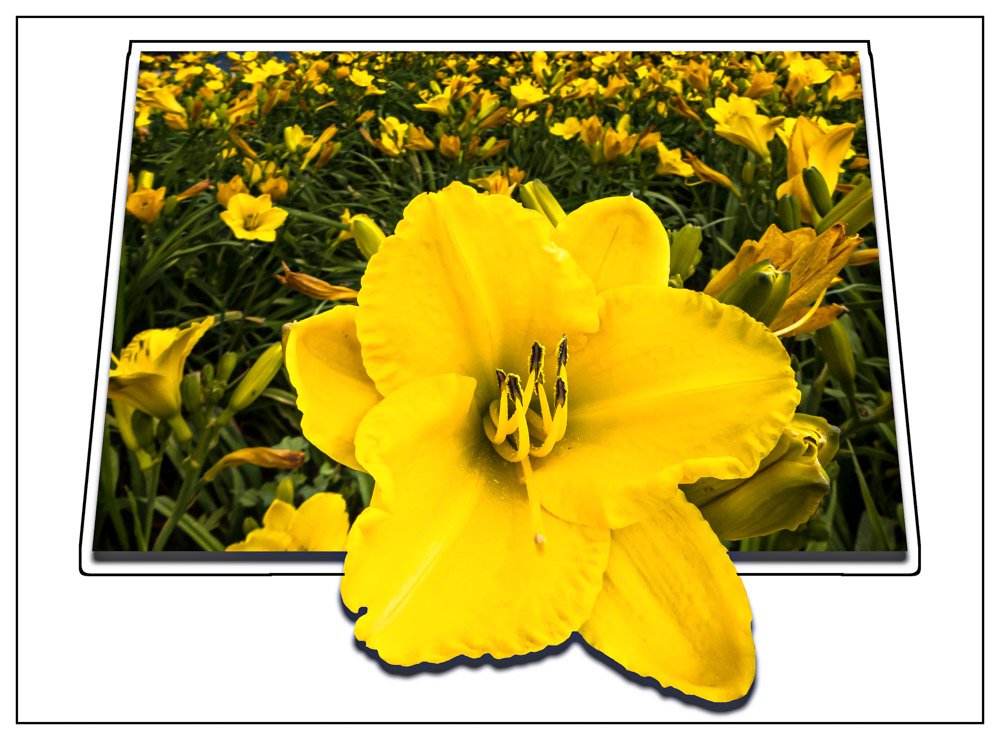
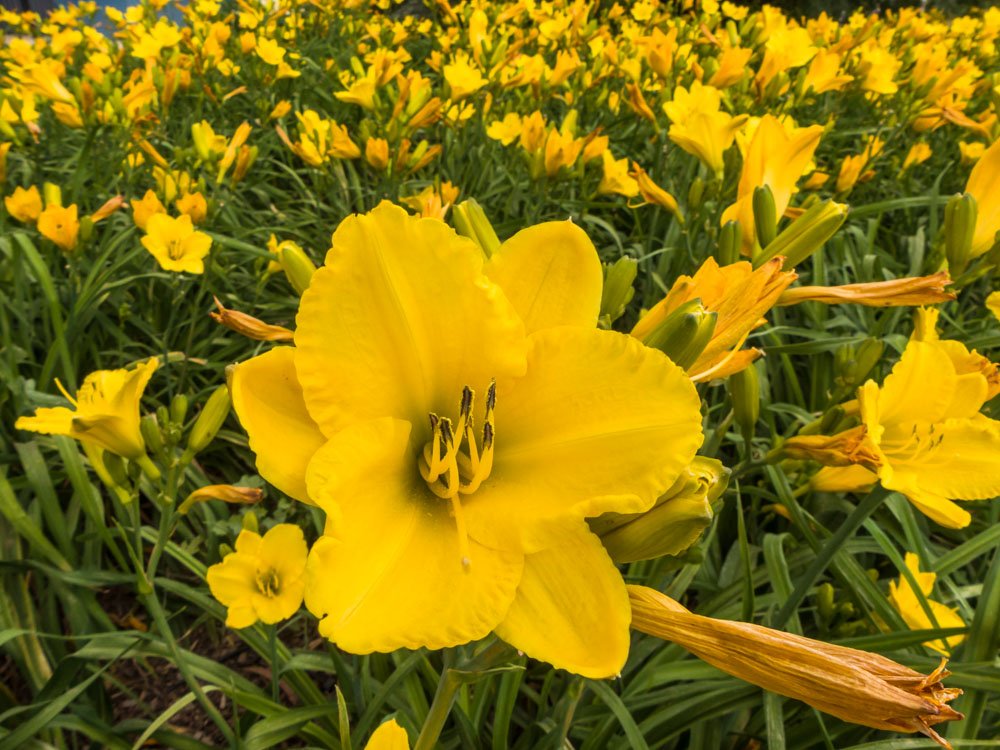
However, I do love the shape of their blooms as they unwind but before they fully open. The first image was taken in overcast conditions, while the second one was taken in the morning with the sun behind the blooms. Wish I had remembered to return the ISO to 200 or maybe 100 before the second shot. Sure would have looked better and possibly had better contrast and color. The second image is also a "focus merge" of two images. Does anyone know if Affinity Photo considers the order of the images included in the merge? I tried it twice with those images, but when I picked the near bloom first and the far bloom second, the image looked different than when I chose the far bloom first (top of the stack) and the near bloom last (bottom of stack), which is where this image came from.

-
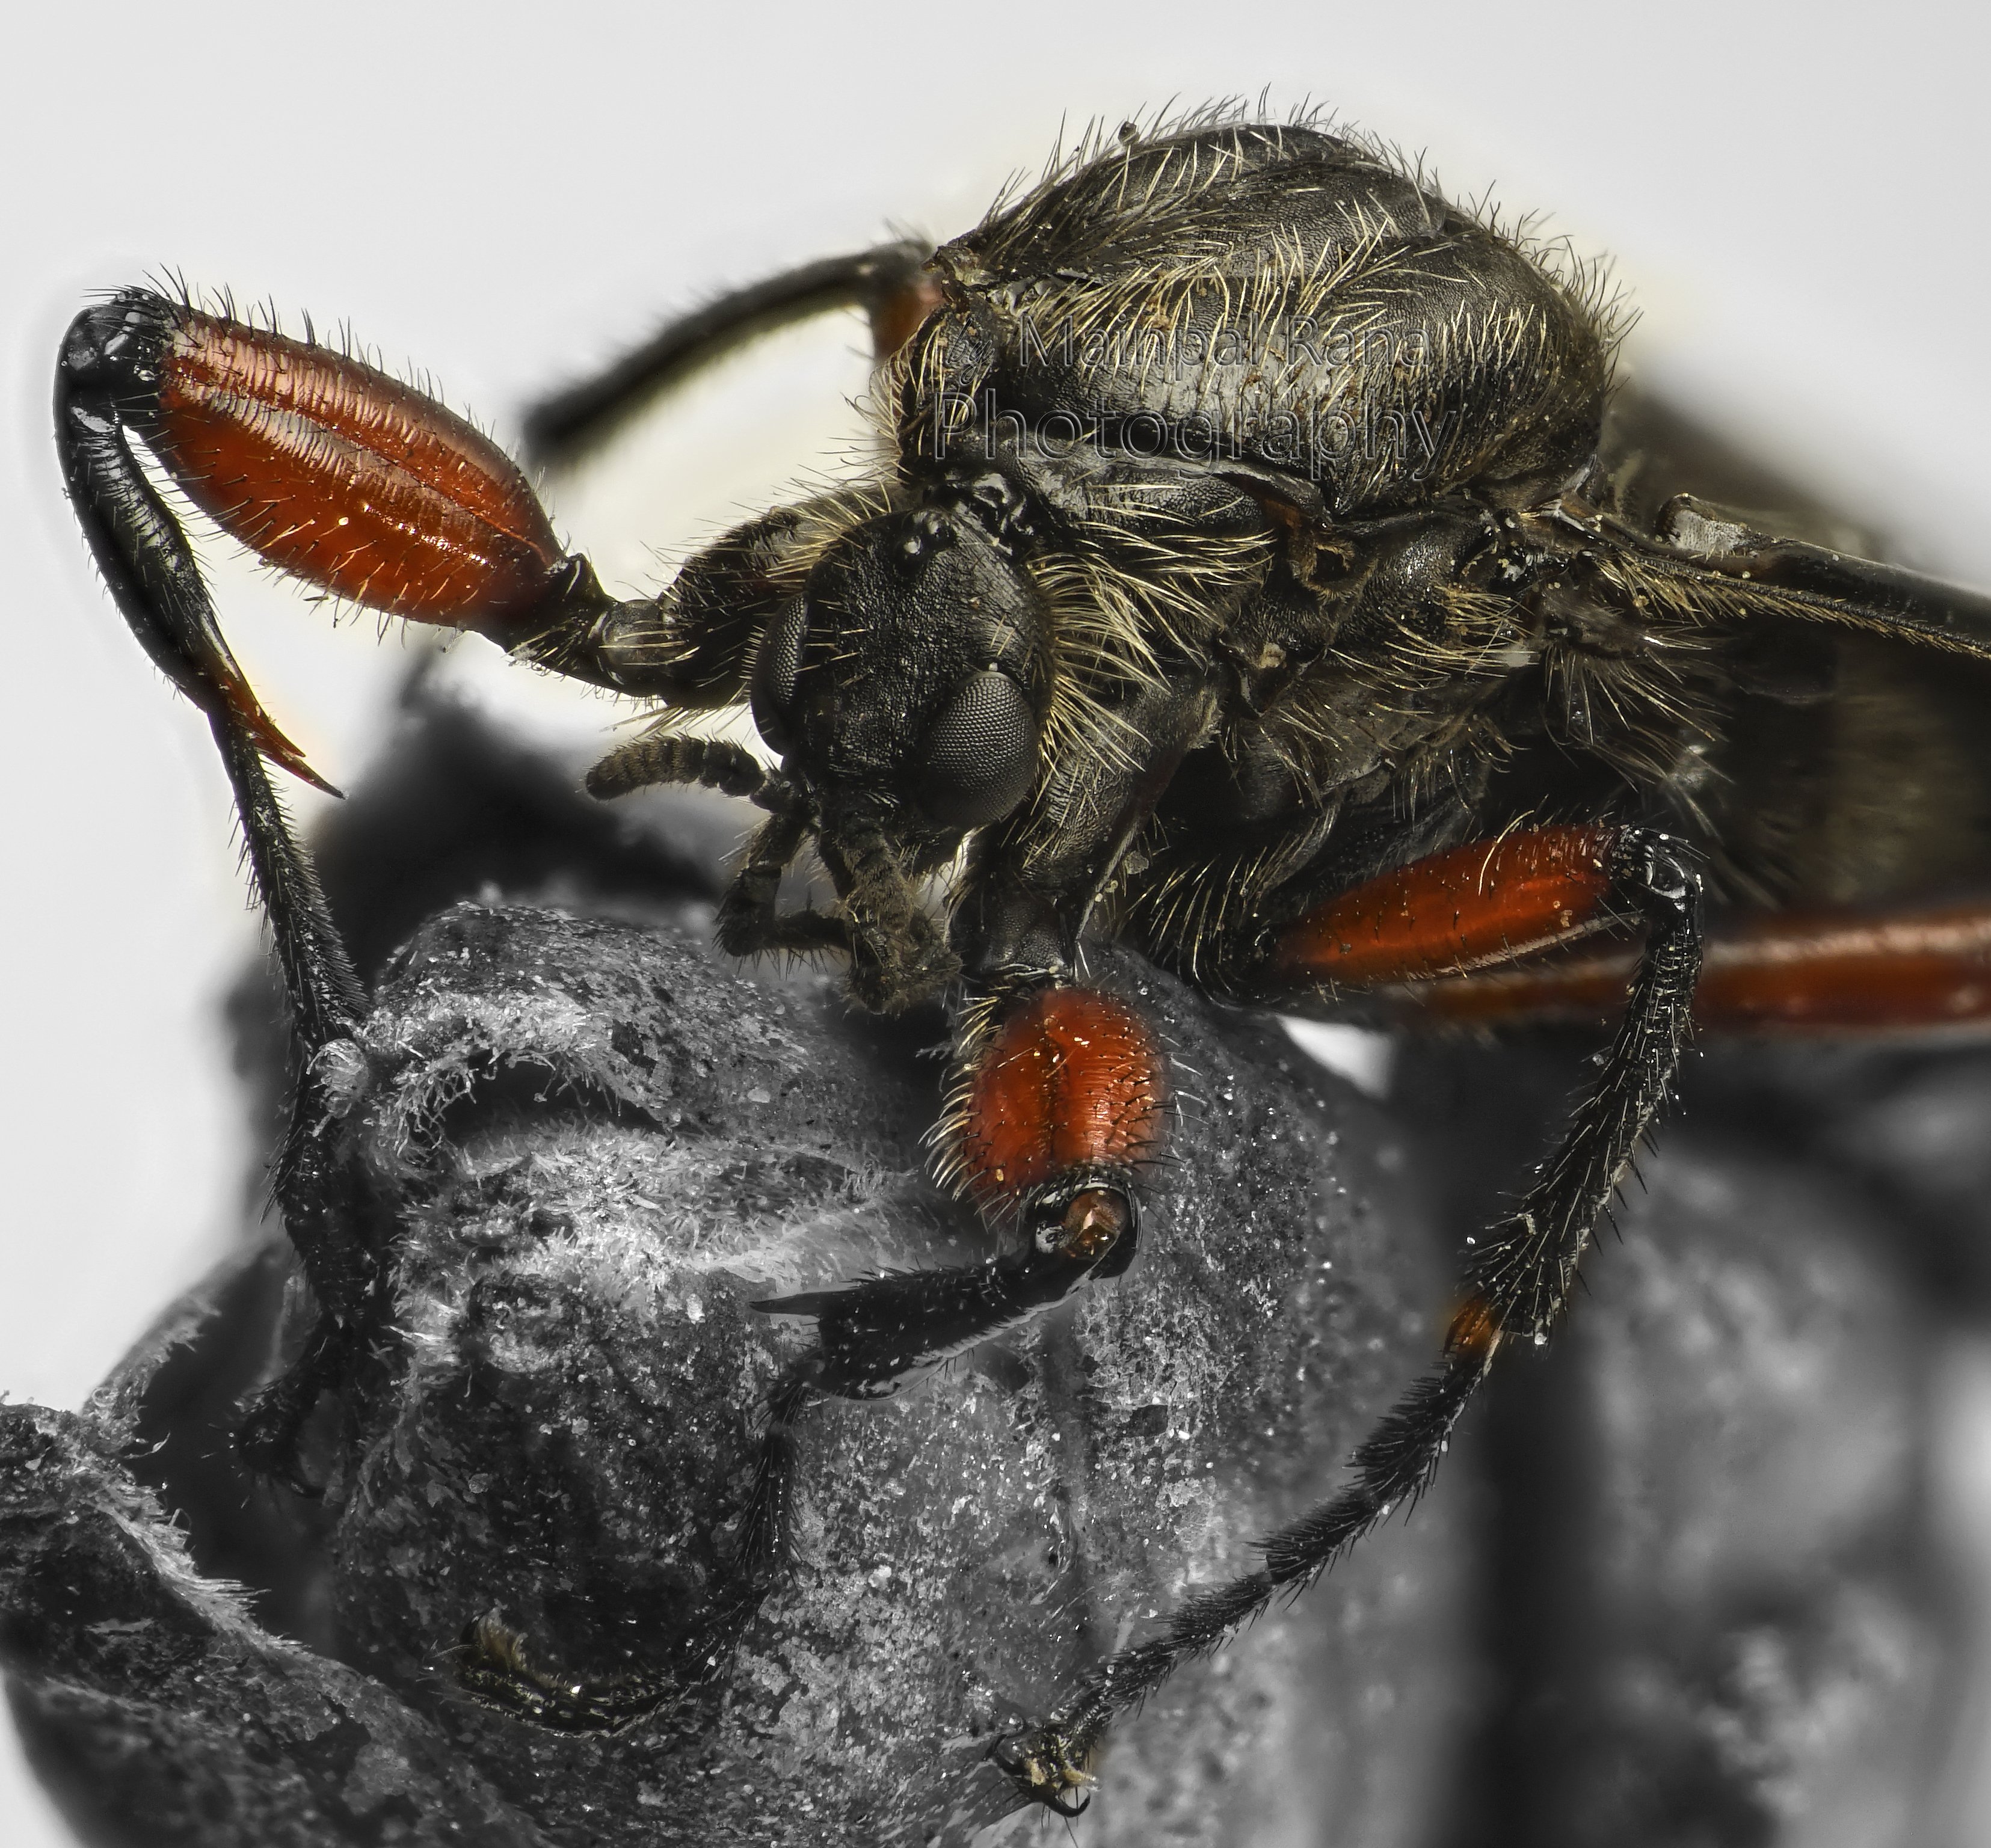
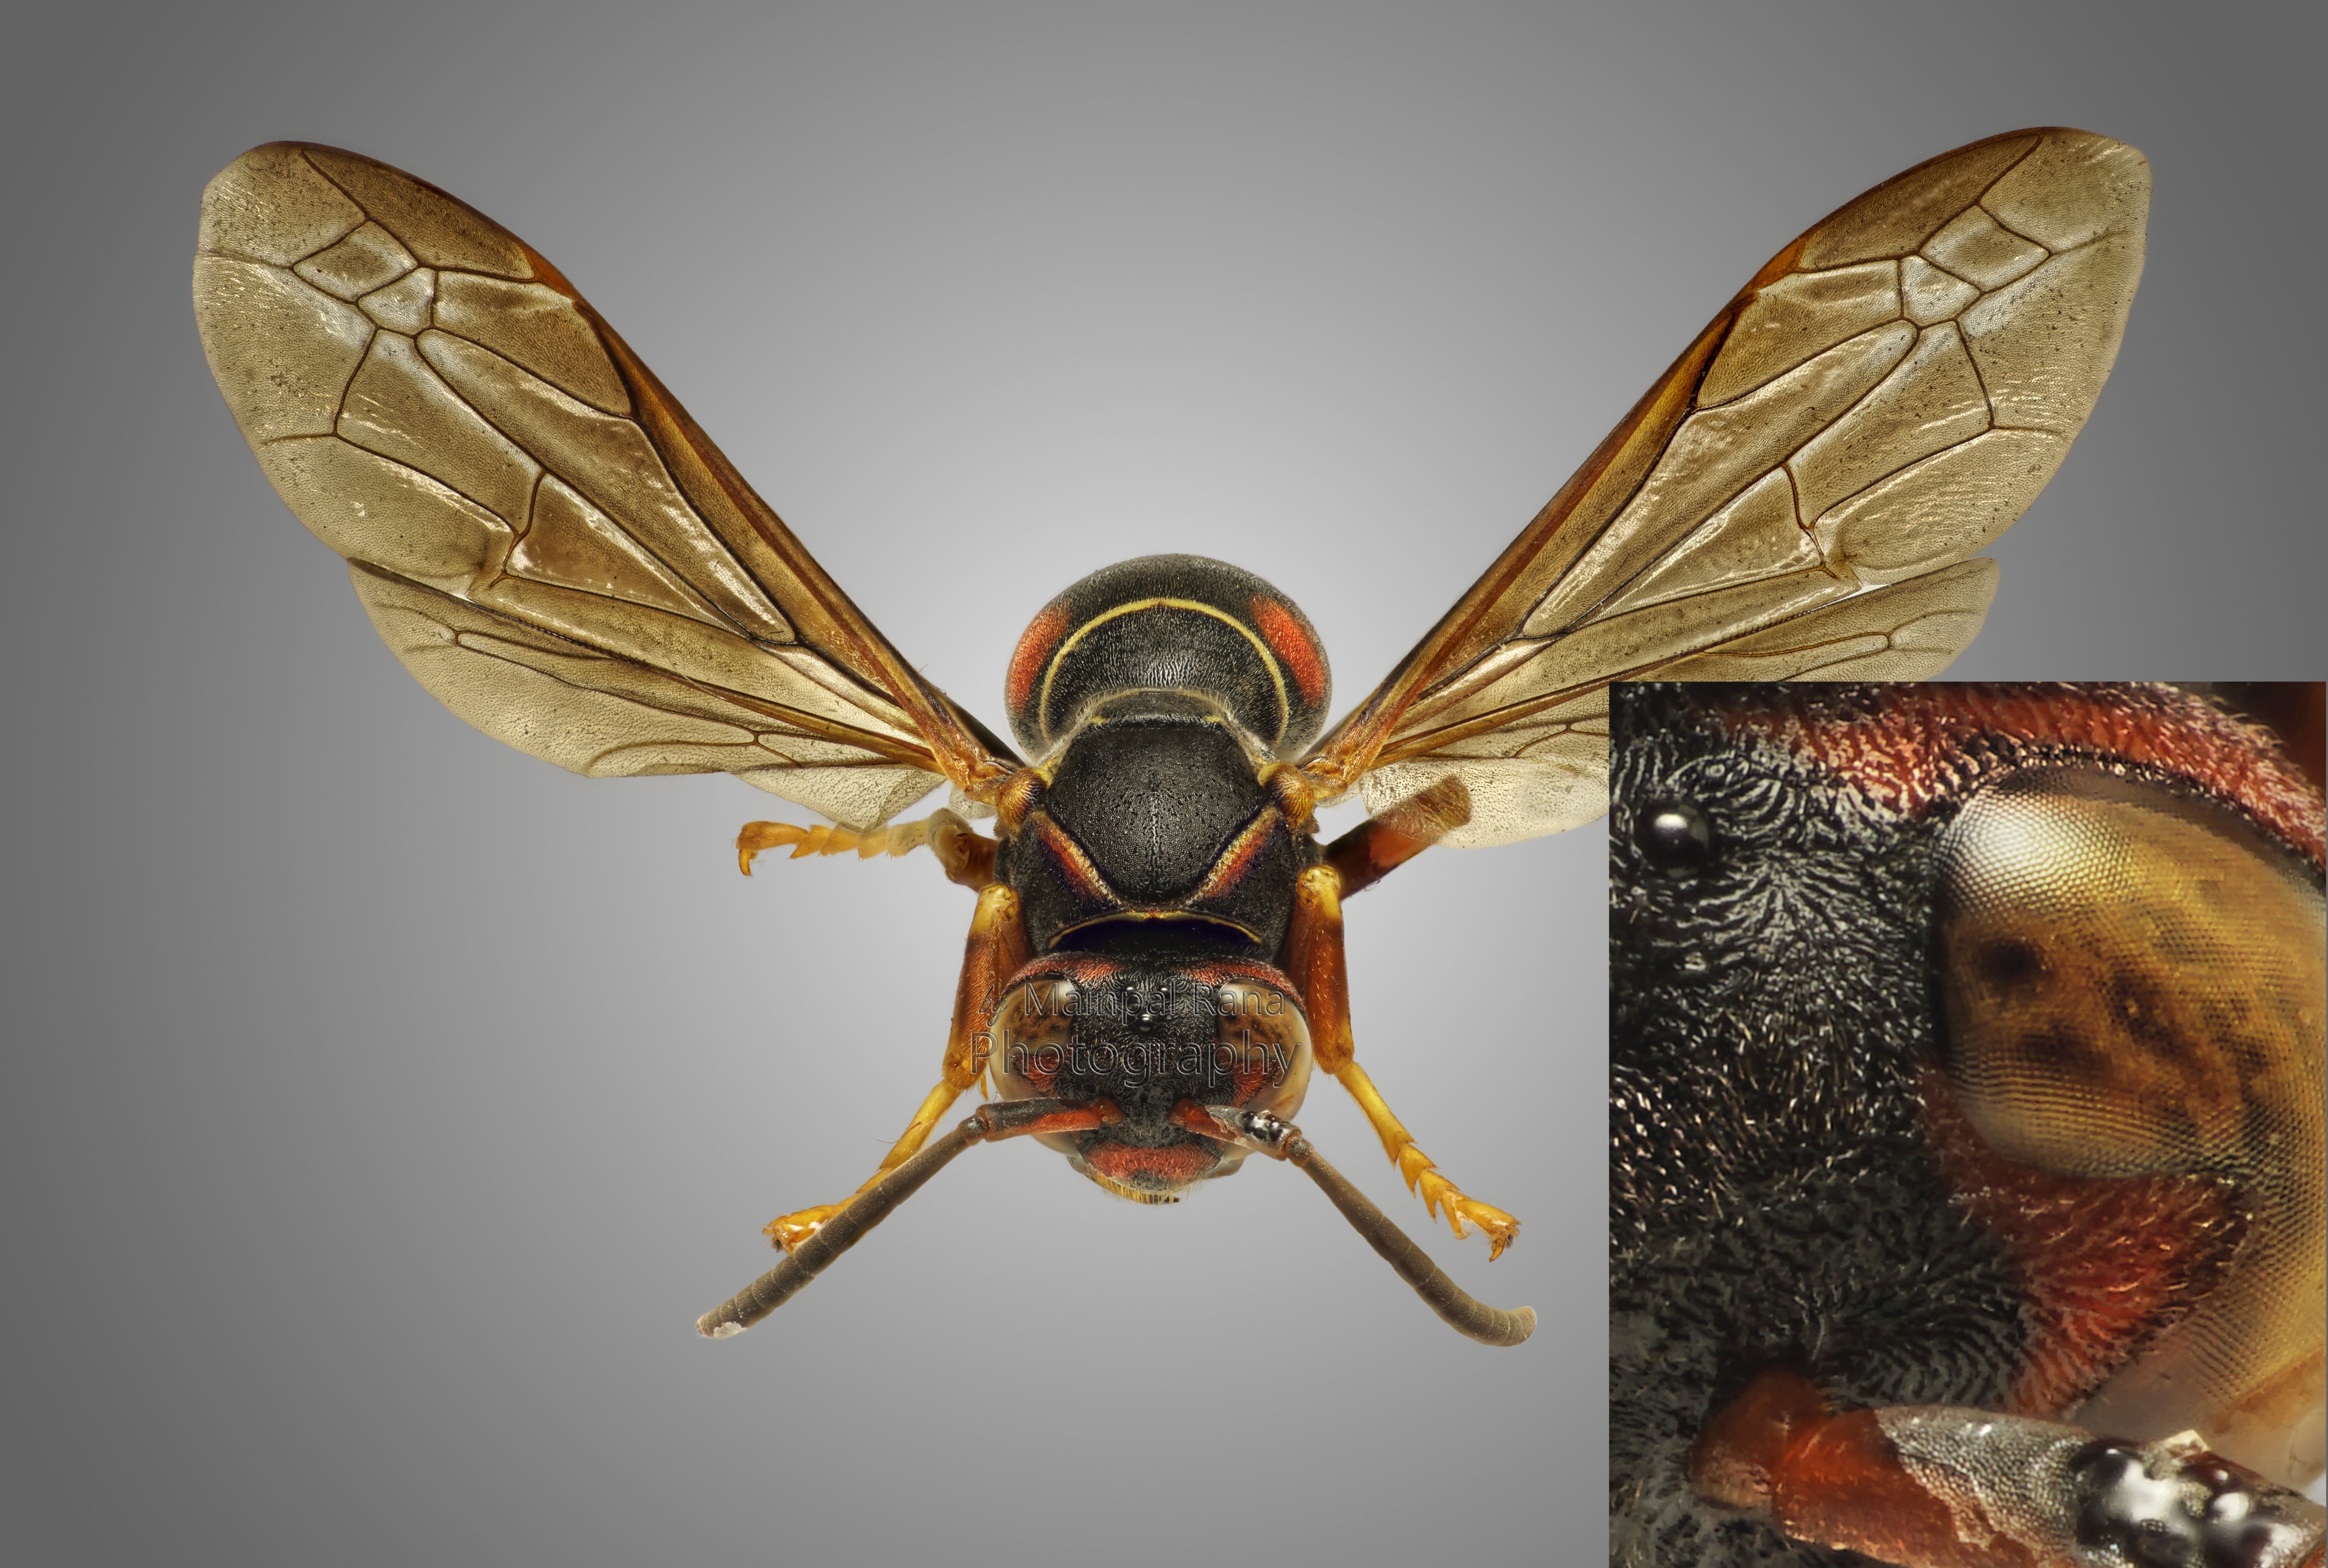
New to Affinity Photo and wanted to explore the capabilities and caliber of Affinity Photo in comparison to that of Photoshop. I really enjoyed processing these images in Affinity Photo, and impressed with its speed and abilities. Image one is a stack of 27 images and the second one is from ~80 images. Images were acquired with a Sony A6000 camera with a 55-210mm lens by using a Raynox macro adapter. Thank you for visiting. Have a nice day!
-
Playing with the development persona and the RAW pictures taken directly with the app on the iPad, I came with this. I still have to explore how to apply a different development to a given area of the picture, but other than that, I'm pretty happy with the result. Anyways, if someone has tips to improve, they'll be quite welcomed.
-
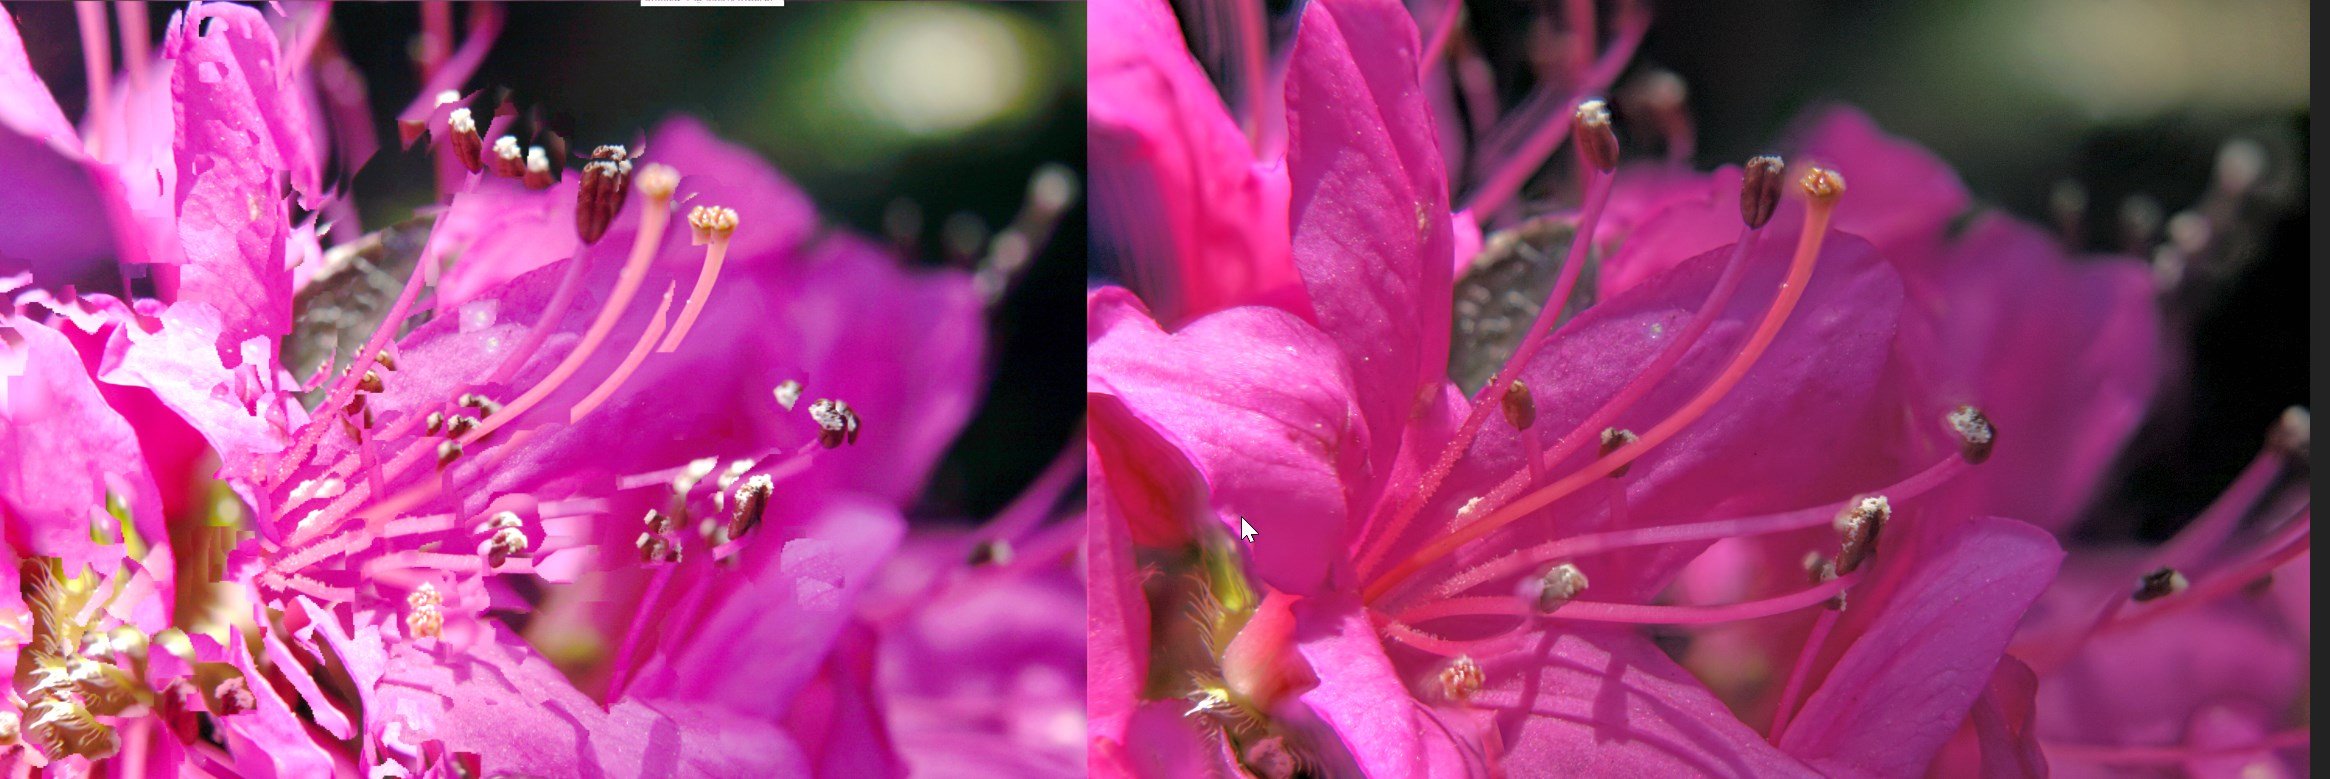
Focus stacking, photoshop 2020 left...affinity photo right (and it was faster)
-
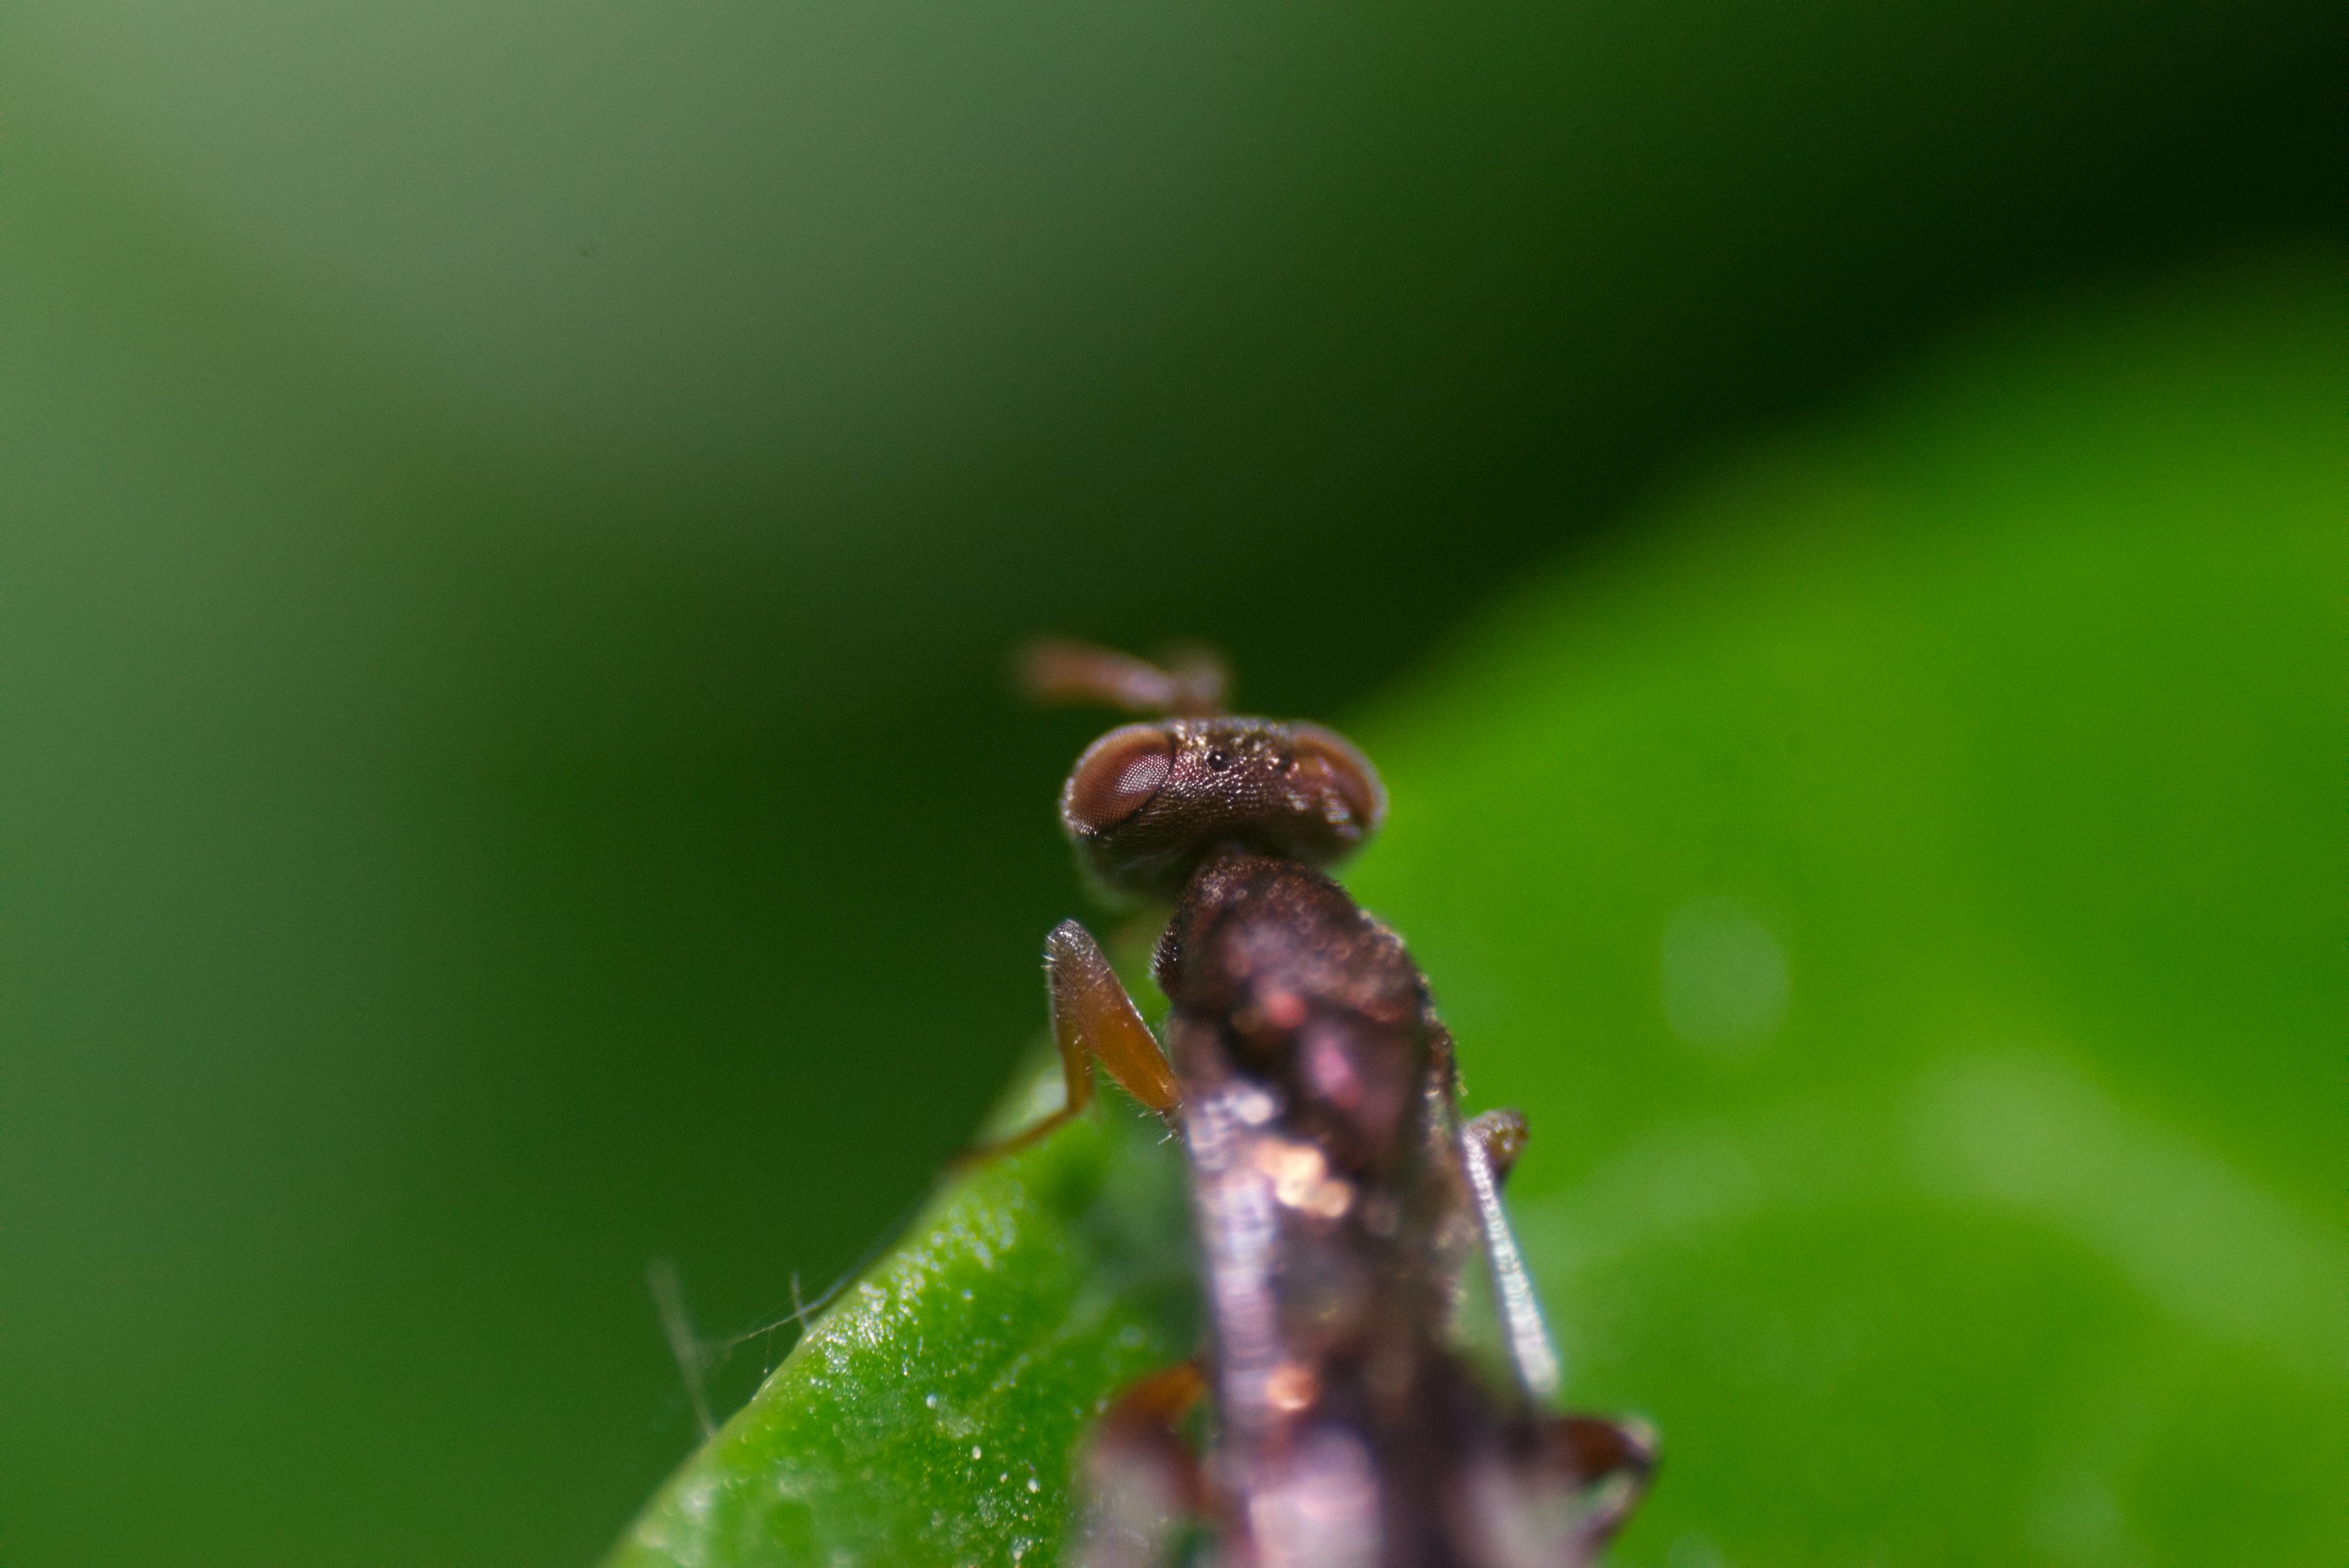
 It turns into a macro lens. Nikon D5300, AF-S DX NIKKOR 18-105mm f/3.5-5.6G ED VR, Raw format, 67 mm lens reversal ring for £10.99. Not bad. A normal macro lens could cost more than £300.
-
I use the live defringing filter all the time. However, I have found it takes a long time to flatten it. Is this a bug or is there a way to resolve this?
-
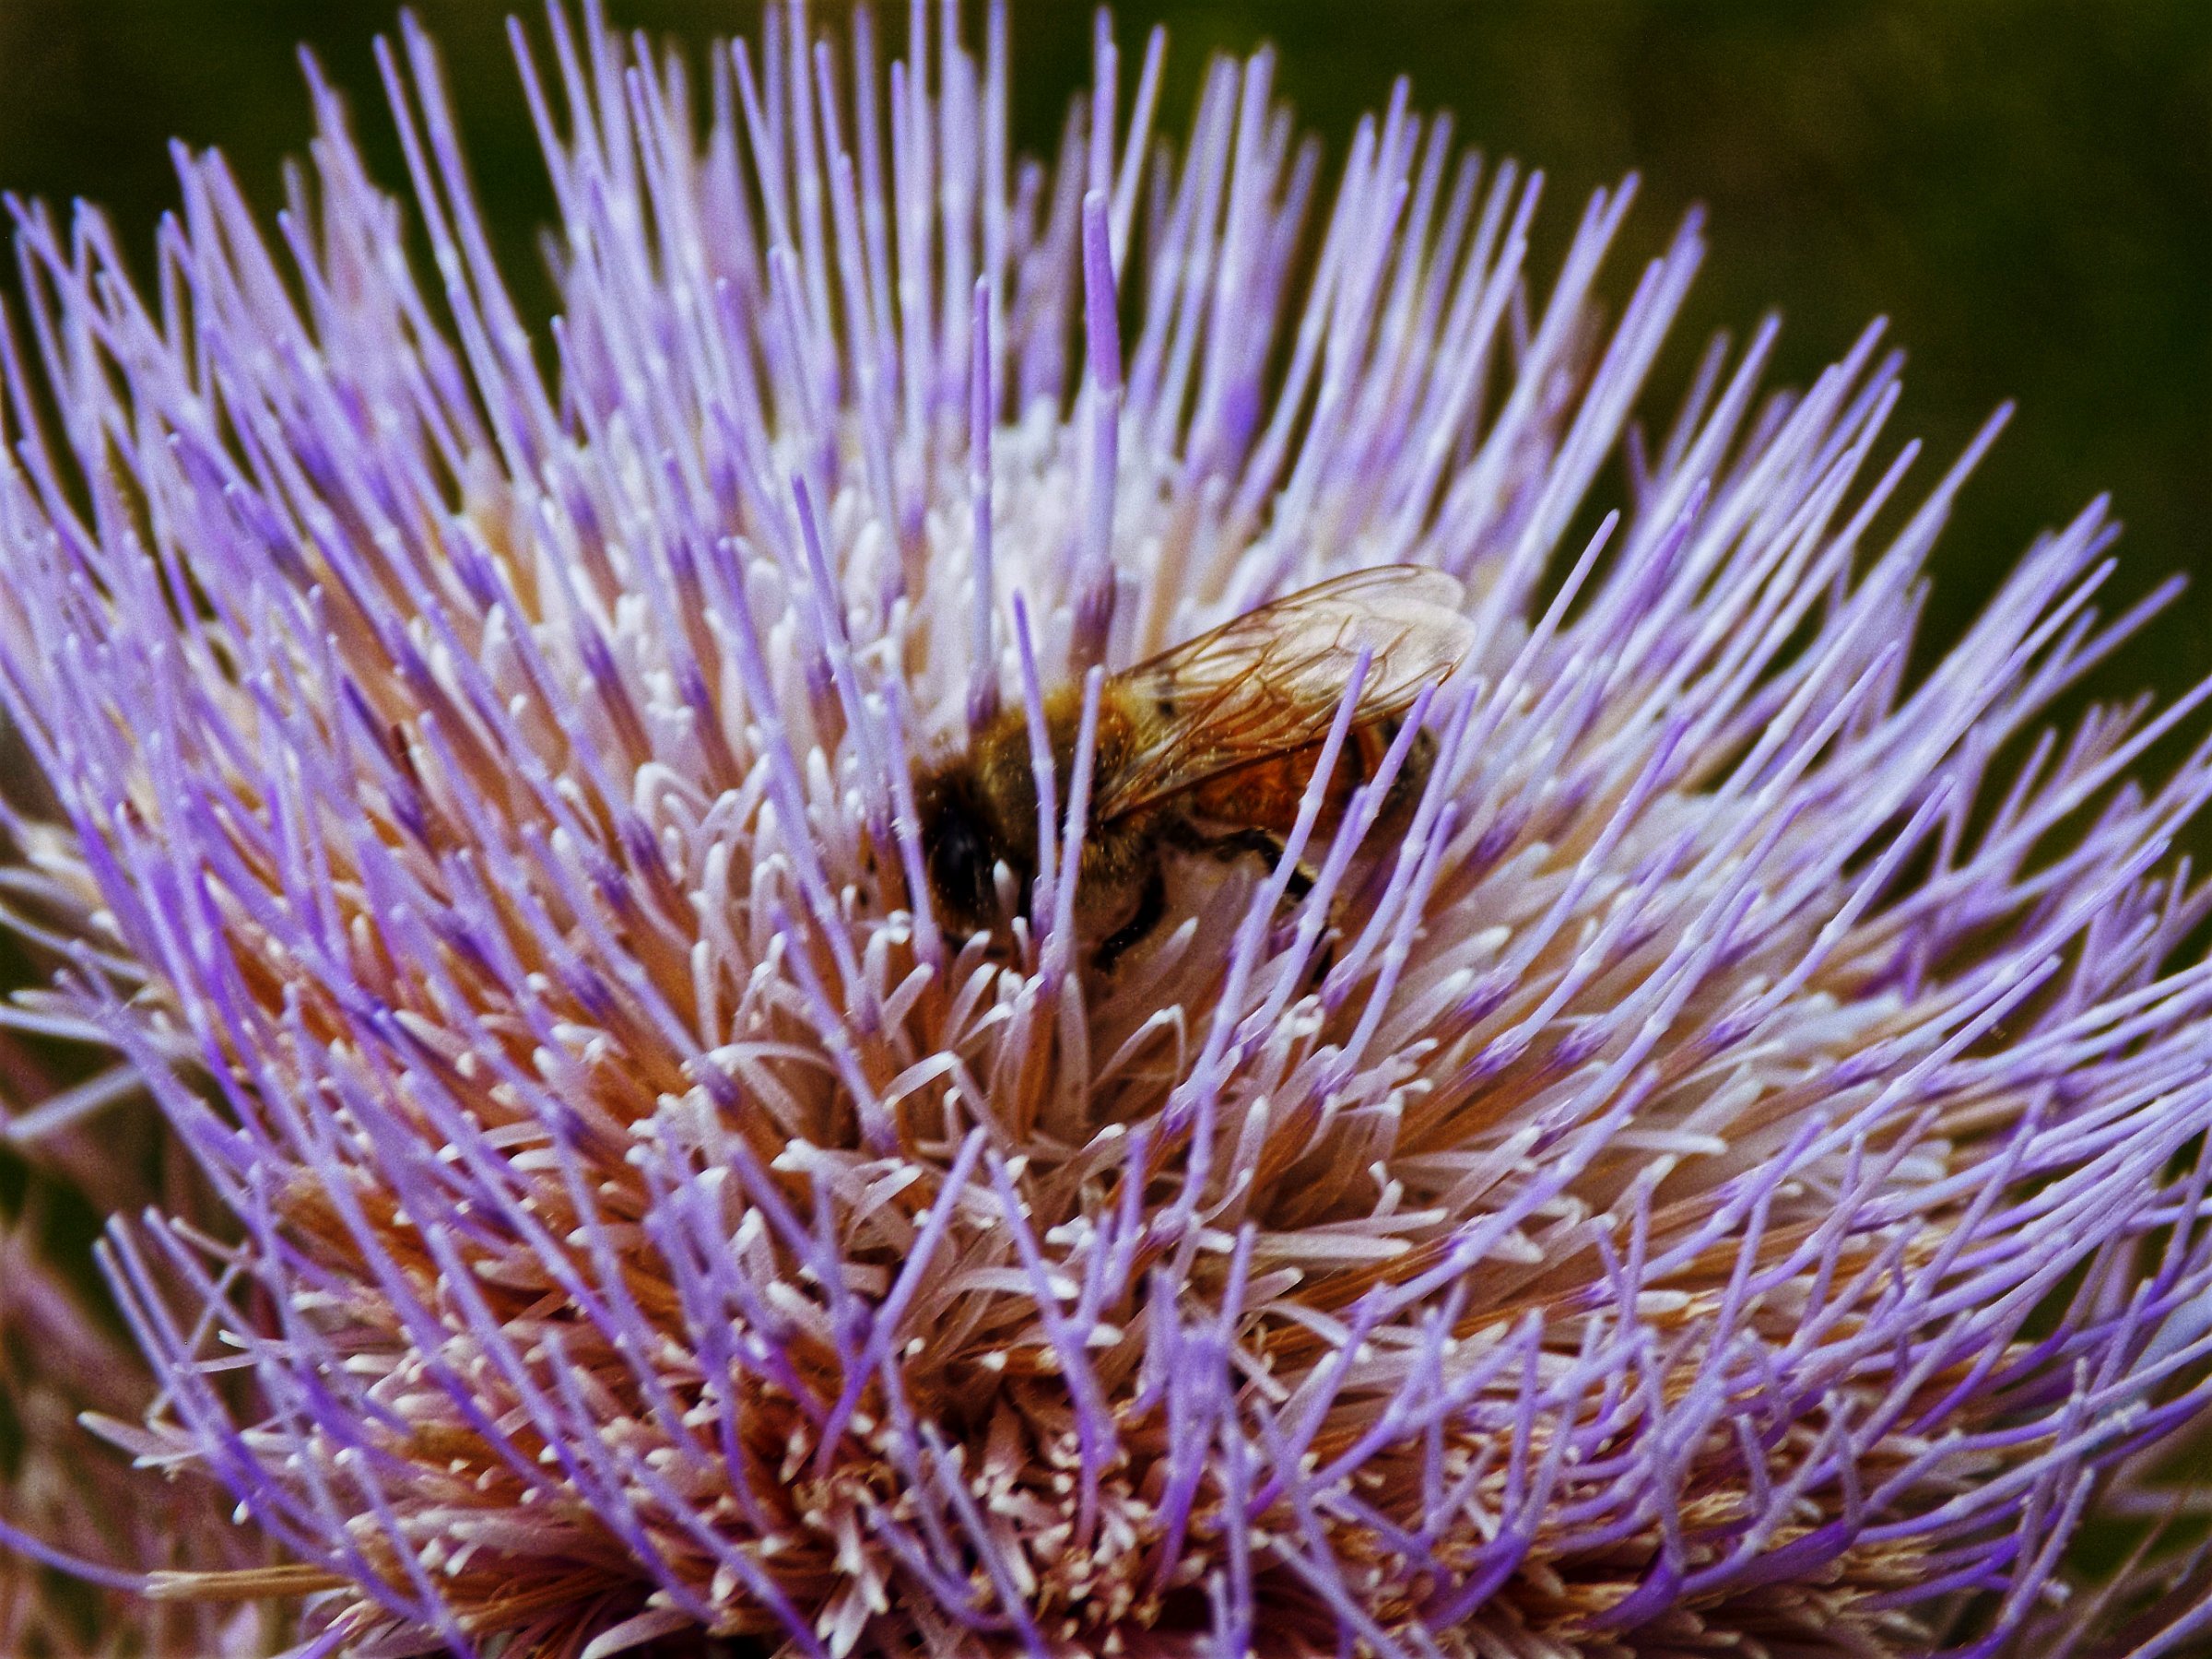
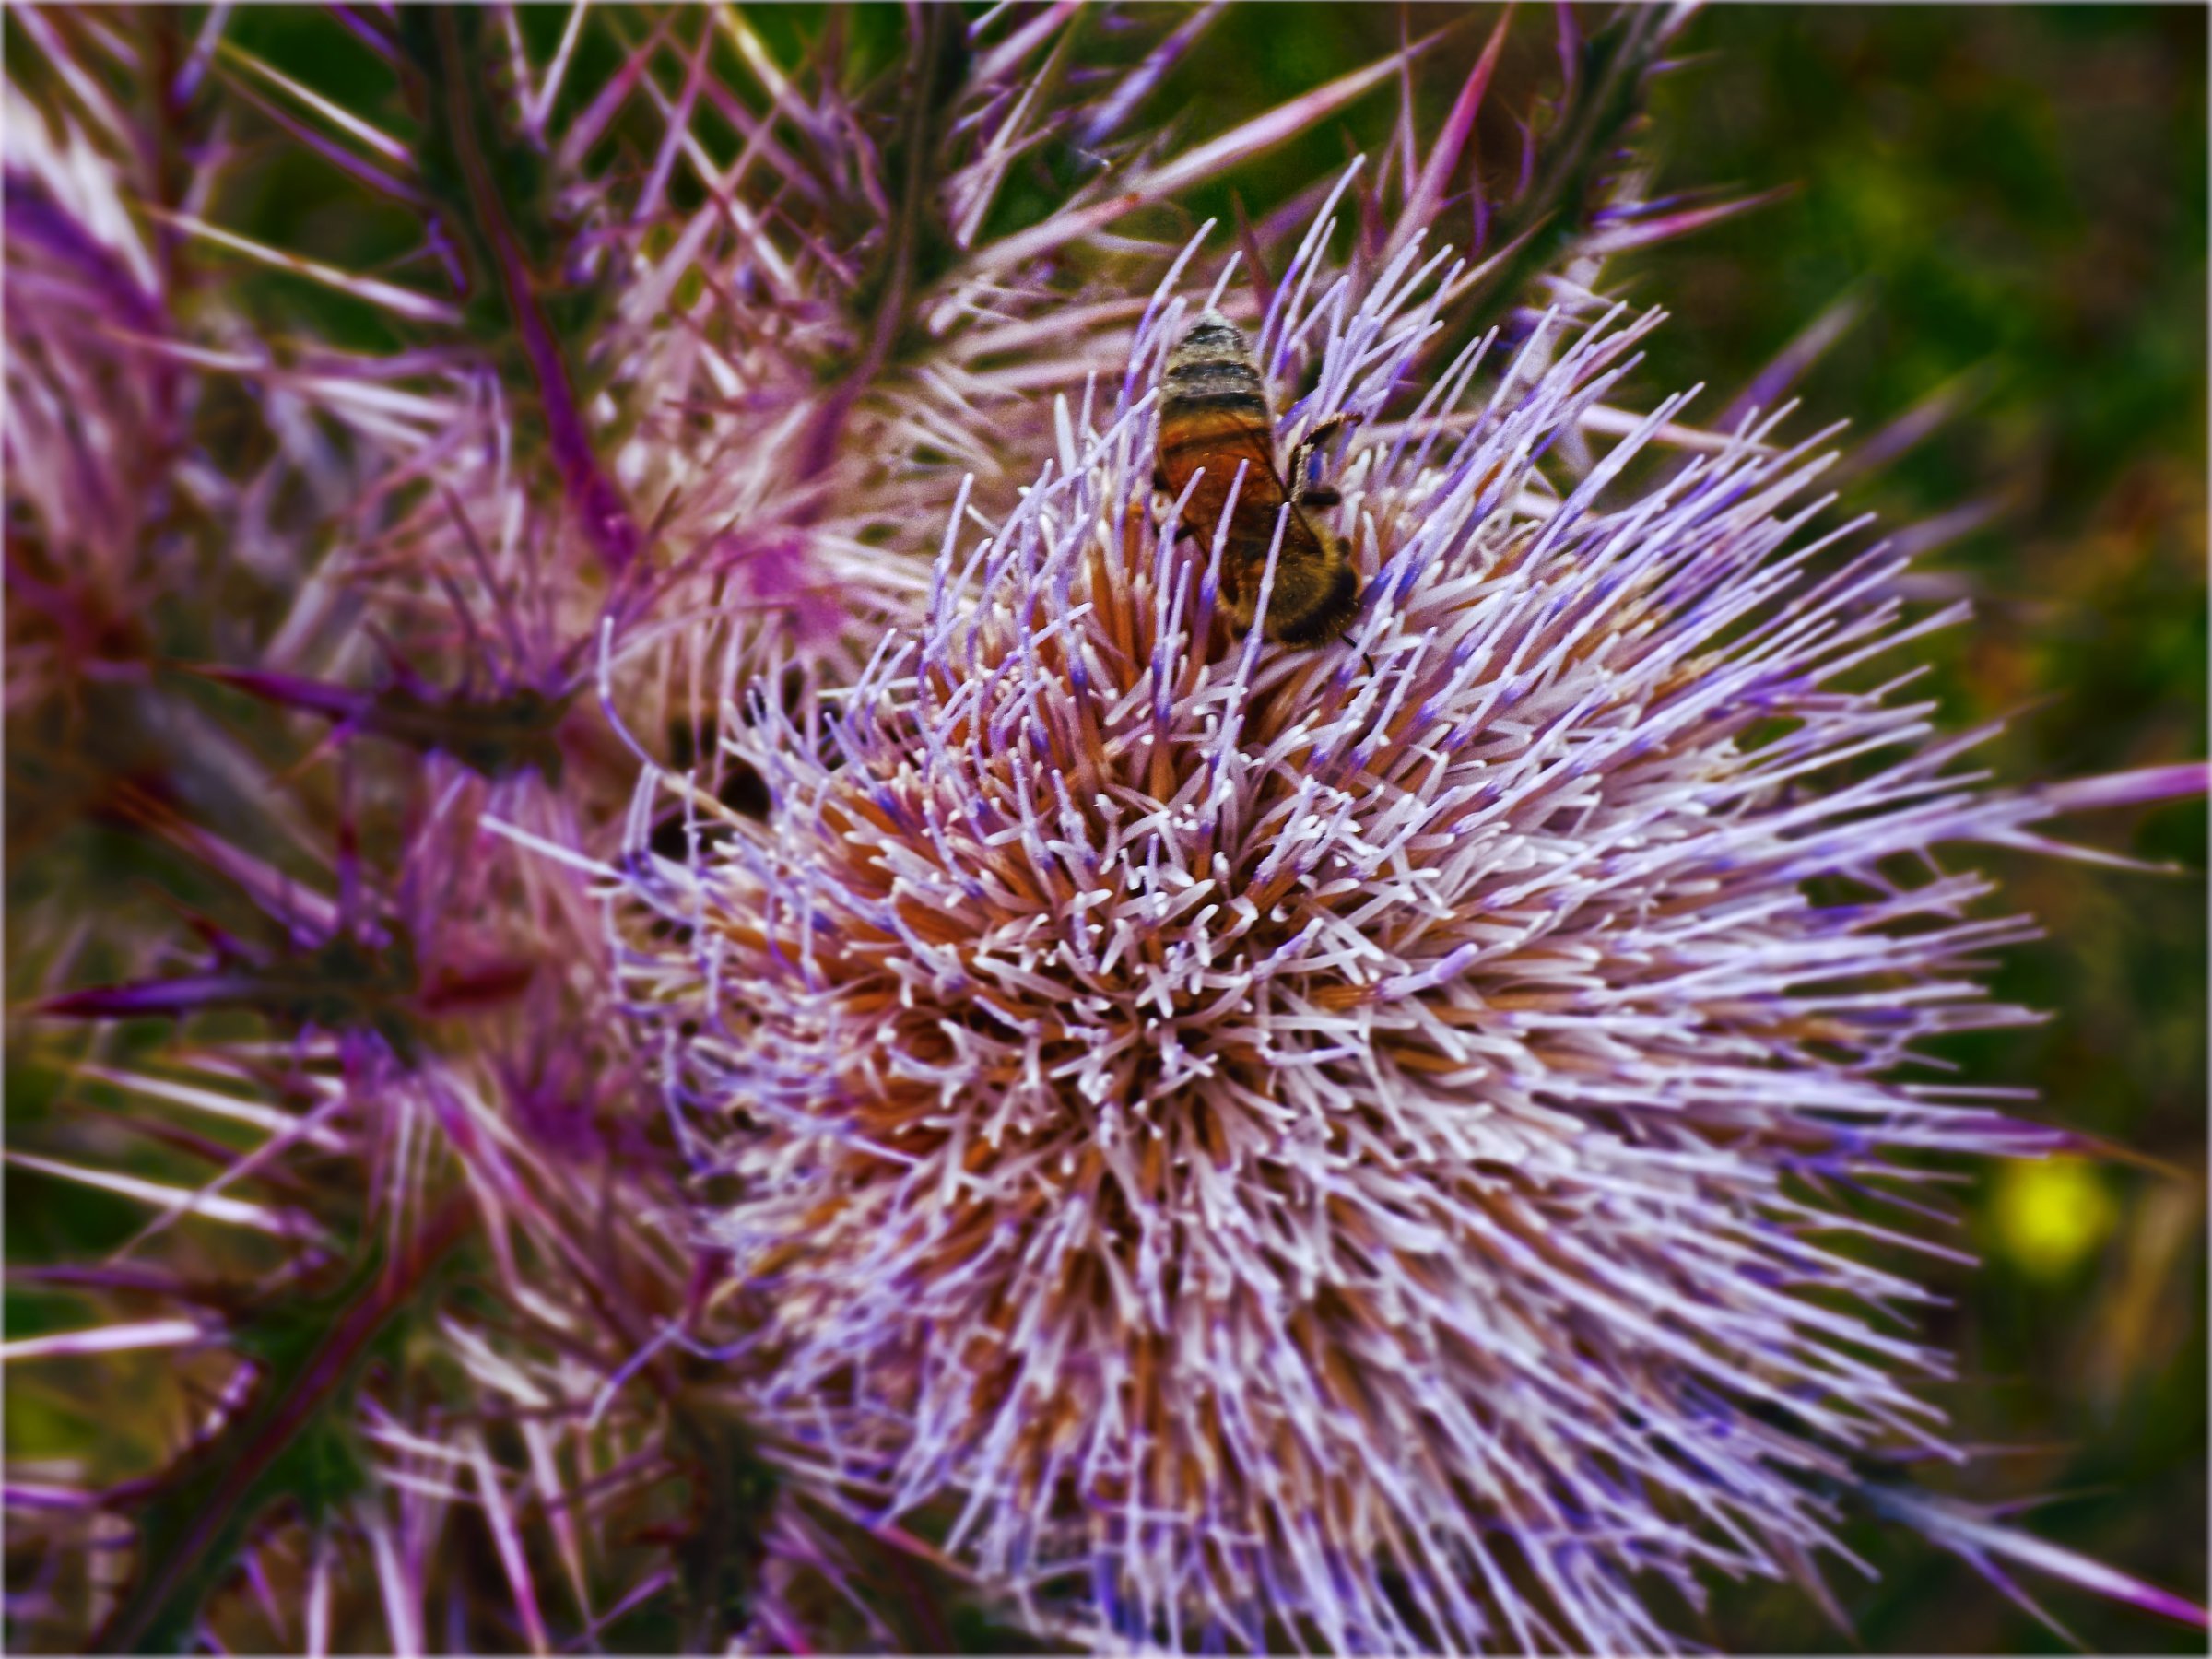
I love spring time! (Except for the snakes, spiders, etc that "come alive" all over) Lots of great subjects for closeup and macro photography. Got a few shots of a bee gathering pollen from a thistle.The images probably need more work, but just got a new camera that won't require (I hope) as much sharpening to get a decent image.
-
 Hi, Please help, I am trying to turn a colour photo into a b & w pencil sketch, but I am struggling to get detail on the finished image. I want to apply this to nature photos, and right now I am trying it out on a kingfisher photo. I honesty do not have enough knowledge about Affinity to know where I am going wrong. If you can help, then many thanks, my fingers are crossed. Debbie Kingfisher_female,_no_bg.docx
 -
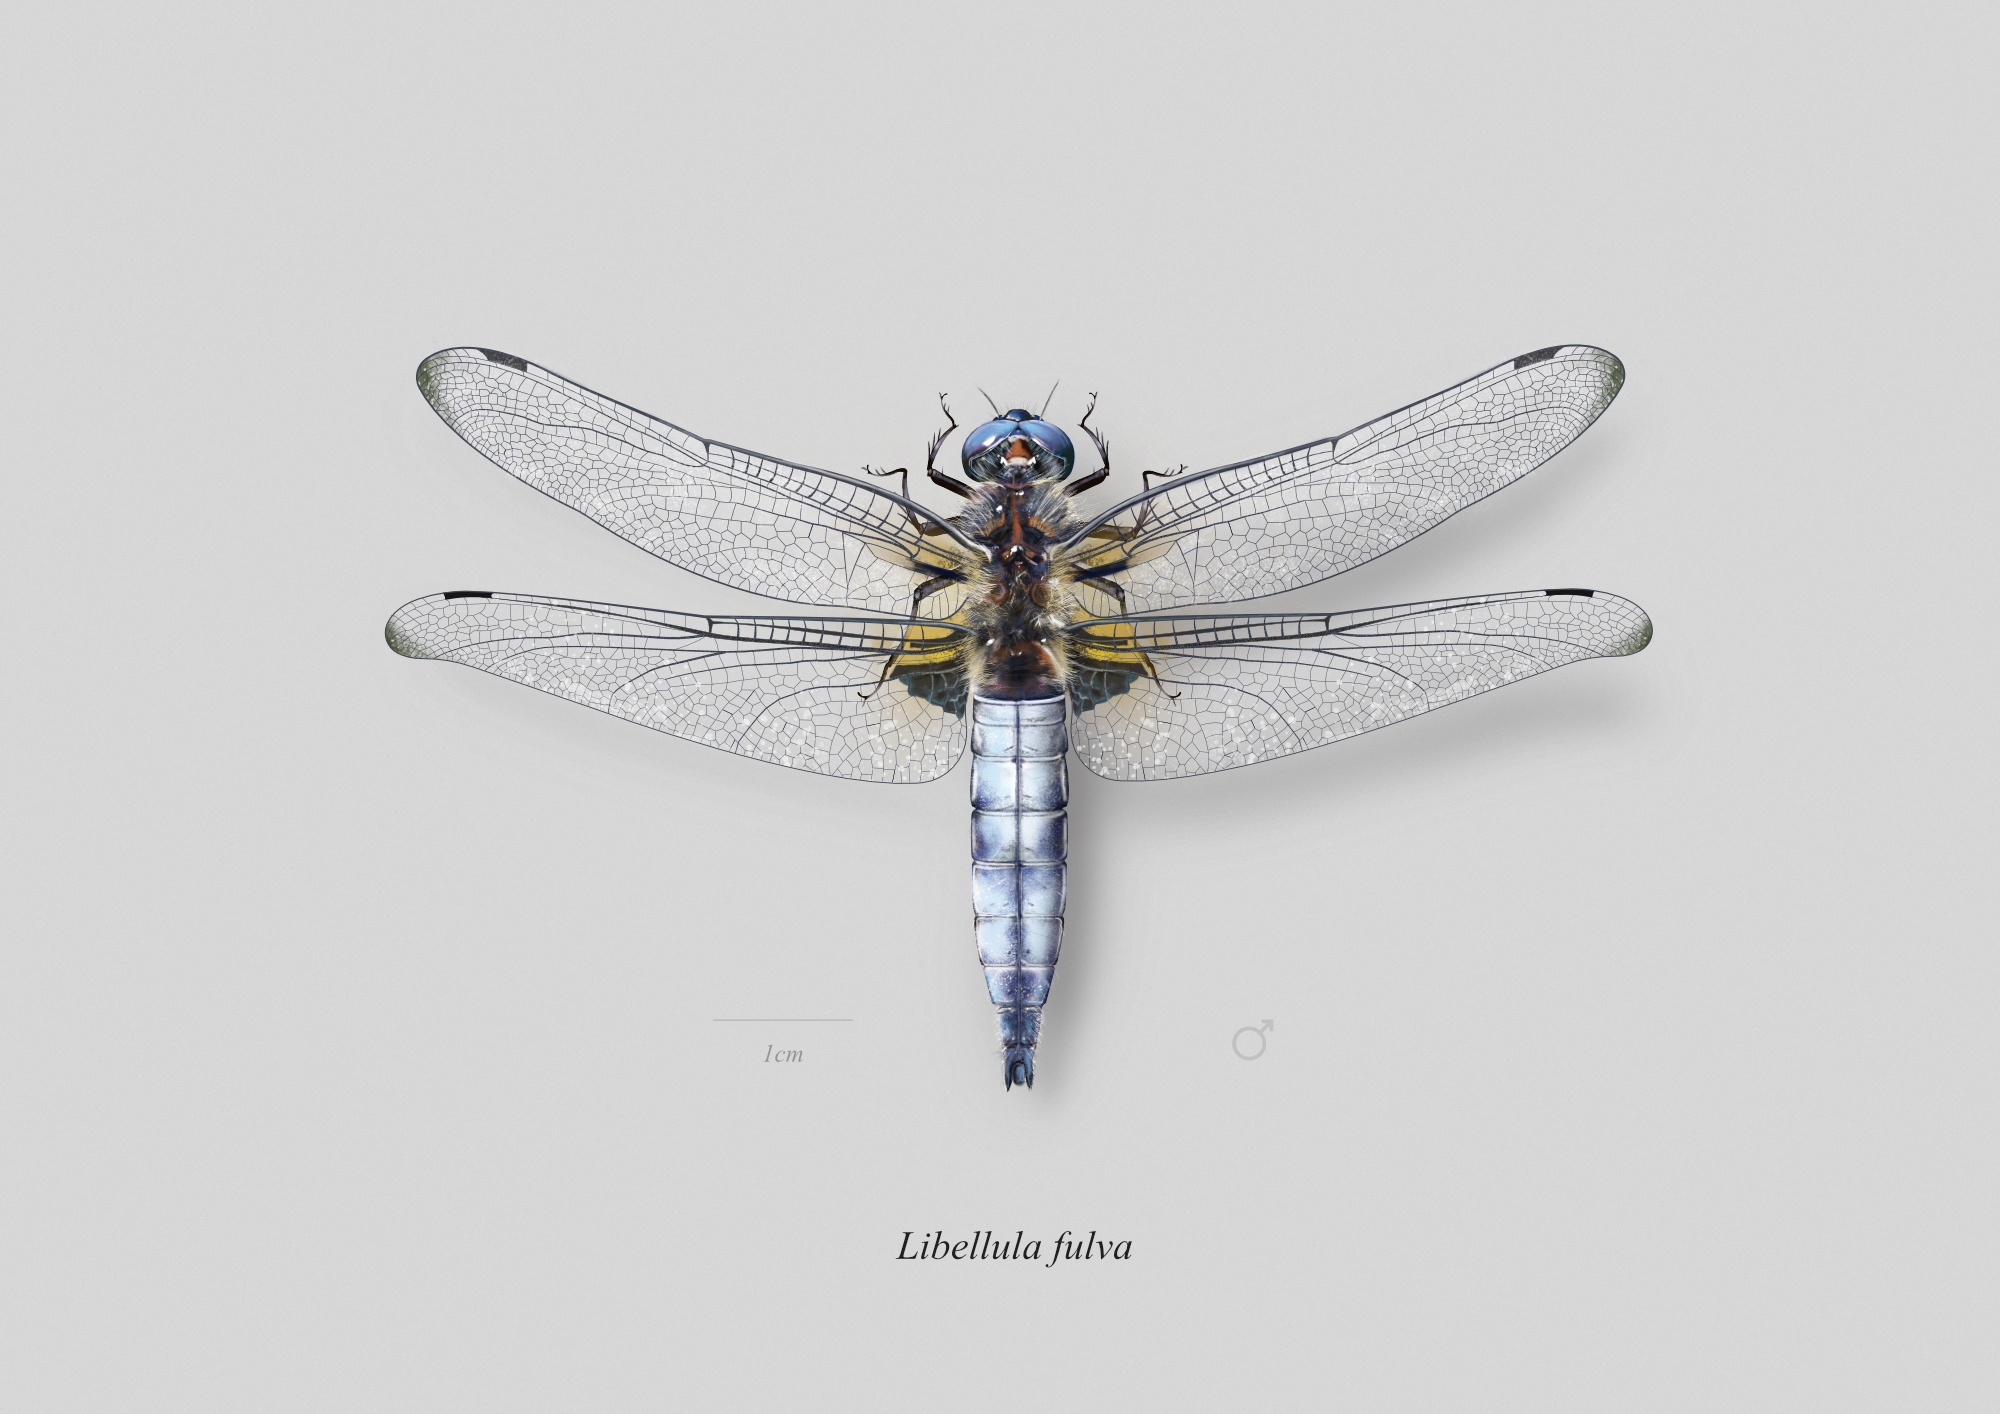
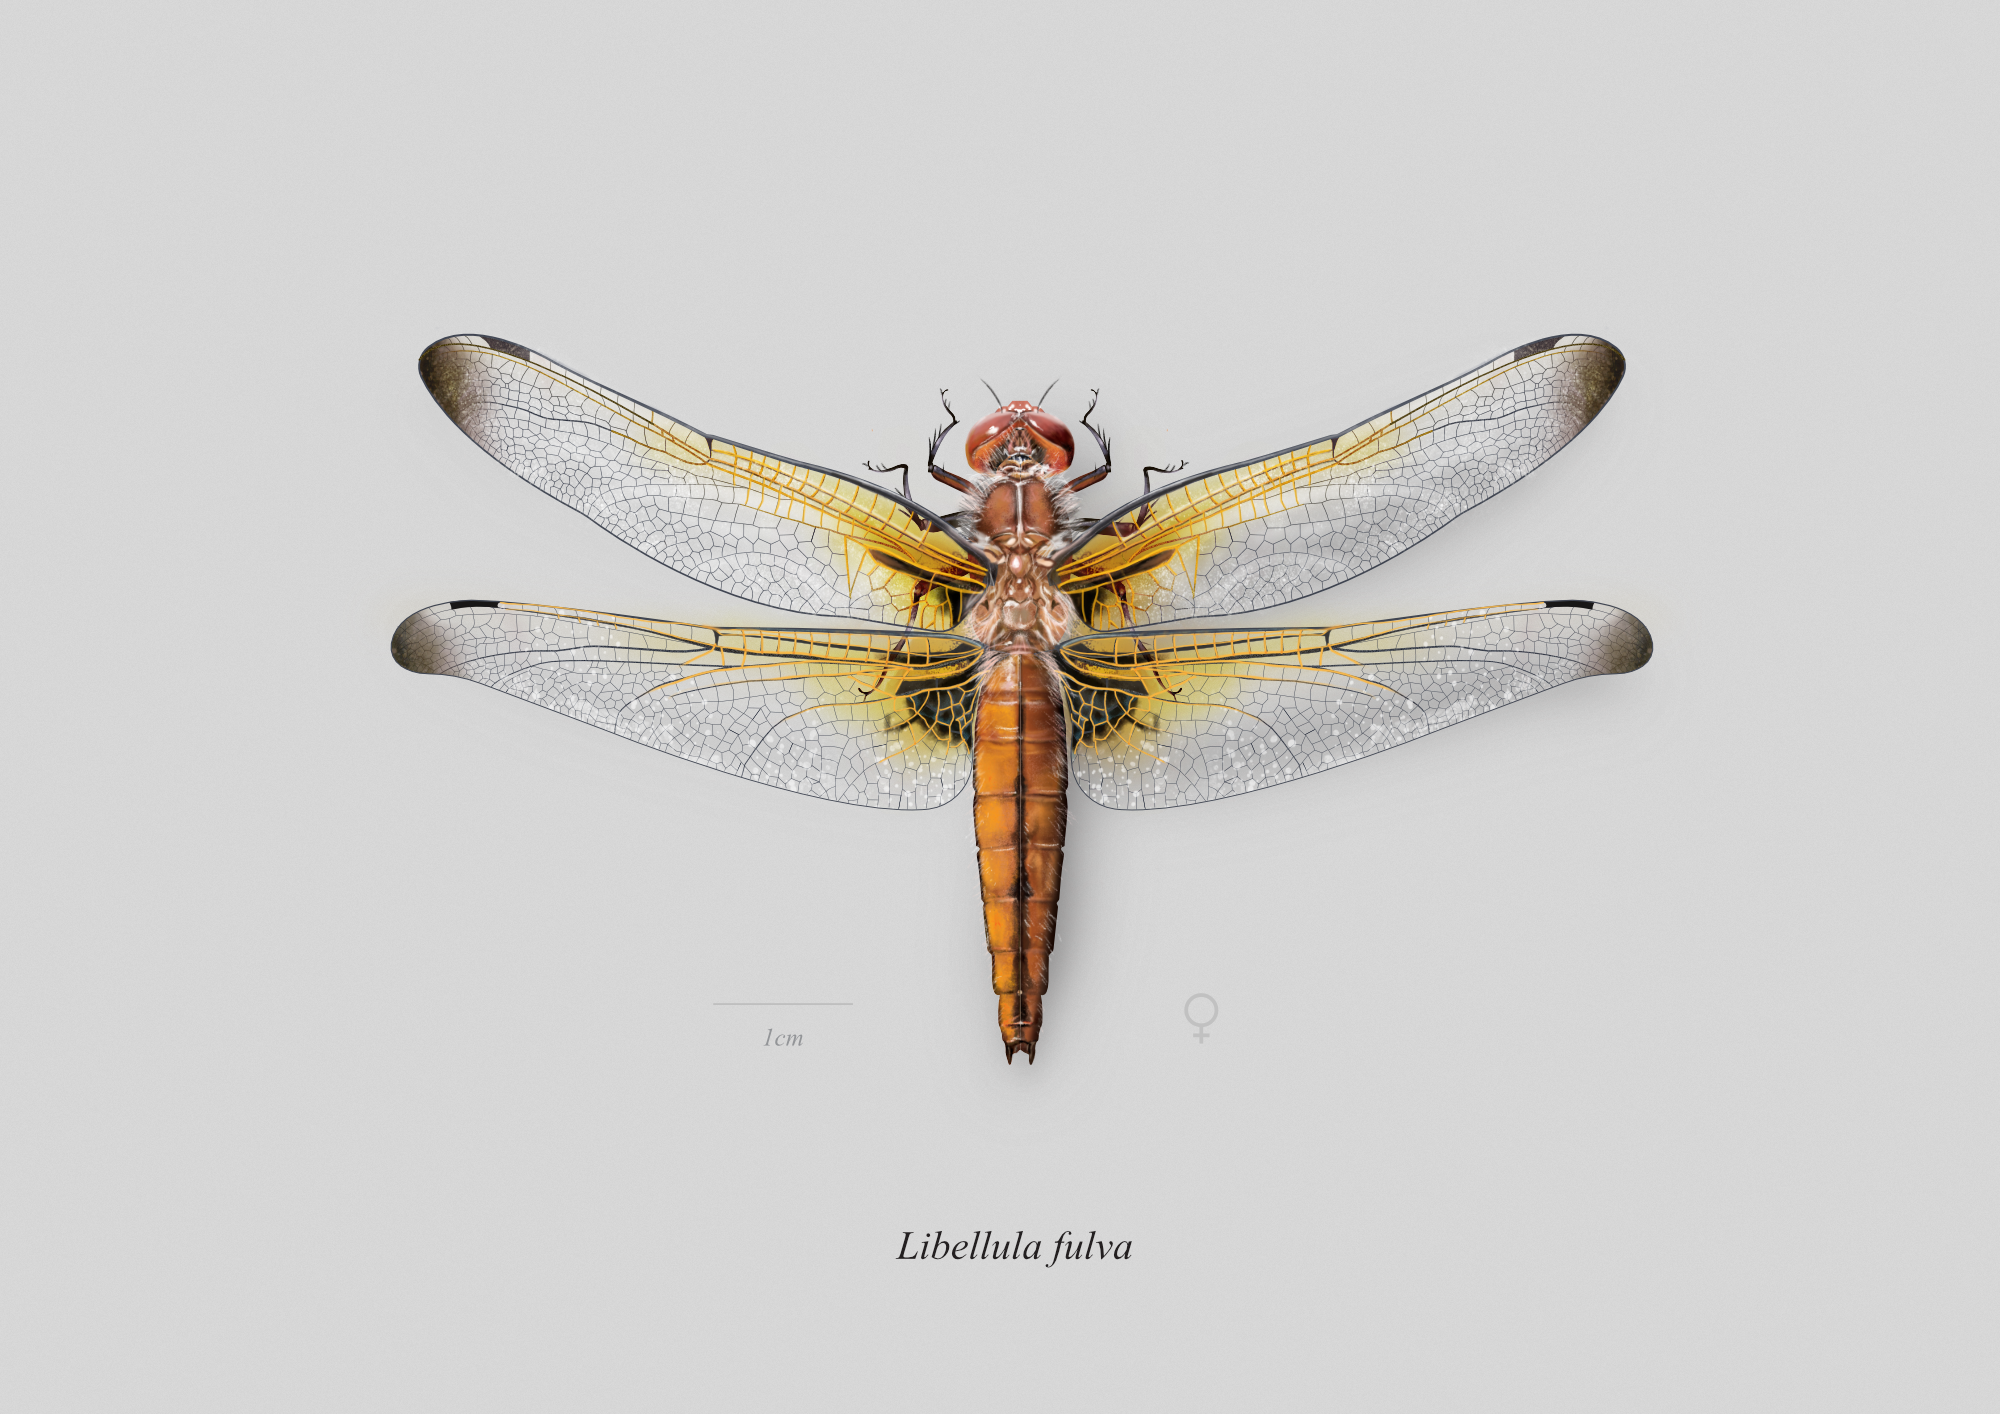
 Created these two last week as part of a current project I'm working on. It's done fully on Affinity Designer with a mixed workflow of vectors and bitmaps.
- 19 replies
-
- 35
-

-

-
- insect
- scientific illustration
- (and 6 more)
-

affinity designer TET and VietNamese traditional features
Le Minh Thanh posted a topic in Share your work
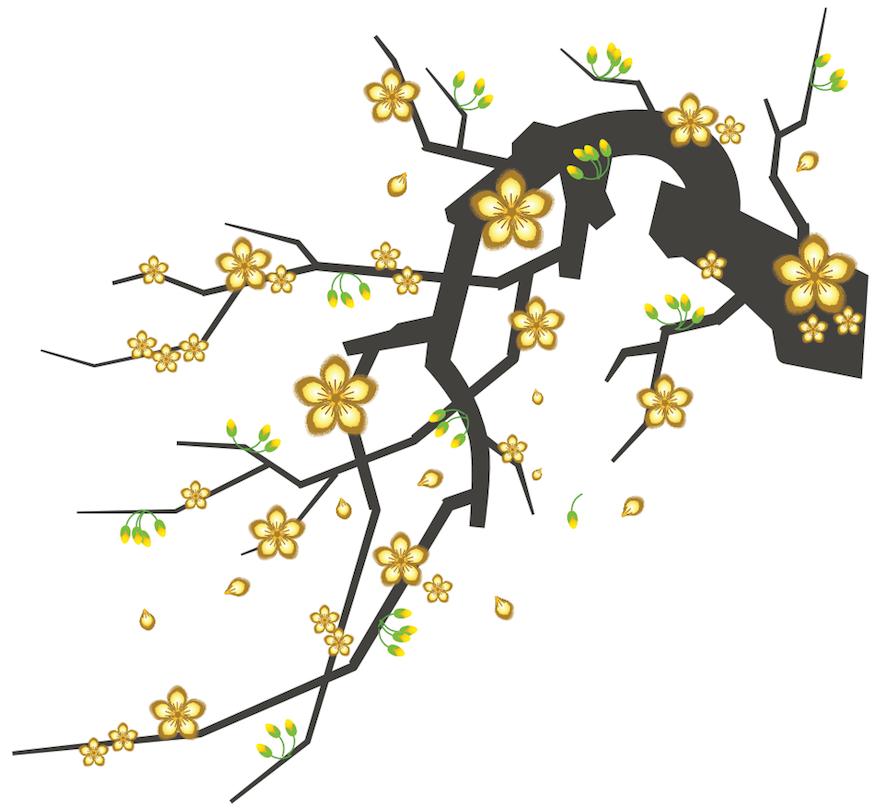
HOA MAI - HOA DAO Viet Nam TET holidays are coming soon. I'm glad to share with you my drawing the Apricot Blossom and the Peach Blossom in Affinity Designer for the traditional lunar new year CANH TY. The Peach Blossom - HOA DAO Download afdesign file The Ochna integerrima - HOA MAI Download afdesign file CHEER!!
-
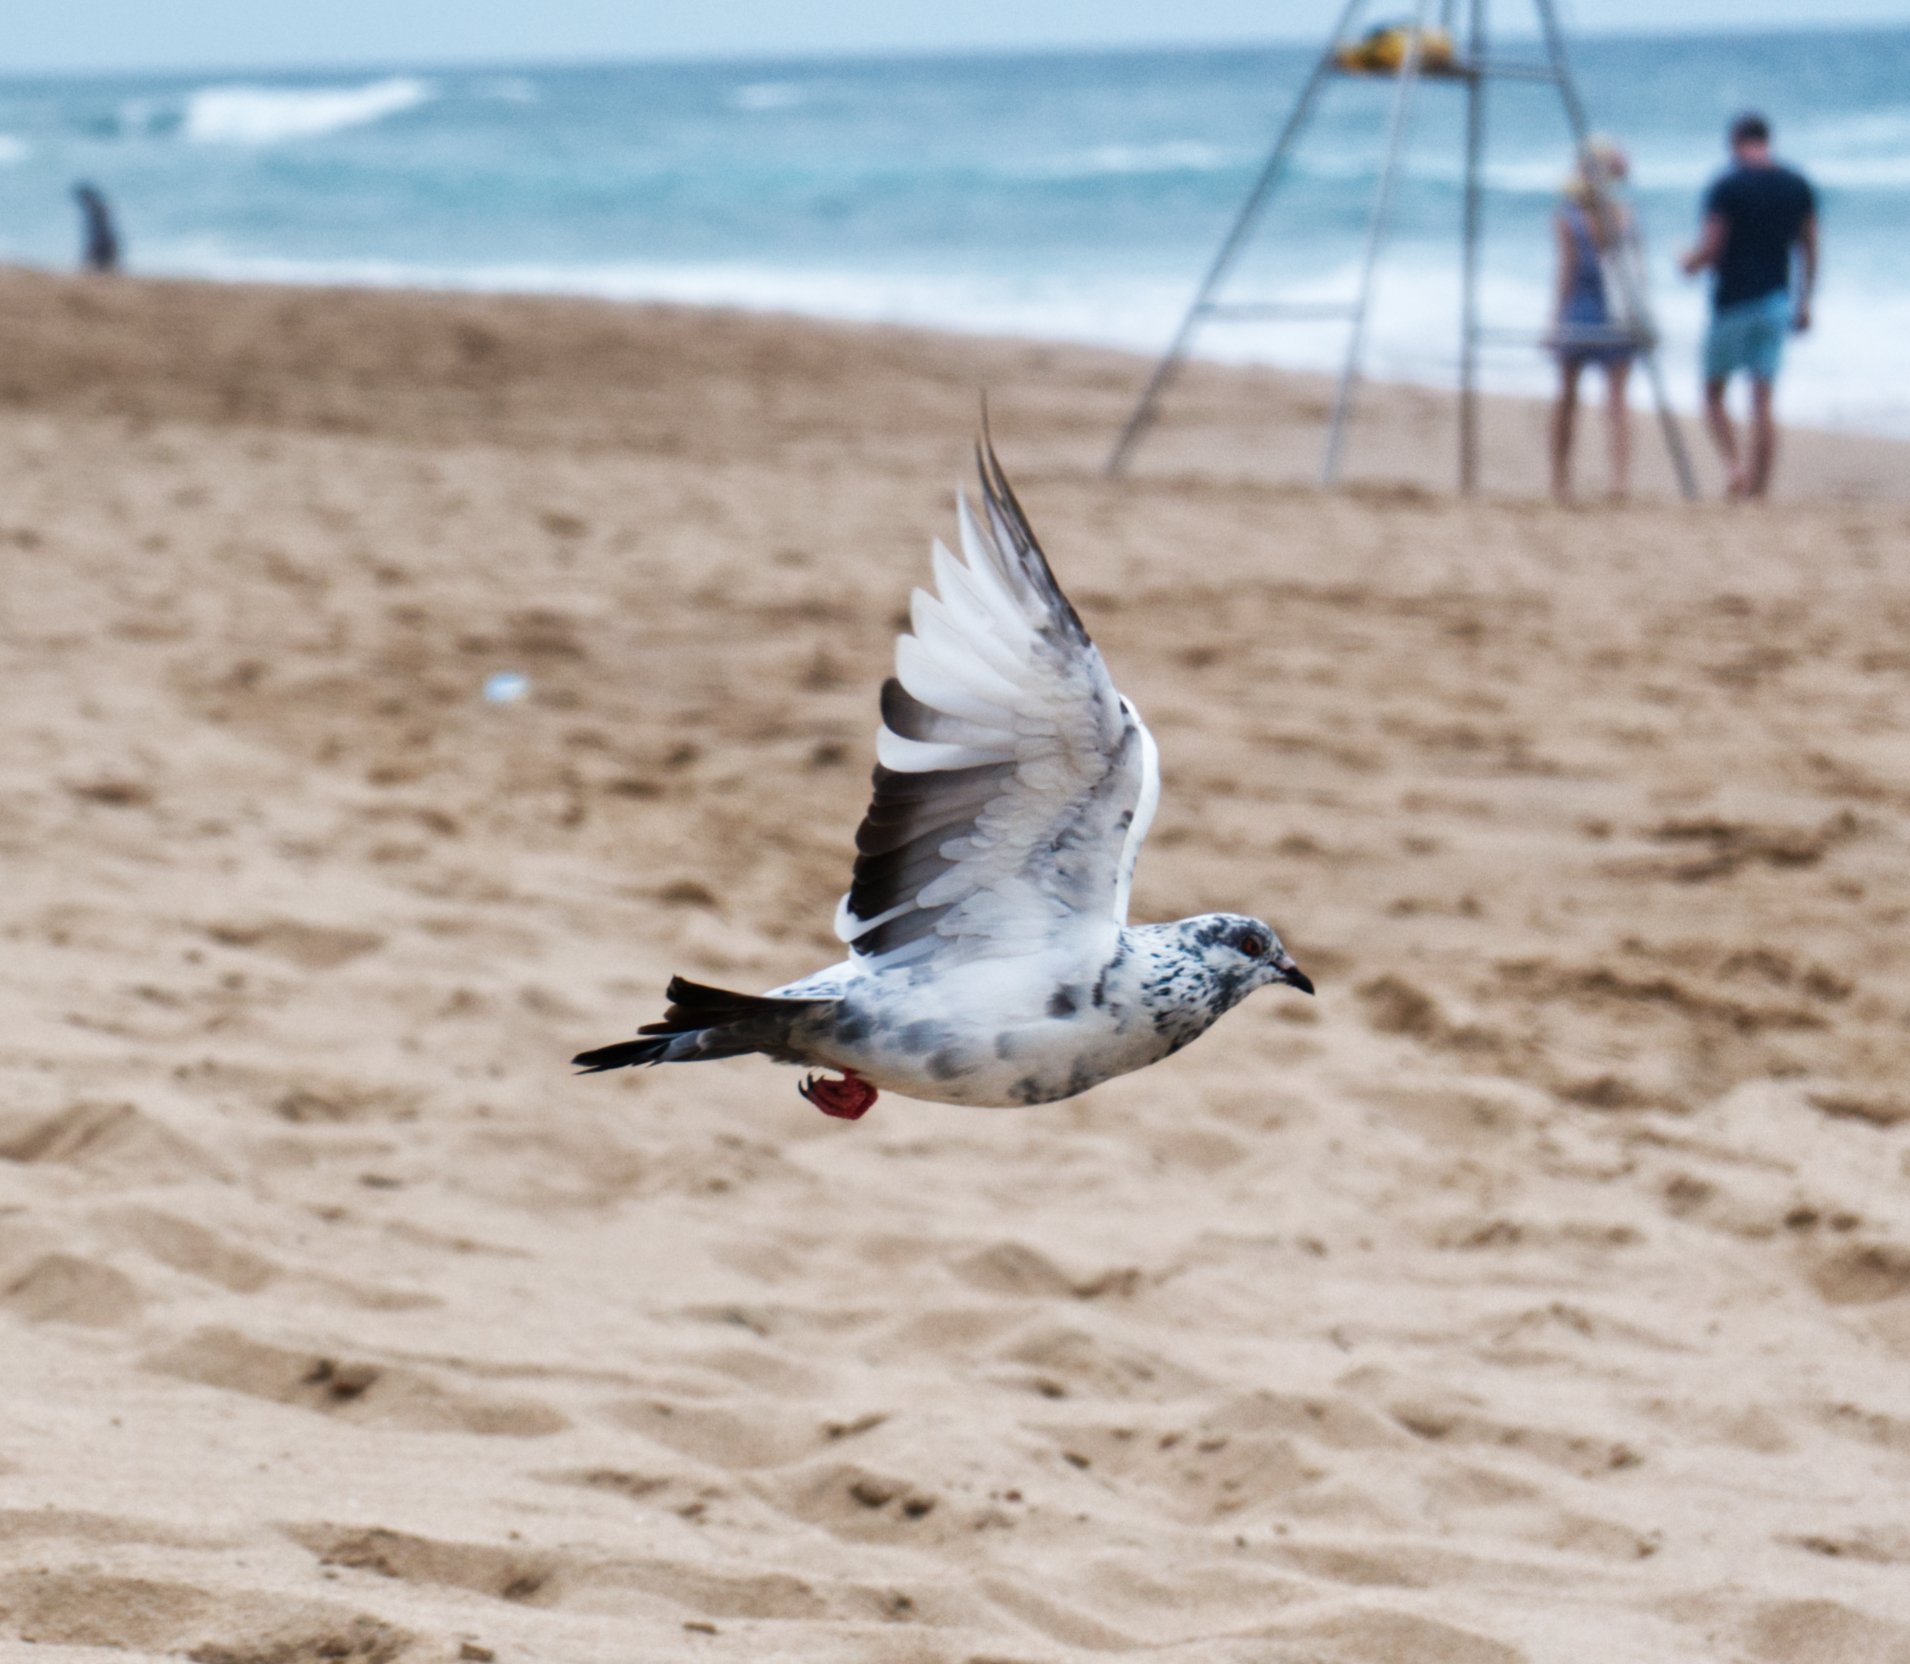
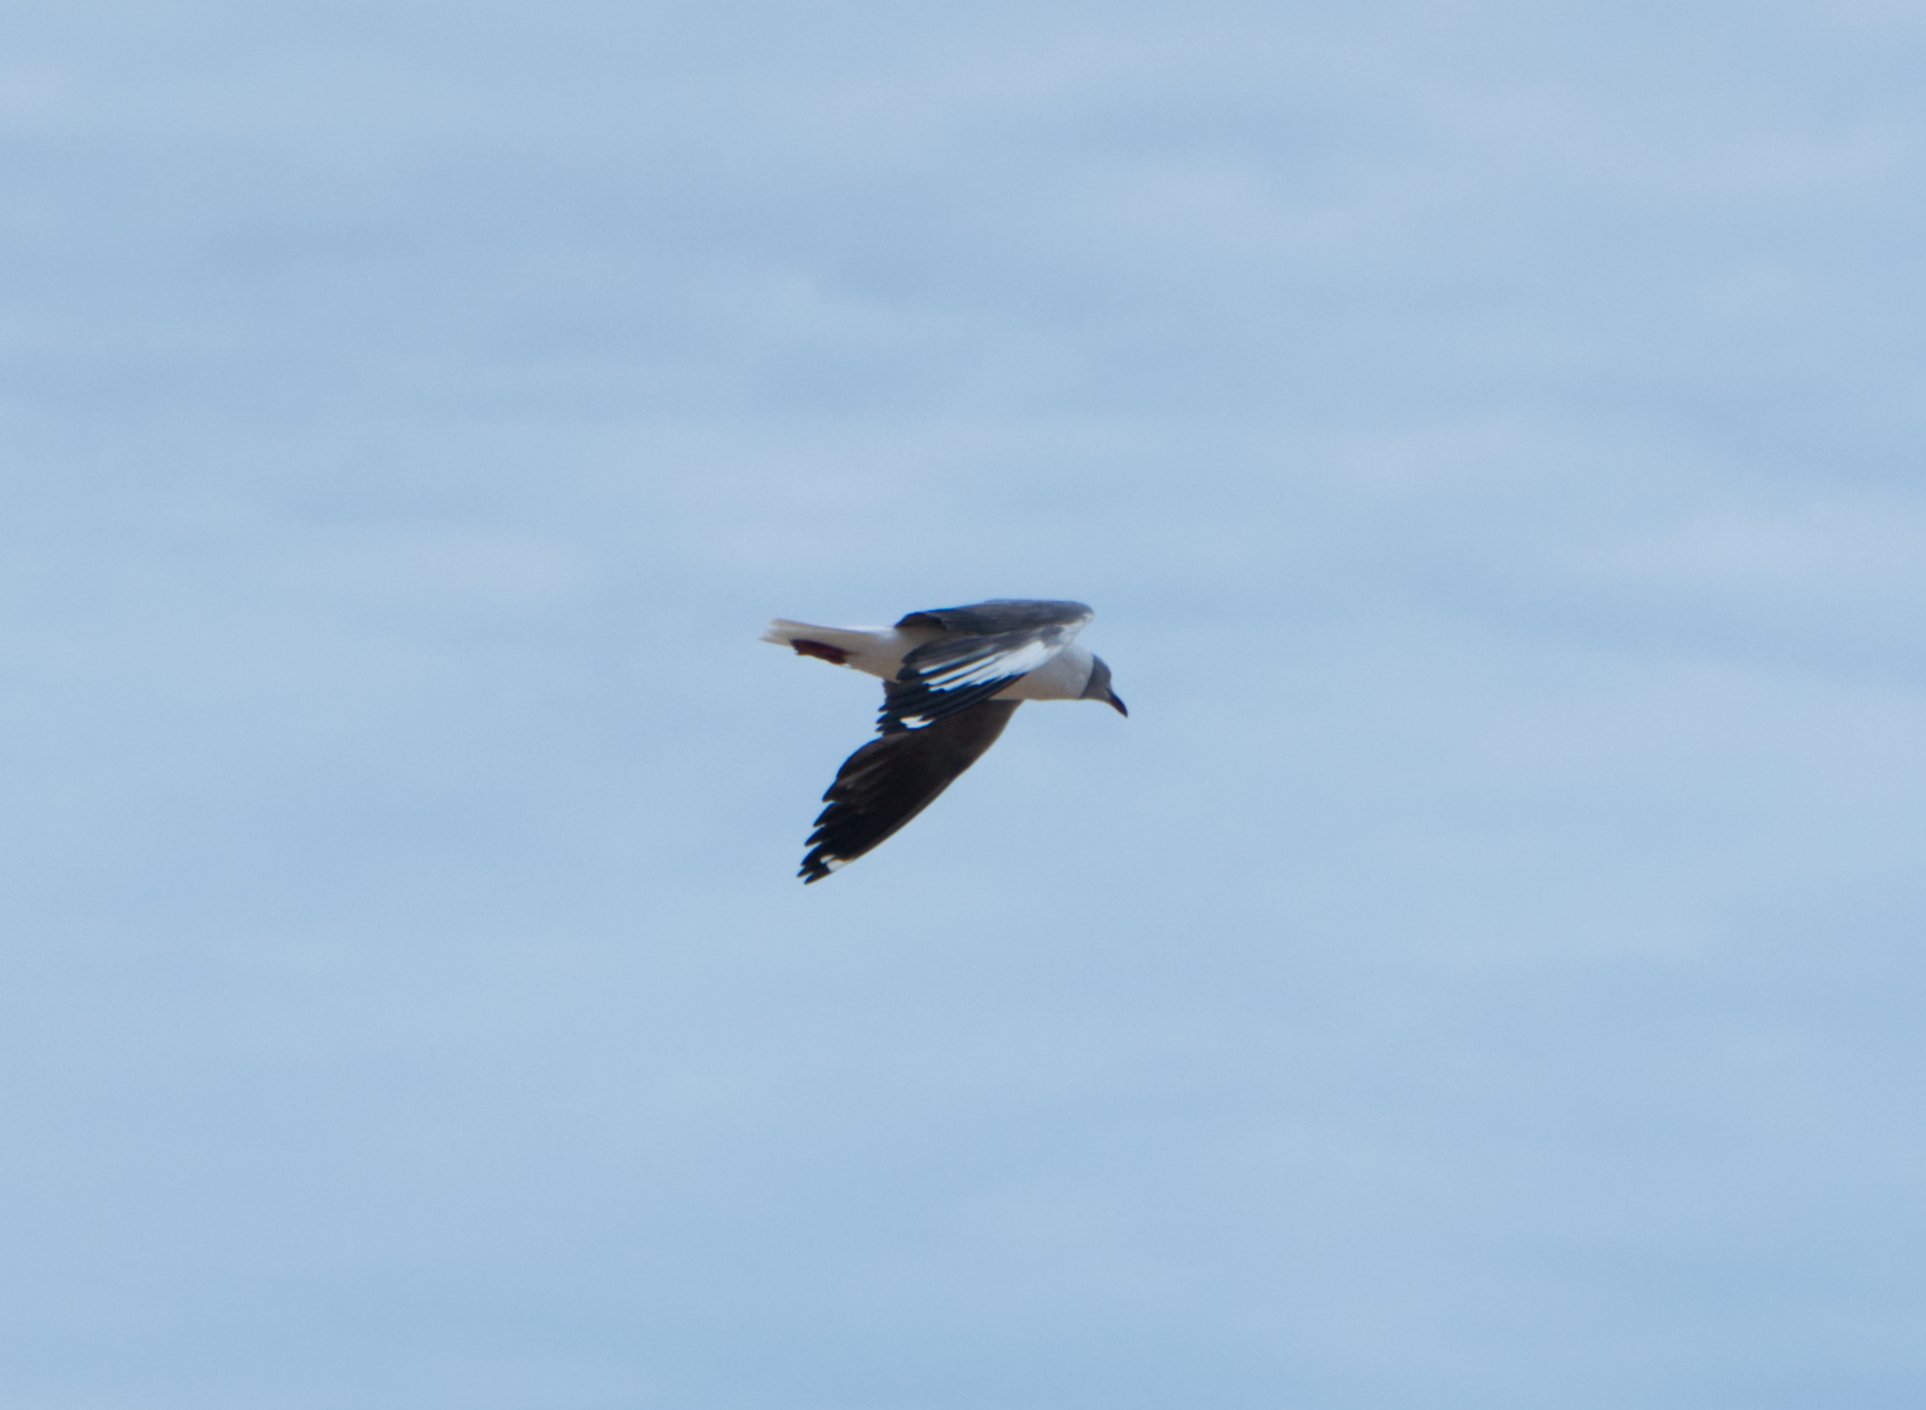
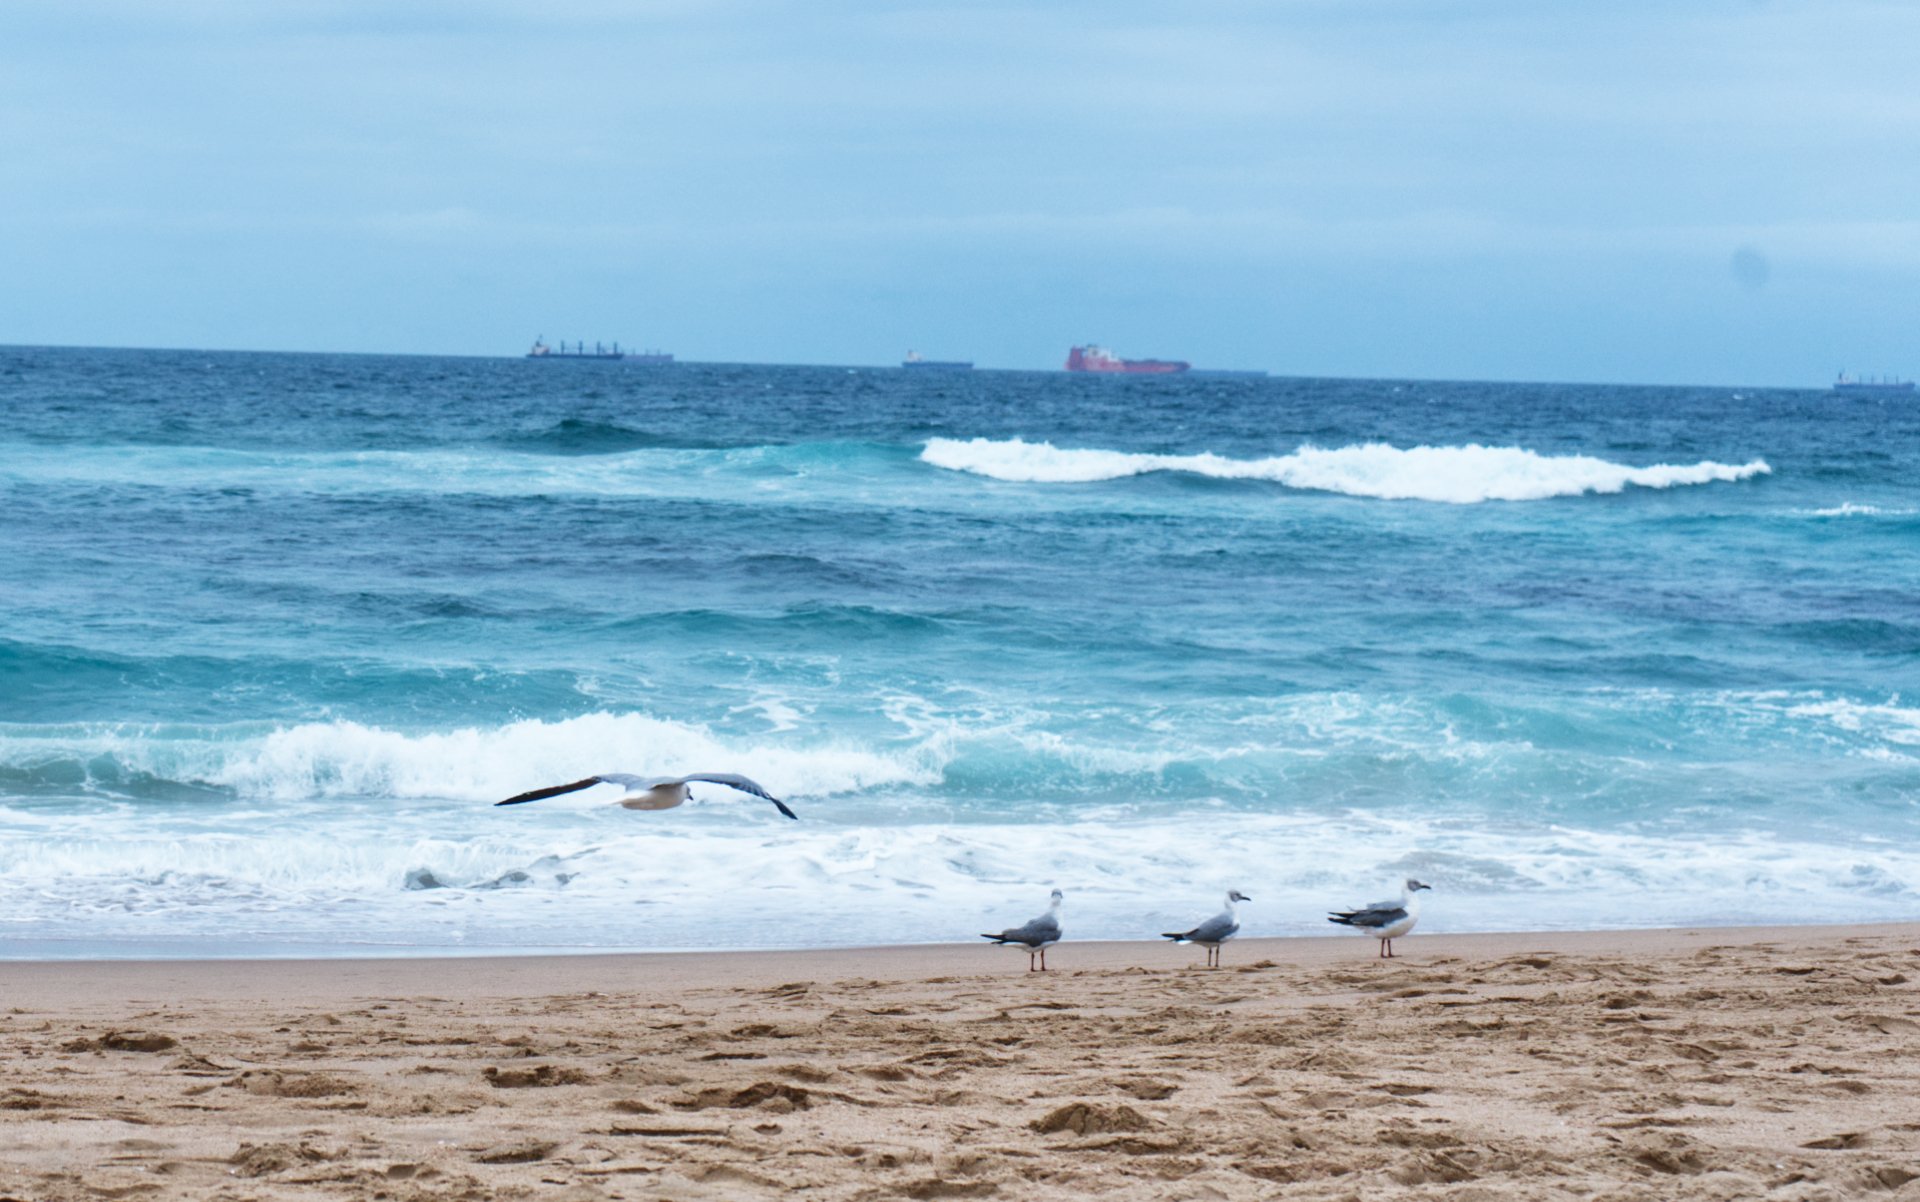
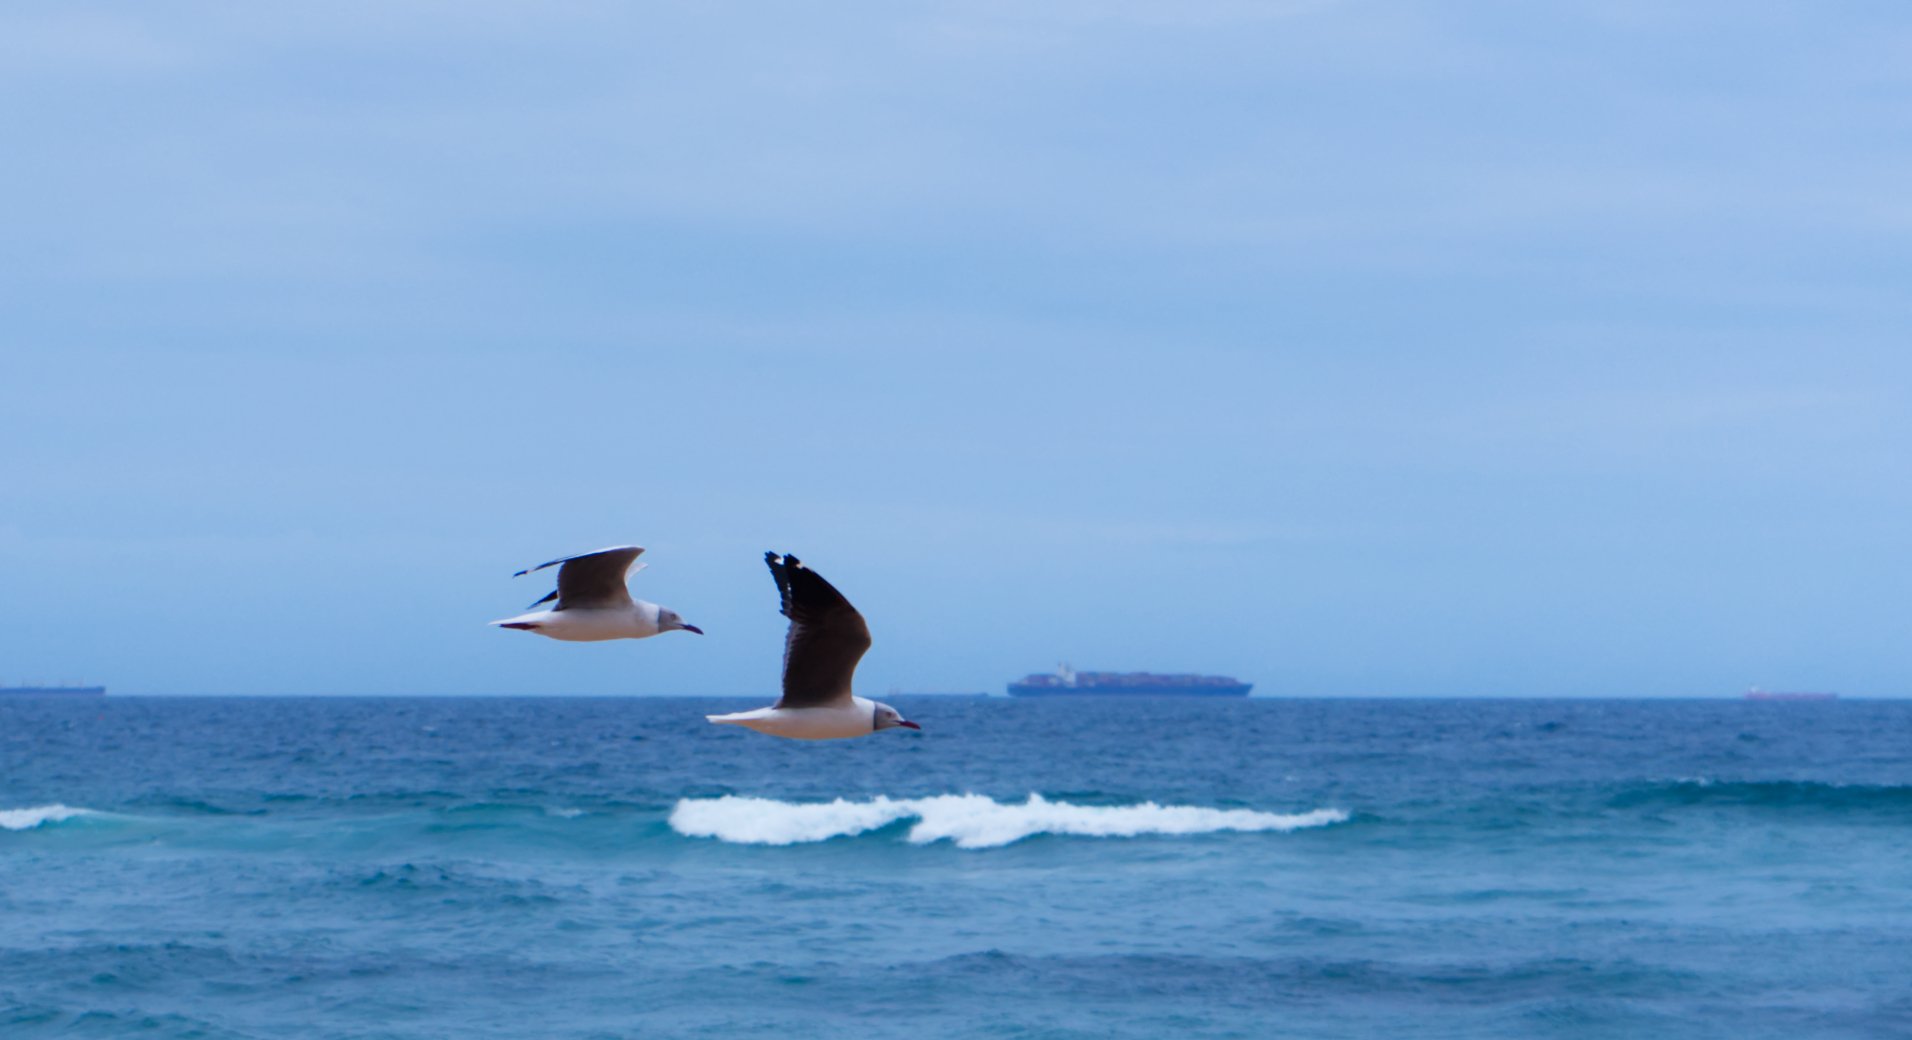
Nothing special, I took these pictures last weekend at Umhlanga Rocks in South Africa, all pictures taken with a Sony A7II, with the Sony 28-70mm, and all develop in Affinity Photo. This is my first time using Affinity Photo to develop pictures.
-
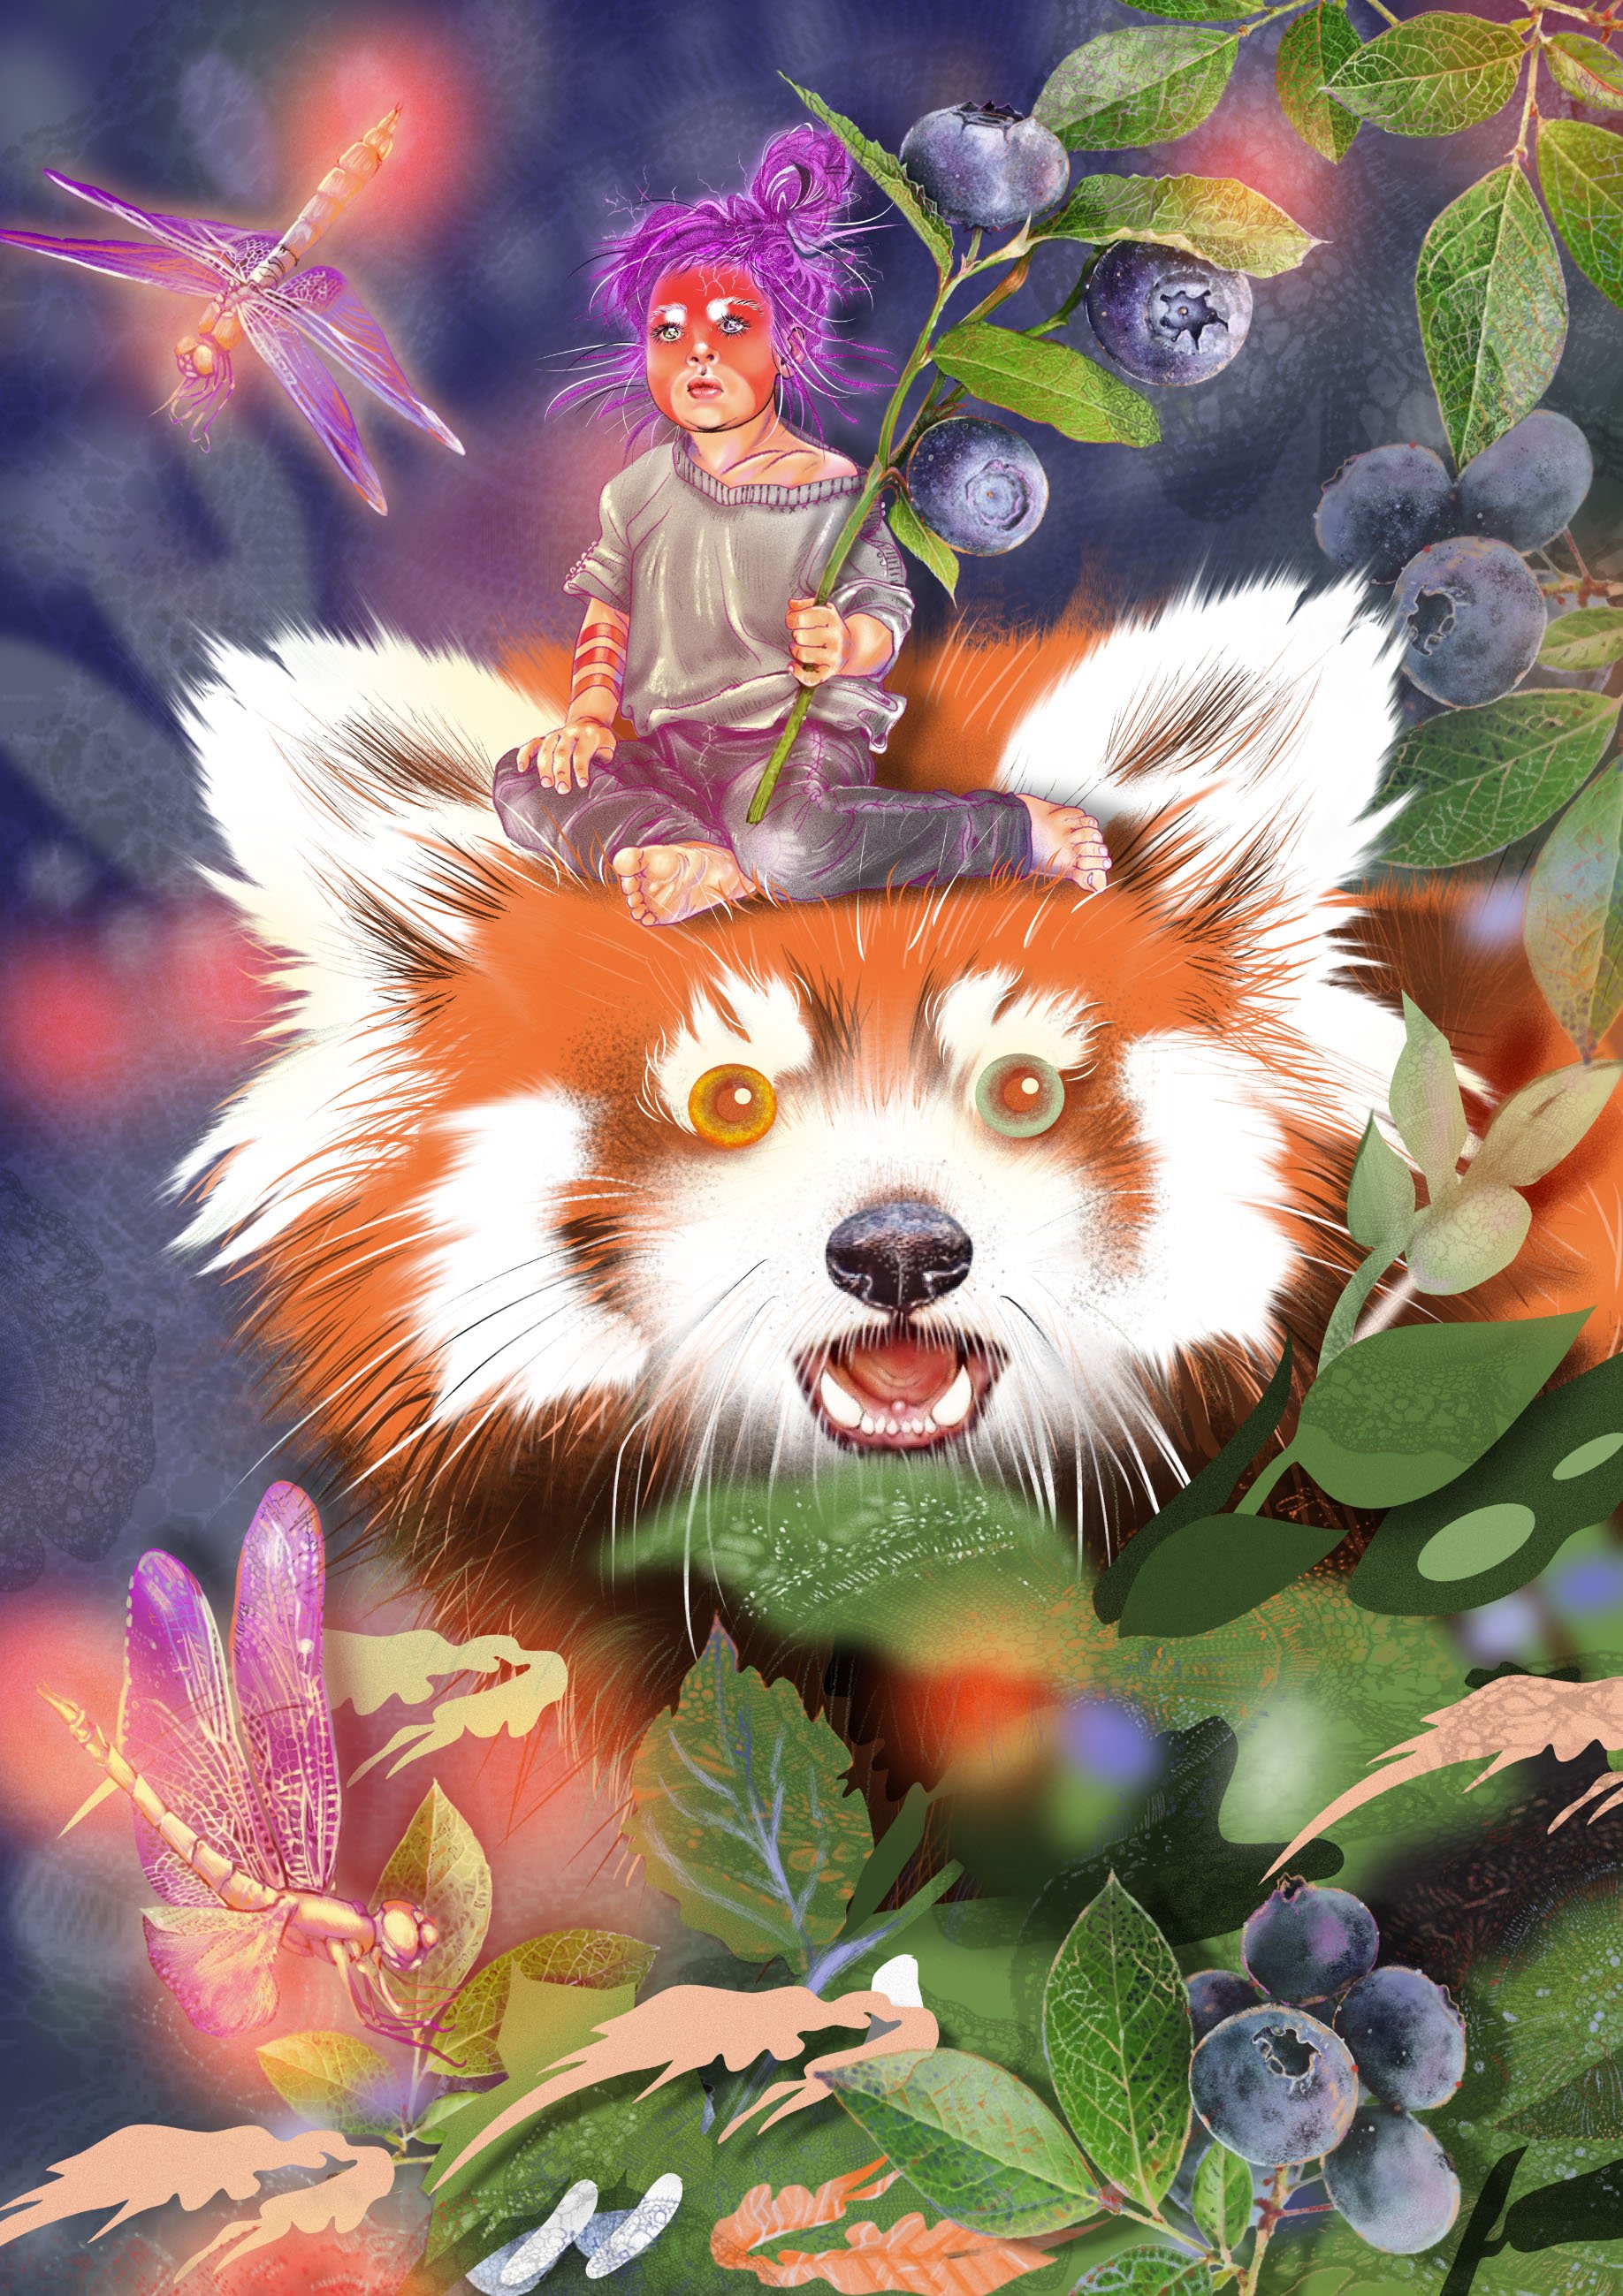
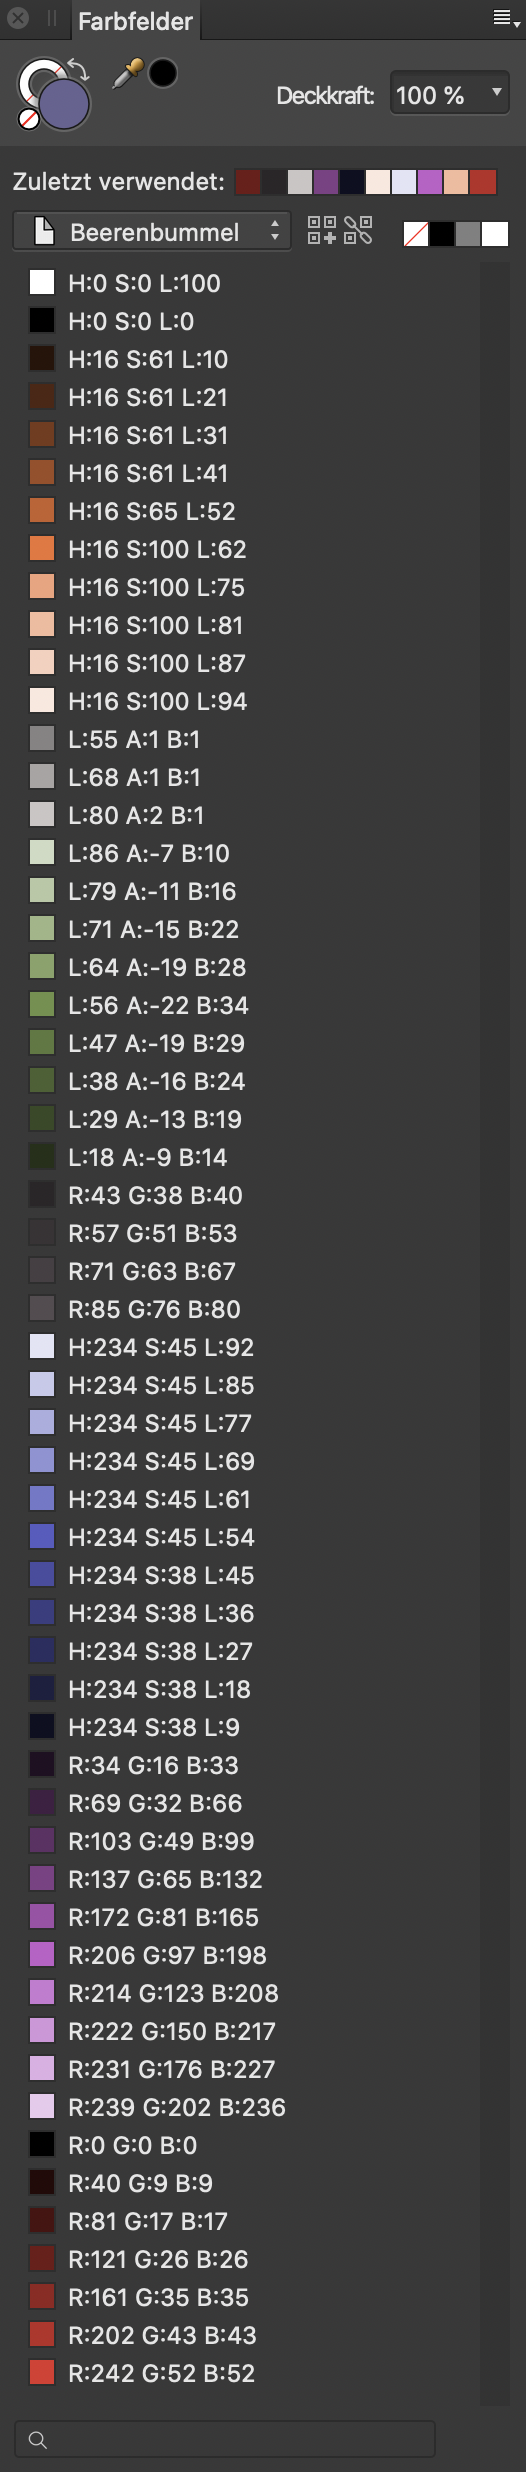
Lovely Greetings from Berlin, this editorial illustration is made in Affinity Designer on the iPad. »A friendly forest spirit with his avatar is looking for berry supplies in fall.« This two characters will be seen soon in my second edition of the German book: https://www.rheinwerk-verlag.de/affinity-designer_4939/ This work consistently grow really big, but the document was all time stable on iPad. I worked in both – Draw and Pixel Personas. I can not count the layers anymore! I used lots of simple shapes to create the plants and went to the Pixel Persona to create further details with simple brushes like pencils. For my colouration I created a document palette with 9 main colours and HSL shades. I just used 3 layer effects: blur and shine and shadow. The lines of the character are from my sketch and later edited. I used a lot of brush sets from FRANKENTOON and DAUB and my one customised brushes.
-
Composing using Affinity Photo and the nice Chroma Supply Abstract Paint Bundle
-
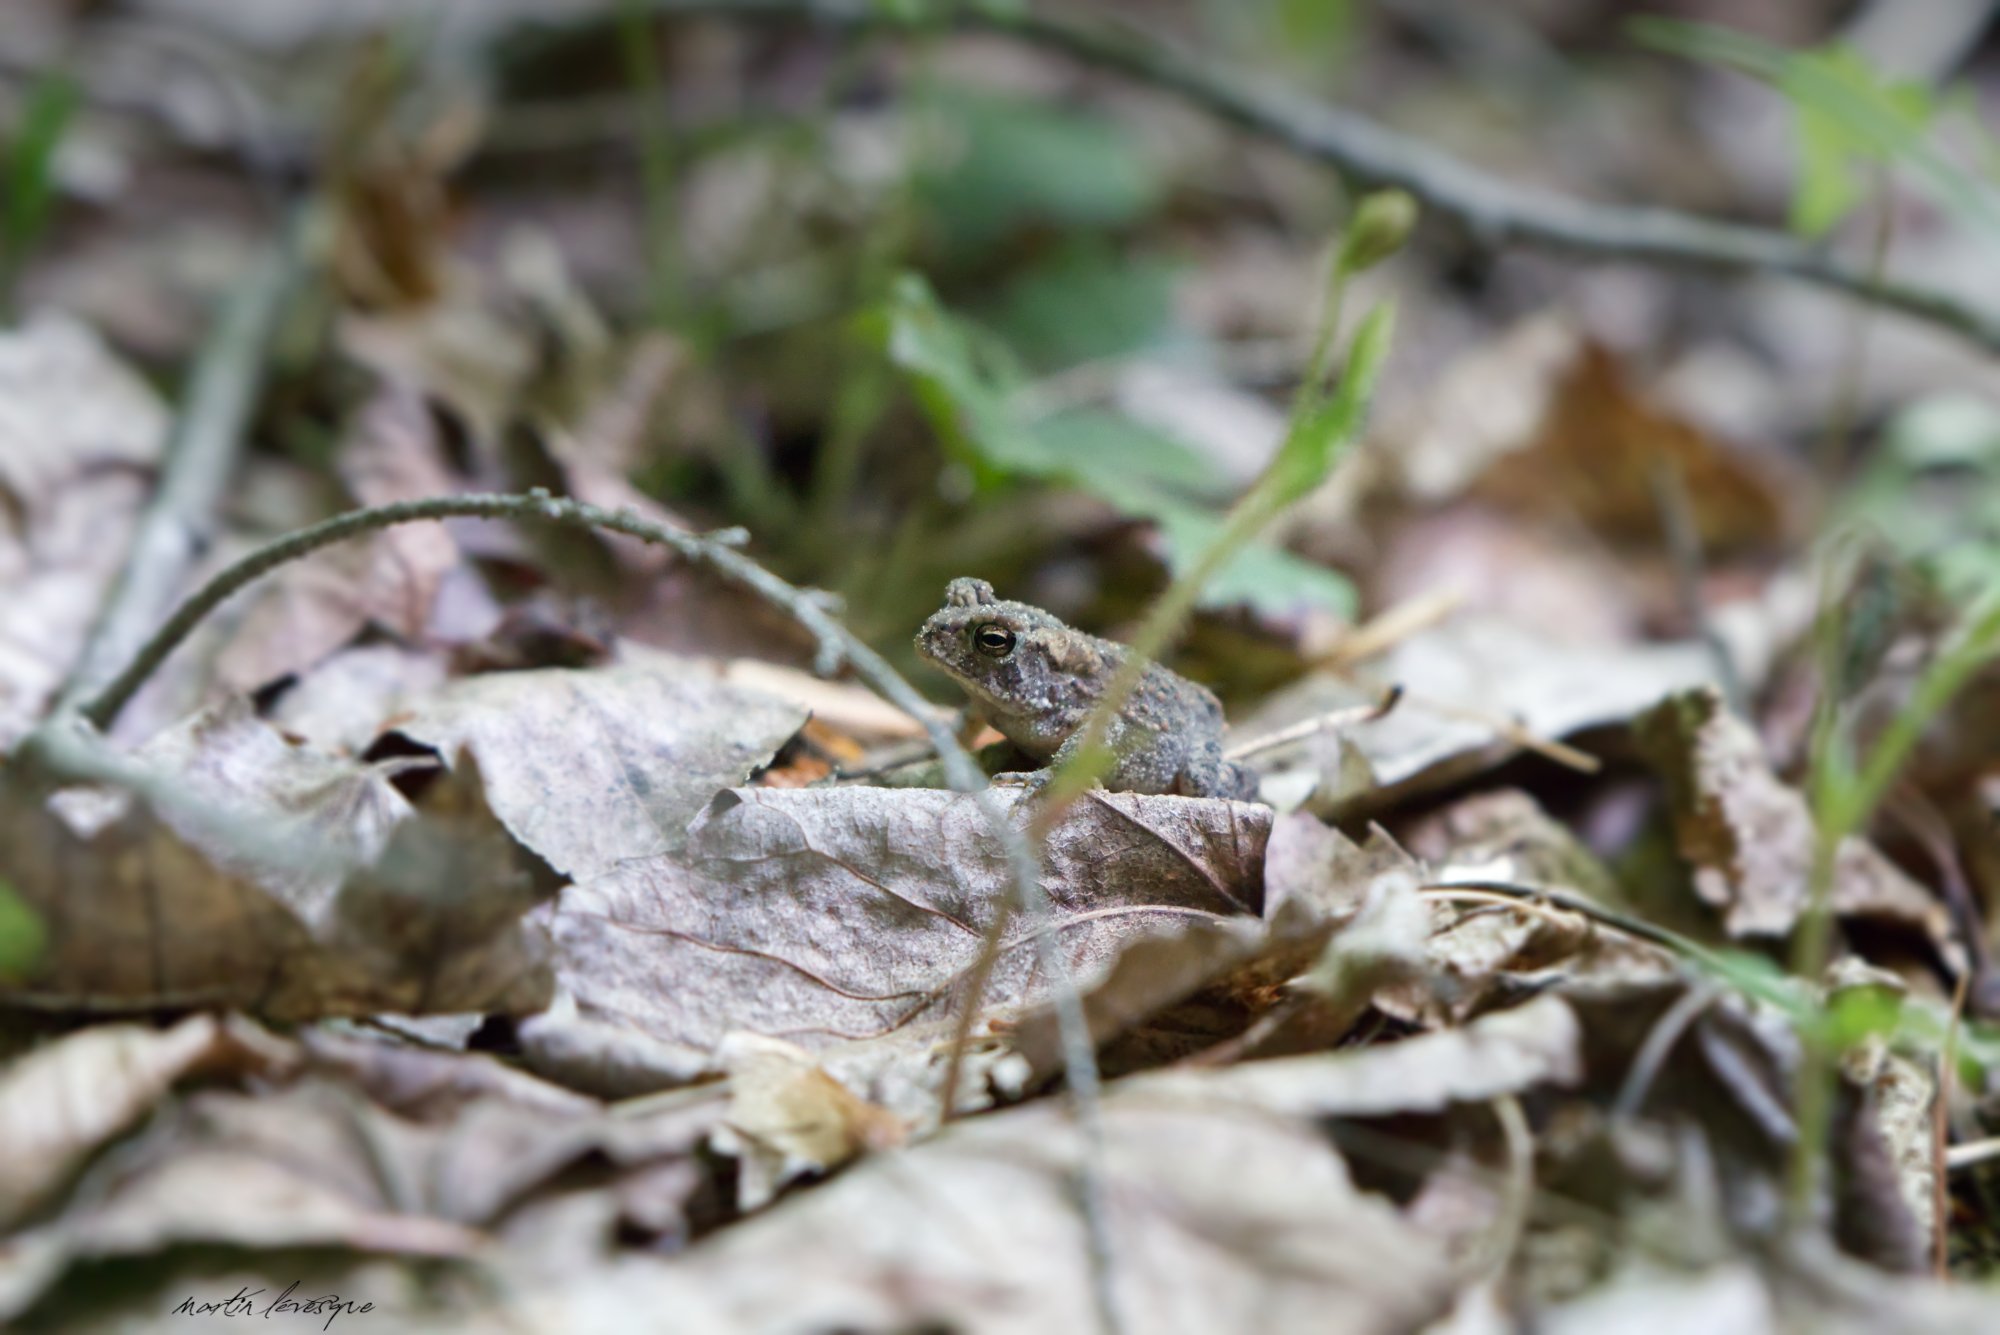
Hi everyone. I haven't been very active photographically wise but I'll try to change that. I went in the woods a few days ago and I wanted to try my new Tamron 70-200mm G2 lens. So I found this small toad (I love landscape and wildlife photography) and tried to photograph it (I used my 70-200mm Tamron lens). It's not the best photo of a toad but I'm still satified with it. Let me know what you think because I still like getting advices from better photographers. Here's what I did on this photo. I played with the basic settings in the develop persona (exposure, noise reduction, clarity, etc). Because some elements were in focus and disturbing the eye away from the toad, I used a dept of field blur tool and I made sure to put the center of the tool on the eye of the toad. I changed the exposure of the background with the help of a gradiant tool. Added signature.
-

affinity photo New photography edited with Affinity Photo
AndyPhotoSJ posted a topic in Share your work
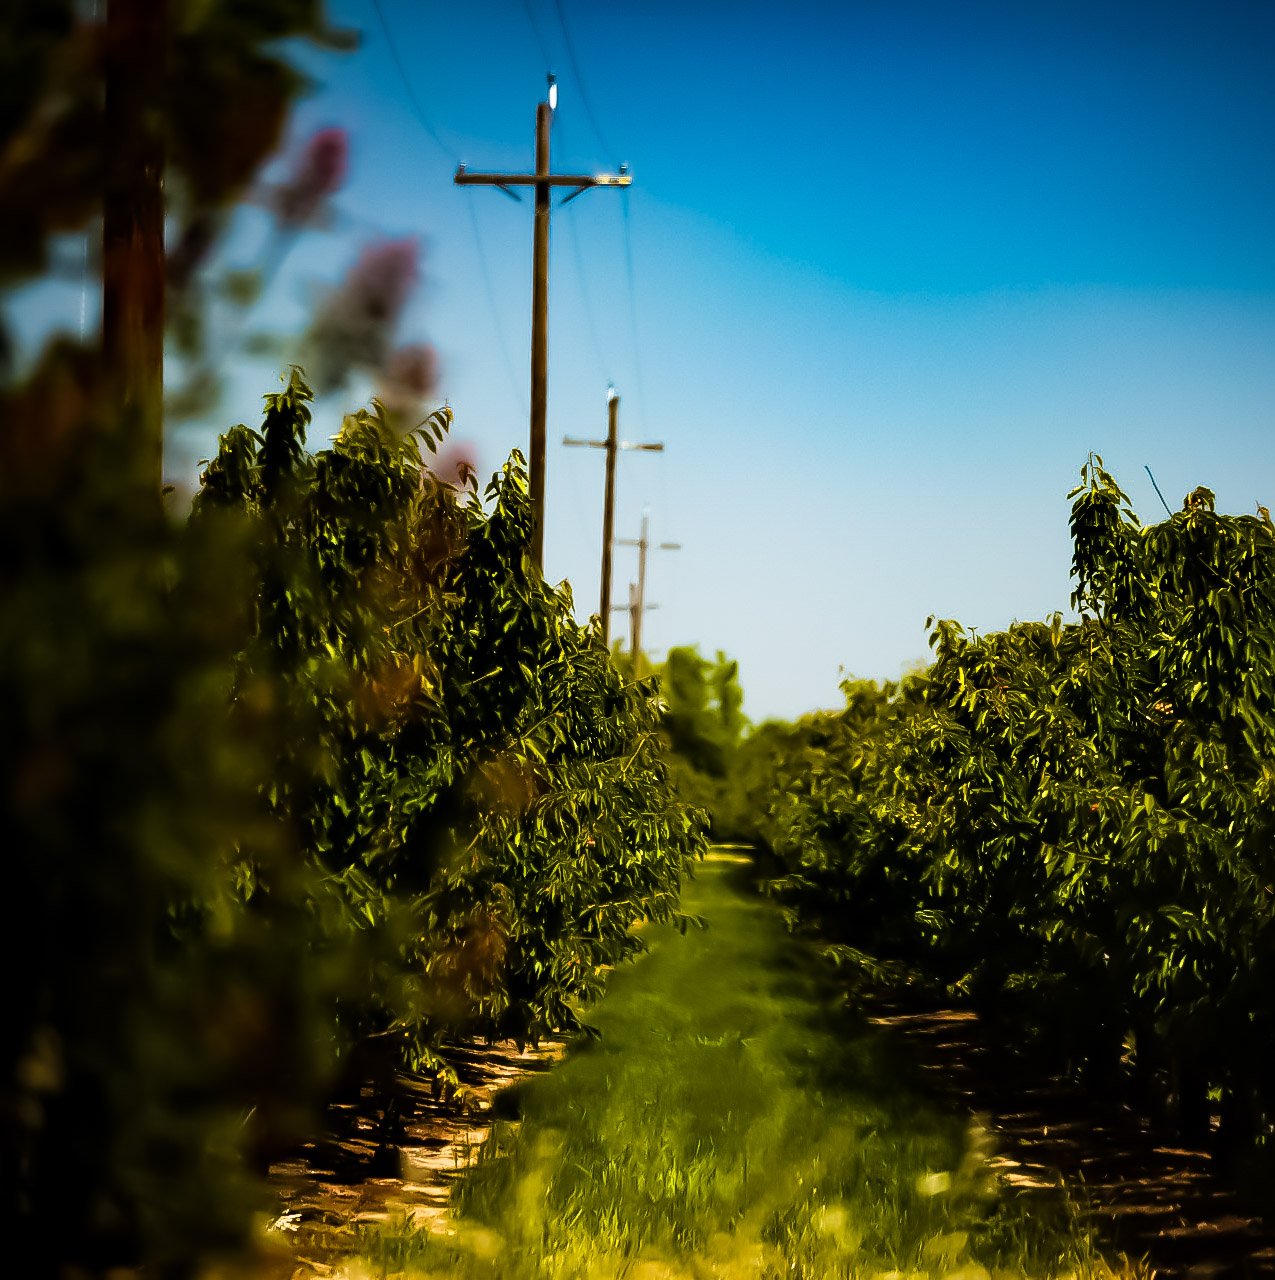
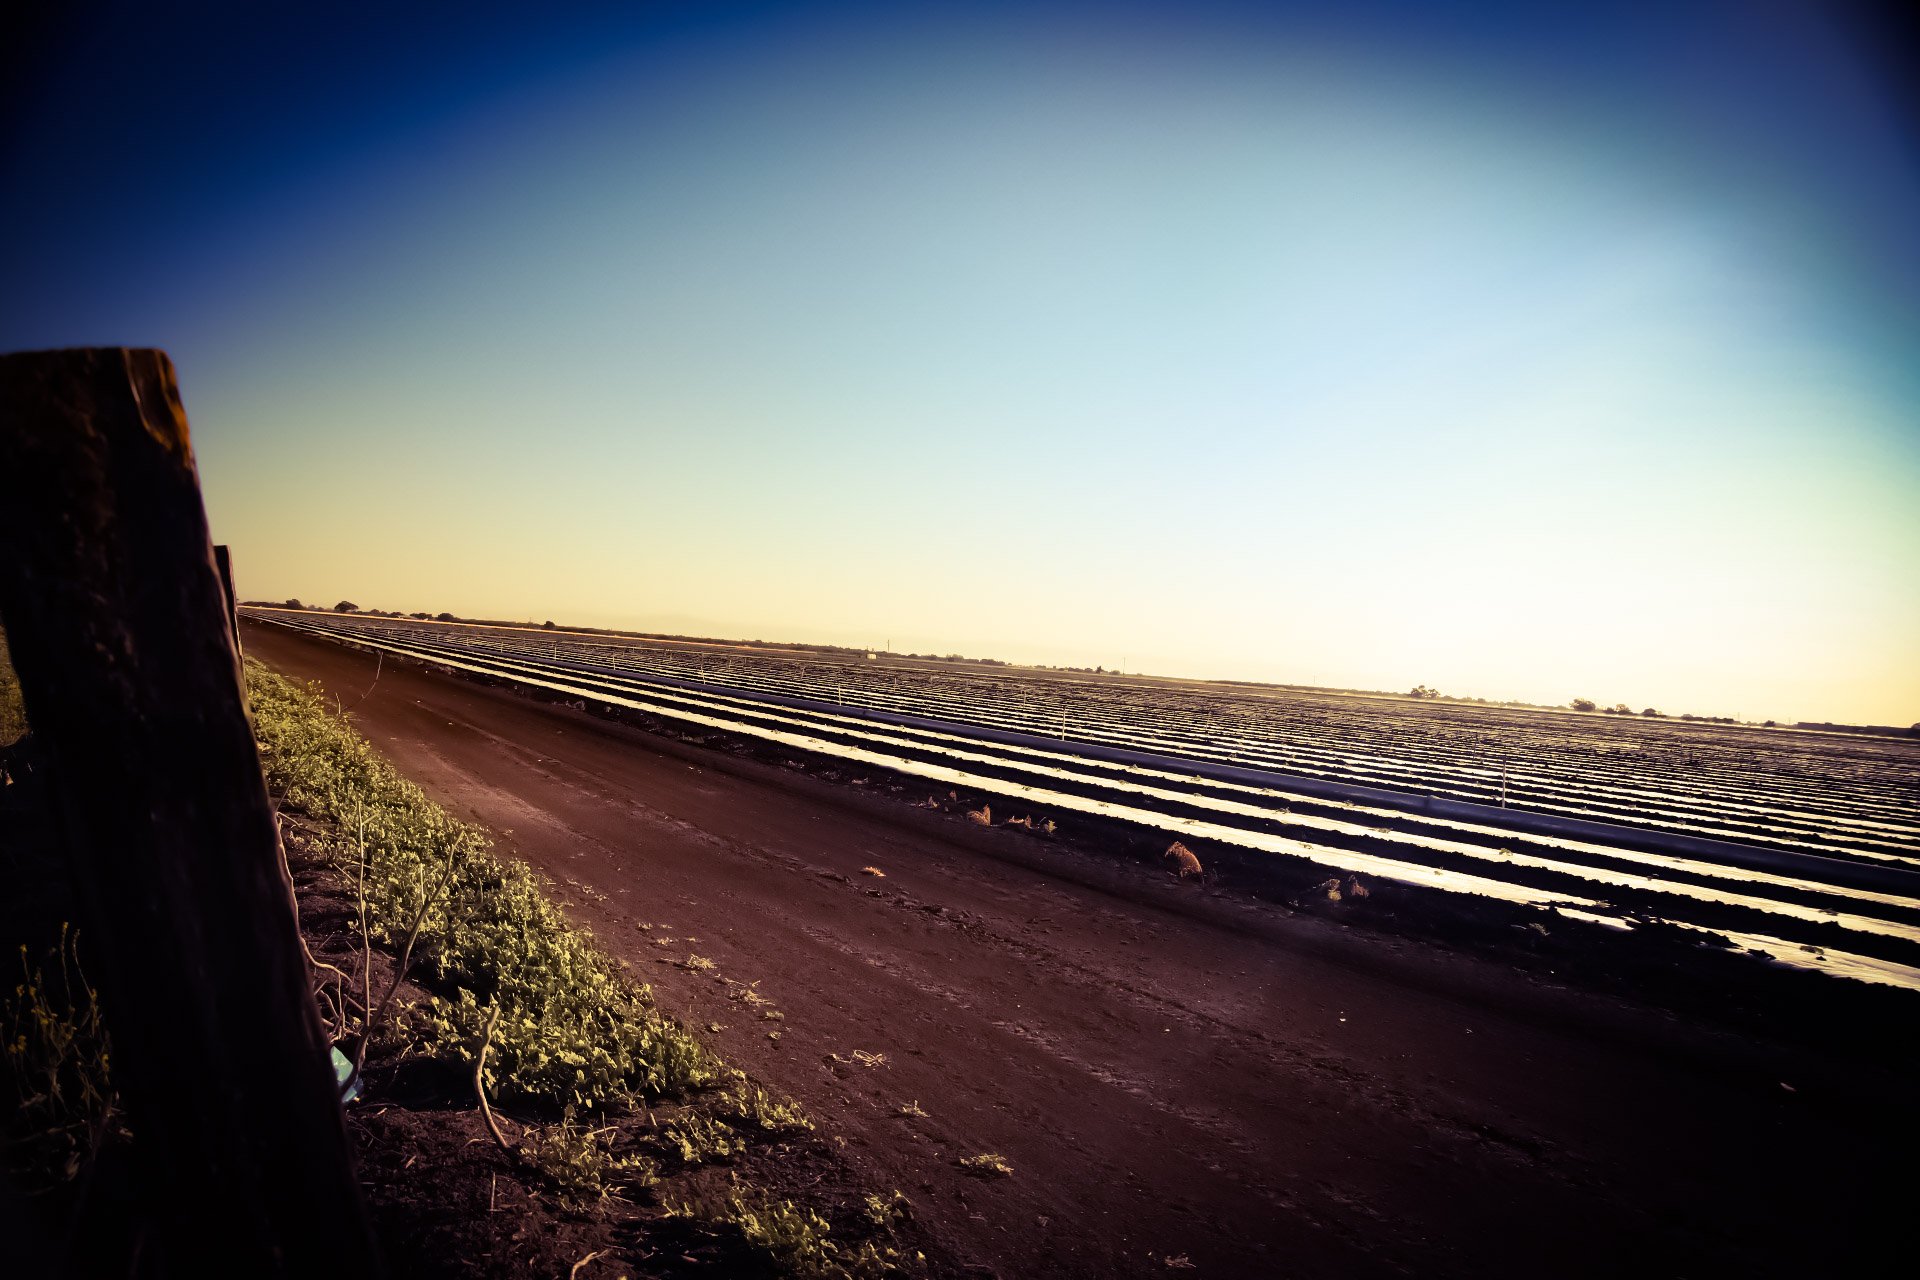
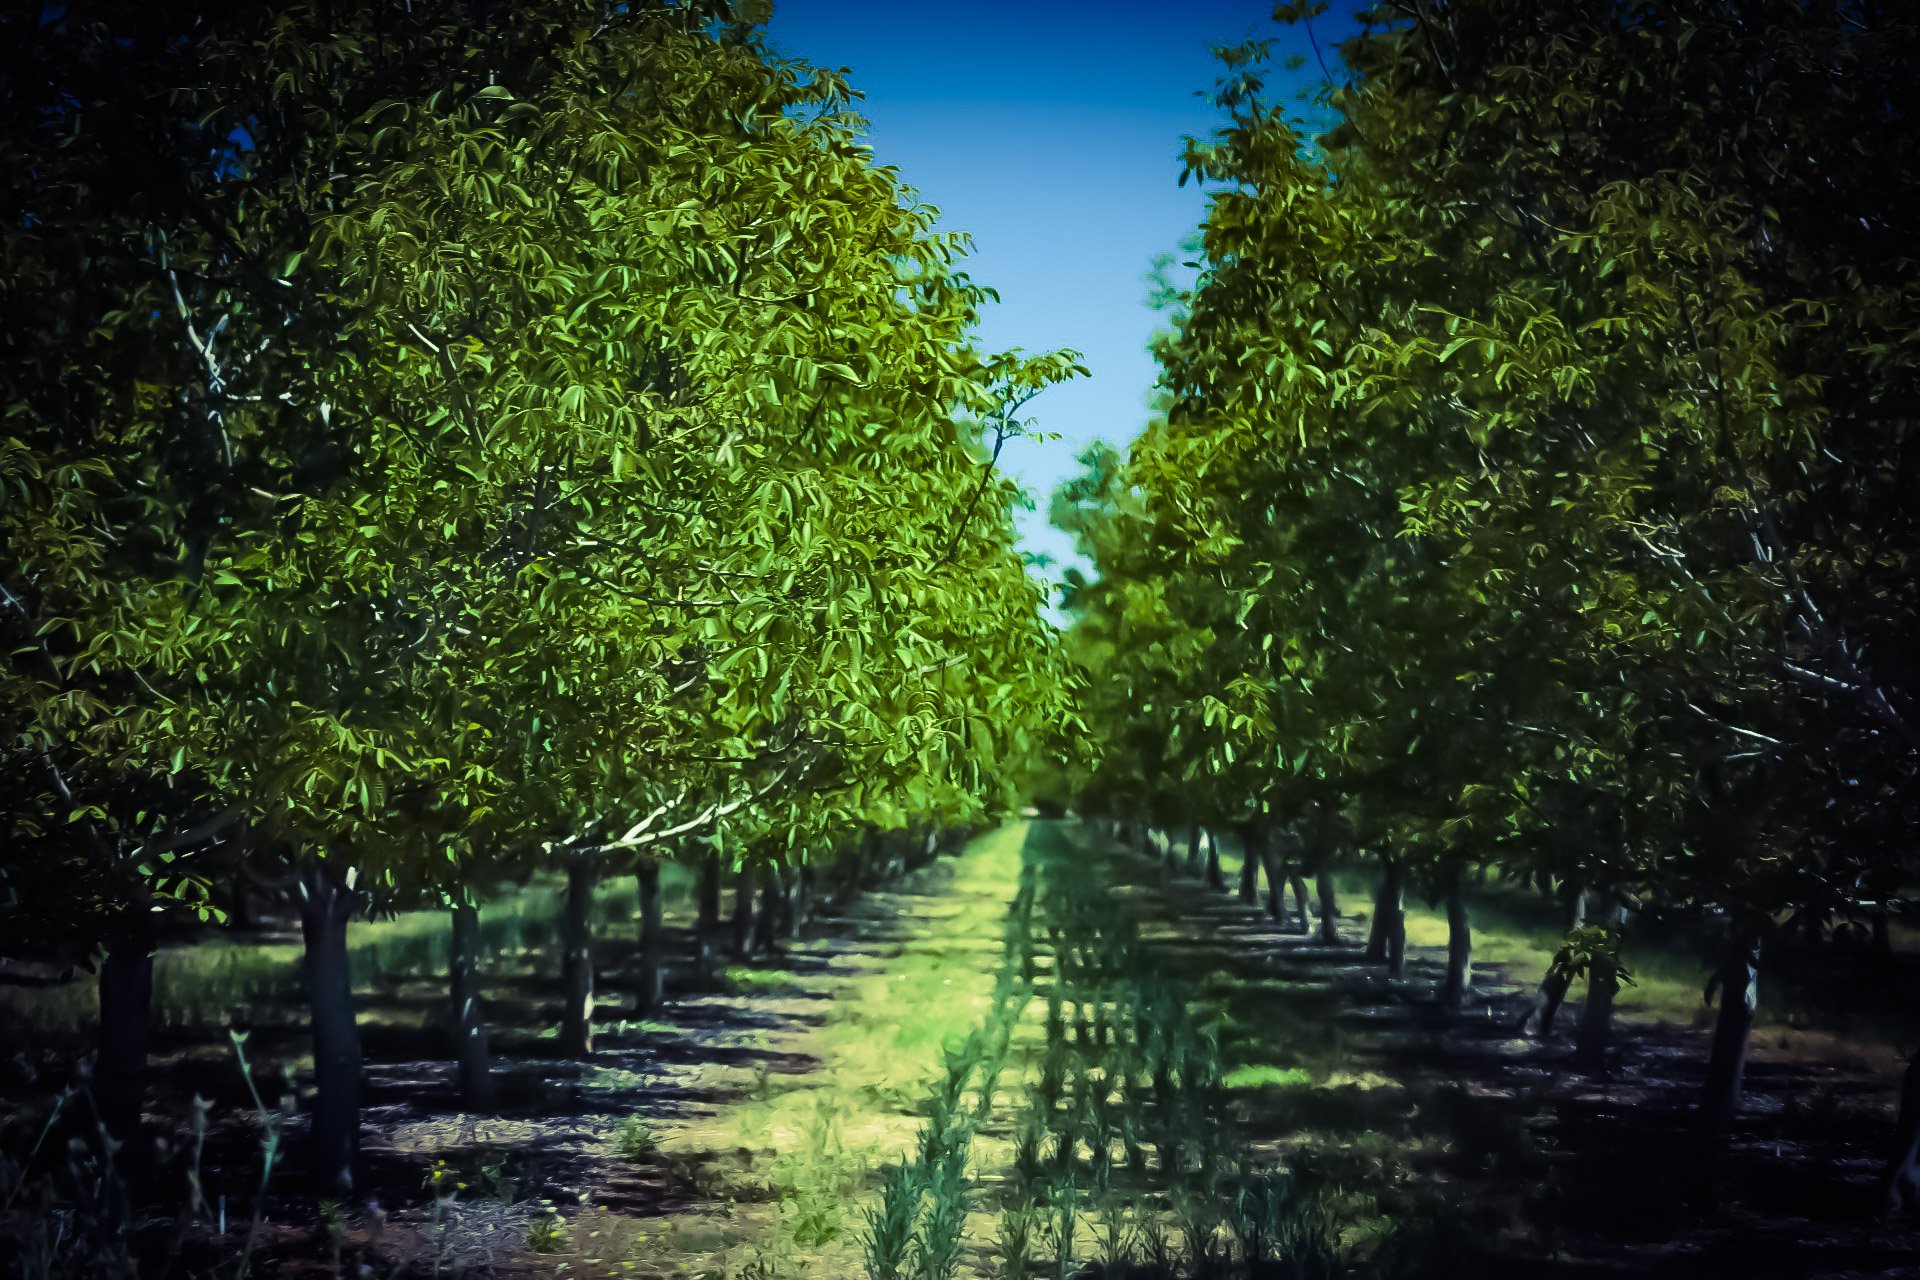
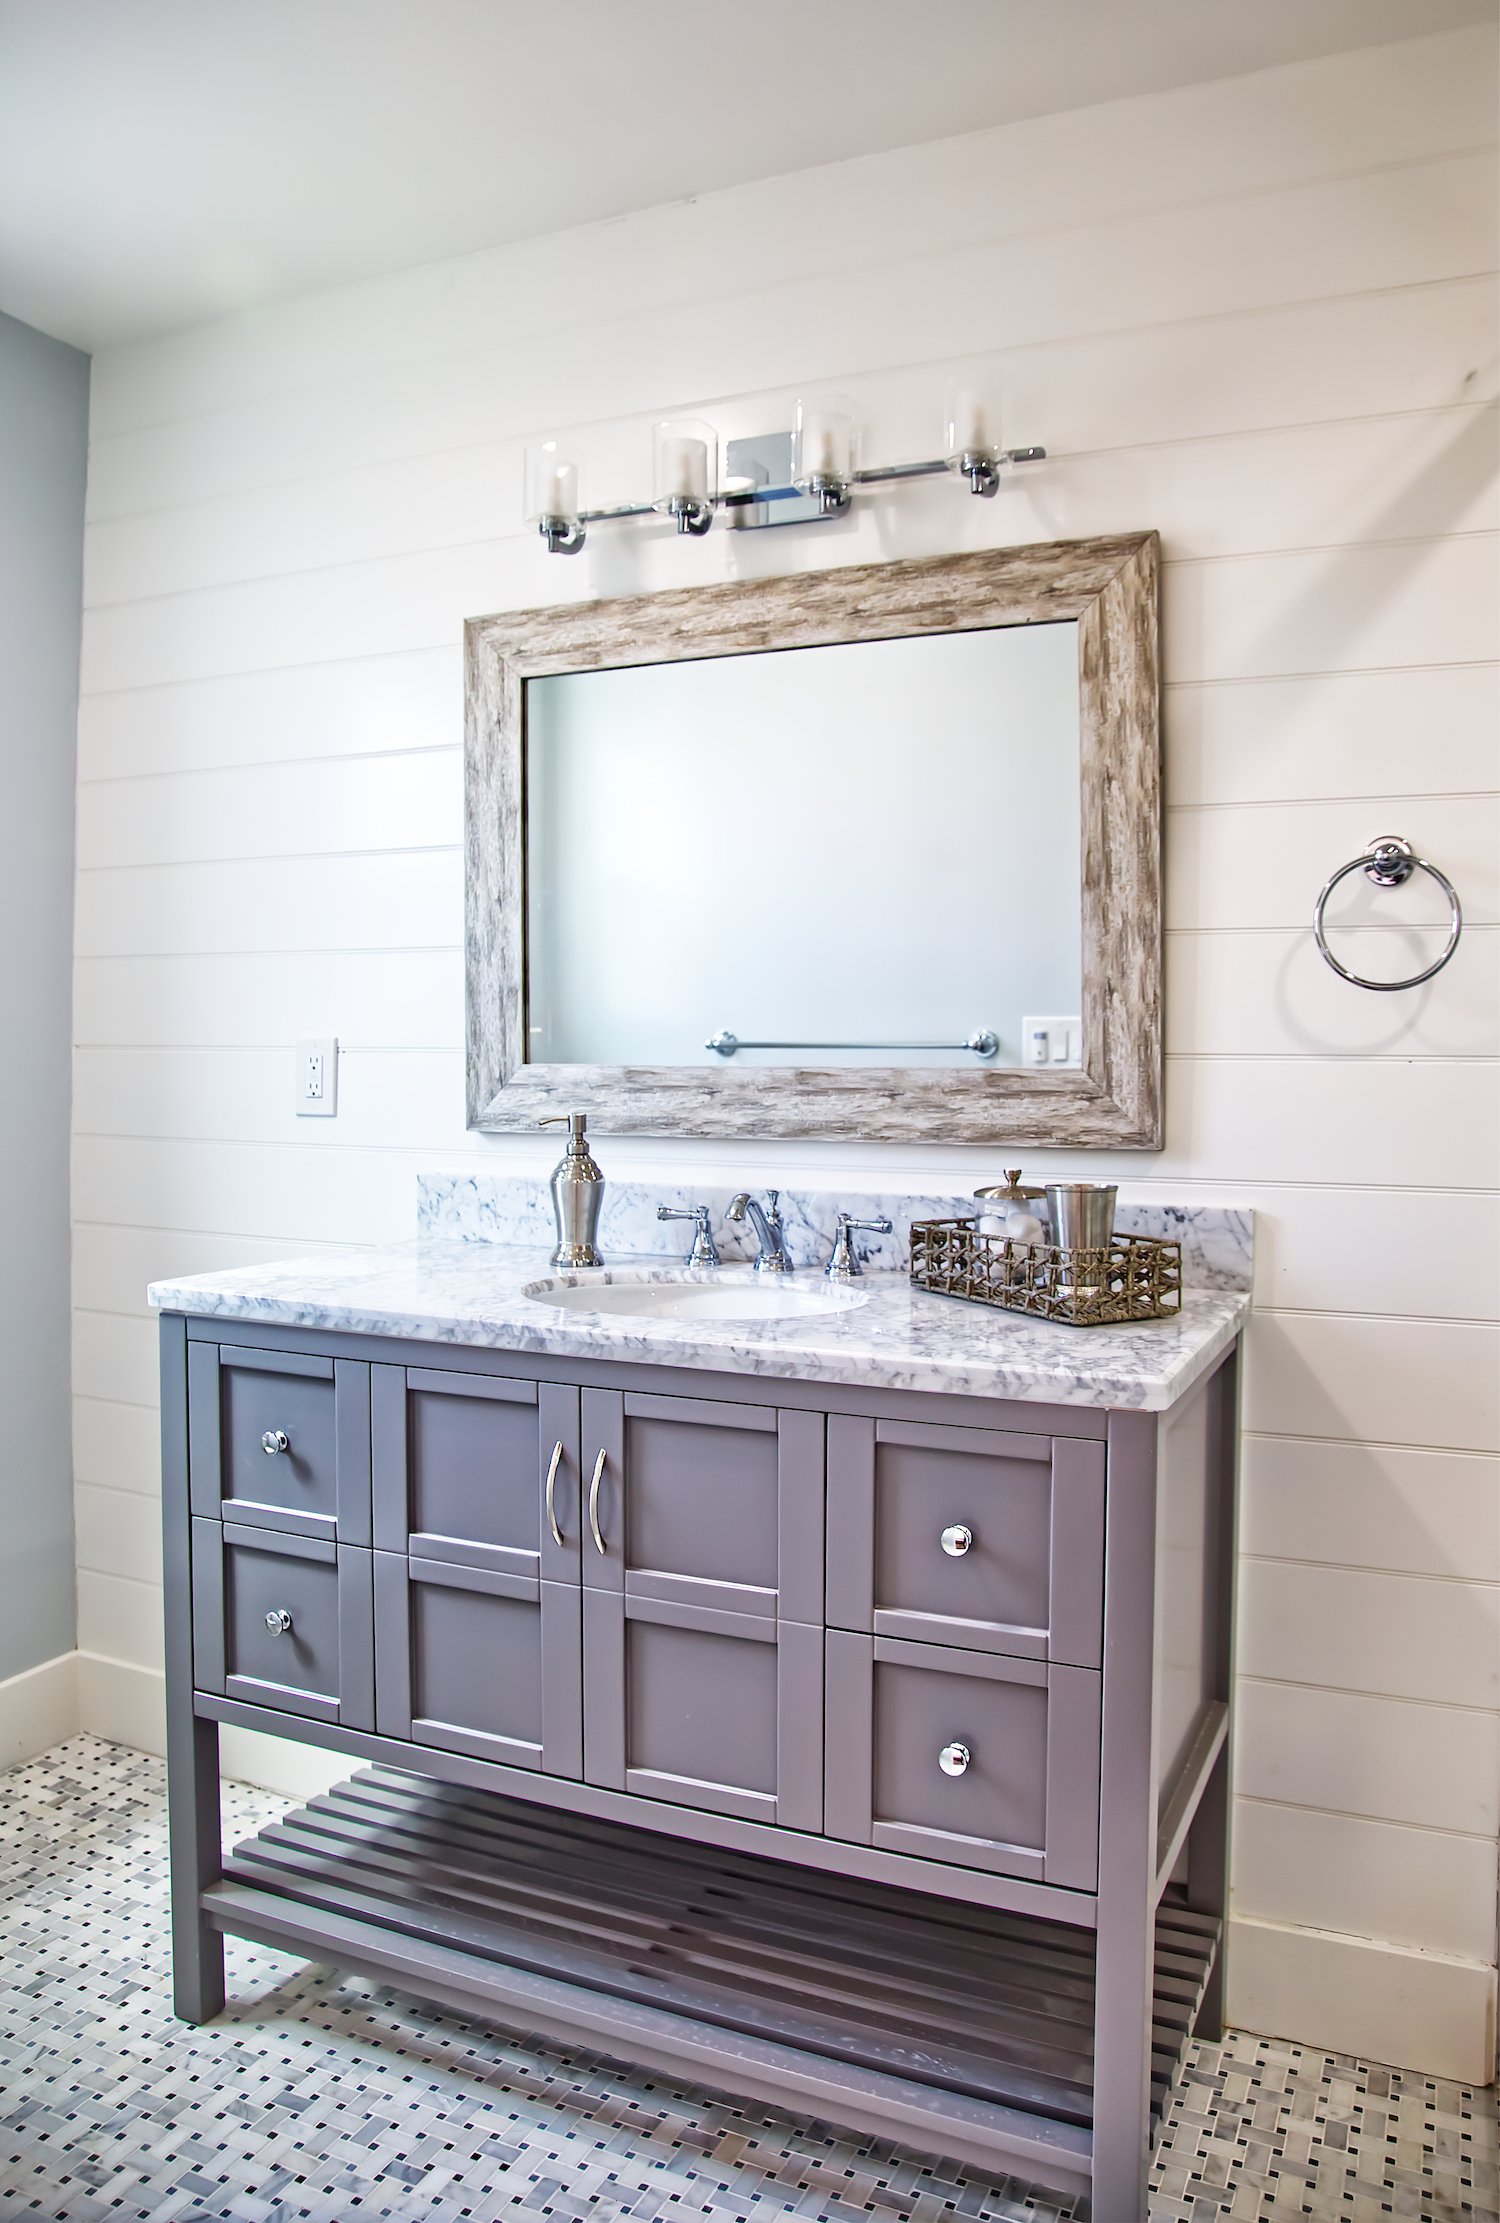
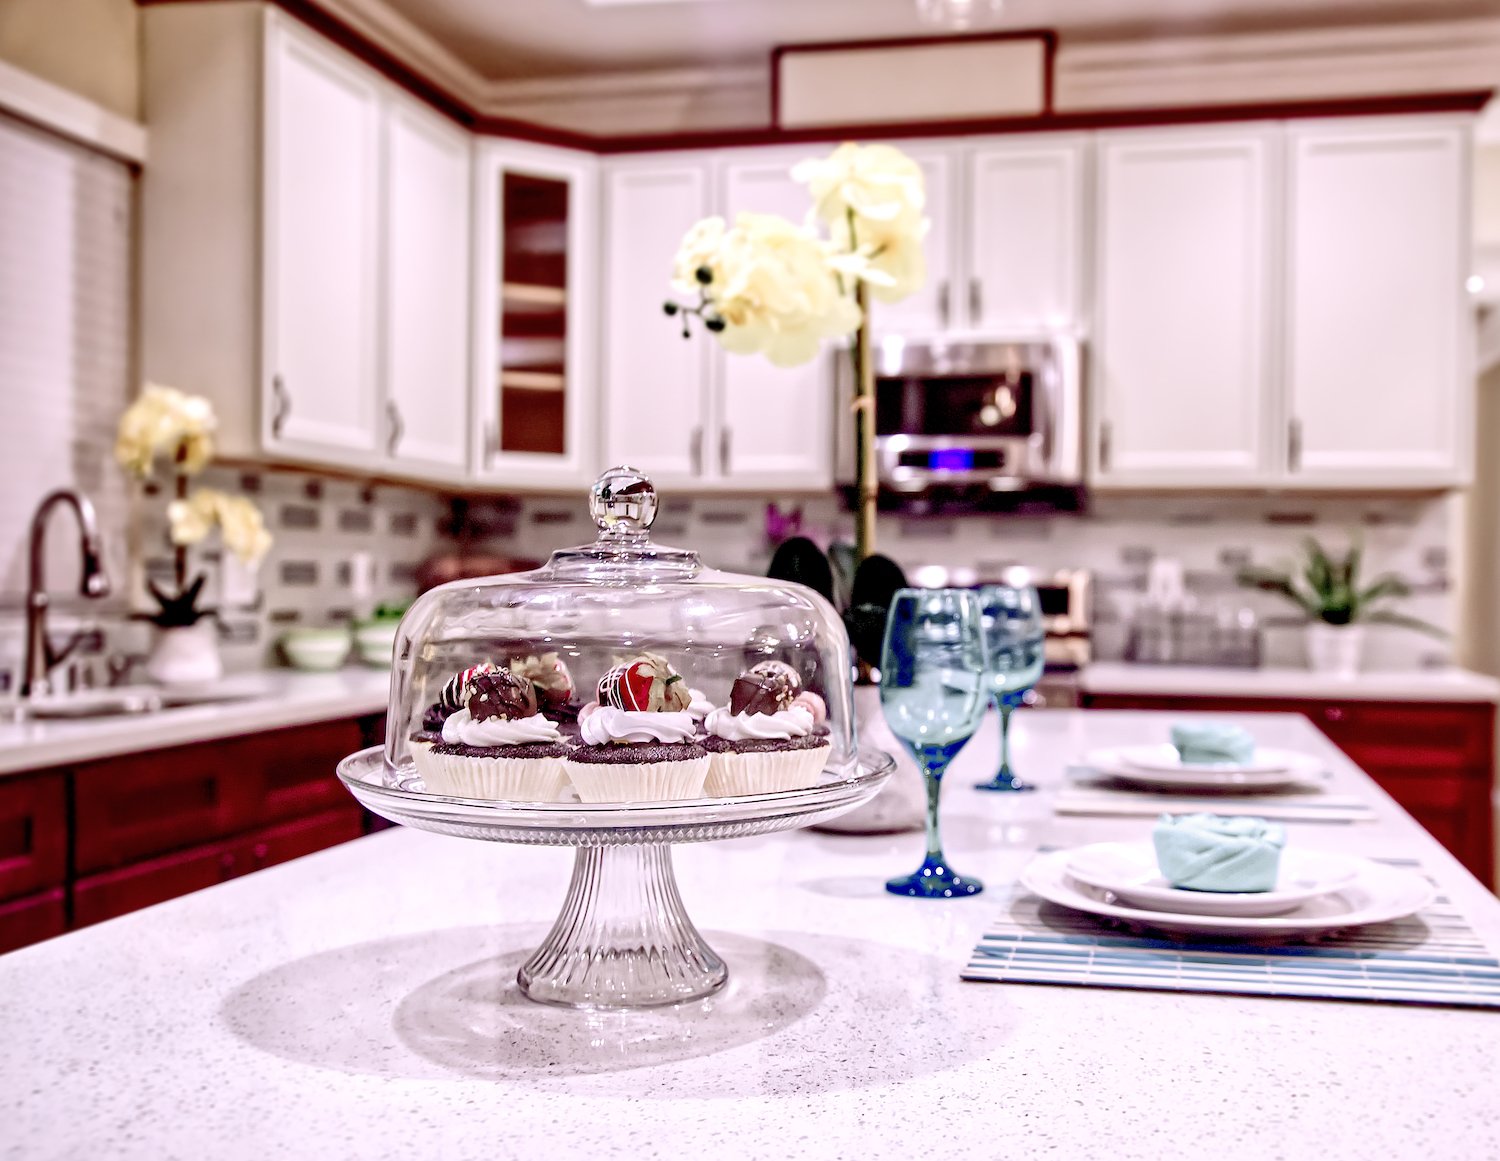
Made sure I didnt already post these. All images were taken with a Canon 5DM4. This First Set was taken over mothers day. in Northern California by Discovery Bay. Sigma 70-200 sigma 24-105mm sigma 70-200 sigma 24-105 So 99.99% of the time I will never use an HDR filter too touch up my photography especially in commercial shoots like Realestate. buuuuuuut I gotta admit the tone mapping persona did a pretty good job here. so nicely. done Affinity team. My Client was very happy with the results, this home sold for $4.45million soo ya thats a feel good moment. all of these were done with Sigma 24-105 This was taken with the Sigma 70-200mm I used just the basic RAW editing profile for these images. All were taken by Sigma 24-105 this one belongs with the first real estate set.
- 1 reply
-
- 2
-
-
- nature
- real estate
- (and 5 more)
-
I'm in the process of creating (almost done) a collection of brushes with nature motifs. Thought it could be useful for more Affinity users so I decided to share one sample, the brush regarding the common ivy. Let me know if you like it and if it’s worth sharing the full collection :) Common Ivy Brush.afbrushes.zip
-
Hello, I have tryed brushes, blanding modes an effects on paper surfaces. I think it is interesting to work free in Affinity. This one it is done in AffinityPhoto.
-
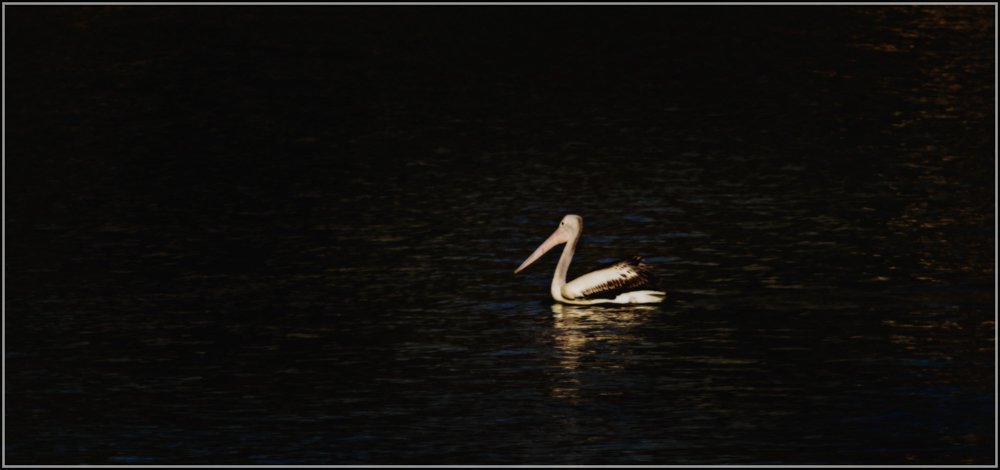
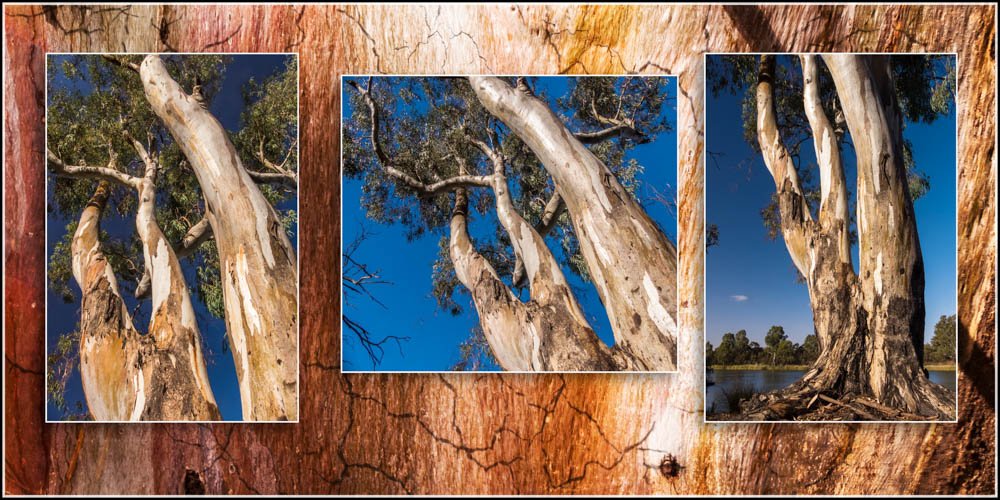
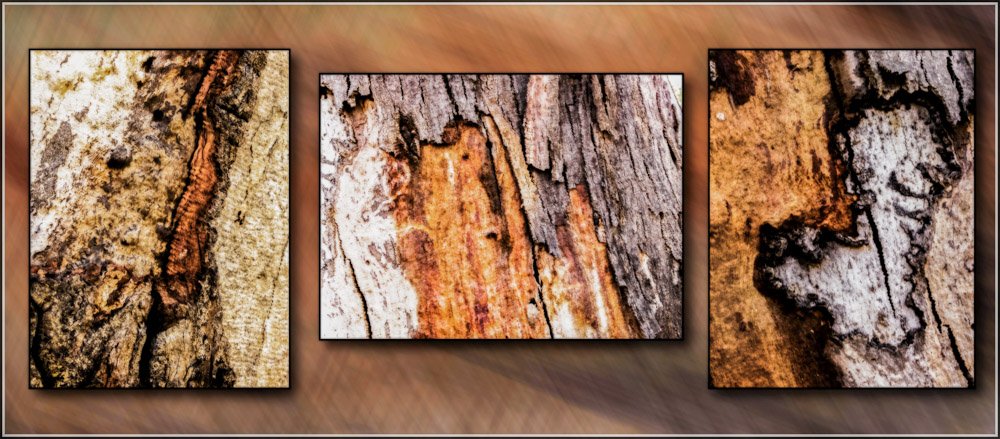
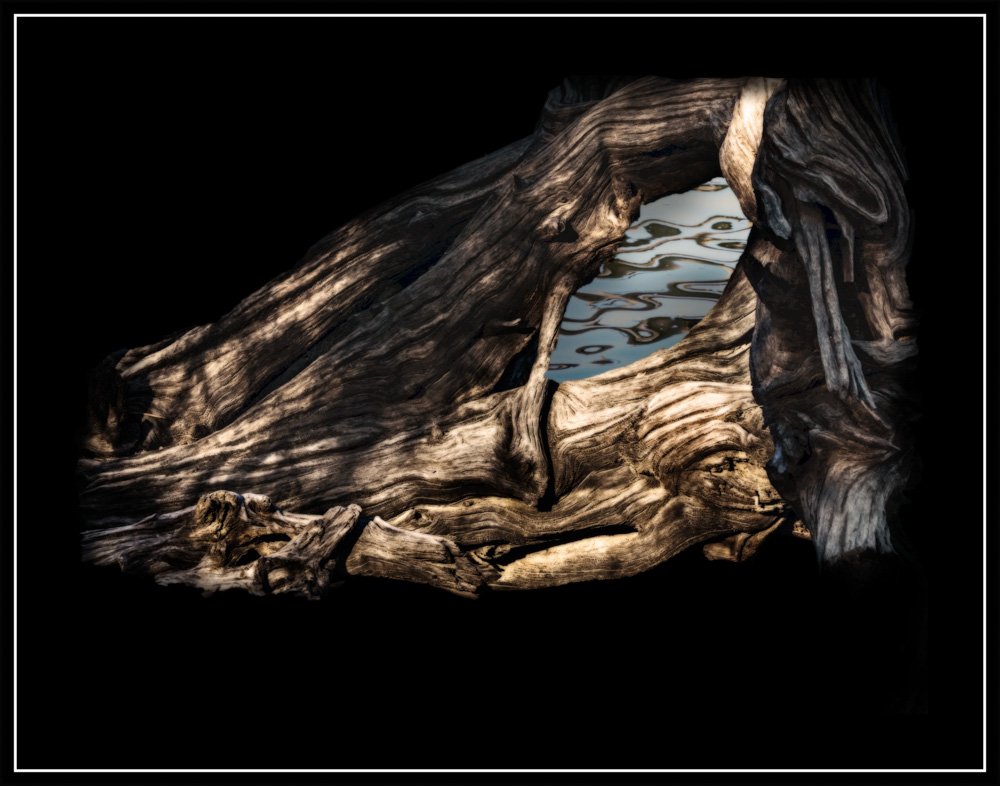
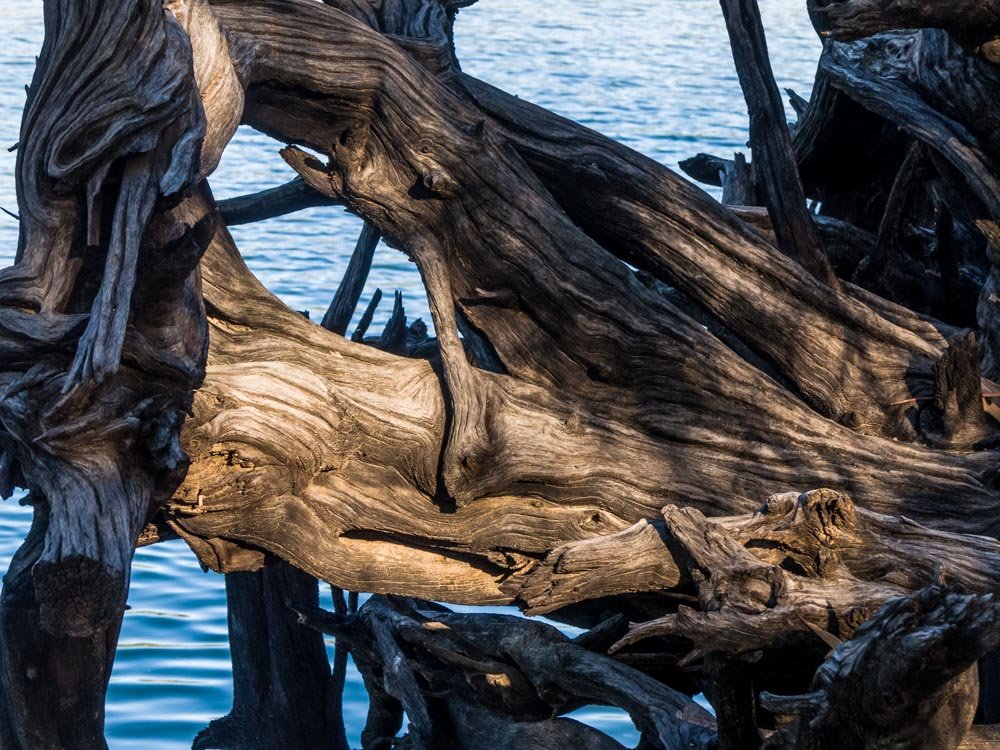
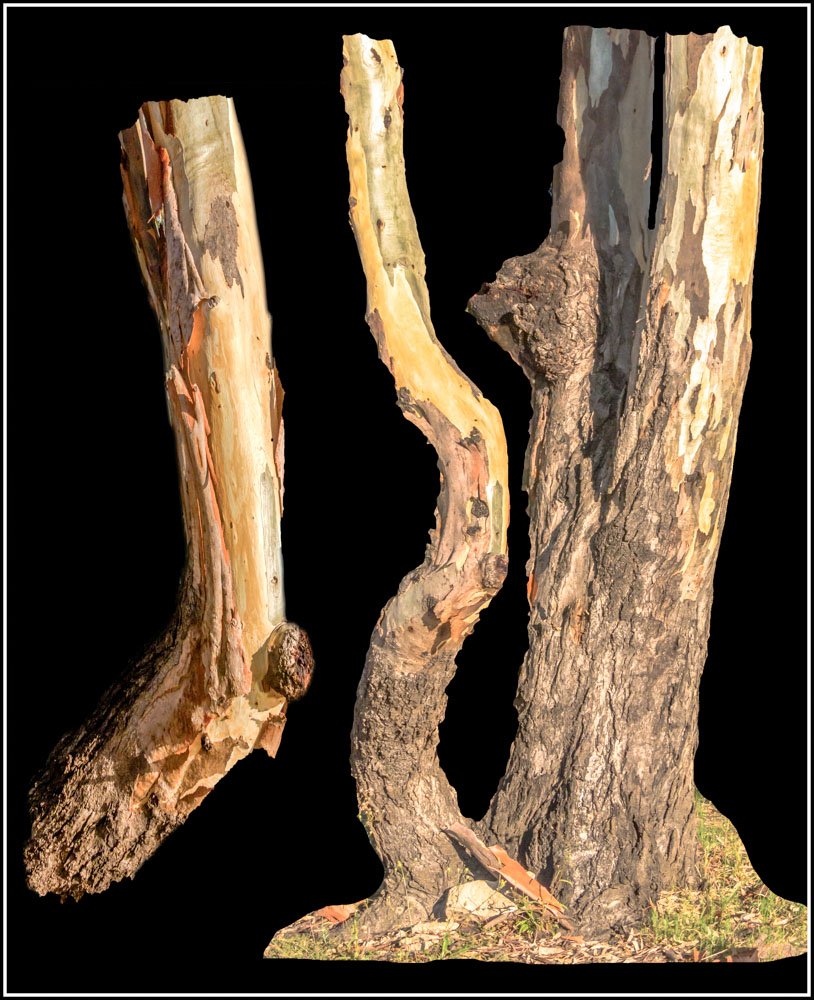
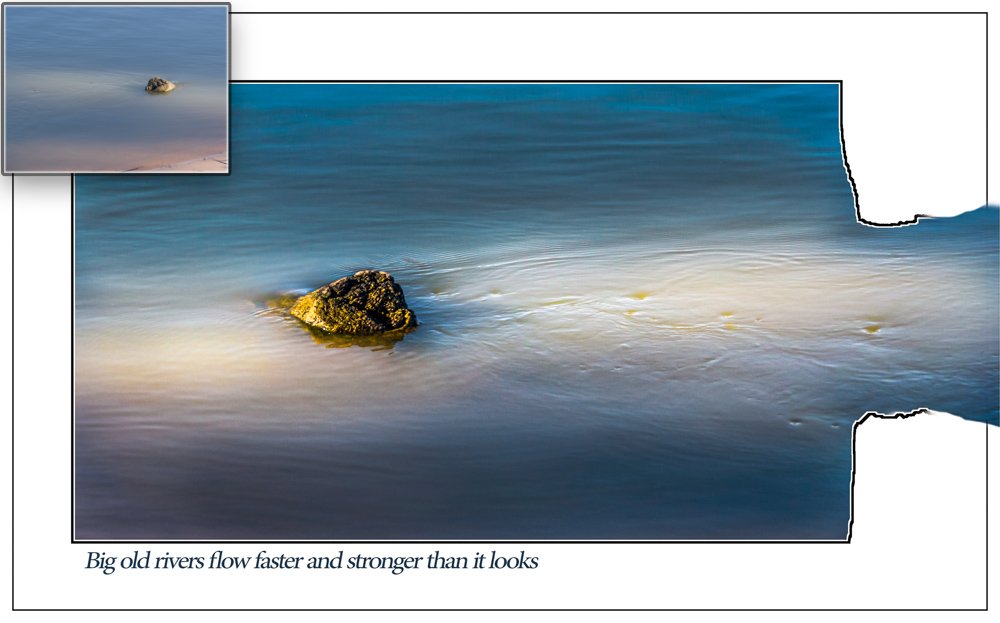
some recent images that travelled through Affinity Photo -- old fashion dodge and burn would the most used tool used in these images Lumix Fz300 Just like a big kid : throw -- throw it ----- ------ ----- ----- not so far next time Lonely pelican three photos of the one tree >background is bark from a nearby tree + a little texture brushing as above plus : black and white adjustment layer with a multiply blending layer + the orton effect I saw something in this long dead tree root beside the river ; however what I saw was not quite like how it ended up Very similar edits as the above files > honest comments / suggestions for next time / questions welcome
-
- 2
-
-
- nature
- dog in water
- (and 3 more)
-
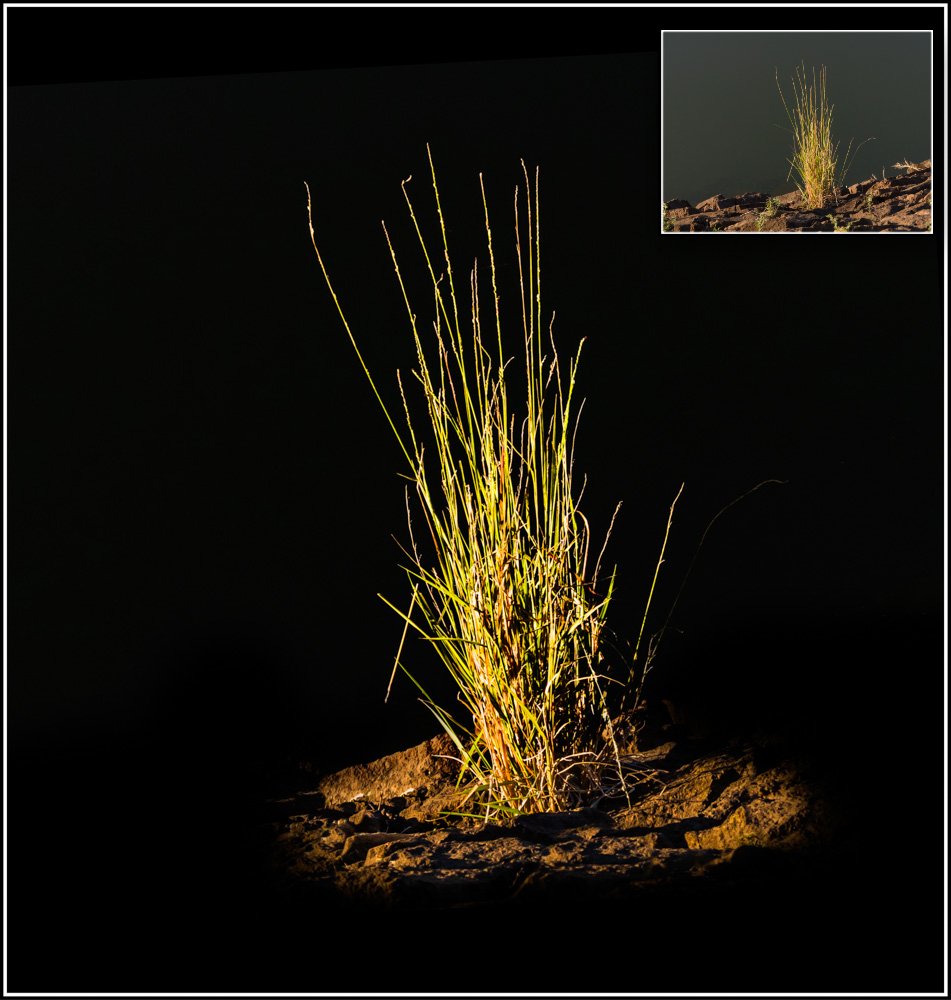
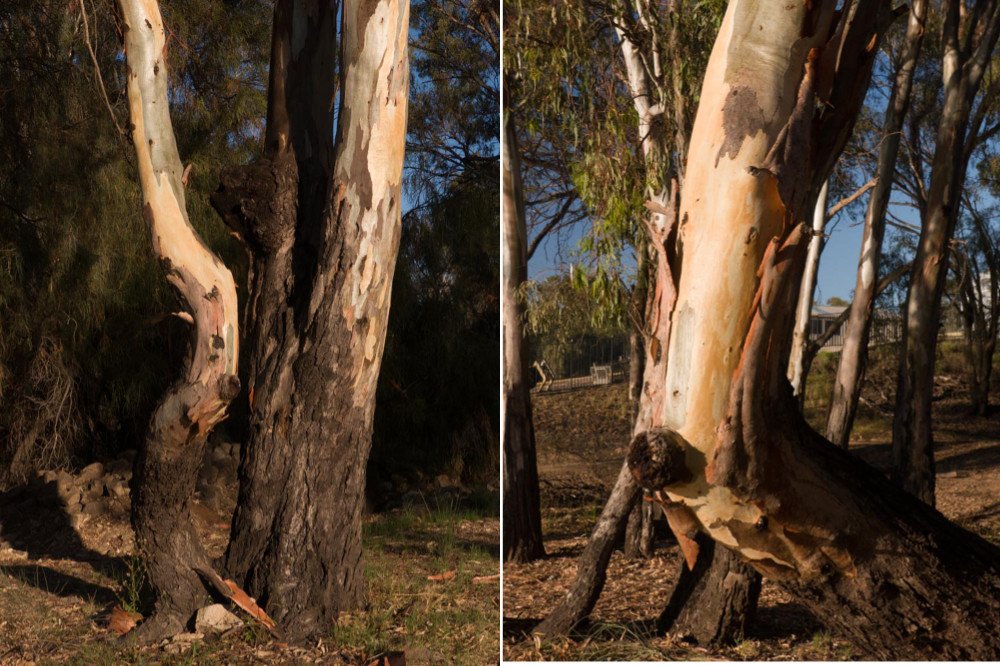
before and after -- these are the more advanced edits, however there are other new basic edited pics on my Fb page; photos by ian browne -- or Flickr how does it look with the original pasted onto edited photo? What is better ; one photo per thread or several as here? Pana Fz300 Questions welcome Grass in front of the river water The same tree
-
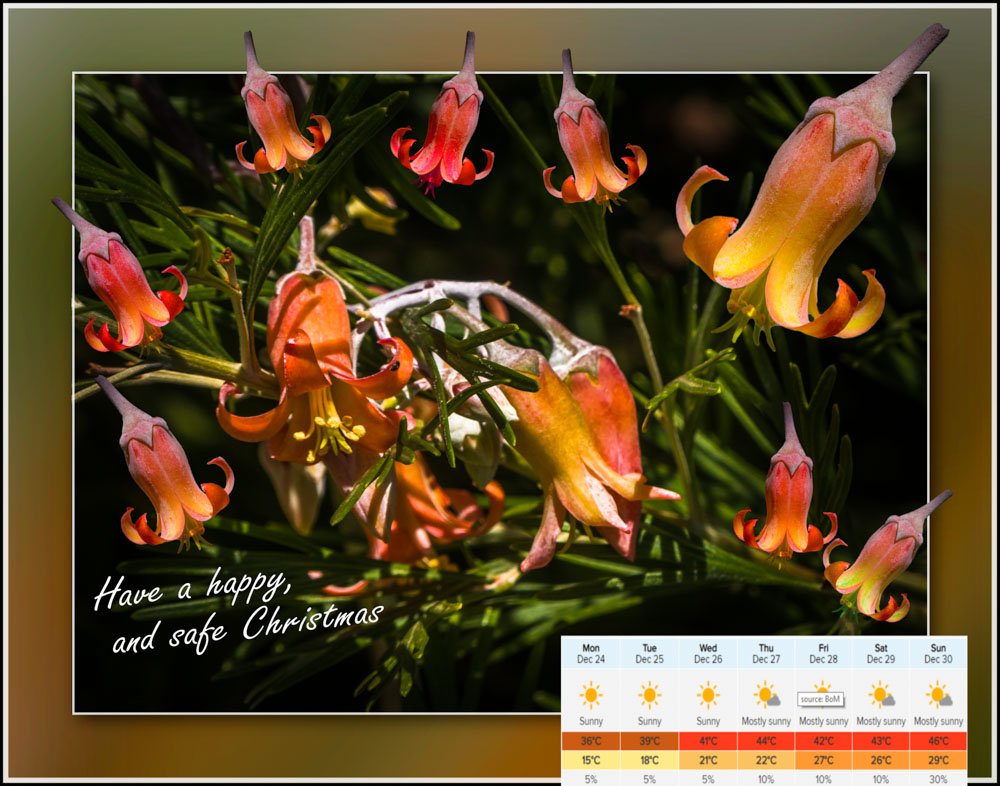
Christmas day might be ok; not too sure about after that !! Two file used, including the background -- another that evolved as I fiddled around Thanks for your help to understand the Affinity way
-
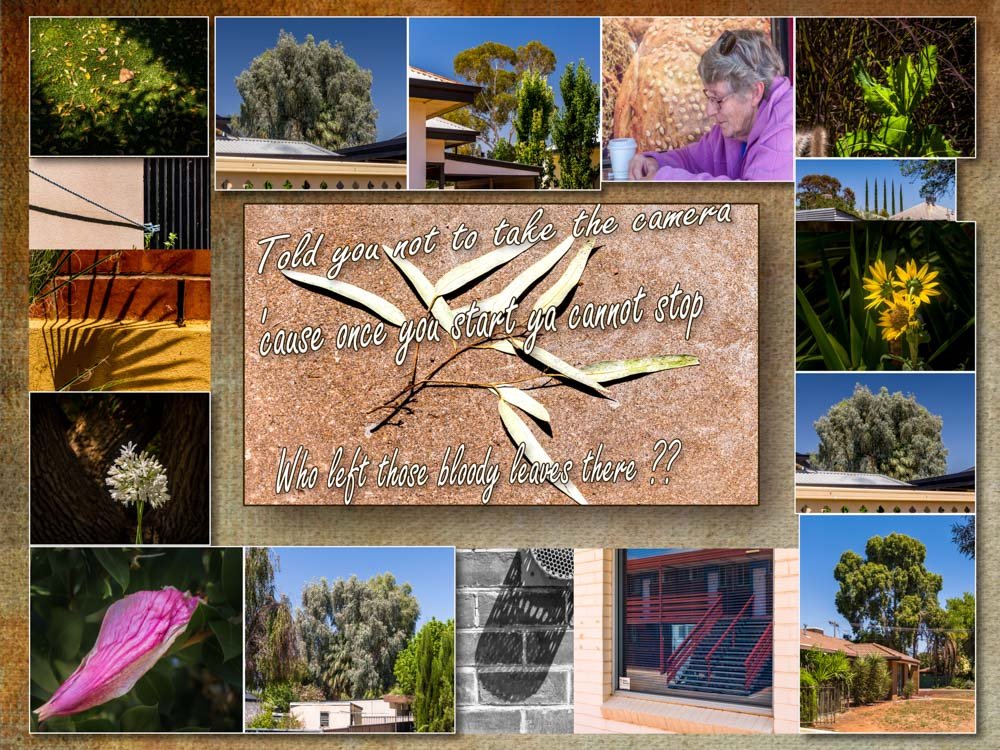
So I walked down to the city to sign a bit of paper and although I knew I shouldn't; I took the bloody camera! . 30-40 minute walk there was no drama -- saw subjects but left the camera in old canvas backpack -- signed the paper and bolted for home until idiot left some leaves on the footpath . The photos eyes were open, so that was the end of the "bolting" home . Took around 90 minutes and about 30 subjects LOL!! However; most subjects do follow themes of my urban photos -- light and shadows >abstracts >minimal >contrasts >seldom people - but I caught the lady having a cuppa >reflections/urban trees but I have decided to include more ugly roofs in the frame All just because a idiot left some leaves on the footpath!! It is amazing what is there that can be made into a photo. Some of these, like the 1/2 edited "twins arguing" will be shared later as a seperate photo. But that's after I get through ALL the others on the waiting list Panasonic Fz300 and slapped together with Affinity Photo The problem with a very versatile camera --- too easy to take far too many photos!! Cheers
-
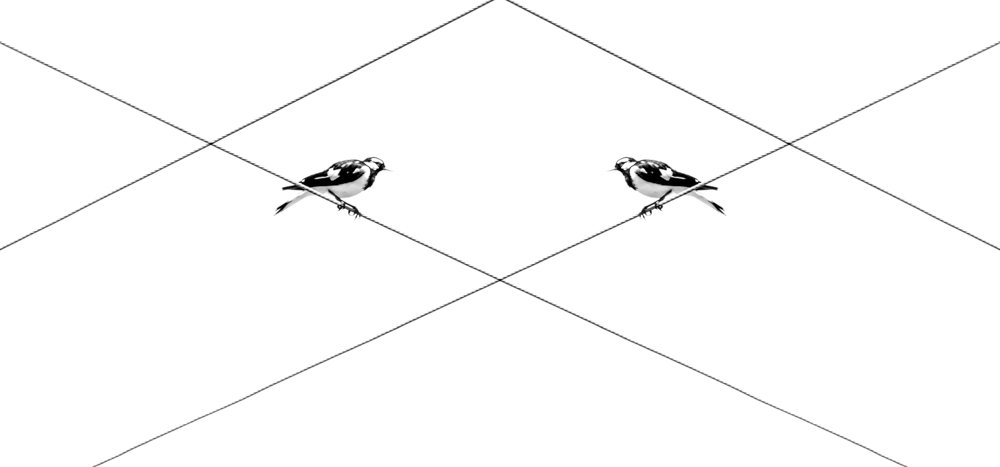
Hope this is Ok to post here Nothin' on Tv so .... I'm very open to honest CC --- just don't feel I have this "right"; whatever that is . 2nd is the original The main effect made with the perspective live filter Any links/tips/advice or even show your photo/s or edit mine Cheers
-
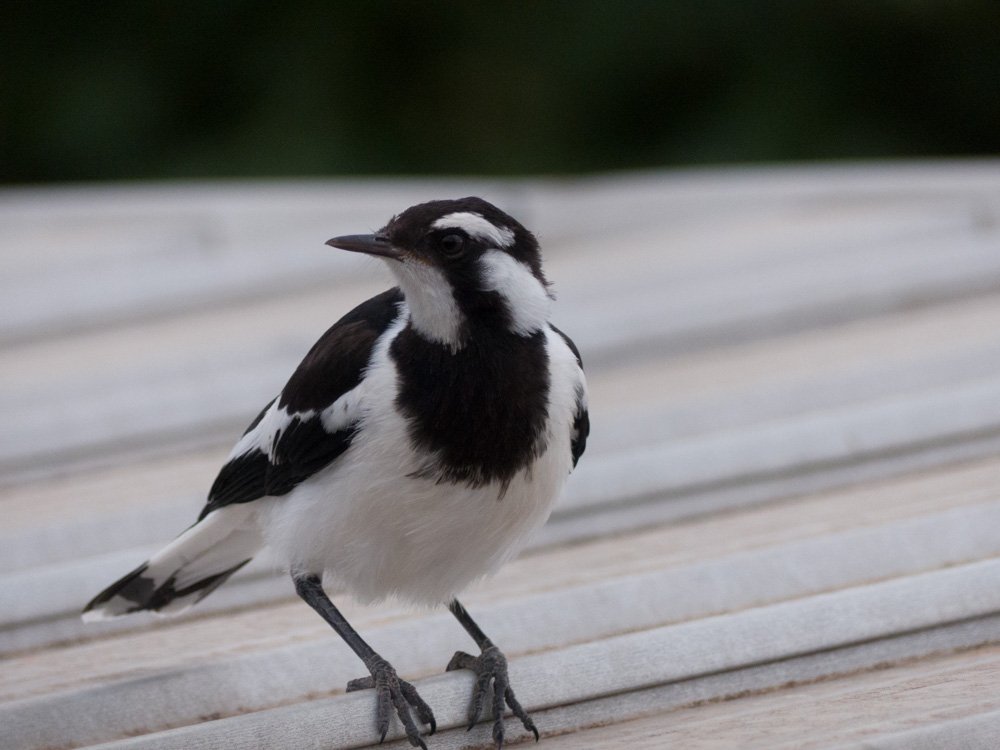
couple of happy snaps of a little backyard mate -- background was basically painted in/mask out until it looked Ok. As usually, no particular workflow and done for something to do so i don't have to do the many things I need to do Pana Fz300 honest comments/cc/questions welcome. . I still owe someone an answer -- will get to it when I work out how I did it LOL!!
-
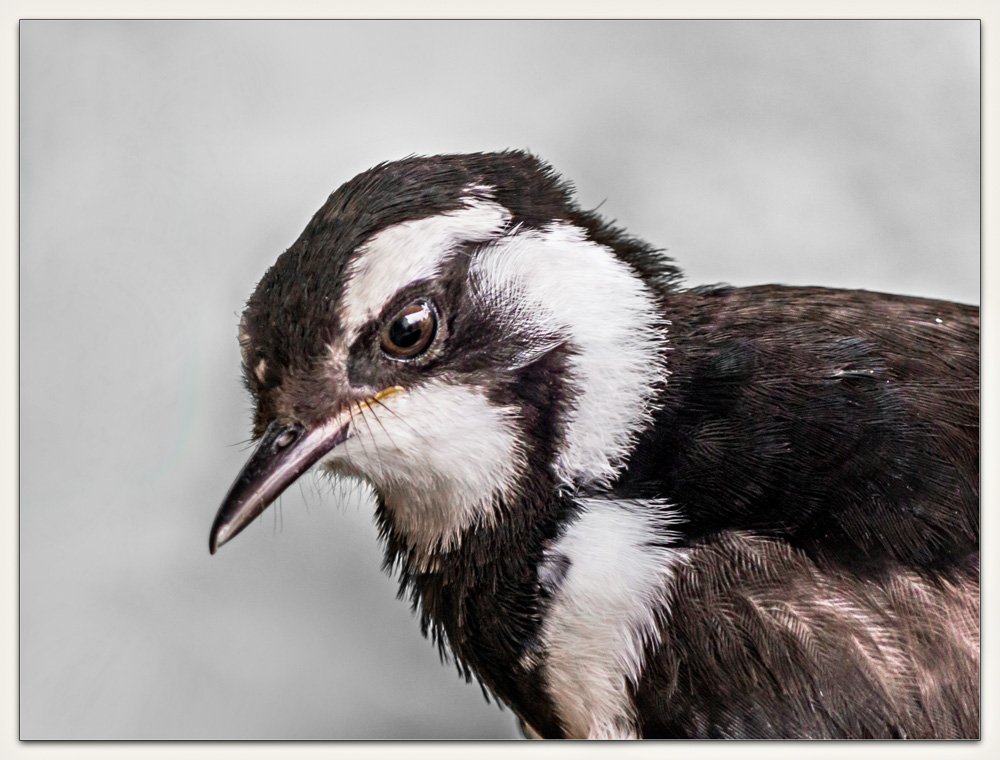
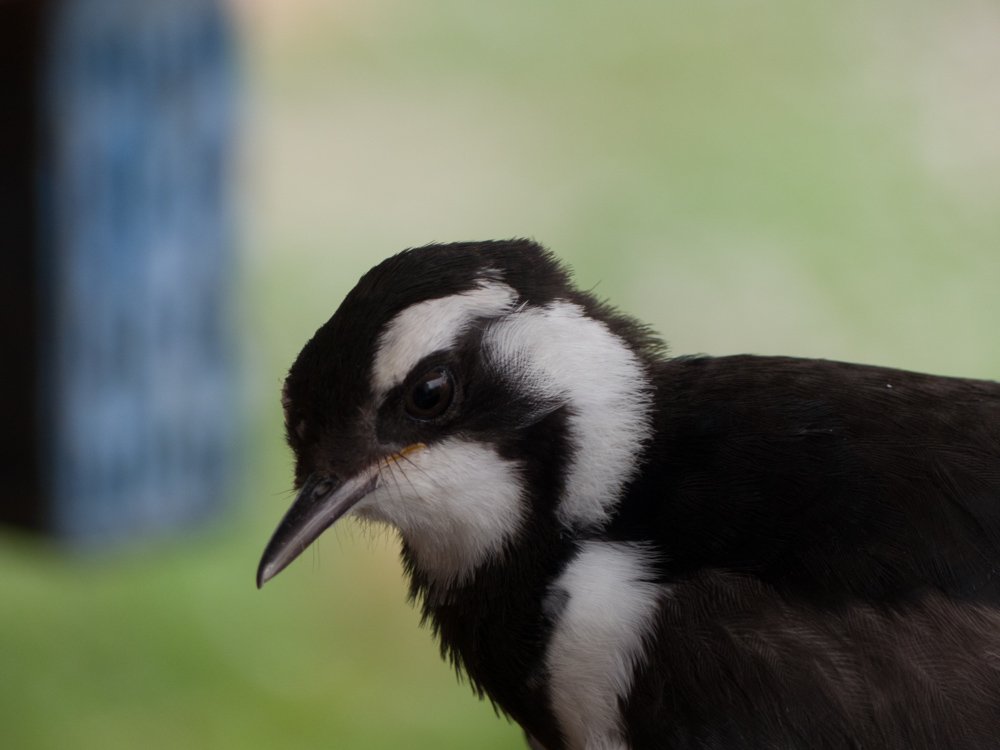
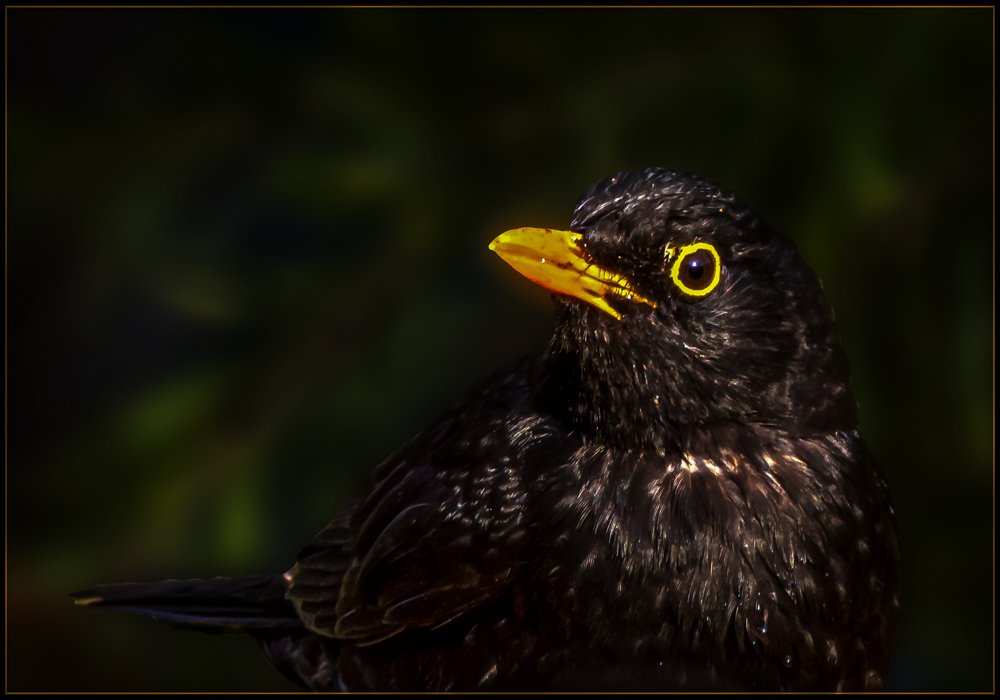
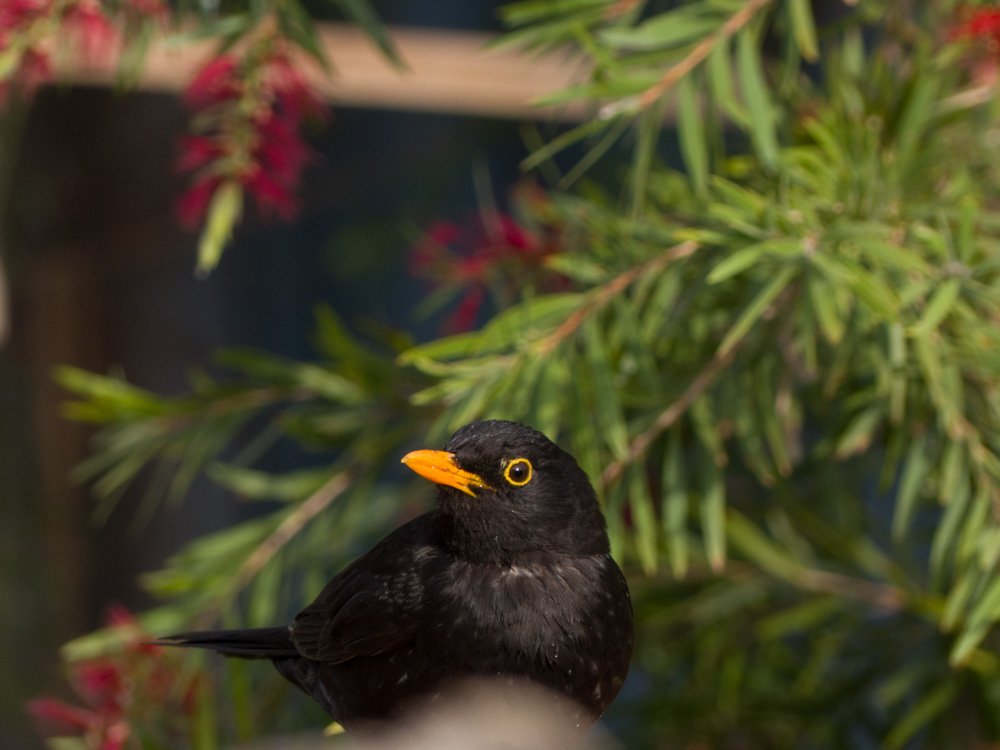
the local blackbird dropped in nearby for a quick drink before rushing off to find more tucker for the kids. Considered a pest in australia Only had time for 4 clicks It's a massive crop of a very small file Likely did more work than was required; but it's all good practise --- been sharpened/softened/masked off/background blurred+darkened/dodged+burnt (mostly burning) But all rather impressive for a little panasonic fz300 imo honest comments and questions welcome
-
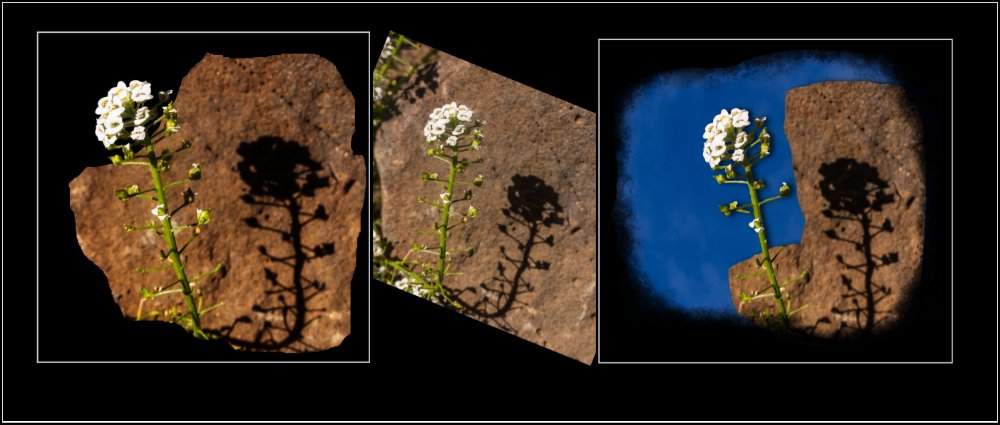
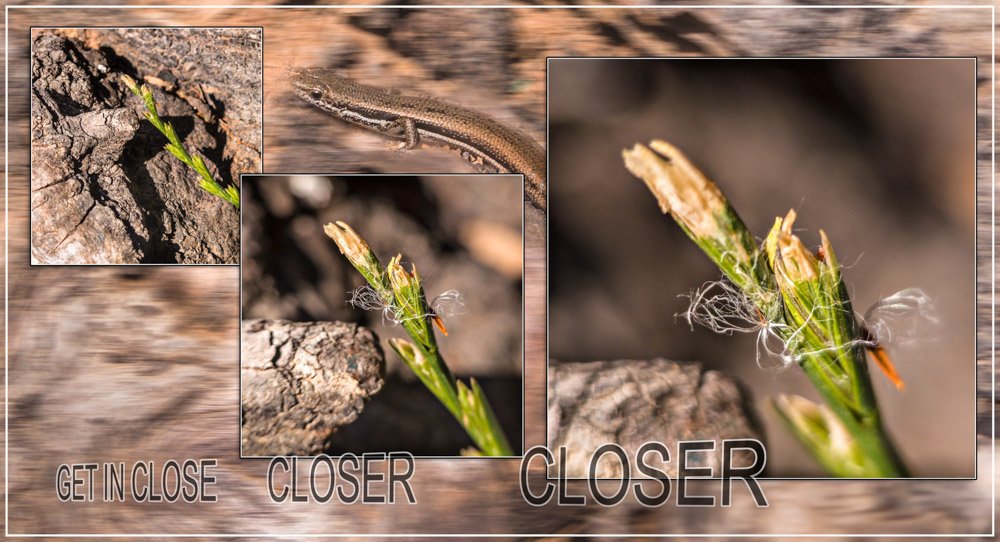
fiddling around with no real ideas in mind -- small flower about 20mm across. Sort of grows wild in the backyard editing was similar to the blurred cloud photos Sky photo was taken around the same time this morning Pana Fz300 may as well add another taken at the same time -- used a canon 250d close up filter/lens on the Pana for the last two --- files cropped the square only Yep; the lizard was also caught in the sun today honest comments / suggestions / question always welcome