Search the Community
Showing results for tags 'Mask'.
-
 Steps to reproduce: 1) Have a pixel background layer. 2) Create adjustment layer with a very visible Levels adjustment, such as heavy lightening 3) Nest a Live Gaussian blur filter layer with high radius as child of the adjustment layer. Intended purpose is to blur the embedded mask of the adjustment layer. 4) Activate the adjustment layer, switch tool to a large paintbrush, black color to erase from the mask of the adjustment layer. 5) Move the mouse over the layer without pressing the mouse button, and observe a trail left over by the preview of the brush 6) You can clean up the view by disable and then enable the adjustment layer. Please see attached screenshot
-
 I'm a brand new potential user who's currently trialling Affinity Photo. I like a lot of what I see, but have two key features I am looking for. I've done some online research, but cannot find clear answers. Is there any way to have a layer mask displayed as an overlay (e.g. semi-transparent red). I know I can use the quick mask feature, but would love to be able to just paint directly onto a blank layer mask and then check for missed patches using a red overlay. Can this be done? I have seen some references to brush size and hardness being adjustable using CTRL+ALT and then dragging the mouse, but I can't replicate this with either left click (goes to colour picker) or right click (does nothing). I know I can adjust the brush size with [ and ], but really like the size and hardness adjustment to be in the same motion. Is this possible? I'm really hoping to move from Photoshop to Affinity Photo, but would need to find a good workaround for the above to not have it significantly affect my efficiency.
 -
 Hello, I use a iMac 2017 with 16 G of Ram memory and Affinity Photo 1.5.2. I have a few questions. -When I use bruhses the brush size is unstable and changes with no reason. Any idea why? -Furthermore when I crop an image in developing persona and then make a selection, the selected area goes beyond the image as shown in the first image, and this create unpredictable border of the image if copied and pasted. any recommendation? -After I make a selection like in the screen shot, how I blend the background (the gray area) without having the color of the selected image bleeding into the background ? I tried creating a mask, inverting the selection but no luck as shown in the orange beeding in the second screen shot. The blue paint stokes do not seem to go in the mask area. Your help will be greatly appreciated.
 -
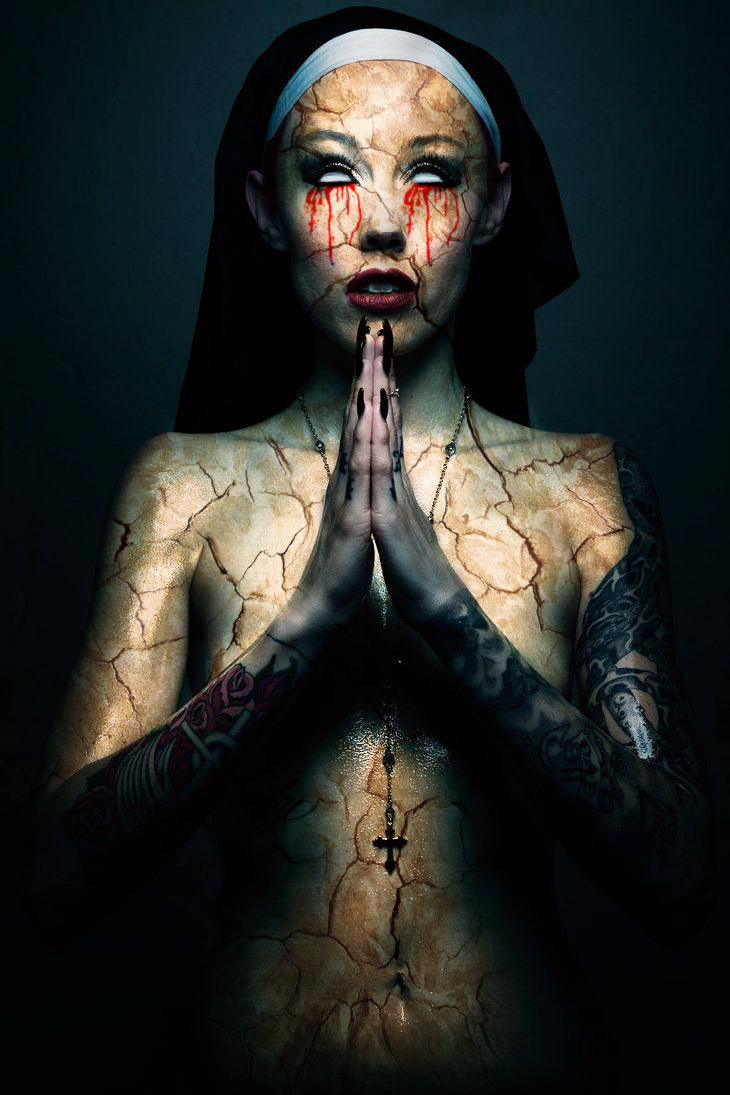
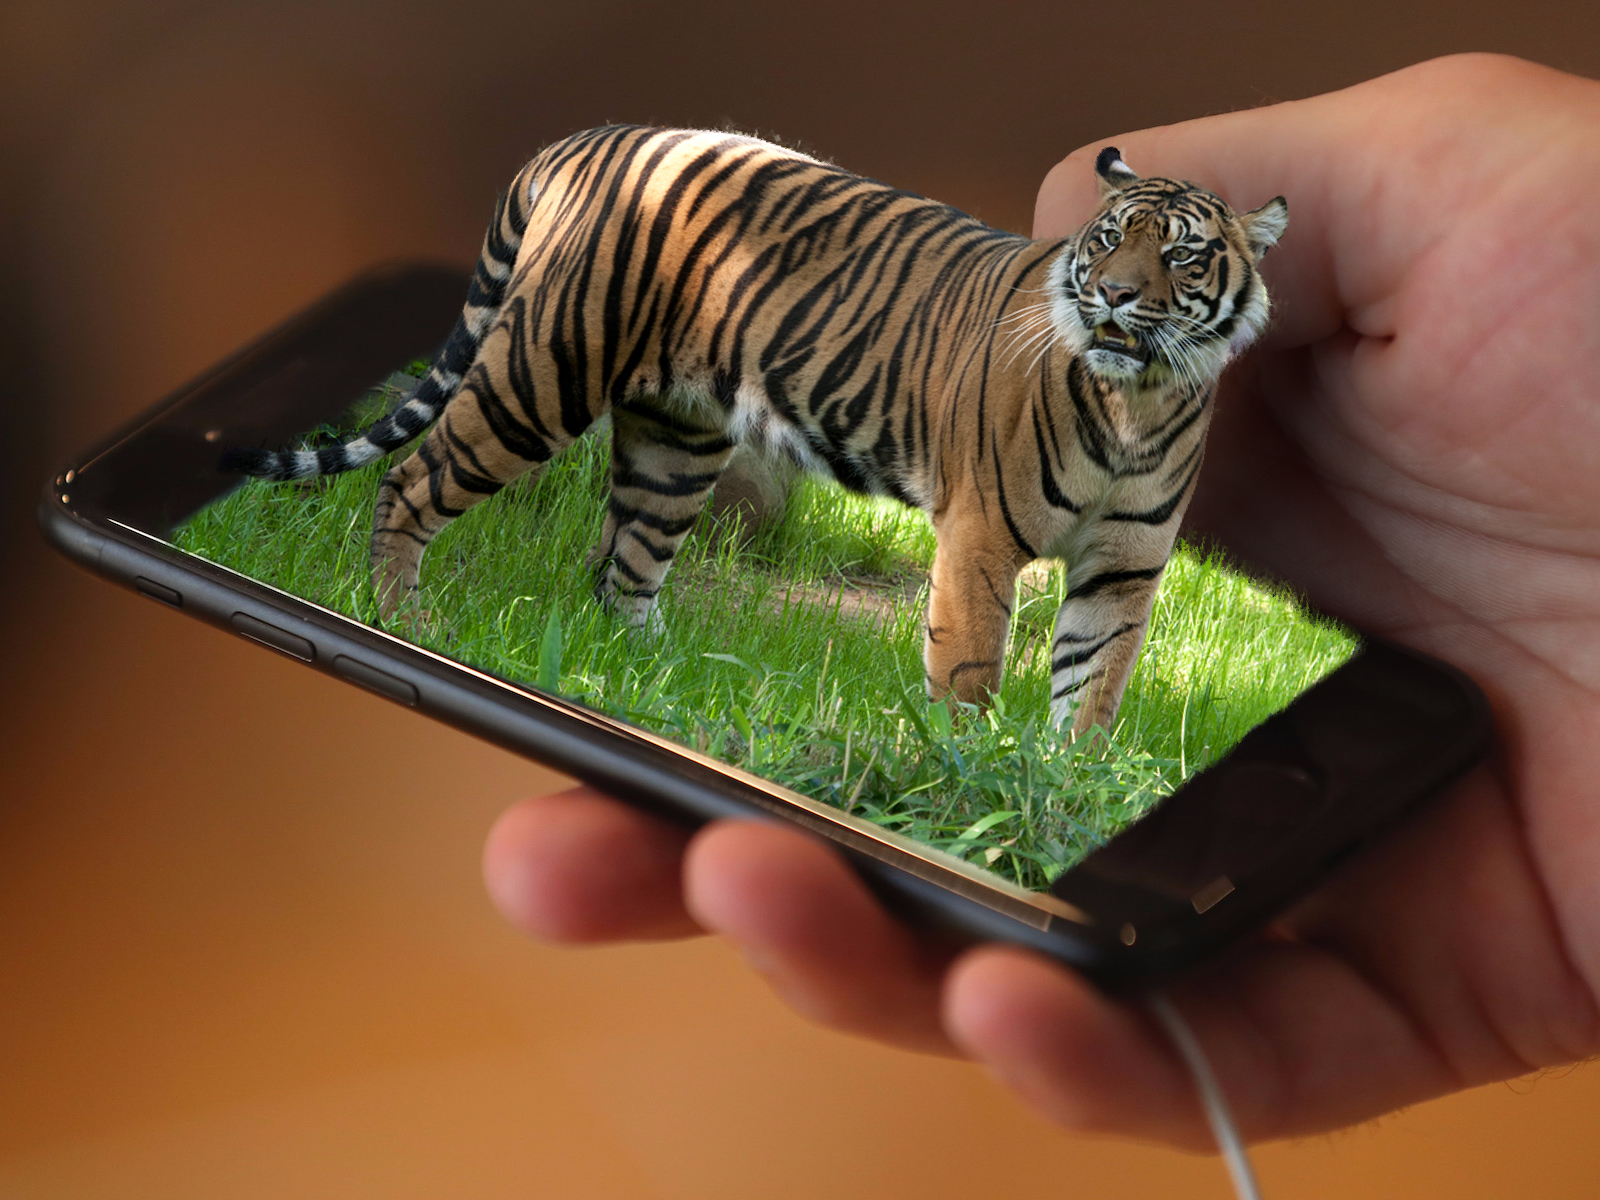
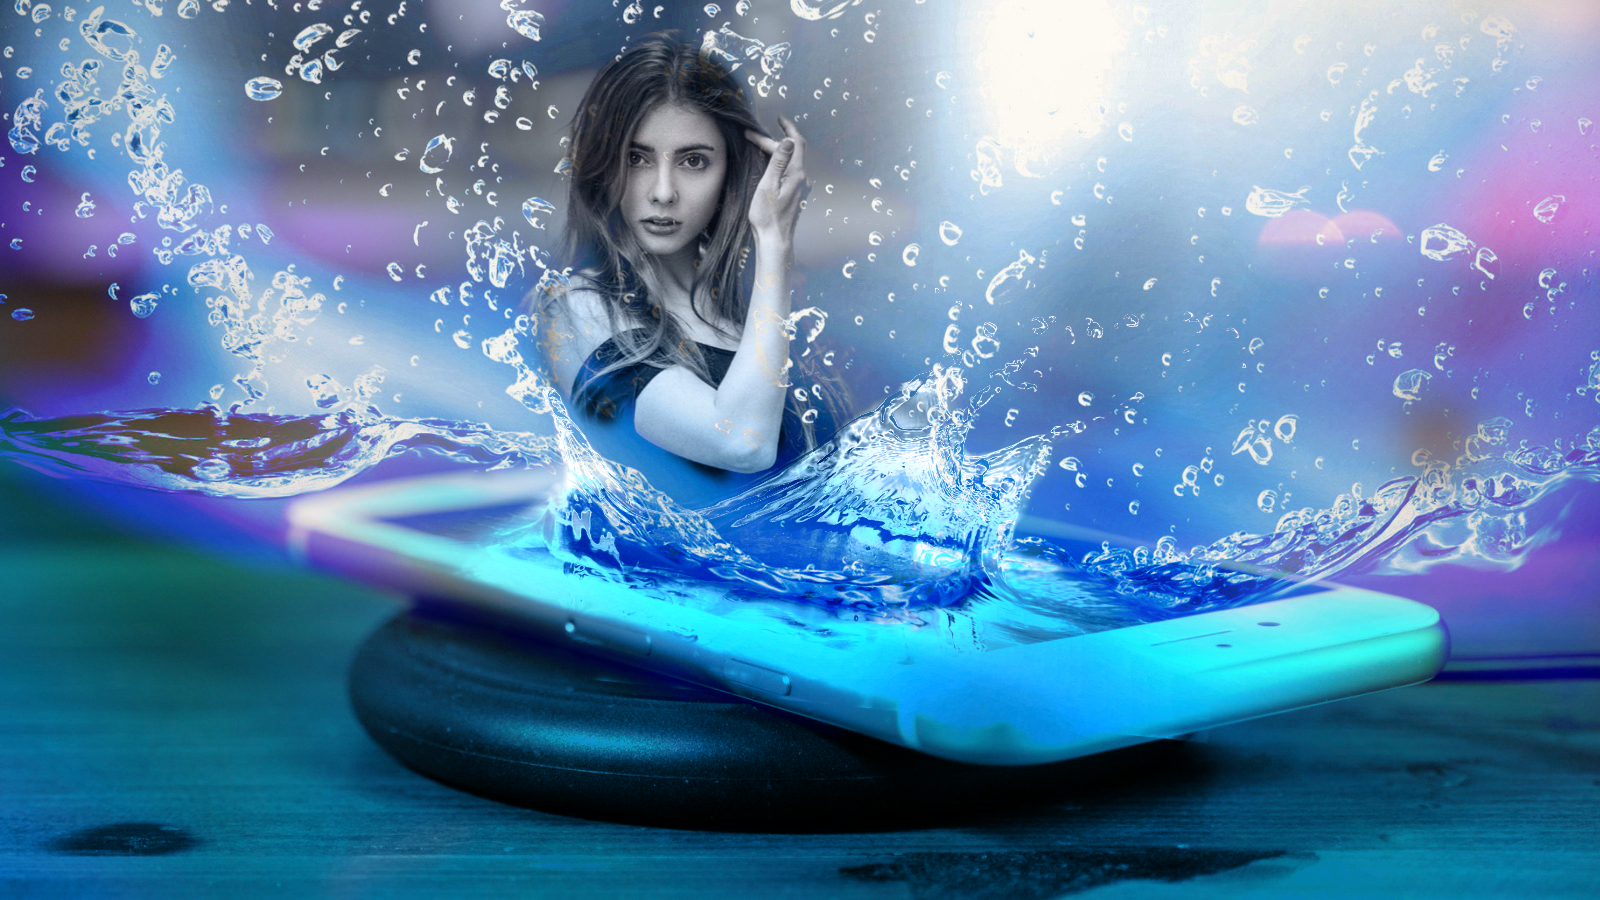
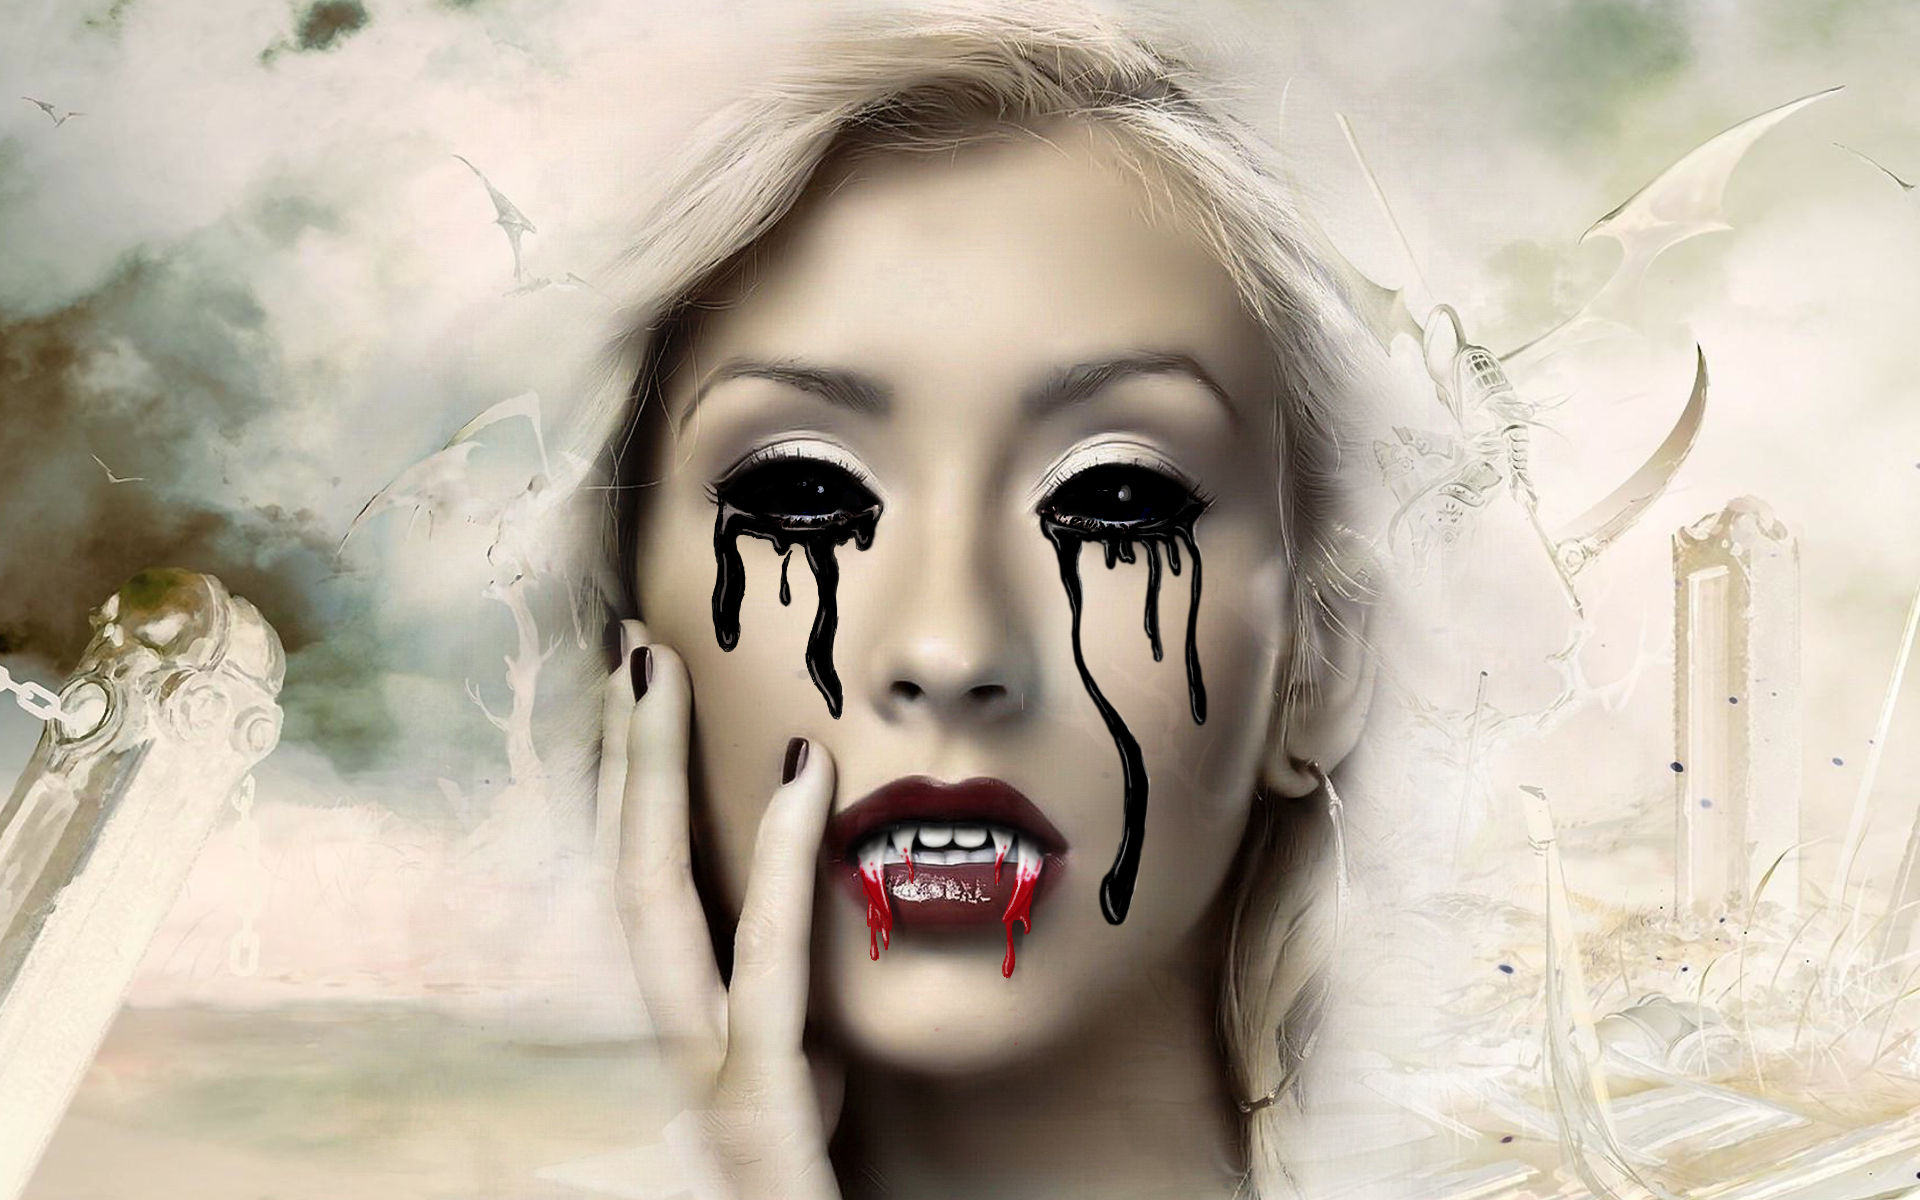
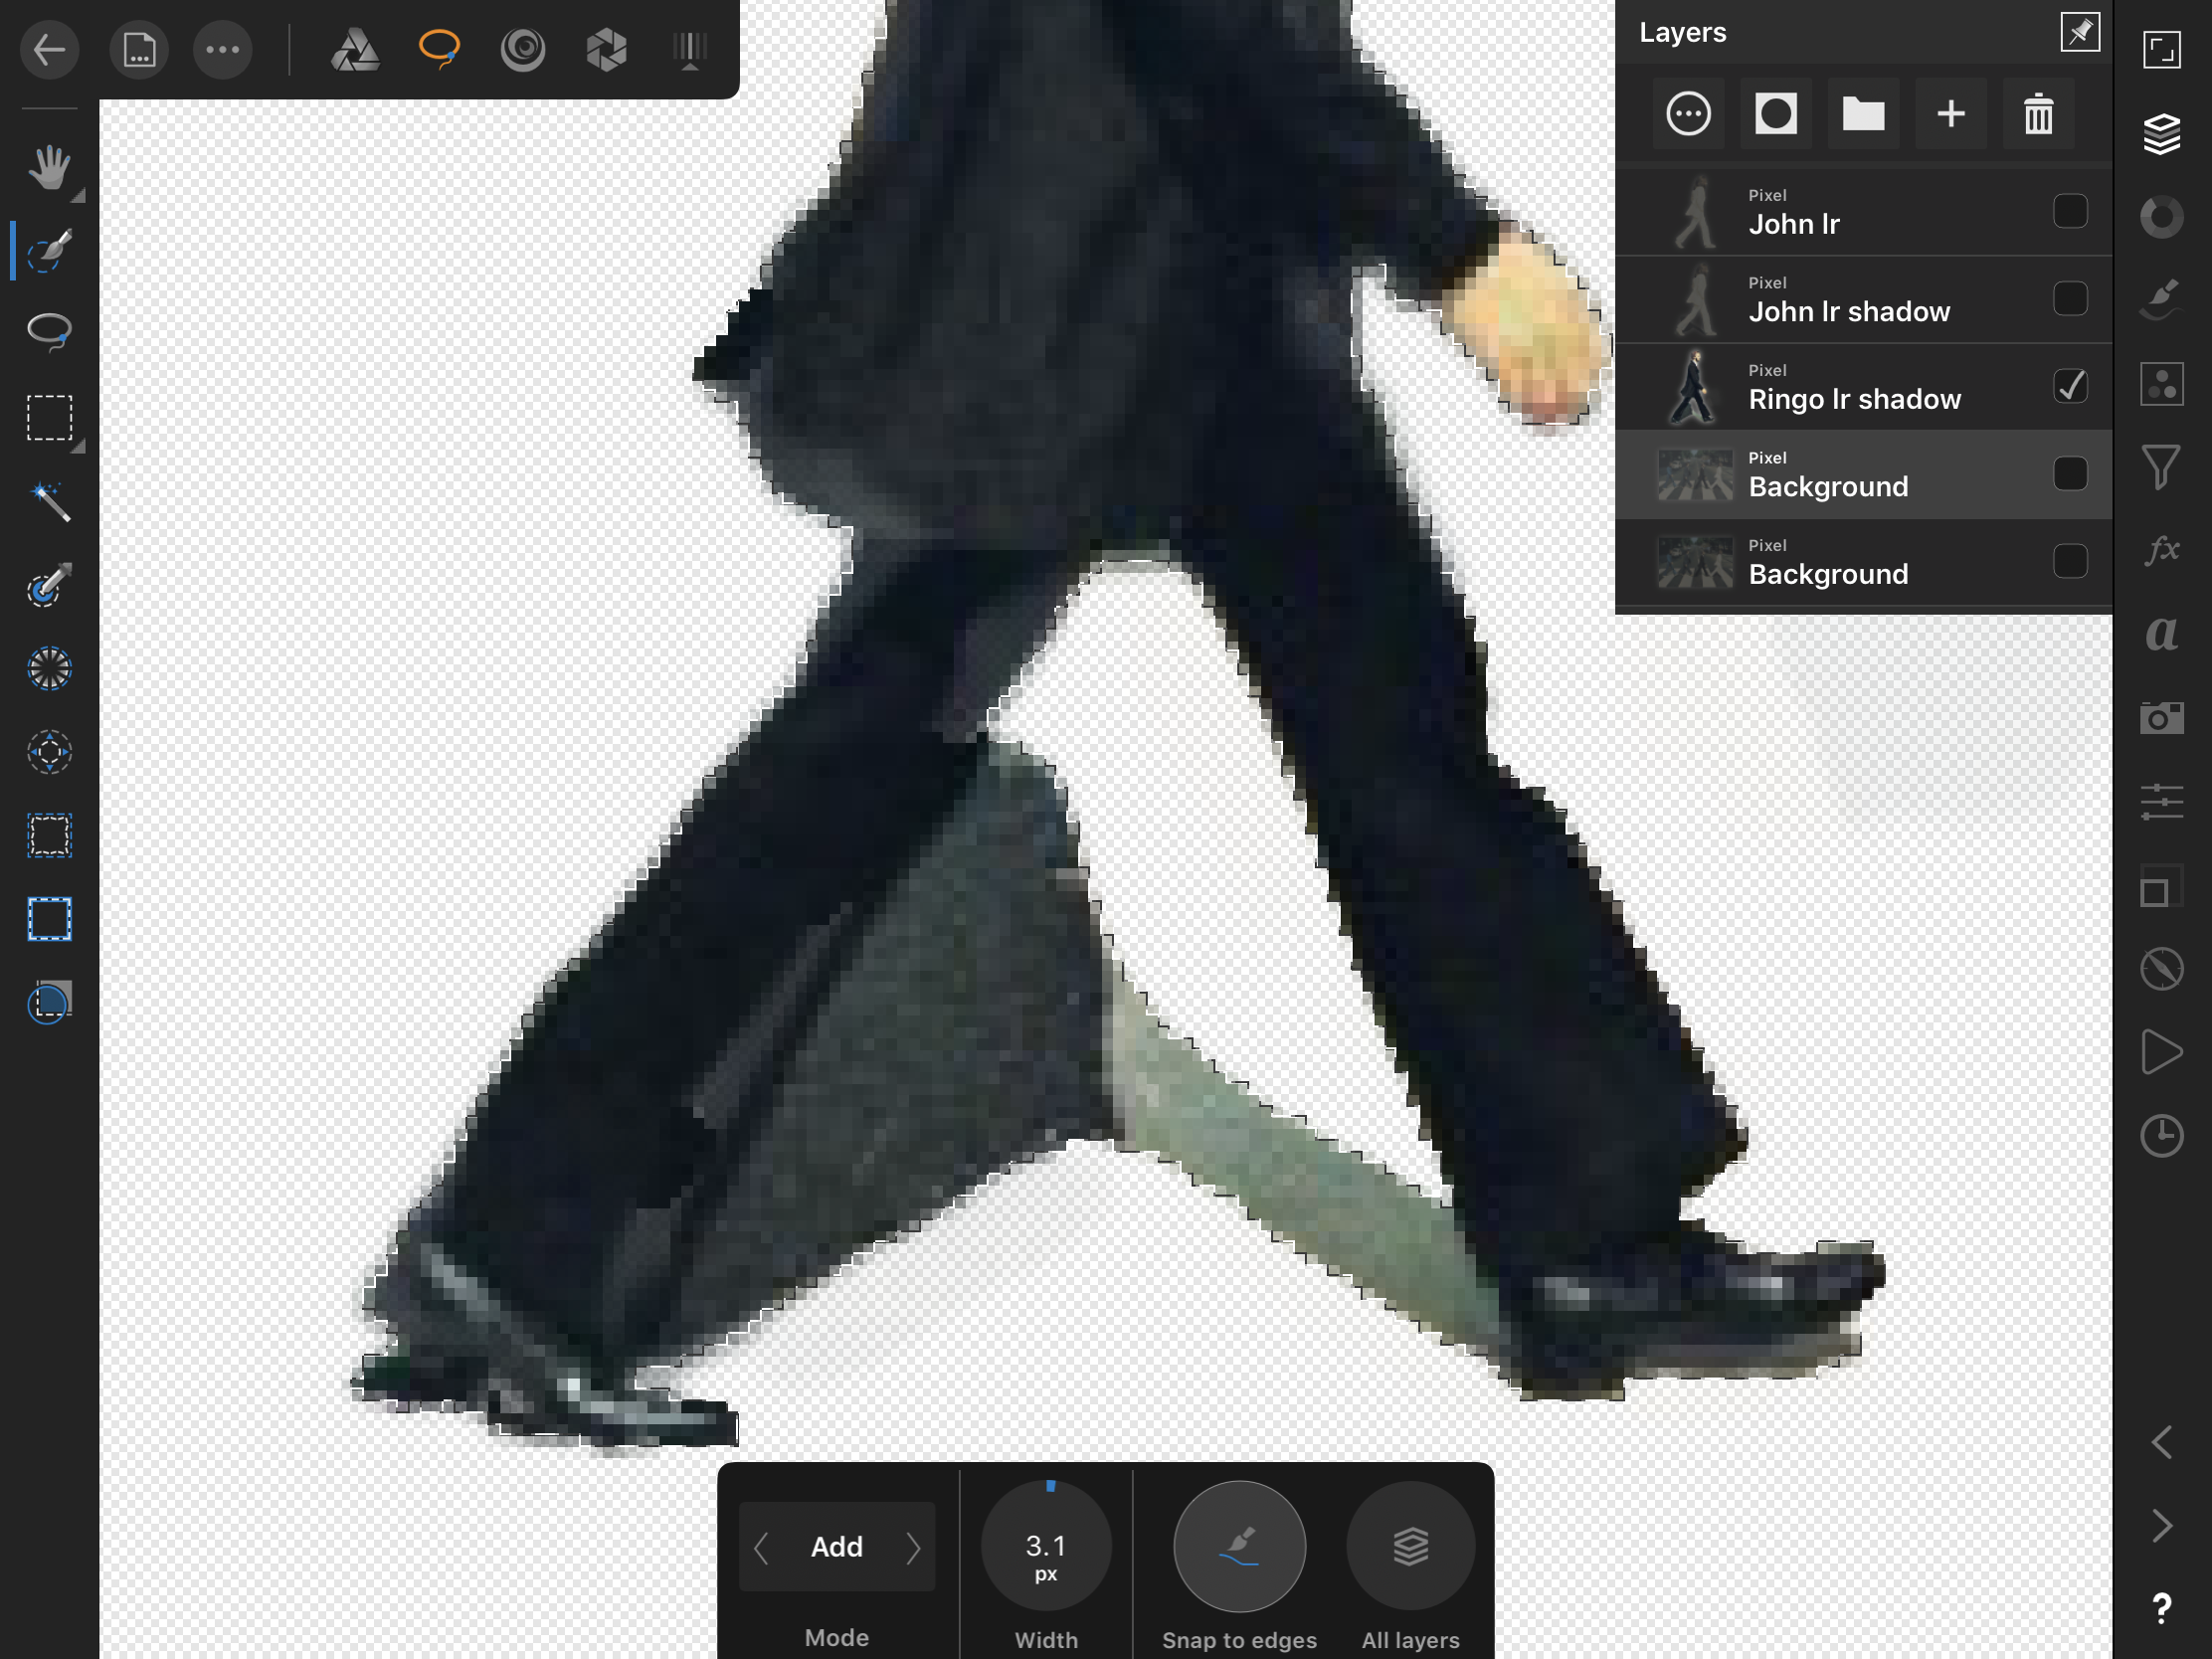
Here’s some of my photo manipulation done in my love: affinity photo for iPad dont challenge me here, because I care less if your work is better than mine, rather I care if you yourself like your work as well as mine to share with me and all who feel the same describe your techniques, how long it took, anything original about your workflow... leave SE your raw assets if you want, let’s create a discussion about improving how we use affinity
-
- 2
-

-
- layers
- photo manipulation
- (and 6 more)
-
 Hi, On the layer of the slice of bread I have a layer mask selected. With the paintbrush I did a stroke. The brush is set at 100 % Opacity, 100 % Flux and almost 100 % Hardness. The bread under the stroke disappear but not completely. After several times, it stays some pixels of the bread. What is it happening?
-
Long time Photoshop user. One of the things I was able to do in Photoshop that I would like to know how to do, if possible, is use a layer mask to produce a selection. For example, if I have a layer with a mask of a person, like in the tutorial on selections and masks, is it possible to take the layer mask produced and turn it back into a selection? Thanks in advance for any help.
-
 Hello, in an adjustment layer I painted in a mask. Later on I wanted another adjustment layer to have the same mask. Since it is not a simple mask, i would like to copy the mask or even better to extract the mask from the existing adjustment layer and paste it into a normal mask, which I can then move around in my layers as I need to. Is there a way to do so? I did not find anything on that. Greetings Matt
 -
 Well in Affinity theres one very important shortcut missing, which would improve working speed a lot. I Talk about the possibilty in the layers menue to strg+lmb klick on a layer mask and select the mask, but not to be able as in photoshop, to "shift"+"strg"+lmb. klick several masks or layer one after the other to select increadibly fast all the stuff you need and get a additive pixelselection.. of course as already discussed you could save the different masks in the channels tab, and ad them (this is by far slower then the shortcut approach) or, as a workaround, create a new pixellayer on top, strg+lmb klick the layer you want the pixelselection from in the layers tab, the new pixellayer stil selected and just press shift+f5. this would give you a new window to decide how to fill the selection.. Well.. is there a way to just fill in the frontcolor of your colors, or white or black without every time to tell the programm... yes. take the color.. just one shortcut without the need to confirm that realy you need the color.. would improve much the workaround.. thanks
 -
Thank you for the Quick mask tutorial. it really makes some selections much easier. I do have a question though, for some reason I am getting inconsistent color of selected item. Could it be that when I select the white brush I am not at pure white? It seems that there should be easy way to go back and forth between black and white rather than ever to use the color wheel each time.
-
I often use geometry layer to mask (clip) other layers. Unfortunately there seems to be no possibility to mask/clip everything inside the geometry. It would be great to be able to invert geometry layers without rasterizing them.
-
 I'm now tinkering with converting a mask to a selection. Here's progress: Turn mask into pixel layer. Channels panel, right-click Mask Alpha then click Create Greyscale Layer. (thanks, MEB) Select/Select Sampled Colour. Click on white. Tolerance 100%. Selection created, so delete pixel layer created in 1. I took an image, selected and refined an area (to get a good feathering). Cut and paste to create reference layer. Use above to recreate selection. Cut and paste again, then compare the before-and-after cut/pasted selection layers. Looks identical, even at the feathered edges. Any improvements on this?
 -
 The "lock children" option currently is not available for text layers. Would be great to get it.
 -
 When I use Gaussian blur, I want to invert it, I use cmd + I , but I want to draw an effect in certain places, how can I include a visible mask of what and where I draw? Sorry for bad English
 -
 Ver 1.6.0.81 If any object inside a group is set to constrain — the group becomes "Constrained Group". If you move any object inside the Constrained Group(CG) - the bounding box is not updated and all outer effects & objects get clipped by its bounding box. I understand that if you update bounding box of CG while moving ObjectA - the other constrained ObjectB have to stay in place, without receiving "OnConstrainedContainerResize" (or whatever you call it). Simply make logical flag "IsMovingInnerObject" to avoid constraints recalculation while moving inner objects. Now it's impossible to follow Material Design Guidelines because all these elevation levels of panels have to be symbols and all shadows get chopped off by buggy clipping behavior: https://material.io/guidelines/material-design/elevation-shadows.html Also, there is no way to undo it and remove any constraints information even if you set it to default values.
 -
 Hi Folks, I'm after some help again. I created a very simple and basic logo design in affinity designer and I now want to use a PSD mockup of a van I have and put my design over top of that to show it on the van. I have opened up the Mock up van and my design both in Affinity Photo but the next bit is where it all goes wrong. I cannot for the life of me figure out how to get the overlay right. I know I will need to use a mask but I really am not very clued up with using them. Can anyone help? Thanks again Mark Oh yeah... Ive attached my two files BCL Colour .psd GemGfx_Vehicle_Branding_Mockup.psd
 -
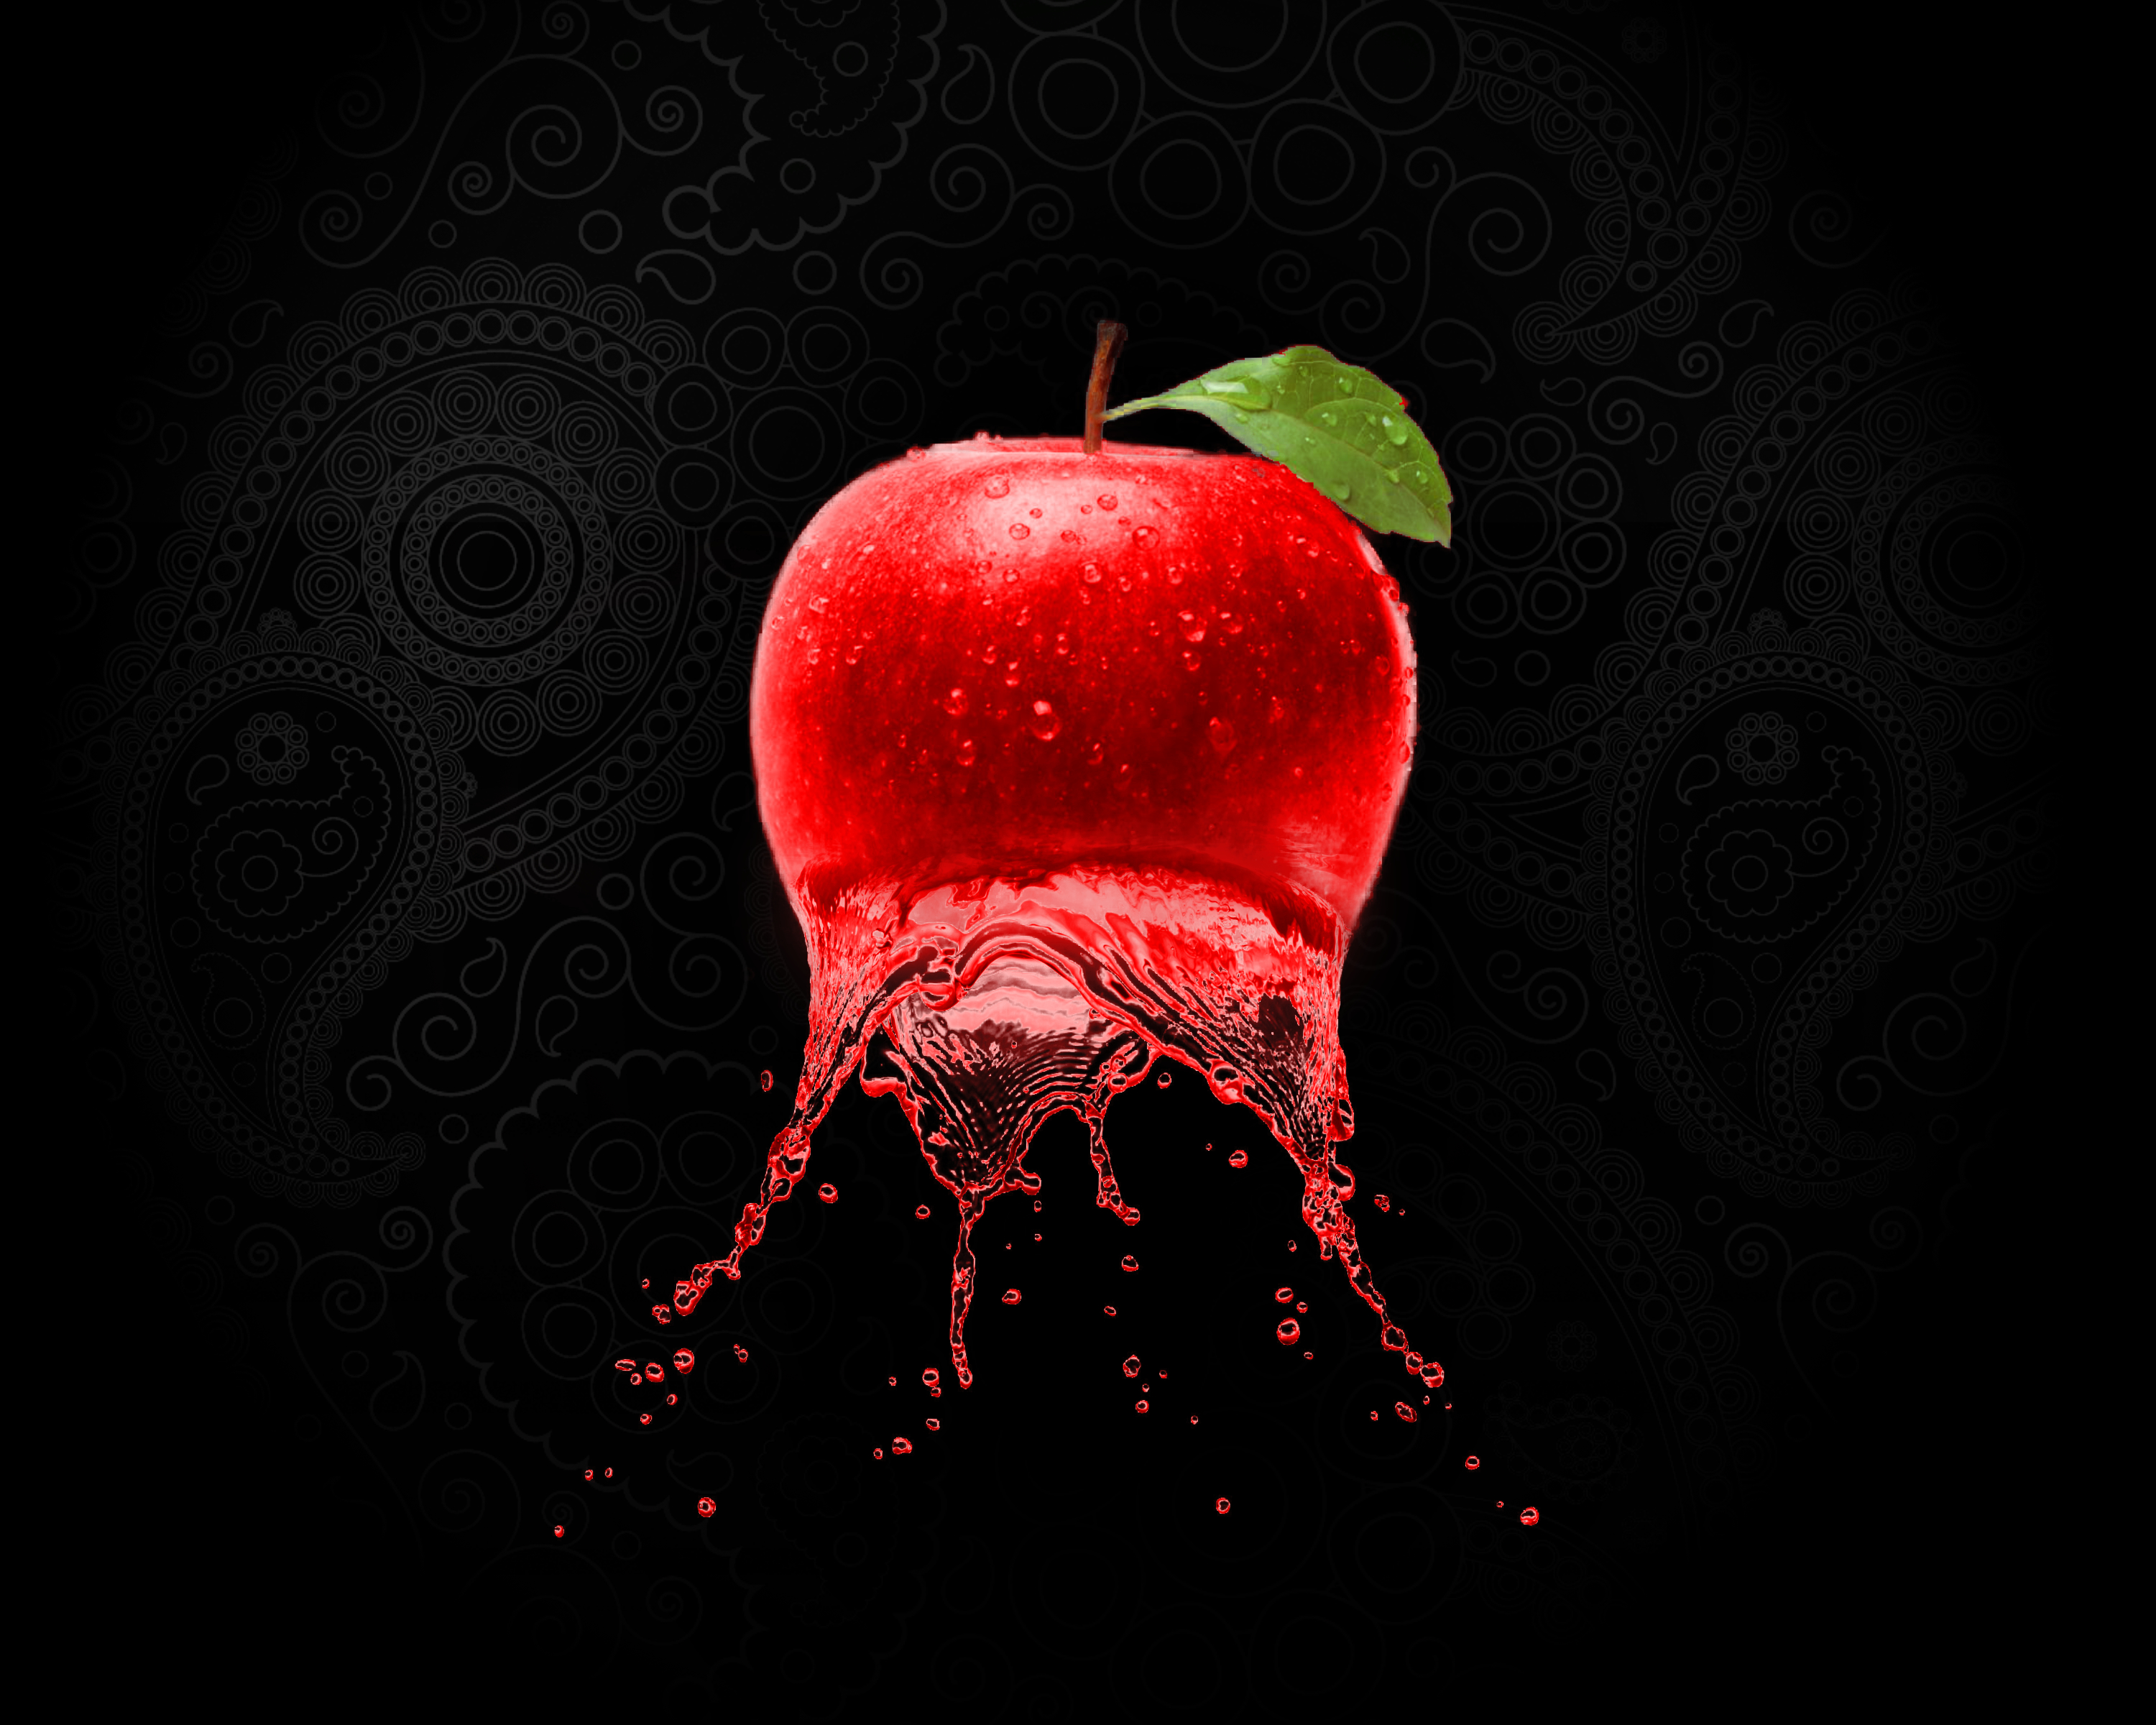
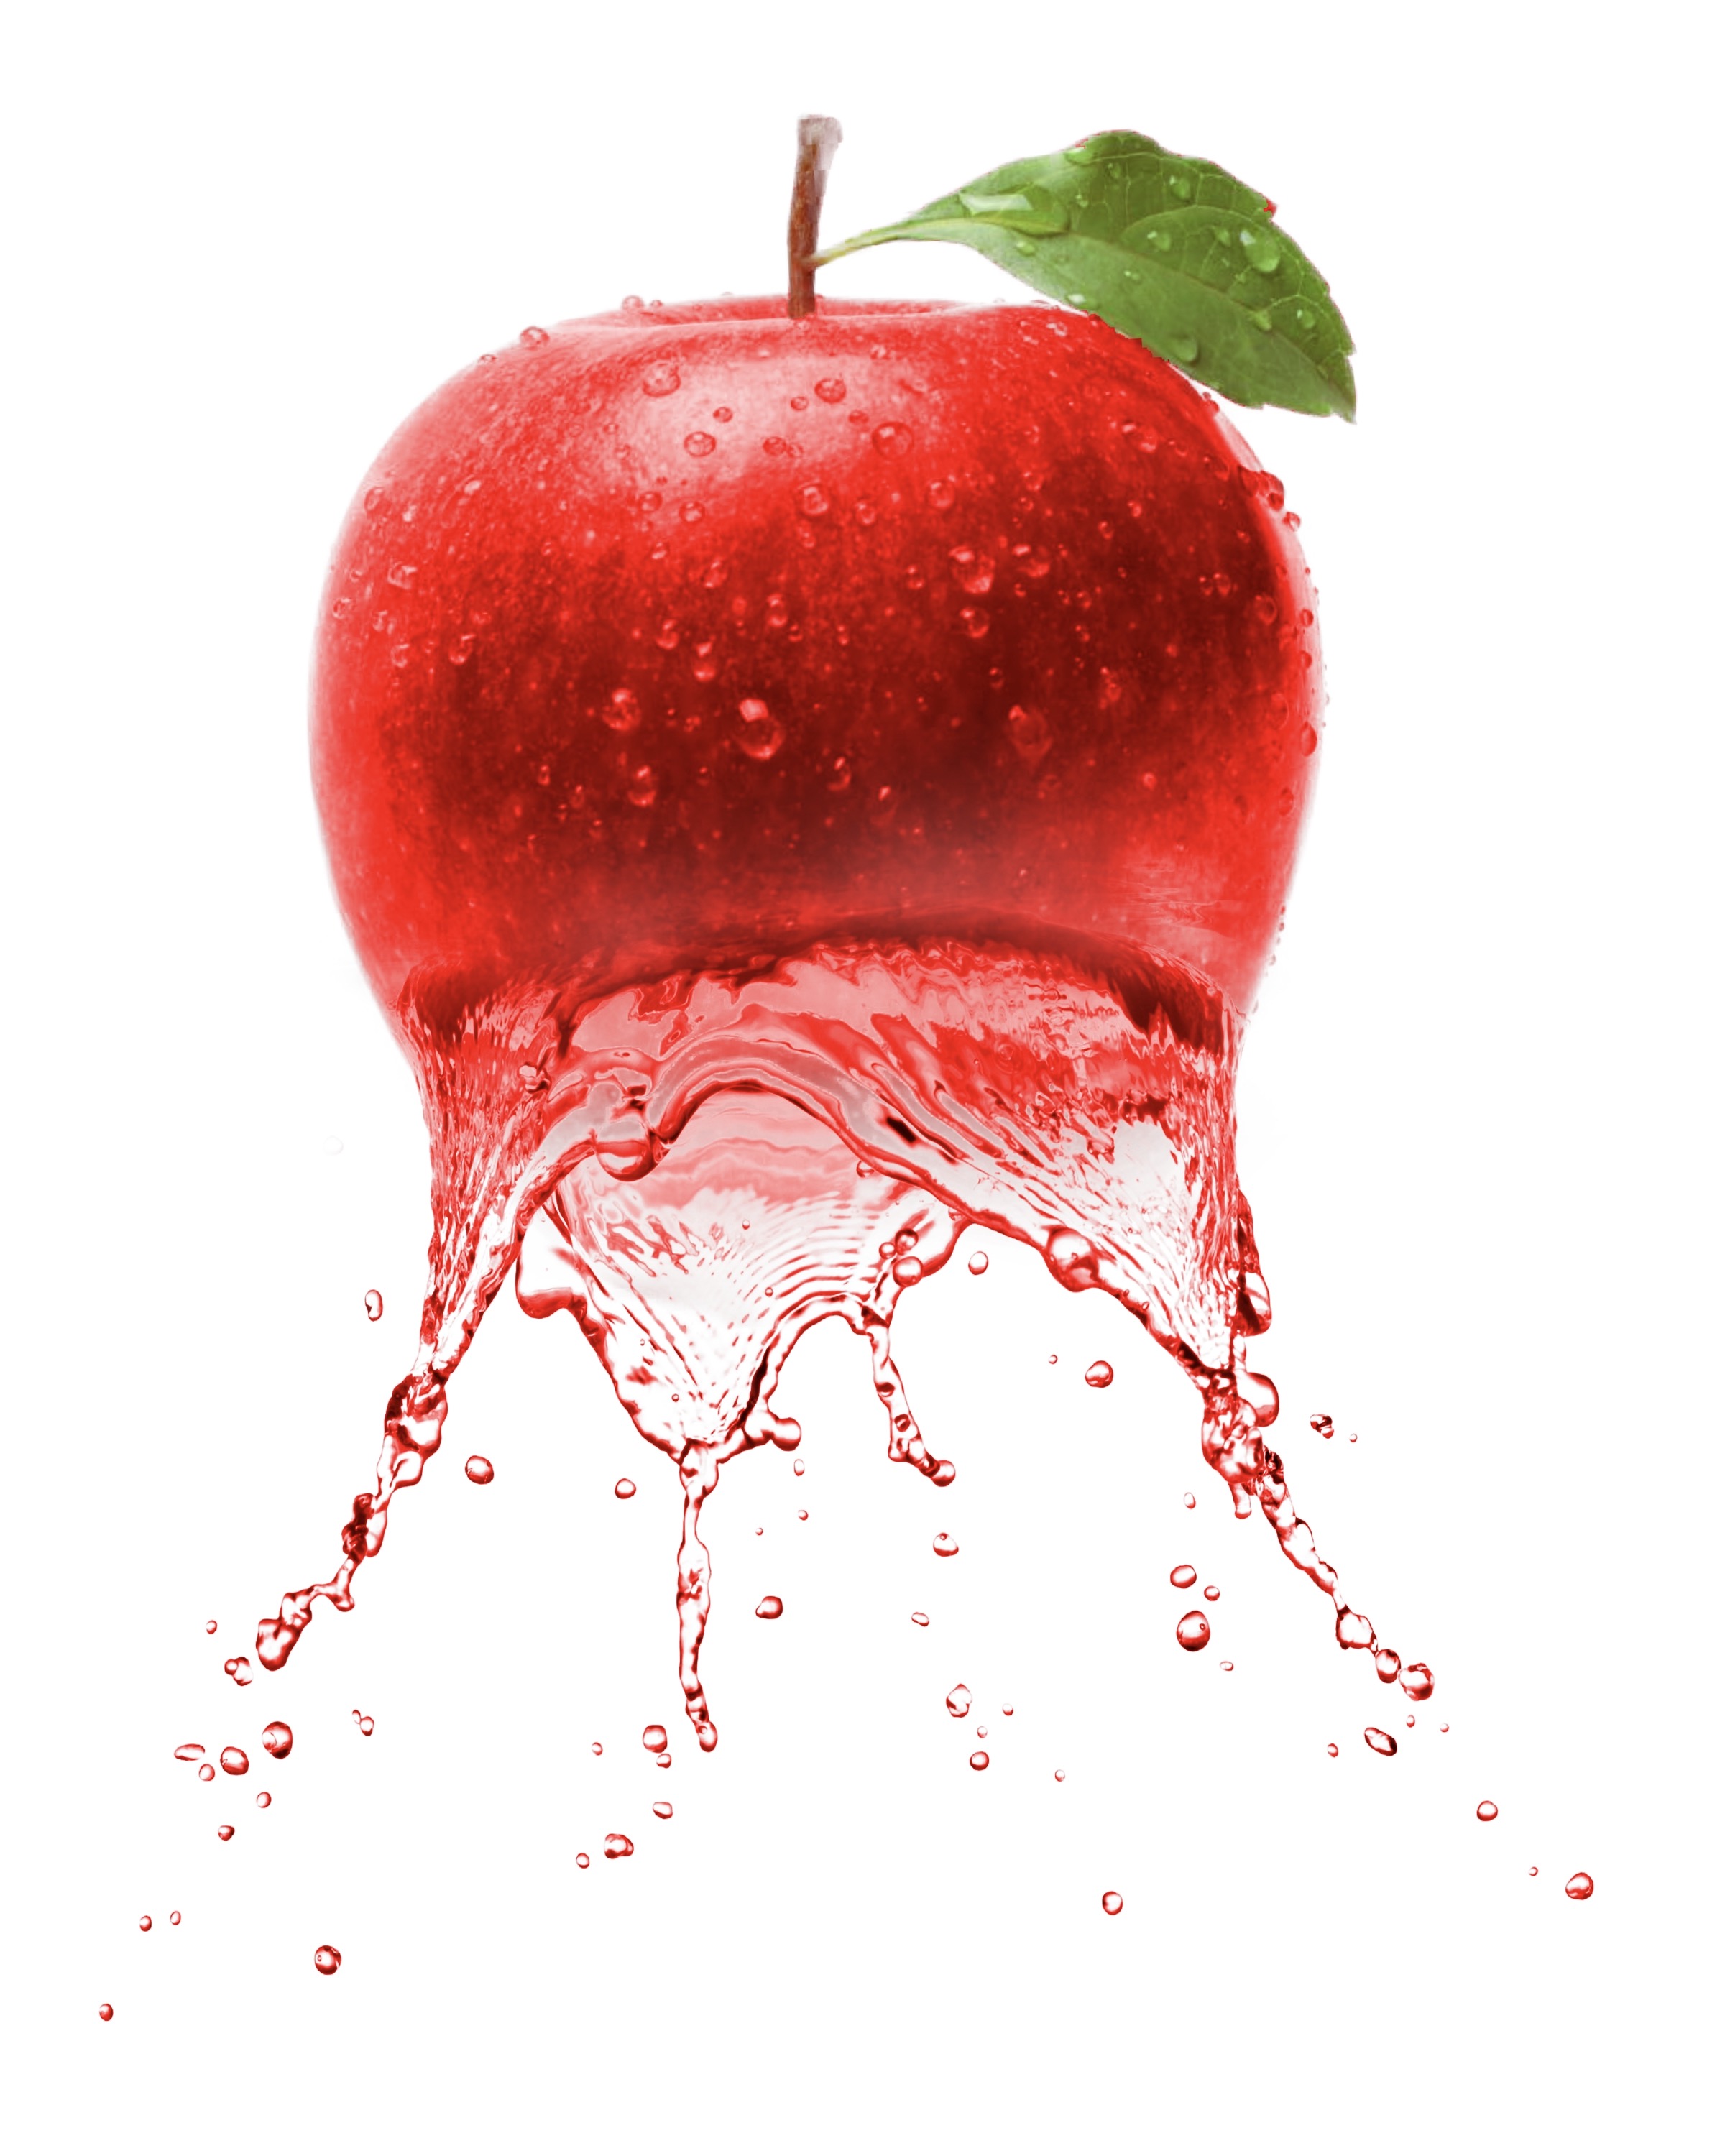
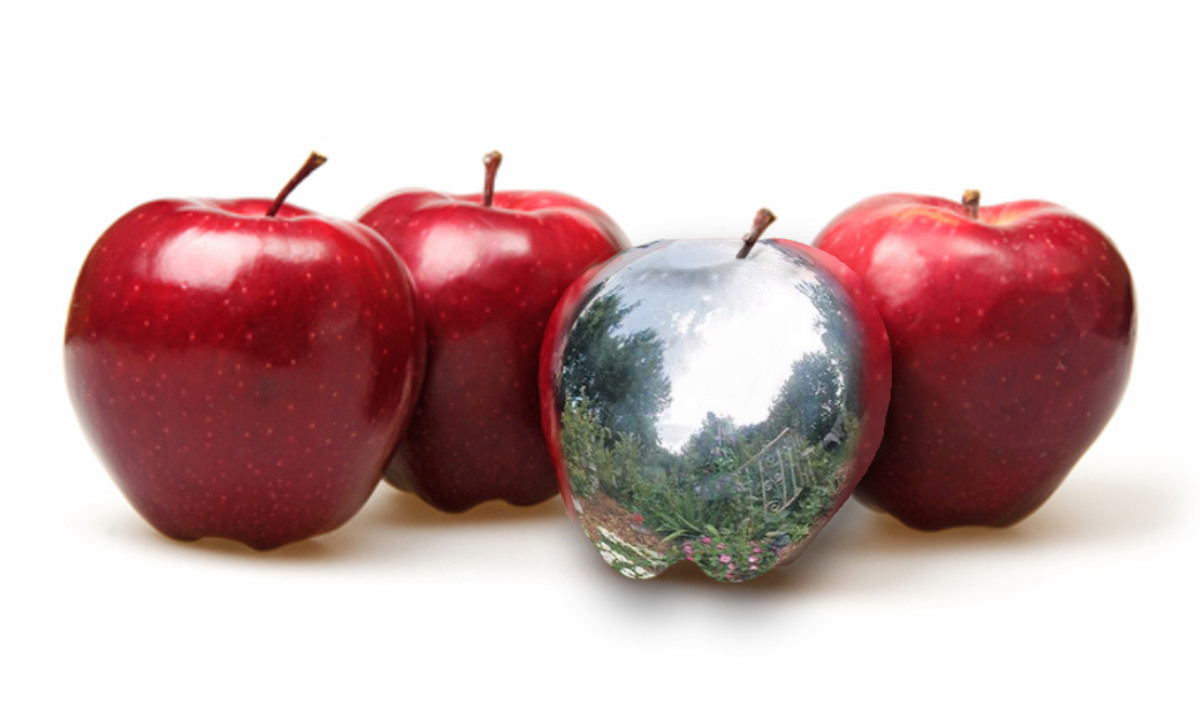
Tried to create the a image where the reflection of a Metal Apple flowed into the image, using iPad Affinity Photo. Used Mask, Liquified and merge image to get the overall affect.
-
 I understand that when one makes and adjustment or filter it should automatically create its own layer. and if one wants it to be a mask one can drag it onto the image layer. This has worked for me in the past, but at the moment I cannot make get a layer to appear. When I try to mask this image with a blur filter it only blurs the image layer and does not create its own layer. What am I missing? main_tree.afphoto
 -
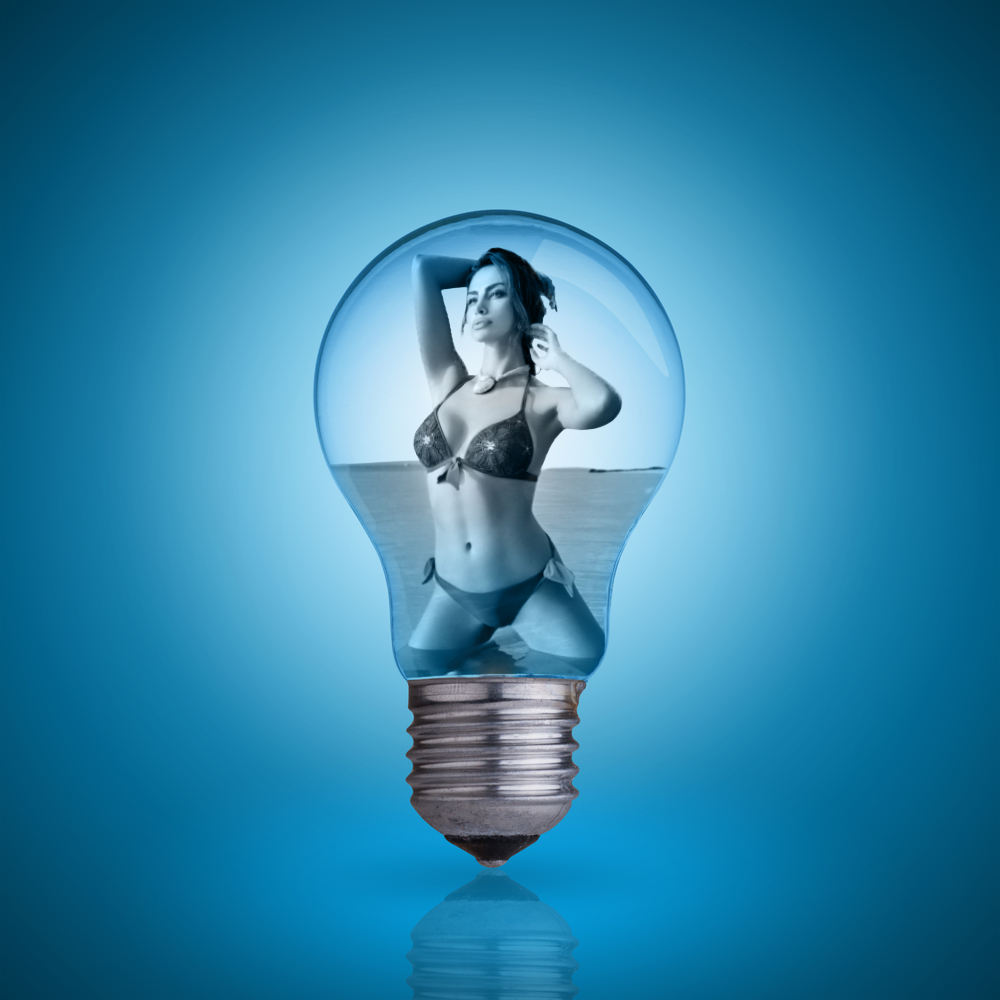
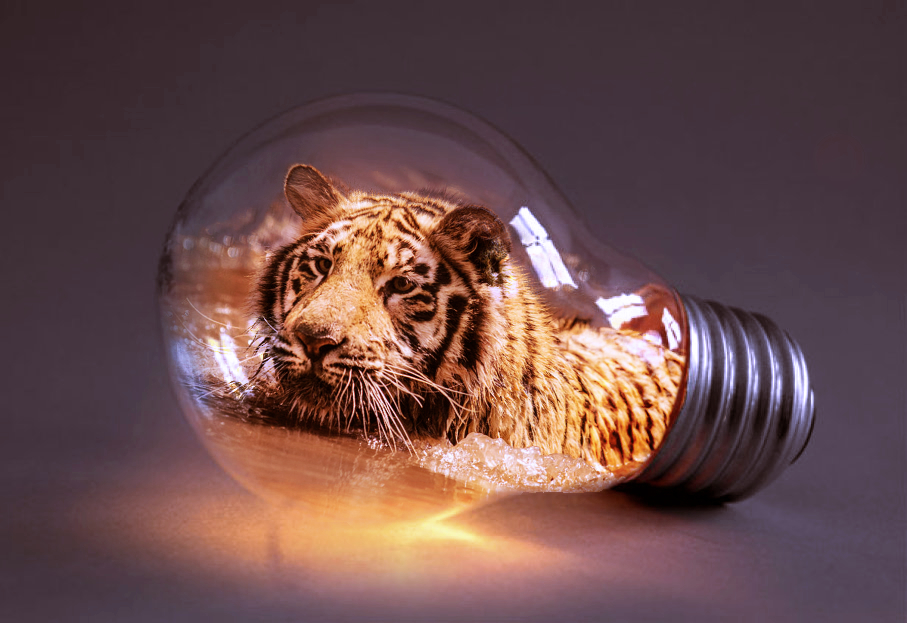
 Hello Apologies if this has been asked before. If so someone could point me in the direction of a tutorial video Attempting to recreate the woman in this shape on the attached image Really not sure how to go about it. Trying to get images behind (or on top) of my pixel layer within a designed shape Cheers! -Cunningham
-
Hi, love Affinity Photo and all the hard work you guys have poured into the software. I have a few questions about Channels and masks. I have watched your video but I still seek information. Frist off forgive me if these are simple issues, I have been working in Photoshop as a professional for over 20 years. There are techniques that are much like muscle memory for me with PS. I struggle in AP to get the result due to my lack of experience with AP. You know old dog new tricks, I want to understand Affinity better. What is the definition/purpose the of the Composite Alpha? I don't see data in the channel, even though the RGB channels show their data. Which leads me to my next question; How do I make an all 3 (RGB) channel selection? I am looking to get all 3 channel data into a single mask (luminosity mask). I would think the composite Alpha would be the place to retrieve that data. In the Channel Studio, there is a "Mask Alpha" that shows the mask I have selected in the Layer Studio. Is there a way to view this mask from the Channel Studio like when you option-click in the Layer Studio? It would be nice to view any alpha with the option-click like Spare Channels. Thank you for your help. Gauncer
-
 Hi, it is possible to Import a Mask from a greyscale picture? Thanks
 -
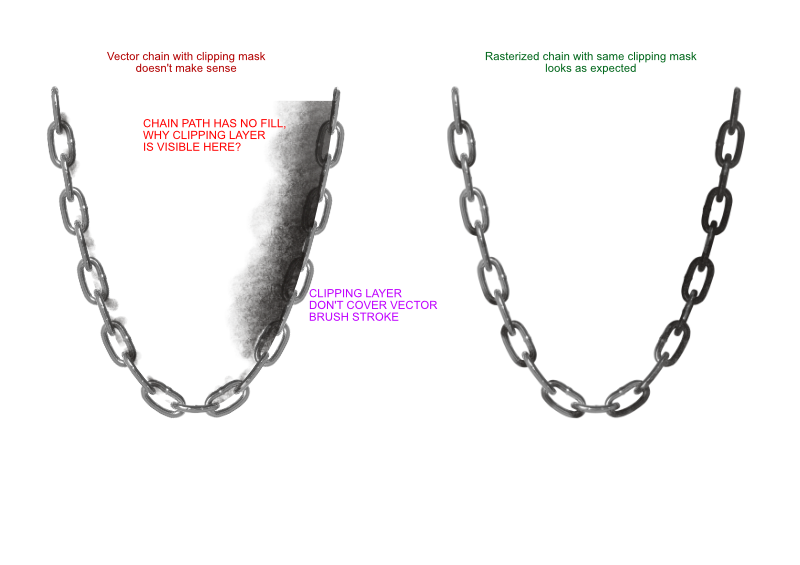
 Hi! The problem is that vector object fill is always define clipping mask and affected by it. Even there is no fill color. At the same time object stroke don't define clipping mask at all and not affected by it. Here is example: Chain on the left is vector path with brush stroke with pixel "shadow" layer nested inside for clipping. Looking odd. On the right is same construction, but chain was rasterized. Please, check attached .afdesign layers to understand. I see two problems are: 1. Parent object fill is always affect the clipping mask 2. Clipping layer have nothing with parent object stroke I understand, that it's pure boolean logic happens there. But this make no sense and not what artist expected. My suggestion, that vector chain must be as his raster copy on the right. chain-clipping-mask.afdesign
-
 Hey there, I'm coming from Photoshop and there's one thing I struggle to understand in Affinity Photo. It's regarding masking or rather a specific masking process with the pen tool which works naturally in Photoshop and I thought was a basic feature. I added a simple example to show what I'm talking about. Just to be clear, I don't need an alternative method on how to do this. I simply want to know whether it's possible to get done with the pen tool or not. So, let's say I want to mask the yellow rectangle as seen in the image with the Pen Tool. In Photoshop I draw two paths, make a selection and mask it. As result I get my desired yellow rectangle, as simple as that. In Affinity however I'm not able to get this done no matter what I try. It appears to be the case that it's only possible to apply one single path or curve and turn it into a mask. Every additional mask overrides the previous one. That's why I would like to know, am I missing something here on how to do it properly or is it really not possible to perform this action?
-
 Hi! Affinity newbie here. What I'd like to do is this: An infographic with text, images and a map of a whole country that shows things as simple colored areas (one area of the country in one color, inside that area a smaller area with a darker shade etc.). The colors on the map need to be recreated up to several times a day, so user-friendly solution necessary. My problem:The coloring itself seems to be easy to do using a brush. But how to prevent spillovers? Possible solutions in my mind: - The map as a separate object. Draw on map, then superimpose the map on the rest of the image. Tried this, but the color wouldn't stick to my map. Maybe it is of a wrong type? Can I change it to an "artboard" which seemed to take the color just fine? - A map-shaped hole in the rest of the image, that reveals the map layer below. With that one could use the brush, spill over to their hearts content, yet the spillover would be hidden by the image on top. Any suggestions? Or am I thinking too Photoshop here? Thanks for helping out!
 -
 Is there an easy way to export the mask as a black and white image? Thank you
 -
 Hello the A-Team! :) Ok, I'll be straight forward on this one: I'll find attached a video record made on Photoshop. The technique shown on a boring solid fill is in fact an insanely productive method when mate painting, photo retouching, etc. Here's the challenge: Make me this in Affinity (Photo or Designer, choose the one you want). Made in Photoshop in 5 clicks. The gradient tool is set from solid black to 0% black. MakeMeThisOnAffinity.mov I've not been able yet to find any method to match the productivity of Photoshop on this point. (Trust me, combining both words “productivity” & “Photoshop” in a sentence is a serious pain I would like to avoid…). Also, when selecting the Gradient Tool: Why is it always defaulted to "None"? (If I pick the gradient tool, chances are quite high for me to make something else than "none", I even guess linear could be my favorite pick…). Why I cannot set the default colors for my gradient tool? (When starting to draw a gradient, colors are —always— white to grey, and I —always— have to change them afterward… Can't wait to ear from you guys :wub: