Search the Community
Showing results for tags 'Lines'.
-
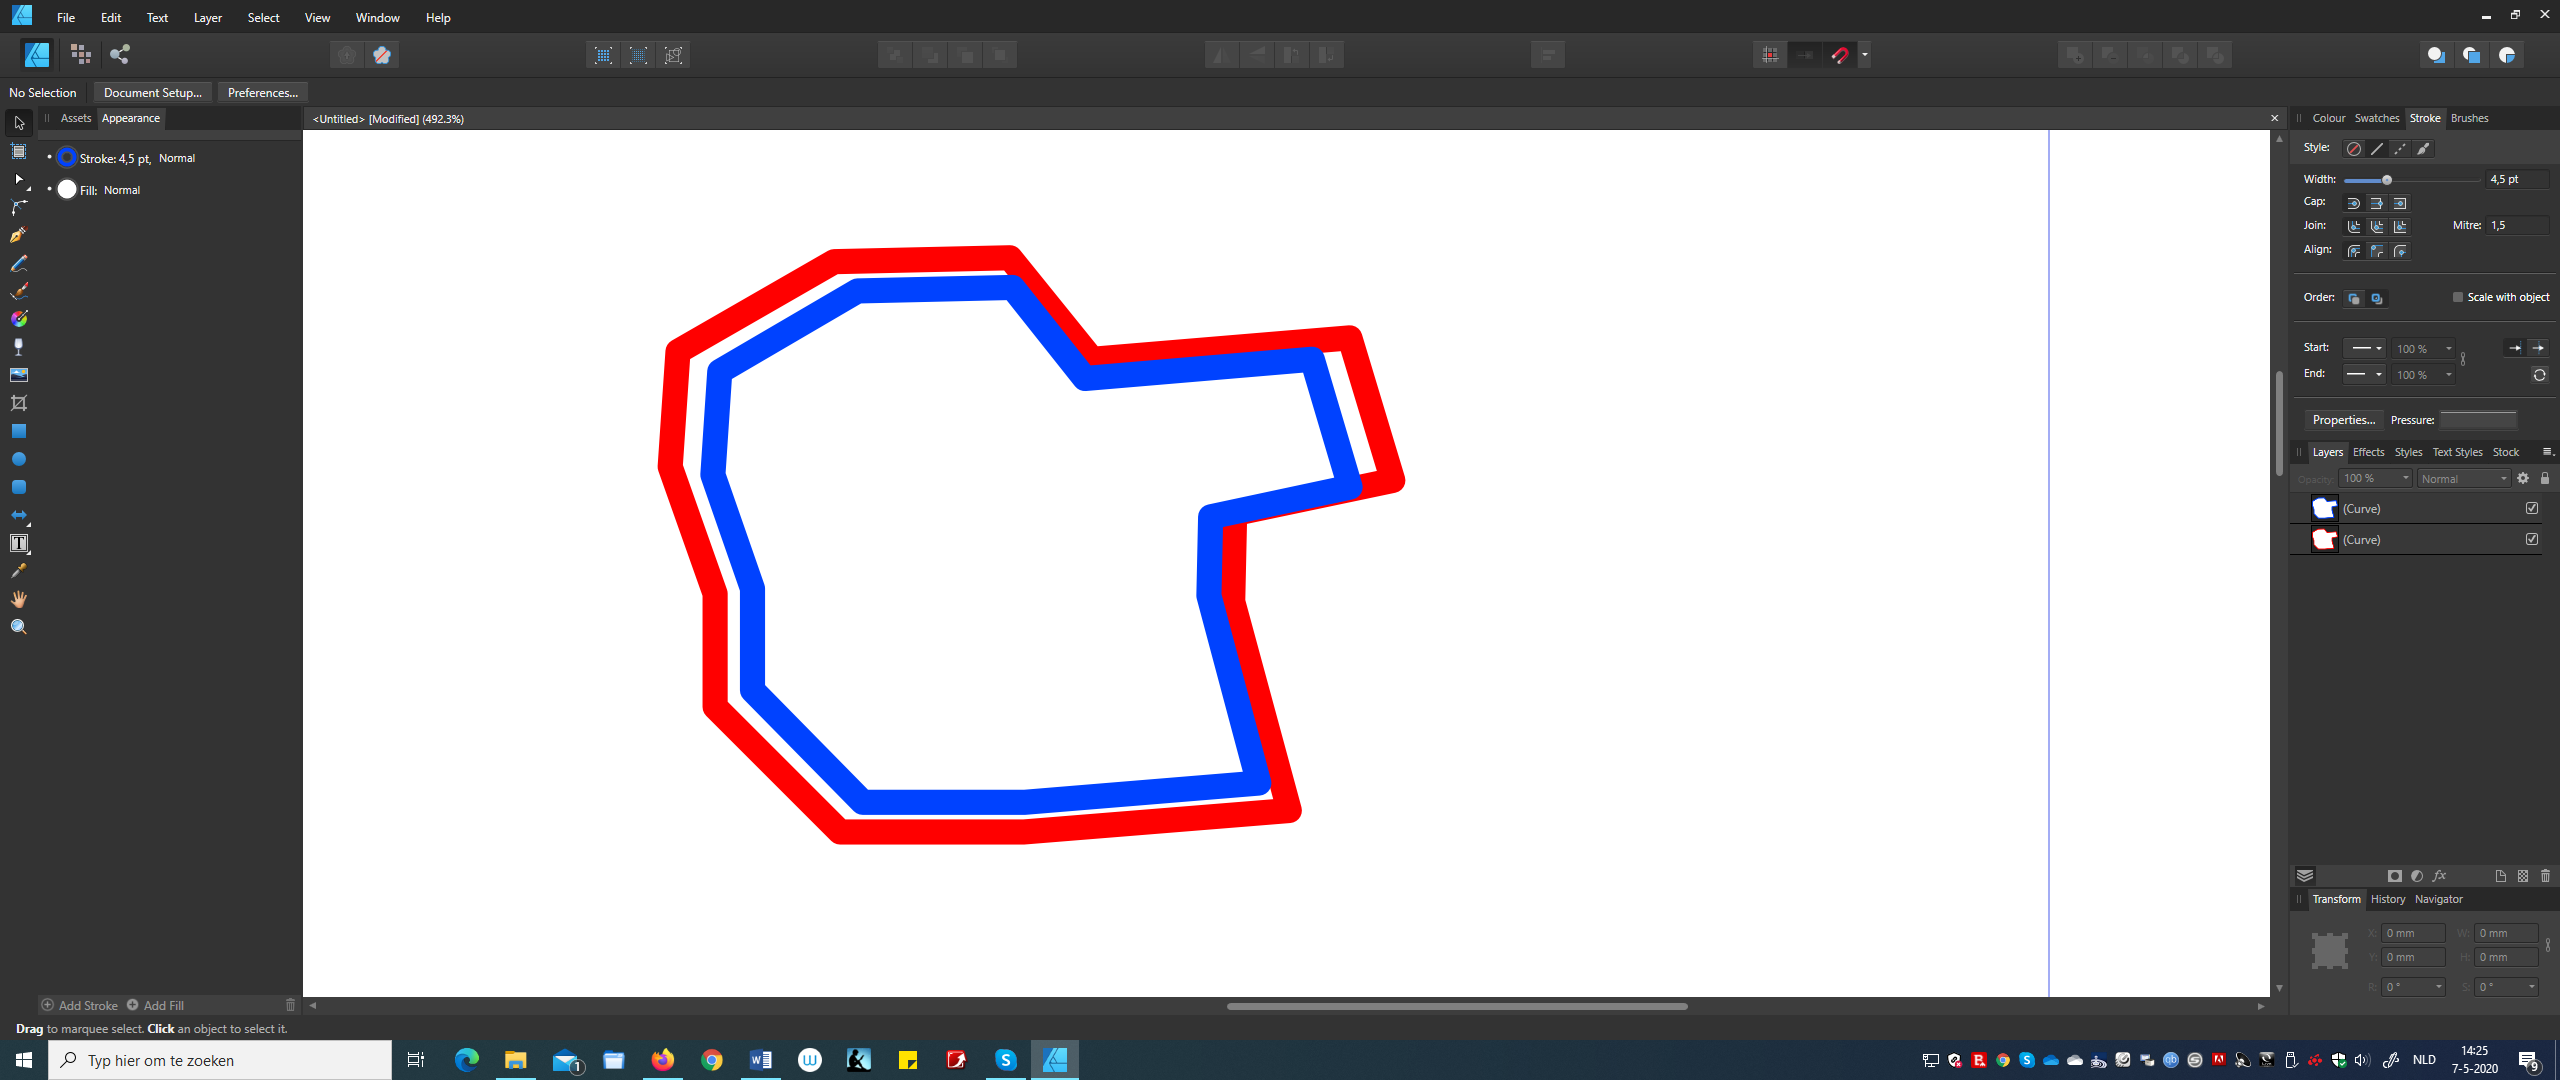
 Hey, I have the next challenge. I'm working on an ornament. However, would like to overlap some lines over other lines. Is there a method to handle this conveniently? Do you have any advice for me? The only option is to trace the lines with the pen tool and snapping tool, but this seems to take a long time. There must be some other useful approach I think. line above and under other line.afdesign
-
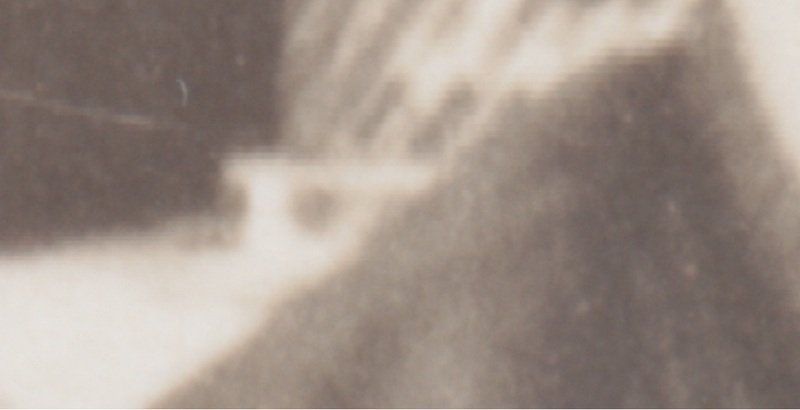
 Hi I am troubled with Scanlines in my Scans of Old Photos. Scanning them with 1200 dpi. And just for Print or Displaying they are good enough. But as soon as i work with them (like sharpening) Scanlines become visible. Now to my Problem. It only happens in certain Areas of wihte and grey. So using "FFT Denoise" works but i get Banding on other Areas. Zoomed in With "Detect Horizontal Edges" i can make the worst parts visible. Zoomed in But how do i proceed from here out on to only use the Filter on this Areas in the Final Picture? And is there another Option than the FFT Denois Filter. Because i have a couple of hundred of Pictures and FTT does not work in combination with the Macro Feature for Batch processing. Hope someone got an Idea
-
.thumb.jpg.ec3ac405965a6040f598665741c04a59.jpg) Hi all! I've only been using the Designer software for a few days, and I have no previous with graphic design software outside of Photoshop. My problem is that every time I create a dashed/dotted line, the dots never seem to match up where they meet at the start and end points, does anyone have any advice? See the attached screenshot of the issue. Thanks guys!
Hi all! I've only been using the Designer software for a few days, and I have no previous with graphic design software outside of Photoshop. My problem is that every time I create a dashed/dotted line, the dots never seem to match up where they meet at the start and end points, does anyone have any advice? See the attached screenshot of the issue. Thanks guys!
-
 Hi, just new here...just want to ask if there is a way to snap brush lines to make a continuous freehand line
 -
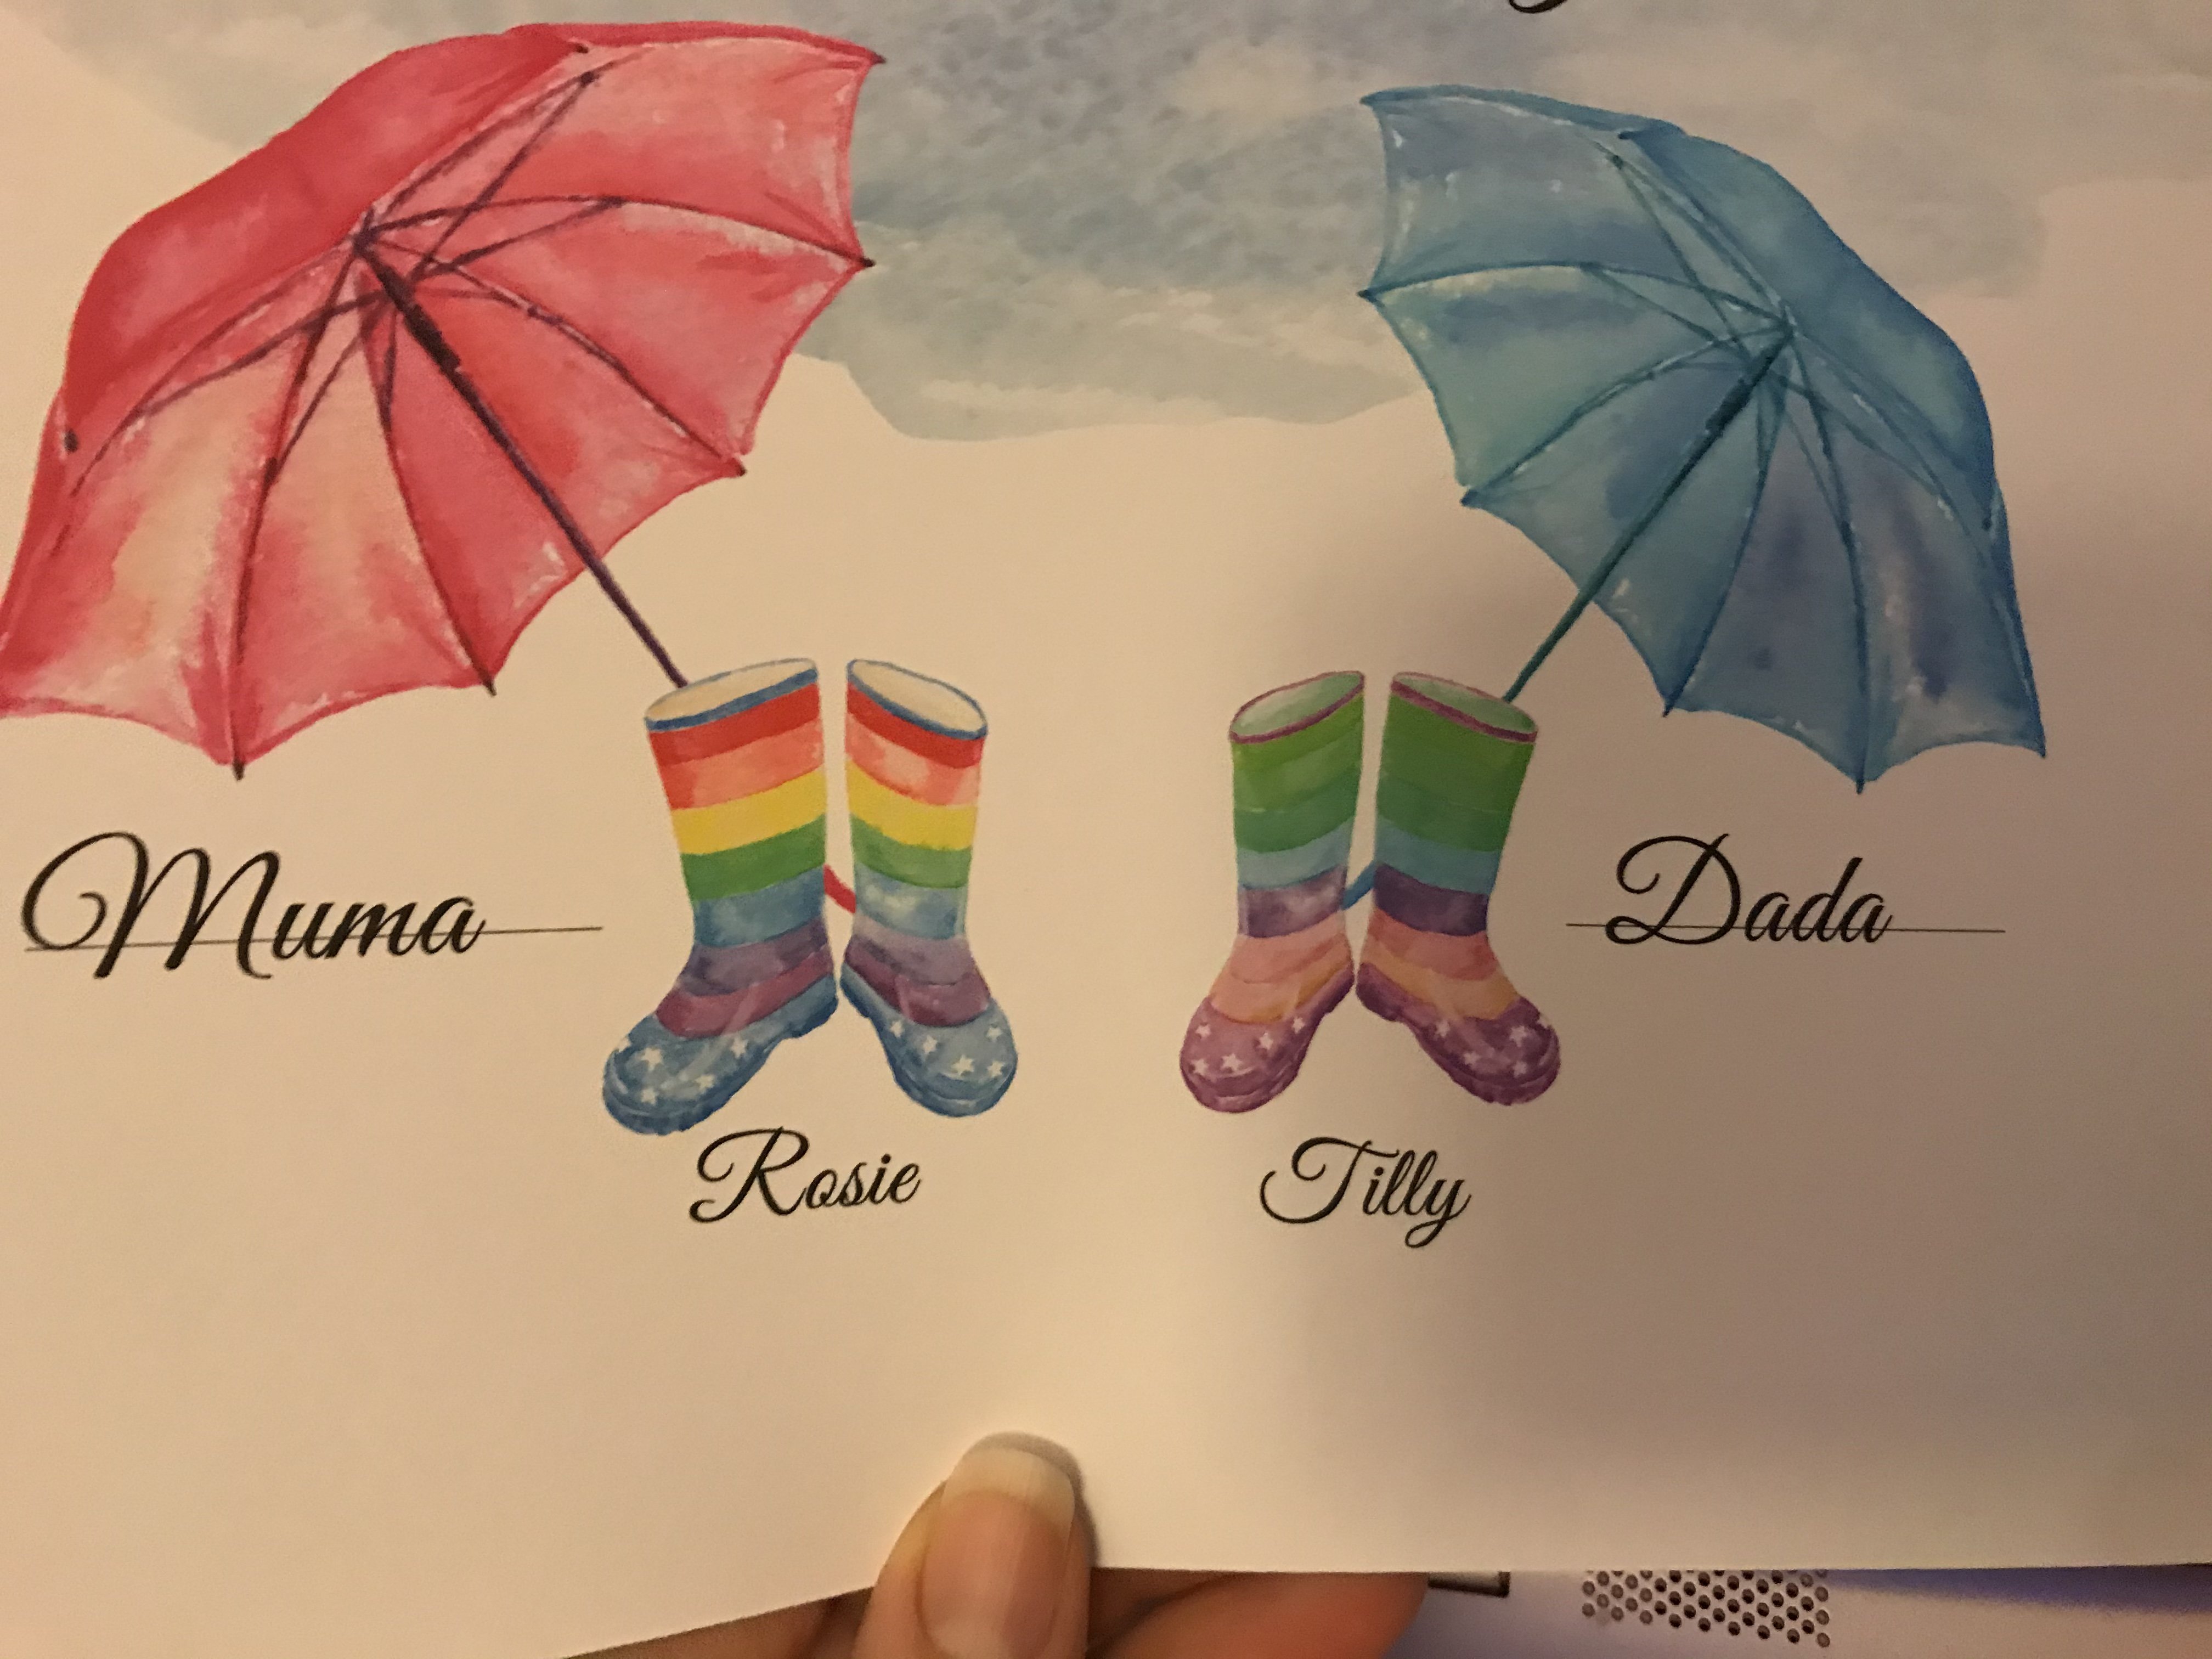
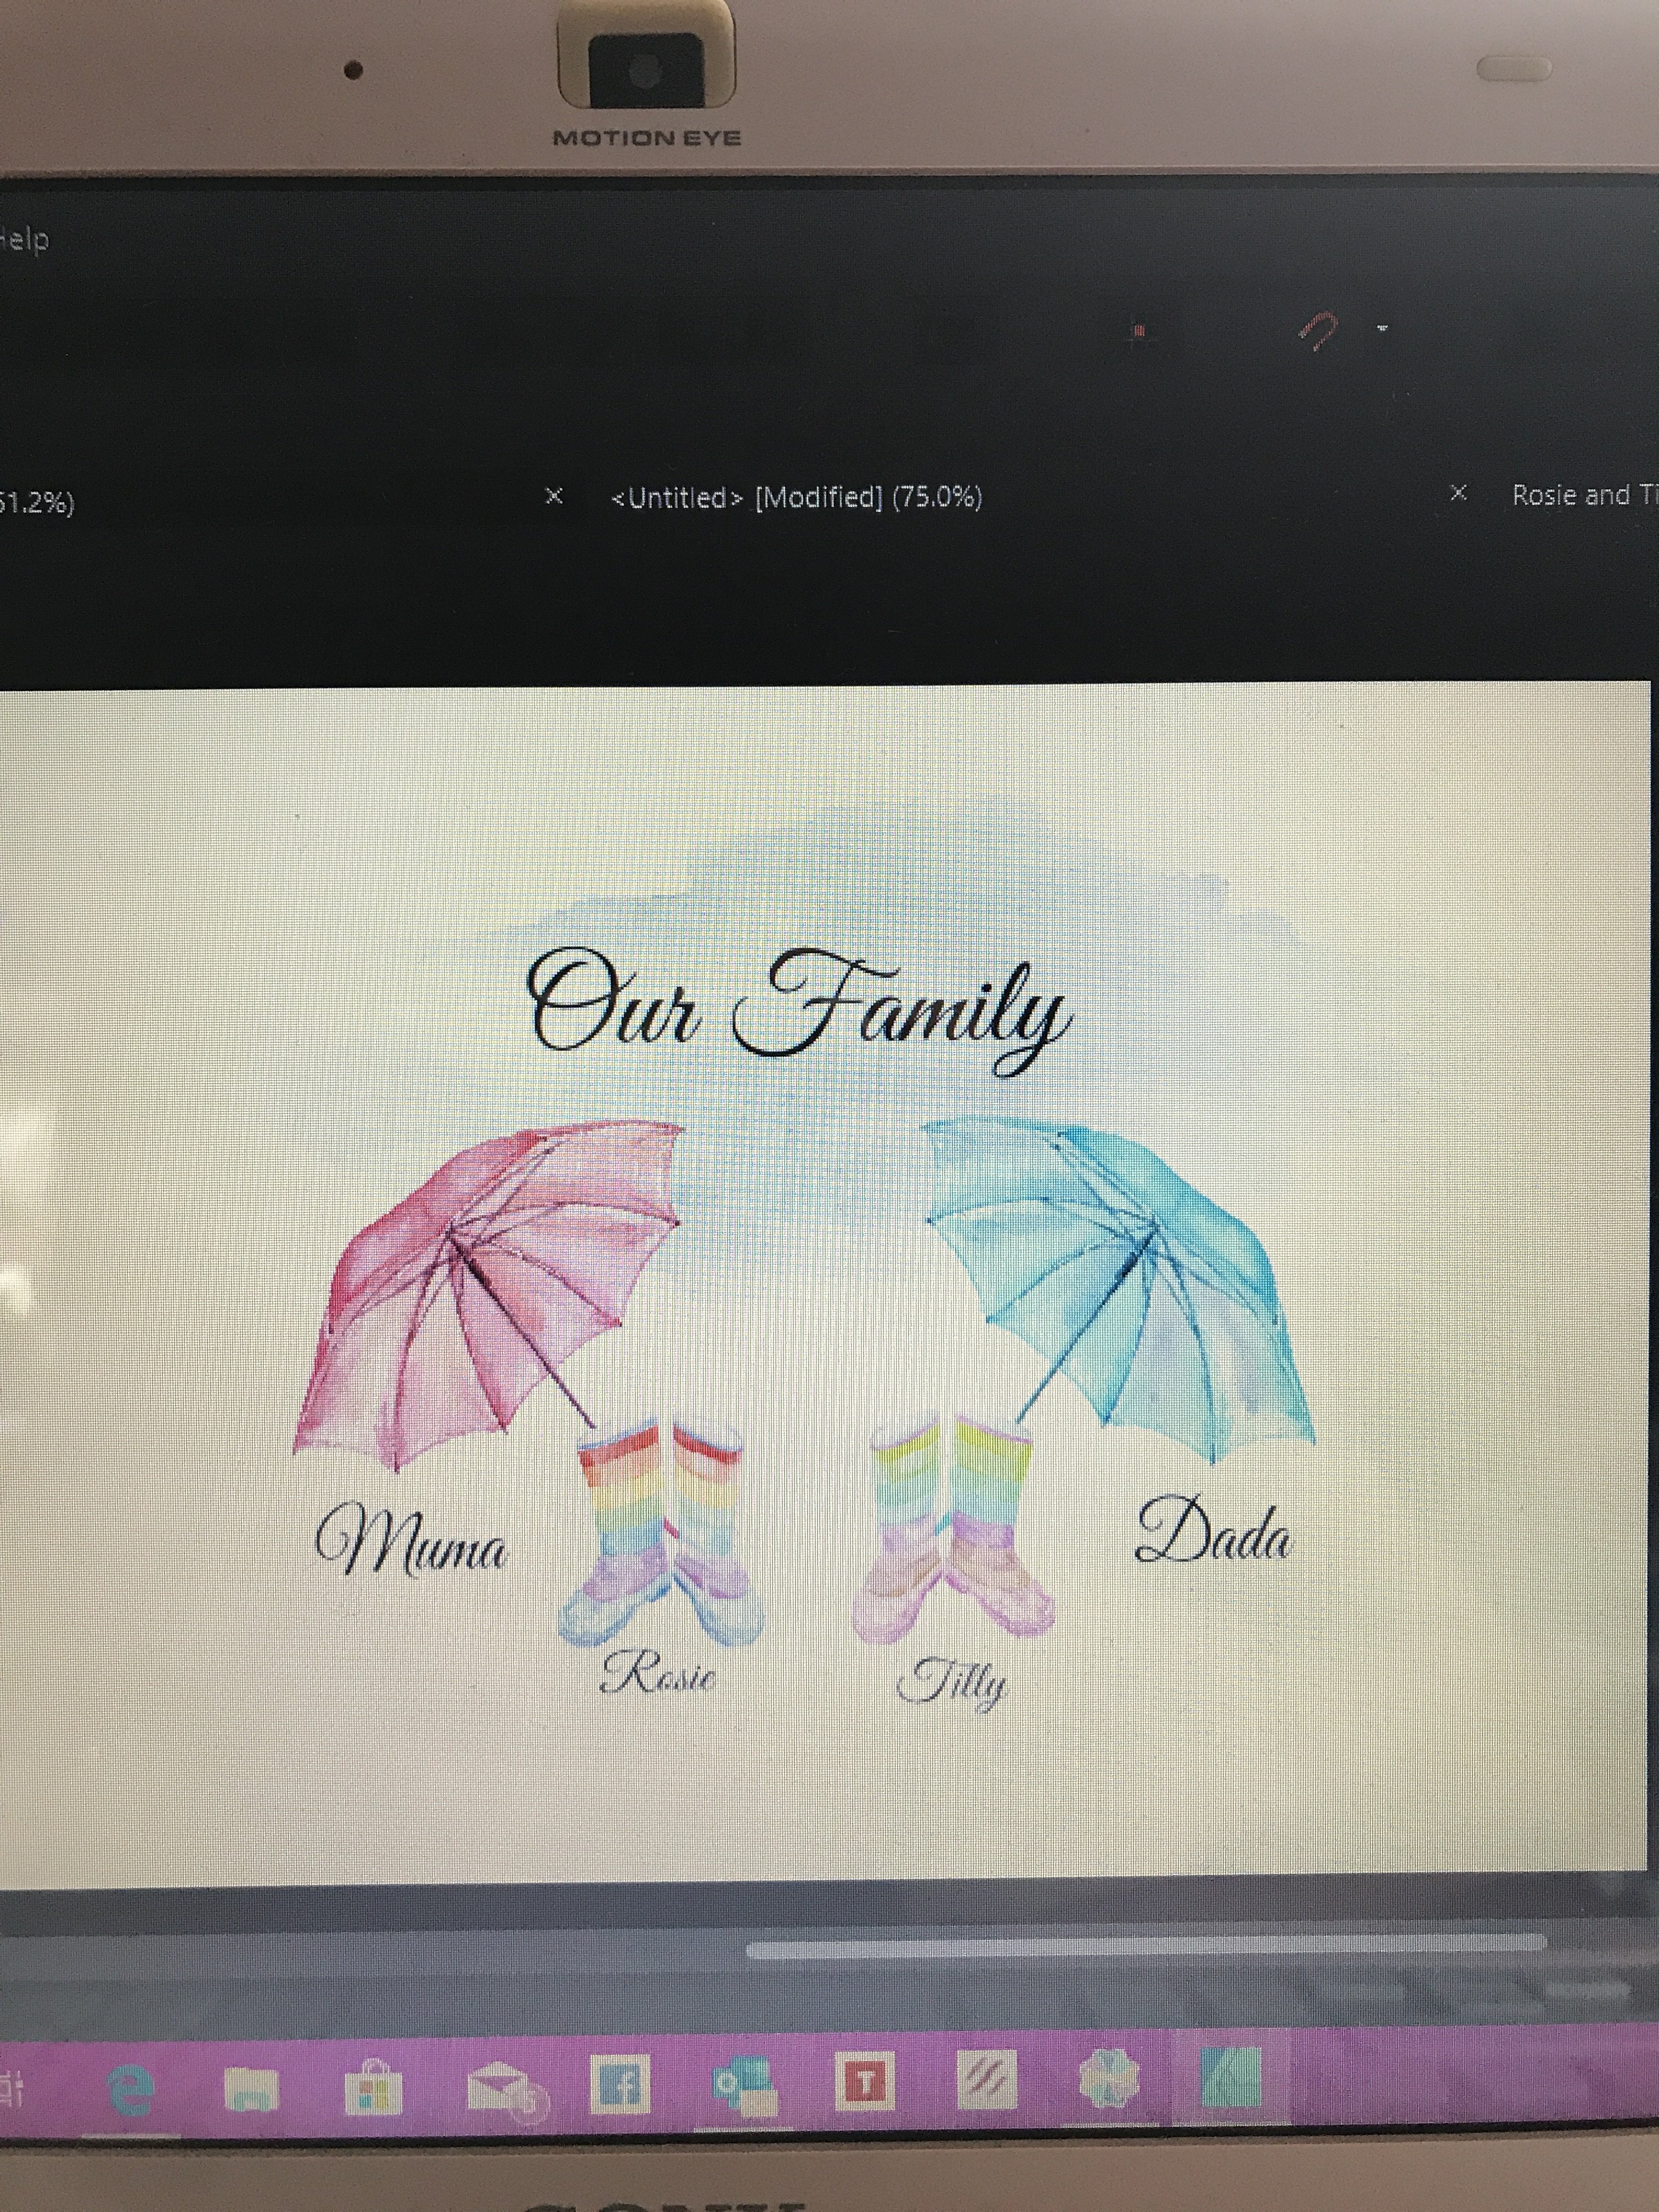
 Hi I’m trying to print out an image which has been put together with various elements and text tool. I’ve done lots of others in this way but for some reason this particular one keeps printing out with a line through the same 2 words despite it not appearing on the screen....HELP PLEASE!!
-
 I am looking for, but not finding, an equivalent to Mac Pages' Arrange/Distribute Objects Evenly. The closest action in Publisher is to Duplicate then move the duplicated line to desired position. Further iterations will replicate the spacing, BUT if I need to adjust or add to the grouping later I need to start all over. In Pages, any time you want to rearrange the lines you place the first and last where you want them, select all the lines, then Arrange/Distribute Objects Evenly/Vertical (or Horizontal or Evenly, depending upon the orientation and desired arrangement), and no matter how many lines are between the first and last they are spaced evenly between those two. [MacBook Pro, OS 10.11.6]
 -
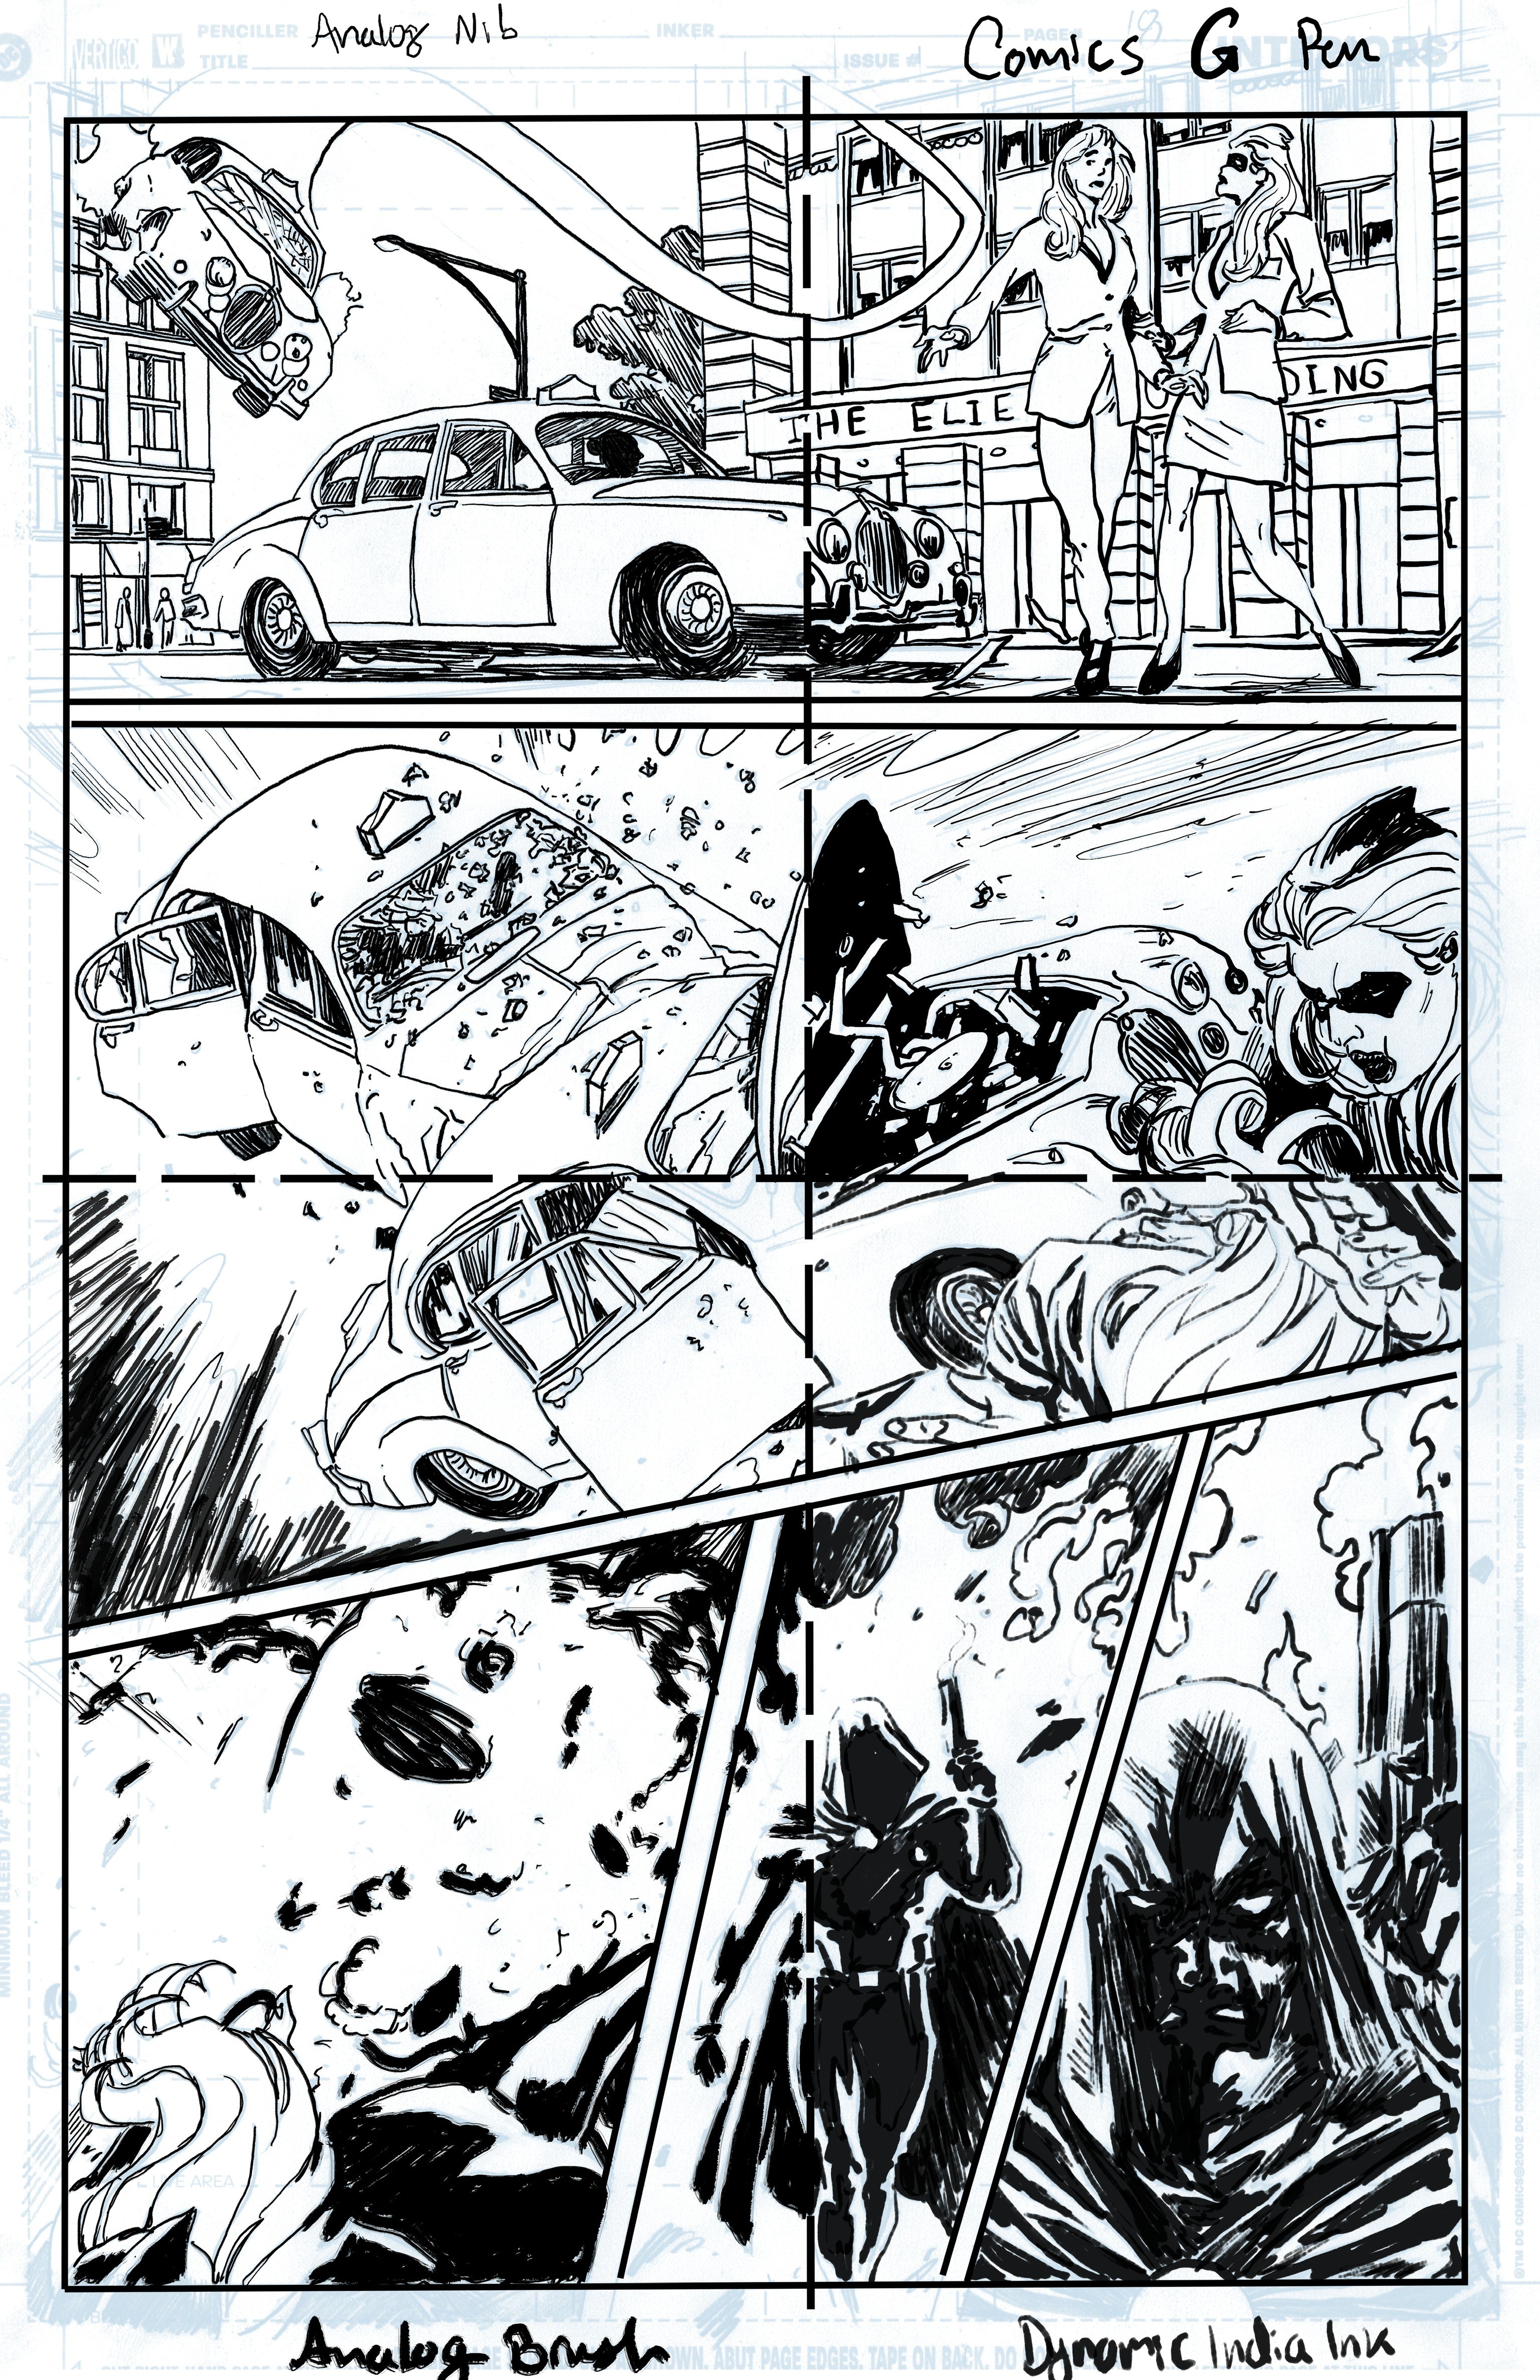
 Just discovering affinity and getting used to the program took a hot second as my only digital experience has been a few undergrad digital painting courses with the cintiq but I primarily work on ipad with procreate UNTIL now. Overall I love Affinity so far as a comics creator, the toolsets the platform offers are just better suited to my needs as a sequential artist in general, and is the first legitimate alternative to photoshop I feel that has been offered on the IOS platform. Inking in the platform is miles ahead of procreate in that I can get a nearly analog realistic end result just with the default brush sets alone (which I haven’t even tweaked yet). I do have several things that have come up that are by no means deal breakers but admittedly when going through my workflow proved to be somewhat of an impediment. 1- With tool short cut commands while using a keyboard, the limitations in the pixel persona are quite evident. You have an amazing toolset available and the ability to switch back and forth between ALL available tools with keyboard shortcuts would speed up my workflow significantly. Namely when working in the pixel persona, having the ability to use a shortcut to quickly switch to the selection tool would be amazing. Possibly a solution could be to keep the current shortcuts as they are but simply adding the neglected tools to the list WITHOUT default shortcuts, allowing the user to input commands themselves to whatever suits their needs. -expanding on this some more, additionally adding a keyboard function to alter brush size and opacity would be amazing, or just the option to custom bind a key to it. 2- One thing I noticed while working was that the program struggled keeping up with my speed? (As an FYI I’m on a 2nd gen IpadPro 12.9”) Admittedly I work rather quickly and freehanded so when doing things like hatching- if I make strokes in rapid succession the program tends to seize up slightly and takes a few seconds to register the marks, and typically when it does any indication of pressure sensitivity is gone and I have to erase and slow myself down. Lastly- altering the function of pressing “shift” while actively drawing. I really wish it didn't “lock” the line to either vertical or horizontal and instead treated it as a point of origin while maintaining control over pressure sensitivity and snapping to a straight line. Again, overall I LOVE affinity as a sequential artist and have been informing my professors and colleagues about the program with great enthusiasm- and all of them expressed keen interest when I listed all the functionality options affinity has in comparison to procreate. You guys have truly made the ipad a viable alternative to other mobile creative platforms and I sincerely thank you! Threw a page of inking I did in here where I was basically just experimenting with brush functionality and learning the platform in general!
-
 Hi, It seems Publisher does not allow me to put the line spacing to minus? It seems it always MUST be adjusted not lower than 100%? PLEASE TELL ME I AM WRONG! Please tell me I am just missing a tiny thing somewhere. Super annoyed, bartl
 -
 Hello, I've been playing with a some lettering and working on a new type. For example, I've taken the cross-dash in the "A" and moved the nodes to the bottom to make it look like an upside down "V". (It also happens on my "E") However, when I go to print, there's a very small line still at the bottom and I'd like very much to get rid of it. Every time I try to mess with the nodes now, the letter ends up out of whack. What's the best way to go about doing this? Thank you!
-
 got all that, but what about exporting to .eps to include bleed?
 -
I have the same problem like in this YouTube tutorial for Adobe Illustrator: Is there a way to do this in a convenient and practical way in AD? Just copy past and centre it is not the right wat. I want to make borders for a country map with two colors. Can anyone helping met with solving this?
-
 Hi. New on AD. I opened a few times, but still trying to find my way (too long on AI). I exported a 2D drawing from Rhino as a PDF (since AI is not supported). I would like to assign different thicknesses to some of the lines of my drawing. The drawing lines are not joined in Rhino. When I open the PDF in AD the sketch looks to be all merged (using black arrow). Using the white arrow I just have too many nodes in every line to select them one by one, not even sure if this is the way. I would like to ask for help in this matter. Kind regards ,
 -
 How are we able to get this very sharp lines and edges? I have tried expand stroke function but I believe that there is a lot more efficient way to achieve this. Additionally, how are we able to remove or delete excess lines (and intersecting lines) without using the erase tool in the pixel persona? Thanks in advance.😁
-
 I hope that I can describe the problem correctly. I am working on a logo, which should consist of the letters O and K. The K should be in front of the O, as well as behind the O. After I drew an ellipse, which should represent the O, and converted it to a donut, I wrote the K over it with the Artistic Text Tool. Next, I selected the two layers (the layer with the ellipse is on top) and used the geometry function divide. Then I deleted protruding parts from the K and colored other parts that should be displayed above the ellipse. Unfortunately very fine lines are always displayed. I don't know how I can prevent this. Can anyone help me? For clarification I have exported a PNG and I also provide my afdesign file. ok.afdesign
-
 Where do you draw lines? I just see the shapes, don't know where to do that. And, can arrow tips be added?
 -
Hello, this is my first post to a forum so bear with me please. I found this bug on windows 64-Bit-Version, it was already a problem in the test version, but I thought it might go away in the professional one - it didn't. I downloaded this program recently, so it should be the latest version. If I want to change the lines selected in the table tool, it sometimes doesn't change. It keeps going back to select all the lines. Even if I restart my computer it doesn't change. Maybe after a few hours or a day or so, it works again and I can change it to other lines... I use this tool a lot and it throws me back a couple of hours or days in my work, so this is really really bugging me. Please watch the video for better understanding. Can this be fixed, please? Affinity Publisher Table Bug.mp4
-
 Hello everyone, I'm new in using Affinity. Can anyone tell me, how can I set changing line colors in tables? In Indesign there's a possibility to set changing colors in table lines at a table format. Does this option exist in Affinity, too? Thanks in advance ;-)
 -
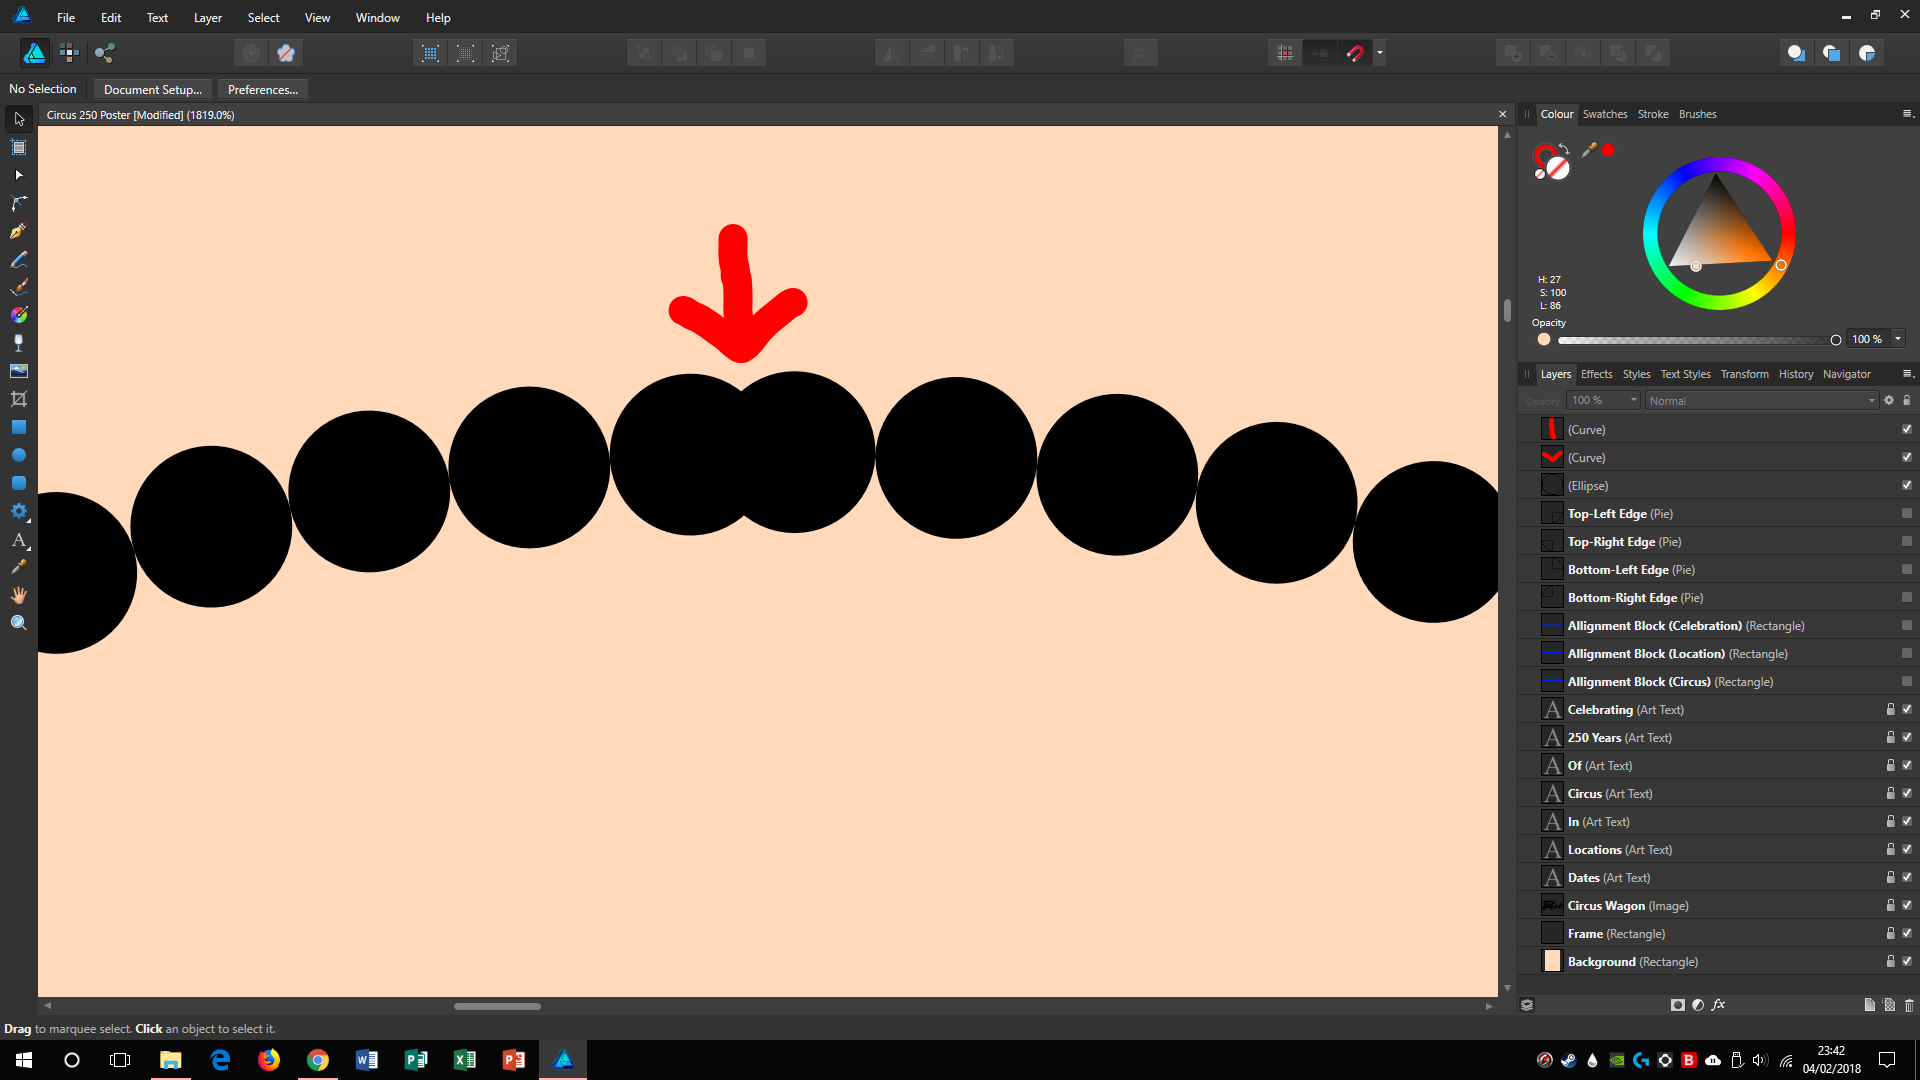
 How do I snap lines together? I want to avoid gaps and overlays. I also want to be able to pull corners over without the whole triangle moving. For example the bottom triangle on the right hand side of it has white area I would like to fill all the way up to the corner.
-
 Hello. In "DrawPlusX8" using the "spiral" blank, copying it several times, combining objects and applying the Calligraphic line, I could position the object at a certain angle to get some kind of "galaxy". All the lines after applying the effects in this version are as if separately layered on each other and when turning turns out to be a 3D multilayer model. In "DrawPlusX8" there is a line view. "Calligraphic line" has the setting "Calligraphy Angle", also there are brushes that place textures vertically relative to the plane (for example, "grass"), though these brushes do not have an angle setting like "calligraphic line". In “Affinity Designer”, having done this, I get that all the lines are mixed into a mess on one plane and the effects only aggravate it, and the brush does not have the Calligraphic Line tool with an angle setting (not by pressing or speed) and many other brushes with a similar vertical location but without adjusting the angle. Will such features be implemented in “Affinity Designer”? Can you help with advice on how to do it correctly in “Affinity Designer”? Maybe my actions by analogy as in "DrawPlusX8" are wrong? Thanks a lot in advance. I apologize for my English, the electronic translator translated. For example, I will attach a video file in which I try to create the same “galaxy” effect from the beginning in “DrawPlusX8” and then in “Affinity Designer”. 3.1.mp4
 -
 Hello. Can you guys tell me why those vector brush lines are jagged? No matter what document size, DPI and etc. the problem is still the same. I've also tried to change GPU, open it on different computers and monitors... When zooming in vector lines looks better though... And also while opening on another computer project colors messed up for a while and then fixed itself by opening a project for like a third time or something like that. Am I missing something?
-
 I now sit on a project for 10 minutes and wait for the Affinity Designer to convert the selected objects into lines, It only uses 1 core of my CPU. AD need more Multithreading for this art of tasks.
-
 The problem is that the line has a rectangular (or square also, I suppose) "shape" assigned to it with handles. The line follows a vertical or horizontal side of this shape. Once the line is rotated the line no longer follows the vertical or horizontal side of the "shape", it now goes from corner-to-corner which changes it's length, and requires that one also has to rotate it to find the new angle to make it "90 degrees". This happens when you use the transform panel and the Top Menu > Layer > Transform > Rotate Right command.
-
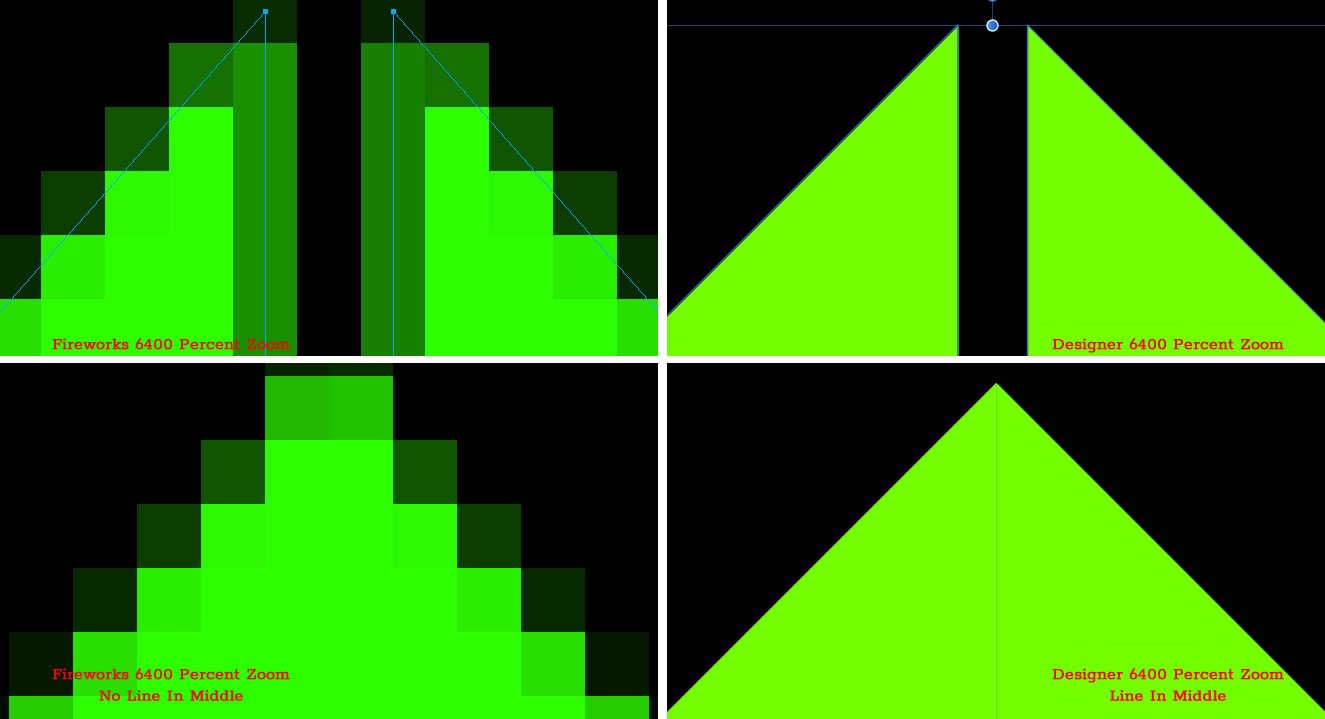
 Hi Affinity community. I have 2 rectangles no stroke, I sheared them, then, flipped them, joined or aligned them to make a roof like element. But there is a line down the middle. I've done the same thing in Fireworks and it worked without producing the line. Even though it's zoomed in, I noticed it before I zoomed. It was worse in Designer but after clicking the View Mode buttons on and off it got better but not right. I've attached an image showing the 2 different results, there is 2 screenshots from each app to show they are 2 objects being joined. I'm trying to do more stuff in Designer but this type of thing slows the transition to where I resort back to Fireworks. Is this the same issue as is posted in these posts? Lines between (snapped) objects in editor - terrible quality at png Can someone explain why I get these thin lines? Thanks in advance for any help.
-
 Hello everyone! I recently discovered the Affinity Softwares and i'm currently testing them with a lot o interest. Can someone help me with some small issues ? 1 - In Affinity Photo, can i see object outside the canvas, like i can in Designer ? ( didn't find any view modes or clip to canvar there ) 2 - Can i remove the lines in selections ? ( like in photoshop ) Thanks a lot!
 -
 This is a response to a question by user SunRiseMoon on July 02. 2019. A quick basic drawing lesson. As of this writing, shapes in Affinity designer have 2 attributes, the stroke and fill. Those are defined by vector curve(s). To be filled, those curves can be either open or closed, as long as they surround a 2D area. But if they are open, any "boolean" operation, such as add or divide, will close the curves between the end point of each. This often produces unusable shapes. In Affinity, shapes ar made frome a series of nodes, each one connecting to only those adjacent in the series. The nodes cannot connect to more than 2 other nodes. There is no branching of a curve object. In order to get filled areas of color, if the shape is to be made from the curves that are already there, the curves must be selected, and thru the node tool, joined, and then closed. Sometimes one may need to duplicate existing curves, and cut out sections w. the node tool. These can then be used to create an area that meets shapes that are already there. *** In the owl face example, various strokes were given varying thicknesses by manipulating the pressure curve. Those were "expanded," and added together to form ink like strokes. 3 of the original vector strokes were closed, and so those pen lines could have a fill assigned to them, and for smooth continuous areas of color. Other lines were unclosed shapes positioned either above of below the closed shapes. When the shapes were filled, most were below in the layer hierarchy, and so were hidded by the fill. I selected the "beak" line. See the copies go thru these steps. The line is closed. The closing line is extended upwards for a more natural appearance. A fill is assigned, and the stroke set to "none." the unclosed curve is then matched to the filled curves position, and given a varying line weight. At a reduced size, the beak group was placed over the face. OwlHeadStart.afdesign
.png.5848f573367e9882df74ab7a07476ae0.png)


.png.cdea4be369be37cec3784384e0c15fb5.png)


.PNG.52baf2afb687eedfccdb10585693c65c.PNG)