Search the Community
Showing results for tags 'JPG'.
-
 I have a simple JPG generated by some software, and I'd like to replace one colour (straight black or white) with another, or make it transparent. So far, any attempt to use the colour replacement brush tool have not given any result, and my search on the forum found its use to be an as yet unanswered question. I was hoping this brush would act as pick-and-replace tool (if pixel is <colour set> then replace with the colour set as front) but evidently I have this wrong. As I have both AD and AP, here are my questions: - which is the best to use? - what is the exact process to replace a specific colour x with a colour y? (layer select, any settings that can mess it up, which brush to choose, how to choose the colour to change and set the colour it will be replaced with). - just in case I come across this later, is there also a way I can control the *range* of colours accepted for replacement (the cat example isn't universally the same orange). I'm clearly missing something simple, but I can't seem to identify what.
- 16 replies
-
- 1
-

-
- colour
- replacement
- (and 1 more)
-
Is Affinity using encoder libs below? mozjpg pngquant I feel Affinity's encoding is not good enough. They have often have a quality below the average for its settings. Please implement better encoder to Affinity if it hasn't been implemented yet.
-
 I have a jpg-picture where I want to change colors, but how do I split the photo into shapes? I.e. how do I convert the jpg to vector-format.
 -
Can't seem to view this image properly in designer or photo, don't have publisher installed but I'm assuming the same issue. The image shows fine in other viewers. It's an official press image file.

-
 Hi NathanC, When I make a preset with jpg and webp in the slices export panel and close and open Affinity Photo, then load the preset Affinity Photo crashes still. First I had the idea that it was because of older version presets, but when creating new presets it is still crashing. This bug was reported by me months ago. I attached the export_config.dat again as well as the bug report from my iMac when the crash happens! Back to version 1 again! David affinity-photo-crash.pdf export_config.dat
 -
 I recently sent a JPG file to a friend of mine and he opened the file in Photoshop. The JPG was exported from AP v2.0.4 (Mac Ventura). When he opened the file in Photoshop, it automatically opened the file in Adobe Camera RAW instead of opening it normally, as if the file I sent him was a RAW file instead of a JPG. I tried it myself on another computer I own that has Photoshop installed and got the same result. It launches Adobe Camera RAW, with a lot of crazy slider settings in the Basic Tab. The original file was a RAW DNG file from my Canon DSLR. I processed the original RAW DNG file in AP v2.0.4 (Develop Persona) and I chose to import it into the Photo Persona with the RAW file (linked or embedded, I forget which). I wanted to retain the ability to go back and forth between AP and the Develop Persona so I could make adjustments in the Develop Persona. That all worked fine, as designed. When I exported the file from AP to JPG, I suspect AP must have written something in the metadata so the JPG looks like a RAW file, which is what caused Photoshop to launch Camera Raw. To me, JPG is an industry standard file format and should not look or open as a RAW file in any program (even AP). The original AfPhoto file format is a different matter, since you want to retain that active link to the original raw file (if linked). Is this a bug? If intended, should it be changed? I suspect so. I don't want my JPG files sent to others opening as RAW files. I exported the file from AP to JPG twice, and will attach both files. One has sRGB embedded and the other is Adobe RGB.
-
Using Affinity Photo in Windows 10 and I am having recurring issues with the export. Horizontal white lines / dashes are appearing on the export files. How many there are and where they appear seems to be random (see screenshot). It occurs on whatever file type I use - PNG, JPEG or TIFF (not PDF, but PDF files are not much use to me!). I have varied the export quality and the same problem continues. The lines appear regardless of what software I use to view the files on (Affinity, Photo, Windows photo viewer), although in some they become black lines instead of white. The original Affinity file is fine. I have varied using the files on an external hard drive and on my laptop (I also deleted a lot of files to create space on my laptop, in case that was the issue). I have uninstalled and reinstalled Affinity Photo. The problem has only begun within the last week or so, which coincides with later Affinity Photo versions. Nothing else in the help pages, so just me?! I don't have an alternative laptop / PC to try with at the moment. Any suggestions? Thanks, Mark
-
 Hi, I have a MacBook M1 Pro with Mac OS Monterrey. I have raw images from my Canon 80D in my Image/ Photo Library/ and in an album. From Affinity photo, I go to File/Open and select my raw image. But then it opens ir in Photo persona, not in develop persona, it created/imported an RGB .jpg image instead of using the raw I opened. In the pictures, you can see the raw images and in Affinity you can see the automaticaly converted jpg file. What is going on here how can I fix it? Thank you.
-
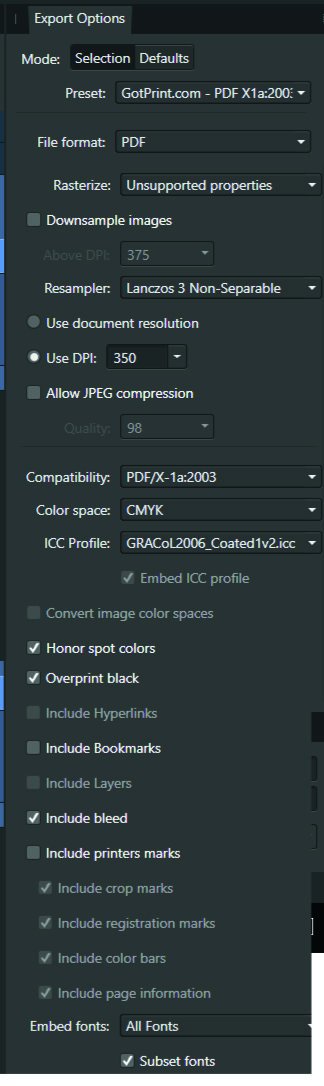
 Hi, The title is my problem. Here's how it's working. Example I make a CMYK document, and set the color of a black box to 30, 30, 30, 100. The color picker detects that exact color. I'll export the above into a PDF as PDF/X-1a:2003 or X4, and the included export setting image. Then when I import that PDF into Affinity Designer, the color picker detects different values... The box is now 79, 76, 70, 95. This same thing happens with every color. A 100, 0, 0, 0 cyan will be 72, 12, 0, 0, and so on. When exporting the same elements into a jpg, this problem doesn't happen. See for yourself in the afdesign file here. Question What can I do to get the exact values I set when printing via PDF, so I can still allow non rasterized elements to scale without losing quality?? I read around, and even InDesign seems to have this same problem... Maybe Affinity Designer is ignoring the embedded ICC profile of the imported image??... I just don't want $1,000 worth of prints to turn out bad over something so small. Thanks! problems with color values.afdesign
-
 Windows 10 Affinity Publisher 1.10.4.1198 Tried many settings combinations but the JPG compression doesnt have any effect on filesize.
 -
 Hi all, I am loving this software and kicking myself for wasting so much time and money with Photoshop; however, I need to print something at someone else's house - so I need to email them the files I have created - and for the first one I did I was able to create a .jpg and email just fine - but now, for the life of me, I can't remember how I did it. I know this sounds so stupid - but I have a lot of medical problems hence the memory issue. Can anyone walk we through were to find the steps or provide them to me? Thank you kindly, Katie
 -
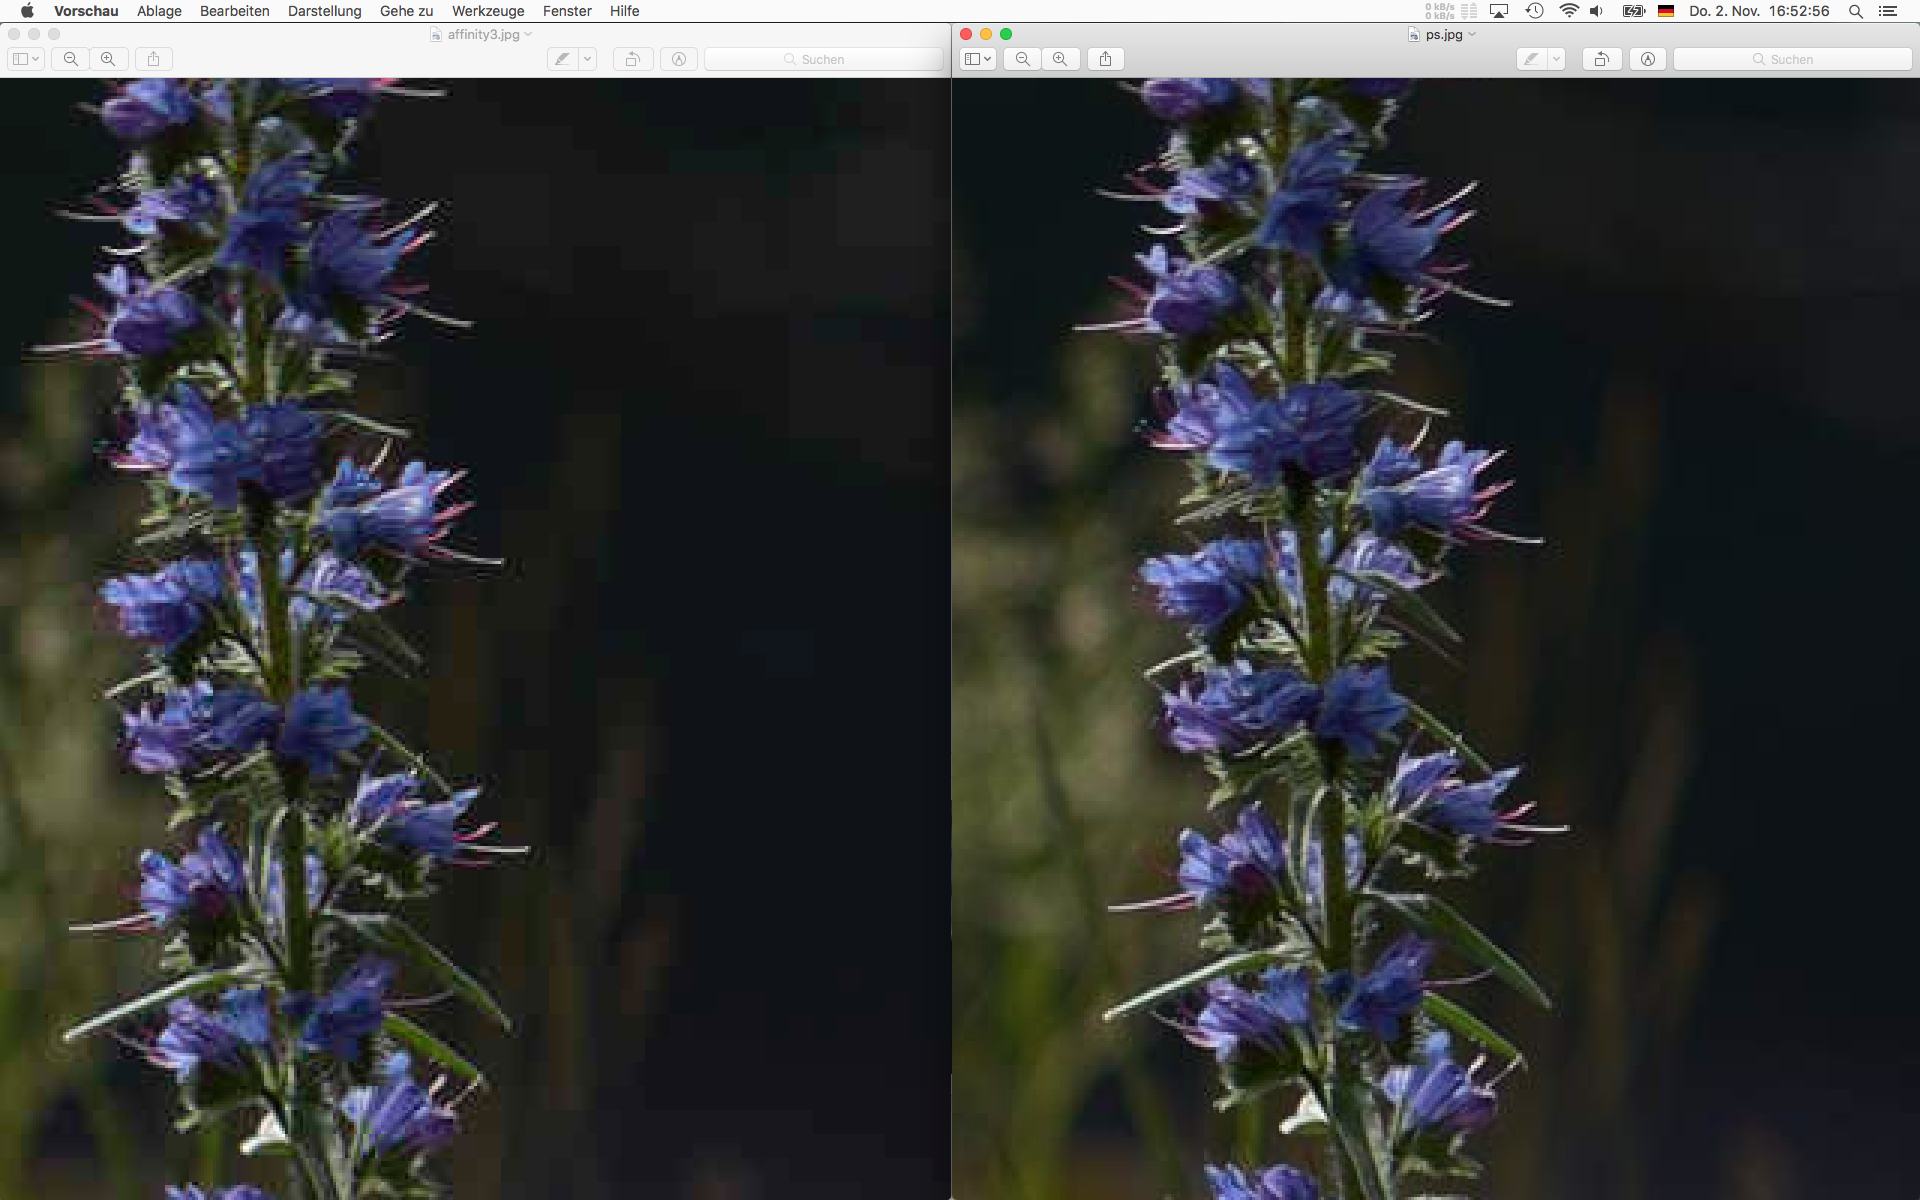
I want to switch from Photoshop to Affinity Photo. I need it for Web Pages. Unfortunately the JPEG Export reproduces very bad quality. After export the pictures seems to be radical sharpened and have enormous artifacts by same file size as with Photoshop. My example demonstrate the same picture in 300% Magnification, left is exported with Affinity Photo, right with Photoshop. The original had 36 MP, both are exported to 2400x1600px with JPEG compression to a file size of 170KB. If I want a comparable quality to Photoshop, I need a file bigger than 250KB. This is not acceptable. I use macOS 10.13.1 and Affinity Photo 1.6.6 – but 1.5 had the same problem. What can I do?
-
 I exported a flyer from Affinity photo as a jpg. (Note, I'm a newbie in all Affinity products. When I open it using the windows default app "Photo" it only shows for a few seconds at most, then goes totally black. But if I try to edit it using "Photo" it stays fine as well as when I open it with other windows apps, like paint 3D. Even if I emailed it to myself, windows photo acts same from the downloaded file. I'll try to attach it here and see how it behaves on you guys end. Thank you!
-
 We have a logo that is a royal blue and it looks fine when I export it, meaning it looks like it does in the Affinity doc but it becomes a very light turquoise blue once I bring it into some other applications. I am exporting as a jpg since it is going to the web. Any idea on why I am getting this major color shift? To see a blue which is closer to what it should be you can see the icon on our Instagram. I set up the IG years ago so I don't know why that logo export worked and what I might have done differently. It should have been exported from designer as well. https://www.instagram.com/cascadeprecision/ It didn't really need to be that big but I couldn't find the buttons to easily make it smaller.
-

Format name is JPEG, not JPG
Pšenda posted a topic in Feedback for the V1 Affinity Suite of Products
https://jpeg.org/ Maybe it looks like a trifle, but if you want to find out if the application can work with JPEG images, then it will not find anything 😞
-
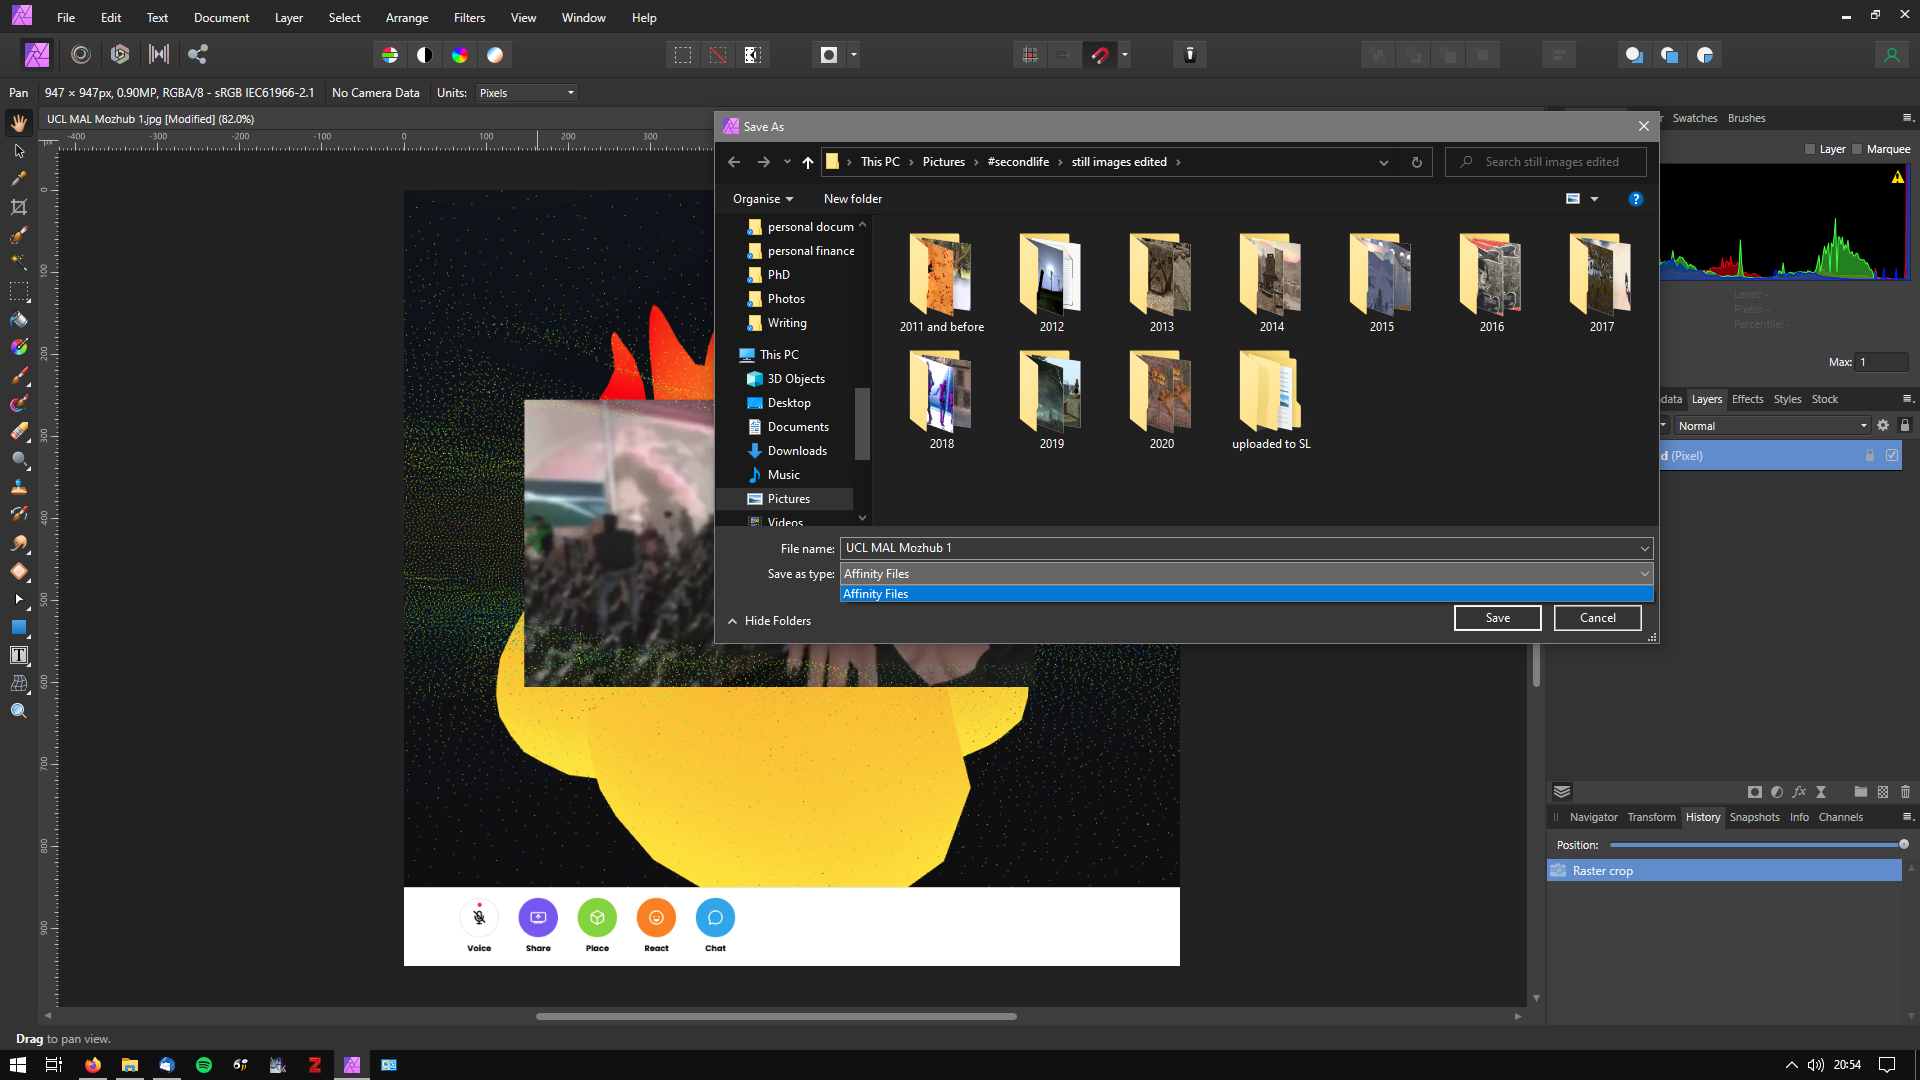
 'Export' from Photo - png and gifs are fine, but jpgs only want to 'save as' affinity files. Same problem with Designer.
-
 how do I exporting my work at 300 dpi on designer or photo on mac os?
 -
 I have an icon in raster format. Icon is stored as .png or .jpg file. Icon is drawn with black or gray color on white background. HOW CAN I CHANGE THE ICON COLOR AND KEEP THE IMAGE QUALITY AS IT IS AND KEEP THE BACKGROUND WHITE AS IT IS ? I have installed Affinity Photo and Affinity Designer so solution can be in both of this software. Please see attached file - I would like to change the icon from dark gray to red - how can I do that ? Thank you !
-
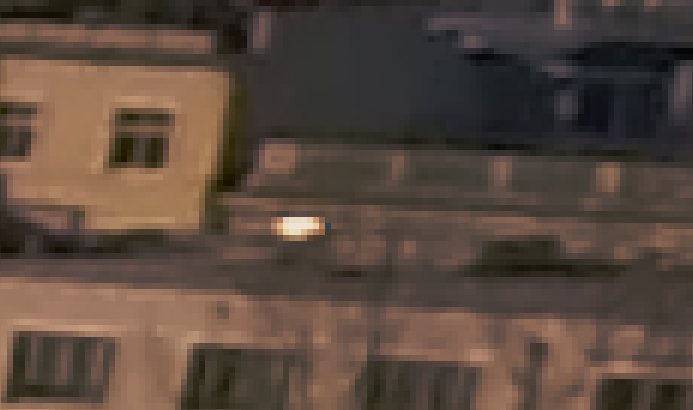
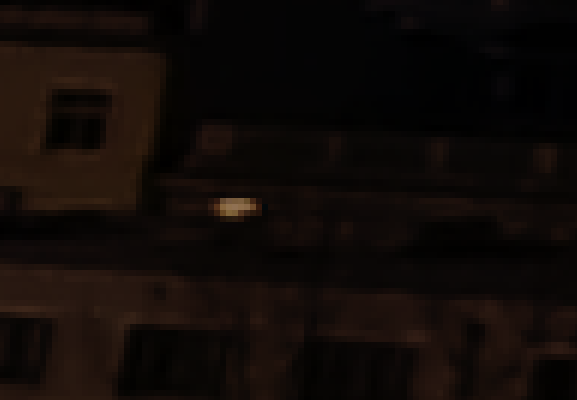
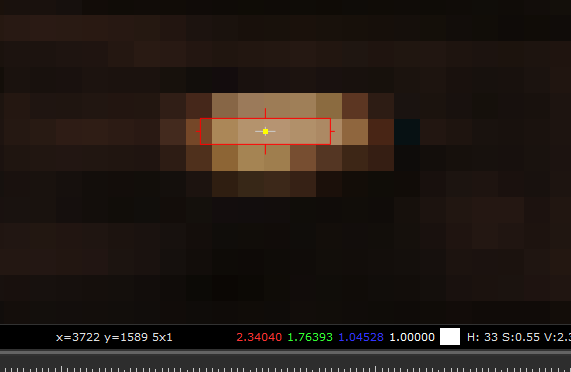
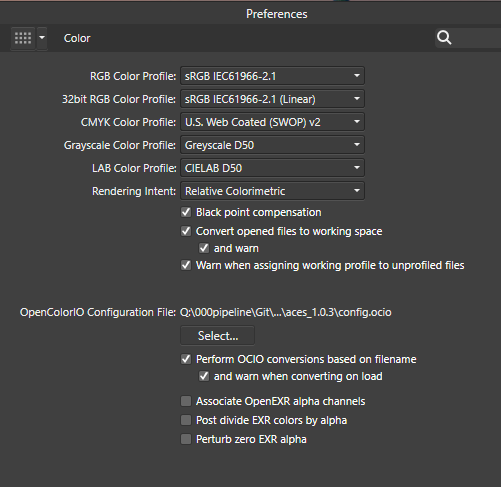
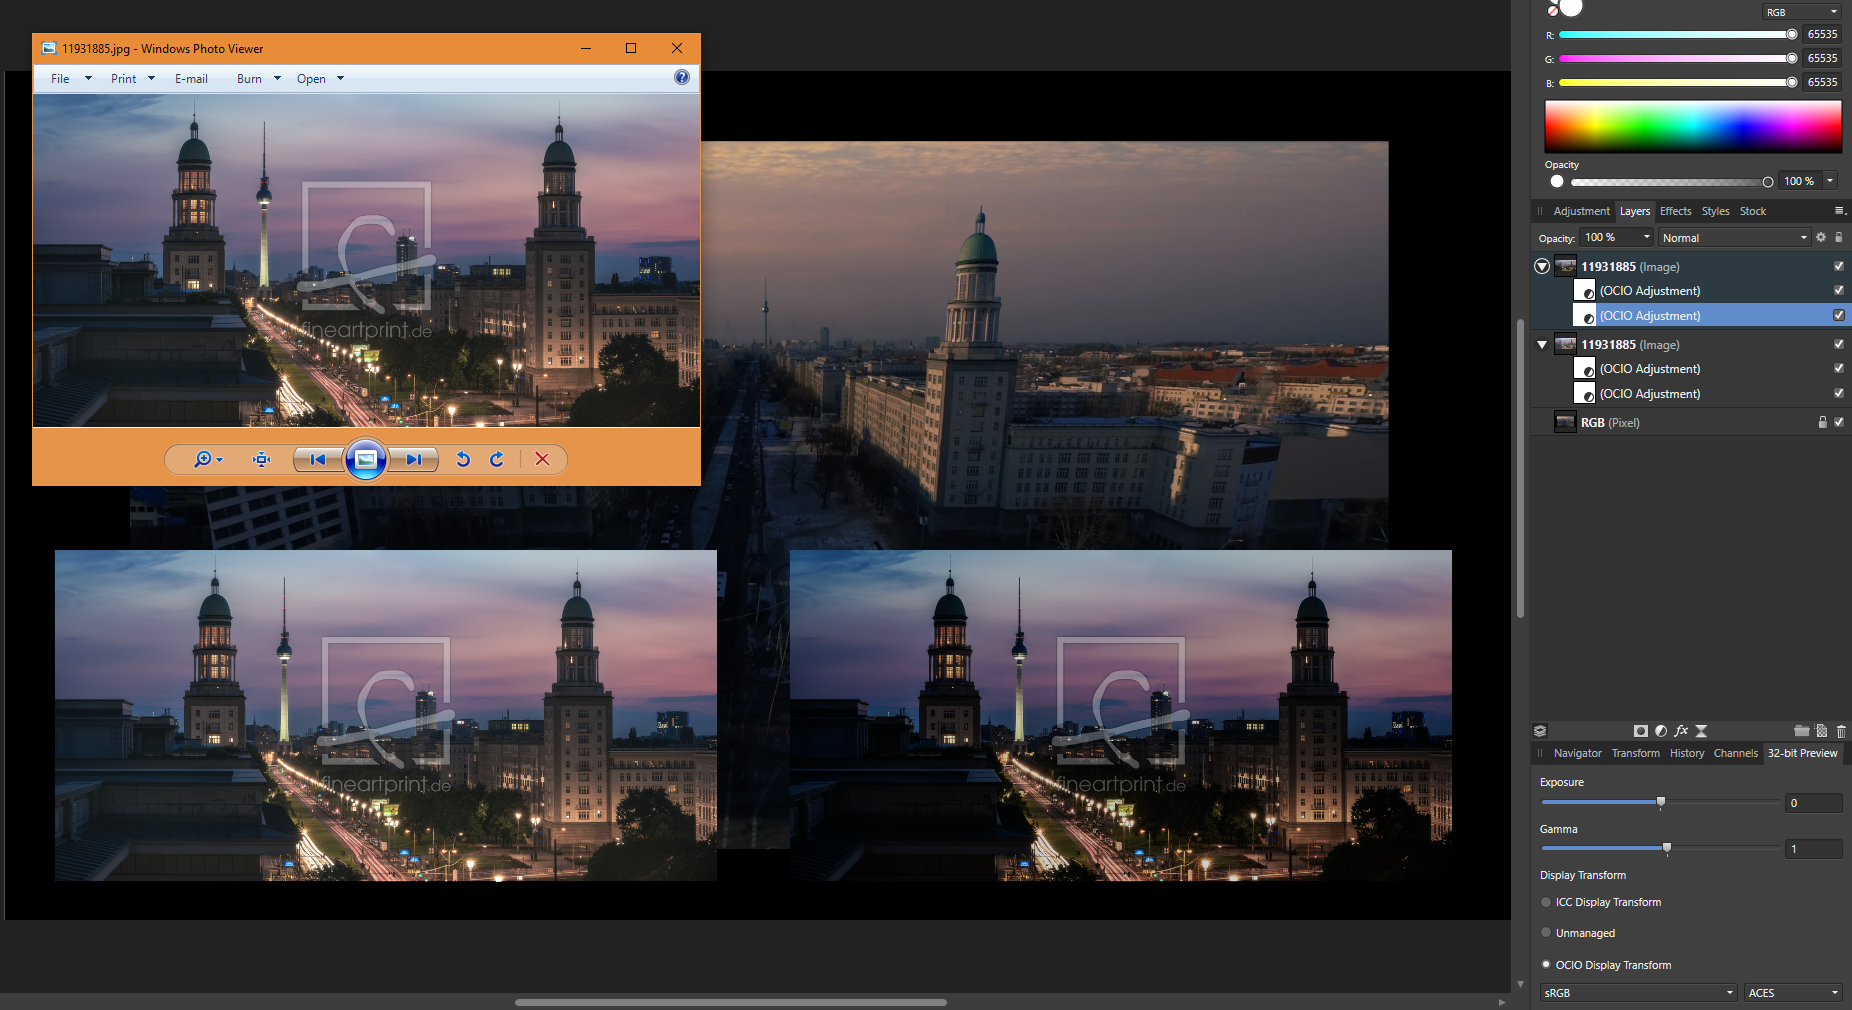
 Dear Serif Team and Affinity Photo users, I'm a VFX Compositor & Matte Painter and I'd like to move from PS to AP. I hope you can help me with some questions regarding the Implementation and proper use of ACES and 32-bit. My background plate is exported from Nuke as an ACES - ACES2065-1 16-bit EXR file. The import into AP (1.6.4.104) works fine - the file get's recognized as an ACES file and I get the same result using OCIO. But there are a few things I can't get my head around yet: How do I pick and paint high color values? Using the exposure slider in the 32-bit Preview I see that there are high values. If I pick and paint them back in, the result is way darker. (Changing the exposure doesn't effect the false picked color) picked in Nuke for comparison I moved from PS because there is a 16Bit limitation and I had to work with ACEScc files (log encoded) and use an ICC profile to check my work. I hoped to get around this using AP. Those threads are dealing with the same issue but the information is contradictory and I can't reproduce the method quoted first. https://forum.affinity.serif.com/index.php?/topic/49815-hdr-raw-pixel-values/ https://forum.affinity.serif.com/index.php?/topic/19787--/ What is the proper workflow of importing and edit JPGs in an ACES setup in AP? Unfortunately there's no way of assigning an IDT during import (as in Nuke) but I can reproduce Nukes behavior with OCIO Adjustment Layers, which seams pretty inconvenient. (Windows Photo Viewer as comparison) Bottom left: Two OCIO nodes in sequence [ACES2056-1 to Utility - Curve - sRGB] followed by [Output - sRGB to ACEScg]. Bottom right: Two OCIO nodes in sequence [ACES2056-1 to Utility - Curve - sRGB] followed by [Utility - sRGB - Texture to ACEScg]. This post deals with the question of the right IDT for JPGs in general. I guess going the Utility - sRGB - Texture way is better, isn't it? My color settings: If you need further information or I haven't made my questions clear enough please don't hesitate to ask. I'm glad about any help or further learning resources! Thanks a lot
-
 HI, I have artwork in my print project. The client also wants it as an image in the same size but 150ppi. After exporting to tiff, I have a 300ppi image (because the project was for printing) and I have to reshape it! Maybe add a checkbox for the resolution of the exported image, please.
 -
 Hi, i've opened a jpg picture in AffinityPhoto an 90% of the Image is transparent. When I open it in Finder or OSX Preview the Image looks normal. In the Layer-section Affinity shows a pixel-layer with Curves an some of the little previews (with the content not displayed) are stricked out. The colorspace of the Image is sRGB (and in AffinityPhoto too). Version 1.8.3 and newest OSX. Thanks a lot Codeneuss
 -
 I am very occasional user of Affinity Photo. Had occasion to reduce a JPG from 500 x 500 to 300 x 300 in APhoto. Did so and saved. The file was being used to investigate embedding of album art in mp3 files. On examination of the mp3 data when embedded I saw that Affinity had added a whole wodge of metadata which I can do without. Hopefully there is a setting somewhere that prevents this being added in the first place? Would be grateful for being pointed in the right direction. Thank you.
 -
 Hi dear community, I hope someone can help me: I want to try batch processing for some jpg pictures in Affinity (photo persona). I worked a little bit with macros before and a saved some simple ones in the library (default), all working on jpeg. When opening the dialog "new batch job" the space where I´m supposed to choose the macros I want to use is empty ("available macros" as well as the space below that). What am I doing wrong? I am using the newest version 1.8.3 on Windows. Thanks a lot in advance for your support! Miriam
-
 Hello and greetings. I got a strange problem, when I finish editing my pictures in affinity photo and export them, to forward them to friends on my android phone, I can't see them on my phone. (Galaxy A3, Android 8.0) I use the JPG format for exporting, since this seems to be the usual format for this kind of device. I tried different resolutions, DPI settings, changed the pixel format and the ICC profile, but nothing seems to work. The profiles which I used, where Adobe RGB (1998), Pro Photo RGB and srgb iec61966-2.1. The last one is displayed in the info from the pictures of my phone cam, so I hoped it will work, yet it didn't. Final workaround for now was to use a JPG picture from my phone and to copy and paste the desired picture in to that file, just too few and send it with my phone. It worked but this can't be a solution! Another point which may be vital, was the transfer from Adobe Lightroom. I used the “external editing” option in Lightroom to send the RAW files to affinity photo. The settings which I used for the formatting process where: tiff, ProPhoto RGB, 16 bit depth, 300 dpi, no compression. Question is, how do I make these exported JPG pictures visible and usable in my android phone gallery? I hope someone understands my problem and has a better solution.
 -
 In making a book of photographs to be printed by a print-on-demand company, I found I'd exceeded their 300 MB per PDF limit even before I had all image files placed in the Publisher document. The idea of further JPEG compression was not appealing but I decided (holding my nose the entire time) to try compression settings during export to PDF. The results surprised me. No compression: 388.5 MB No compression (2nd time around): 363.4 MB (why the difference?) Compression setting 100: 211 MB Compression setting 99: 182.7 MB Compression setting 97: 139 MB Compression setting 95: 114 MB Compression setting 90: 83 MB I take it this means that the max quality setting (100) still involves re-compression of the images. All along I'd thought 100 means: no compression. Apparently not. So if output file sizes are plaguing you, perhaps the slight JPEG compression will be helpful. Before starting the tests I ran the original JPEGs through the compression program JPEG-Mini. It made a whopping difference in the files' sizes and without noticeable loss of quality. But using the JPEGs compressed with JPEG-Mini as source files within the Publisher document doesn't seem to have provided a lot of savings during export to PDF. Perhaps JPEG-Mini's major advantage is a "web thing" and not a "print thing".


