Search the Community
Showing results for tags 'Gradients'.
-
Our popular Affinity Designer Neon Brushes just got a whole lot better! What's new about the pack? we've completely reworked the brushes - revisiting the real neon tube source material to create a vastly superior look. A set of time-saving Affinity Glow Styles has been added - use these to add glows to your design instantly! We've also added a set of handy background gradients. >>GET IT HERE<< Or keep scrolling to learn more. Once again, the Artifex Forge has been on an urban adventure - exploring the city's bright lights to bring you better design resources! This time I've been searching for the best neon tubes to bring this super-realistic set of neon brushes and neon glow effects to life. If you find existing neon effects limiting, lifeless and a little unrealistic, this is the perfect set for you. Most are entirely computer-generated and therefore lack the lifelike qualities and quirks of genuine neon tubing. With these brushes, you can really give your design the wow-factor. So, why are they so much better? True-to-life: they are sourced from real neon tubing, so no flat, lifeless vector neon effects. Multiple highlight options: this recognizes that when you have a group of neon tubes together, they illuminate each other, creating more highlights. Flexibility: being brushes, they're malleable giving you more scope to create the images you want. Fun: you're drawing with neon tubing... what more can I say? Get the pack HERE and start creating Affinity Neon signs today! ________________________________________________________________________________________________________________________________________________ Learn how to create the sausage dog illustration in our tutorial HERE! Get the pack and follow along! ________________________________________________________________________________________________________________________________________________ The pack contains all of these fantastic components: The Neon Brushes 19 flexible neon tube vector brushes. The Neon Glow Styles Instant effects - add glows to your neon designs. A Wire Brush Style Add wires to your design with this one-click style. Screw Fitting Graphics Add this all-important extra detail to your neon designs. Free Stone and Brick Texture links Download free brick textures and textures from our screenshots are free. A quick reference guide Navigate this extensive Affinity neon tool kit quickly. Example file Backwards engineer the file to see how we did it. Instructions A thorough guide explaining how to load, apply and then adjust the brushes, neon glow effects and gradients is included. >>GET IT HERE<<
-
- 1
-

-
- affinity designer
- affinity
- (and 4 more)
-
 All the way in 2021 @yitzaklr asked for something similar as feedback to Affinity Designer 1. I just posted there not realizing it's an old thread so I'll copy that here. It depends on the Color Space model used to interpolate the gradient. Ideally we'd have an option to choose from multiple color spaces and newer Color Appearance Models (CAMs) such as OKLAB and CAM16, but even just CIELAB would be a great improvement over RGB. This should also be an option for transparency interpolation. Also Adobe has offered this functionality for a while.. The steps to compute this from an RGB base are roughly: Convert the gradient RGB colors into the new CAM space Linearly interpolate between the CAM colors to fill in the gradient Convert those new CAM colors back into RGB space Affinity already has HSL sliders so it should be easy to at least implement HSL gradient interpolation. Hope to hear back about this!
-
 I've been trying to create something like this by... Making a letter with the artistic text tool Converting it to a curve Breaking up the nodes so the letter is made up of four separate vectors Making the fill a gradient Just curious, is there a better method to pulling something like this off? How would you approach this differently?
-

-
It used to be that an elliptical gradient had the first start in the centre of the object, and for the last point to be surrounding it near the edges (see Screenshot 2023-06-23 at 12.53.53) Now, for some reason, an elliptical gradient in any new objects I create have the first point appear in the left middle bit of the object, with the other points surrounding that instead (see Screenshot 2023-06-23 at 12.49.12) in most project files. The only way for me to get an elliptical gradient now is to copy an object (in this case a rectangle) from an existing project and change its colours because there was never any way to move the centre of the circle as far as I'm aware. If there is please tell me. That would be appreciated.
-
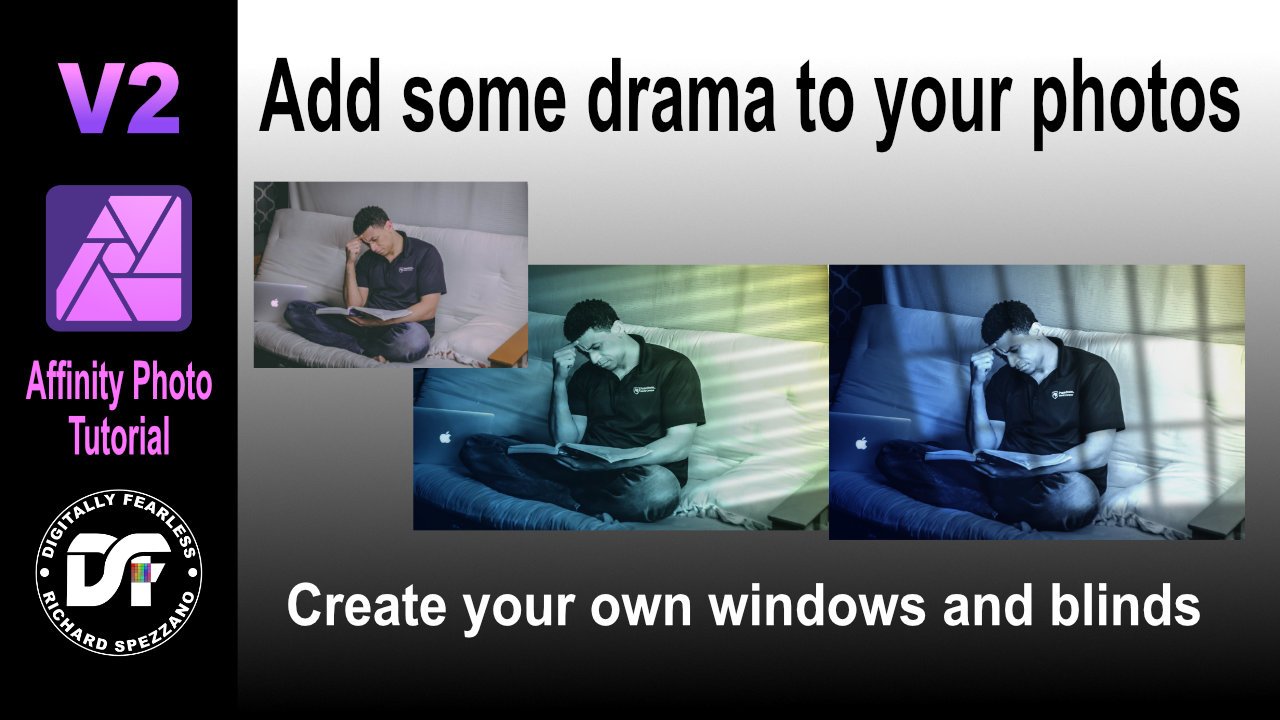
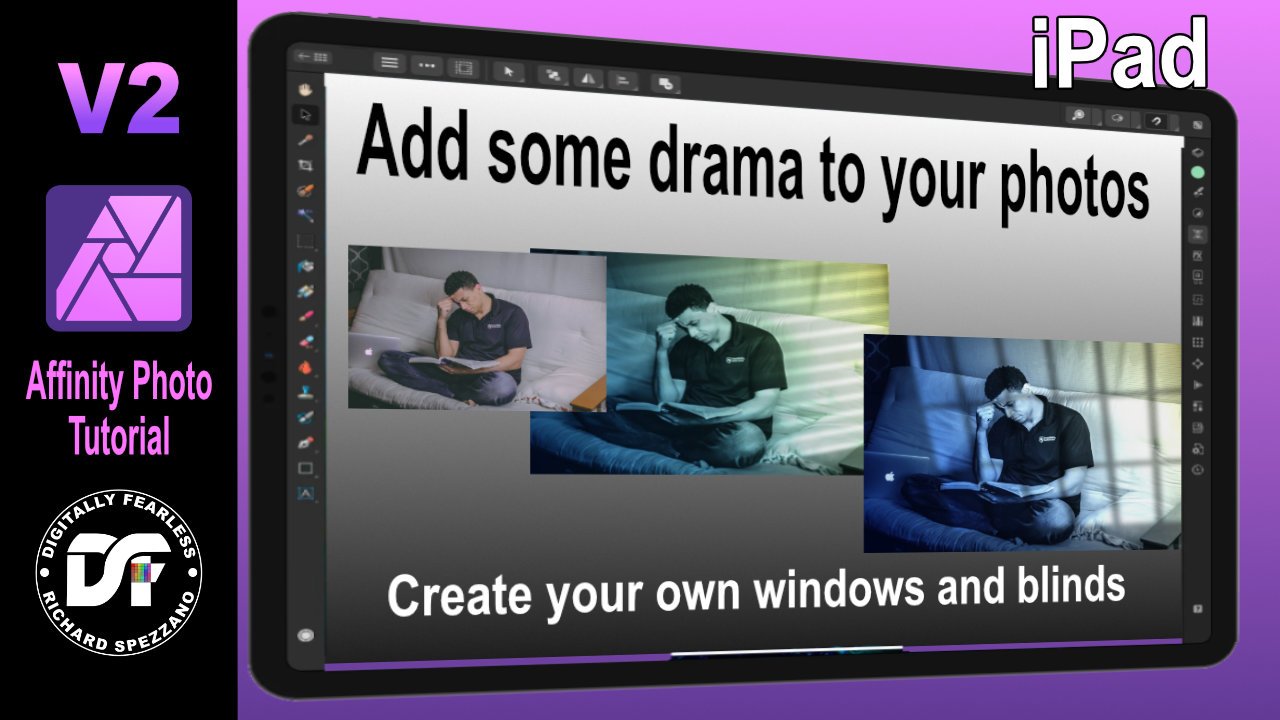
 In this tutorial I show you how to create windows or blinds from scratch and use them to create a more dramatic photo. I use shadows, shapes, blur, blend modes, gradients, perspective and more. I originally saw this done in photoshop, but they were selling the shadows, while I am showing you how to make them yourself. https://youtu.be/ceUU7V6lIfY I also did an iPad version. the link is in the desktop video.
-
- 1
-
-
- affinity photo
- photo manipultion
- (and 6 more)
-
 I'm going to ask this, though to be fair, I'm expecting a 'no-can-do'. The above is a row of shapes (created via the rectangle tool). I've not booleaned them (Layer > Geometry > Add, say), so they are still very separate objects. They're not even grouped. Question: Can I do the same with a row of text frames? (Indesign does it) I have tried simply dragging the gradient tool over some text frames and it applied it to the text. So... will it do the fill instead? Just out of interest - I've learned giving text frame objects fills gets a no vote. Instead, one has to "decorate the text" to look like a fill (Buried under Text > show paragraph > decorations). So 2nd question: If I'd used text decorations to create the look of a fill, could the text decoration be graduated as the above? ------------------- btw, though I'm one for keeping files simple and clean, with one object where others use three, this is one of those exceptions that proves my rule. So I'm expecting to remove all the fills I have on the text frames, and to draw rectangles that the text frames sit over. So 50 objects where I currently have 25. (It may well not matter computationally, but it sure as heck does when you come to edit it. The more complex the file, the more hard work it is to edit)
-
LIVE Fill Layer GRADIENT Macros I used my Color Wheel ( 12 ) 30' palette to create ALL 2 color gradient combinations. Can be applied from any layer. Setup applies 50% opacity with Soft Light blend mode to a linear gradient. Each macro is a separate gradient that can be FULLY manipulated as a LIVE Fill Layer. Gradients ( 30' ).afmacros - 30' shift ( 12 ) ( Analogous ) Gradients ( 60' ).afmacros - 60' shift ( 12 ) Gradients ( 90' ).afmacros - 90' shift ( 12 ) Gradients ( 120' ).afmacros - 120' shift ( 12 ) Gradients ( 150' ).afmacros - 150' shift ( 12 ) Gradients ( 180' ).afmacros - 180' shift ( 6 ) ( Complementary ) Enjoy, - T V
-
When copying, changing duplicating objects. Once i move the object the gradient appears.. Sorry for the lack of explanation. Hard to describe. Will try and get a vid , but very busy with work. Gary
-
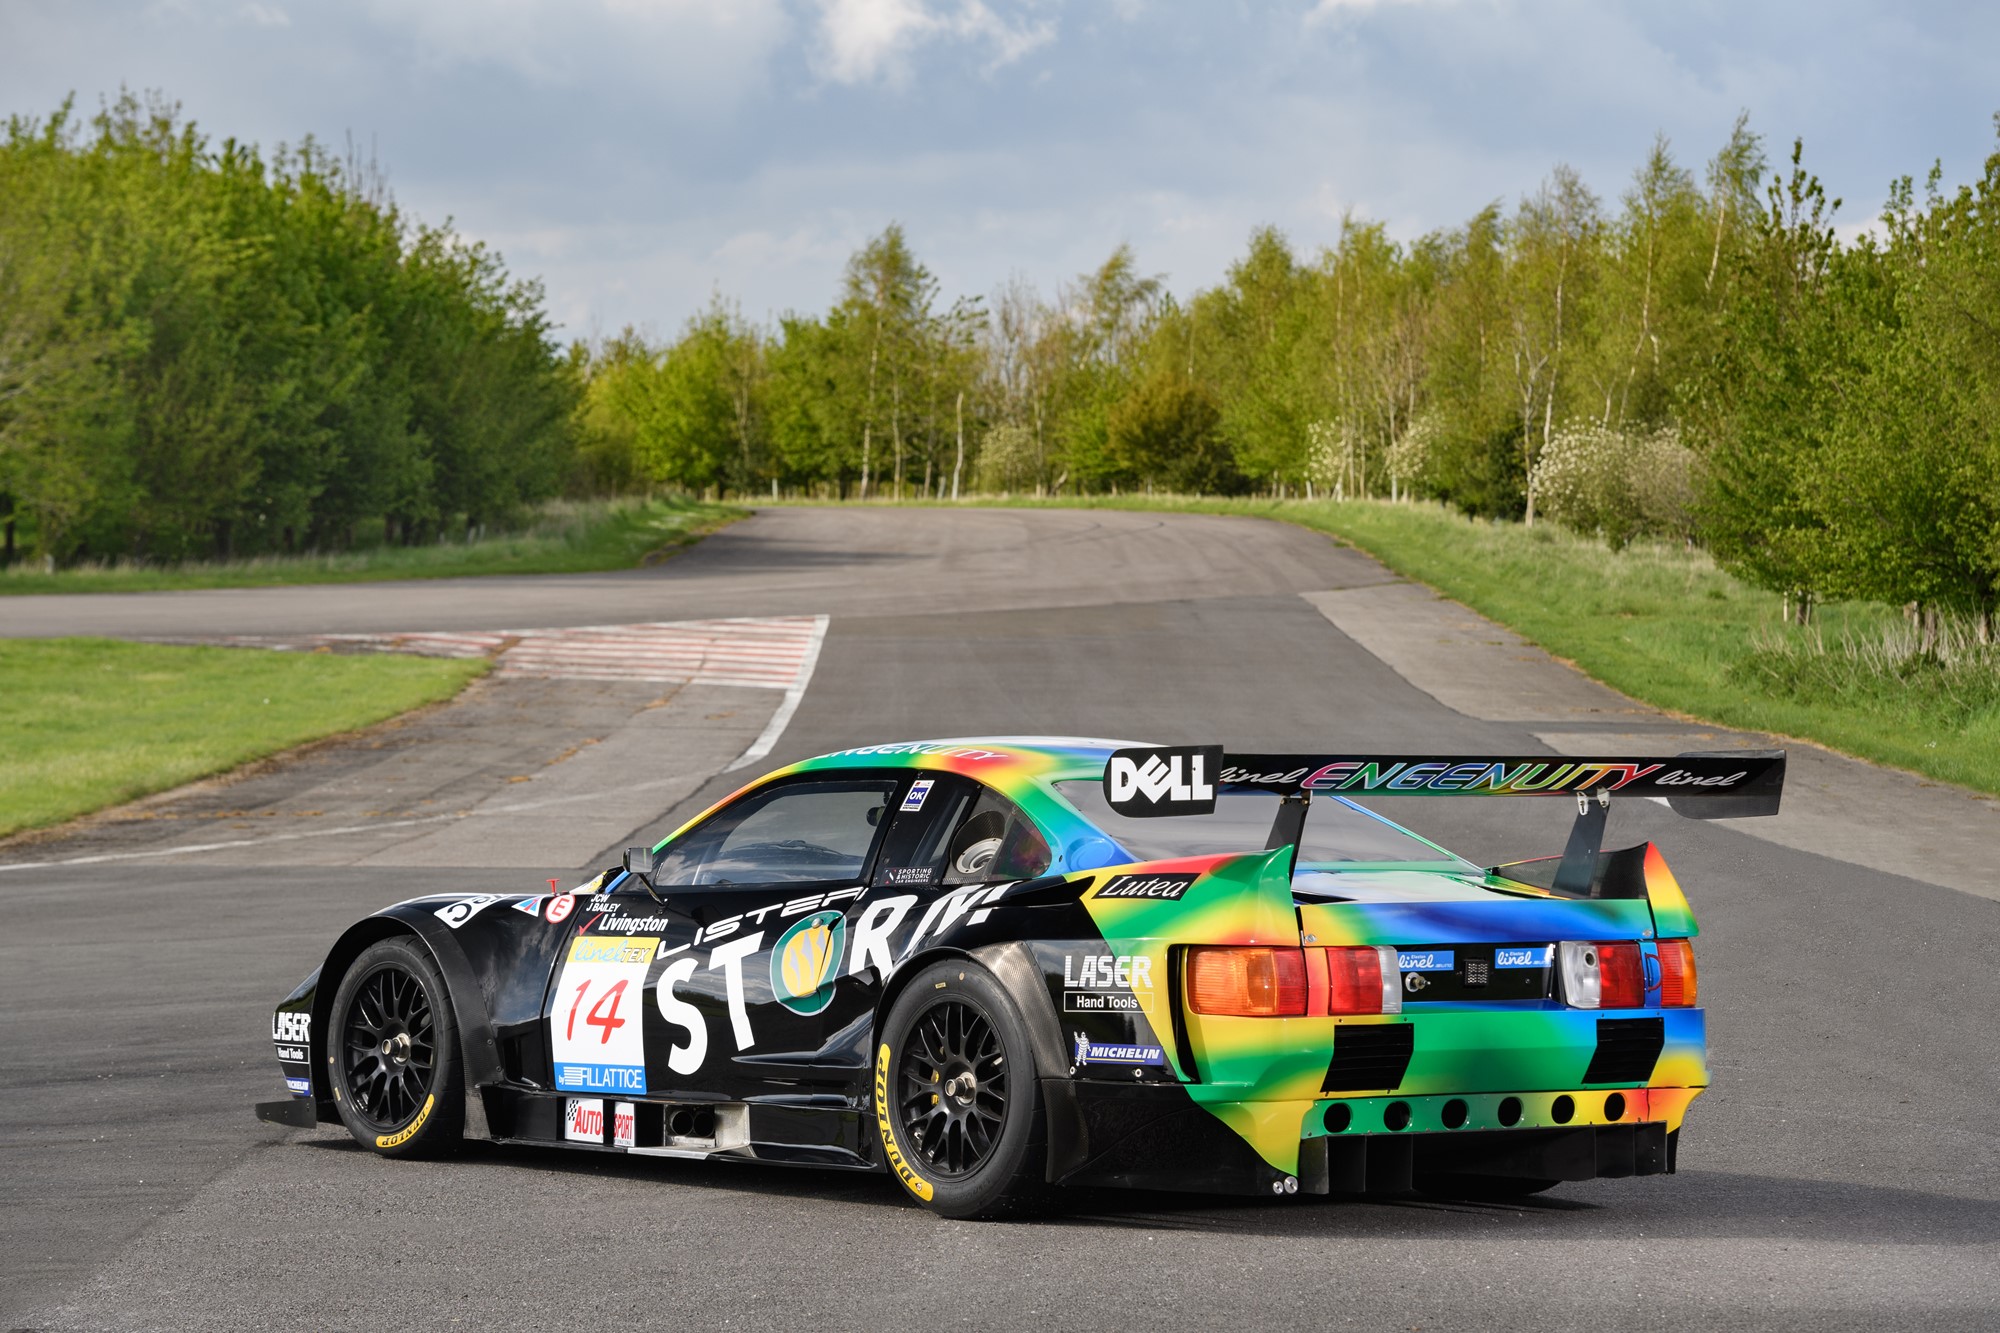
 Hi guys, Looking for advice on how to colour the back of this Lister Storm accurately. The work flow I have in my head at the moment is to create an overall outline of the car. Then a second shape using the pen to outline the coloured section and mask it inside the car and maybe fill this green as this is the bulk of the colour. To achieve the coloured 'splodges'(?) I'm considering doing rough shapes and then gaussian blur as opposed to using any gradients. Does this seem logical? If not does anyone have any tips. Many thanks!
-
 I am a B&W photographer. My RAW files end up a bit too dark and, consequently, lose detail. I am trying to learn how to use the radial gradient tool to lighten up areas. I would appreciate being pointed to a few good tutorials for beginners on this topic. I am not talking about using the Gradient Map. Thanks,
 -
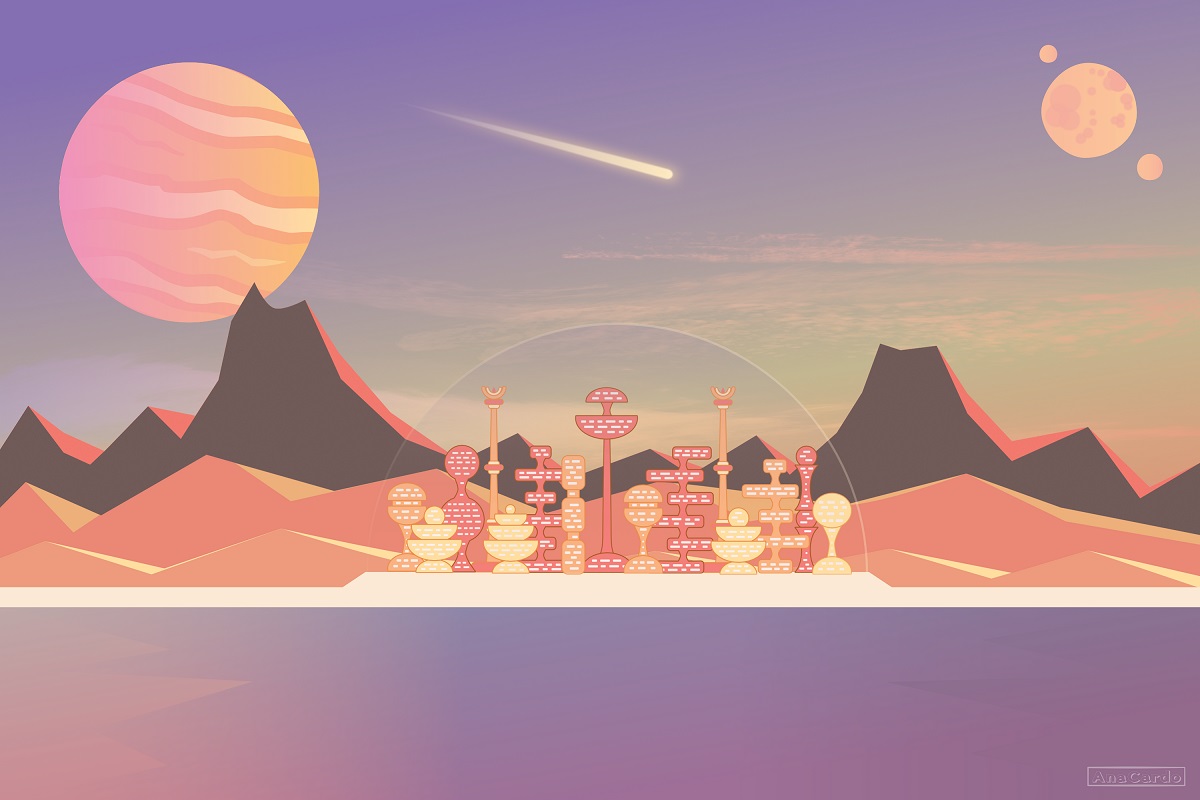
 “Space Base” is a vectorial image with a sci-fi theme, created as if it was a still frame from an anime movie. Another vector illustration made with basic shapes, gradients and this time, special brushes for the clouds. This work was also made following a tutorial by visual artist Isabel Aracama, and you can acess her site for this tutorial plus the freebies: www.isabelaracama.com
-
affinity designer Ramen bowl - Vector Illustration
Ana Cardo Oliveira posted a topic in Share your work
A vector illustration of a ramen bowl, with use of basic shapes, gradient colors and shading effects. This work was made following a tutorial by visual artist Isabel Aracama.
- 3 replies
-
- 10
-
-

-
- vectors
- digital art
- (and 7 more)
-
 Hello!! Whenever I apply a gradient in AP 1.9.4 (Apple Store version) and later I want to modify it in any way (e.g. change the midpoint, modify one of the colors, etc.) I have to re-do the whole process from the beginning of applying a gradient, choosing the colors (if different than the default B&W), etc. is there a way to modify an existing gradient starting from the state in which it already exists (saved or not)? Thanks, Mauricio
 -
 Hi, While using Affinity photo, I found that there was no gradient presets which we can just click once and generate a layer. This will also help us quicken our work flow. Thank you.
 -
 I like to proppose an additional feature for Affinity Photo, which I was missing: appling stored gradient fills from the color swatches panel in the fx-panel dialog.
 -
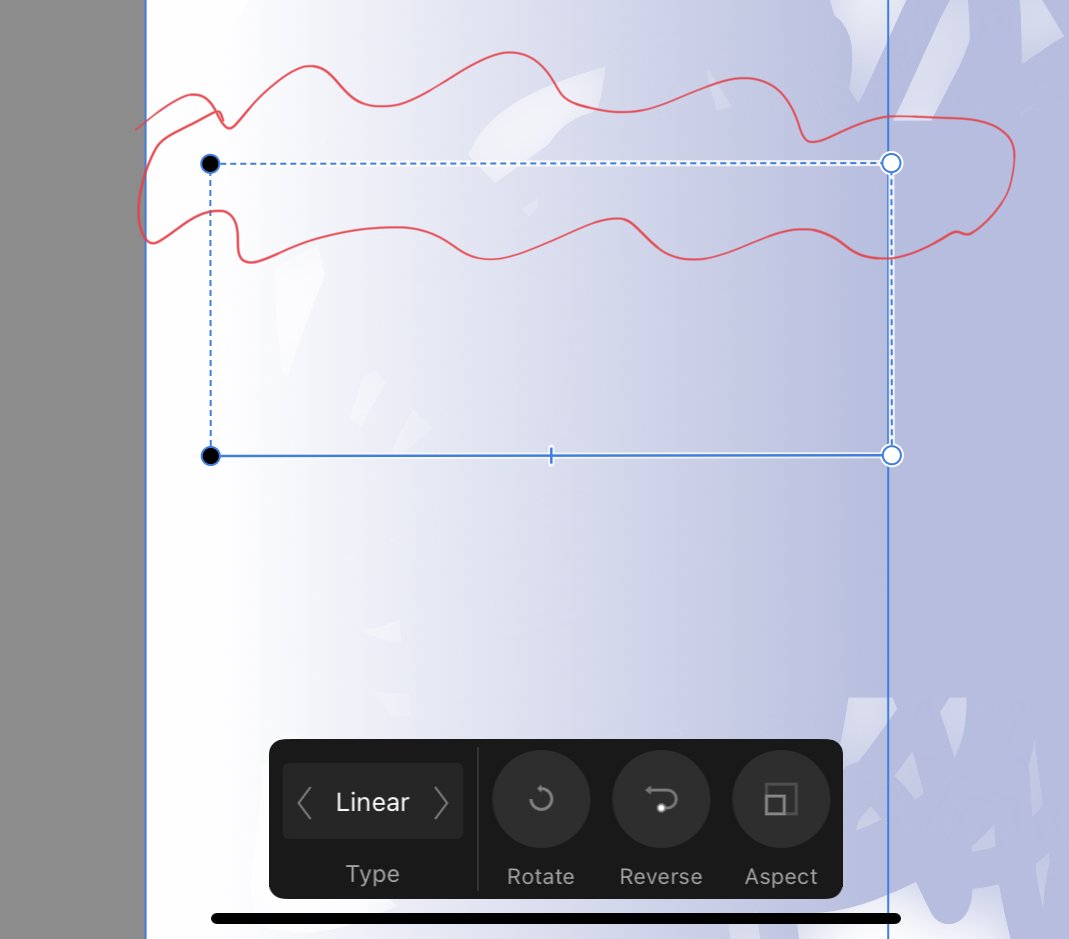
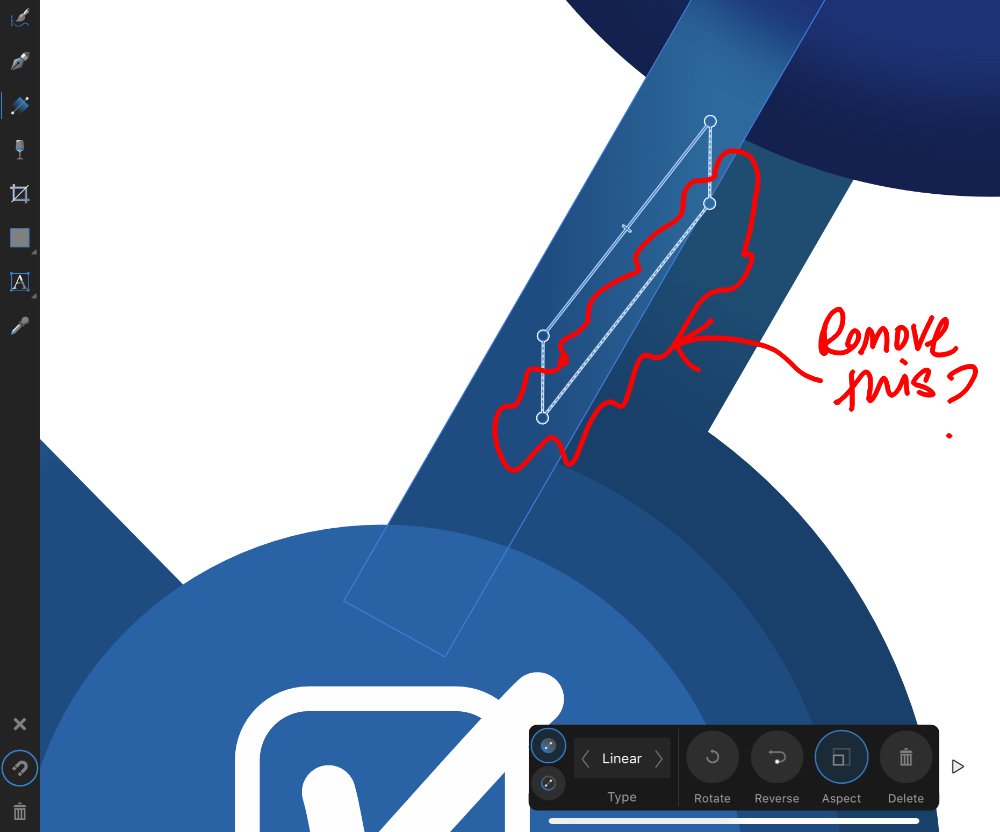
I’m encountering this extra gradient line a lot. I believe it’s when an object with a gradient applied is scaled or transformed in any way. Then when I decide to tweak the gradient and choose the gradient tool -> this (attached) is what I see. Feels like the moment I do anything with an object with a gradient, this is added. 1) Is there an easy, quick, no-faff way to get rid of it, please? 2) Am I doing something when first applying the gradient that invites this? Put another way: can I apply a gradient and set something that prevents this? Thank you - all help appreciated, always.
-
 Under Preferences -> Performance, there's an option to dither gradients, however I noticed that it only applies to gradients made with the gradient tool, and not with gradients you apply in Layer FX. Not sure if this is a bug or just something that has been overlooked.
 -
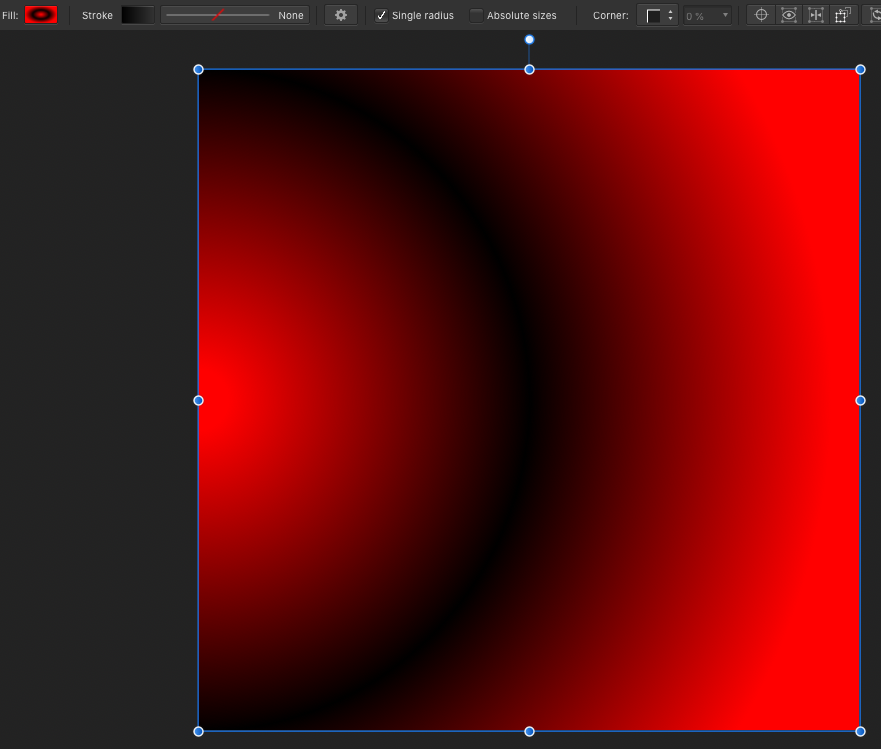
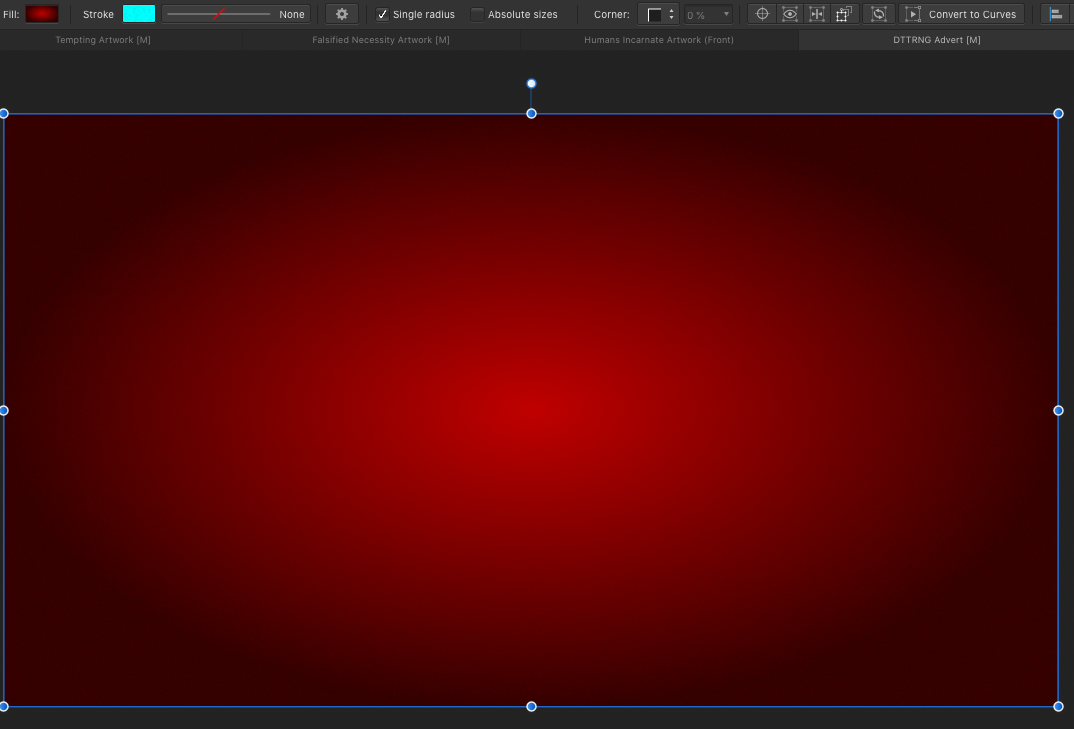
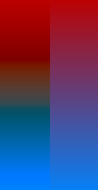
 Is there any plans to add CIE-LAB gradients for affinity? I've been playing around with them in Python and LAB-interpolated gradients look a lot better than RGB-interpolated gradients, especially for backgrounds and things like that. I looked through the SVG standard and SVG supports CIELAB interpolation, along with a few others. So is there any plans to add alternate gradient interpolations to Affinity designer? Or even a full LAB color space, like in Affinity Photo or photoshop? I added a photo for anyone that's interested (CIELAB on the left)
-
Is this something that can’t be done (yet) in the iPad version of Designer, or have I just not twigged it? I scaled a set of objects, some of which have gradients applied. The online help (which I believe is Desktop only) explains what it is - a "gradient correction path". It says the gradient correction path can be deleted - leaving the original in place I assume - see attached. Totally fine if I have to delete and reapply the gradient. Totally understand the app is at version 1, so there’s a big mopping up job yet to do.
-
 There are times when you get the perfect color for something but it's trapped in a gradient and the color picker just won't do. The recent colors section saves the whole gradient. This is also a problem when you want to repeat colors within a gradient but the copy button is not enough--the last color, for instance. If the color points could be dragged out of the gradient composer or insert-name-here it would be amazing 'cause then you could just drop 'em in the palette or something--but they can't. :(
-
 A Photo on PC: I'm sure I'm missing something and search hasn't helped me. I make a gradient BG ie Blue to white on a diagonal. I want to modify it but the gradient wheel does not reember my last seeing or the setting on the layer I'm working on. Swearing at the screen has no effect. 🙄 What should I be doing so that I can modify my layer without starting the gradient from scratch?
 -
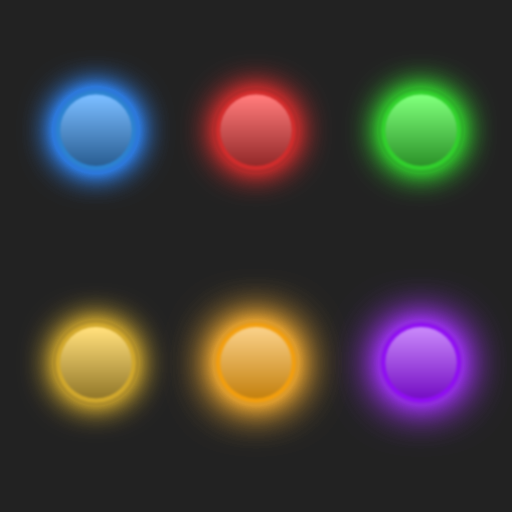
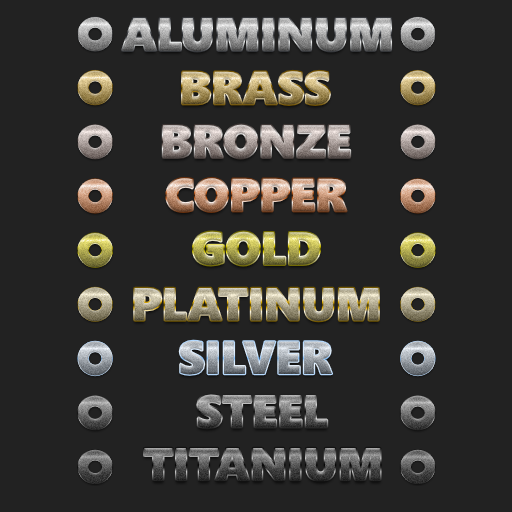
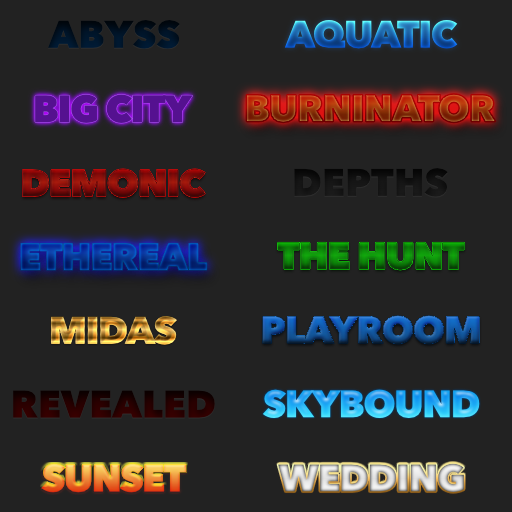
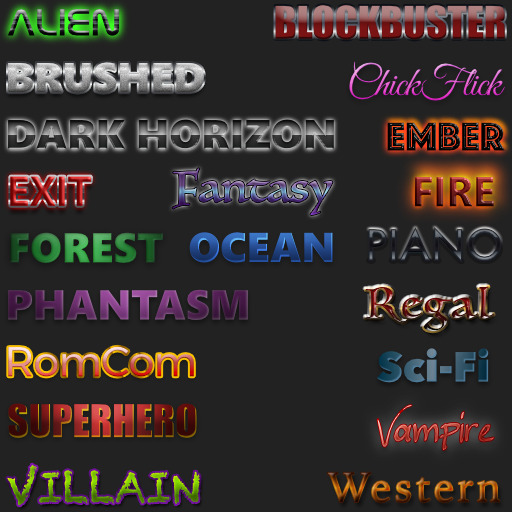
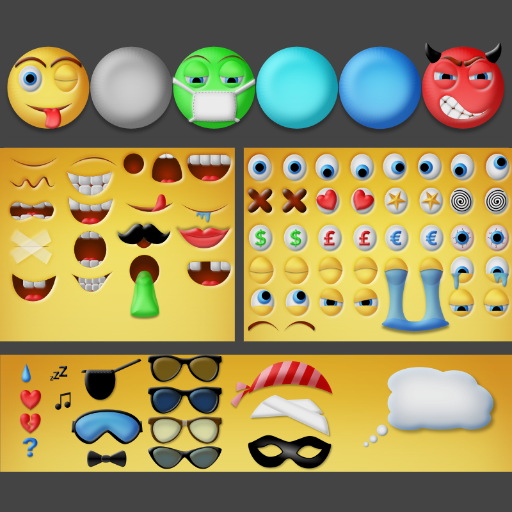
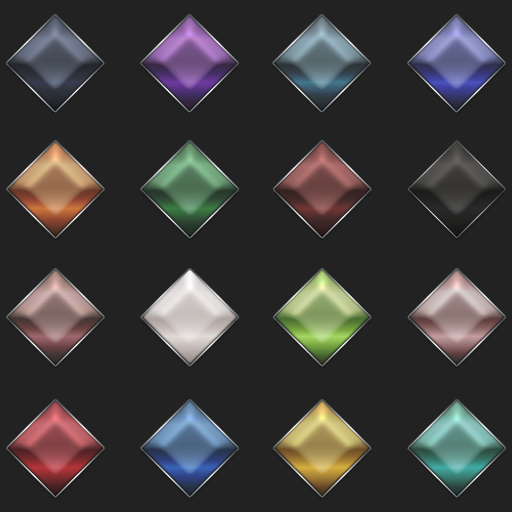
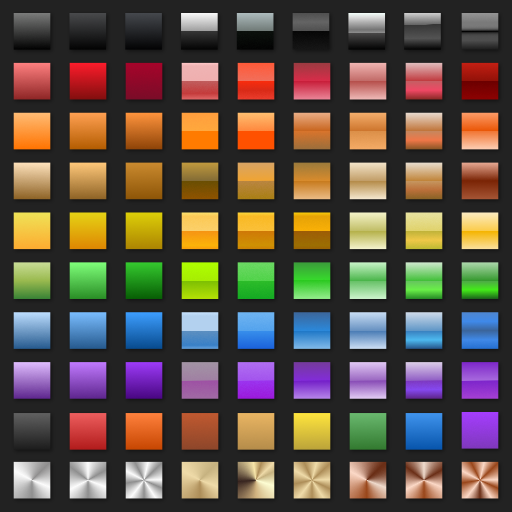
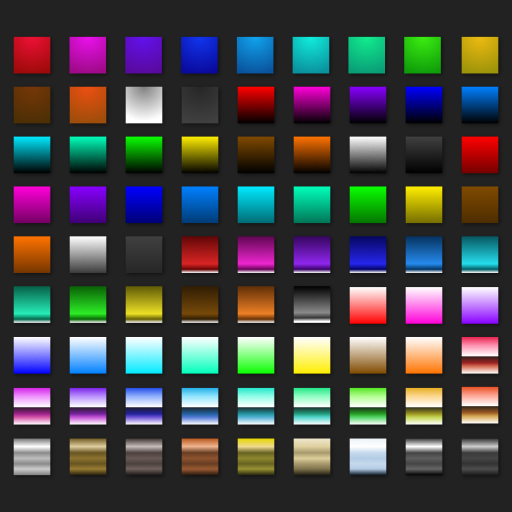
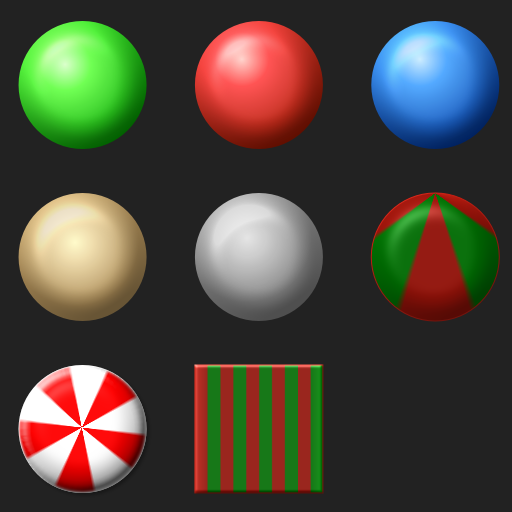
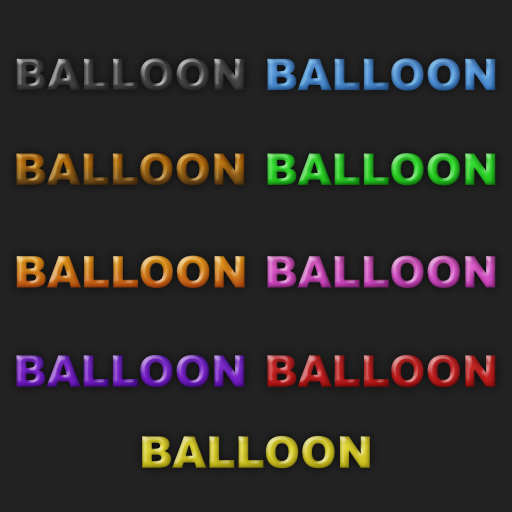
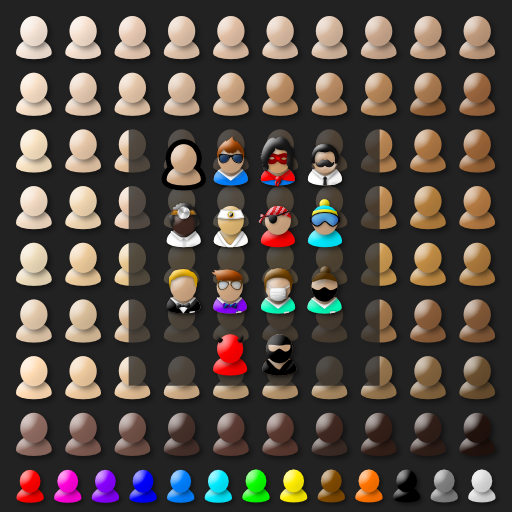
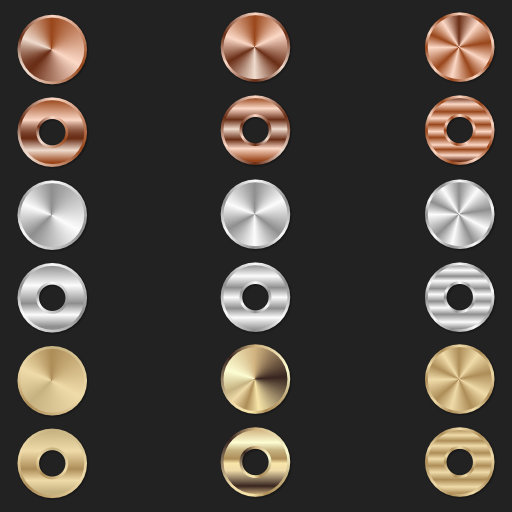
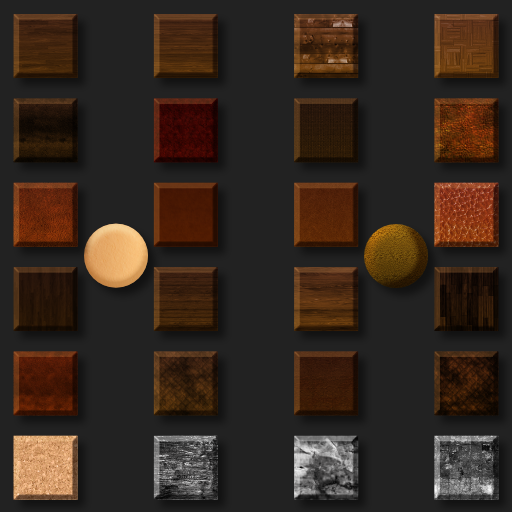
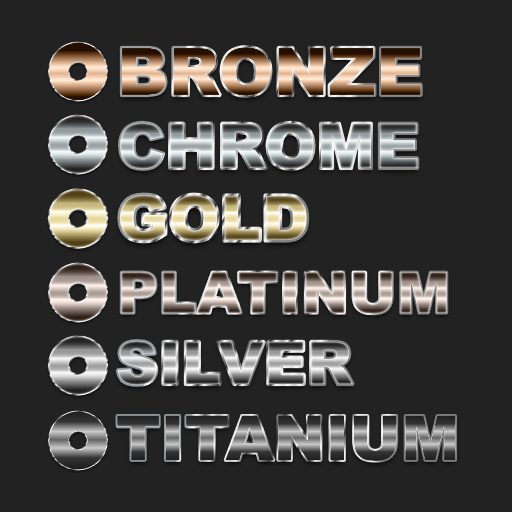
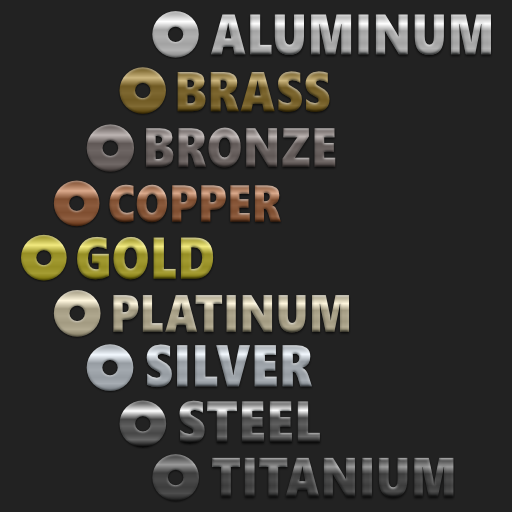
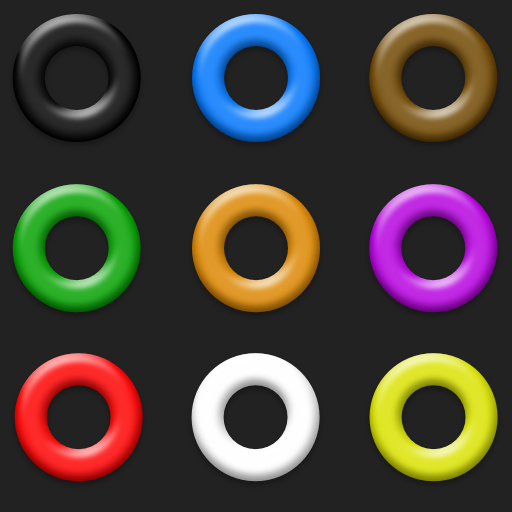
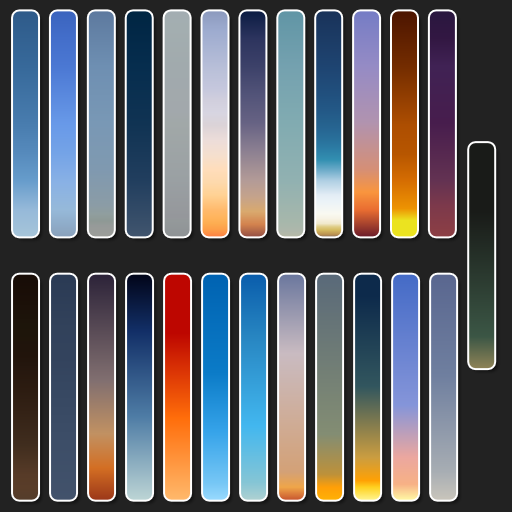
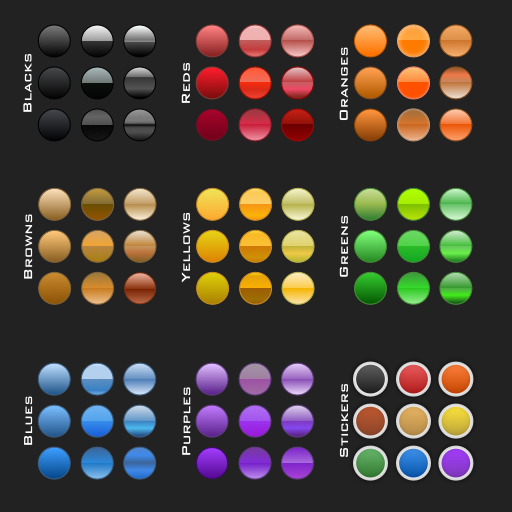
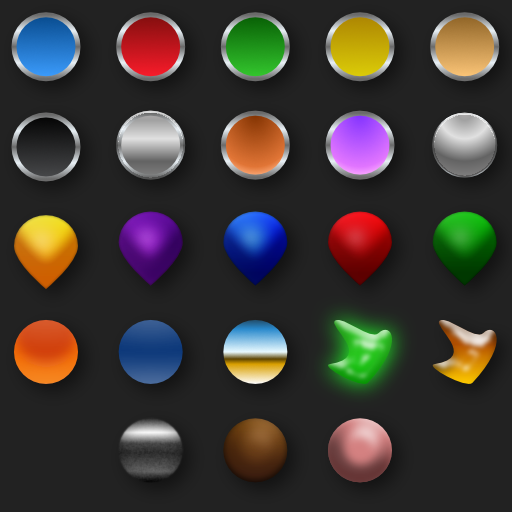
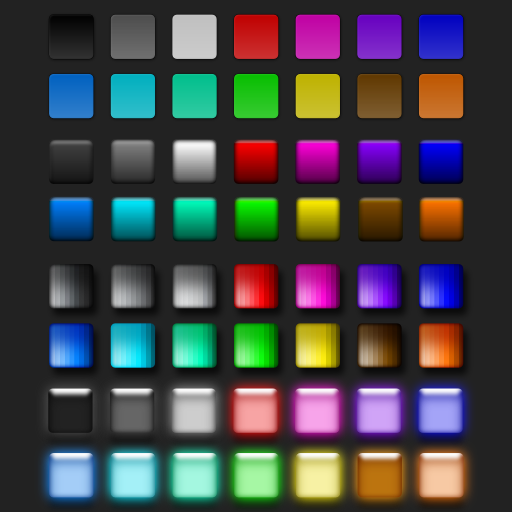
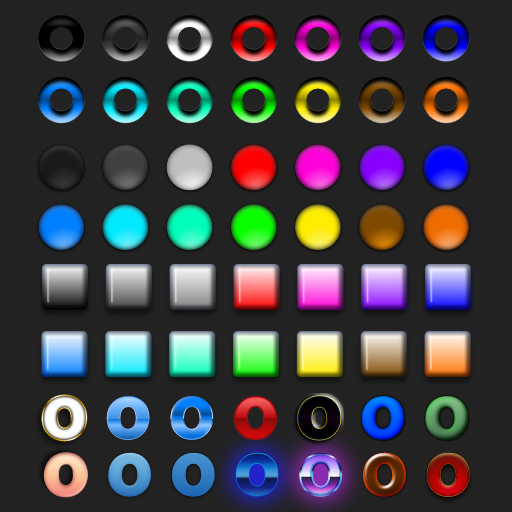
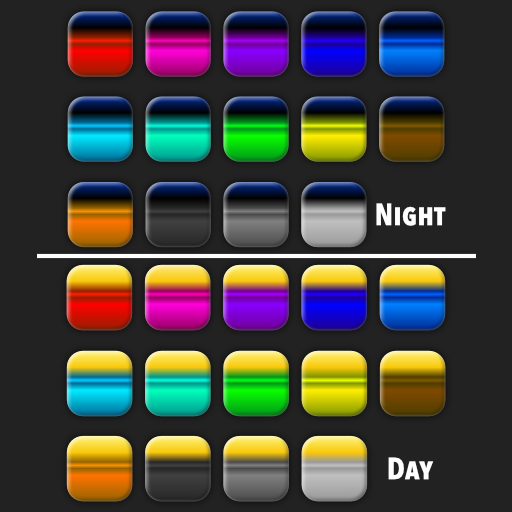
It was recently suggested that I create s single post showing all of the free resources we have made available via https://affinity.graphics as some were never announced here and some folks still don't know about Affinity.Graphics for finding resources. We just updated the site a bit and released 2 more free resources there, so stop by and check things out. You can find DSV's offerings directly at our Affinity.Graphics User Page. Attached are promo images of everything we've released to date. Enjoy! Dream Atmospheres Dream Brushed Metals Dream Buttons Styles Dream Cinematic Bold Styles Dream Cinematic Styles Dream EmotiKit Dream Gem Styles Dream Gradients 1 Dream Gradients 2 Dream Holiday Styles Dream Latex Styles Dream Liquid Vials Styles Dream Meeple Toolkit Dream Metals Styles Dream Organics Styles Dream Polished Metals Styles Dream Raw Metals Styles Dream Resume Templates Dream Rubber Styles Dream Skies Gradients Dream Styles 1 Dream Styles 2 Dream Styles 3 Dream Styles 4 Dream Xanadu Styles
- 33 replies
-
- 11
-
-
-
- free resources
- styles
- (and 4 more)
-
 Hello! Inkscape has a feature that allows changing the location of the "focus point" of radial and elliptic gradients to make them non-symmetrical which allows for creation of some amusing effects. Here's an example from Inkscape's official tutorial page (link): https://inkscape.org/ru/doc/tutorials/tips/tutorial-tips.html (Excentric radial gradients) It is described in SVG reference docs: https://developer.mozilla.org/en-US/docs/Web/SVG/Element/radialGradient The following attributes seem to be responsible for it. https://developer.mozilla.org/en-US/docs/Web/SVG/Attribute/fx https://developer.mozilla.org/en-US/docs/Web/SVG/Attribute/fy I'm not sure how hard it is to implement, but to me it's a pretty simple yet interesting feature that I would love to see in Affinity Designer Cheers!
- 5 replies
-
- 2
-
-
- gradients
- suggestion
- (and 1 more)
-
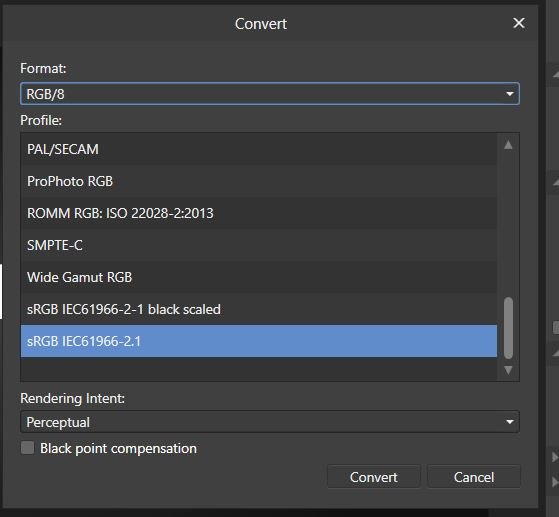
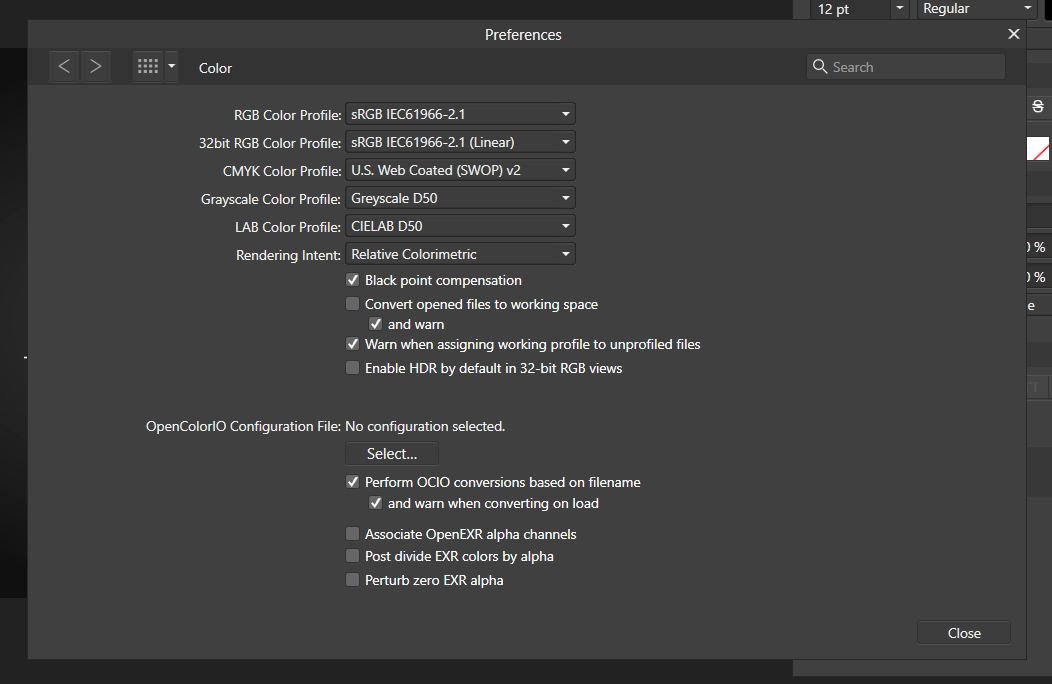
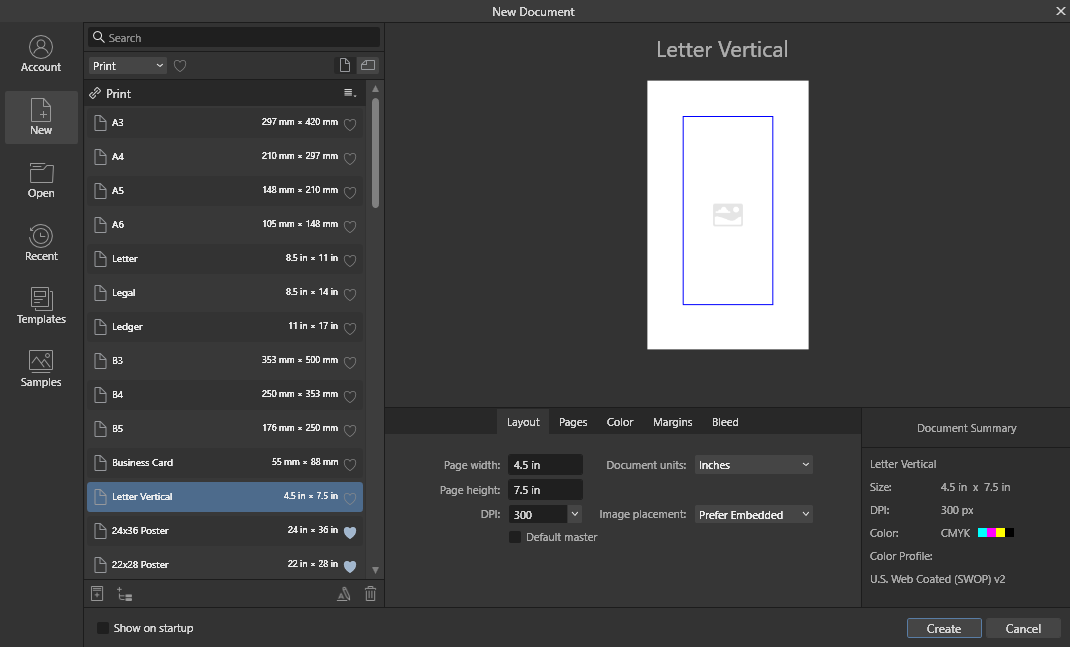
 Hello, I created a background with a gradient in Affinity Photo. In the doc and when exported, I and someone on a separate computer I shared the image to can also see the banding on the image. I tried: exporting as a JPEG, PNG, PNG-8, and converting the file format to RGB/16 and RGB/32 (HDR). RGB/16 seemed to smooth the image more but there were still bands in the image. I also tried remaking the background in RGB/32 but the background did not turn out. The image is 1920 x 1080 300 DPI How can I remove the bands or export the image without the bands?


.png.2d5fab0c161f7f729cdaa82c13ff2052.png)