Search the Community
Showing results for tags 'Gradient'.
-
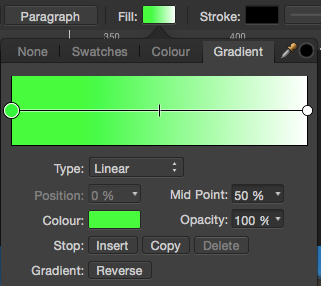
Hi all. I included this in a thread in the bug-report area, but it really belongs here. I think consolidating the fill controls into a single panel would clarify their use for users. Currently, an object's fill control presents a series of tabs that offer conflicting functions. The tabs represent different types of fills and are exclusive of each other; therefore I submit that these fill types should be offered in a drop-down list and not as tabs. When the user selects a fill type, the panel can display the appropriate set of controls in the panel and the appropriate on-canvas controls (like gradient angle), which currently do not appear at all when using the Fill control panel for an object. Also, the current panel for gradients can be improved by indicating to the user that he needs to click on those circles to set colors and properties, and indicating which of the controls pertain to the selected control point and which pertain to the entire gradient. A colored highlight makes the current selection more clear than simply having a bigger circle and smaller circle (and that size difference isn't even shown on first use of the panel; I assume this is a bug). Users should be able to right-click in that gradient display to insert, delete, copy, or paste control points. Currently it doesn't seem that there's any way to determine where a new one will be inserted. All of the current buttons, except Delete, suffer from major ambiguity: If I press Insert, where will the new point go? If I copy one, how do I paste it? Or does Copy here actually mean Duplicate? Without some hint, however, I don't think users would ever guess that they could add more control points. And then a bunch of Affinity's work would go to waste. I vote for putting a label below the gradient display instead of the buttons, instructing users to right-click to add or manipulate control points. It's more clear, and space-efficient to boot. And finally, I had no idea what "stop" meant. I guessed it was some kind of option for determining what should happen beyond the end of the gradient, but of course the functions offered by those buttons didn't seem to make sense in that context. In any similar type of editor, I see "control point" used more than any other term. I think the flexibility of Designer's fill function is remarkable! Some revision of the UI will help users find it and take advantage of something that Affinity clearly put quite a bit of effort into.
-
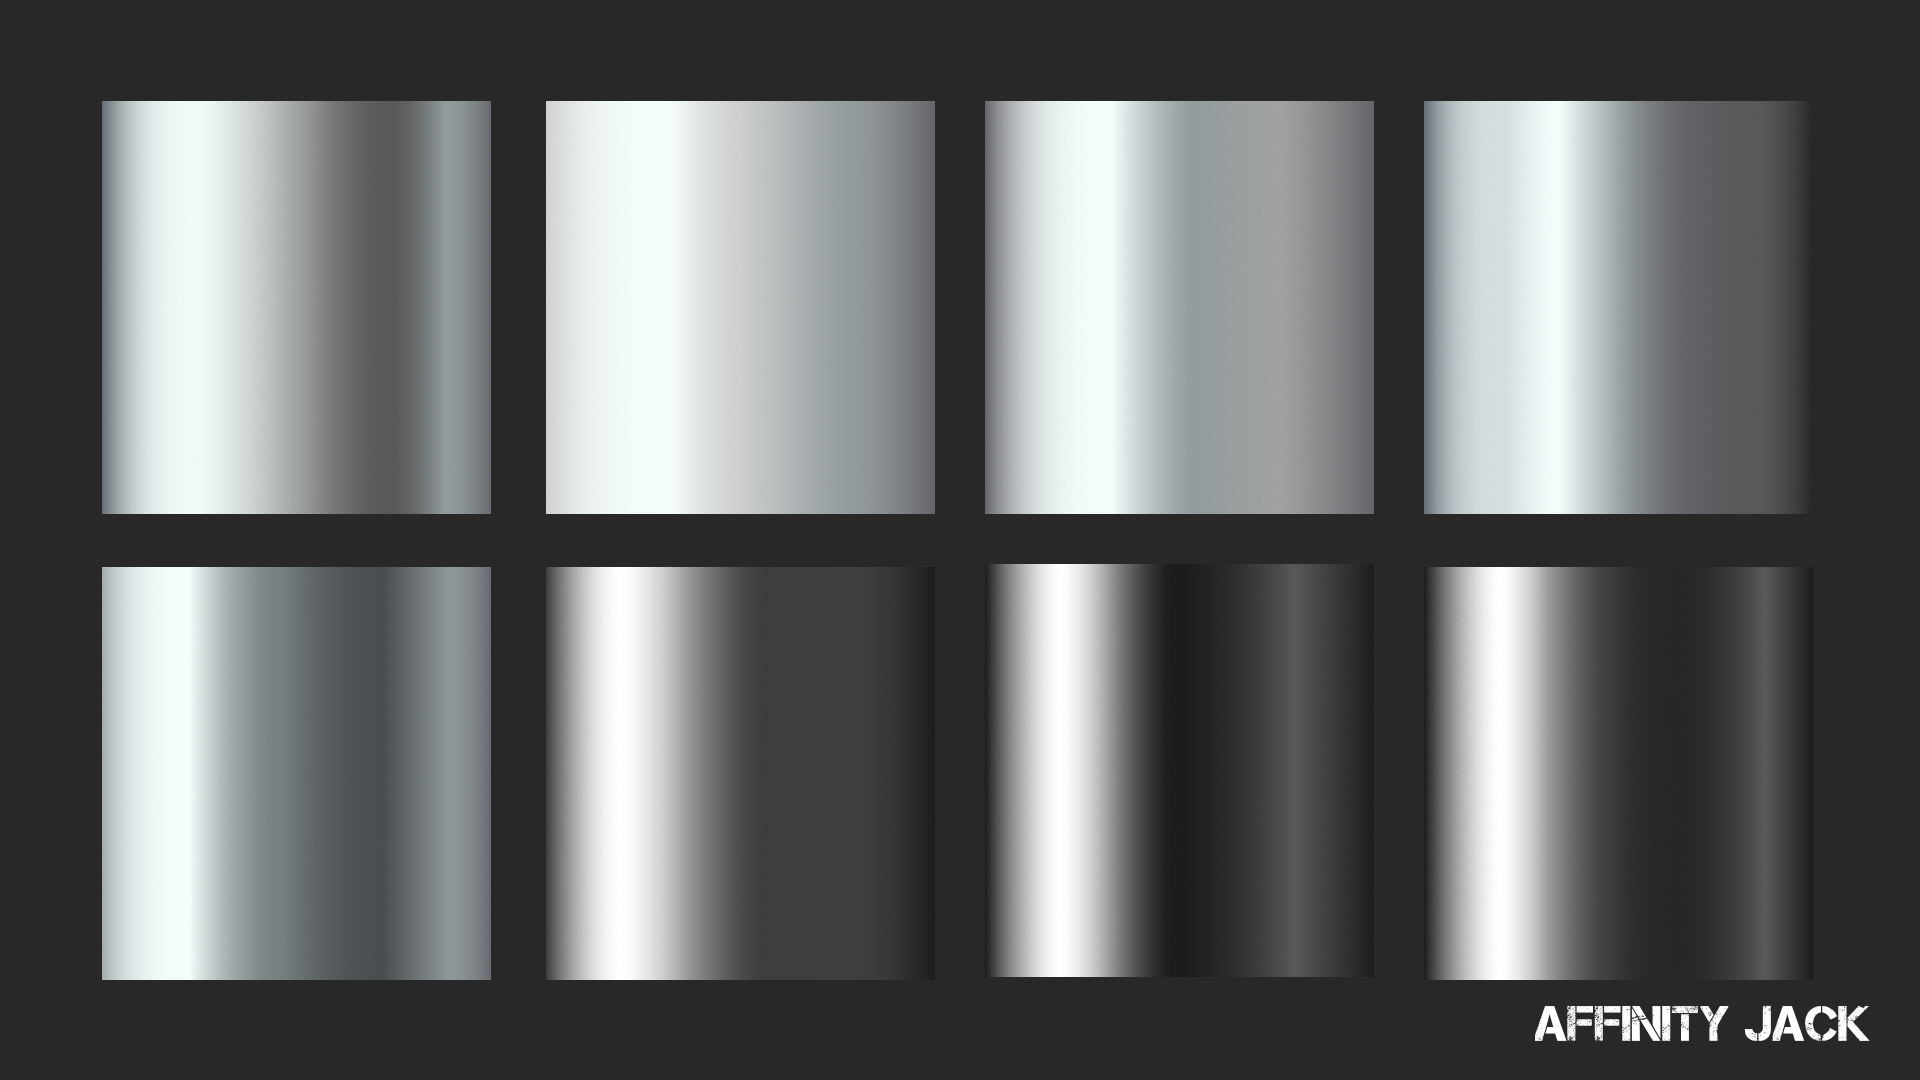
 Hi, In diesem Affinity Photo Tutorial zeige ich wie das Verlaufswerkzeug funktioniert. Dazu erstelle ich einen Metall-Verlauf, definiere Farben und Übergänge, speichere ihn, schaffe dazu Paletten und zeige wie man ihn exportiert oder importiert. In Zukunft werde ich auf unserer Website einige Verläufe zum Free Download zur Verfügung stellen. Hi, In this Affinity Photo Tutorial, I show you how the gradient tool works. I create a metal gradient, set colors, fades, save it, create palettes and show how to import or export. In future, I will provide some metal gradients on our website. Farbcodes für den Beispiel-Verlauf / color codes for the example of metal gradient: (von links nach rechts / from left to right) 1) #1C1C1C 2) #FFFFFF 3) #A0A0A0 4) #3D3D3D 5) #272727 6) #595959 7) #1C1C1C Viel Spaß Euer Jack Video-Tutorial auf YouTube
- 3 replies
-
- 2
-

-
- Affinity Photo
- gradient
- (and 5 more)
-
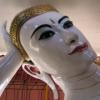 If I export my logo to SVG, it looks as expected in my browsers, or when reopened in Affinity Designer. However, if I import it to PagePlus or DrawPlus the gradients behind the Buddha's head have been flattened to a single colour. Is this a bug in PagePlus/DrawPlus or what? The SVG that was originally produced from DrawPlus looks right when opened in PagePlus, and that is the SVG that I opened in Affinity Designer for editing. When exported again as SVG and imported into PagePlus/DrawPlus, the colours have changed as in "Discoloured Logo.png" AIM Logo.svg
-
 Hi guys, Just started using the beta, and thought I would make something. Started using the gradient tool and it's a little bit clunky. I can't select the little colour points. They are not coming up properly...
-
 Hello, I try to create a circle filled with a colorgradient. But the center of the colors is always at the left border of the circle and not in the middle. Is there a way, to adjust it into the center of the circle? Thanks for any ideas Frank
 -
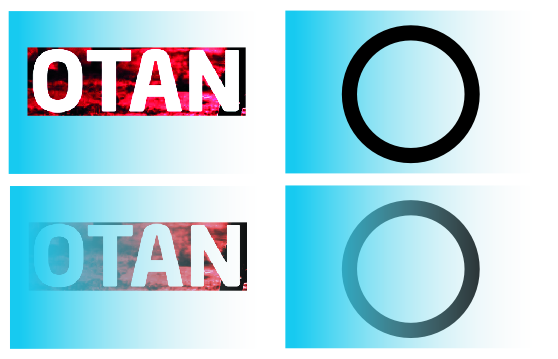
 If I create a gradient fill with one stop a color and the other is a color but with the opacity set to zero, I still get a mix of the color that I wanted transparent still visible in the gradient, how do I get rid of it entirely leaving only the one color and fade to transparent?
-
 How do I do this? I've been messing around for a while and I can't figure it out. Help would be appreciated!
 -
Hi! I am one of the movers from PS to Affinity ;-) There's one thing I am really missing: In PS I can easily fill areas with patterns. There are lots of patterns that come with PS, and I can find many on the internet and load them into PS. But, more important than that: In effects functionality I can use the STRUCTURE of patterns to overlay the other fx (like color, gradient, shadow etc.). This makes big letters look great (structured) in spite of just one color or a gradient. And I can adjust the depth and scale the effect. Great! Please add this pattern functionality, especially in the effects section, to Affinity products! :-) Best, Dietmar
-
 i'm brand new so forgive me if this topic is somewhere in this forum. I want to fade an image to white across its width. I have a number of letterbox shaped images which I want to be normal on the left hand side and fading from about halfway into white on the right hand side. Keith I have attached an example of what I need to do
-
 When I create a polygon with some opacity or gradient and try to use it as a container when I paste inside a polygon or image it does not work. I need to create 2 polygons: One for transparency and other as a container.
-
 I'm looking for a way to apply a grayscale/black and white effect to a photo in a gradient; I.e. The top of the photo would be in color, and transition to black and white at the bottom. Is this possible?
 -
 Hello, I am trying to figure out how to find the pantone # swatch used within gradients, there seems to be no way to get this kind of feedback anywhere… while you can isolate colors added to an object with a gradient, where is the pantone # info located to find later on once added in? Also noticed when adding a spot color swatch to a gradient, it's very hard to find a specific spot color quickly within the gradient palette without a list view showing the pantone numbers. Thank you
- 1 reply
-
- 1
-
-
- spot colour
- swatches
- (and 3 more)
-
 The Gradient pop-out Panel allows you to duplicate a colour stop, but the Gradient Editor (on the shape) has no such function, you can't CTRL/CMD Click a colour stop and drag it into a new location? Any ideas?
 -
 Say you want you want to draw a crow bar, how would i shade it on the curved parts using the gradient tool. So far i know how to shade a circle or rectangle using the gradient feature. And designs ive done which needed shading on curves ive had to make a few seperate darker layers and then used a blur tool to make it look like a gradual shadow. Do any of you know how this can be done an easier way? Thanks in Advance
 -
It would be great to have a gradient palette that exists on its own, not only one anchored from an item's Fill or Stroke on the Toolbar Options...
-
 I'm new to AP,and have never used PS only Aperture.I'm trying to darken a too bright sky.I've watched AP's gradient videos,they helped me understand some things,but do I need to add a adj layer,or do I add it some how to the background layer?Thanks
 -
 Hello, I want to mask an image with a gradient. If I do this the image look's like that.. (Attachment #1) It's destory the colors or so.. But if I rasterise the image (with mask) then it look's normal. (Attachment #2) Why? Thanks in advance!
-
 Hello. Can the angle of a linear gradient be changed? I have a curved line/stroke which I have applied a gradient to. The angle at which the gradient changes from one colour to another is vertical (0 deg). Can I change this angle to make it lean one way or another, perhaps by degrees? Many Thanks
 -
 When doing a gradient is there an easy way to get the end two nodes to be exactly the same color? Especially important with a conical or where two gradients touch. Sometimes it's difficult to pick up the exact color from the drawing and the eyedropper doesn't read the color from the gradient panel. If they were central nodes I'd copy the node with the color I wanted then move it to the correct position and delete the unwanted color. Can't delete or move the end nodes. The right node has an additional problem in that it can't be copied. The only way I have found to get them exactly the same is to make note of the RGB (of HSL, CMYK, etc.) color code in one node and copy it in the other. Rather a pain. I wish we could delete/replace the end nodes. Maybe drag a central node over then end node to replace it.
 -
There are times when I might like one part of a selection to be more opaque than another, and being able to select this area and increase or decrease the opacity by changing its color in the layer mask is really useful. Supporting the black/white layer masks where editing the colors changes the opacity would be greatly appreciated. Or maybe I'm missing the trick. Been searching tutorials for several days (on and off as I have time) and haven't found it. Maybe the answer just lies in a more advanced tutorial for using your mask techniques (for ex-photoshop'ers!). Great app, and please keep up the good work. I don't mind paying for updates as you develop this because I do hope that I can one day throw one of your competitors subscription-based services in the trash. Thank you!
-
Just wanted to know if gradient swatches will be added in the future?
-
 I posted the lack of an angle control as a bug originally, but I'm cross-posting here after getting more information: When I set the fill for an object, I use the Fill control provided in the toolbar and its dedicated tab for gradients. I would not expect to go hunting around for a separate tool for this and drag an additional effect onto an object, when fill is an intrinsic property of an object and controls are already provided for it. If the controls for a property are deemed too complicated or difficult to implement in the control panel, I would expect on-screen controls to appear when I select that property (in this case, the Fill color well) from the object's property panel or toolbar. The current design, aside from looking like it suffers from a major omission, leaves the user wondering if he's applying a separate effect to the object. I suspect this will be even more problematic if Designer offers multiple fills on the same object (which I saw in the feature roadmap). I urge Affinity to eliminate the fill control from the Tools palette and integrate its function into the Fill control on the properties toolbar that appears for an object. Not only is this much more intuitive for the user, but it allows you to enable or disable the control as appropriate for the type of object selected, and to cause it to disappear when no object is selected. As it stands, it makes no sense for the Gradient and Transparency tools to be enabled when nothing is selected. Gavin
 -
 Gradient Fill Text top to bottom? - Affinity Photo Add text layer and type and select text. Select Fill from the context tool bar and select Gradient. There does not seem to be a way to have Gradient go from top to bottom or bottom to type with Context tool bar. BTW I know Effects > Gradient Overlay has Angle when you open up expanded options with the Gear but I'd think it would be possible using Fill and then Gradient in the Context menu.
-
In radial gradients I would love to have a few features added. Maybe they are already there but I haven't discovered how to do them. If so please let me know how to access them. 1. I would love a modify key that would let me move the entire gradient from the moveable end. When the gradient is long and one end is off the screen moving the pivot end while seeing the moveable end is a problem. 2. A way to change the length of the gradient from the moveable end. Currently we have to keep switching ends in a trial and error process, which again is very difficult with a relatively long gradient. 3. A way to freeze the length, so when the angle is changed the length would remain the same. On linear gradients there are a couple wishes also. 1. A way to modify the angle in very small increments is necessary. A short gradient that covers a long distance on an angled object is currently impossible to get correct. 2. It would be great to have a modify key that would lock the entire gradient allowing it to be drug from either end. 3. A way to swap the ends of the gradient before it is drawn. I find that I always seem to draw a gradient from the native color to the modified color. But the gradient always darkens the starting color and ends with the native color. So on every linear gradient drawn I need to do a Reverse as soon as it's drawn. On elliptical gradients it's great that the program knows to center the gradient and adjust the arms to the size of the ellipse automatically. But currently the horizontal arm is always the one that gets the tick mark and new color spots added. It would be very handy if the program knew to add these to the longest leg whichever direction it is facing. On a tall thin ellipse it is difficult to make the required changes. Rotating the gradient 90 degrees cures this but then the length of the arms both need to be readjusted. Thank you for considering these additions.
-
Just curious if anyone knew if gradient maps from PSD files are translating into AD/AP? I got a file that did not, the map color stops were actually at zero opacity and altogether wrong.