Search the Community
Showing results for tags 'Fill'.
-
 See the title! Whenever I try to apply a color from my swatches to text, or a shape, or curves, etc, instead of changing the fill, a stroke appears on the item with the color I'm trying to fill with. This wasn't happening before today! I'm not sure I changed anything, although maybe I hit some hotkeys by mistake without noticing. Cheers!
 -
 I must be missing something. 1. Open existing file. 2. File=>New then specify size. You will see a blank document. 3. Switch tab to opened existing document. 4. Select eyedropper tool. 5. Select color. 6. Return to new file. 7. Fill (Shift+F5) is greyed out?? 8. Select Flood Fill Tool. 9. Click on new document. 10. Right click on document. Nothing happens. Try a new intermediate step. 7A. Select rectangular marquee tool. 7B. Draw a rectangle around the entire document. Proceed with 8-10. Nothing happens. So, what is the secret to flood filling a document? This is pretty basic, but I must be missing something in Affinity Photo's workflow.
 -
 I have a simple repeating pattern that is 100px square that I would like to use to fill a rectangle that is the full size of my project. However when I got to fill tool > bitmap and find the pattern. it fills the whole rectangle by scaling up the image rather than repeating it. Is there a way to do this?
 -
 Hello, In Photo (Win10) is there a way to set a bitmap fill to be exactly 100% of the original size of the file that you use? For example: I'm using a pattern file that is 100x100px. When I use that as a bitmap fill in a Photo document I want the base pattern to be exactly 100x100 px as well. Is there an exact way or a way to put in a numerical scale value for the bitmap pattern file? Thanks, Jeff
 -
 Hey folks I'm new to this forum and affinity designer. Forgive me if this is a silly question but can you draw fill or shapes, like the brush tool in Adobe Flash? With this I mean in the same way you draw strokes as lines which are series of single nodes connected, is it possible to draw fill like shapes as lines of "double nodes" containing a fill if that makes any sence? Or if it is possible to draw a regular stroke then and convert it into a fill with a certain width following the strokes path if that makes sense? Image below shows adobe flash brush stroke
-
 Hello everyone, So after importing swatches that contain a lot of colors (ase), I found that their name were screwed up wish is not a big deal as long as I can edit their name again. But the process of doing so is very long and not user friendly At the moment : - To identify the color -> Edit the fill by double clicking or right click + edit - Then you can rename it by -> Right click rename. What would be really nice, and I doubt it is a huge issue to do so: - Add a name input directly in the "edit fill" popup bellow the drop down menu for example If you still want to have the confirmation of the user because it can't be undone, you could add a lock next to the name input so people have first to unlock before editing. But at least, it doesn't require to leave that popup and right click on the fill to edit the name... It also solves the issue that when you right click -> rename and push enter to save it looses the color fill you had selected on the swatches.
-
 I'm trying to create a background, solid colour, layer with a colour to match one in the image. I am running into an odd problem because I don't know AP well enough yet. I use the I short cut key to pick the colour (rye dropper) and that shows correctly as the foreground colour But when I fill the new pixel layer, the fill colour is the complementary colour. It seems that the shortcut I key has somehow changed the fill colour to the Inverse colour? Where did I goof? Jim
 -
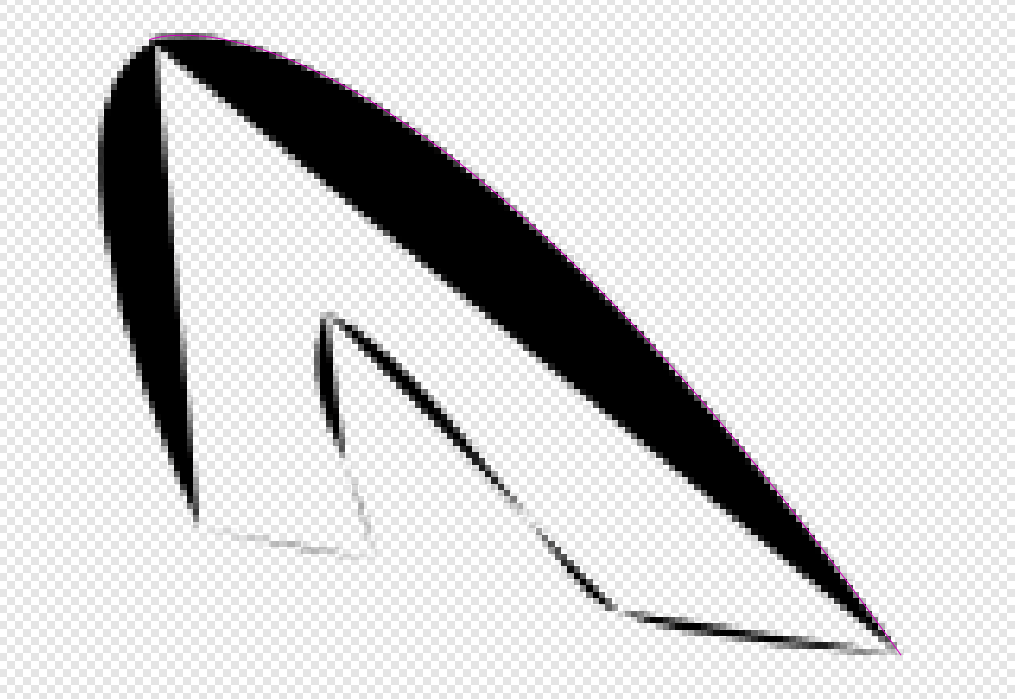
 I apologize if this is a common topic, but I searched and none of the solutions have worked. I made a shape using the pen tool, and when I try to fill it, it ends up doing this (see photo). The photo is zoomed in because I can't show the entire project yet, but that's not important. Why does it do this and how can I fill the shape? I don't know why there's straight lines going through the shape, I didn't put them there... they appeared when I tried to fill the entire shape. Any advice please? This is a recurring issue and it's really preventing me from moving forward. Thanks!
-
Procedural workflow has and is growing and becoming a large driving force in content creation. Something I always knew would be make things very quick to iterate or change, and also keep things consistent and simple, would be referenced colors. So maybe your documents has a palette with named slots, and when you go to select a fill/stroke color, you can optionally select one of these named slots. Other fills or strokes can reference this same slot. Then if you decide you want to change colors later, you simple adjust this palette and every object using those slots gets updated. To extend this concept, it could almost be like symbols but for object appearance where you can have synchronized styles, that way all the parameters are shared, like stroke width, profile, etc.
-
 It was very easy to preserve the transparency of a layer in PSD. But in Affinity Photo, I cannot figure it out. I have a semi transparent layer with black art in it in varying degrees of transparency. I want to fill the layer but preserve the transparency in oder to change the colour of the art. Cannot figure that out. Thought it would be very simple. Thanks for your help. Rob
- 9 replies
-
- 1
-

-
- transparency
- fill
- (and 1 more)
-
 Hello everyone! I've got another feature request: Could you enhance "Set Fill to Black and White"'s (in Preferences -> Keyboard shortcuts -> Miscellaneous) functionality? Right now, it just sets the colors to black and white. If I remember correctly, in Photoshop, it also automatically sets the currently selected color to the default one, which is black. This can be very useful, especially when all the UI is hidden. Because then you always know what color will be selected when you press the shortcut for "Set Fill to Black and White". So if you need white, you can just click D (my shortcut for "Set Fill to Black and White"), then X. Best wishes, Shu
 -
 Currently, if you click on an empty (hollow, unfilled) area that's surrounded by an object, Designer will select that object. This is frequently (perhaps even usually) not what you want, especially since there can be numerous objects surrounding the empty area (thus making the selection uselessly ambiguous anyway). Currently in Designer you have to use the Option key to cycle through ALL overlapping objects. That is a deal-breaker. I find it incredible that this is deemed an acceptable way to work. How many illustrations don't have objects depicted within the boundaries of other objects? In the attached example, I can't select the blue line by clicking on it, even though nothing's covering it. Please fix this.
-
 Can some one tell me what the difference is between a fill layer and a pixel layer, if there is a difference? The one difference that I know of is that when a fill layer is used you can continue to edit a gradient but on a pixel layer you can't. cheers, Jason
 -
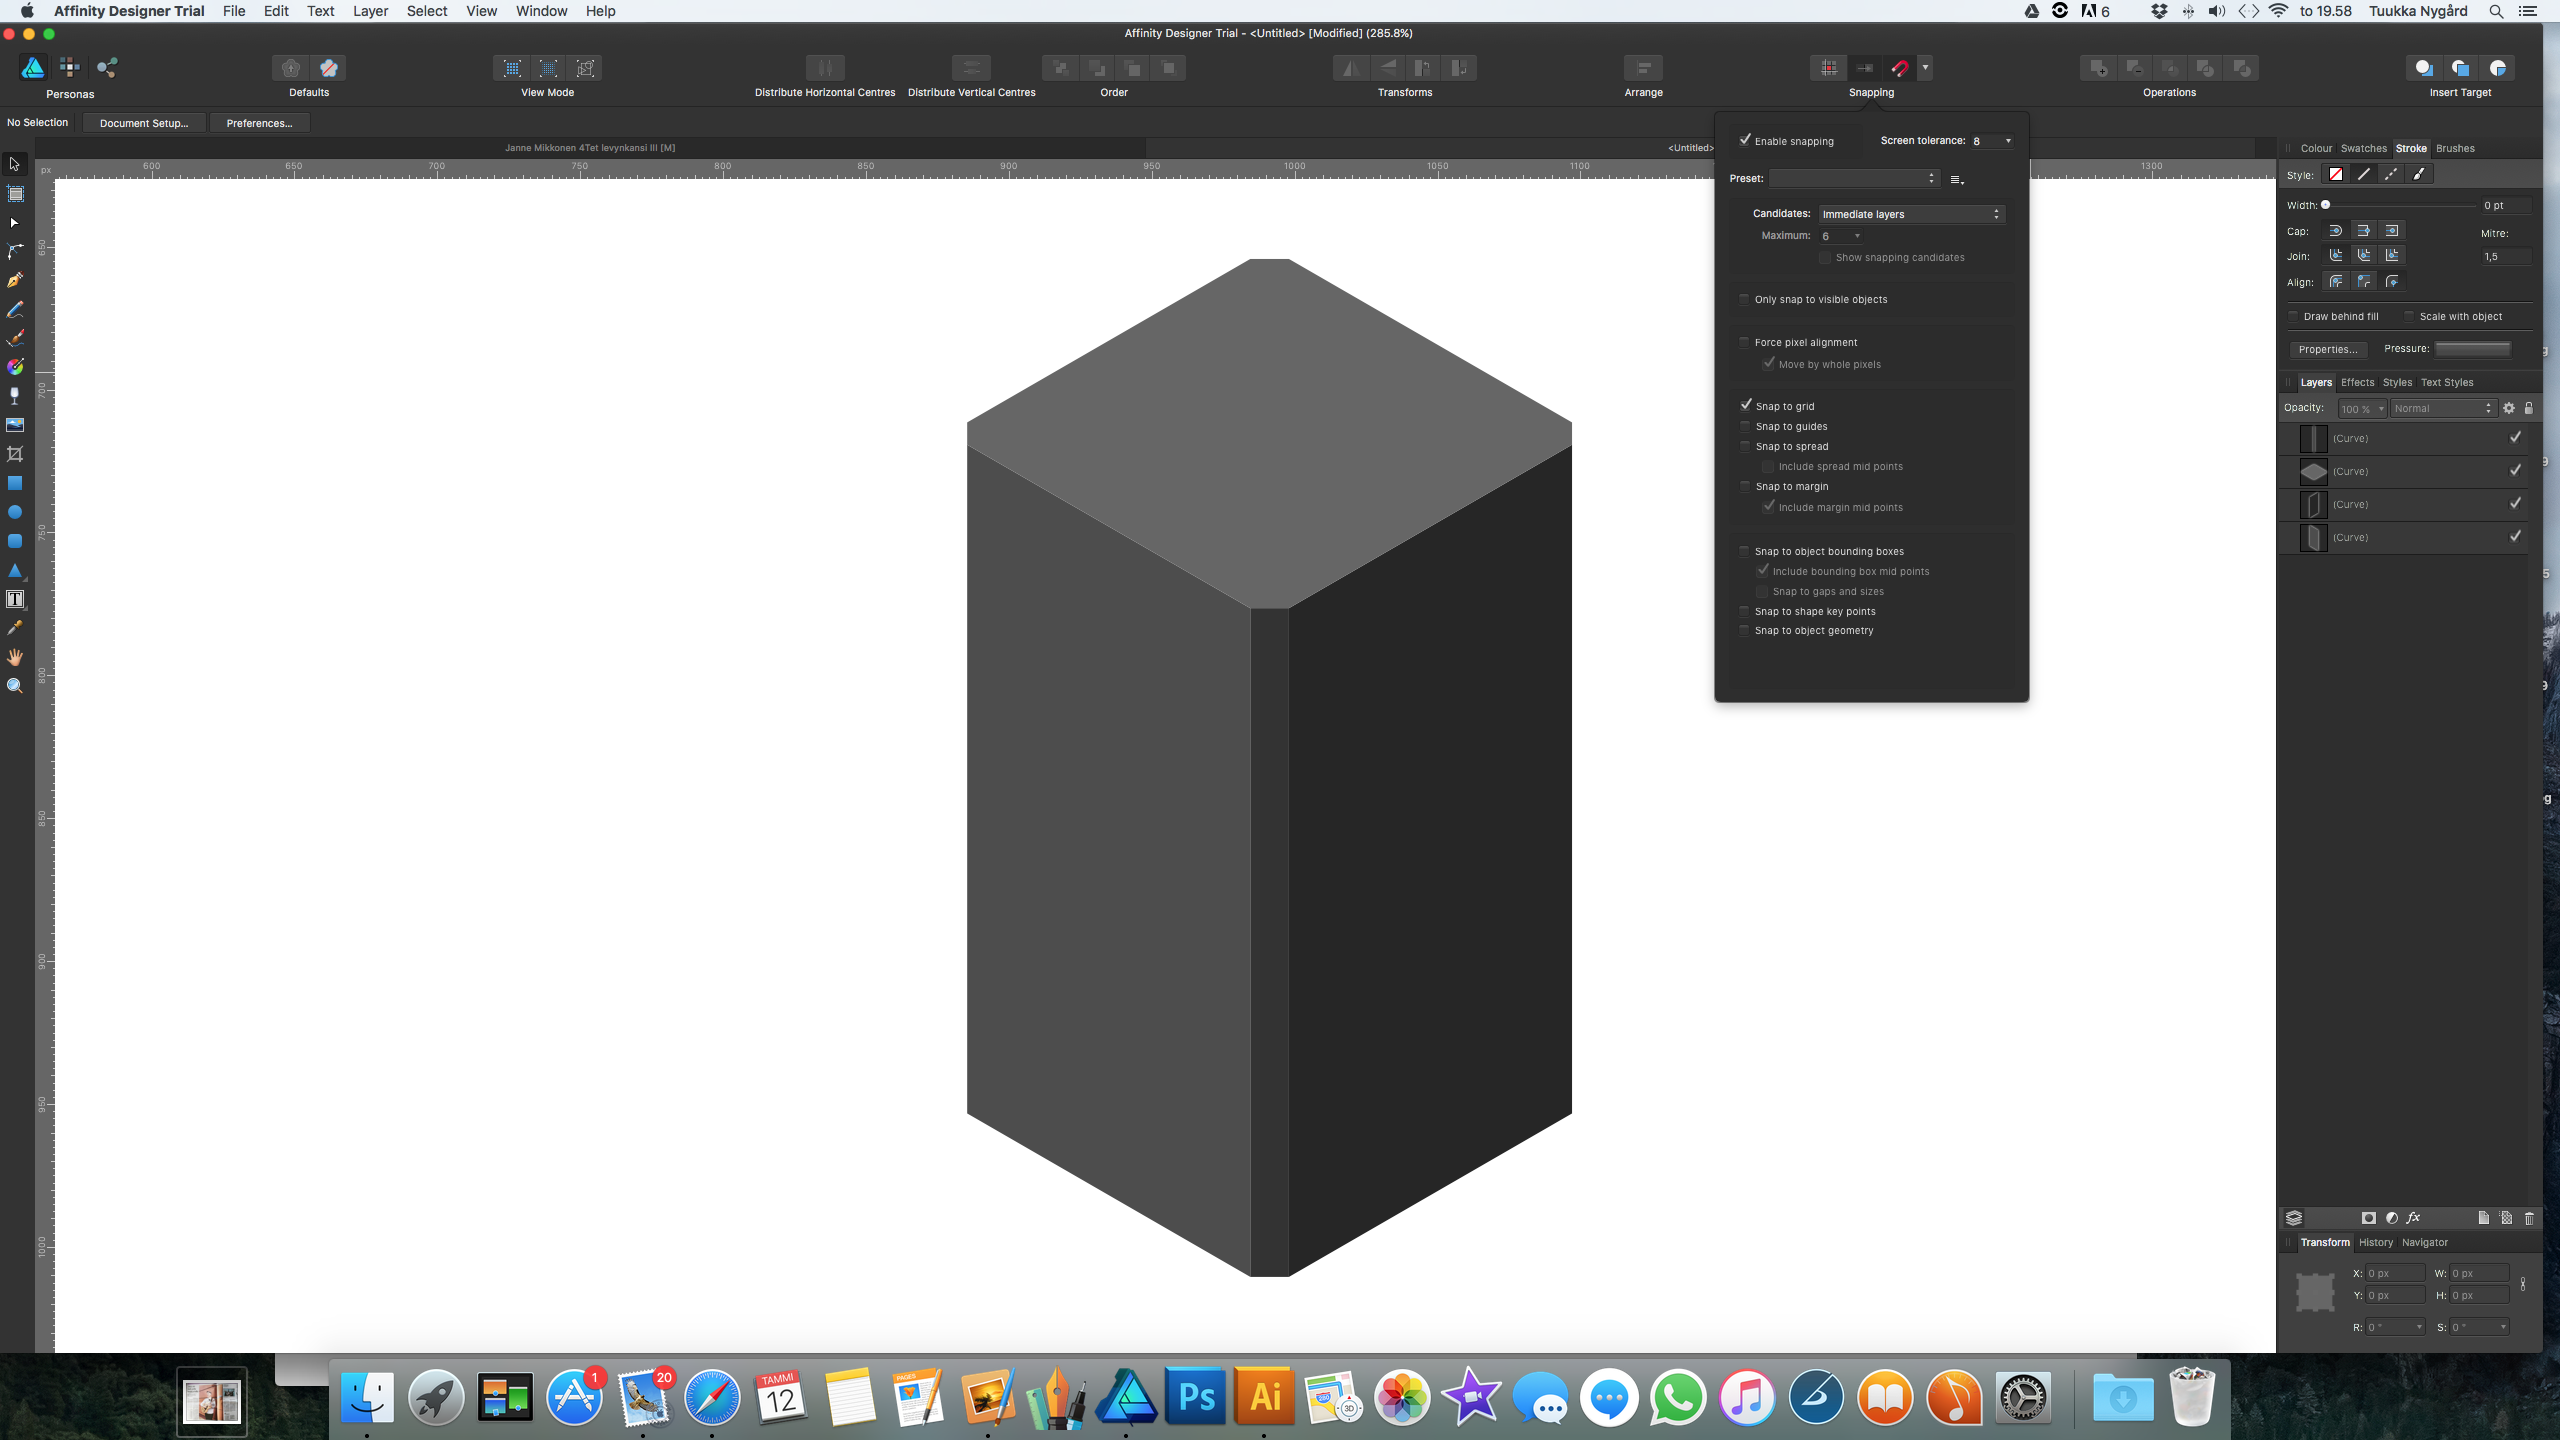
 Hi. I'm doing some isometric stuff with the grid tool on Affinity Designer and when I fill the shapes it leaves very small white gaps between the shapes. They even print on to .jpeg images when exported. How do I get rid of them? I have the snap to grid-option selected in the Grid Manager tool. Thanks!
-
 Hello there, I work in AD. The software is great, thanks for that. I need to export to PDF or SVG or EPS, does not matter to me ... including layers, that I could open the file in Adobe Illustrator and could see the layers. I was trying to find out on affinity forum, but I was not successful. Is there a way to do that please? Unfortunately, exporting to PDF does not do the job. Nothing is rasterized and after opening in illustrator there is just one layer instead of 3 created in AD. And what more, there are separated objects, the ones with fill and the ones with strokes. I mean, in AD it is an object with fill and stroke and after exporting to PDF and opening in AI these are two different objects, one with stroke and one with fill. I don't know why is that ? Thanks for help. I attached a file. 1100235_58_ultra_terno.afdesign
 -
 Let’s say I have an object with a fill and border, both have the same color but the border’s lightness is 10 points lower than the fill’s. I would like to change the color/hue/lightness of the fill and have the border color/hue/lightness change with it while keeping the lightness at the same distance from each other. Sounds complicated, I hope you understand what I mean. Is there a way to achieve this?
 -
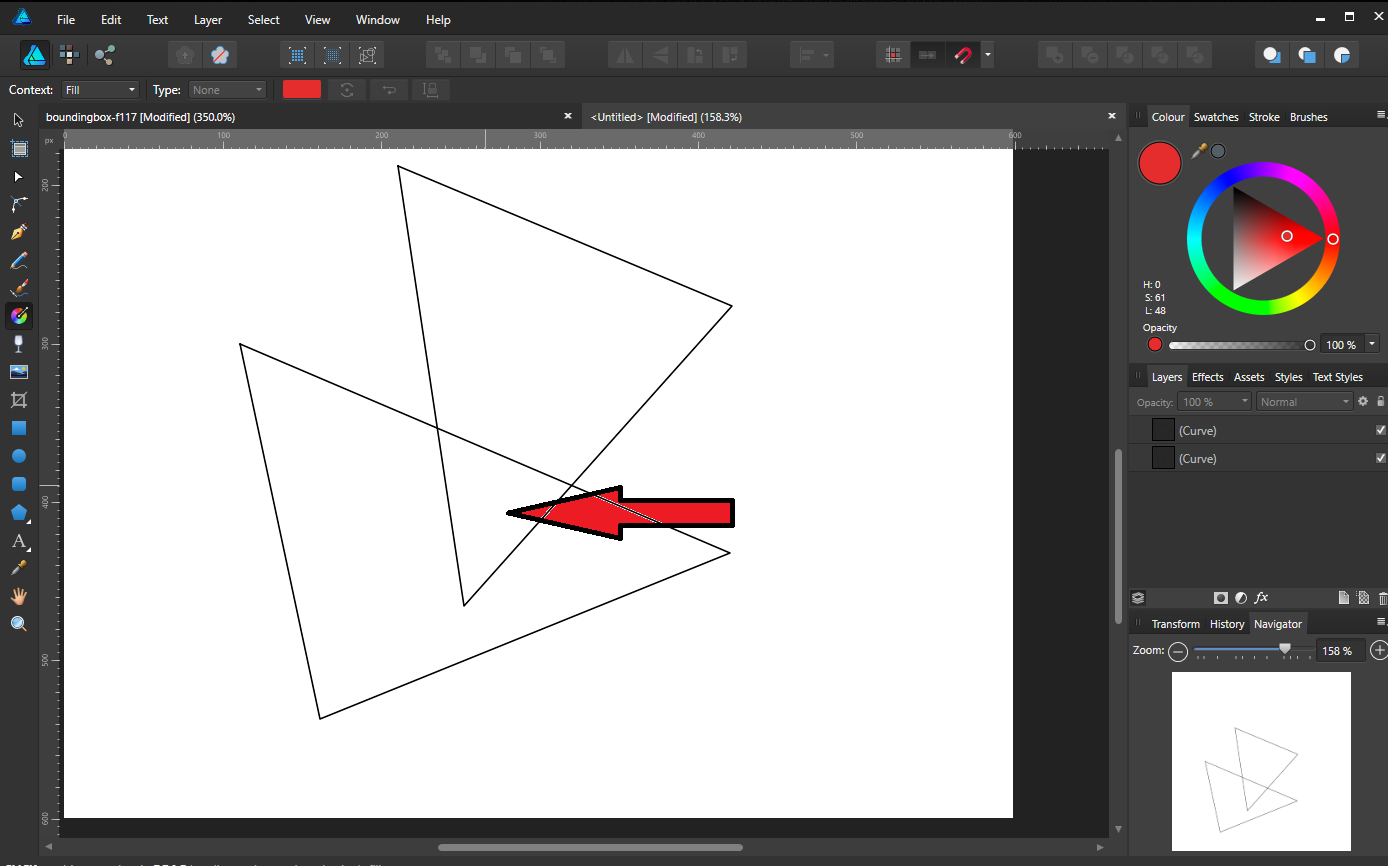
 I draw two triangles with the Pen Tool. they intersect each other. How can I fill the intersection region with a color? I've tried the Fill Tool with no success.
-
Can we have a keyboard shortcut key that applies a colour fill to a selection in AP as in Photoshop. In order to fill a selection in Photoshop you use "shift/delete and this applies the selected colour to that selection. This would enhance the user experience and workflow of AP. By the way i'm a Mac OS user. Thanks
-
 I've been looking at some development of a very impressive auto-fill filter for lineart on G'mic and thought it would be something the Affinity devs might be interested in. Basically, it analyses artwork with an algorithm to determine contours and shape closures which can then be filled as a base for painting. It speeds up a monotonous colour blocking step of painting. Not a priority feature at the moment, but I thought it would be an amazing addition for illustrators working with raster imagery. I'm sure affinity could simplify the tool even more for usability. I've posted two videos that demonstrate how it works. https://www.youtube.com/watch?v=t-3aBQeuBc4 https://www.youtube.com/watch?v=Rl76PJZTuio
 -
Currently, The Edit / Fill command fills up the entire layer. It would be very handy to have the option to protect the alpha in order to fill in only the content of the layer. There's a discussion here: https://forum.affinity.serif.com/index.php?/topic/30465-fill-protecting-alpha/
-
 When I do Document / Fill, the color is applied to the whole layer. How to protect alpha?
 -
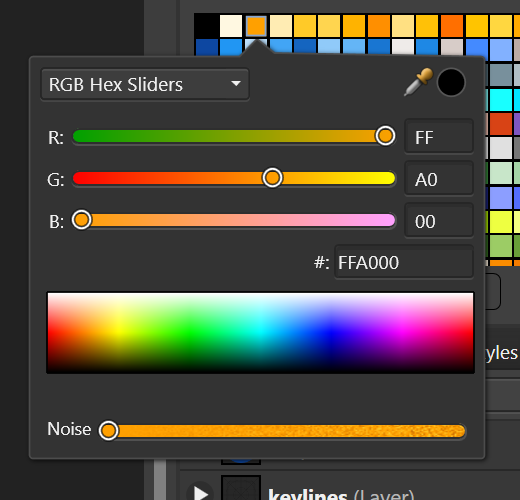
Hi, I need a precise gradient in 32-bit mode, to go from left to right. (I use it as a texture in a game - the values control some math functions over time.) The "Noise" value is set to 0 (or so I guess, because there is no numerical input). Yet still there is a visible dither. I use version 1.5.0.35. Win 7 64-bit, NVidia GTX 760, newest drivers. Oskar gradient.afphoto
-
 Newbie question... was trying to define an area and then fill it. Somehow I defined an area that now shows "running dashes" (for lack of a more accurate description) and I CANNOT DELETE/REMOVE this area from my document. Appreciate the help. (first couple of days with Affinity Designer!)
 -
 Is it possible to assign separate blend modes for an object stroke and fill with Affinity Designer? For instance I'd like to apply a blend mode of Multiply to the black fill of a rectangle but want to leave the white stroke color as normal. I have this same question for opacities as well. I ask because I'm able to do this in Illustrator and use it all the time. If there is another way of approaching this in Designer w/o having to duplicate the object (one for fill and one for stroke), please enlighten. Thanks!
 -
 How do I get rid of the line inside of my objects that separates my outline from the filled area? What am I doing wrong? Thanks for the help! MOOP.tiff