Search the Community
Showing results for tags 'Effects'.
-
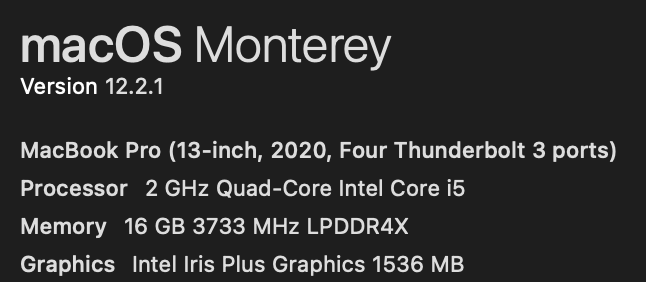
 I cannot put an inside outline on a layer that a topaz plugin has been applied to. Doesn't matter if its photo, denoise or sharpen ai. Please see attached files. bug report on layer effects and topaz plugins.afphoto computer info.txt
-
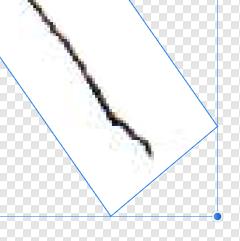
 I've noticed that applying any effects to live text is good until you change the font size. All the effects sizes stay the same even though I clicked the Scale Effects button in the places I could find, it still will not scale the effects added. SURELY, I'm doing something wrong.
 -
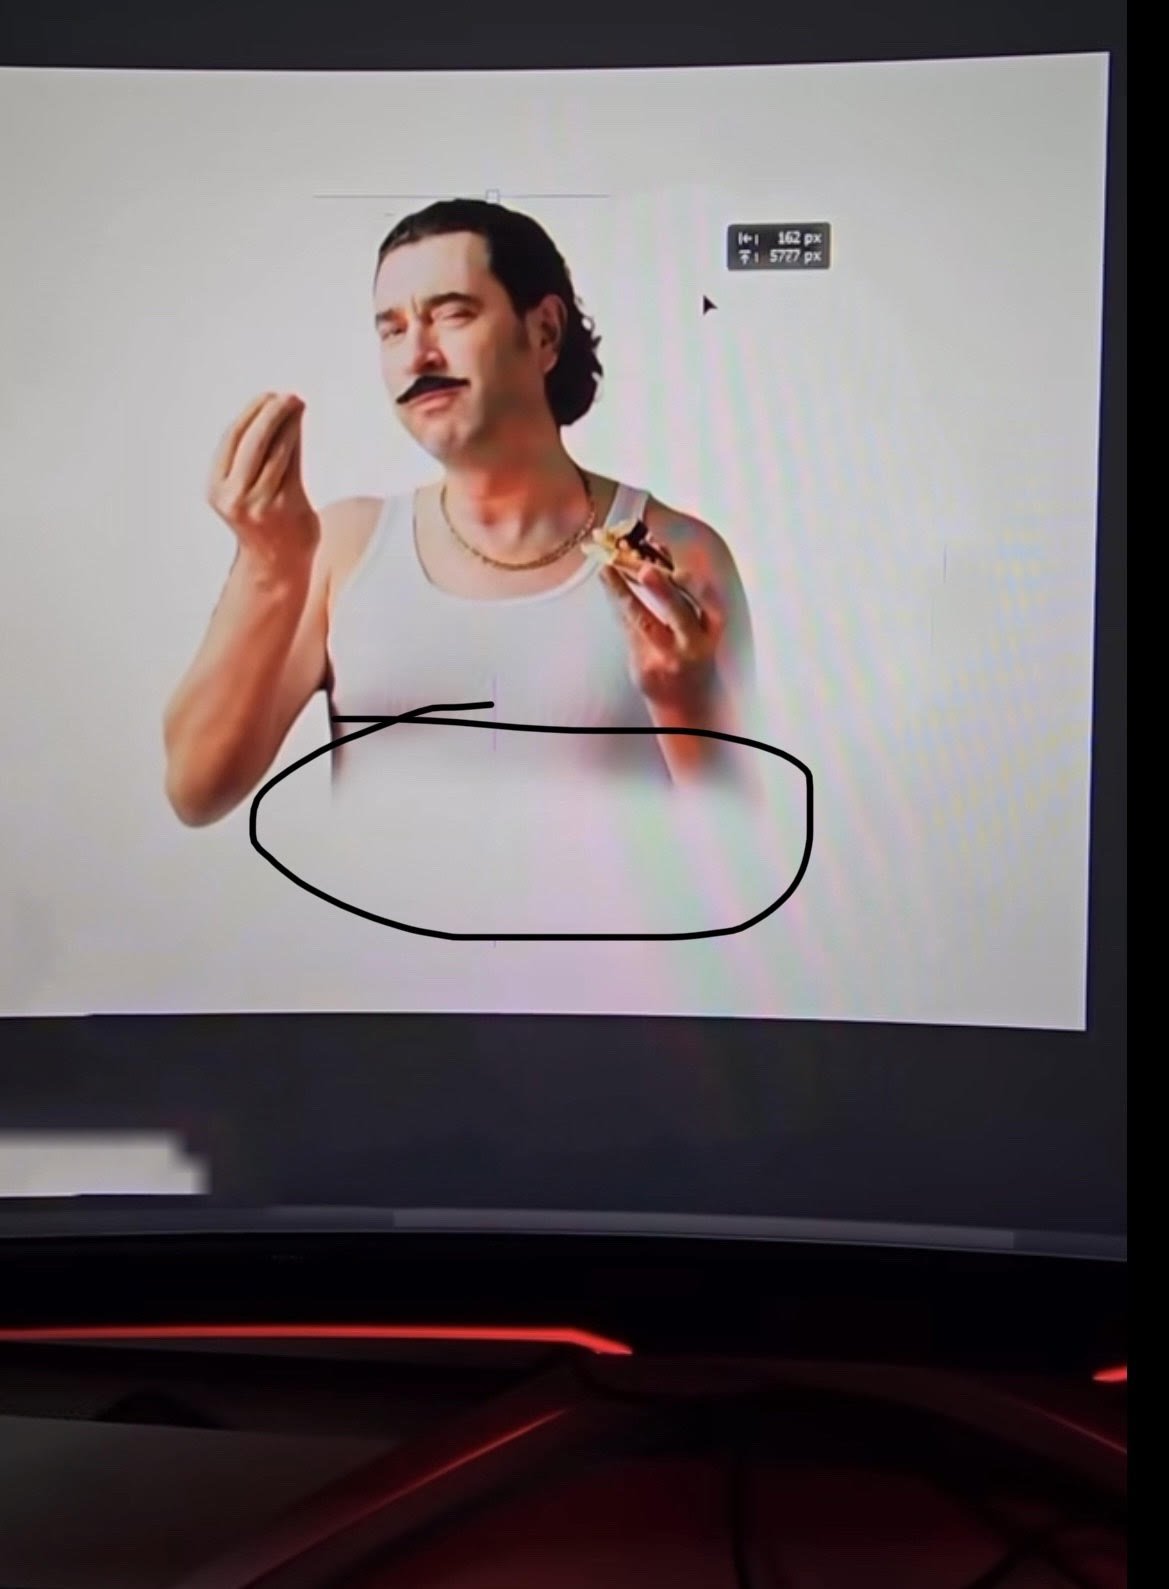
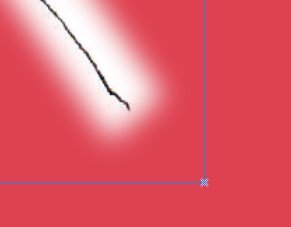
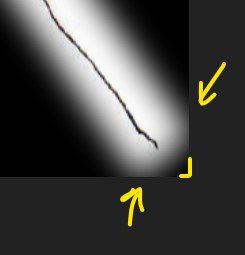
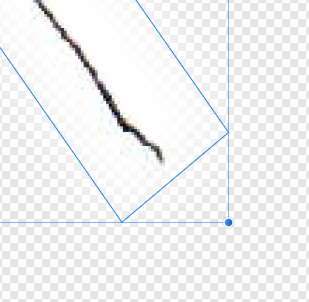
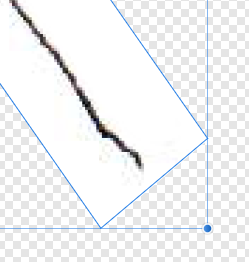
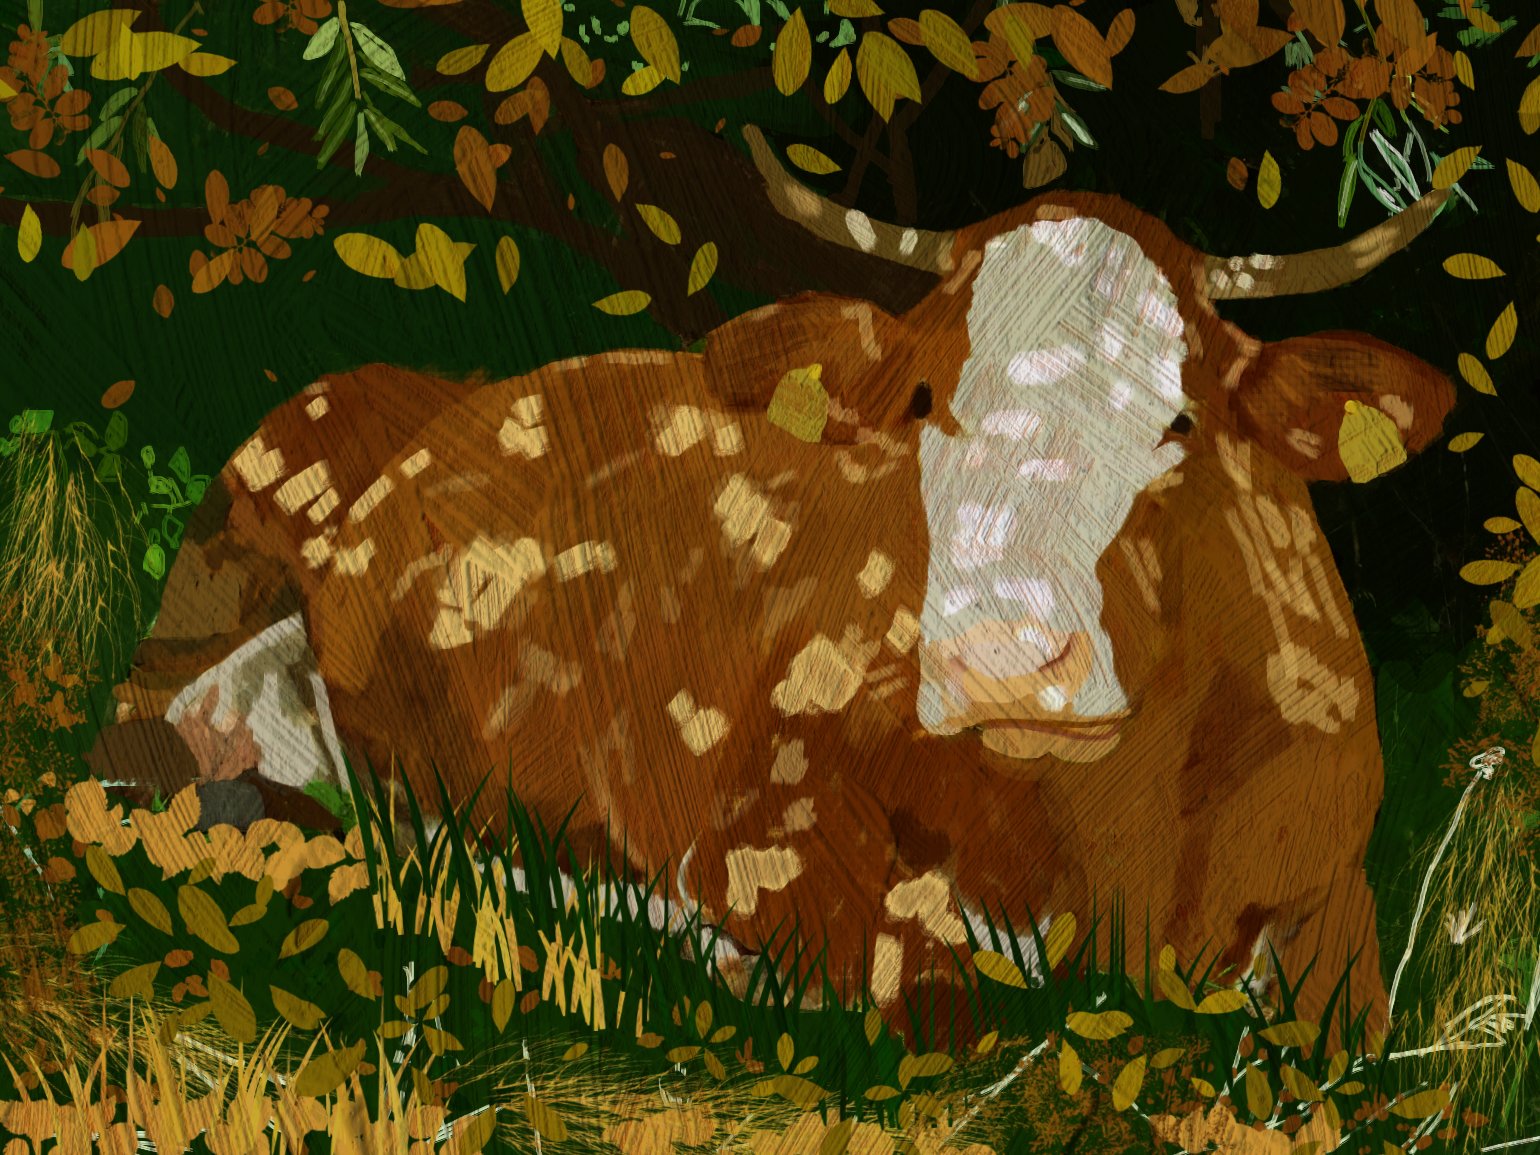
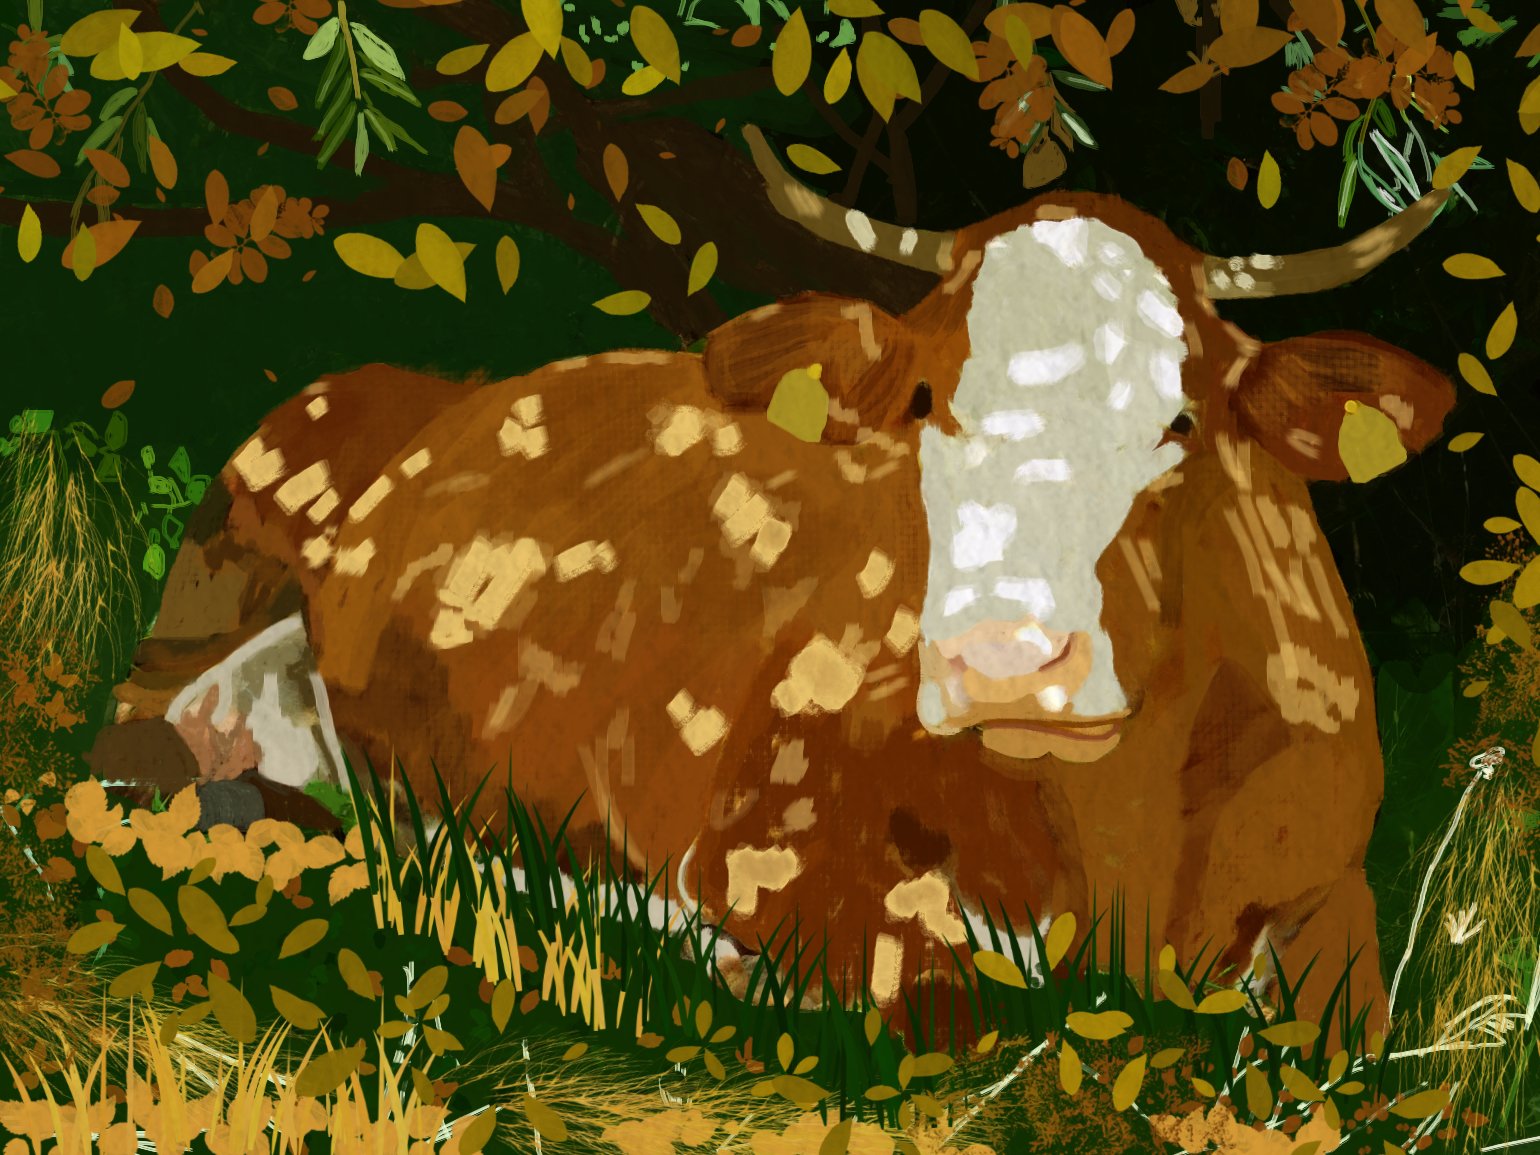
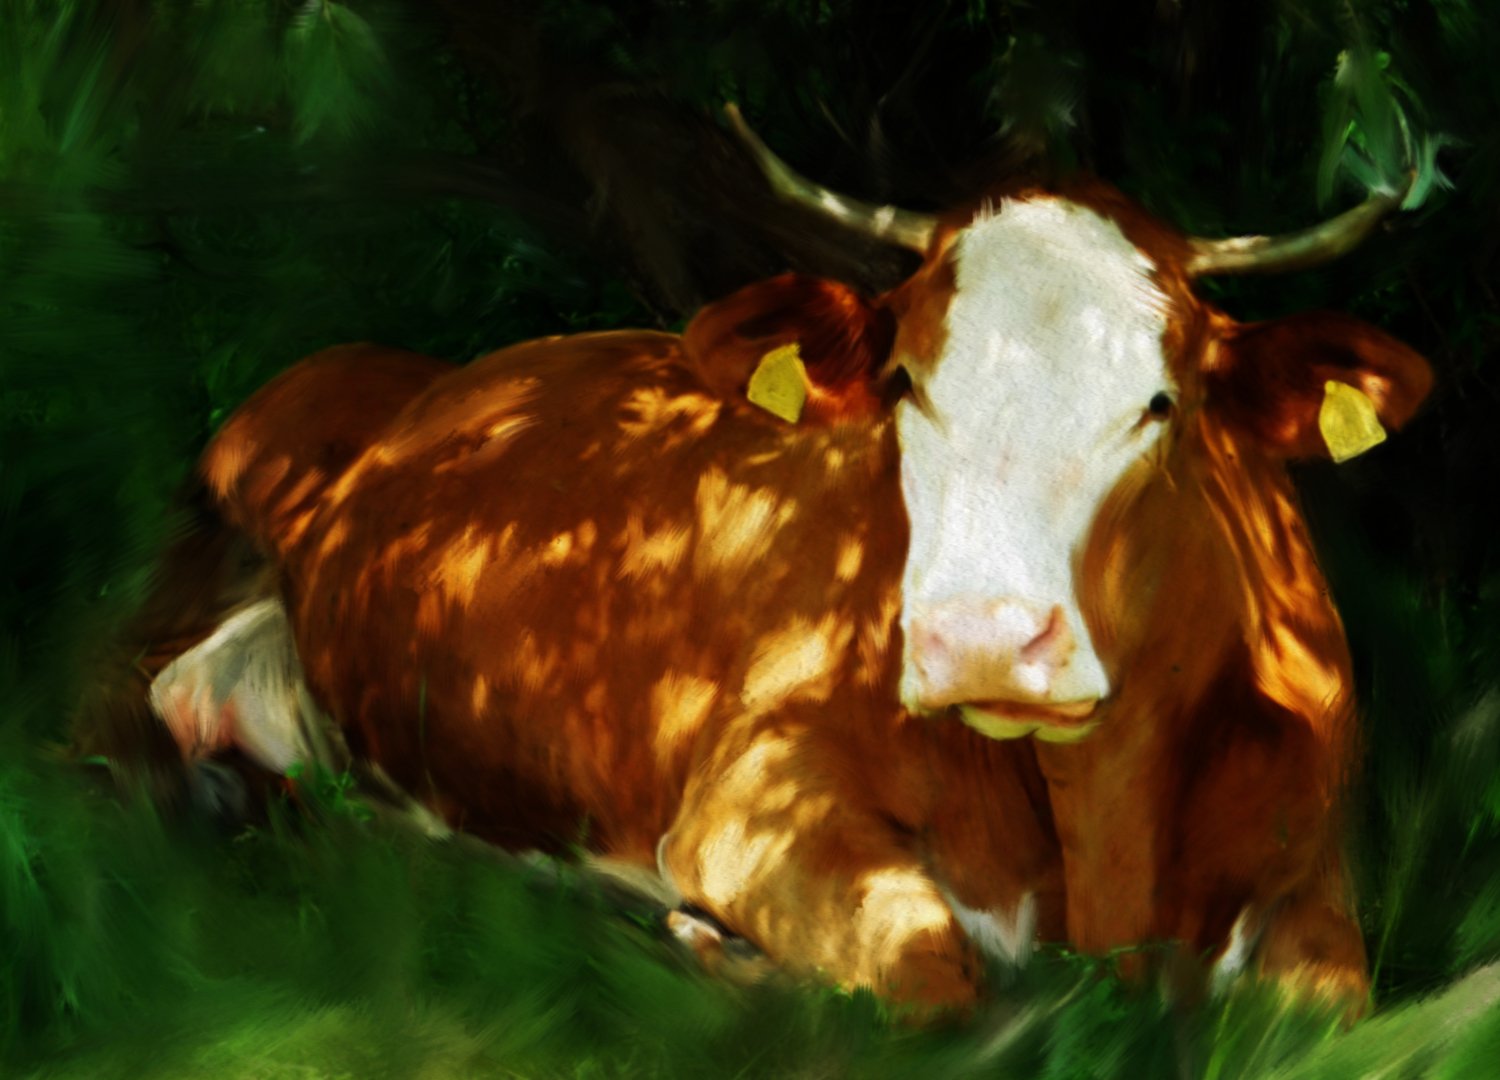
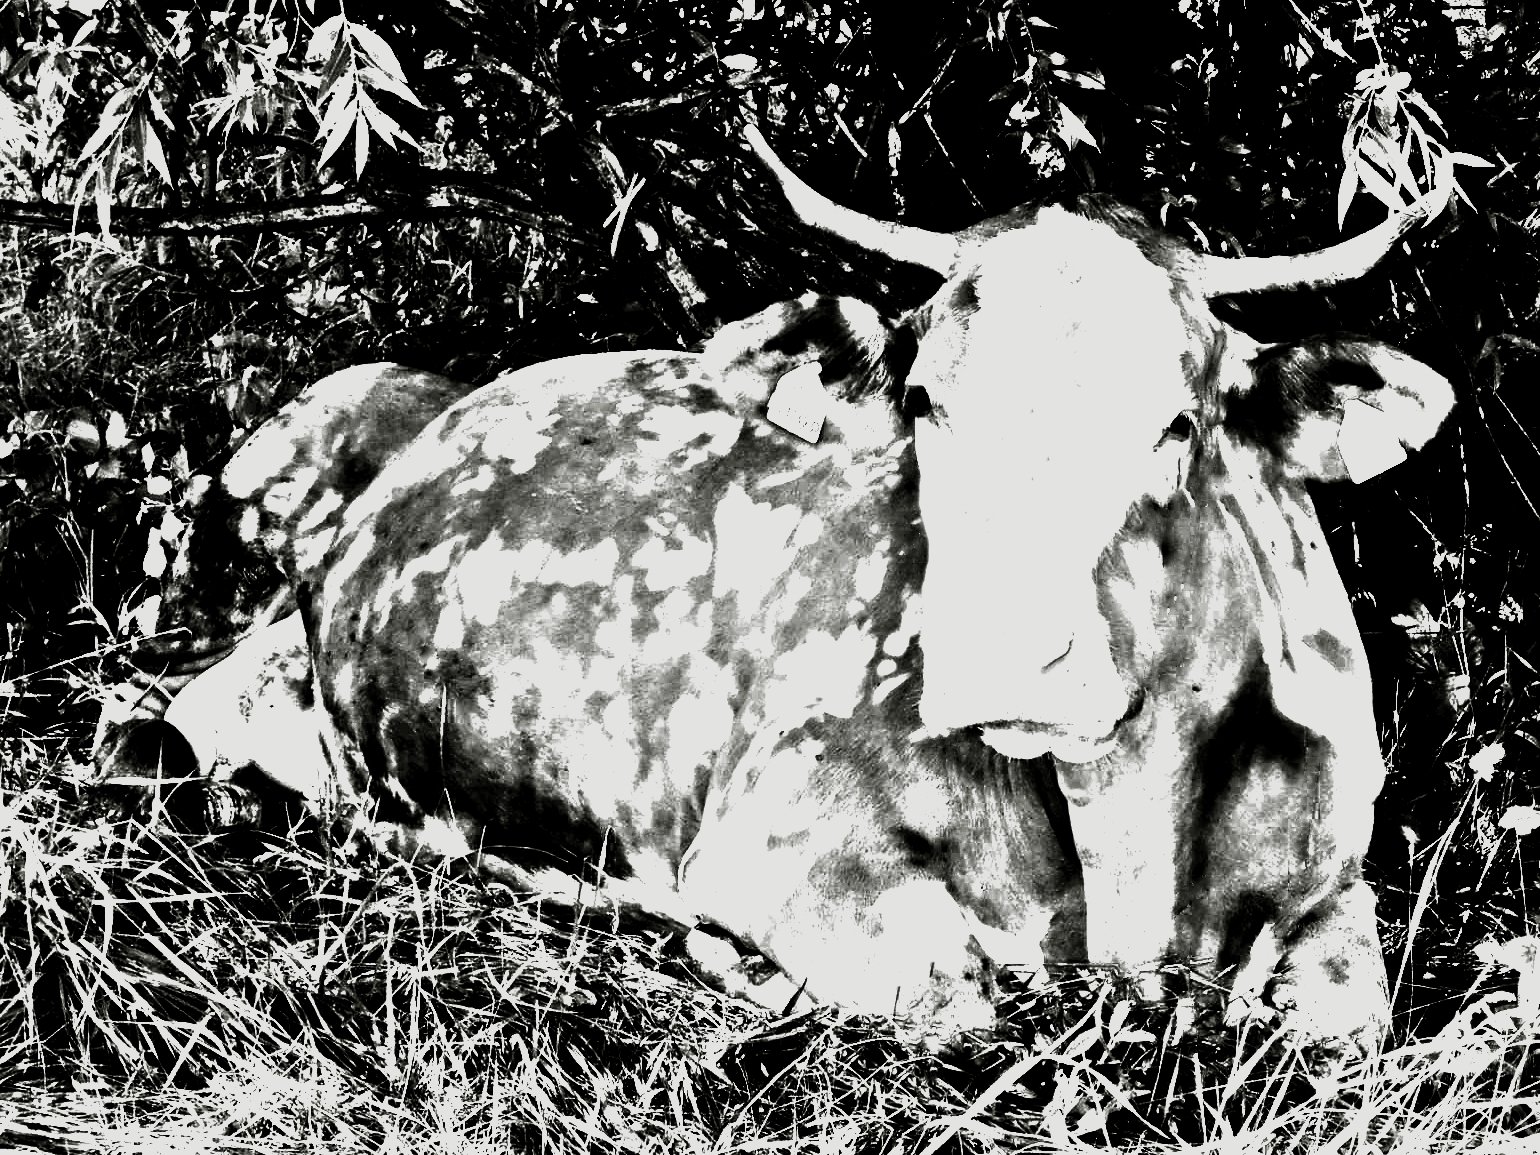
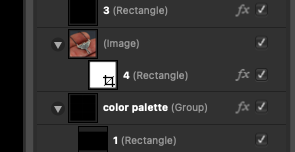
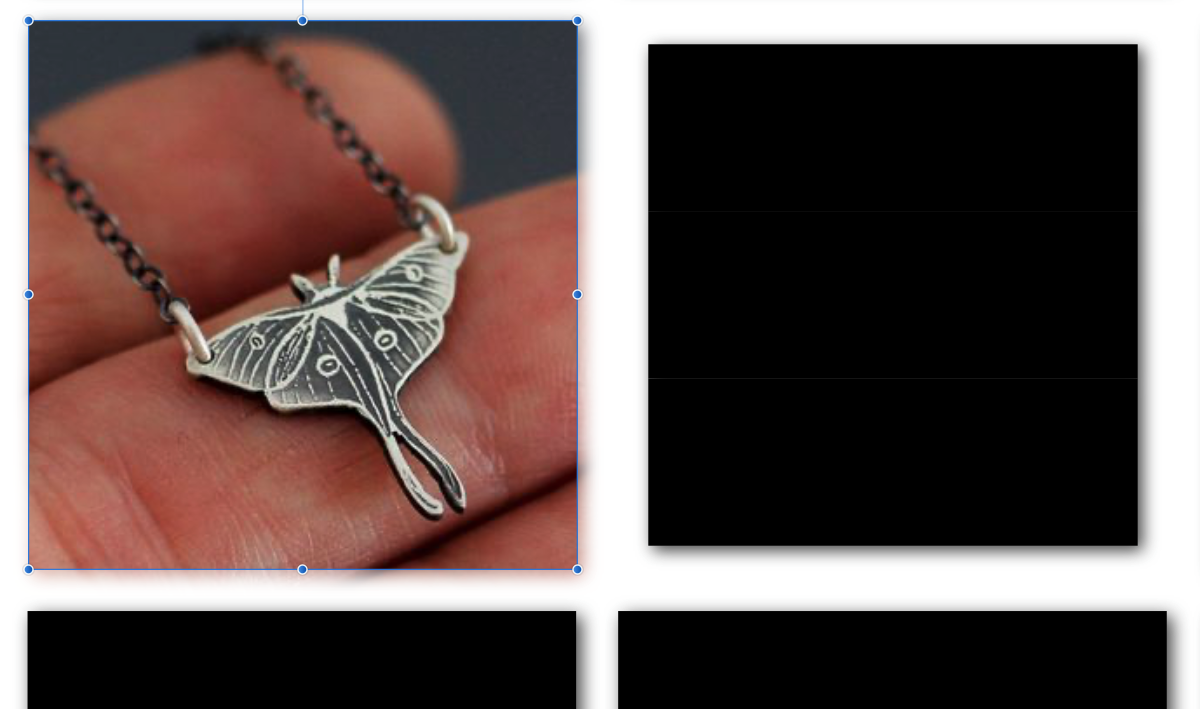
 I don't know if this is the right place to put this question. I'm brand new here but would love some feedback: How did the artist do this effect with the image (circled in black). Seems like it might have been done with a brush, but I've been fooling around with brushes but haven't been able to repeat this effect to success. Anyone veterans know? THANKS!
-
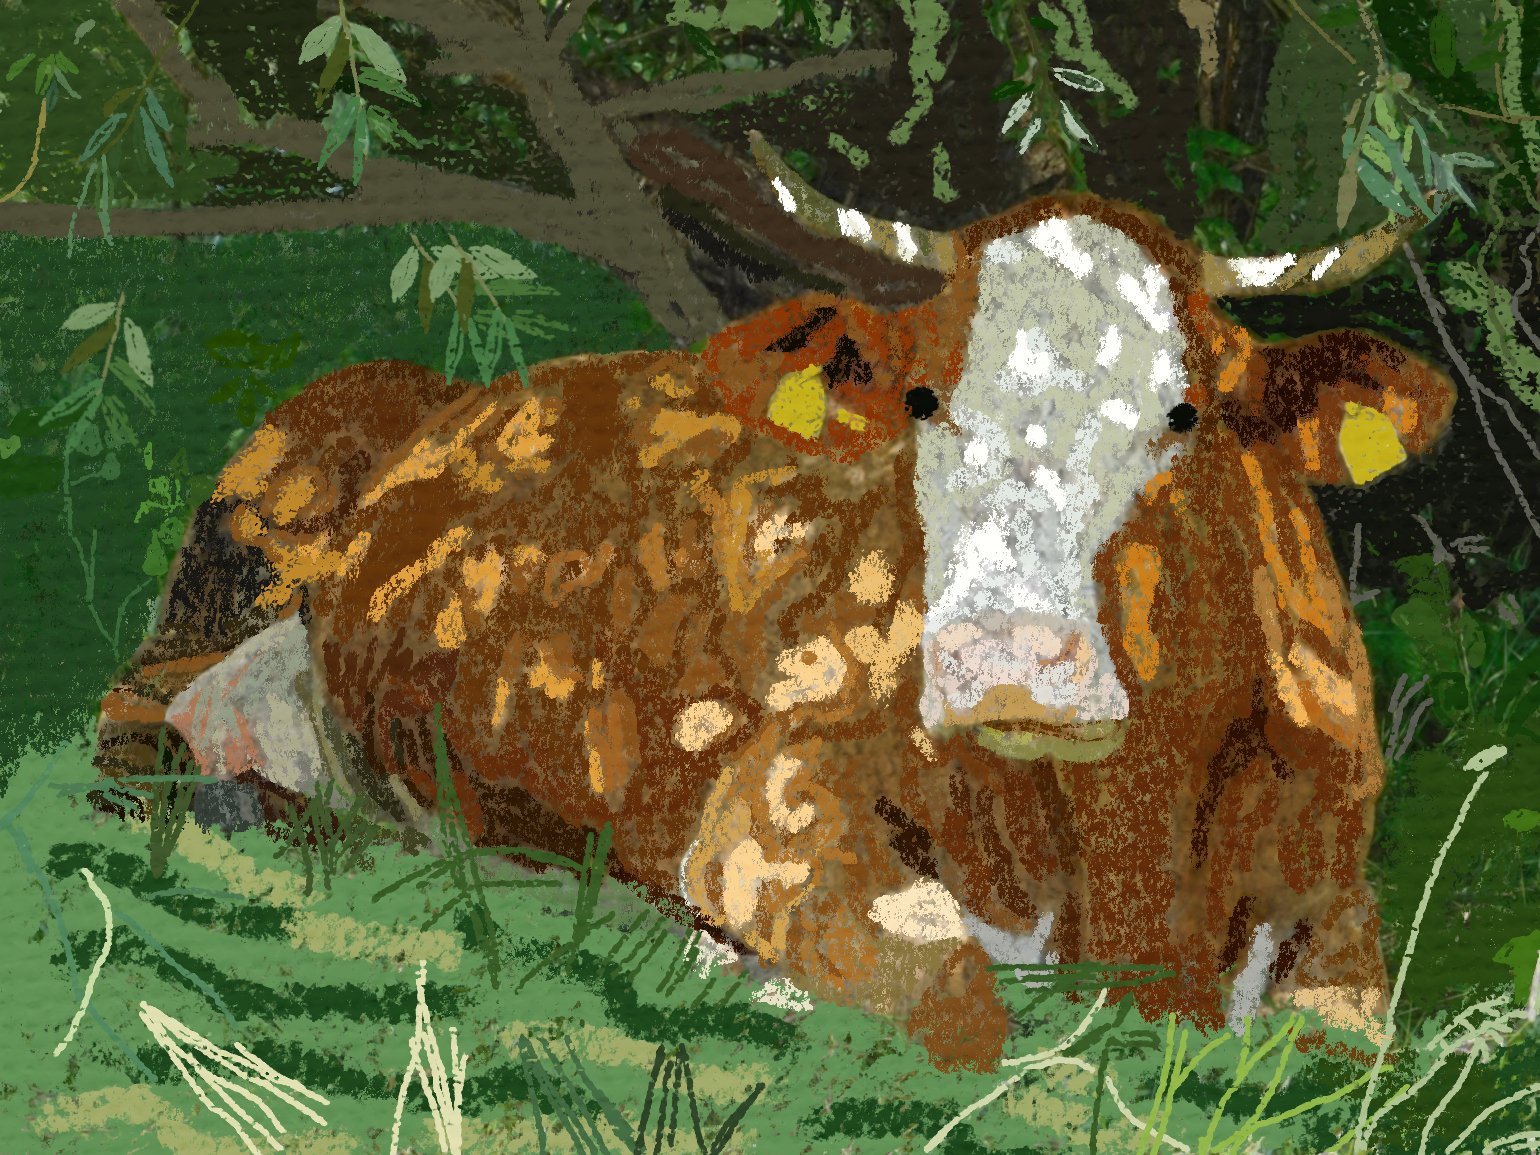
Hello to the forum, is there an affinity photo plugin that can be used to create this effect like the attached image? thanks for a tip Ludwig
-
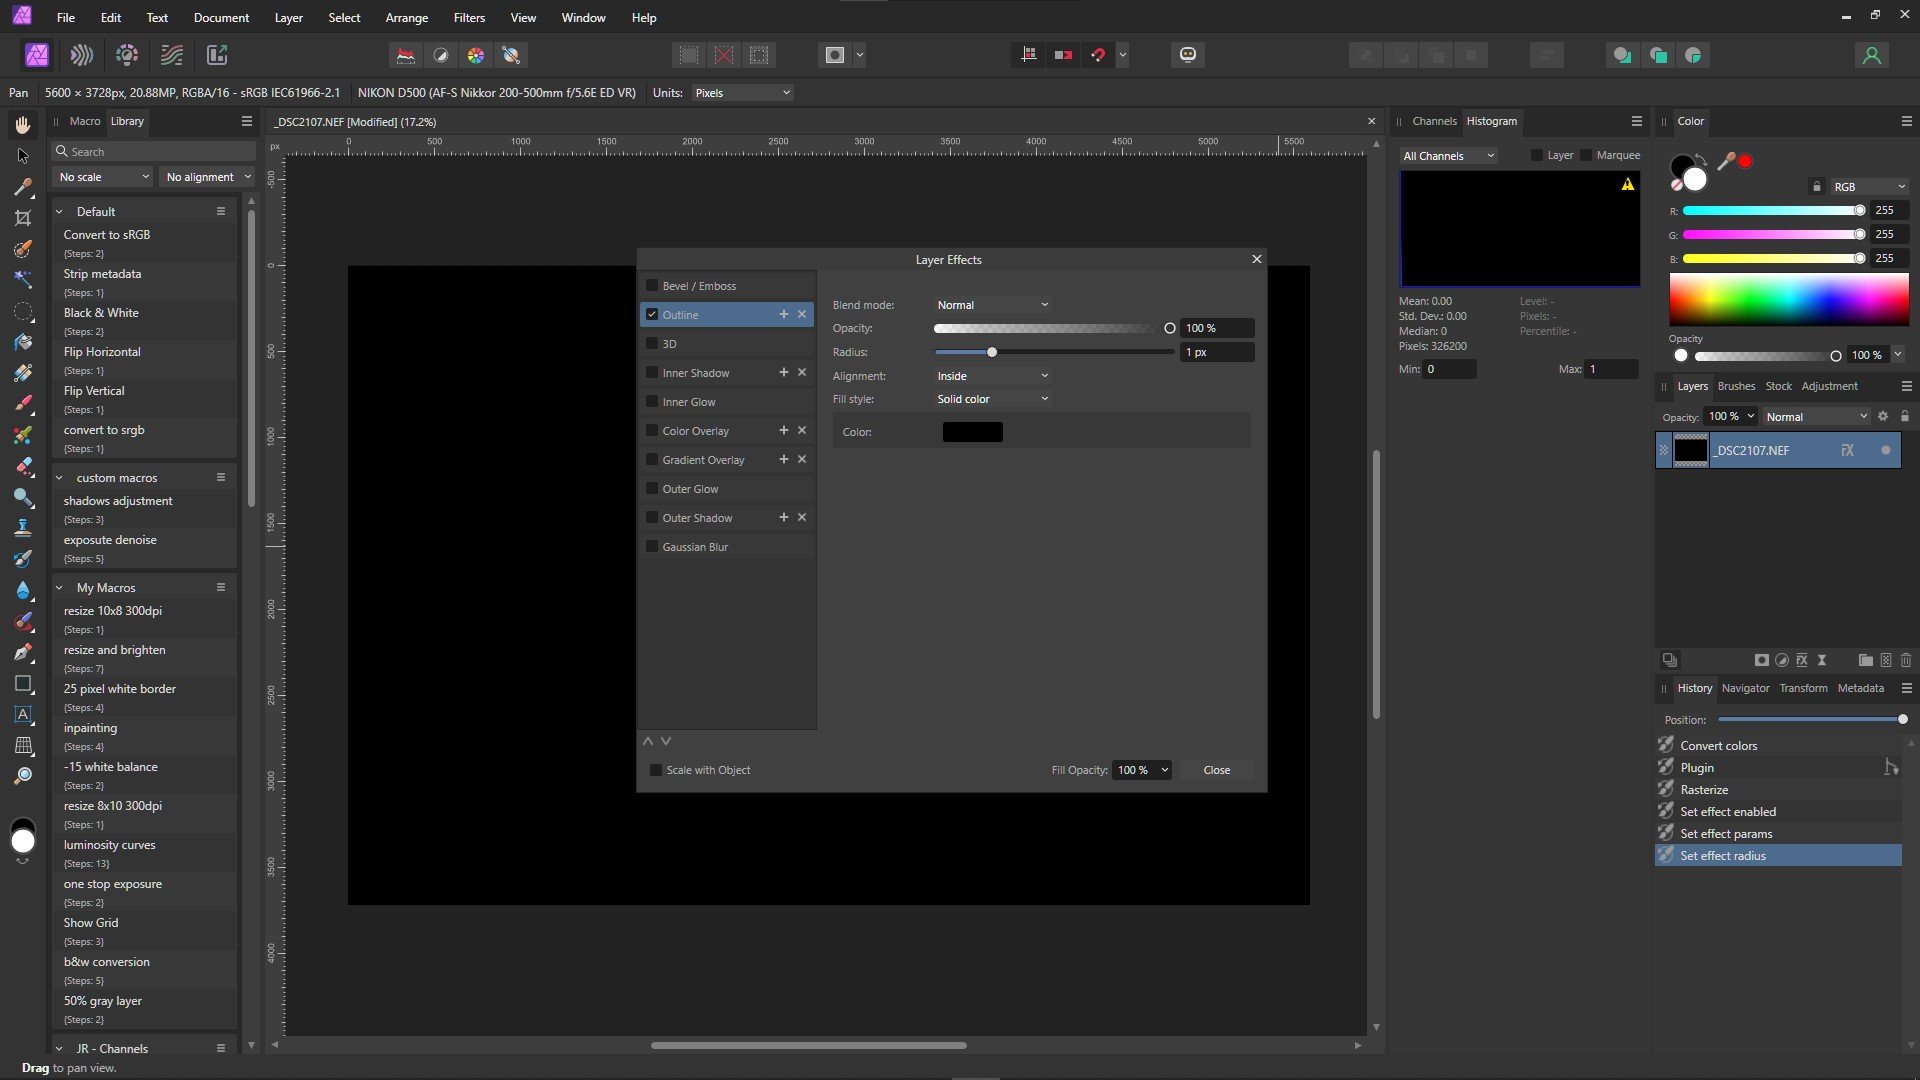
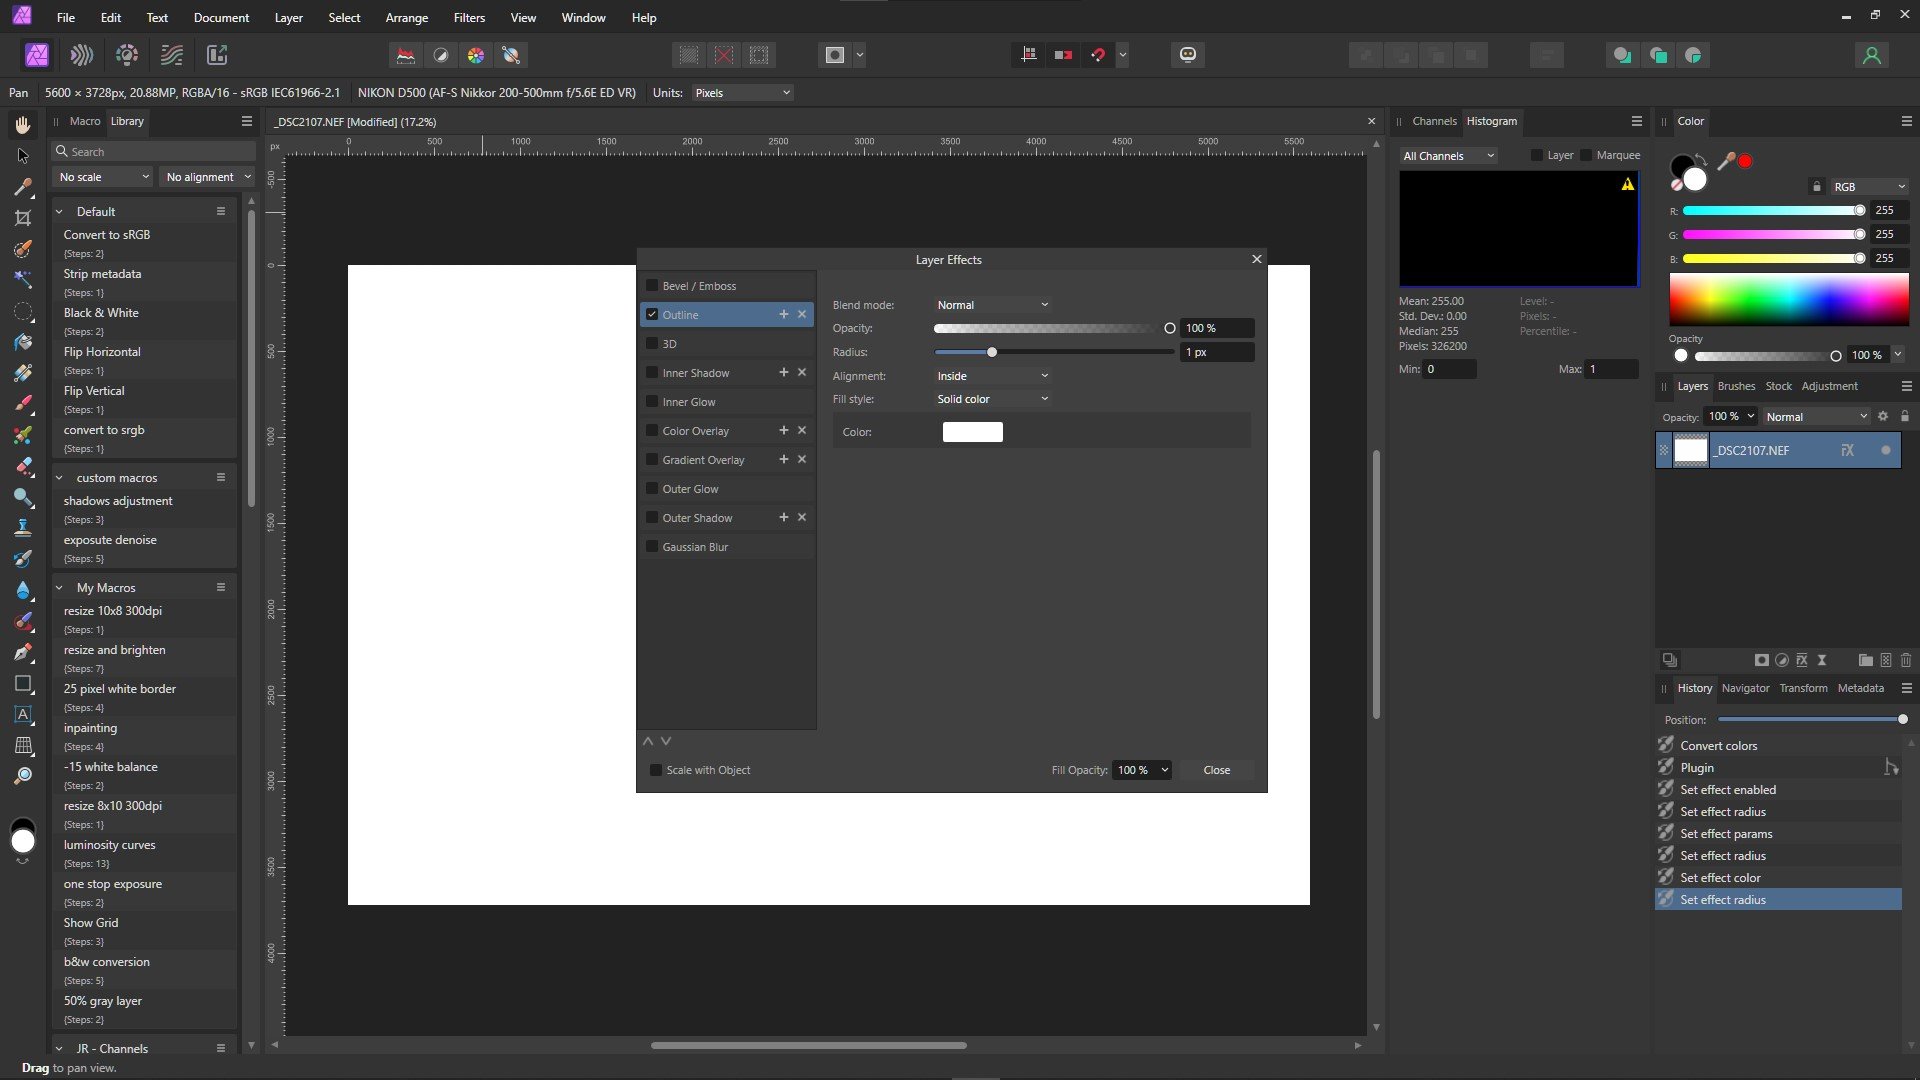
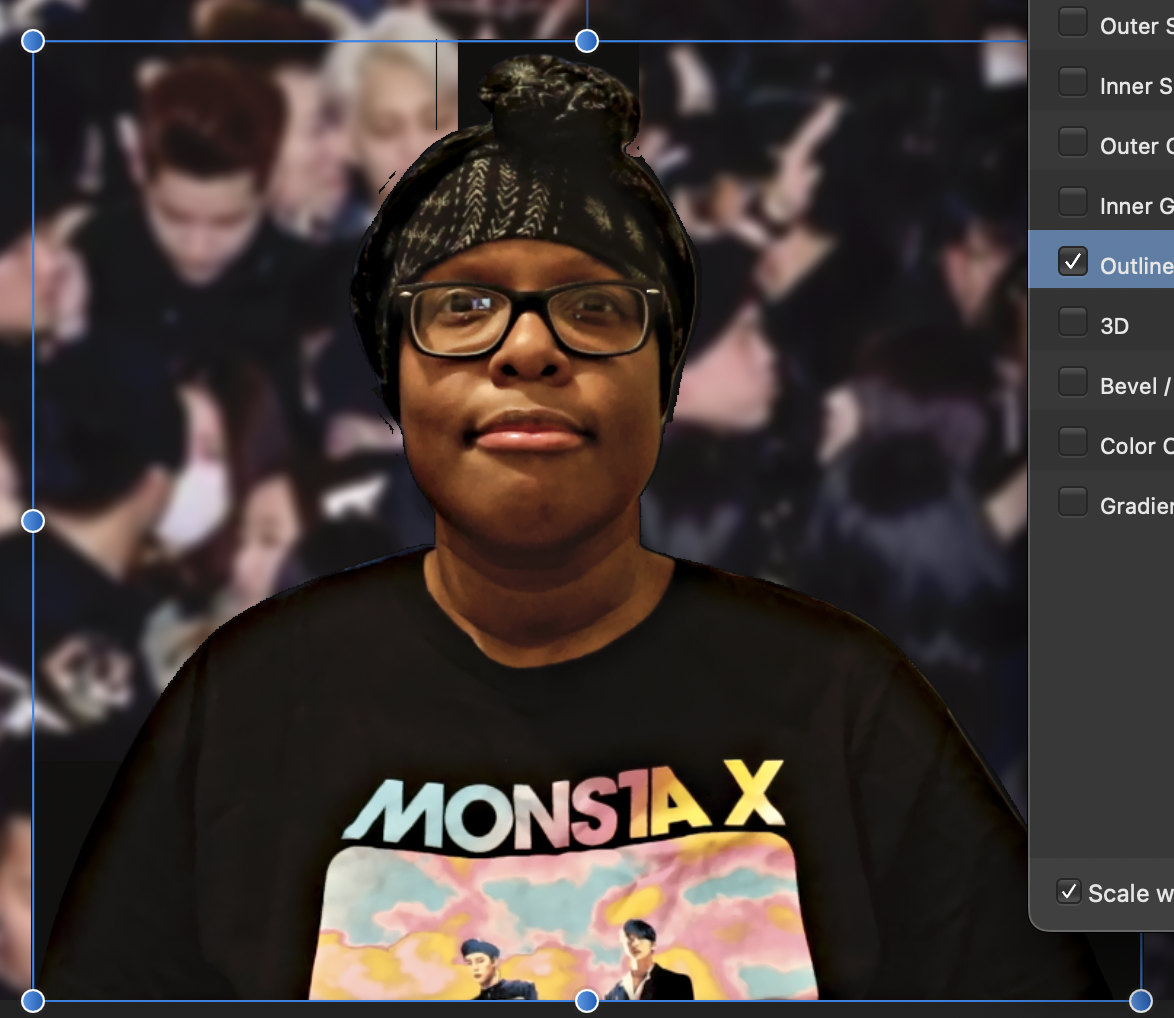
 Fans Need To Respect K-Pop Idols Privacy.ytn.afphotoHere is the source file. Hello, I'm Michelle. I'm having issues with Affinity Photo. So I'm having issues with Layer Effects. When I click; on Layer Effects(FX) panel and click on one of the effects, for example, 'Outline' and change the settings like 'Radius.' Blocks would show up around a cutout image of me. The same goes for the other Layer Effects as well. I have attached a screenshot; so you know what I mean.
-

Seamless pattern problem
Frankly posted a topic in Affinity on Desktop Questions (macOS and Windows)
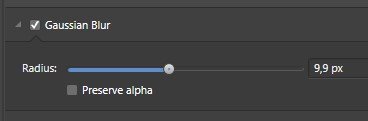
I am making a half drop repeating seamless pattern in Designer that I'm using lines with multiple overlapping gaussian blur effects applied. I always have problems with shadow effect matching up at the seams of the pattern, and was hoping to find some solutions. Matching up lines that cross a seam can be a challenge, but when I create a blur effect, it never matches on the other side of the seam. The has to be a method for using shadows and highlights that can be learned that works reasonably well, but I haven't seen found any instructions that deal with such that specific niche of using this program. Here is a screen shot to show what I'm referring to-- you can see the seam where the tile doesn't match up with the blur effect, especially in the corner of the half drop.
-
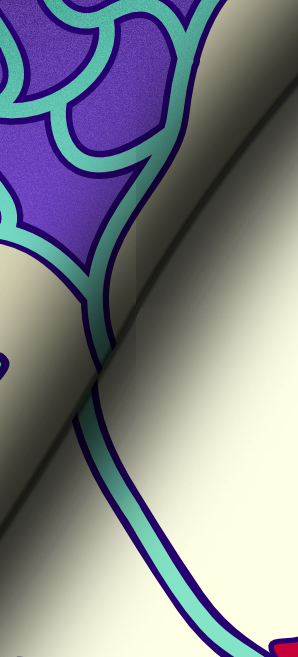
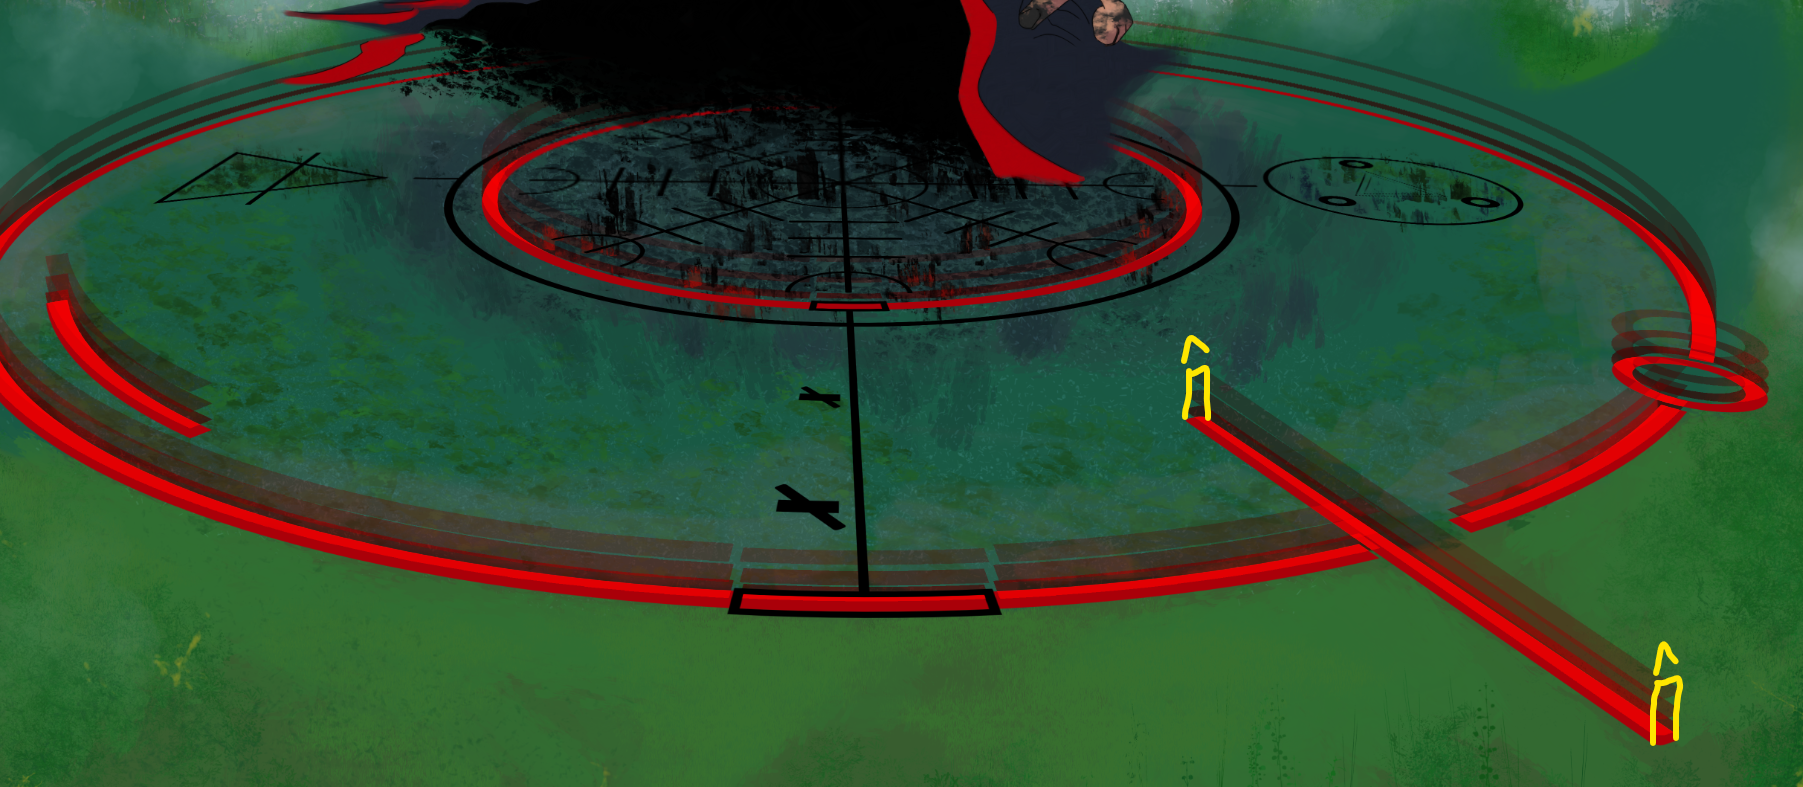
 Hi, apologies if this is the wrong forum, I saw there is a tutorial category but it seems it's more for posting guides than to ask questions. Is there a way to create a continuous glowing effect being emitted from the surface, like shown below with multiple fading layers? I am trying to make the effect have the same volume throughout the front and back without it being visible that they are just multiple flat layers. I can imagine creating the circle as a 3D cylindrical object in another program and then using that as a layer mask but is there a more efficient method? Thank you
-
 Hi everyone, I've just released a new 5 hour course at Udemy called Affinity Photo: Modern Special Effects and for an introductory offer you can use this coupon - ESPECIALFX to get the course for $9.99 instead of the full price of $59.99. Here's the link for it - Affinity Photo: Modern Special Effects In a series of tutorials, I'll show you how to combine the various Affinity Photo tools to recreate the most popular photo effects you can see today, and maybe come up with your own signature look. I'll show you the right way to use the tools along with any potential problems and things to watch for when you create a series of stunning effects. But flexibility is key here, so I'll also show you several ways to adapt your new recipes to meet the needs of different images. I'll make recommendations about which images are suitable for which special effect, and I'll be giving you exercises to practice what you have learned. I assume a basic knowledge of Affinity Photo. But, because we will be using some of the more professional grade tools, I provide some reference videos which isolate and explain how to use them. But here's the especially nice bit. I often do these kind of courses because I love learning new things but also because I think it's important that I go through the same process you do when you learn from one of my courses. I find the single biggest problem is taking notes. It's the single biggest thing that slows me down, sometimes by a factor of 4 or 5. So I've made the notes for you. You will find a 50 page .pdf waiting for you to download from Lecture 2. It contains extensive notes on the methods and processes I describe along with many screenshots. So much better than a load of scribbled notes that took you ages to write down... It's so easy when you create an effect to get the feeling that the software is doing the talking for you. Well, we'll change that. I'll go into enough detail about how to use the tools and the right workflow to use that you will gain a deeper understanding of the entire process. You'll be creating stunning, flexible effects. You'll be making your photos shine! Thanks for your time, Simon ... If you use Affinity Photo solely on the iPad you may want to wait for the version of this course that's especially for the iPad. I'm working on it now...
- 5 replies
-
- 1
-

-
- affinity photo tutorial
- effects
- (and 1 more)
-
Hi guys, Bevel & Emboss is cut of by live filter layer perspective. Didn't test anything else, didn't test on pixel layer. - Please see video: Effects + Live Filter Layer issue.mov
-
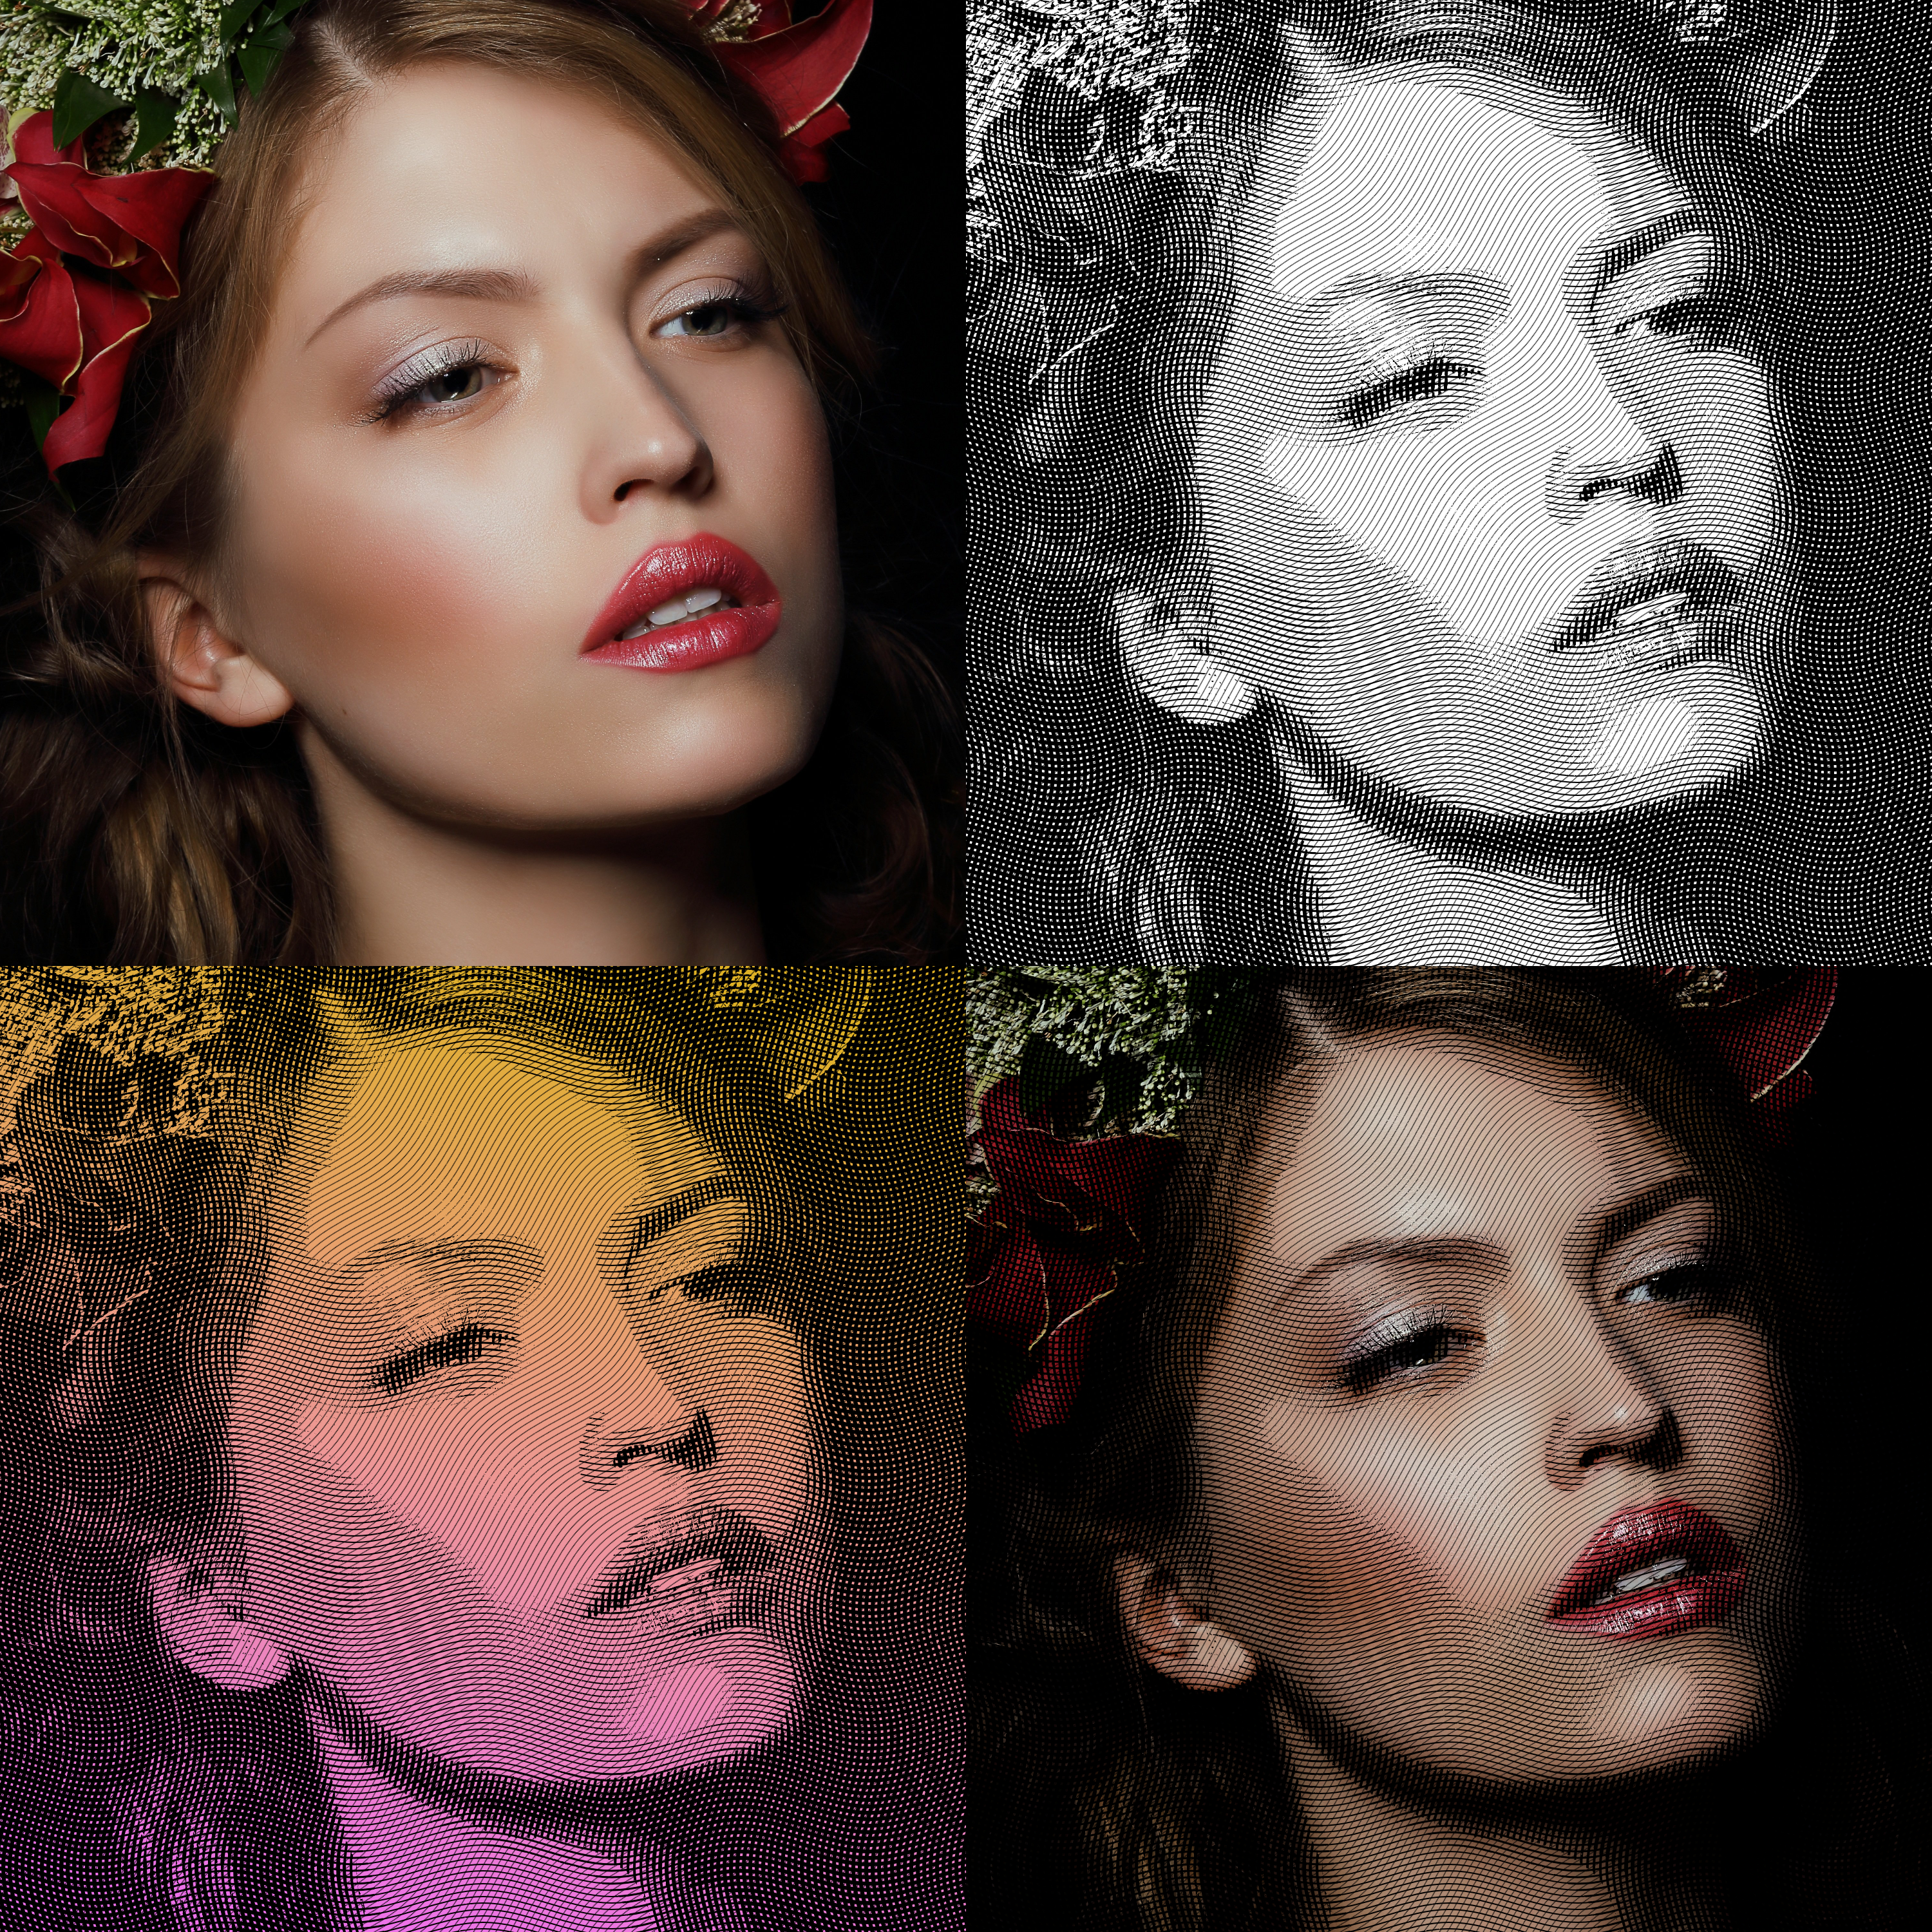
 I had to edit some images for a client, who wanted to embed them into some kind of bank notes. The motives on them used to be classic copperplate engravings. So I created some macros for AP, some of which I want to share with the community. Requirements: The image needs to be square format (it will get resized to 3000 x 3000 px) The image needs to be flat (only 1 layer) The styles provided in this post need to be added prior to starting the macro I got an error message when trying to upload the files (probably due to their size, hence some google cloud links: Engraving Styles (2.2 MB) - https://drive.google.com/file/d/1aHP4golVVLoidsw_aLs_EcMltfsM3oIu/view?usp=sharing Engraving Macros (1.8 MB) - https://drive.google.com/file/d/1mMbZFTd-fLDuACyRCa7bne7cd0wksYUu/view?usp=sharing The macros and assets have been moved to Gumroad. (https://thargoran.gumroad.com/l/engraving_effect) t's still for free—just enter the code APforum2023 (I'd appreciate some stars rating nonetheless). Sorry, but the free period expired.
- 14 replies
-
- 23
-

-
-
 This has probably ever be reported by somebody before, but I couldn't find any reporting on this issue with the forum search, so just to be sure it's known and hopefully can get a fix: Slices created from fill layers having a mask vector layer with gausian blur applied to it have bounding boxes that are cutting off the blur. This results in unusable export files as we obviously want the effect to be there fully, not cut off. It looks like effects are ignored by calculating the bounding box to create a slice. [edit] The bounding box of the mask in the normal editor is already ignoring effects by calculating the bounding box. Which is fine in the editor and even wanted in most cases IMO. But the same calculation results in issues in wrong sizes/positions to create slices in the export persona (please see images below) The same issue happens in Photo. I'm sure I know a way to work around this for now, but that's far from ideal and especially in the project I'm currently working at a loooot of (redundant extra) work. This obviously needs to work out of the box, so hoping for a fix! Thanks in advance! 😀 layer and fx situation Masked with this construction by dropping here 🙂 bounding box of the fill layer in the editor mode: bounding box of the mask layer without effect in the editor mode: bounding box of the mask layer WITH effect in the editor mode: created slice is too small (you see the bbox is way smaller than the real boundingbox as seen in the normal editor). The slice seems to ignore the effects applied at calculation time or something else is wrong in its cropping method: output file after exporting using the export persona: blur is cut off
-
 Working on a poster style design. Applied text to design. It shows up fine with a stroke, but... I want to apply an outer glow to the text and omit the stroke. Text that is not connected to the artistic design looks great -- the other text near design layers appears as if it's in a fog, like it would if it's behind a 50% white layer. I have triple checked the layering and opacity. Text is out front of every other layer and 100%. Any ideas?? AlleyOop
 -
 Hi. I found when I copy layer effects from one object to another, the effects will resize. Is there any way I can persist the effects parameters? Thanks! This is what I did to test: draw a 200x200 rectangle apply an outline effect to it with radius of 20px copy the rectangle draw a 100x100 rectangle edit → paste fx the 100x100 rectangle will have an outline effect with 10px radius
 -
 When working on a big layout I use copy on an object with Effects applied to it and than paste FX on the target objects to make sure all my objects get the exact same outer shadow. But it's not working as expected: when pasting the Effects on an object with a different size, the values of the Effects (at least with Outer Shadow) are different!! It looks like Designer does some sort of proportionally scaling to the surface of the object we paste the Fx unto, but that's not consistent and unwanted anyway. I don't know what Designer does with the values, but it's not pasting the FX the way se set them up and copied. This way paste FX is pretty useless, because we want to have the exact same effects on all our objects. At least with effects like Shadow, Glow etc. Now we still have to adjust all FX-values by hand, so copying and pasting didn't make much sense. I've been looking for a way to paste with absolute values (like checkboxes, preferences, a different menu item for it), but could't find it anywhere. Especially because we set the Outer Shadow value in pixels and not in percentages, we might expect the FX get copied with absolute values too. So I call this a bug. (Unfortunately rightnow I have to walk through all of my (around 100) objects in the file one by one to set the right Outer Shadow values... 'cause I just found out it isn't using the same shadow everywhere now... damn ) Hope this can be fixed soon, because copying and pasting FX is a pretty nice workflow that really speeds up the workflow and the way it is build now is just unusable!! Thanks in advance! fx-copies-values-relative-instead-of-absolute.mp4
- 13 replies
-
- 4
-
-
- paste fx
- copy and paste effects
- (and 2 more)
-
I purchased Affinity Photo months ago. Ever since then, I have been having a few issues with the software. The issues I'm having with the software are the layers are blurred or something like that for a few seconds when I use Effects. When I used the text or a specific type font or do anything with the text, like change the size of the text, duplicate the text, and move the text, the transparent canvas would show up (some of the transparent canvas would show up). Also, when I open up a file, the layers, adjustments, layer effects, and live filters become blurred for a few seconds, then go back to normal. Now, I'm going to tell Affinity support about the issues I'm having, but I just want to post it in this forum to see if anyone else is having the same issues, as I am. Also, if someone could help me solve these issues.
-
 Hi guys, here's another new video about how to create a speed effect in Affinity Photo. I hope you enjoy and learn something new from this video, thank you!
 -
I tried some variations. Not so good, not so bad. Need some improvements.
-
 Hi! I'm trying to make a mood board with squares that have drop shadows. In the squares, I put my images. When I tried it out today, the drop shadow took on the image instead of remaining black like I intended. (Please see screenshots.) How do I stop this and keep the drop shadow black?
-
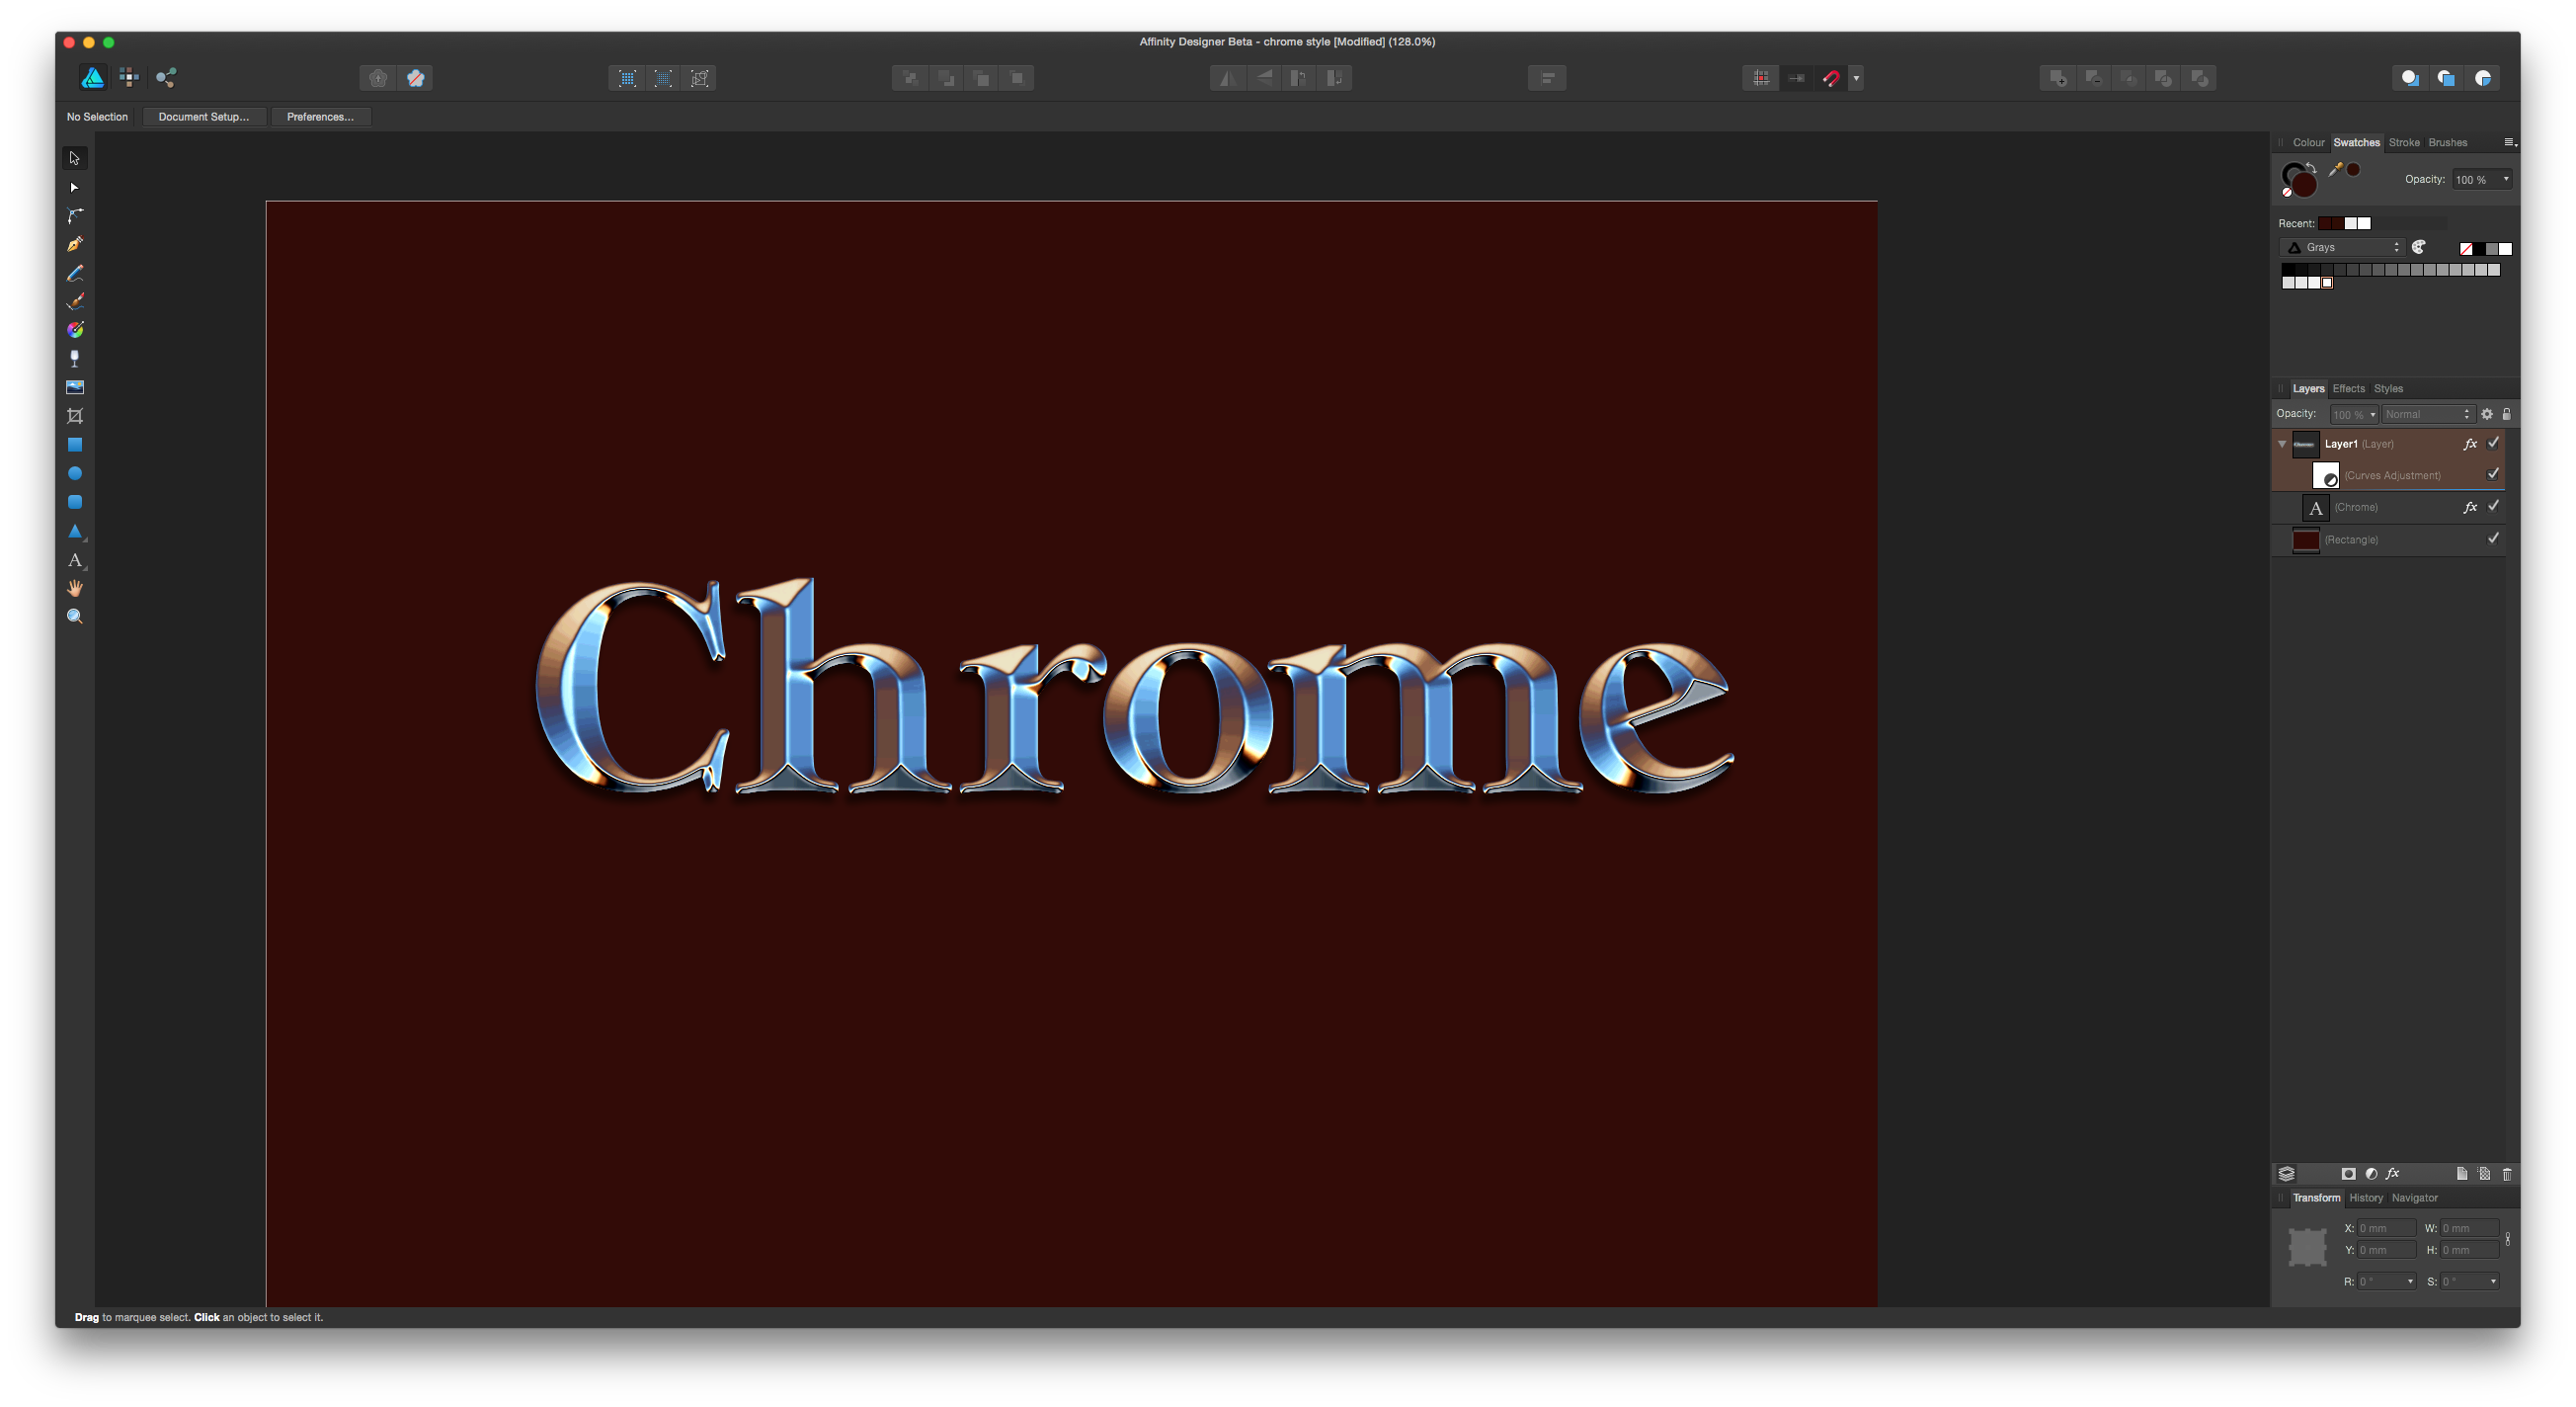
See Pic attached. After unsuccessfully trying to replicate a chrome layer style in Designer I was about to give up and chalk this up to Designer just doesn't have the goods, BUT IT DOES! After studying the differences in both apps, I saw that a layer style in PS is going to be created differently in AP or AD. I studied why I wasn't getting the chromey effect in AD, I realized that PS has a gloss contour built into their bevel panel, and AD doesn't so I was stumped a while. Soon realized that gloss contour is almost the same or same as a curves adjustment so after tinkering more I came up with this cool chrome CUSTOM effect! AFFINITY ROCKS!!!
- 23 replies
-
- 10
-
-
- layer styles
- styles
- (and 2 more)
-
 Windows 10. Version 1.10.5 of all three products. Within the las couple of months, I have noticed that several adjustable parameters reduce when I stop moving. In the attached video, notice the noise in the red stroke drops off significantly as does the 3D effect. This happens with all three products but it does not happen on my laptop. I have done a master reset on Photo but that has not helped. I have a Xencelabs tablet that has always worked fine with Affinity. I have been researching this for a couple of weeks and don't know where else to turn. Thanks, Dave Davis effects.mov
 -
 In the layers panel, when you disable (not remove) some effects on a certain object it might be worth keeping the "fx" icon in the panel but maybe with a red "X" through it so you know there are some effects applied to it but are just disabled. That way with a click on that "fx" with a red "X" you can toggle the effects on and off right from the layers panel. Currently when I disable the effects, the icon disappears and I don't know which objects I have tried some effects on... This way, at a glance you are reminded which elements have effects applied but are turned off.
 -
 The people of School of motion are a big fan of affinity and today they posted this very detailed and wonderful tutorial on how to export from Affinity Designer® to Adobe® After Effects@. It may seem a little bit cumbersome, but I think it's worth it...specially if you try to avoid illustrator. The link: https://www.schoolofmotion.com/blog/save-affinity-designer-vector-files-after-effects Have a nice one! B.
 -
I'm really happy to see that effects aren't in a floating dialog by default. Thank you! I hope that comes to the Window's variant of Designer. I haven't used DrawPlus in awhile..so it's possible it already has. One thing I always wished to see was multiple layer effects on a shape layer. So I could have 3 inner shadows layered on top of each other to create a specific visual effect.
-
This is something that I feel is kind of missing from the effects board. While having both overlay color and the fringe option - one still feels like its missing. The "Fill-Effect". Having a Fill-Effect would be a huge improvement when thinking of a more non destructive workflow. This would be especially helpful for artists that work with outlines and want to reduce the layer count while still maintaining a non destructive workflow. This fx could come with modes like these: - Símple Fill-In which searches the outlines of and object/lines inside of the outest outline and fills the spaces that do not yet have any pixels in them. - Fill the whole image (fills the whole layer with all the outlines similar to overlay color but also fills any gaps inside the main outline of the layer) -> This could help creating black versions of objects for more simplified artstyles, masks or sillouettes) (- Fill the whole background behind an object - including outlines) An export fill option would be super helpful here btw - so you are able to just click a few buttons and fill out the whole object without having to fill out each single space on your own. This would give artists the option to create a backlayer quickly while keeping the outline layer separate if they want to. Also, if the artist would change an outline the object would still be filled perfectly which would safe a lot lot of time not having to erase background of add new background to the outline. Please consider adding this. It would make so much so much easier. Greetings, Chris
-
Hi guys, here's an easy photo manipulation idea that you can try, it's about how to create a portal effect in Affinity Photo. I hope you enjoy this video, thank you!
-
- 2
-
-
- affinity photo
- tutorials
- (and 6 more)