Search the Community
Showing results for tags 'Design'.
-

affinity designer Halloween Pumpkin Asset in Vector Design
Jhonatan S posted a topic in Share your work
Hi guys, I'm Game Artist, then I did this piece especially for the Helloween, I really hope to help some of you with my techniques showed there. Take a look at this video as an example of my contents, for while my videos aren't very didactic, but I Hope to build a master class for designers and artist so keep watching please if you liked, subscribed to support more of this :D, thanks so much and have fun! -
Character design made with Affinity Designer Ipad pro, took 2 days to be done, designed for mobile game. follow me on Instagram to see more my artworks: @jhonatan.ssilva

-
 Hey guys, i've been making some designs on affinity designer that i want to make into stickers some day. I've made about 4 or 5 of them but now i realize that i may have made em just a tad small. most are 7 in wide by 3 in tall. i think one or two may be 7.5 x 3 in. Anyways now im learning that these types of rectangular sticker designs would be best if they were 8 x 3 in. My question is what is the best way to resize em? would i need to start all over? should i just stretch em with a loss in quality? is there even a way to resize them without opening a new file in the correct sizing and then copying and pasting my old design onto it? -thanks in advance my fellow Affinity users.
 -
Hey guys. Im a new memeber here and new to these programs by Affinity. Anyways I've dabbled a bit in the past in illustrator and inDesign but pretty much forgot everything. So now im getting back into Graphic design simply as a hobby but this time around on Affinity. My question here is which affinity program should i use to create a Restaurant Menu? I was thinking of using Publisher. Is that the right tool to use? Any good tutorials for similar ideas made on publisher? Thanks in advance.
-
Hi guys, I'm very happy to share with you my youtube channel using Affinity Designer for Ipad as Game Artist, I really hope to help some of you with my techniques showed there. Take a look at this video as an example of my contents. I want to bring the community of game artist to join us in this tool, please if you liked, subscribed to see more :D, thanks so much and have fun!
-
 I'm very new to the AD world and I could use a little help. I have created a business card design. How do I get that design to print like 8 on a sheet? So that if I were to send this design to a customer, it would be print ready? Right now it's just a single 3.5×2 design.
 -
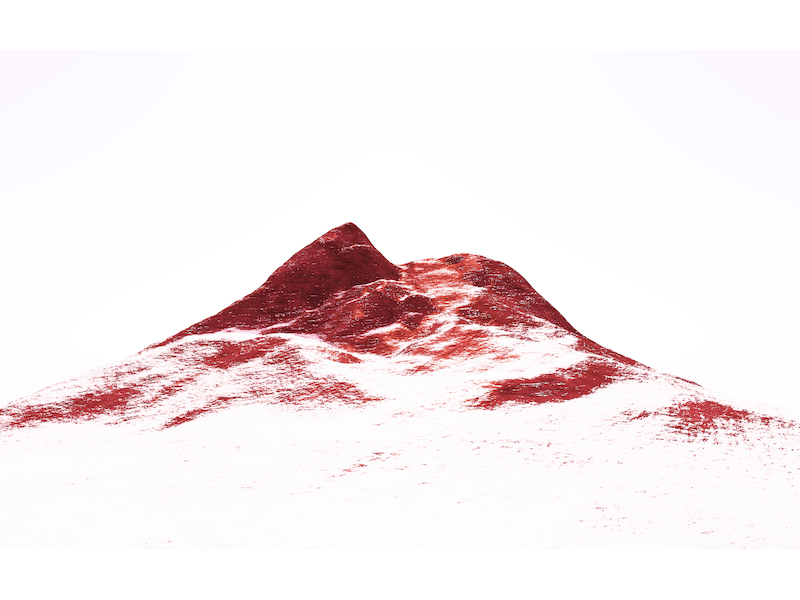
 recently I have learned to make the model of mountains and snow, and make the post adjustment with affinity photo . here is the work: and hope you like it .
-
Hi guys I hope someone can help me with my issue I have a photo of pool and a photo of foil /sample in attachment I would like to make that foil all around the pool , par of foil is already on picture and i want to make that foil all around the pool with sample given in attachment I would like if somebody can help me either with theory or some video tutorial that can help me to make that Its really important for me so I hope someone can help me IMG_3468.CR2 IMG_3464.CR2
-

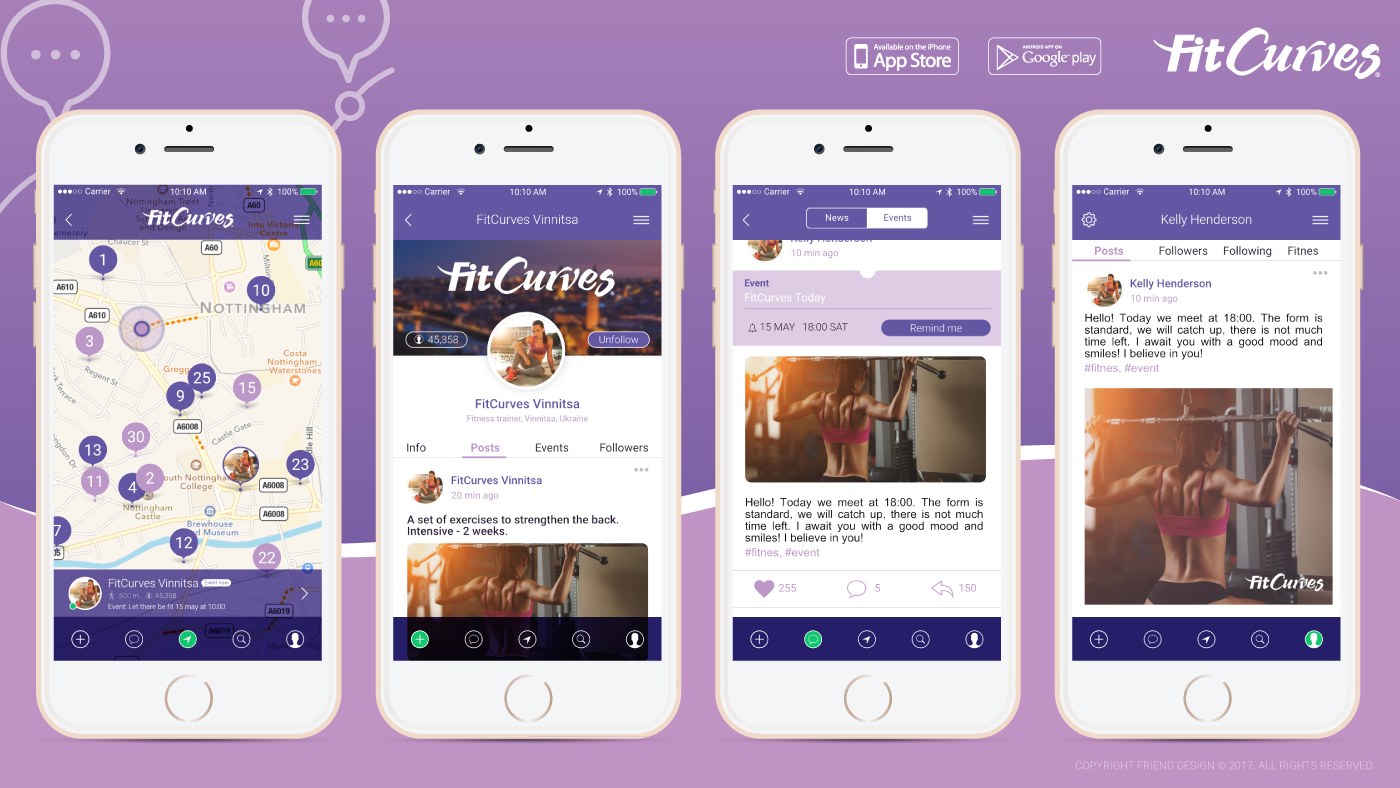
affinity designer My new work - Mobile app - FitCurves
FriendDesign posted a topic in Share your work
UI Design - Affinity Designer :wub: Link to the portfolio below in the signature =)
-
 Hi everyone, I am completley new to affinity and purchased both affinity photo and affinity design. I would really like to learn how to make flyers for clubs and events but am clueless as to what to do. I would really appreciate it if someone would be willing to teach me how to use either software to get this done. Thank you so much!
 -
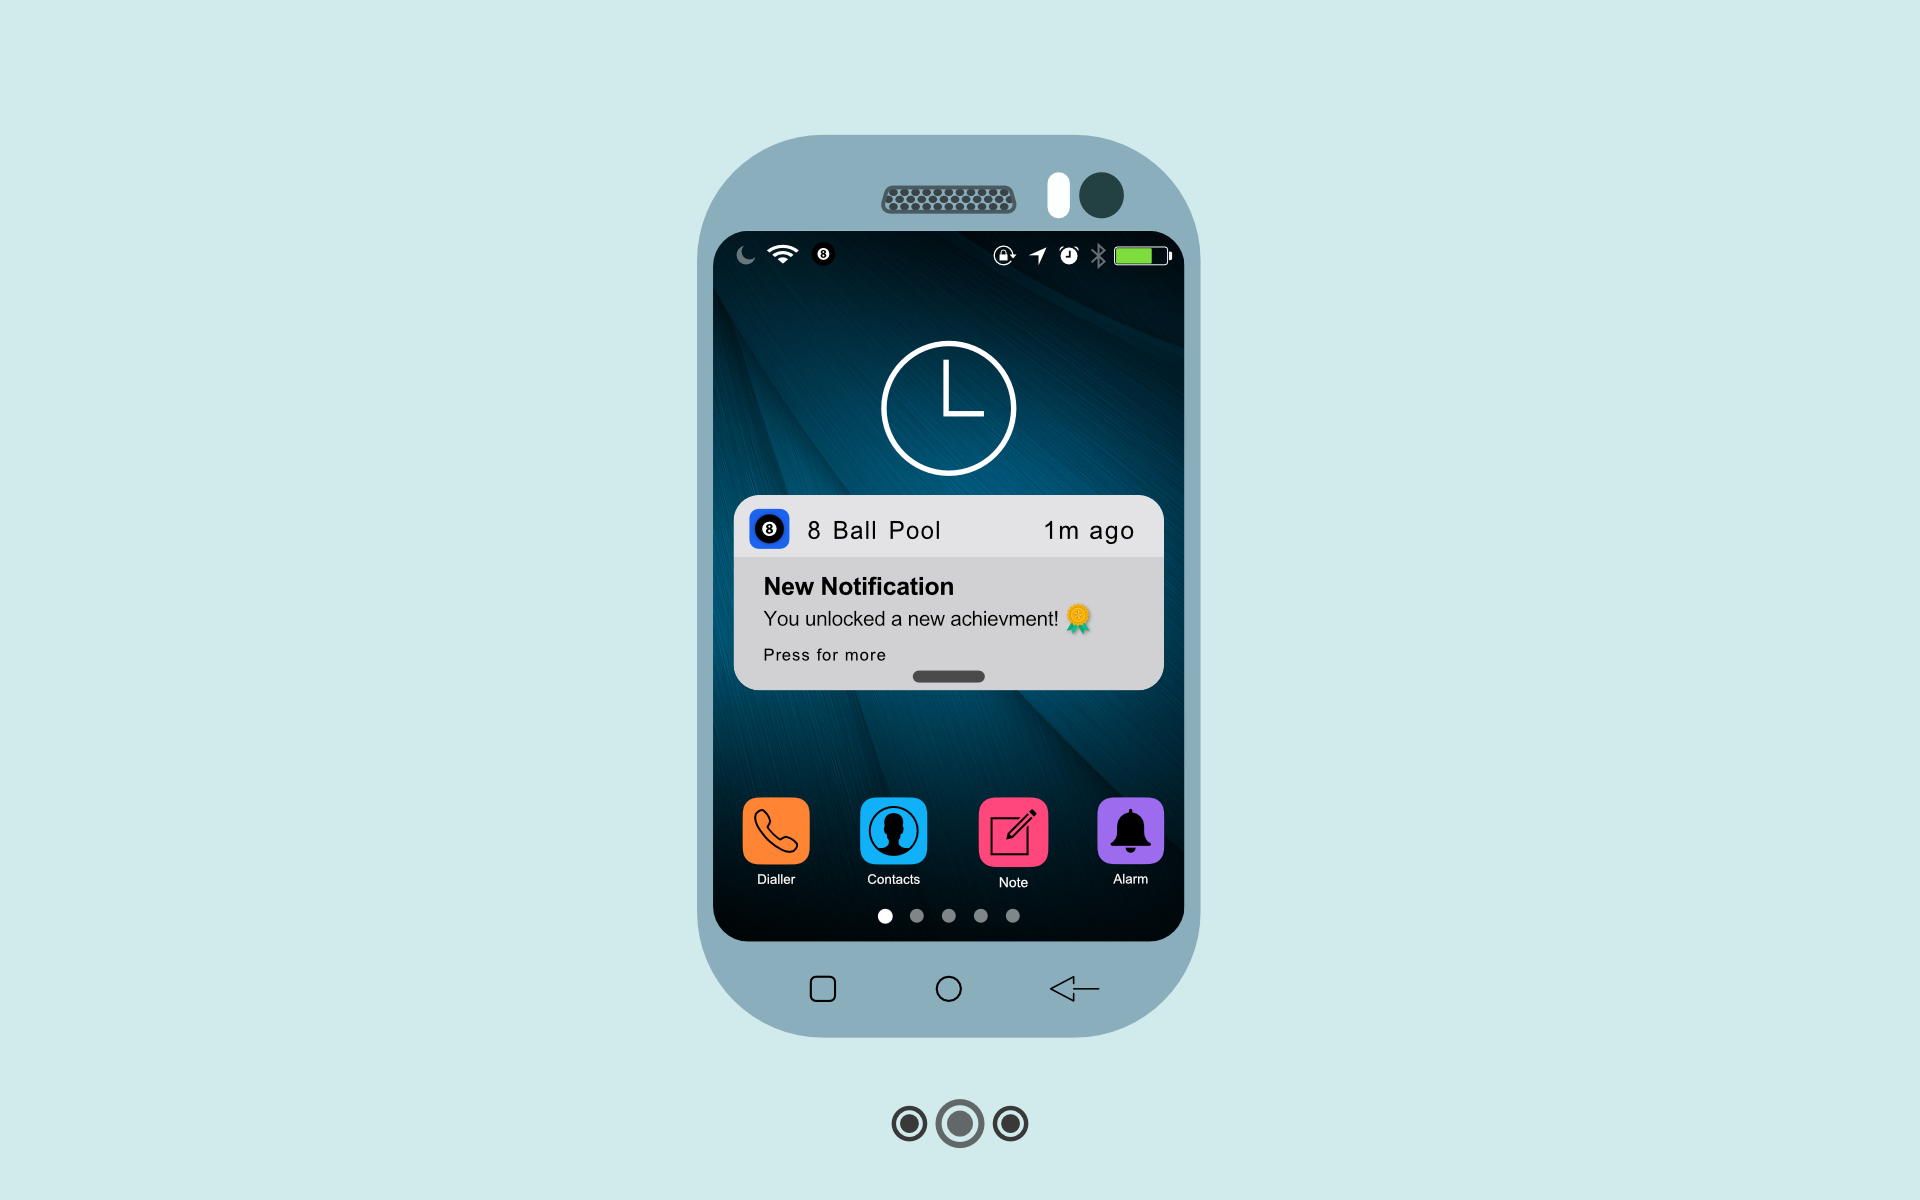
I am trying to explore AD and the result is I hope you like it. Dribbble ^ Google+ ^ Linked | In
-
I haven't posted much here recently but thought I'd show a few things I've done in AD over the last couple o' months.
-
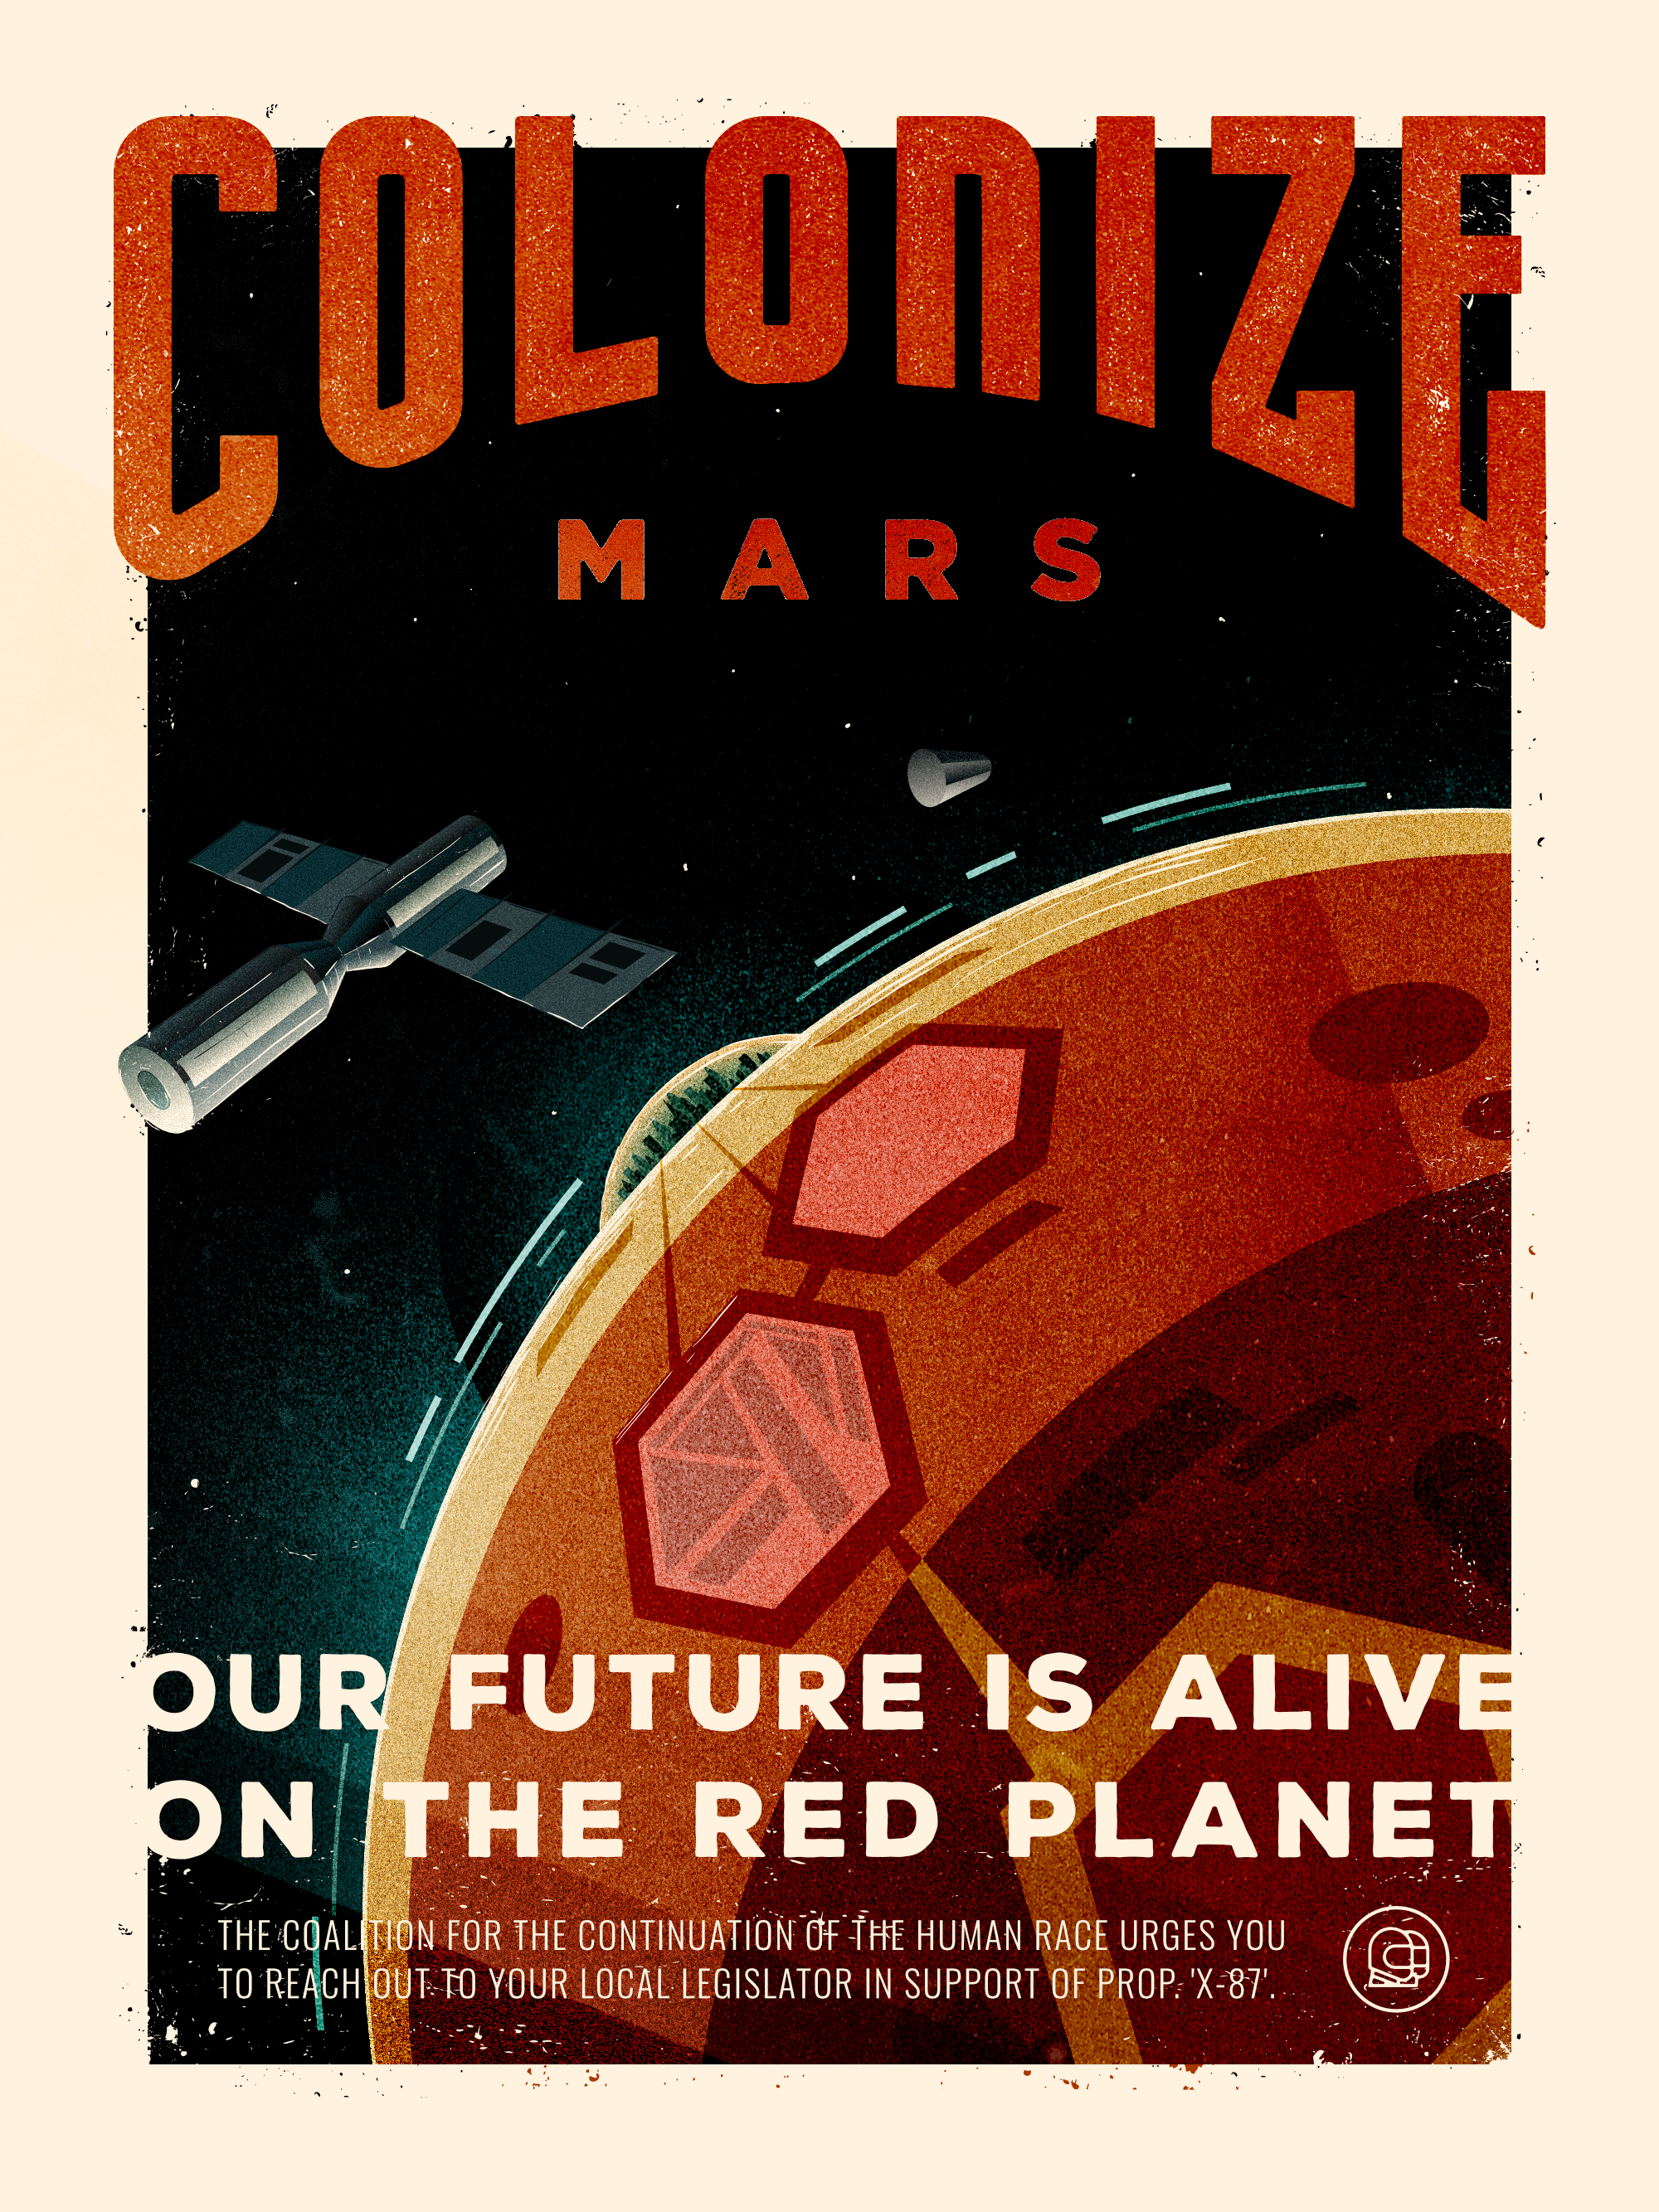
First time posting here! I've been using AD for almost a year, and it's now my go-to for pretty much all of my graphic work. Here's a piece I recently whipped up that's part of a sci-fi series I'm working on. Obviously, it's inspired by old propaganda posters. That, and a heavy dose of Ray Bradbury.
- 3 replies
-
- 10
-

-
- design
- graphicdesign
- (and 4 more)
-
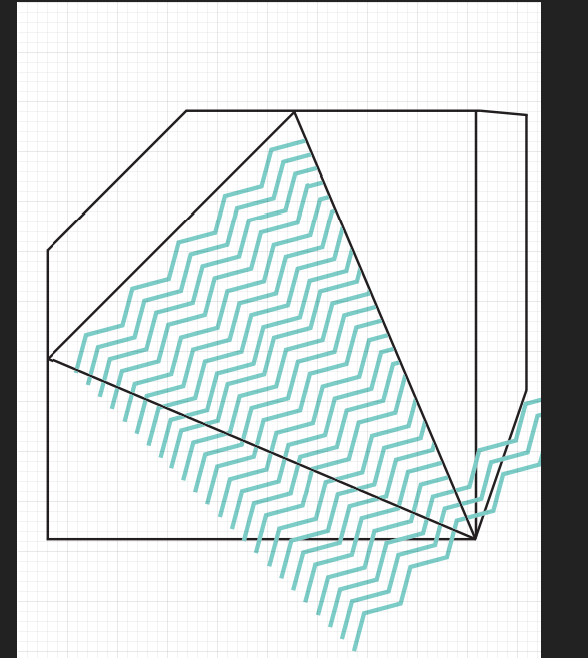
 Hello. I am trying to create design from picture above. I have problem with zig zag lines. I want to get effect like on screenshoot 1. Screenshoot 2 is showing my package template. I would like to get zig zag lines go smoothly from one side of the package to another one. Any ideas how i could make this work?
-
An artistically stylized vector character design. Hope you like it.
-
Hi guys! I needed to create a custom design for a Brand manual and I was struggling with the fact that there's no layout grid option like sketch. So I decided to download the illustrator templates of the 960.gs grid system and adapt it to affinity designer using the constraints (so no matter how wide your artboard is, the grid will always strech porportionally). Hope you find this as useful as me. You've got three files: 12 column layout 16 column layout 24 column layout Happy designing! 960_grid_12_col.afdesign 960_grid_16_col.afdesign 960_grid_24_col.afdesign
- 13 replies
-
- 21
-
-
light in the night . my recent works
-
2D train logo concept for a client, created using Affinity Designer (love it). Hope you like it.
-
 Hi everyone! I would like to receive critique for the following redesign concept: https://dribbble.com/shots/4560443-Steam-redesign Hit me from left and from right, I can take a beating! Thanks in advance!
-
 Hi everyone, I'm fairly new to this forum but am trying to get some ideas about book cover designing. I'm planning to have my novel published very soon (through CreateSpace) and am especially interested in premade covers. There are many out there but most are mediocre at best. I'm wondering if anyone has an idea about this site: www.bookcoverzone.com - Nice covers, decent pricing and all but it's an automatic system, and I've never seen or tried anything like this before. If anyone has bought from this site, any feedback would be much appreciated.
 -
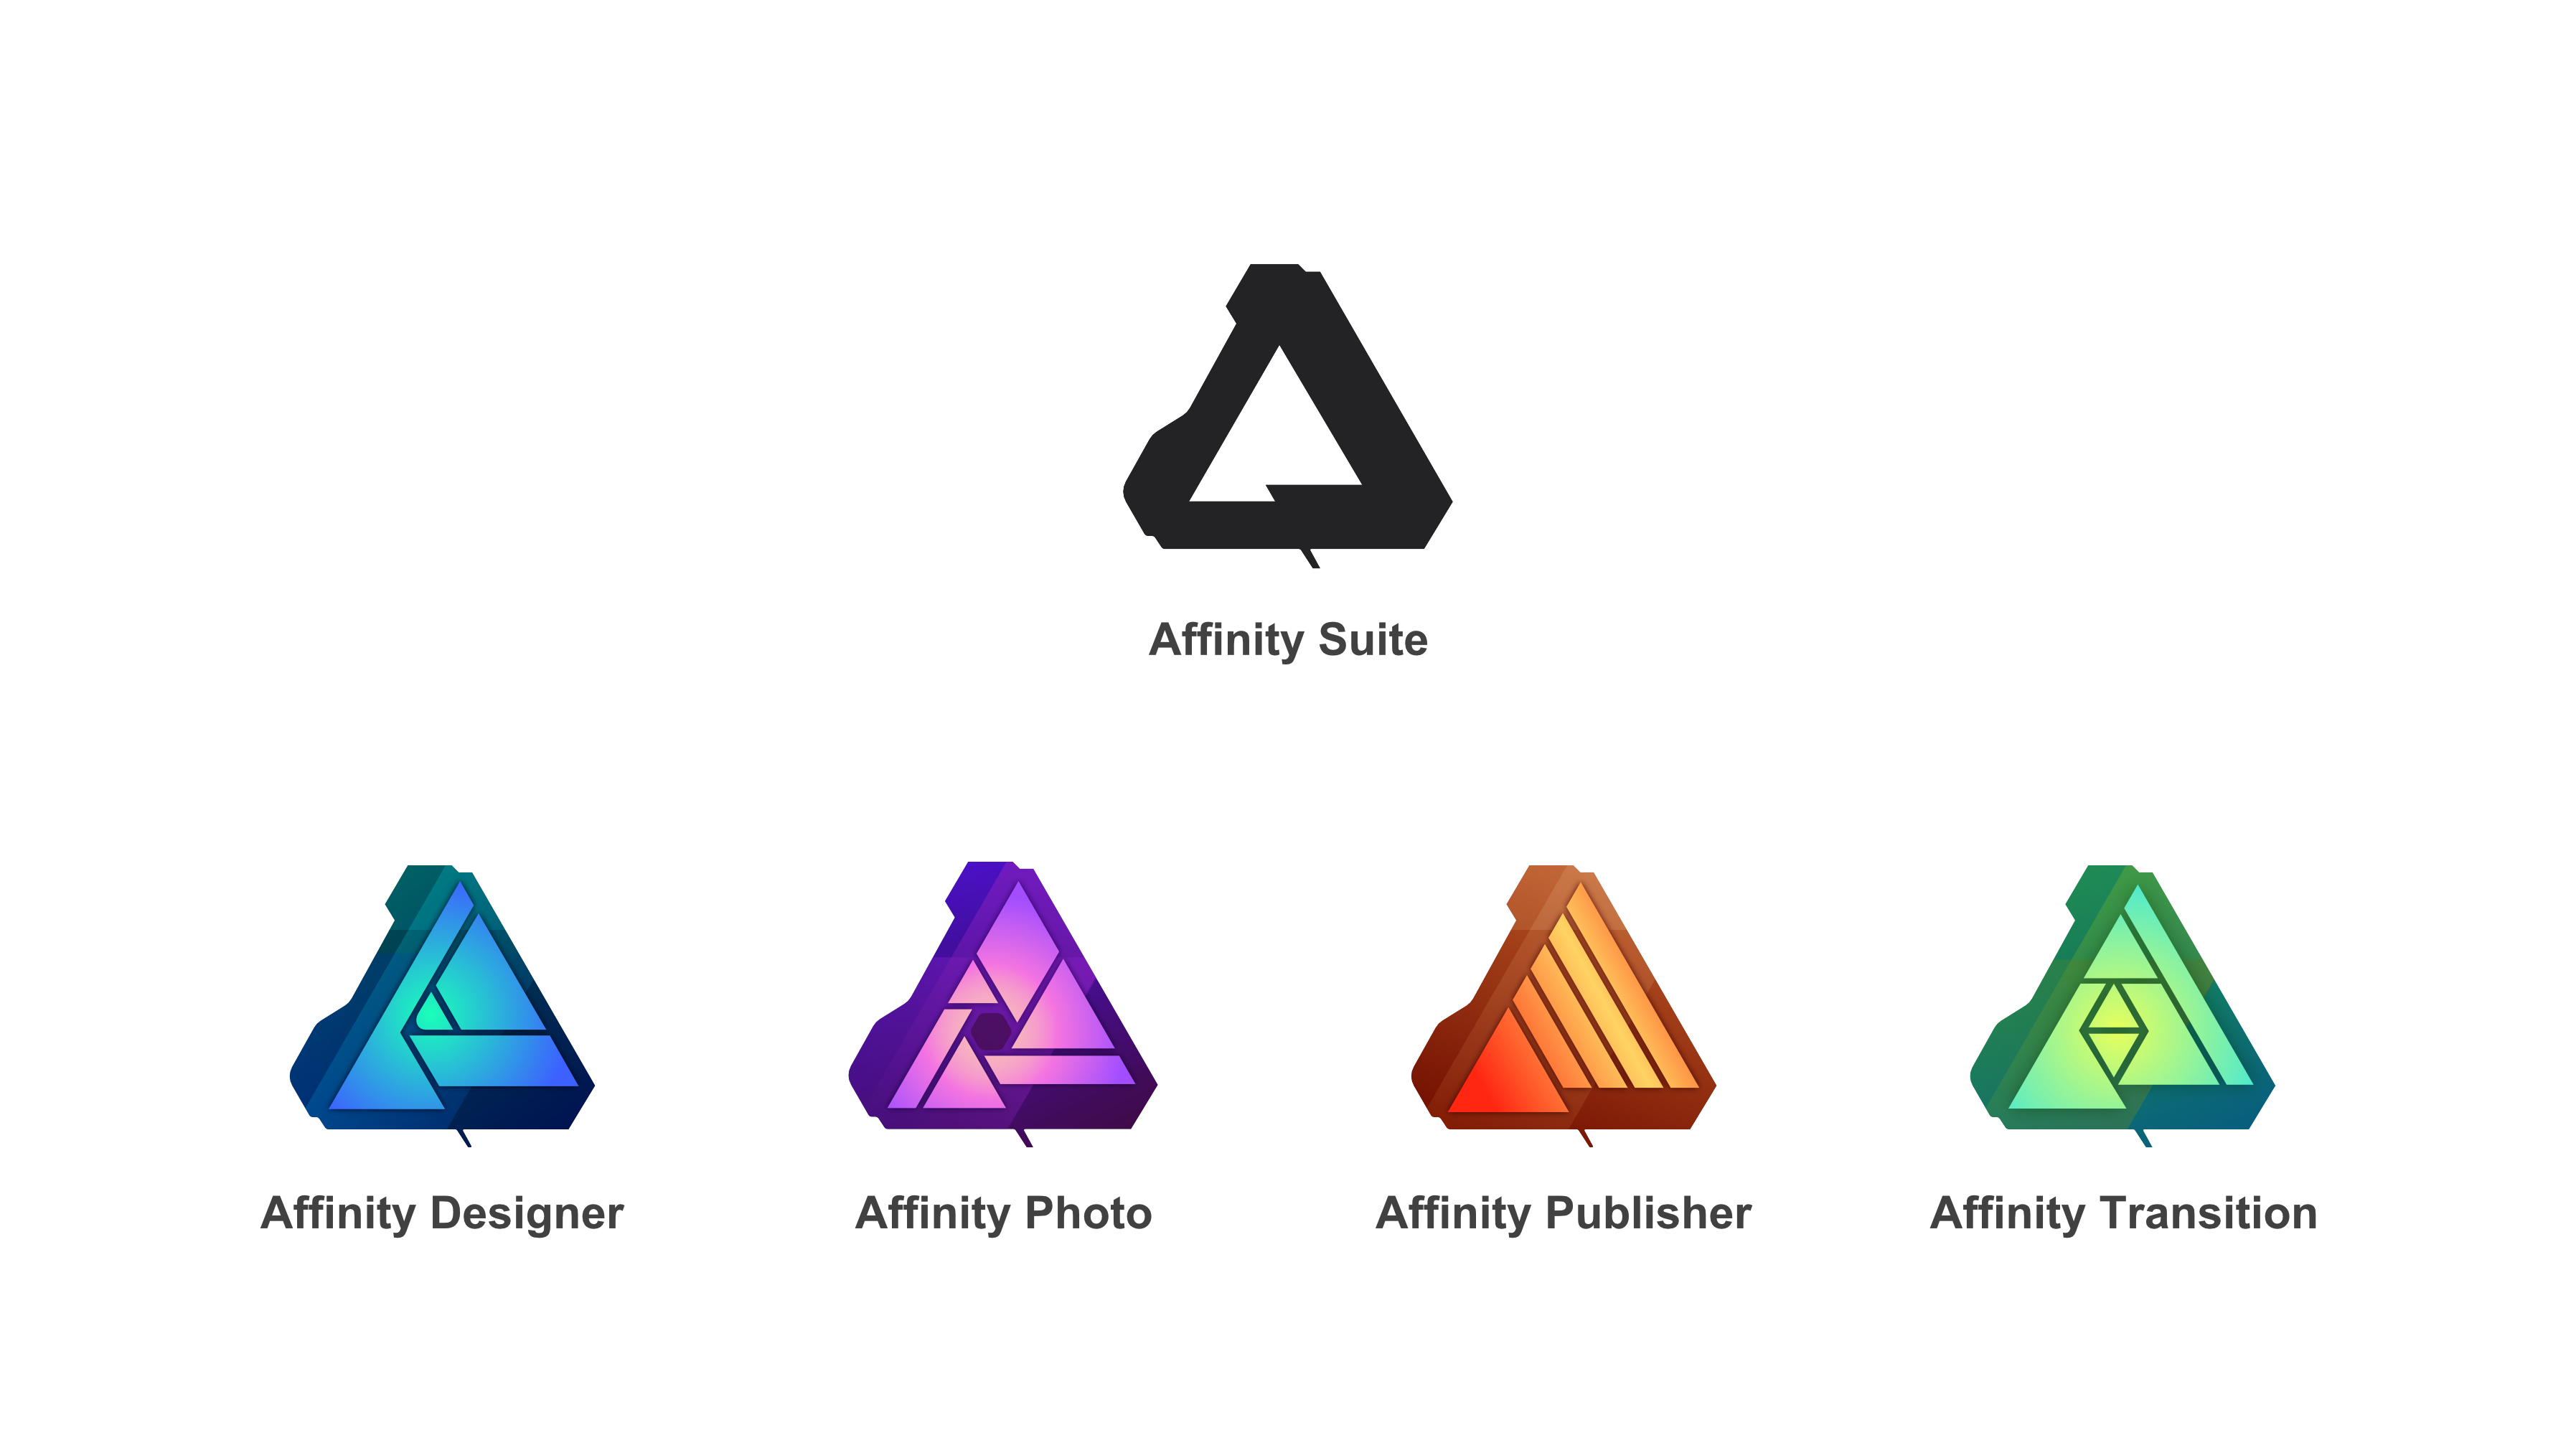
I love use Affinity suite in my work life and just try design concept for Affinity Trasition for motion graphic and tracking ... you can downlad open file i made it Affinity Suite.afdesign
-
 Hi, I would love to purchase the affinity workbooks for my kindle. Will you ever make the books available on kindle? (If you do, please make them a bit cheaper as it's not a physical copy)
 -
 Root Vegetable and Apple Hash Baked Together With Eggs 2 to 4 servings Pantry staples berries, apples and onions really are a timeless Blend of sweet and sour flavors for just about every meal of their day. Baking the beans directly onto the baking sheet makes for a no-fuss, no-muss meal in minutes, and a fast cleanup. Don't Hesitate to mix and match the components according to Anything you've got readily available - several sorts of potatoes, onions and apples may do the job nicely nicely here, from Yukon Gold sausage to Vidalia onions into Honeycrisp apples. From Washington foods author and editor Kristen Hartke. Ingredients 2 russet potatoes, peeled, and then cut into 1/2-inch bits 1) red onion, coarsely chopped 1 Granny Smith apple, cored and cut into 1/2-inch pieces Inch Cripps Pink apple, then cut into 1/2-inch pieces 2 tablespoons olive oil 1 teaspoon salt, or even more as needed 4 large eggs 1 teaspoon freshly ground black pepper, or more as Wanted Steps Preheat the oven to 425 degrees. Toss the potatoes, apples and onion using the oil and also Salt onto a rimmed baking sheet before evenly coated, then spreading them at a layer. Simmer for Thirty Minutes or until the veggies and citrus Get started to decorate and brown. Push apart a few of this hash to generate four spots to the eggs, and closely split each egg into one of the spaces that are cleared. this great website Simmer for 5 minutes or before the whites of the eggs are Merely place but the yolks are still runny. Time with the pepper and more salt, if you prefer. Drink Warm. Nutrition | Per serving (based on 4): 280 calories, 9 gram Protein, 33 grams carbohydrates, 12 grams fat, 3 grams saturated fat, 185 mg cholesterol, 670 mg sodium, 5 g dietary fiber, 1 1 g sugar -- Sheet Pan Chicken Fajitas 4 to 6 servings, Healthy Five moments of homework yields a dinner that is yummy Little clean up, due to some sheet pan (or as WaPoFood requires it, a baking sheet) along with also a small number of substances. Tossing the lettuce and chicken together with the Basic Red Wine Vinaigrette lets for some added layers of flavor, but vegetable oil will probably continue to work good. Thinning Cashew Cream (see recipe, Page E E 9) using just a little water and lemon juice offers a quick alternate to sour cream whenever there's no time to run into the shop. Flank beef, pork tenderloin or portobello mushrooms can Be substituted for the chicken with no switch to the cooking method. Tailored from a recipe Overall Foods Industry website. Ingredients 1 pound boneless, skinless chicken breast halves (no more Tenderloins), cut into 1/2-inch-thick pieces 2 green bell peppers, stemmed, seeded and thinly sliced 1 medium red onion, thinly sliced 2 tsp garlic, coarsely chopped 2 tablespoons Basic Red Wine Vinaigrette (see recipe FOOD-SAUCES narrative) or vegetable oil 1 tablespoon chili powder 1 teaspoon salt 6 flour tortillas, warmed, for serving Sour cream, for serving (can substitute a Cashew Cream Mixture; visit headnote) Steps Pre heat the oven to 400 degrees. Toss together the chicken, peppers, garlic, onion, Vinaigrette or acrylic, chili powder and salt in a large mixing bowl until evenly coated. Spread on a big, rimmed baking sheet and bake for 25 to half an hour or until veggies are tender and chicken is cooked, stirring halfway through cooking. visit website get information During the past Five minutes of baking, wrap tortillas in Aluminum foil and put in the oven till heated through, or wrap the heap of tortillas in fresh, moist paper towels and microwave on HIGH for 1 minute. Divide the fajita mixture among hot tortillas; serve Warm with sour cream. Diet | Per serving (according to 6, with vinaigrette): 140 calories, 18 grams protein, 5 g carbs, 5 grams fat, 1 g saturated fat, 55 mg cholesterol, 500 mg sodium, 2 grams dietary fiber, 2 g sugar -- Mini Lasagna Cups 1-2 2 servings, Balanced An bundle of wonton wrappers and a Muffin-pan mix For convenient single-serving portions of lasagna, able to grab and also proceed to get a quick lunch or dinner. This variant is created out of veggies straight from the freezer however is easily adaptable for a favourite fillings, including crumbled Italian sausage, sausage and bell peppers. You are going to want a typical muffin pan with 1 2 wells. Won Ton wrappers Are Offered in Asian markets, plus they Also are usually seen in food markets today, often in the manufacture section. MAKE AHEAD: The cups could be assembled a day ahead, Coated and simmer at the pan until ready to inhale. The roasted miniature lasagna cups can be refrigerated, coated or individually wrapped, for upto 3 times. From Washington foodstuff author and editor Kristen Hartke. Ingredients 1 cup frozen chopped spinach, defrosted 1 cup part-skim ricotta cheese 1 tsp seasoning blend, such as Trader Joe's 2-1 Seasoning Salute 1/2 tsp salt 2 cups low-fat shredded mozzarella cheese 3 6 square wonton wrappers 1 cup frozen diced carrots, De-frosted 1 1/2 cups Quick Blender Marinara Sauce (see recipe FOOD-SAUCES narrative), or a Store Bought Tomato-sauce from your selection Freshly ground black pepper Steps Preheat oven to 375 degrees. Wrap the defrosted spinach in a few layers of newspaper Towels and squeeze out any excess moisture, then move the lettuce into your mixing bowl with all the ricotta cheese, then the seasoning mix along with salt, stirring until well integrated. Place half the mix in another mixing bowl ; Stir in 1 cup of the shredded mozzarella. Utilize baking soda spray to lightly grease the muffin pan. Blend a won ton wrapper into each and every well with the corners of their wrappers up and on the borders of the nicely. https://twitter.com/advisorsblender Evenly split the ricotta-spinach mix in every Wonton-wrapper-covered nicely, then add a separate won ton wrapper in addition to Subsequently divide the grated carrots one of the cups, and then high with a generous teaspoon of the marinara sauce. Fit an third wonton wrapper over the sauce. Evenly split the ricotta-spinach-mozzarella mix Mix over the previous layer of wonton wrappers, then conclude with equally dividing the staying marinara sauce, on a tbsp of shredded mozzarella, along with a few freshly ground black pepper. (only at that point, it is possible to pay the entire pan using vinyl wrap or aluminum foil and then refrigerate over night.) Bake (mid stand) for about 12 to 15 minutes, or before the Cheese on top is melted, browned and bubbling. Serve hot, or let cool before storing. Nutrition | for Each serving: 150 calories, 9 grams protein, 19 g Carbohydrates, 4 g fat, 3 grams saturated fat, 15 mg cholesterol, 580 mg sodium, 1 g dietary fiber, 2 g glucose -- Sheet Pan Moroccan Spaghetti Squash 2 to 4 servings, wholesome While a spaghetti squash can look a little daunting For its thick yellow epidermis, it's clearly not too difficult to cut using a sharp knife. Only begin in the stem and then shove on the knife around length wise until you get back to the stem around the opposite side; then the skillet should easily split in to 2. Spaghetti skillet includes a pleasant feel which, Indeed, does. Mimic spaghetti, but using a buttery taste. Roasting the chickpeas as well as also the currants on the baking sheet with the skillet presents them a glow, caramelized taste, while the spaghetti skillet add crunch. Ingredients 1 spaghetti squash (about 4 lbs), cut Two Length wise seeds reserved 2 tablespoons olive oil, and much more for the seeds 15 ounces canned/cooked no-salt-added chickpeas, drained And rinsed 1/2 cup currants 2 tsp garlic, minced 1/2 tsp seasoning blend, such as Trader Joe's 21 Seasoning Salute Salt Recently ground black pepper Steps Pre heat the oven to 400 levels. Set the squash, cut sides down, on the baking sheet. Coat the squash seeds with a little oil, then spread Them all over the skillet. Simmer for 15 minutes, or until the inverted squash halves are almost tender. Meanwhile, throw with all the chickpeas, currants, Garlic, seasoning combination and two tablespoons of oil at a mixing bowl until evenly coated. Subsequent to the squash and seeds have roasted for a Quarter Hour, Spread the chickpea mixture around the skillet onto the baking sheet; go back to the oven and simmer for a quarter hour or until the skillet is garnished into the touch. Move into the cooker (off the heat). Invert the squash halves. Work with a fork to shred the skillet to noodle-like strands. Top with the chickpea mix and the roasted squash Seeds. Season lightly with pepper and salt serve immediately. Diet | Per serving (based on 4): 400 calories, 1 1 g Protein, 68 g carbohydrates, 13 grams fat, 2 g saturated fat, 0 g cholesterol, 350 mg sodium, 14 g dietary fiber, 29 grams sugar -- Blender Broccoli Cheese Soup 3 portions (makes 3 cups) Developed originally to get a high profile blender such as A Vitamix this recipe is readily adapted to your normal blender and enables a lot of variant depending on everything you have on hand. Frozen broccoli, the two stalks and florets, is a good Option right here. But while you would like to use fresh broccoli, then just steam until it is tender first; raw onion will get the job done nicely, but also cooking the onion until tender really helps to minmise the sharpness. You are able to freeze tablespoon portions of onion ahead of time (visit FOOD-QUICK narrative). Cashew Cream adds a bit creamy feel, but the cheese offers a great deal of creaminess should there isn't Cashew Cream made. MAKE AHEAD: The soup can be refrigerated in an airtight Container for approximately 3 days. Ingredients 2 cups no-salt-added vegetable broth 3 cups frozen broccoli, broccoli, defrosted, plus a few florets for garnish 2 tbsp Cashew Cream (see recipe, FOOD-SAUCES Narrative) 2 tablespoons diced onion 1 cup shredded cheddar cheese, plus more for garnish Salt Freshly ground black pepper Steps Merge the broth, 2 1/2 cups of this broccoli, the Cashew Cream and onion in a capsule; get started to combine in very low, then slowly increase to top until smooth and prevailed. Insert the rest 1/2 cup of broccoli florets; pulse a Few times to maintain some feel. Pour into a medium sauce pan; prepare over medium-low warmth for 20 minutes, stirring a few days, then stir in the cheddar cheese till melted. Taste, and season with salt and pepper, as essential. Drink hot, garnished with florets and also cheese. Diet | for Each serving: 240 calories, 14 g protein, 1-3 G carbohydrates, 15 grams fat, 7 grams saturated fat, 40 mg cholesterol, 4 4 0 mg sodium, 3 g dietary fiber, 7 g grams glucose -- Fast Blender Tomato Soup 4 servings (makes 4 cups), Healthy This creamy soup features a secret: There is no cream - or - Even butter init. Alternatively, bread and olive oil emulsify from the blender together with the additional components to build a rich texture, making it straightforward to combine using a couple of container components in only two or three momemts. The initial recipe has been created with a high-powered Blender, such as a vita mix, that is able to both heat and blend the soup ; it has been adapted to get a standard blender. You will only have to finish the soup to the stove once it's blended to allow the flavors to meld. MAKE AHEAD: The soup may be refrigerated for up to 1 week. Inspired by a recipe by J. Kenji Lopez Alt, managing Culinary manager at SeriousEats.com. Ingredients 1/3 cup Coconut Oil 1 tsp garlic 1/2 cup sliced onion 1 slice white or skillet (crusts removed), Torn into 1-inch bits 28 ounce canned, no-salt-added whole peeled tomatoes, And their juices Inch cup no-salt-added vegetable broth 1 tsp seasoning mix, such as Trader Joe's 2-1 Seasoning Salute Salt Freshly ground black pepper Steps Blend the oil, onion, garlic, bread bits, the Tomatoes and their juices, the batter and seasoning mix at a blender; commence to blend on lower, then slowly increase to high until pureed and smooth. Pour in to a medium saucepan; Prepare over medium-low heat To get 20 minutes, stirring a few days. Taste, and season with pepper and salt, as necessary. Serve warm. Diet | Per serving: 270 calories, 3 grams protein, 22 gram Carbohydrates, 19 g fat, 3 g saturated fat, 0 mg cholesterol, 560 mg sodium, 4 g dietary fiber, 1-2 grams sugarslevels
 -
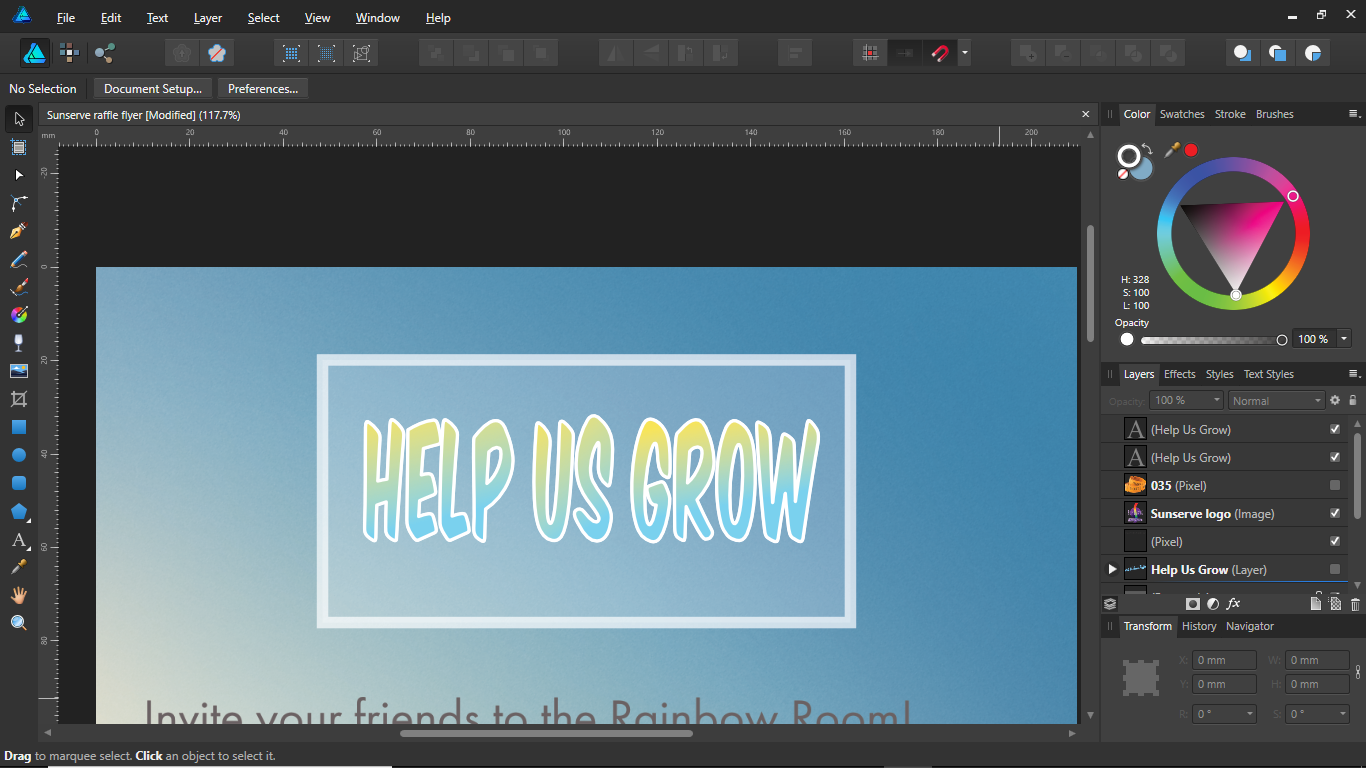
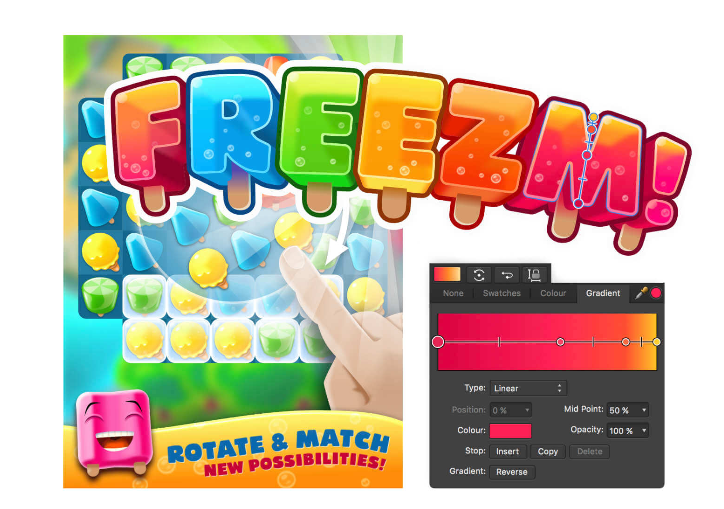
 Hi guys, I am currently working on this flyer and I want " Help us grow" to have that 3D depth to it like the "freezm" logo (images attached below) If anyone can help, I greatly appreciate it!!!