Search the Community
Showing results for tags 'Cut'.
-
 In this short tutorial of a user request, I'll show you how to create an incision/ cut info graphic in Affinity Designer 1.6.1 and how to use it in Affinity Photo 1.6.7 as an image brush or as a vector graphic with the place function. Keep on drawin' Norbert
-
 Hi, everybody. the problem is I can't cut the pictures properly 6002BD2A-F31F-4DC5-AF38-EAA0967EFEB6.MP4
 -
 Hallo, ich bin neu - leider bin ich nicht so gut in der englischen Sprache. Ich suche verzweifelt die Möglichkeit etwas in einer festen Zielgröße auszuschneiden. Das geht in Photoshop-Elements sehr einfach. Problembeschreibung: Ich habe ein großes Bild. Ich habe ein festes Zielformat von 768 * 512 Pixel mit 72 dpi. Nun will ich einen Rahmen aufziehen, der genau diese Seitenverhältnis hat. Diesen Rahmen möchte ich beliebig im Bild positionieren , oder auch, propertional vergrößern/verkleinern um den gewünschten Bildbereich auszuwählen und wenn ich diesen dann aktiviere soll genau ein Bild in der Größe 768 * 512 Pixel auch abgespeichert werden. Bei Photoshop geht das so: Ausschneidewerkzeug - Breite Höhe eingeben. Rahmen entsprechend ziehen - aktivieren - abspeichern - fertig. Bei Affiniti Photo habe ich hier alles mögliche probiert aber nicht das gewünschte Ergebnis hinbekommen - geht doch sicher ganz einfach!
 -
Hallo, I am new - unfortunately, I am not so well into English language. The text was translated by programme.Ich hope he is clear. I try to cut out desperately the possibility something in a firm aim size. This very simply goes to photo shop element. Problem description: I have a big picture. I have a firm aim format of 768 * 512 pixels with 72 dpi. Now I want to draw up a frame which has exactly this side relation. I would like to position this frame arbitrarily in the picture, or also, propertional increase / reduce around the desired picture area to select and if I these activate then exactly one picture should be also stored away in the size 768 * 512 pixels. With photo shop goes in such a way: Cutting-Tool - input wide in Pixel input height in Pixel- According to frame move - activate - store away - ready. Here with Affiniti photo I have all possible one, however, the desired result does not try done - nevertheless, surely quite simply goes!
-
 This may seem a stupid question but I am used to the idea of drawing a selection box round part of an image and hitting command-C or command to copy and then command-V to paste a section of the image somewhere else on the same image or on another one - that works in Photoshop. When I try to do this in Affinity Photo (working on a PDF image), after drawing a selection box, both Cut and Copy are greyed out in the Edit menu and using the keyboard shortcuts has no effect. I do this all the time in Photoshop with newspaper cuttings, using copy and paste to fit the page header with the name of the newspaper and publication date, which typically spans four or more columns, above the single column cutting. How can I copy part of an image in Affinity Photo?
 -
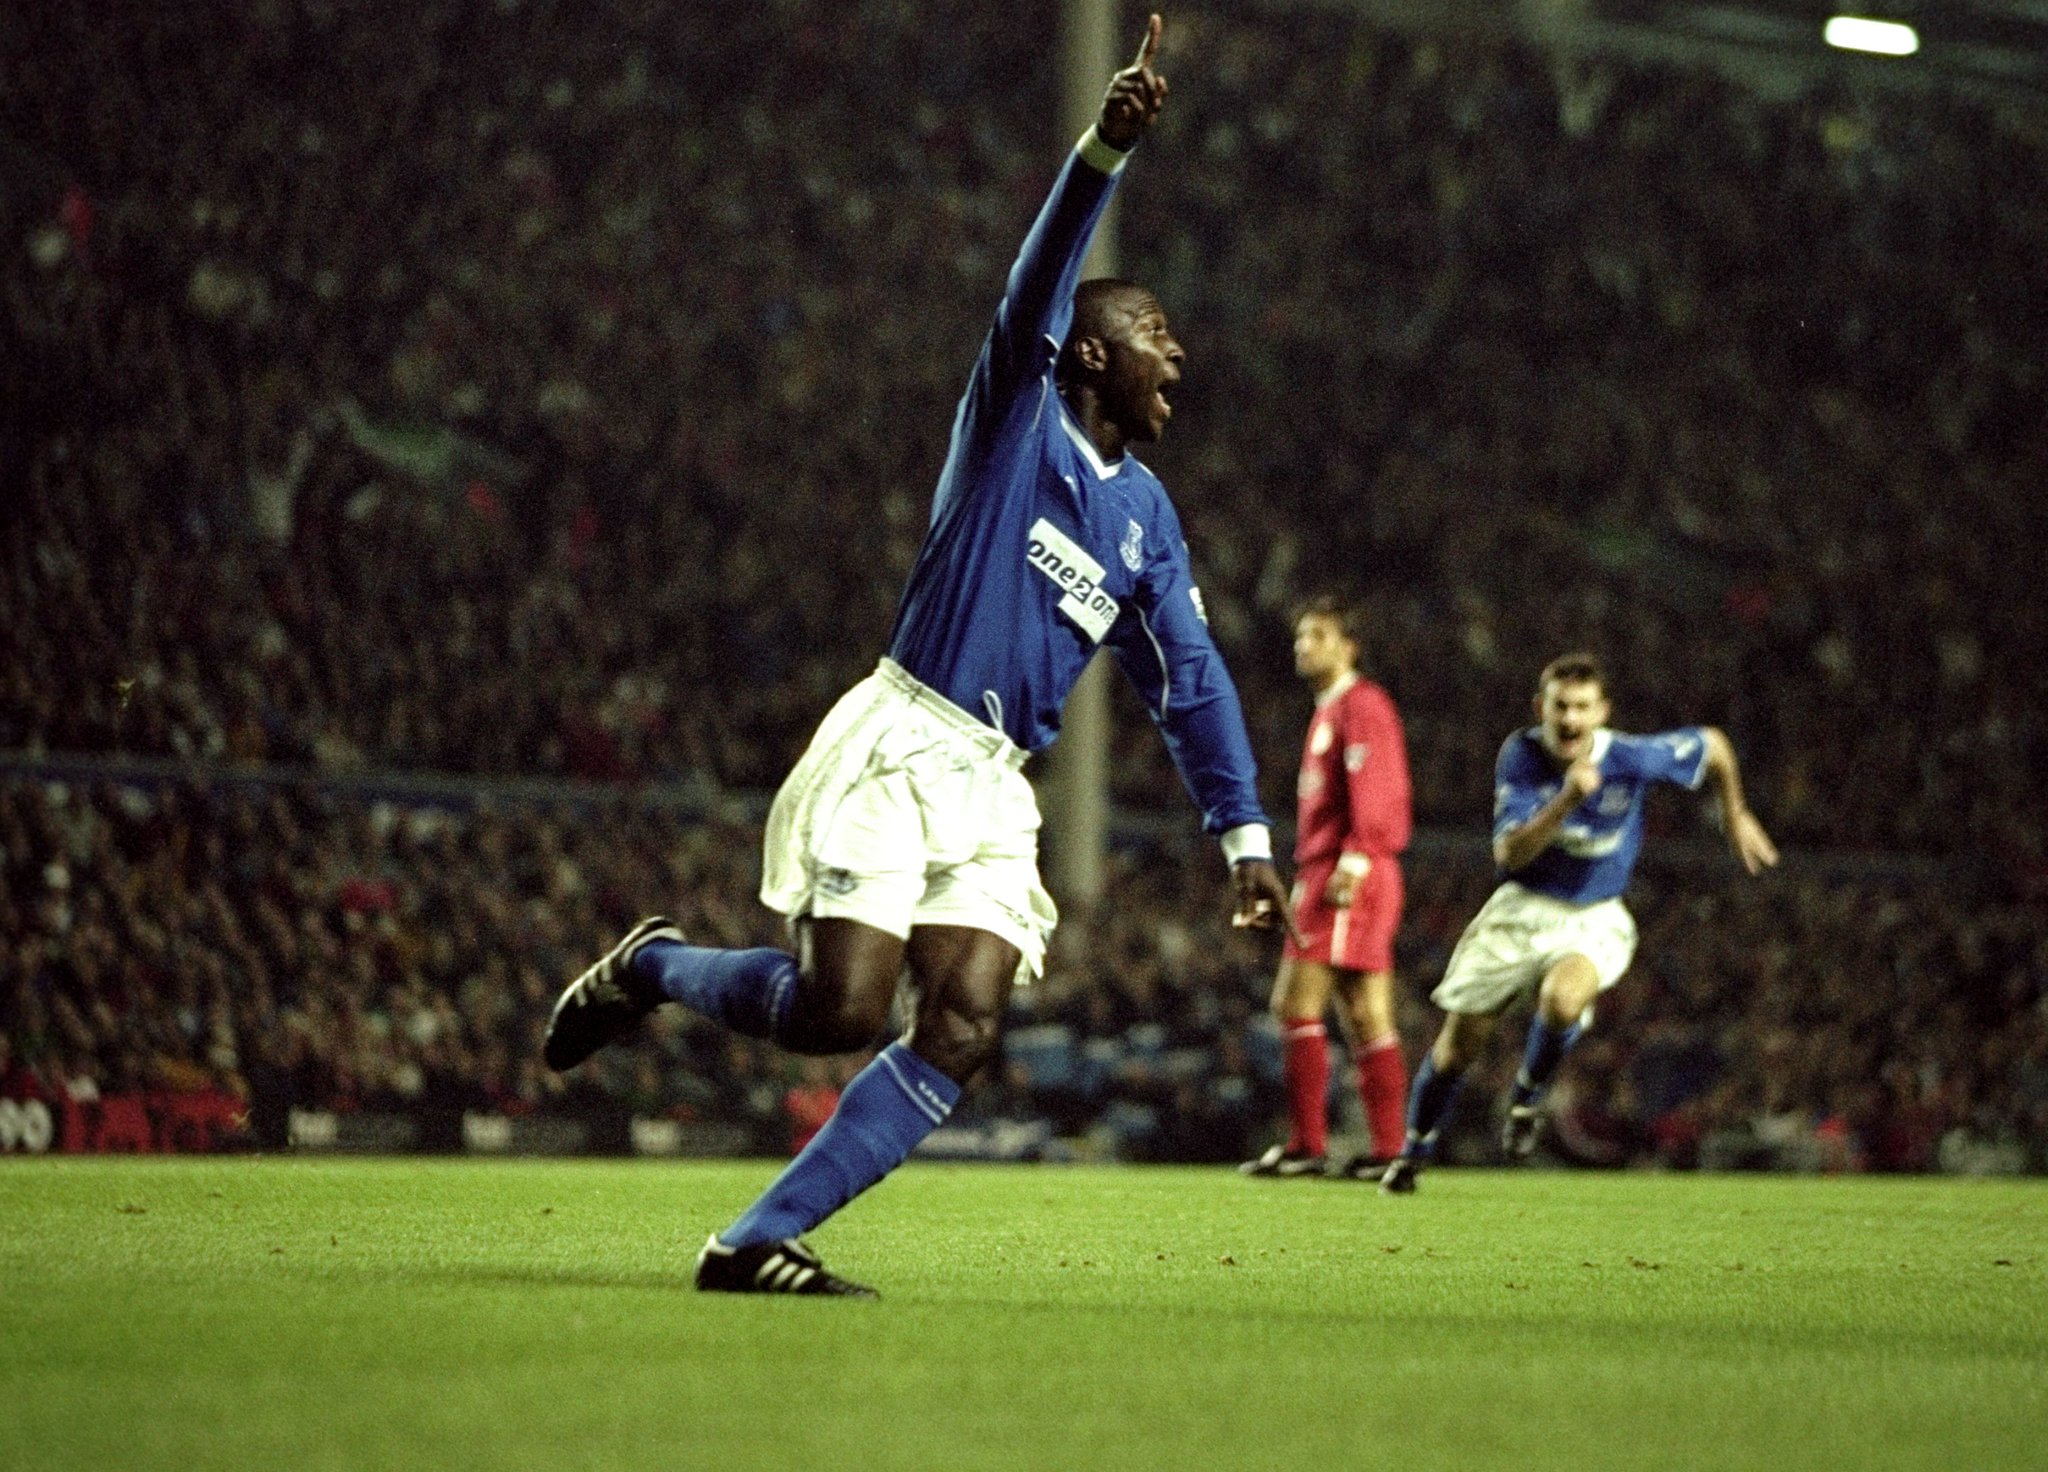
 Hi there, All the tutorials show cutting simple shapes out of a very differently coloured background which is fine.. but what do you do when you have to cut out something more complicated like a person from a very similarly coloured background?? For example, I need to cut the attached man out of the background of each picture but his skin and shirt are dark and so is the background. I am having great difficulty doing this without going and manually erasing it myself which is time-consuming. Please help me understand how I can do this easier! Cheers!
-
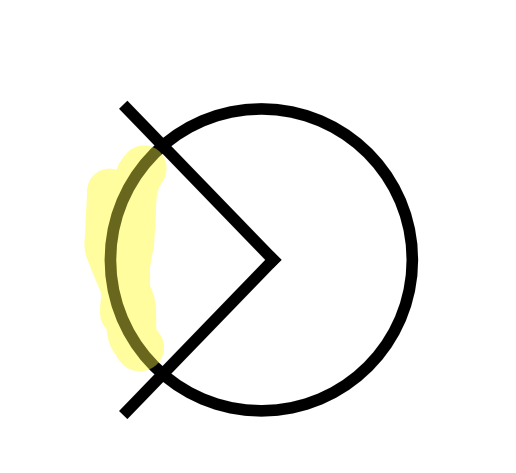
 I don't know how to easily cut things in Designer. In the photo below I want to cut the highlighted part out and delete it. But I don't know how I would easily do it. Could I that path as a cutting tool. I already tried using the geometry things like divide, subtract, add, combine, intersect. Thanks!
-
Copying ,Ccutting,Deleting,Paisting to / from selections.
-
 Hi. I have a feature request that I think it should be easy to implement. Here what I need: Currently, pressing delete button will remove selected nodes, but not cut the line itself. I need a feature to delete selected nodes and cut the line into separated segments. Using Backspace key or Shift+Delete will be nice. Thanks.
-
I posted on this five days back and, to my surprise, have had no feedback from the folks at Affinity who are usually so wonderfully prompt to respond. In fact the only feedback was another user confirming the same problem. My original post was made concerning the previous beta however it is still unfailingly present in 1.6.5 and gets even more bizarre. If I create a selection with any selection tool and then perform a Copy/Paste (or Cut/paste) the pasted image is severely offset from the original Copy. In the attached images I have shown the original cat in magenta together with the selection. To make the paste clearer I have re-coloured it yellow. Now here's where it gets stranger. As long as the top part of the selection does not intersect the object being selected then the paste occurs correctly but as soon as the top of the selection intersects it offsets. This never occurs in 1.5.2. I still have this loaded and have done direct side by side comparisons. So I then tried copying and pasting between 1.5.2 and 1.6.5. It works fine in both directions. The problem only occurs when 1.6.5 is pasting to itself. This is seriously bizarre and seriously irritating as it affects Affinity Photo's usability to a very severe degree. Any thoughts please from the experts?
-
I am having a totally weird problem. I have never had it happen in 1.5.2 but it happens unfailingly in 1.6.4 (beta 4). If I create a selection with any selection tool on a pixel layer and then perform a Copy/Paste or Cut/Paste a new layer is created containing just the selection as one would expect. However it is NOT pasted in the same place as it came from. On a an A4 300dpi document, for example, the paste is made about 425 pixels 'north' of the origin. I have attached a demo image. I have reduced the opacity on the pasted layer to make the problem easier to see. Now what is puzzling me is that a problem of this magnitude on an operation so frequent and common should have generated a slew of posts here. But searching for them I haven't found any. This implies something particular to me. However all previous generations of Affinity for two years have always worked perfectly on my system. Nothing has changed in the meantime. I still have 1.5.2 installed and in simultaneous tests 1.5.2 works perfectly and 1.6.4 does not! So this begs the question am I doing something silly or missing something? Is there some setting somewhere that could be causing this? I am totally baffled at present. The big problem is that it makes 1.6.4 completely unusable. Any ideas anyone ........ please ....... ?
-
Until a knife or cut tool comes along, I would love to see a delete node, as in gone feature. Instead of deleting the node and leaving the path closed as is currently, deleting the node and it breaks a hole in the path as far as the next two nodes are located. Could be with a modifier key... shift delete or option/alt delete. Sure would save a bunch of time. Current setup breaking the path route is cumbersome and leaves 2 nodes on top of each other, which you need to select and then delete, often selecting the wrong one...
-
Can someone tell me how to protect my elements like the one from the download section (e.g. Destroyer by Pokedstudio) please.
-
 Hey AD pals, help here would be greatly appreciated. I have a logo design done on my MacBook with AffinityDesigner 1.5.4 and have it set up as a document on an artboard with both vertical and horizontal Cut and Bleed lines visible on the document in all 3 Personas. The Cut and Bleed lines were done 'by the book' using the menu item 'Guides Manager' and the file has been named and saved. My problem/question: I need to export this artboard showing the Cut and Bleed lines to the sticker printer however when I go into export mode and export it (so far have done .pdf, .jpeg, and .eps), the file described above exports successfully but WITHOUT the Cut and Bleed lines being visible in the exported file. Please advise on where I'm going wrong and/or what step I am missing. Thank you! -Christo
 -
AD fam, On many of the AD tutorials I see a click/drag operation used to select an item you want to isolate for copy/paste purposes. My question, is the click/drag done while holding down a keyboard key (i.e., the 'alt' or 'command' key)? When I click/drag over a given area that I'm trying to cut out, I see the light blue square/rectangle cover said area...but when I release my finger from the mouse it seems I'm unable to 'capture' (copy) the selection. I know I'm missing something simple - please have mercy on me. Thanks in advance. -Christo
-
 Is it possible to destructively apply a later mask so the export only has the lines visible on screen? Here is why: I've been playing around with topographical maps, a laser cutter and wood veneers. Starting with USGS vector data I've separated the 10' topo lines for the area around my house. I've laser cut these lines on wood veneers and glued them up to build a 3D map of my neighborhood. Its pretty cool, but I want to etch the rivers/lakes and roads too. My design has ~30 layer groups for each of the topo lines and a layer group with the water and roads. I want to generate 30 layers for each of the of the layers to be etched. To do this I want to mask the water and roads layer with a pair of the topo layers. Visually I can do this by creating a mask of the two topo layers and applying it to the water and roads group. However, this in only on the screen. When this is exported lots of other lines come through. I've done a few layers with the Intersect, and Divide commands, but it doesn't work with a multi curve group. IFNY-sort-redueced.afdesign
 -
I'd like to see a trim tool (select line(s), will delete line(s)_ up to another line). CorelDRAW has one that works really well. Here is a video showing the feature. thanks and great job so far.
-
 Hi everyone! If there is a technique to convert single curve into an object which I could cut (mask) afterward? Simply I need to make stroke of text transparent and also I need if the stroke cuts objects behind (my object is just a line made by pen). The image is going to be a transparent sticker and I would like separate a text from a roll( my lines) by empty spaces. I have no idea how to do it in Affinity Designer :unsure: I attached example. Thanks a lot
-
 I'd like to see support added for SHIFT+DEL, CTRL+INS, SHIFT+INS shortcuts for cut / copy / paste, as is standard across many Windows applications. This is in addition to the existing CTRL+X, CTRL+C, CTRL+V shortcuts that already exist. Currently it's only possible to reassign the existing shortcuts rather than add additional ones, and it isn't possible to assign SHIFT+DEL. My earlier comments and related discussion on this topic here: https://forum.affinity.serif.com/index.php?/topic/22639-affinity-designer-public-beta-1507-windows/?p=107136
 -
 Hi everybody, (sorry for my english I'm french in Reunion Island) I have to work on a Roland SP-540 and I'm trying to print&cut with CutContour without success... Do you someone have a solution ? Thousands thanks...
 -
 Hello, Can anyone show me how to cut a path in half? I could not find any ways and I'm on deadline now. Thanks a lot,
 -
 Hello. Can I express in the region such as Photoshop 5x5 cm 300 dpi so that I could stretch the crop area while preserving crop? The affinity photo unfortunately if I ask paraetry trim and then change the clipping region parameters change trim. Thanks.
 -
 I'm using Designer 1.3.5 and I'm trying to remove a portion of a bitmap I just pasted in. So I go select my bitmap, then go to the Rectangular Marquee Tool to make my selection and then go to Cut or hit the delete key and the entire bitmap disappears? Bug? Or something I'm doing wrong?
 -
 Say I want a section of the black oval to overlap the blue. What's the best way to go about this in designer? I guess I'm looking for something similar to illustrator's shape builder tool.
-
 Hi All, I've been trying to replace my current workflow with affinity, however I seem to be struggling doing basic things which I thought would be easy, but perhaps I'm missing something. For example, I've been trying to draw a cylinder in perspective (I'm a product designer and it's the very beginning of a manual rendering), I drew the ellipse at the top, 2 lines from that tapering inwards as they go down, and then an ellipse at the bottom, I can't for the life of me figure out how to trim the bottom ellipse so only the lower half of it is there. In illustrator for example I would use the scissor tool and select the ellipse where it intersects the straight lines and then delete that section. Somebody please help as this is driving me crazy! Secondly, how do I use the bucket fill tool? I can't seem to get it to fill anything? Am i missing something? Thanks in advance!